Vegan Pumpkin Cheesecake
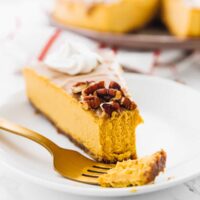
With a thick and creamy filling and a rich and nutty crust, this vegan pumpkin cheesecake is a showstopper dessert. It’s loaded with your favorite fall flavors, is easy to make, and is entirely vegan and gluten-free.
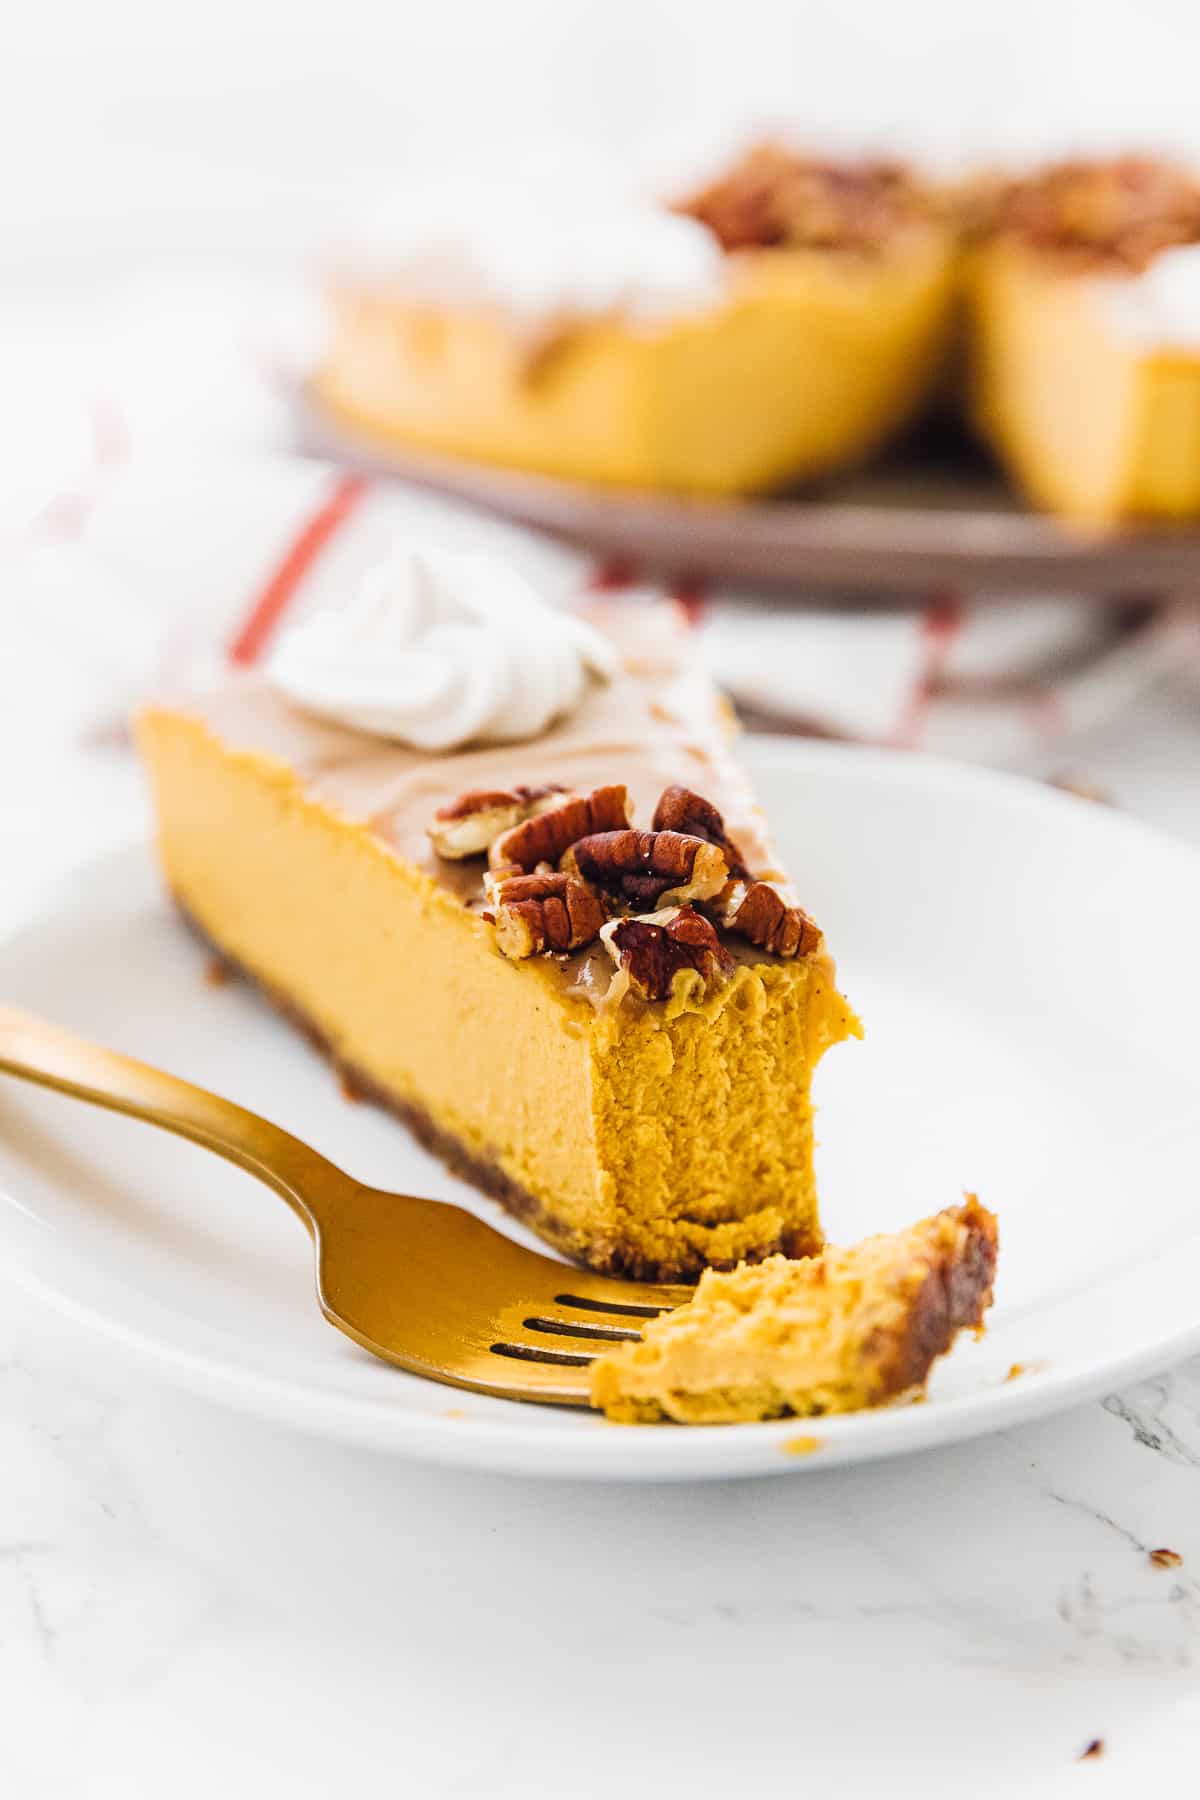
It’s not exactly a secret that I love vegan desserts. And I love a good cheesecake. But unfortunately, a lot of vegan cheesecakes are disappointing and don’t really resemble cheesecake at all. That’s not the case with this vegan pumpkin cheesecake. It’s rich, creamy, thick, indulgent, and doesn’t melt or fall apart.
Once autumn approaches I start making tons of pumpkin treats (I’m currently obsessed with Vegan Pumpkin Sheet Cake). The earthy and comforting pumpkin flavor really shines through in this cheesecake and works so well with the sweet dates and hearty pecans. You’ve got to give this easy pumpkin cheesecake recipe a try!
Why You’ll Love This Pumpkin Cheesecake Recipe
This rich, gluten-free, and vegan cheesecake is one of my go-to desserts, especially in the fall and winter. Here’s why you’ll love this recipe.
- Super creamy. This easy cheesecake recipe might be vegan, but you wouldn’t know it from how creamy the filling is. Loaded with rich coconut cream and blended cashews, the filling is thick, indulgent, and amazingly creamy. You’ve never had vegan cheesecake like this!
- So easy. It’s a common misconception that vegan desserts are complicated and hard to make. You’ll be shocked at how easy this vegan cheesecake recipe is. The flavors are complex, and the dessert is restaurant-quality, but it’s really quite easy to make.
- Doesn’t melt. A common issue with vegan cheesecakes is that they melt. Because they use non-dairy cream and oil, vegan cheesecakes usually don’t hold up as well as cheesecakes that are made with cream cheese. But this vegan pumpkin cheesecake recipe will hold its shape and texture for a really long time.
- Fall flavors. Everyone loves fall flavors, and this hearty and comforting pumpkin cheesecake is full of them. Not only is it loaded with pumpkin puree, but it’s also full of pumpkin pie spice, pecans, dates, vanilla, and maple syrup. It’s a cozy dessert that’s perfect for the autumn and winter months.
Notes on Ingredients
This creamy, gluten-free, and vegan pumpkin cheesecake only uses ingredients that you’re likely to already have in your fridge or pantry. Make sure to check out the recipe card at the bottom of the article for the exact amounts of each ingredient.
For the Crust:
- Dates – You want to use pitted dates, and they’ll need to soak in hot water for 10 minutes.
- Pecans – Walnuts, almonds, or macadamia nuts will also work.
For the Filling:
- Cashews – The raw cashews will need to be soaked in water overnight, in hot water for an hour, or boiled for 5 minutes.
- Lemon juice – Always use freshly squeezed juice.
- Pumpkin puree – Make sure to use unsweetened and unseasoned pumpkin puree.
- Coconut oil
- Coconut cream
- Maple syrup – Be sure to use pure maple syrup.
- Vanilla extract – Always use 100% pure extract.
- Salt
- Pumpkin pie spice
How to Make Vegan Pumpkin Cheesecake
This rich and autumnal vegan pumpkin cheesecake has complex flavors but is easy to make. Here’s how to do it.
- Blend the crust. Put the pecans in a blender, and blend until the nuts form a mealy consistency. Add the dates and pulse until the combination is well mixed, and sticky.
- Form the crust. Line a 10-inch cheesecake pan with parchment paper, and press the crust mixture into the bottom of it. Place the crust in the freezer while you make the filling.
- Make the filling. Add all of the ingredients for the filling into a blender. Blend for about 4 minutes, until the mixture is smooth, creamy, and not at all grainy. Scrape down, and blend for 1 more minute.
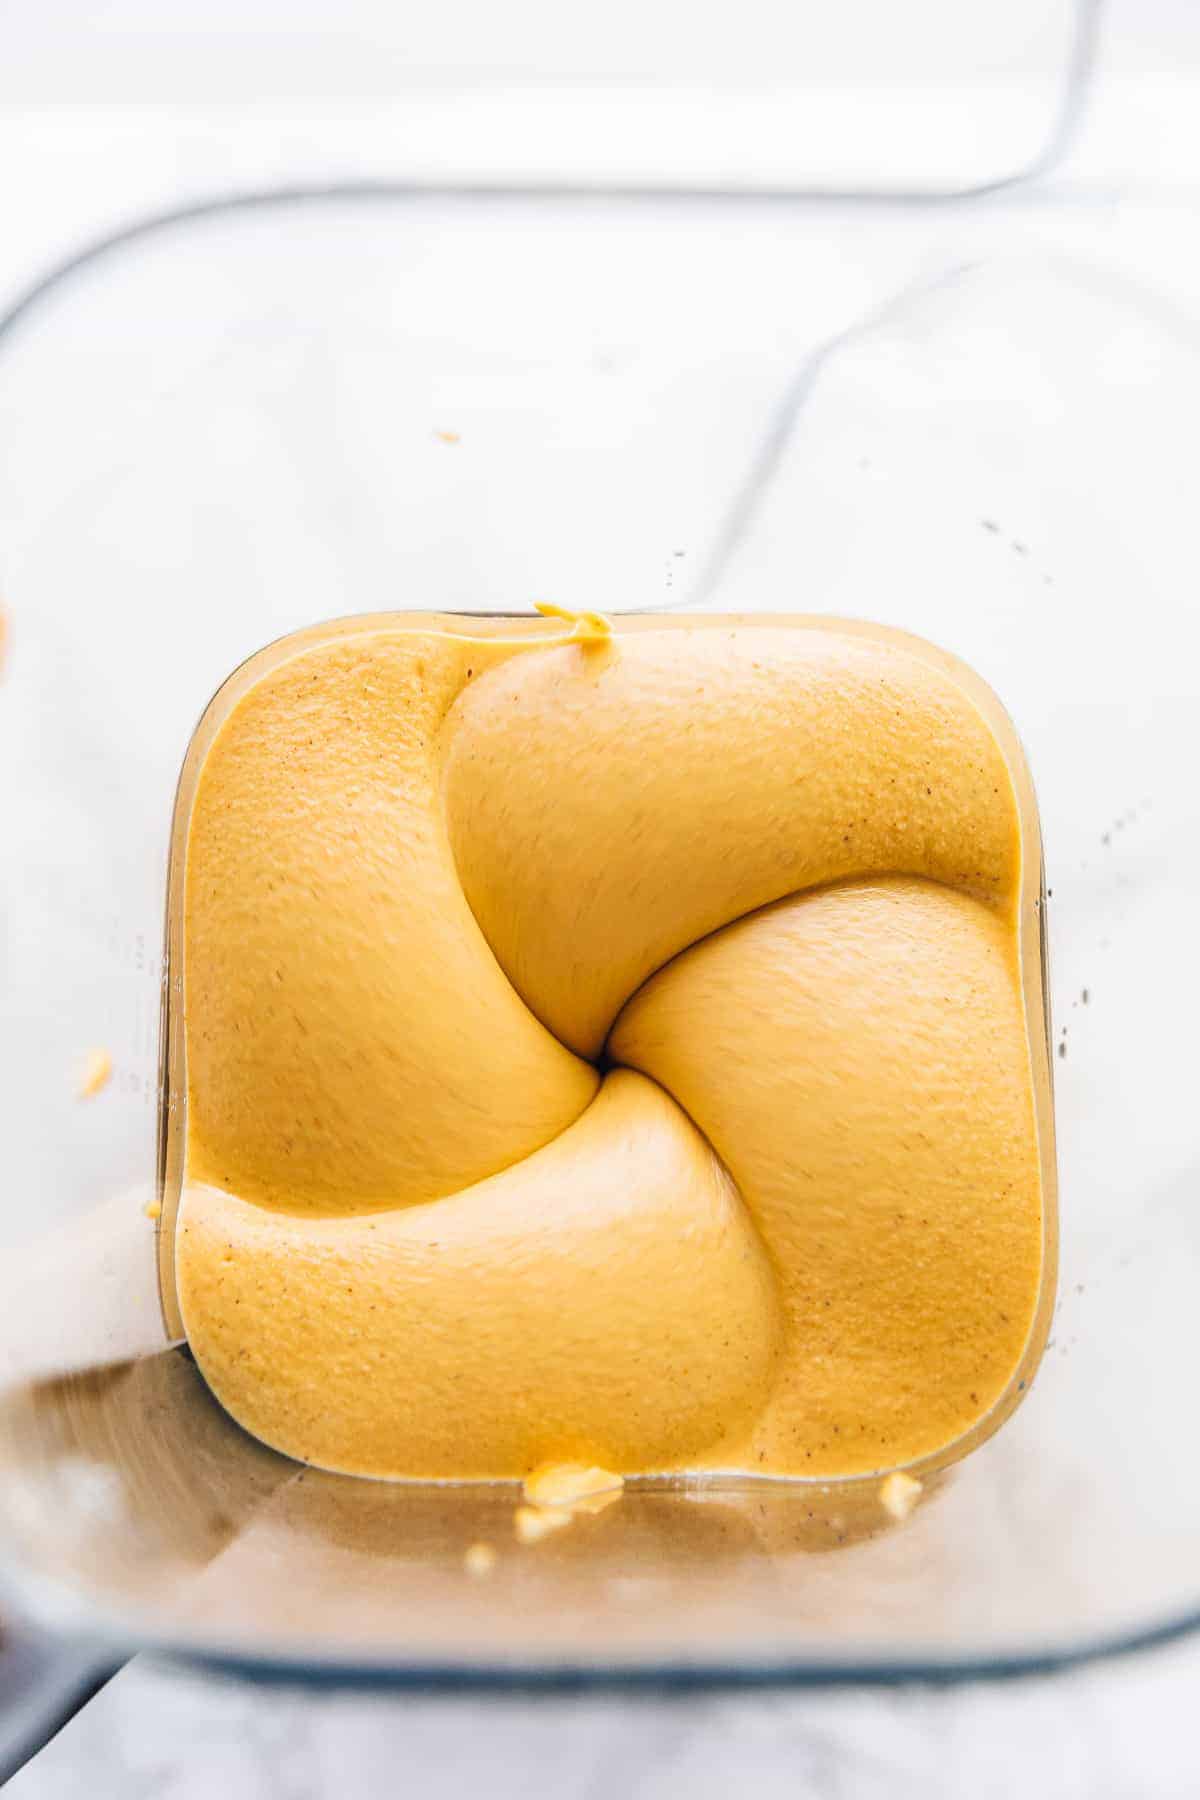
- Assemble. Pour the cheesecake filling into the crust, and smooth the top.
- Freeze. Put the vegan pumpkin cheesecake in the freezer, and let it sit overnight.
- Serve. Remove the cheesecake from the freezer 15-20 minutes before serving. Let it sit at room temperature, then serve it with any toppings that you like.
Tips for Success
Here are a few of my favorite tricks and tips for making this rich and creamy vegan pumpkin cheesecake.
- Make your own puree. You can use pumpkin puree that you buy at the store, and this recipe will still be delicious. But it will have a much stronger, richer, and more intense flavor if you make your own pumpkin puree. My Homemade Pumpkin Puree recipe is simple, easy, and so much better than anything you’ll find at the store.
- Thoroughly blend the filling. Don’t be shy when using the blender in this recipe. This vegan pumpkin cheesecake is great in part because of how smooth and creamy it is, so make sure to blend it for as long as is necessary to get the filling to the perfect consistency.
- Solidify the coconut oil. Coconut oil is usually solid, but if you live someplace hot, it might melt and become liquid. It’s important to use solid coconut oil for this gluten-free cheesecake recipe, so if your coconut oil is in liquid form, just throw it in the fridge for 15 minutes.
- Make your own coconut cream. You can buy coconut cream for this recipe, but it’s not always easy to find. If you don’t have coconut cream, you can just make your own with coconut milk. To make coconut cream, place a can of coconut milk in the fridge overnight. Then open the can, and empty out the contents. The coconut milk will be separated into a solid and a liquid. The solids are coconut cream, so use them for the recipe. The liquid is coconut water, so drink it or use it in a different recipe.
- Adjust the size. I use a 10-inch cheesecake pan when making this recipe, but you can use a 9 or 8-inch pan. If you don’t have a cheesecake pan that big, either cut the recipe in half or make individual portions in ramekins.
What to Serve With This No-Bake Pumpkin Cheesecake
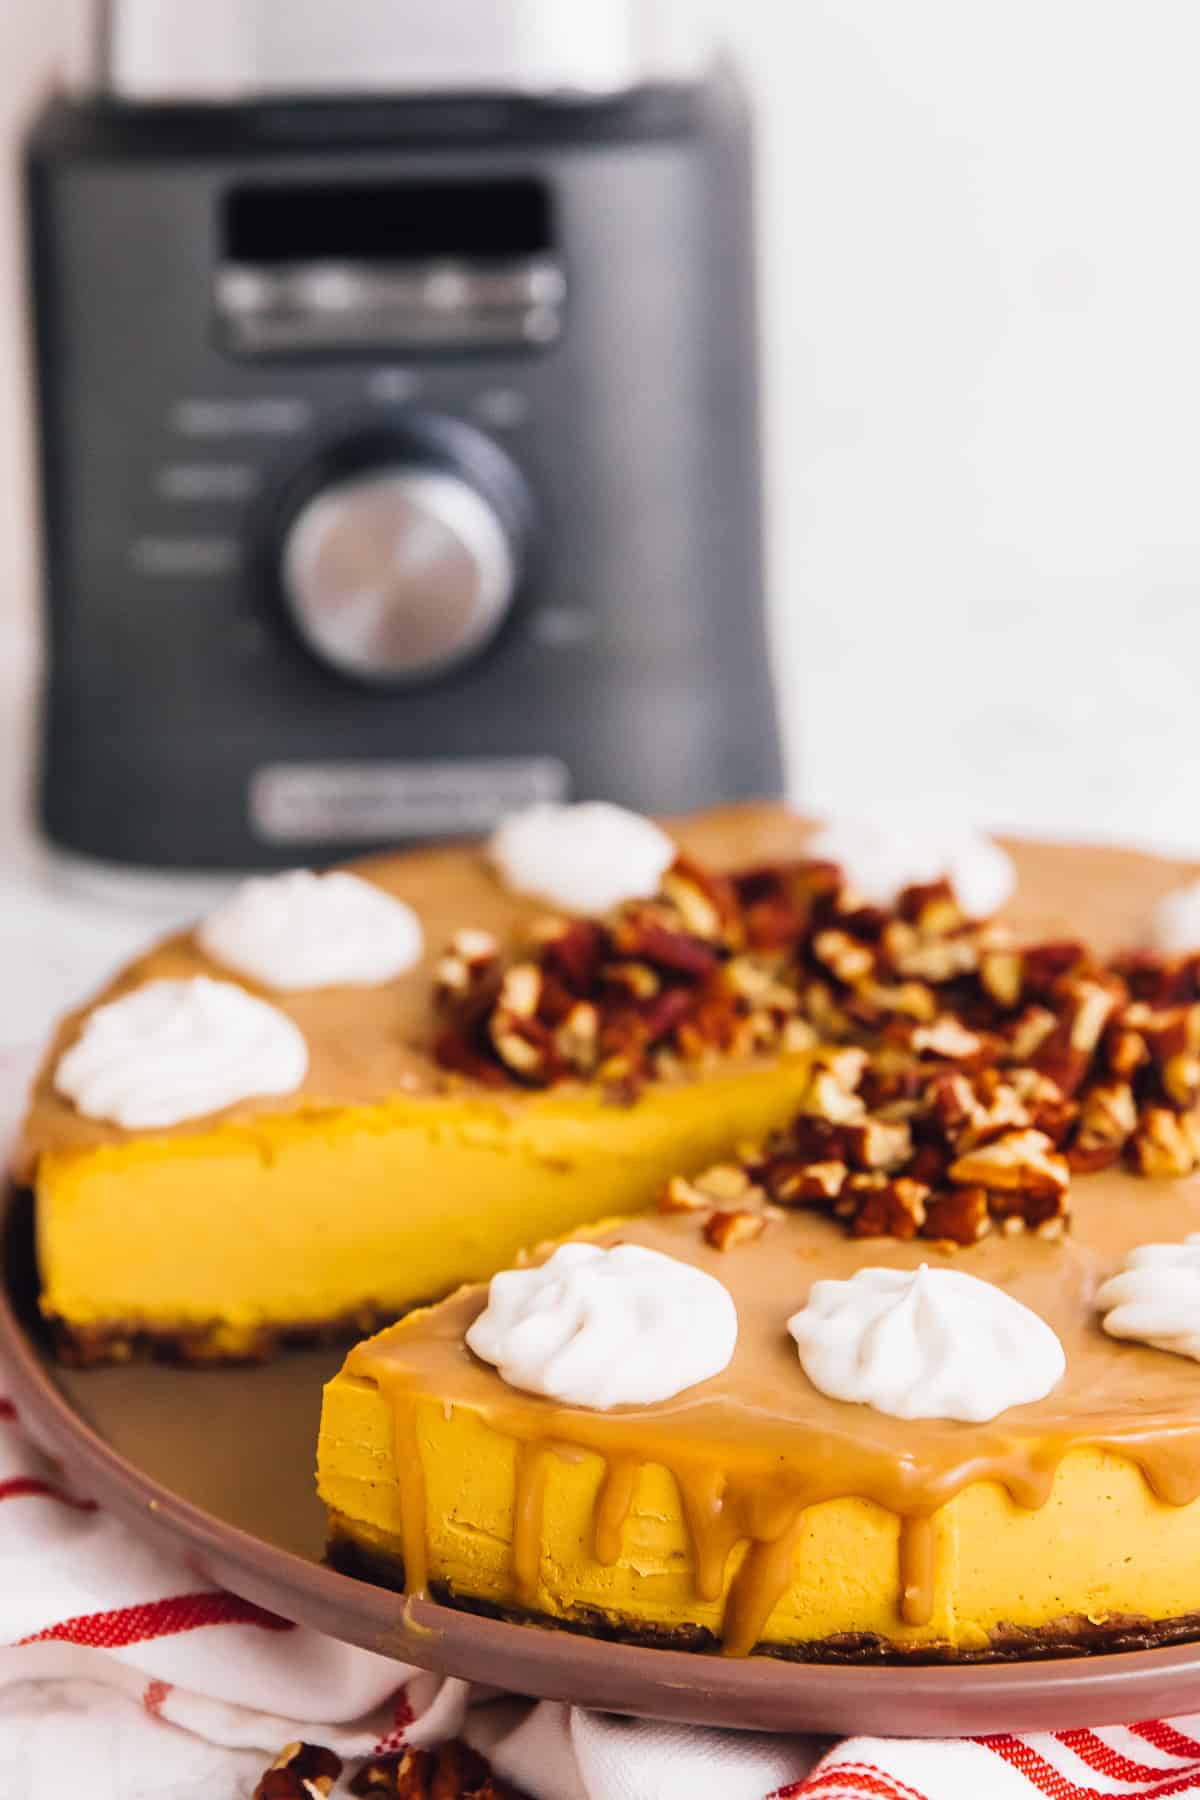
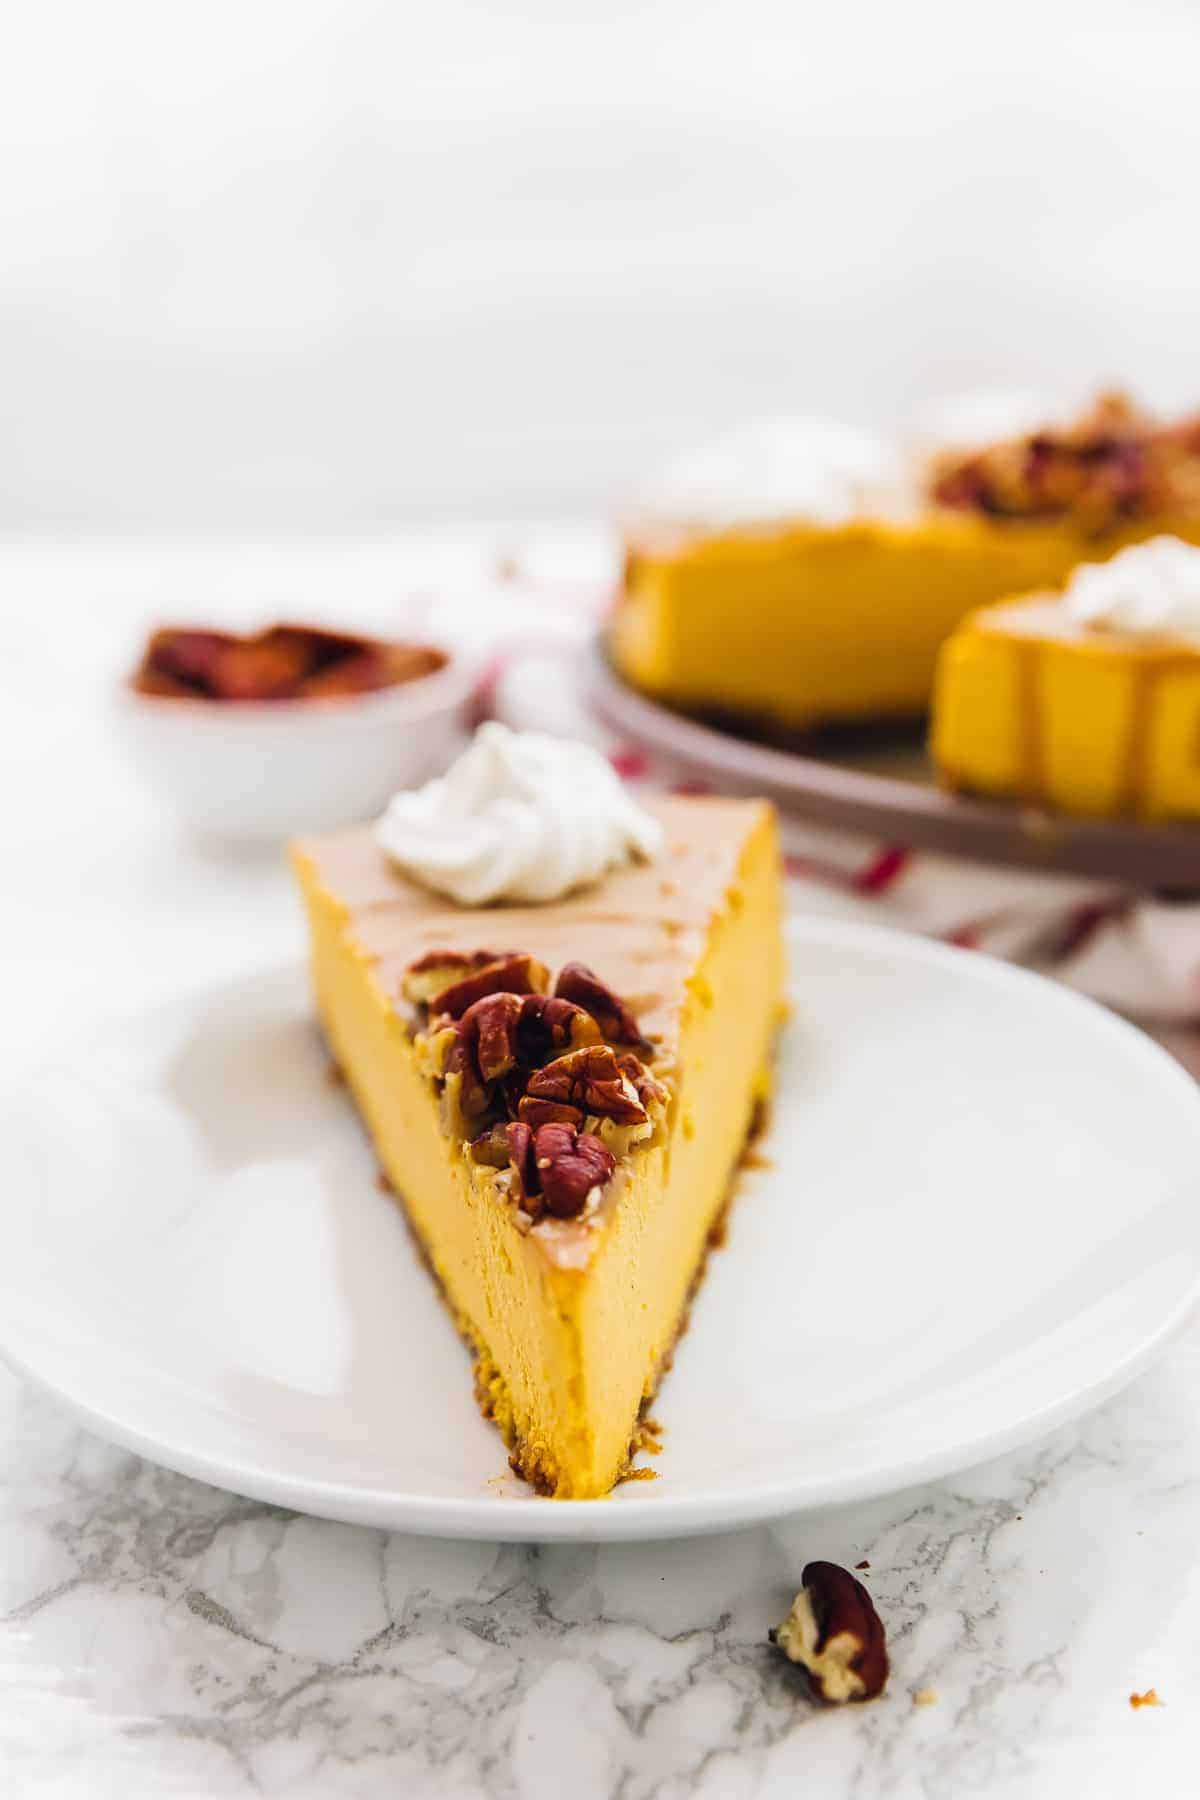
Vegan cashew and pumpkin cheesecake is such a comforting, rich, and autumnal dessert. I like to top it with whipped cream, toasted nuts, and Easy Vegan Caramel Sauce, and serve alongside some of my favorite drinks. Here are a few drinks that go so well with this thick and creamy pumpkin cheesecake.
How to Store Leftovers
To keep this vegan pumpkin cheesecake thick and creamy, it’s best to store it in the freezer. Wrap the cake in plastic wrap or store it in an airtight container, and it will last in the freezer for up to 4 months. Just remove it from the freezer 15 minutes before serving, and you’ll have a perfect pumpkin dessert anytime you need one.
More Easy Vegan Desserts
Vegan desserts don’t need to be complicated or difficult to make. Here are a few of my other favorite vegan dessert recipes to try making.
- Vegan Tiramisu
- Vegan Banana Pudding
- Vegan Coconut Cake
- Vegan Caramel Popcorn
- Vegan Puff Pastry Palmiers
- Vegan Chocolate Cake
Vegan Pumpkin Cheesecake
Ingredients
For the Crust:
- 1 cup pitted dates, soaked in hot water for 10 minutes, then drained
- 1 cup raw pecans or walnuts, you can substitute with almonds or macadamia nuts
Pumpkin Cheesecake
- 4 cups raw cashews, soaked overnight or in hot water for one hour, then drained, OR just easily boiled for 5 minutes*
- ¼ cup lemon juice
- 1 cup pumpkin puree
- ⅔ + ¼ cup coconut oil, solidified
- 1 ¼ cups coconut cream
- 1 cup maple syrup
- 2 teaspoons vanilla extract
- ½ teaspoon sea salt
- 2 teaspoons pumpkin pie spice
Instructions
- Put the pecans or walnuts in a blender, and blend until they turn into a mealy consistency.
- Add the warm dates to the blender and pulse until the nuts and dates are blended together. Use a spatula to scrape down the sides of the blender. The mixture should be slightly sticky.
- Press the mixture into the bottom of a 10-inch cheesecake pan that's lined with parchment paper. Place in the freezer while you make the filling.
- Put all of the cheesecake filling ingredients into the blender, and blend until entirely smooth and creamy. This should take about 4 minutes.
- Use a rubber spatula to scrape down the sides of the blender, and blend again for 1 minute. The mixture should not be grainy at all.
- Pour the cheesecake mixture over the crust in the cheesecake pan, and smooth the top.
- Place the pumpkin cheesecake in the freezer overnight.
- Remove the cheesecake from the freezer 15-20 minutes before you plan on eating it.
Notes
- If you don’t have a 10-inch pan, you can use an 8 or 9-inch pan. If you only have pans smaller than that, you can cut the recipe in half, or make the cheesecake in individual ramekins.
- You can make coconut cream out of coconut milk by placing the milk in the fridge overnight. Empty the cans into a bowl, and use the solids for the recipe. The liquid is coconut water, so you can drink it or use it in a different recipe.
- If your coconut oil is not solidified, place it in the fridge for 15 minutes before using it.
Disclaimer: Although jessicainthekitchen.com attempts to provide accurate nutritional information, kindly note that these are only estimates. Nutritional information may be affected based on the product type, the brand that was purchased, and in other unforeseeable ways. Jessicainthekitchen.com will not be held liable for any loss or damage resulting for your reliance on nutritional information. If you need to follow a specific caloric regimen, please consult your doctor first.


That was a delectable, healthy rich Vegan Pumpkin Cheesecake. Very appetizing.
New to being a vegan. I love your site. Thank you.
I feel better after two weeks. Definitely a convert…
Thank you so much Jean Ann!! Aww I’m sooo happy to hear that!!
how do you make the salted Caramel topping?
Hey Eileen – I can’t believe I didn’t include the link! https://jessicainthekitchen.com/vegan-caramel-sauce/
This came out so delicious. So excited to find a vegan version to make that tastes so good. Even my non vegan co workers enjoyed every bite. This is now part of our Thanksgiving Holiday meal.
Hi Shannon Marie,
SO happy to hear this so much!! Thanks for sharing!
Hello 🙂
How do I make the pumpkin purée?
Thank youuu
Hi Joana! Thank you so much for reading! Here is a step by step guide on how to make it. I hope this helps! https://jessicainthekitchen.com/how-to-make-pumpkin-puree/
I made this for the first time last year at Thanksgiving & it was a huge hit with my family! The cheesecake AND the caramel topping are incredible!!! So yummy & perfect for fall & all pumpkin lovers!!!!!
Hi Angelica! Thank you so much for making this recipe! Wow we feel so amazing that you were able to share this with your family on thanksgiving! We hope you have a great day!
This recipe sounds amazing, but I’m sensitive to coconut. Do you think it would work with another oil, and by replacing the coconut cream with cashew cream?
Hi Brittany! You would need to use an oil that can harden in the fridge, else the cheesecake won’t harden up in the freezer and might be kind of melty. I hope that helps! Also, haven’t tried cashew cream to replace coconut cream, but it should work!
Hi Brittany,
Just wondering if you made this with the cashew cream and how it turned out?
Just discovered your site – looks so good. So haven’t made Pumpkin Cheesecake yet. My questions: you evidently made your own puree; Is storebought OK? And whem you refer to cheesecake pan, are we talking about a springform
Hey Robin – thanks! Yes for sure you can use store-bought. Yes, springform pan, or even the push bottom pan! Hope you enjoy!!
all your meals look and I bet taste FANTABULOUS!
Thank you soo much!!!
Hello from England. We are having a family get together (17 of us) in just over a week and one of the family is vegan and I am gluten free and I am very interested in your recipes, looking for easy and quick vegan/GF desserts. This pumpkin cheesecake one looks delicious and fairly simply but pumpkin purée isn’t something we have on our shelves in the supermarket and, indeed, we don’t have pumpkins except at Halloween. Do you think I could bake butternut squash and make a purée of that instead to use for this recipe? Thank you. Linda
Hi Linda,
Thanks for reaching out and I hope that your get together goes so well!!
Yes you can definitely use butternut squash instead! Bake it the same way (I have a how to make pumpkin puree blog post: https://jessicainthekitchen.com/how-to-make-pumpkin-puree/ and then if it’s a more water butternut squash, just strain off that extra liquid in a strainer/sieve. I hope that helps and enjoy so much!!
P.S. I hope you LOVE this pumpkin cheesecake! I gave the cheesecake to my MIL who brought it to her office and her coworkers began “demanding” haha that I make orders for it lol! I hope you and your guests have the same experience (with kind polite demands too haha).
Dear Jessica, thank you for your reply, the useful information and the links. Brilliant. Fingers crossed!