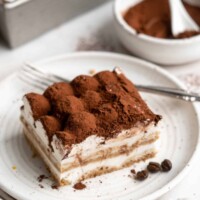
Vegan Tiramisu
This vegan tiramisu is rich and creamy, despite not having any dairy products in it! It’s fun to make and is an absolute showstopper dessert. Using foolproof homemade ladyfingers and a spot on vegan mascarpone mix, this plant-based dessert will impress everyone!

Tiramisu is a wonderful dessert for a few reasons. Not only is it creamy, fluffy, and packed with flavor, but it’s also beautiful. A homemade tiramisu is sure to impress anyone you serve it to.
Most tiramisus use a lot of dairy and eggs, but this vegan tiramisu recipe doesn’t need it. With aquafaba, vegan yogurt, and coconut milk, this plant-based dessert is just as rich as the traditional version. Add in the earthy flavor of espresso, and homemade vegan ladyfingers, and you have a nearly perfect dessert.
Plus, it’s a lot of fun to make!

Notes on Ingredients
Make sure to check out the recipe card at the bottom of the page to see the specific quantities for each ingredient.
For the Ladyfingers aka Savoiardi:
- All-purpose flour
- Cornstarch – adds a beautiful texture to the lady fingers as well as structure
- Sea salt
- Baking powder
- Aquafaba – this will replace the egg whites usually found in tiramisu (explained below)
- Cream of tartar – helps to stabilise the whipped aquafaba
- Powdered sugar – blends beautifully into the aquafaba
- Vanilla extract – Make sure to use vanilla extract that is 100% pure extract.
- Vegan butter
Mascarpone and Creamy Filling Mix:
- Full-fat coconut milk or coconut cream – It’s important that the coconut milk or cream be chilled before using it. This allows the creamy mascarpone to hold its texture.
- Vegan cream cheese – regular tiramisu uses mascarpone which is a soft Italian cream cheese. So we’re using vegan cream cheese here, known for being light and soft like a spread!
- Salt
- Powdered sugar
- Dairy-free yogurt – I tested this with vegan Greek yogurt which worked best for me, but a plain full-fat dairy-free yogurt also works
- Vanilla extract – adds a boost of flavour
For the Assembly:
- Brewed espresso – If you don’t have espresso you can use very strong coffee.
- Cocoa powder – for dusting on top
What is Aquafaba?
Aquafaba is the liquid that comes in a can of chickpeas (also known as garbanzo beans). It’s a viscous liquid that is popular in vegan cooking, because it has many of the same properties as egg whites. Aquafaba can be whipped to create a meringue, and is often added to plant-based desserts to make them lighter and fluffier. It’s important to use aquafaba from a can of unsalted chickpeas, so be sure to look for a can that says “no salt”. The key to a great aquafaba is using a clean and dry bowl.
How to Make Vegan Tiramisu
This recipe has a lot of steps, but don’t worry … it’s pretty straightforward to make!
Prep the vegan mascarpone and creamy filling.
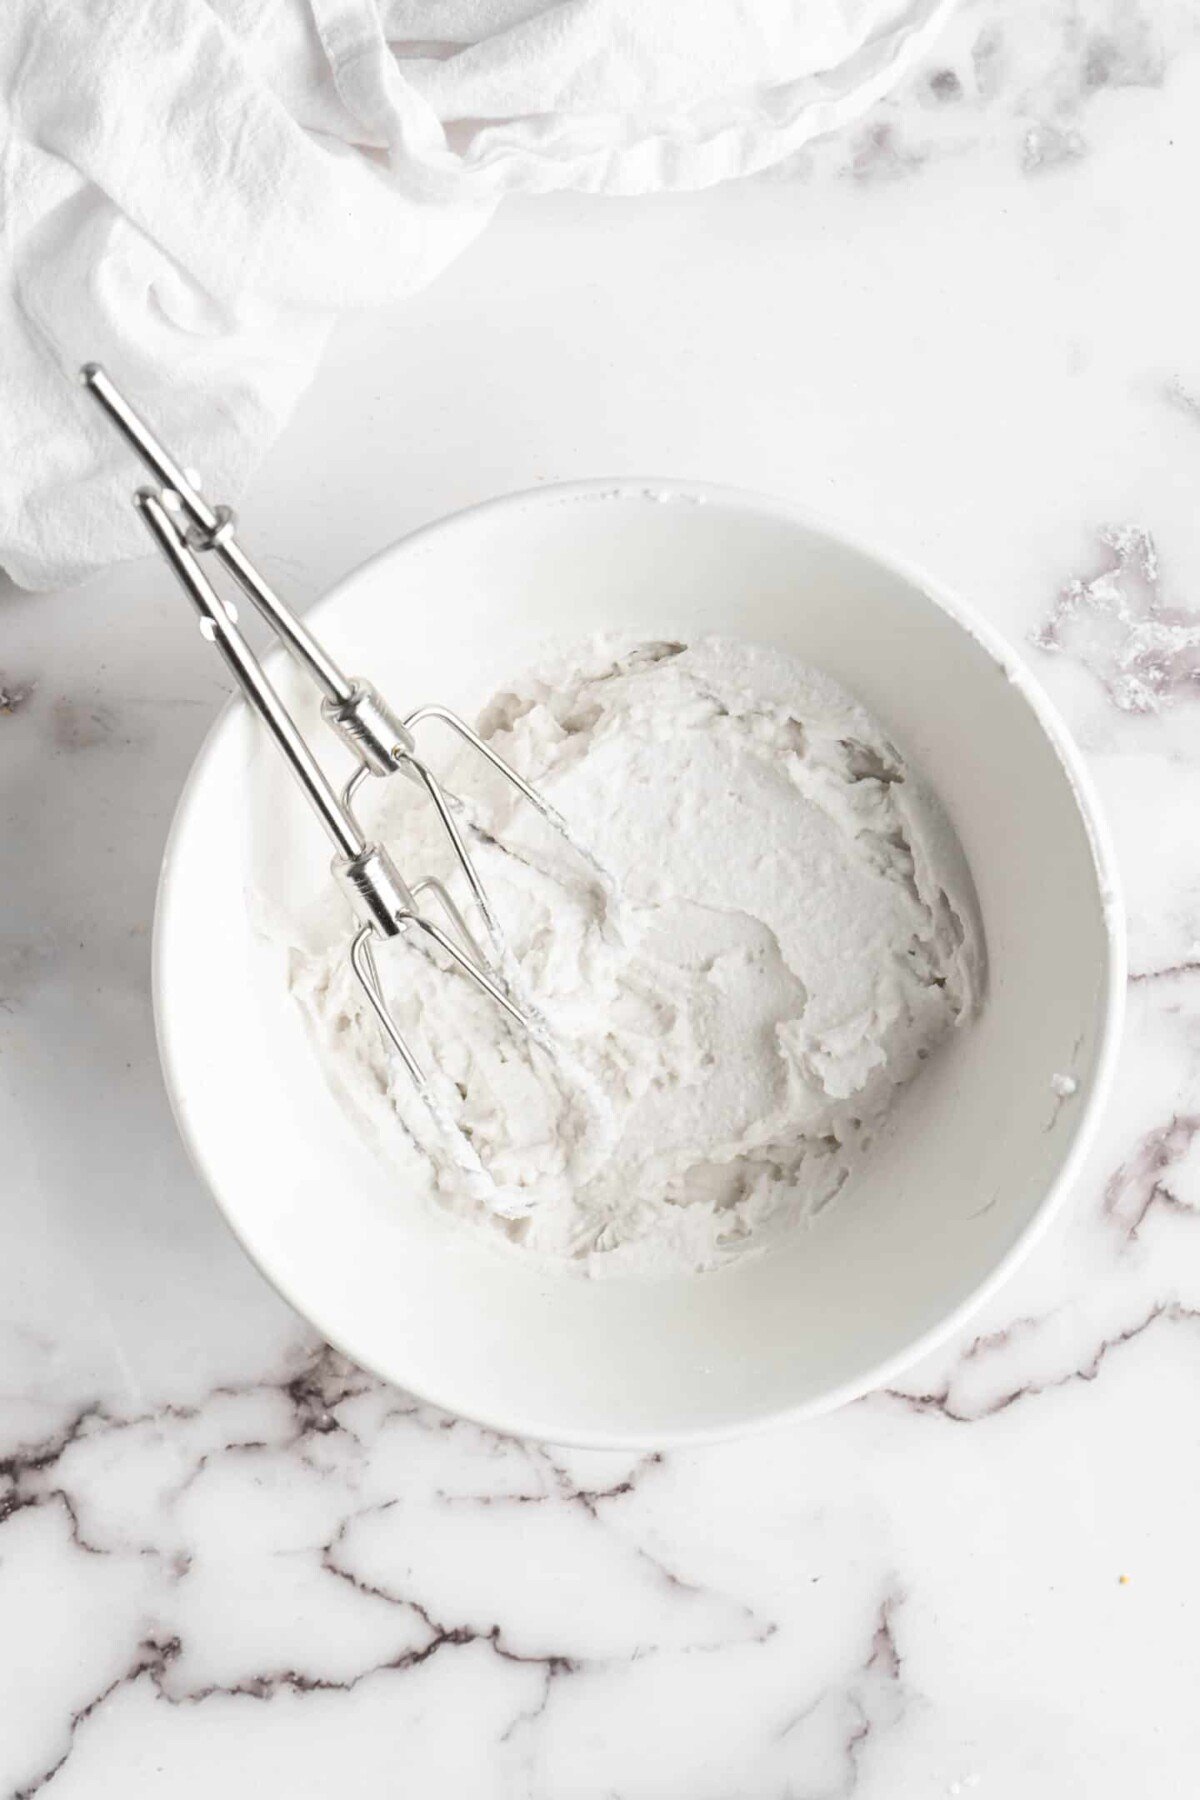
First the coconut milk. Scrape the solid part of the coconut milk or coconut cream from the top of the can into the bowl of a stand mixer. Do this with both cans. Whip it until it is fluffy, add in the tapioca flour if needed to help stabilise it more (optional) then add the sugar and salt and whip until combined.
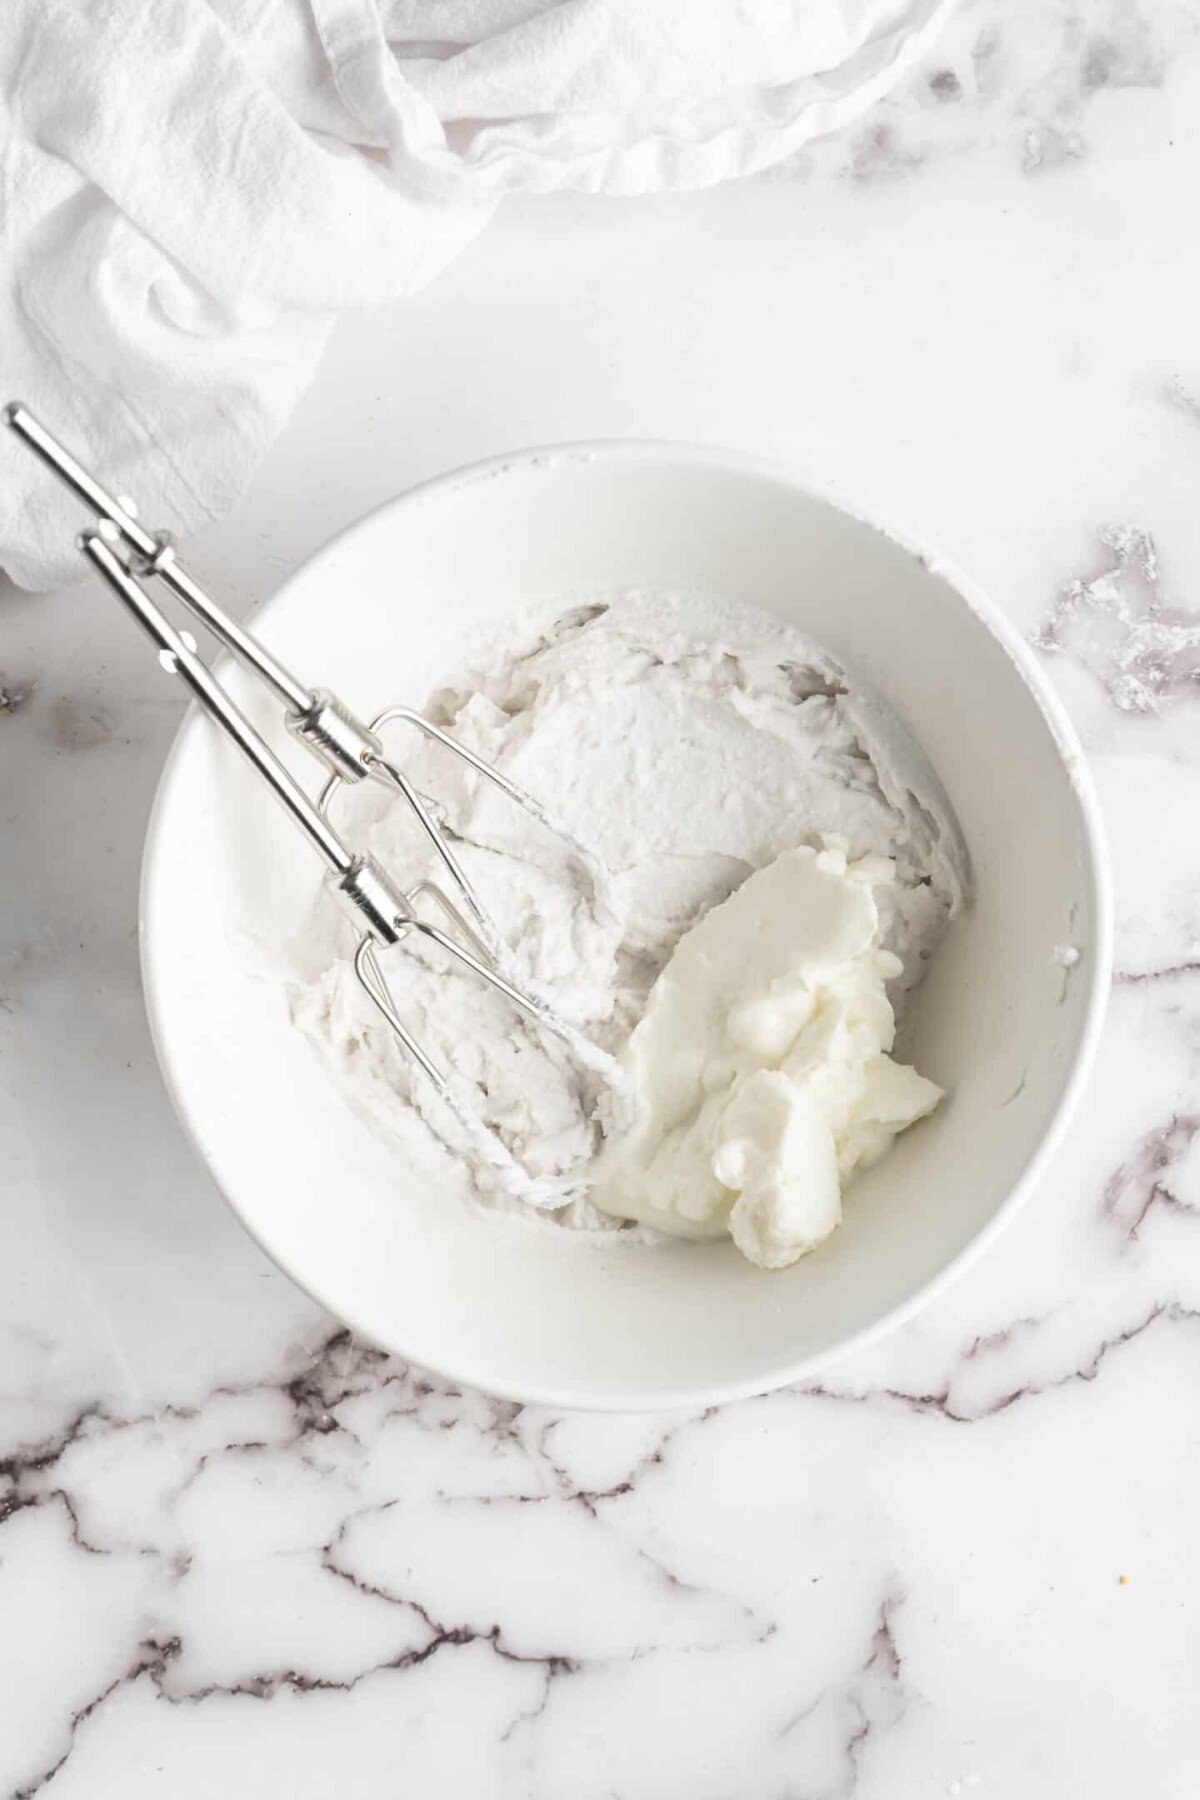
In a separate food processor or blender or bowl (I like mine as smooth as possible so I used a food processor), whip together the vegan cream cheese and yogurt until smooth and combined. Add this mix into the whipped coconut milk and fold/mix together until everything is combined. Cover the mixture and put it in the fridge until needed. I like to do this step first so it’s all incorporated and chilled by the time I need it when assembling the ladyfingers.
Make the ladyfingers. Preheat the oven to 350°F/180°C, and line two baking sheets with parchment paper. If you have only one baking sheet, that’s also fine, you can reuse the same one once the first set of lady fingers is done.
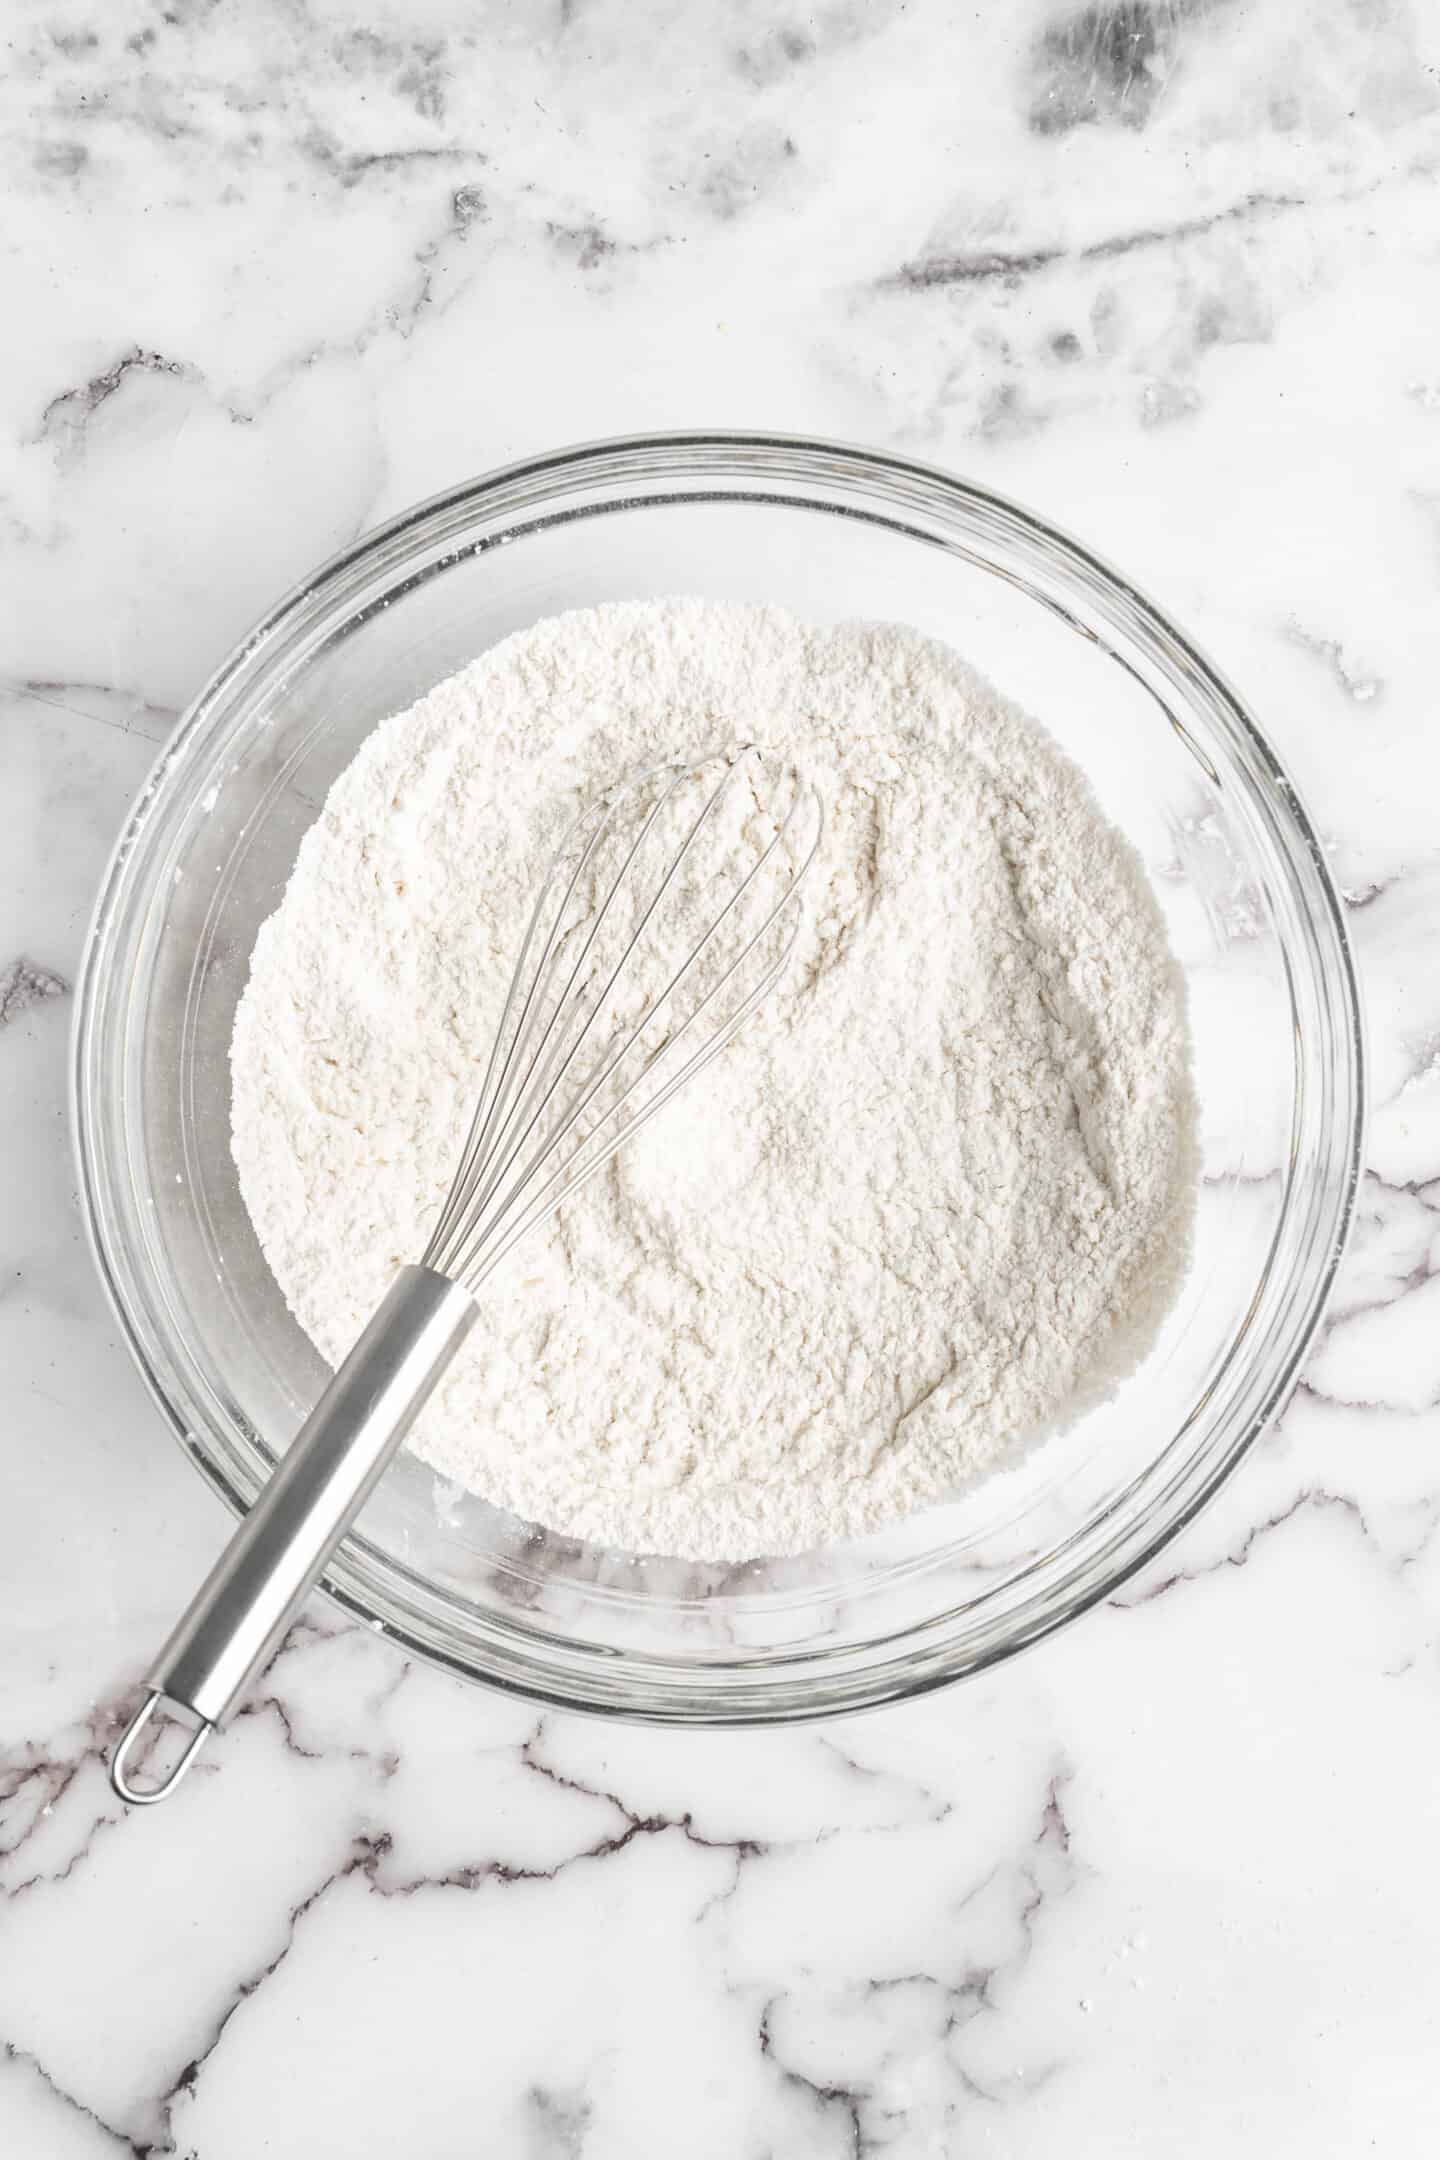
Mix dry ingredients. Sift the flour, baking powder, cornstarch, and salt into a mixing bowl, and stir together. Set aside.
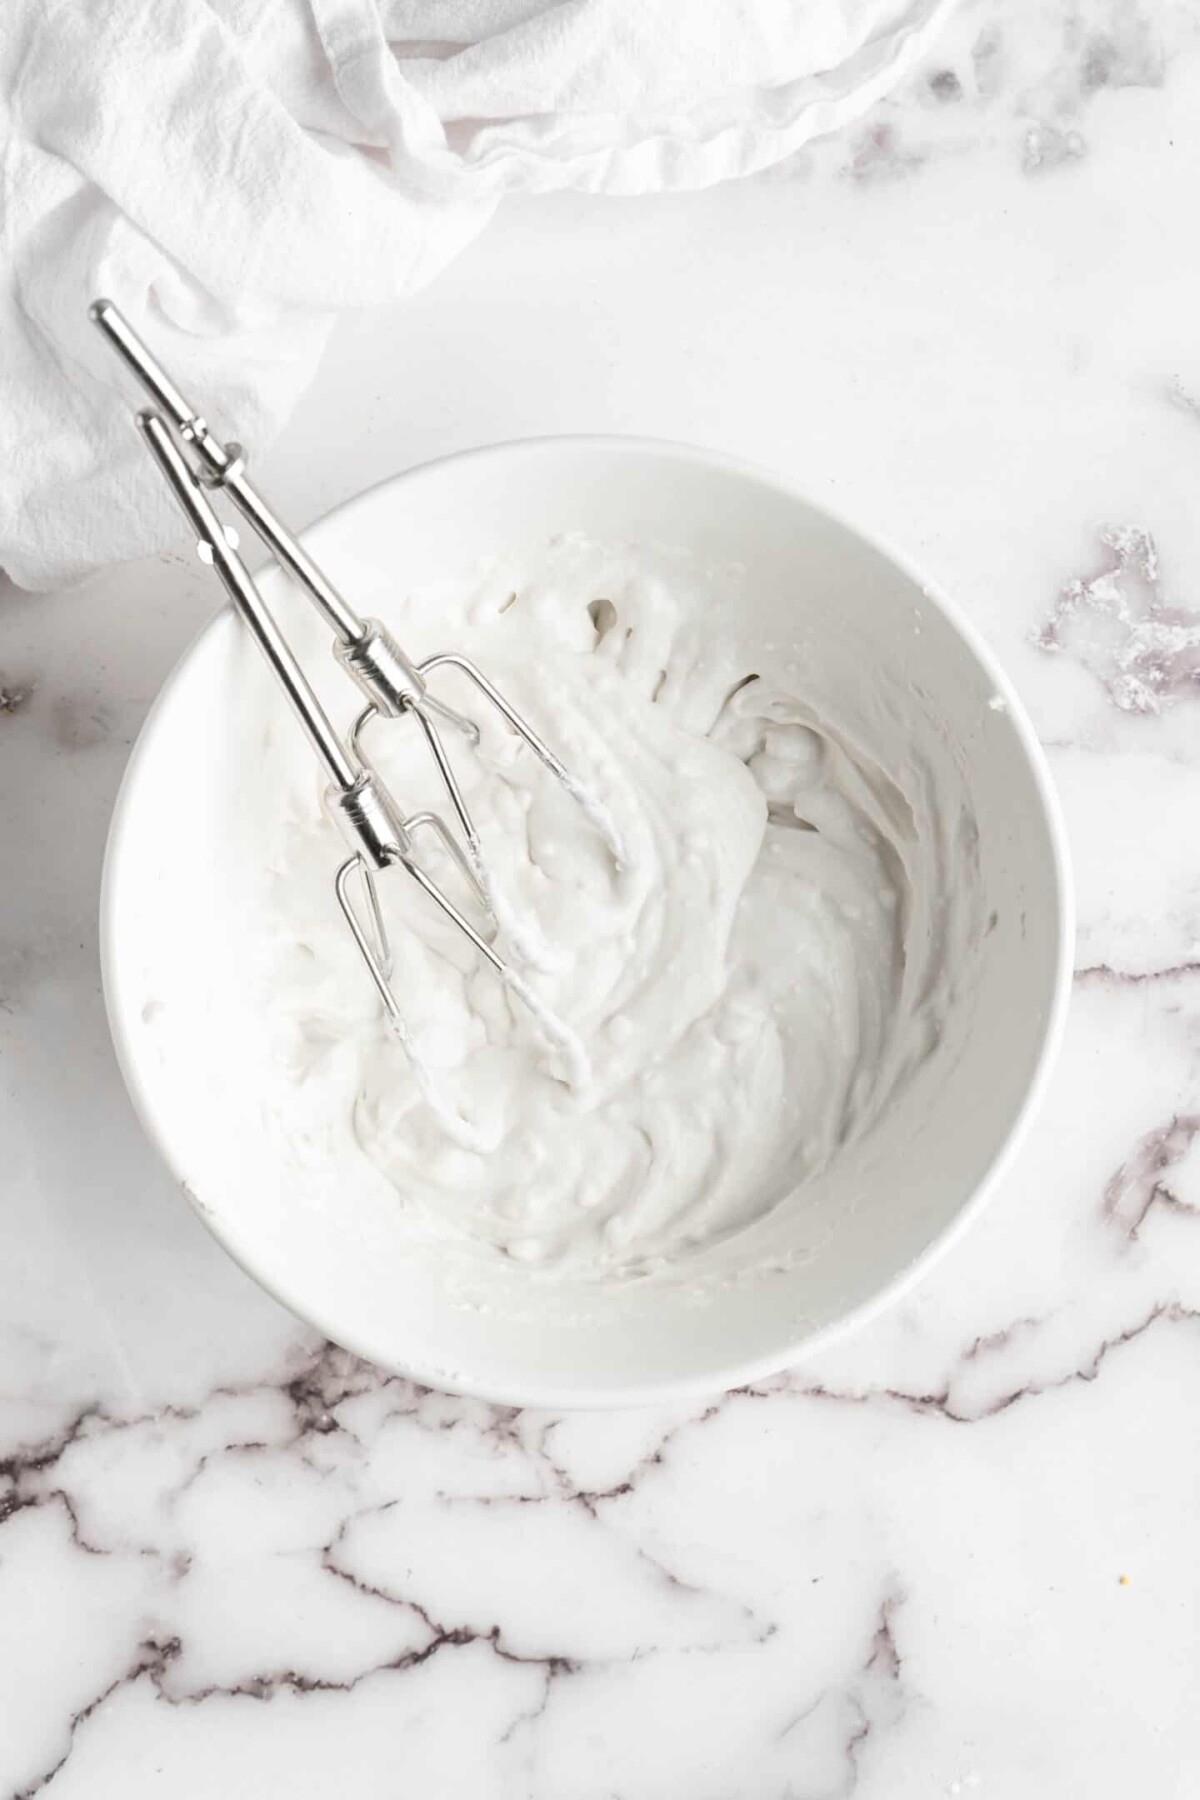
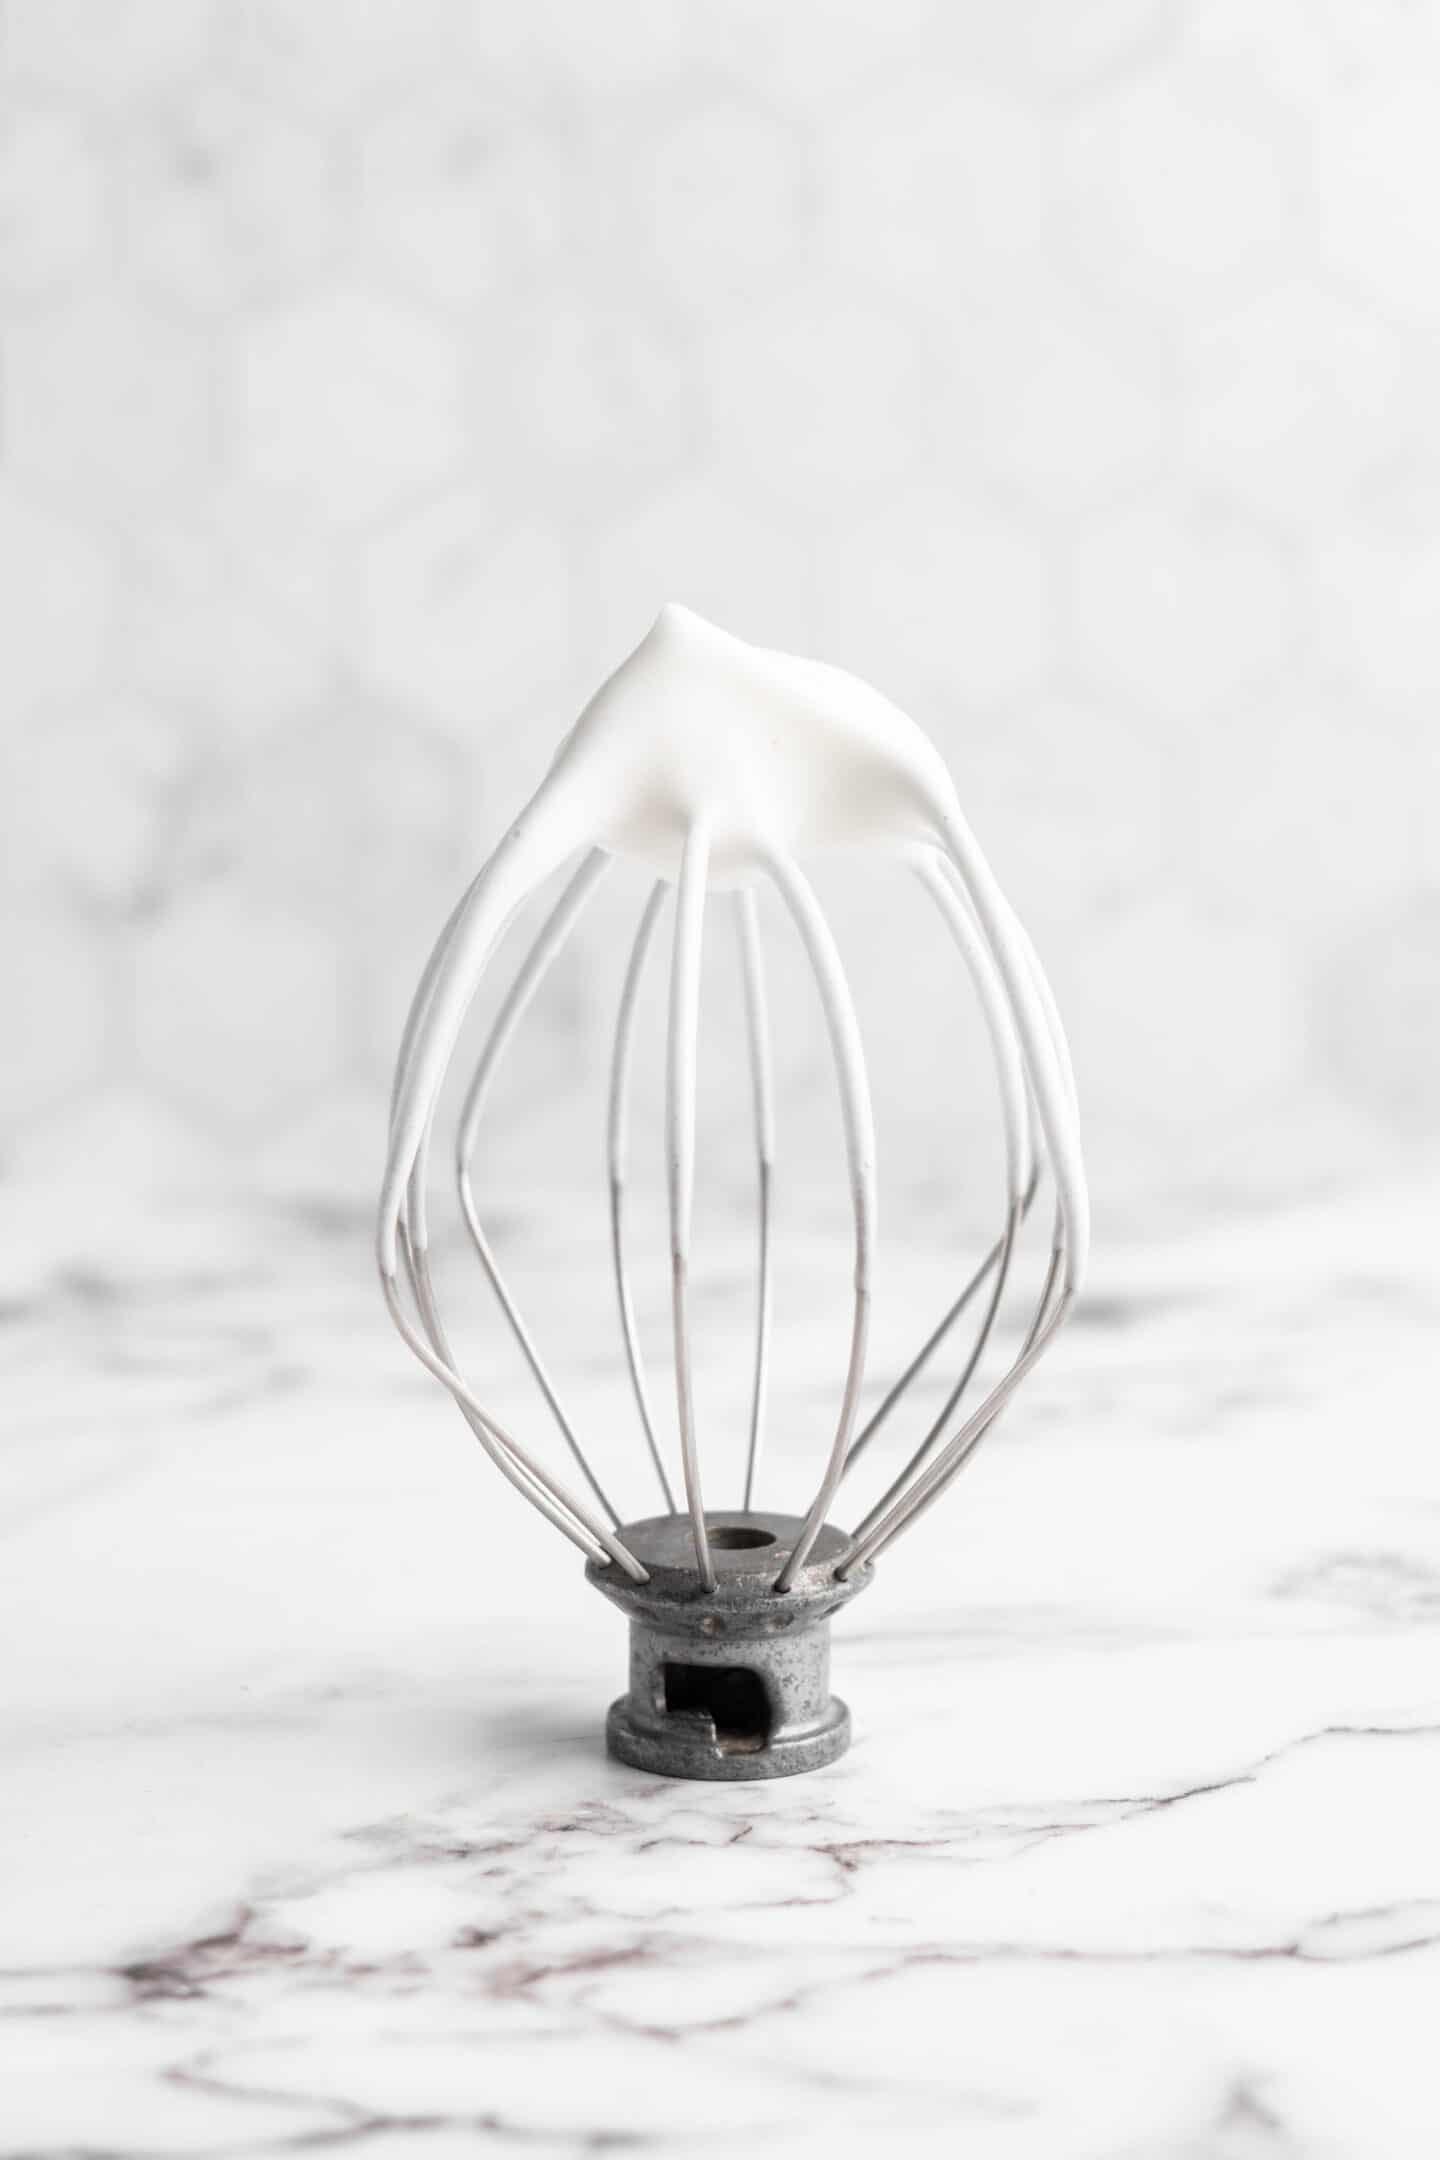
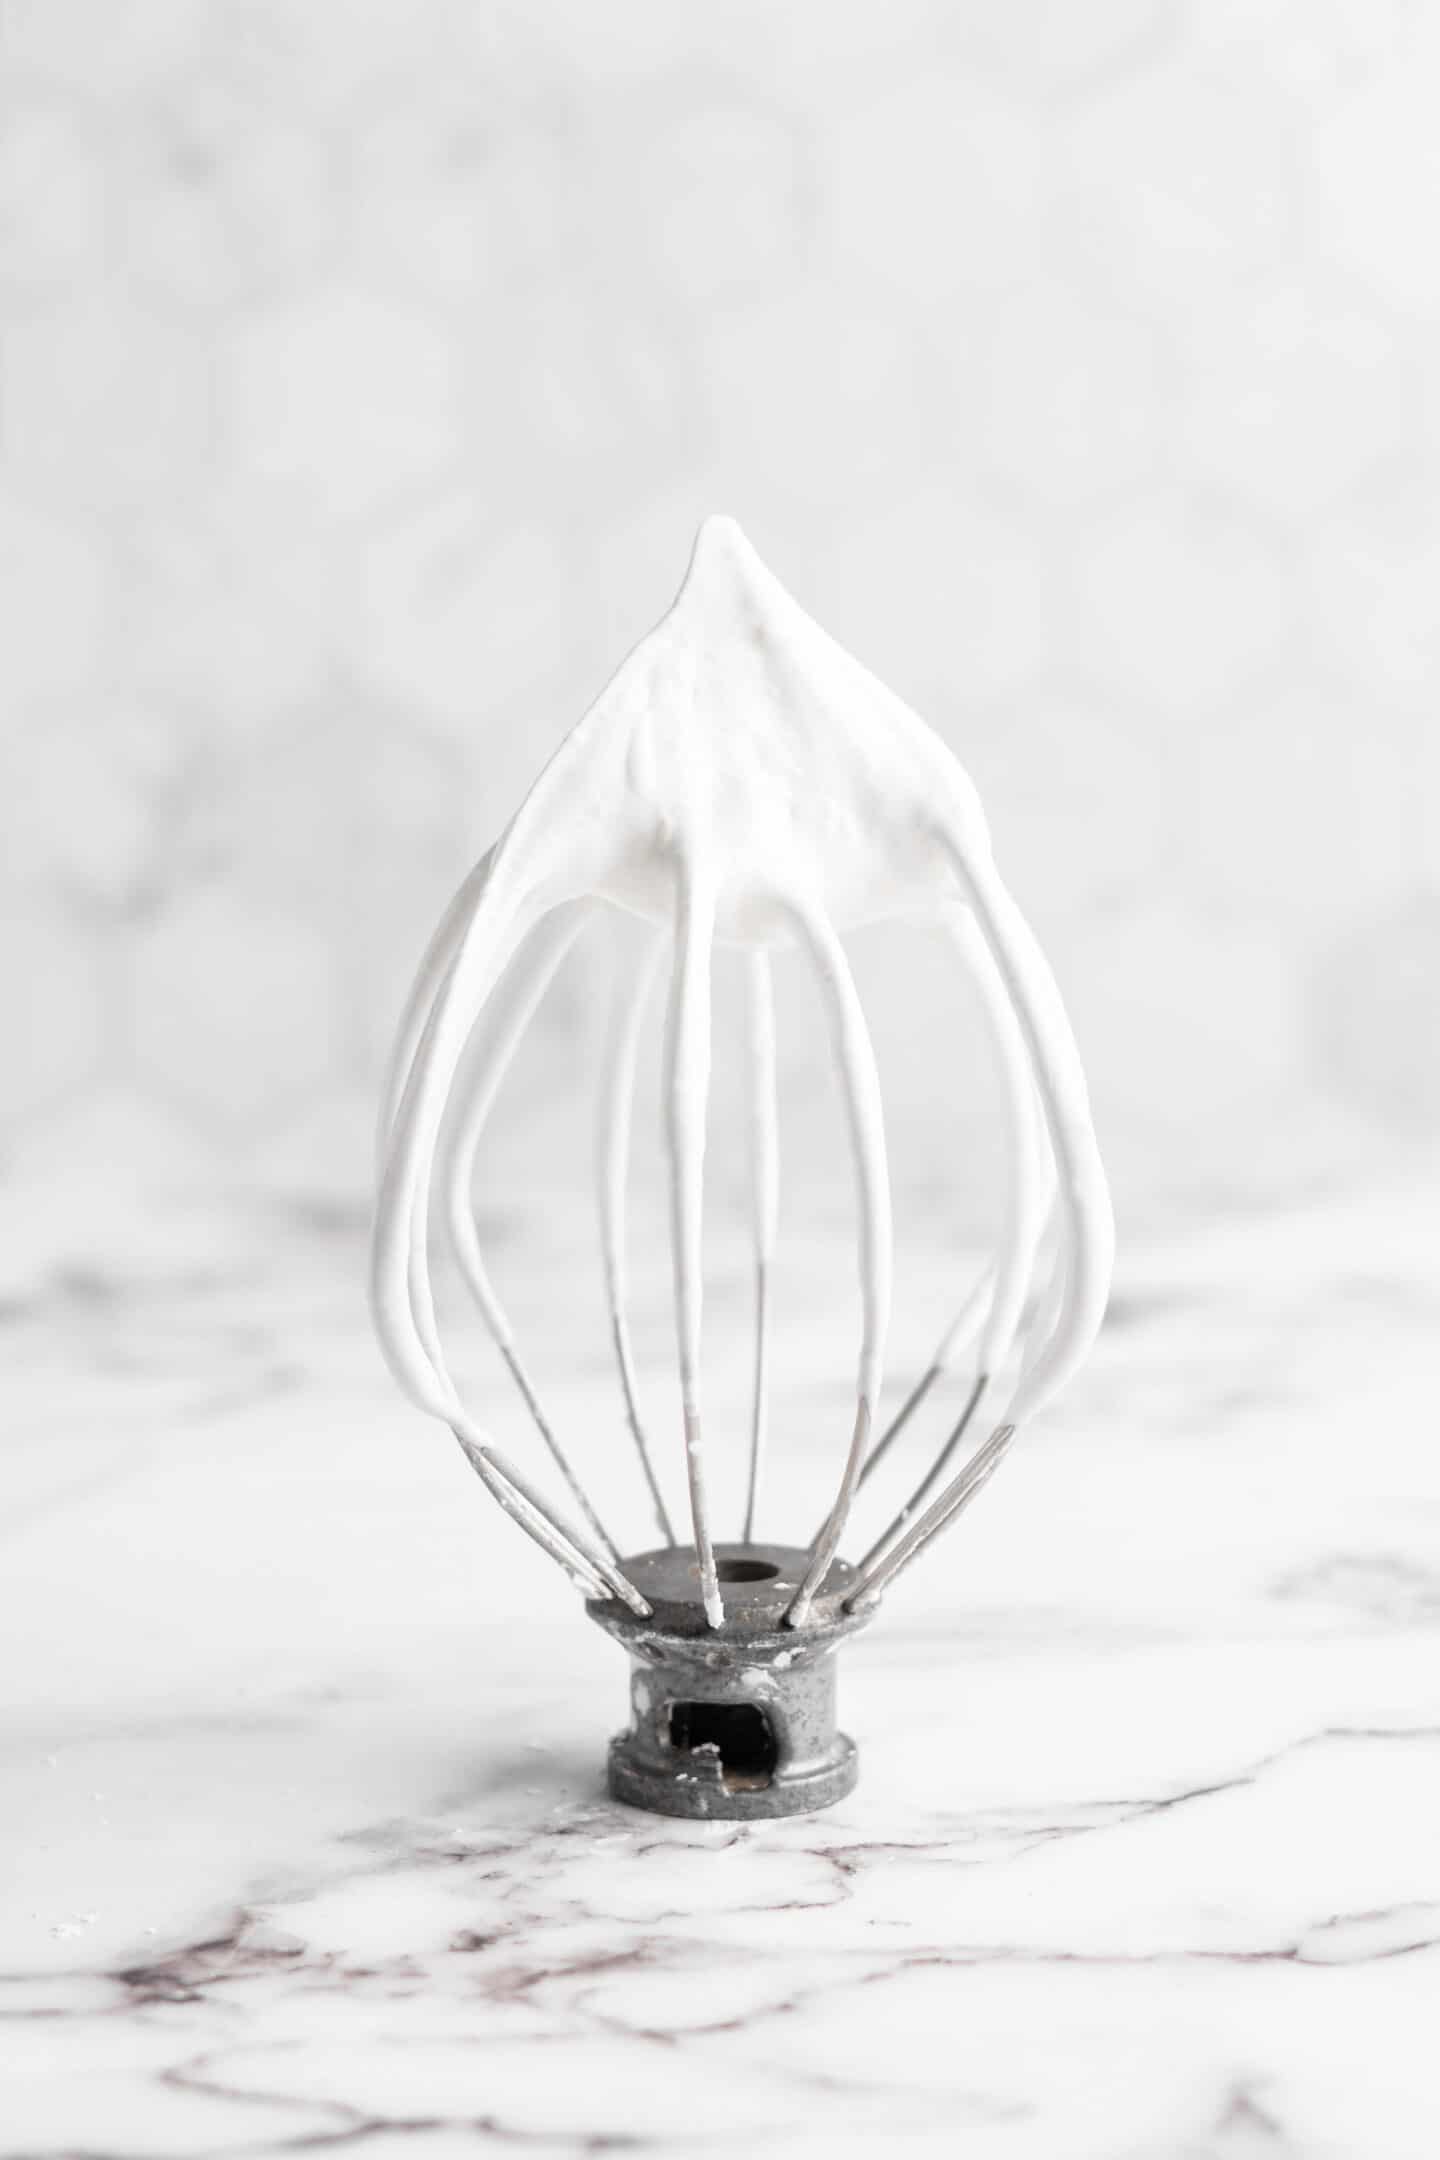
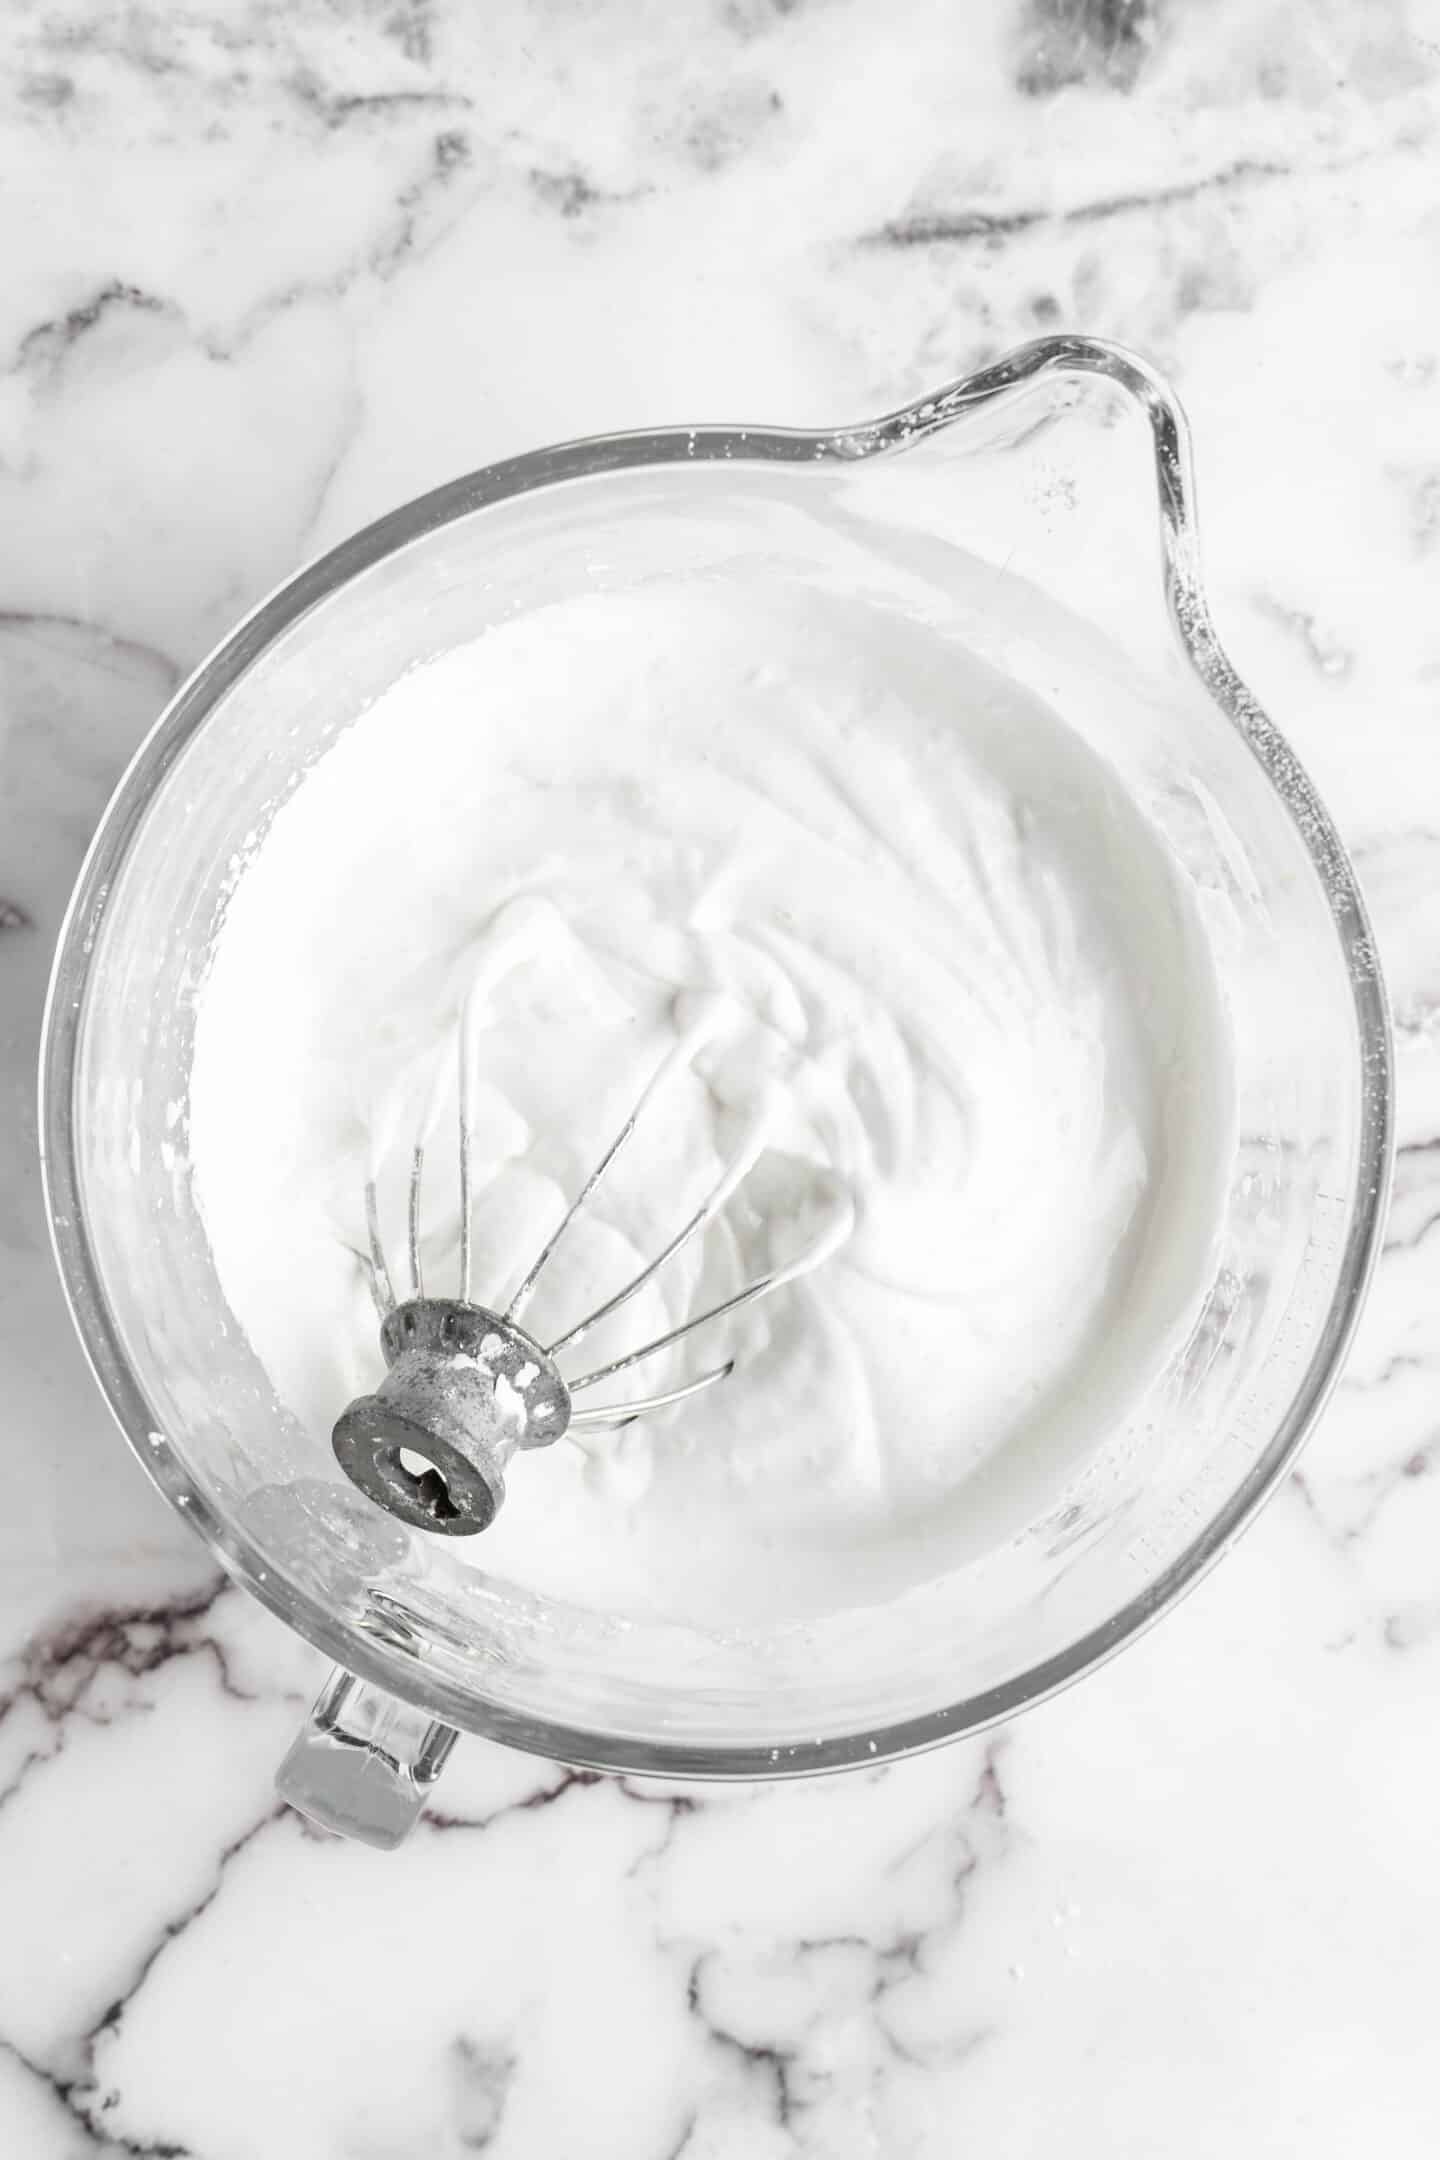
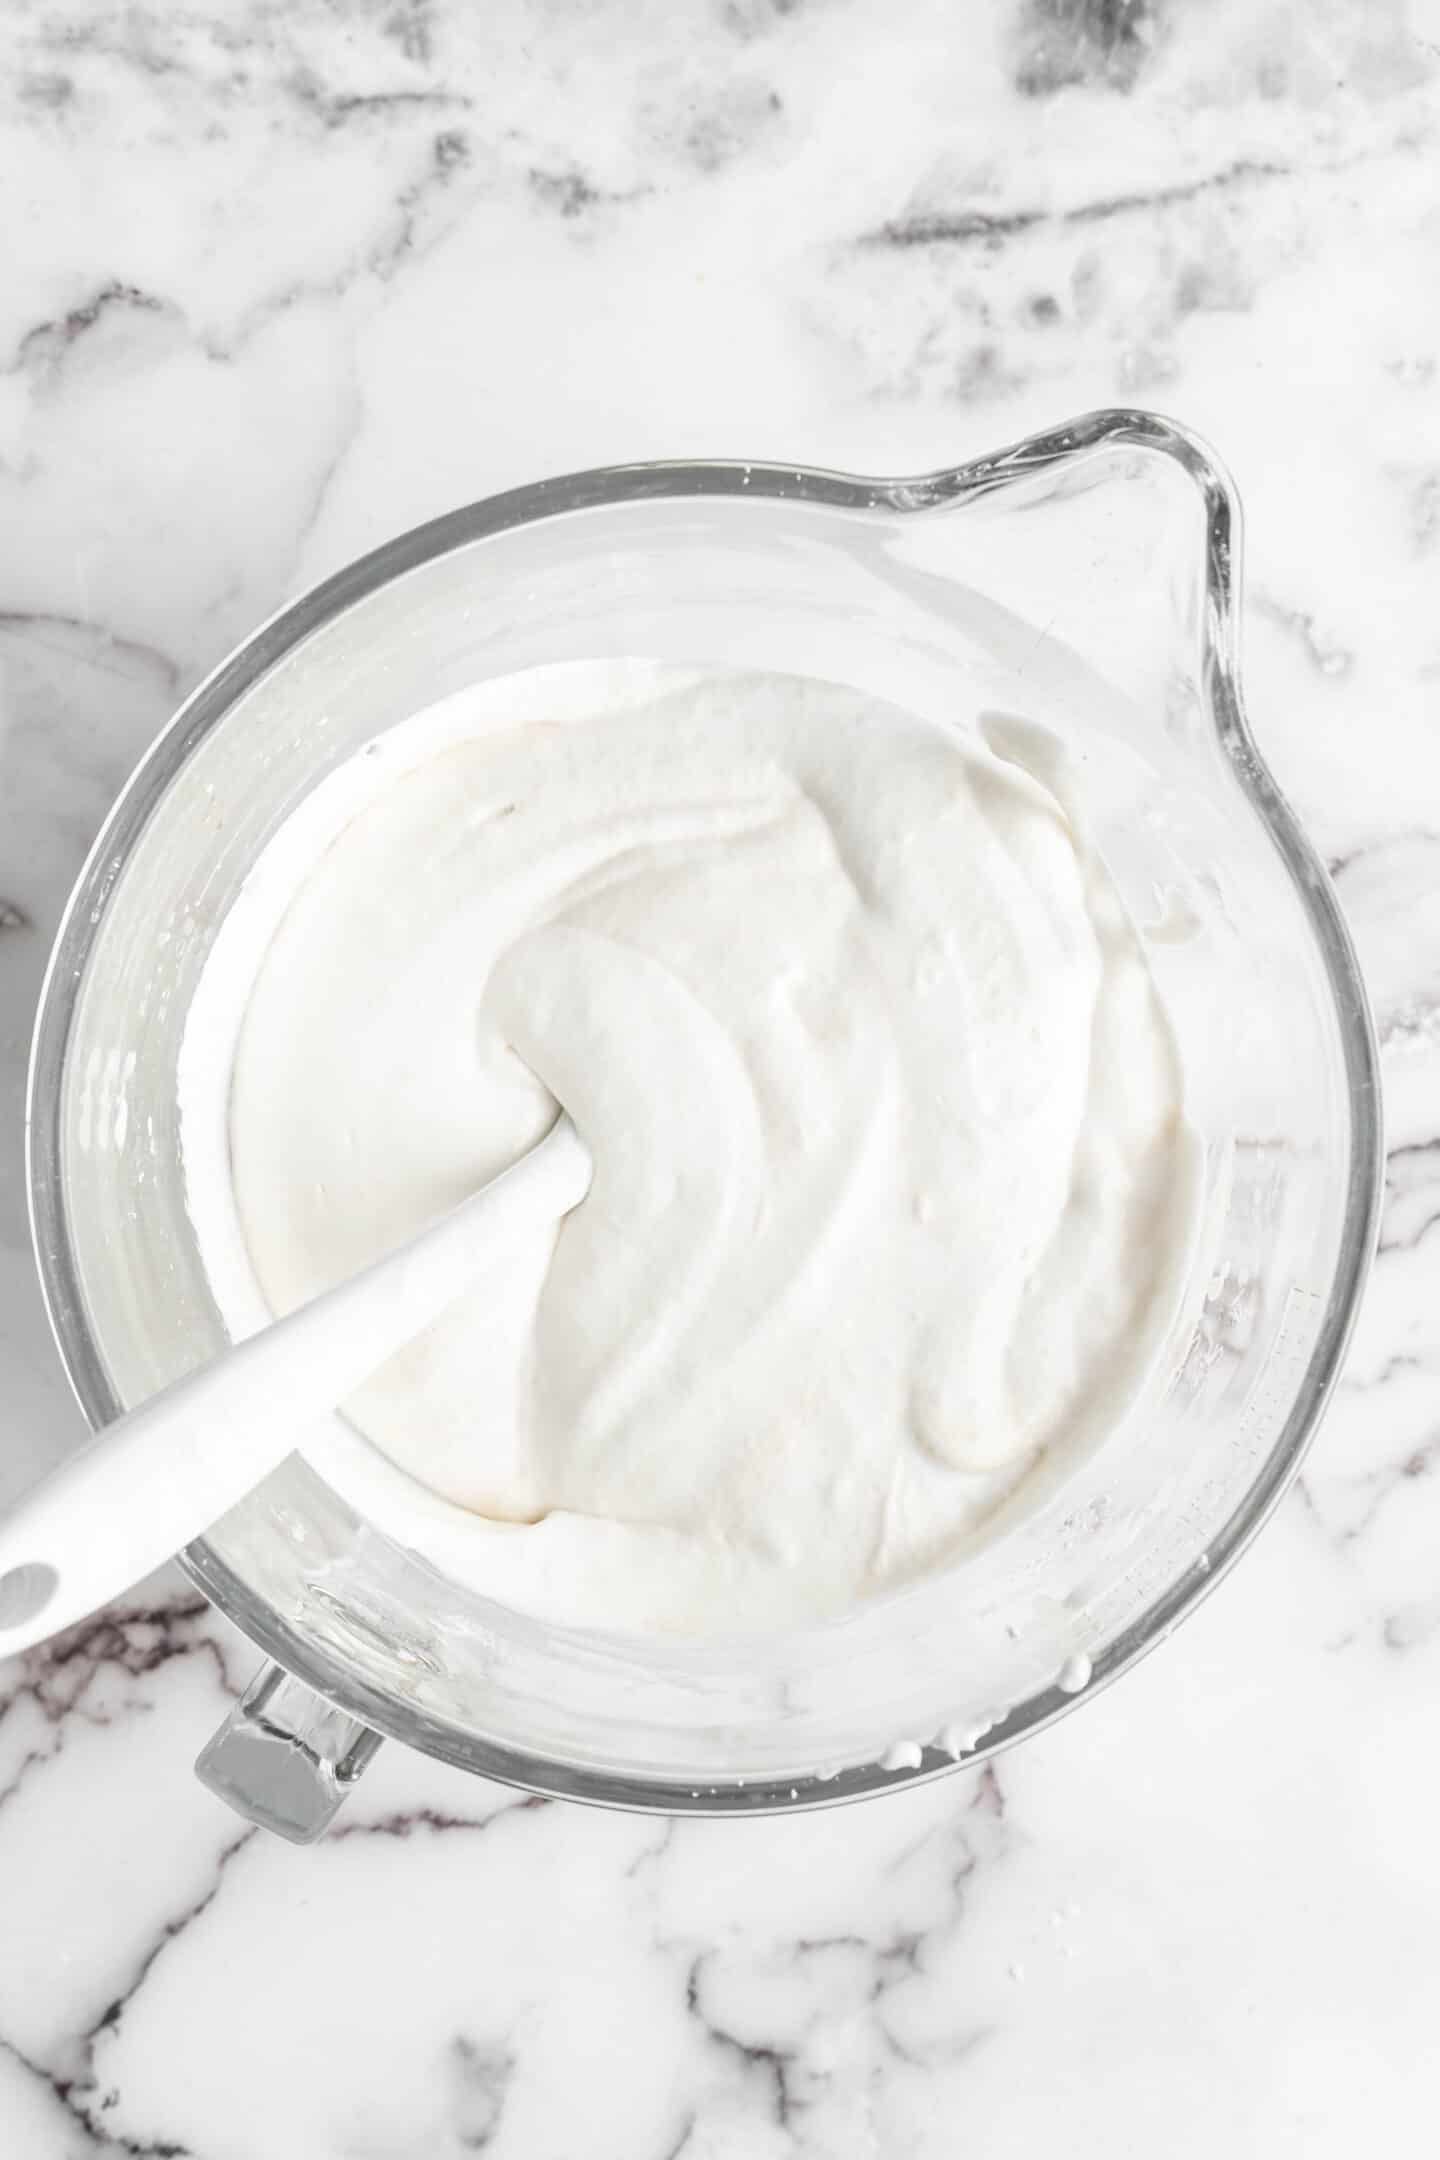
Whip the aquafaba. Pour the aquafaba and the cream of tartar in the bowl of a very clean and wiped dry stand mixer and whisk on high speed until stiff peaks are formed. Start on medium for a few seconds, then move up to high speed. This should take about 2-3 minutes to get stiff peaks. Turn the stand mixer speed down to low, and slowly add the powdered sugar. When all the powdered sugar is added, turn the speed back to high, and whip until the mixture is stiff and shiny.
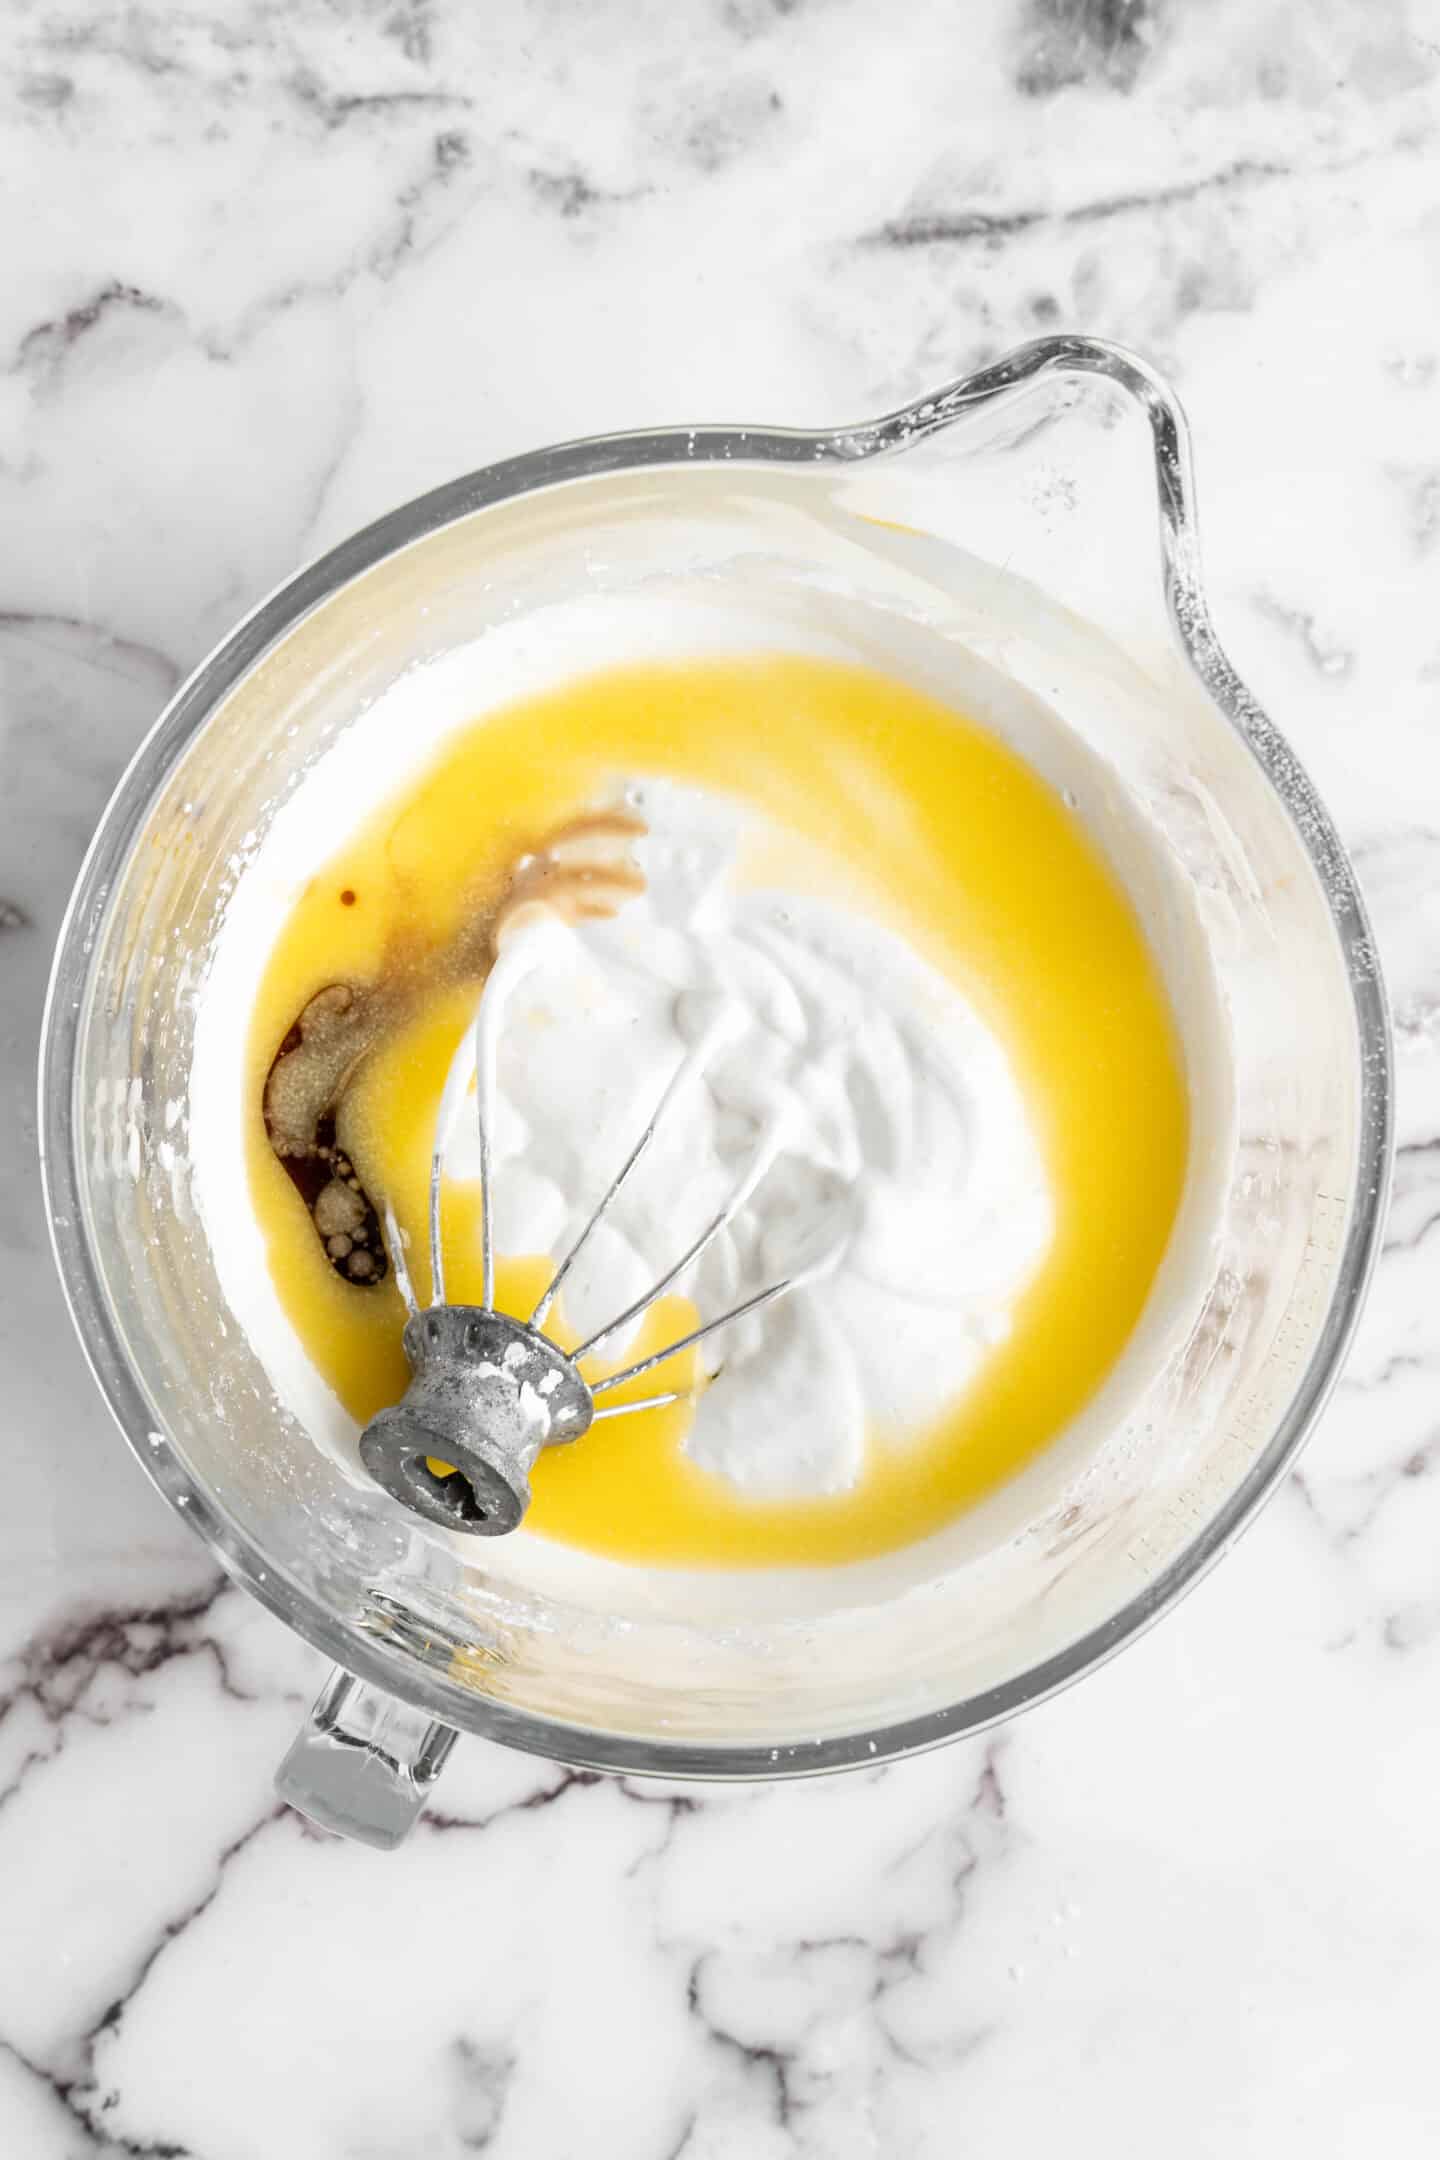
Season the aquafaba. Reduce the stand mixer speed to low, and add the melted vegan butter and vanilla. Increase speed back to high for about a minute until everything is combined, then turn off the stand mixer.
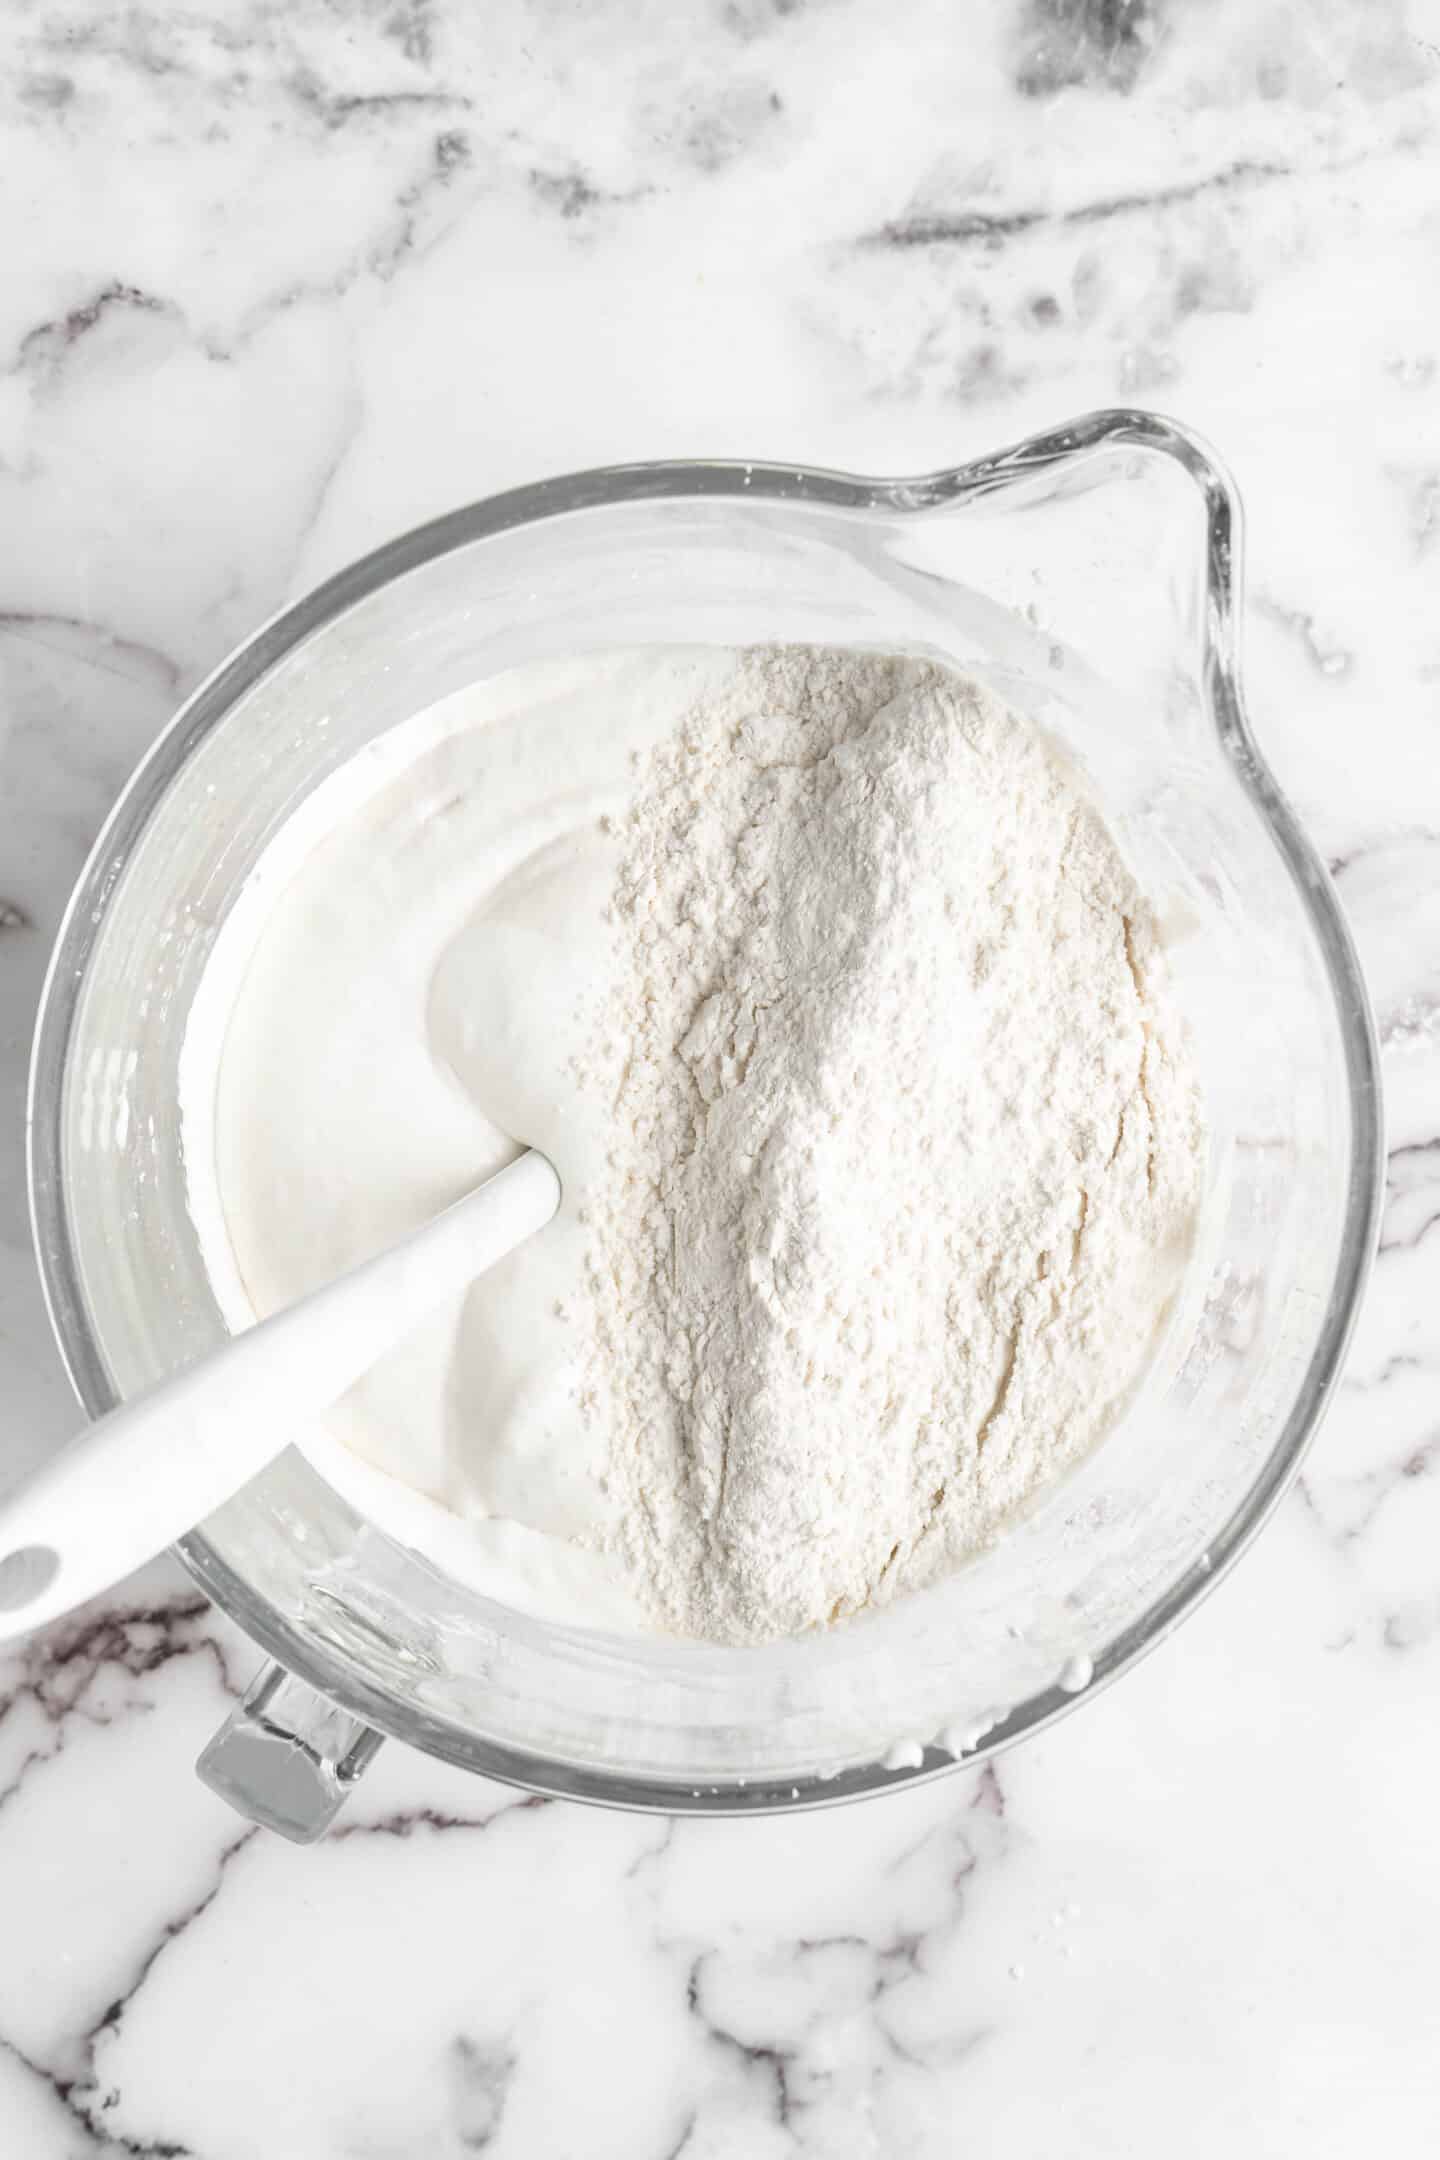
Add the dry ingredients. Add a third of the sifted flour mixture to the aquafaba, and fold it in carefully until it is just combined. Repeat until all of the flour mixture has been added.

Pipe the ladyfingers. Put the mixture in a piping bag with a large, round tip, or in a ziplock bag with the corner cut off (I cut a wide corner to get that inch out). Pipe the mixture onto the baking sheets, in thick strips about 3 inches long and an inch wide. Make sure to leave some space between the cookies.
Bake. Put the ladyfingers in the oven for 15 minutes. The cookies should be set, and the edges should be golden. Remove them from the oven when they’re done, and let them cool on the baking sheet for 5 minutes. Transfer the cookies to a wire rack and let them cool completely.


Dunk the cookies. Put the espresso in a shallow bowl. One by one, dip the ladyfingers into the espresso, soaking both sides. You don’t want to dip for more than 1-3 seconds on each side so the cookies don’t get too soft. Place the cookies flat side down in an 8”x8” baking dish in an even, single layer. While your cookies should fit perfectly based on the recipe, you can also break the cookies up as needed to completely cover the bottom of the dish.
Add the mascarpone. Spread half of the mascarpone mixture over the ladyfingers.


Repeat and chill. Repeat the process with another layer of ladyfingers, then spread the rest of the mascarpone over the top. Cover with cling wrap, and place the baking dish into the fridge for at least 4 hours or overnight.
Serve and top with cocoa powder. Remove the chilled tiramisu from the fridge. Put cocoa powder in a fine-mesh strainer, and dust it over the top of the tiramisu.


Tips for Success
Here are a few tricks and tips to make the best vegan tiramisu every time.
- Test the peaks. It’s important to get stiff peaks on the aquafaba when you whip it. To ensure that the peaks are stiff, test them. All you have to do is dip a whisk into the aquafaba, then place it upright. The aquafaba should completely hold its shape.
- Pipe the mascarpone. If you want to make the tiramisu look extra professional, pipe the top layer of mascarpone for a prettier look.
- Chill the tiramisu overnight. This dessert needs to be chilled for at least 4 hours before eating, but it’s even better if you chill it overnight. This allows all the flavors to really mix together, and firms up the texture.
- Weigh out ingredients. For the best ladyfingers, weighing them out makes a difference. It ensures they don’t spread while baking.
- Test your ingredients beforehand. Tiramisu takes some time, and it wouldn’t be fun to do all of this work just for ingredients to not be fresh. Test that both your baking powder and baking soda are fresh. Ensure your coconut milk separated and you can even place that in a bowl to the side in the fridge until you’re ready for it. Line up all your ingredients step by step and the process will flow much smoother.

Serving Suggestions
These are a few of my favorite things to eat (and drink!) with this plant-based tiramisu recipe.
How to Store Leftover Vegan Tiramisu
You can keep this tiramisu in the fridge for up to 4 days. Keep the baking dish covered in plastic wrap, or transfer to an airtight container.
Can This Recipe Be Frozen?
It sure can! I recommend cutting up the tiramisu first into slices and placing it on a baking tray and freezing that for 1 hour. Then, wrap each slice. Wrap the vegan tiramisu in multiple layers of cling wrap, then in foil, then in a zipped bag and store in the freezer for up to 3 months. Thaw in the fridge before eating. For even cleaner slices, you can freeze it whole for only 1 hour then slice it very cleanly, then proceed with wrapping each slice in clip wrap then foil then in the zipped bag.
Enjoy friends! If you make this vegan tiramisu recipe, please snap a photo and tag #jessicainthekitchen on Instagram! We’d also love it if you would leave a comment below, and give the recipe a rating! Thanks so much!
Vegan Tiramisu
Ingredients
For the Mascarpone and Creamy Filling
- 2 14-ounce cans full-fat coconut milk or coconut cream, chilled overnight in the fridge + 2 teaspoons tapioca starch if coconut milk not whipping
- 1 cup powdered sugar, (120g) sifted
- 2 containers vegan cream cheese, 16 ounces total
- ½ cup Greek vegan yogurt, or plain vegan yogurt
For the ladyfingers
- 2 cups all-purpose flour, (240g)
- ¼ cup cornstarch, (32g)
- ½ teaspoon sea salt
- 2 teaspoons baking powder
- ½ cup aquafaba, (120g) the liquid from a can of unsalted chickpeas
- ¼ teaspoon cream of tartar
- 1 cup powdered sugar, (120g)
- 1 ½ teaspoons vanilla extract
- ¼ cup vegan butter, melted and fully cooled
For the Assembly
- 1 cup brewed espresso, or very strong coffee
- cocoa powder, for dusting
Instructions
Mascarpone and Creamy Filling
- Open the chilled can of coconut milk and scrape out only the solid part on the top of the can into the mixing bowl of a stand mixer. Do this with both cans. Beat the coconut cream on high for 30 seconds, add in the tapioca flour if needed to help stabilise it more (optional) then add the sugar and salt and whip until combined. Save the water for smoothies.
- In a food processor or blender or bowl (I like mine as smooth as possible so I used a food processor), whip together the vegan cream cheese and the yogurt until smooth and combined. Add this mix into the whipped coconut milk and fold/mix together until everything is combined. Cover the mixture and put it in the fridge until needed. I like to do this step first so it's all incorporated and chilled by the time I need it when assembling the ladyfingers.
Vegan Ladyfingers (aka Savoiardi)
- Preheat the oven to 350°F/180°C, and line two baking sheets with parchment paper. If you have only one baking sheet, that's also fine, you can reuse the same one once the first set of lady fingers is done.
- In a medium bowl, sift together the flour, cornstarch, salt, and baking powder. Stir to combine and set aside.
- Pour the aquafaba and the cream of tartar in the bowl of a very clean and wiped dry stand mixer and whip on high speed with the wire whip attachment until stiff peaks are formed. Start on medium for a few seconds, then move up to high speed. This should take about 2-3 minutes to get stiff peaks.
- Reduce the stand mixer speed to low, and slowly add the powdered sugar. When all the powdered sugar is added in, turn the speed back to high, and whip until the mixture is shiny. It may not be completely stiff but in nice ribbons.
- Reduce the mixer to low and slowly add the vanilla and butter, mixing until well combined. Increase speed back to high for about a minute until everything is combined, then turn off the stand mixer.
- Remove the bowl from the stand mixer and add the sifted flour mixture in three additions, folding gently with a rubber spatula until just combined and no flour pockets remain, being careful not to deflate the aquafaba.
- Transfer the batter to a zip-top bag with a corner cut off or a piping bag with a large round tip (I cut a wide corner to get that inch out). Pipe the mixture into thick lines about 3 inches long and an inch wide on the prepared baking sheets, leaving at least an inch between each cookie.
- Bake for 15 minutes, until the edges are golden and the cookies are set in the center. Remove from the oven and cool for 5 minutes on the baking sheets, then transfer to a wire rack to cool completely.
Assembling the tiramisu
- Place the espresso into a shallow bowl. Working one at a time, quickly dip each ladyfinger into the espresso for just a few seconds on both sides. You want them covered in espresso, but not saturated and falling apart. Place the cookies flat side down in an 8×8-inch baking dish in an even layer, touching each other. While your cookies should fit perfectly based on the recipe, you can also break the cookies up as needed to completely cover the bottom of the dish.
- Add half of the mascarpone on top of the cookies and spread into an even layer. Repeat by dipping and layering the remaining ladyfingers. Cover with the remaining mascarpone. Cover with cling wrap, and place the baking dish into the fridge for at least 4 hours or overnight.
- Remove the chilled tiramisu from the fridge. Use a fine-mesh strainer to dust the top of the cake with cocoa powder. Slice, serve and enjoy!
Notes
Disclaimer: Although jessicainthekitchen.com attempts to provide accurate nutritional information, kindly note that these are only estimates. Nutritional information may be affected based on the product type, the brand that was purchased, and in other unforeseeable ways. Jessicainthekitchen.com will not be held liable for any loss or damage resulting for your reliance on nutritional information. If you need to follow a specific caloric regimen, please consult your doctor first.


Loved the recipe!! I just have one question. I’m not trying to make it really big, I see your recipe is for 9 servings. Would I be able to cut the recipe in half and still come out good? Thank you!!
Hi Yeneri,
Yes for sure!! Just cut the recipe down by half it’ll still turn out great enjoy so much let me know if you need help with anything else!