BBQ Chickpea Tacos with Kale Cabbage Slaw
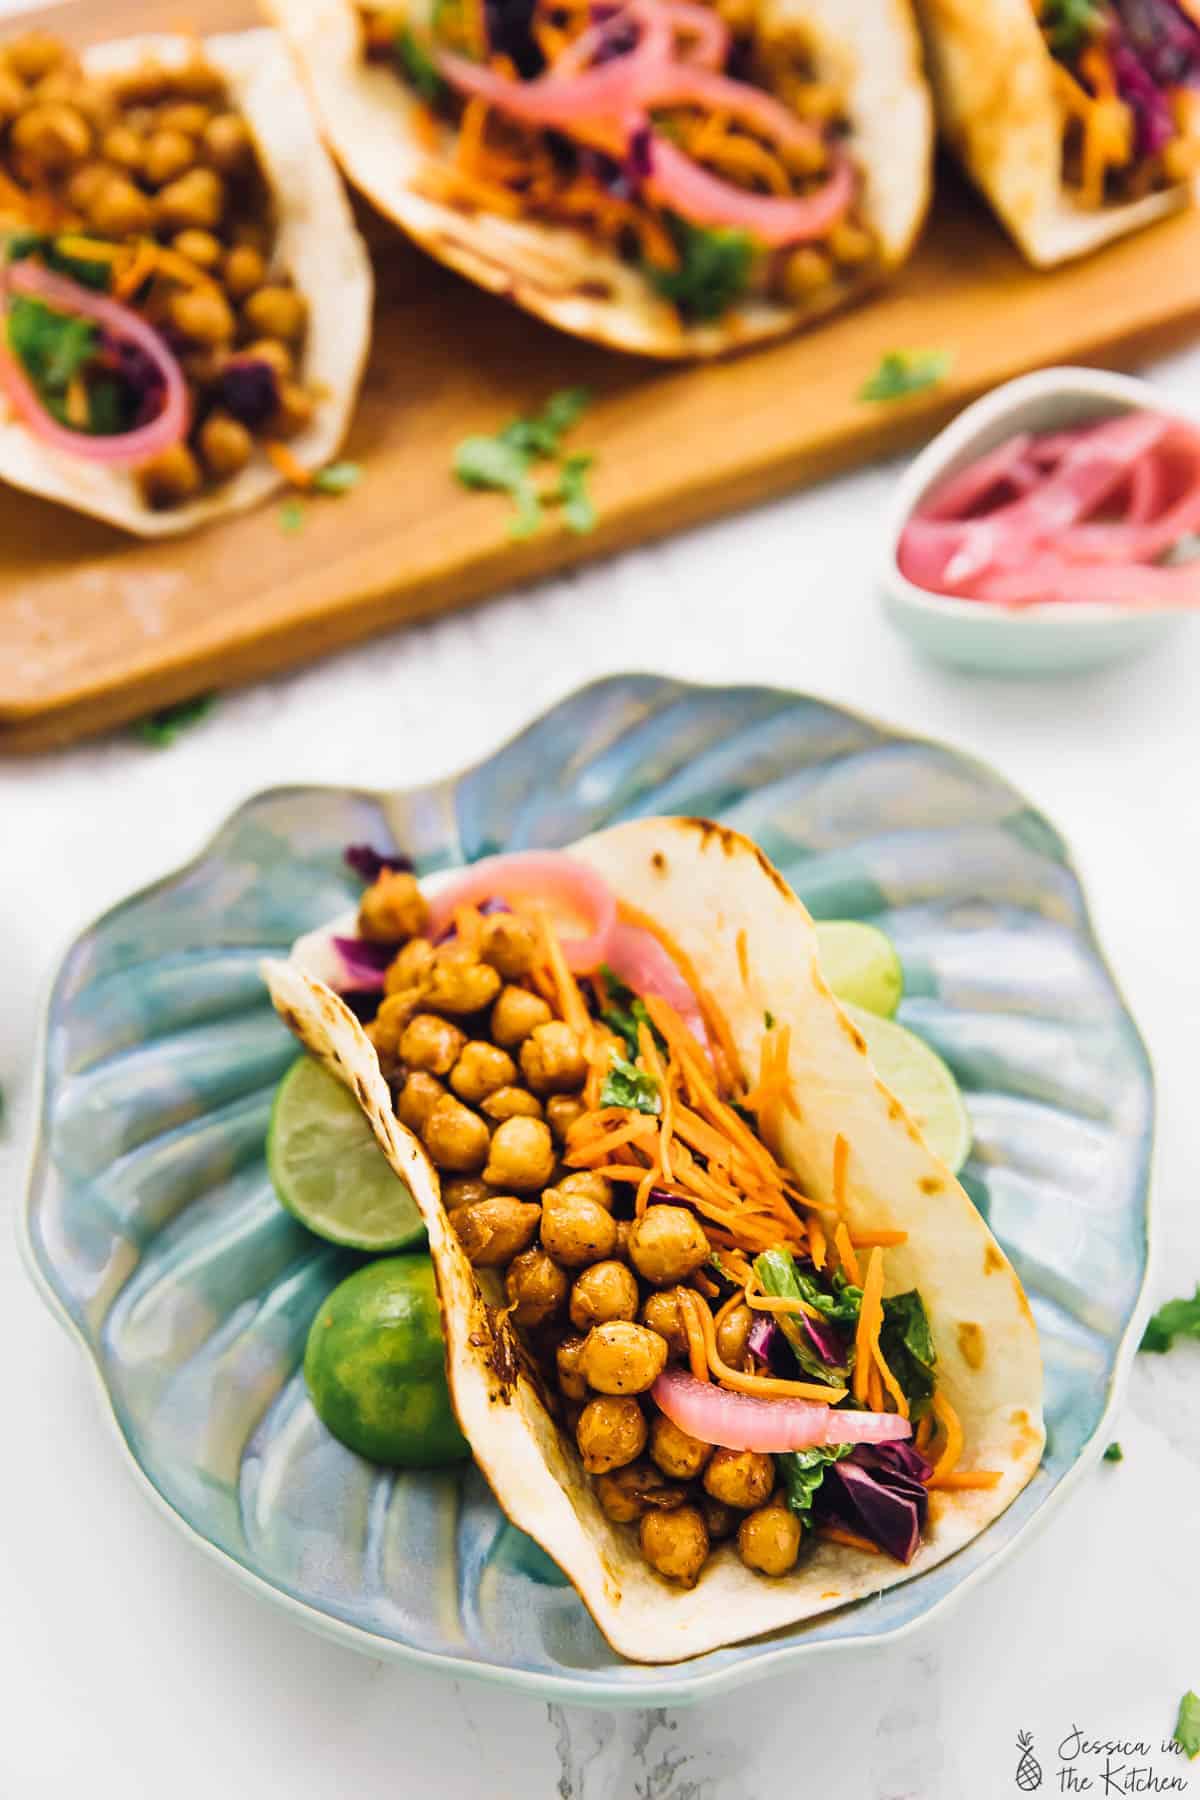
These BBQ chickpea tacos are an easy dinner recipe that comes together in minutes! Chickpeas are coated in a sticky BBQ sauce, topped with tangy pickled onions and crunchy kale slaw, then tucked into tortillas for a flavour-packed meal.
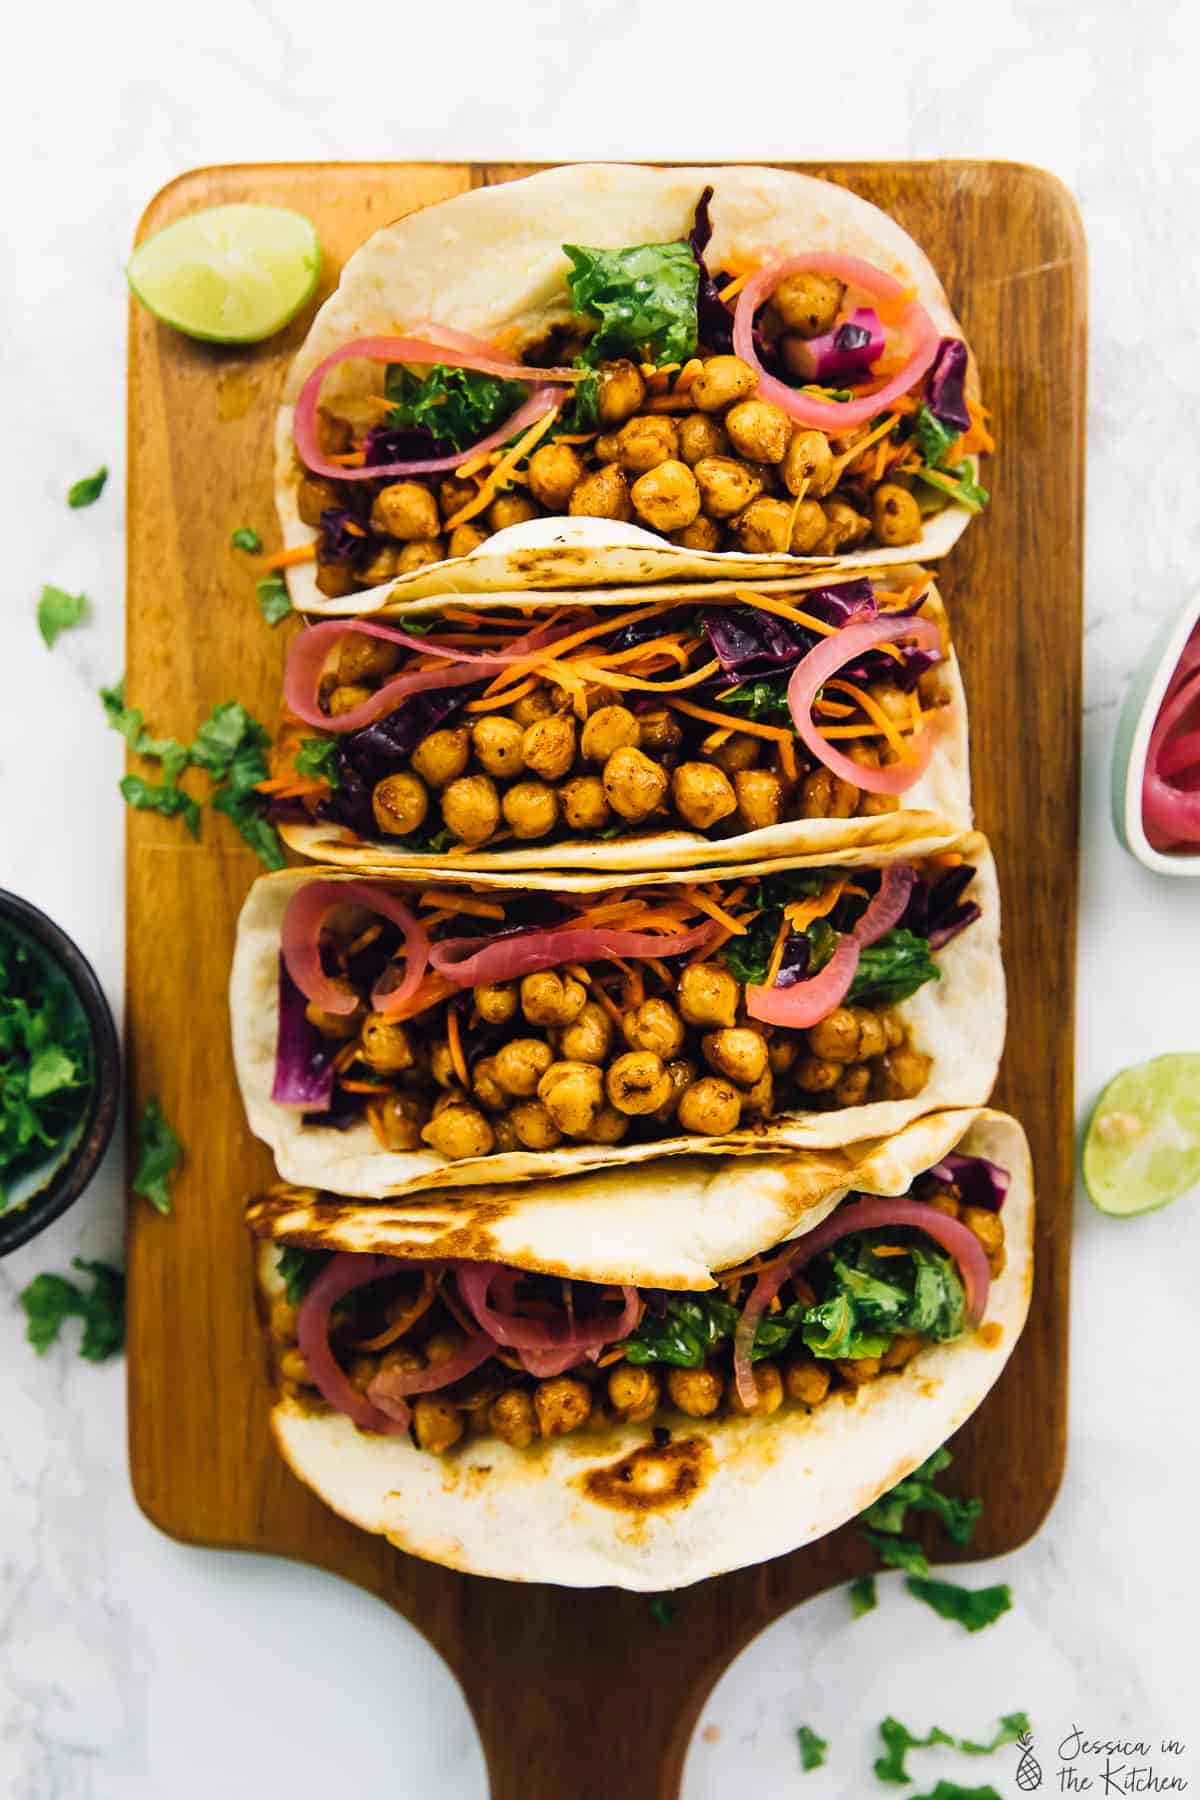
If you’ve been reading Jessica in the Kitchen for a while, then it’s no secret that I love tacos. Crispy cauliflower tacos, zucchini tacos, sweet potato and black bean tacos—I’ll take tacos any way I can get them. (As long as they’re vegan, of course!)
This BBQ chickpea taco recipe is truly made for busy weeknights. It comes together super fast, and if you make the pickled onions and slaw ahead of time, you’re literally 5 minutes away from a delicious dinner!
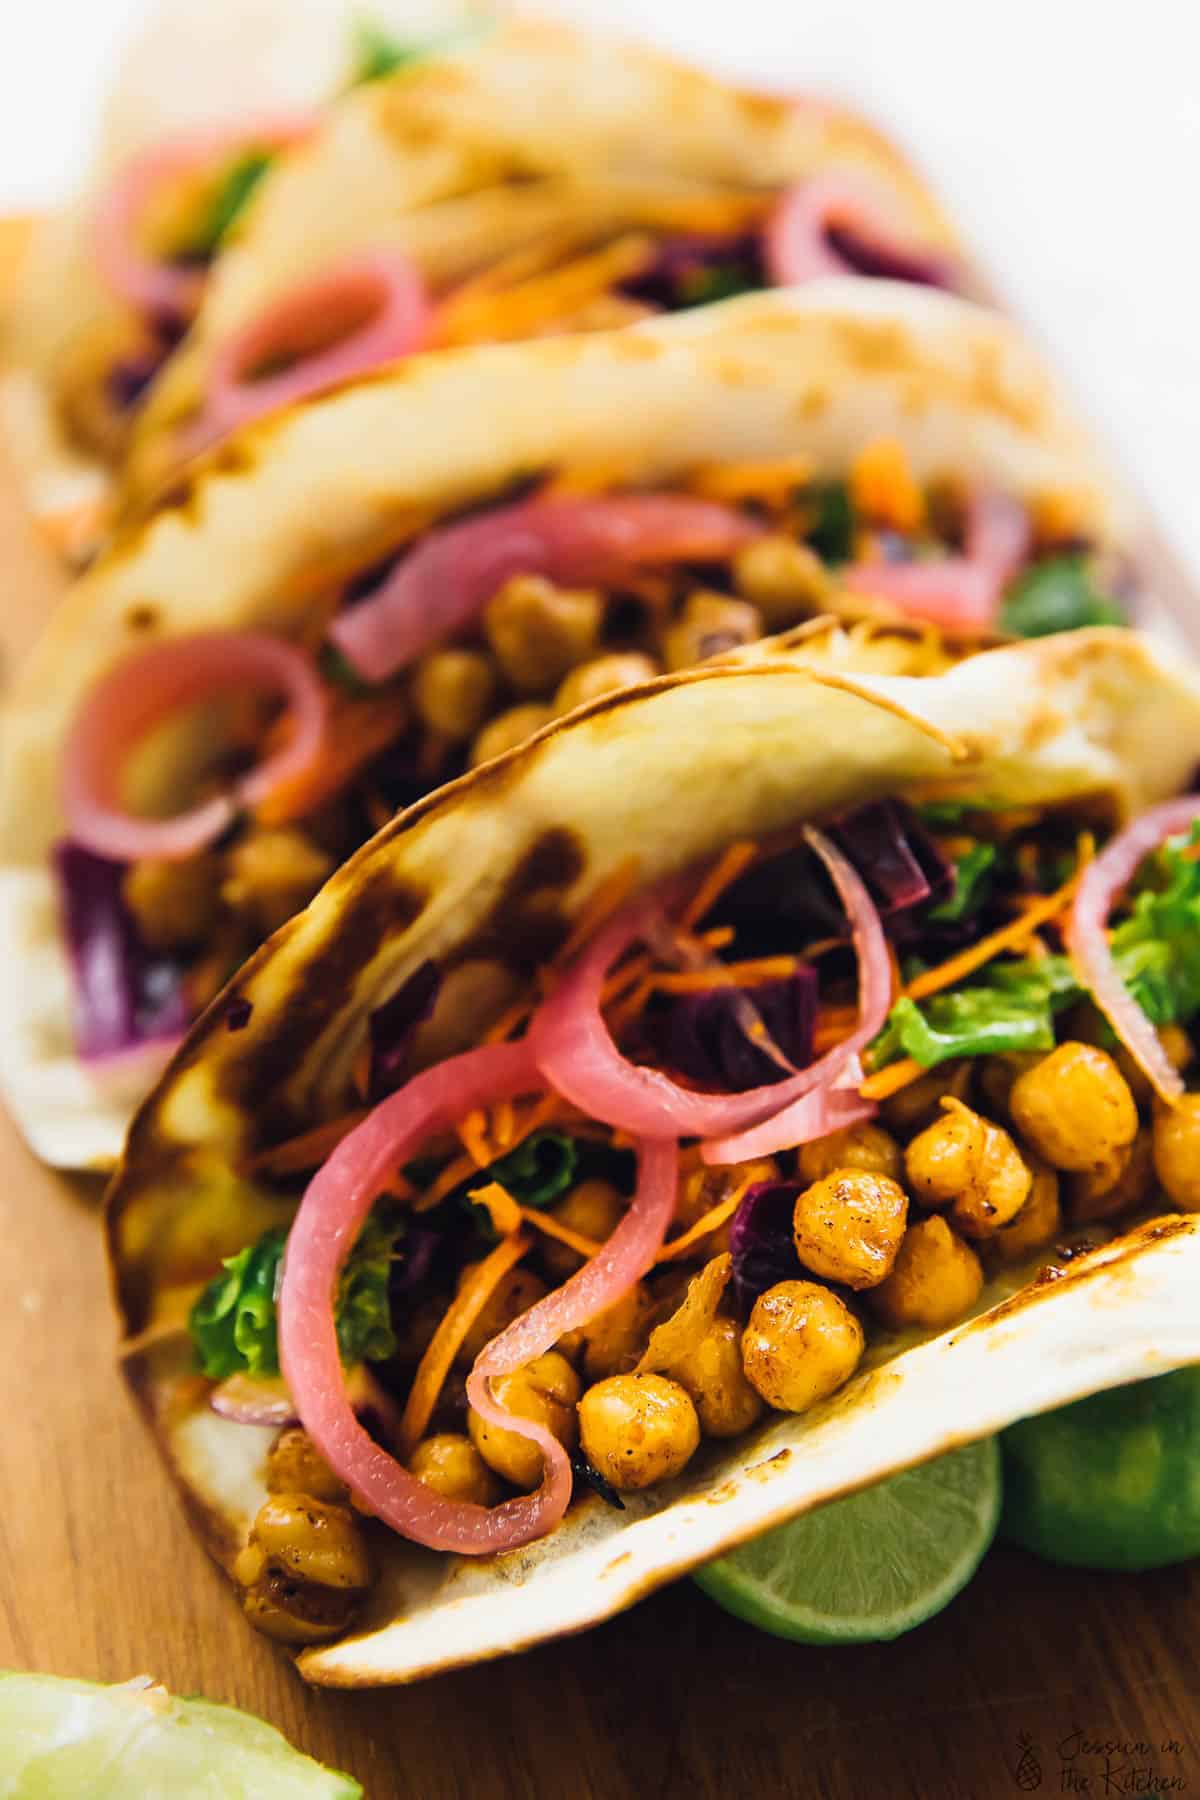
The chickpeas are pan-roasted in BBQ sauce until they’re warmed through and sticky. With the sweet BBQ sauce flavour, the chickpeas pair perfectly with the tangy onions and slaw. This recipe has all kinds of flavours and textures, but put them all together and they blend seamlessly. So good.
Notes on Ingredients
Scroll down to the recipe card to find the ingredient quantities and recipe instructions.
- Canned chickpeas – Rinse and drain these well, then dry them as much as possible.
- BBQ sauce – Use homemade BBQ sauce or store-bought. Just make sure it’s vegan—some brands contain honey!
- Kale Cabbage Slaw
- Quick Pickled Onions
- Soft taco shells – Flour or corn tortillas both work, so use whichever you prefer.
- Lime wedges
How Much Dried Chickpeas Equals One 15-Ounce Can?
If you’d like to use dried chickpeas instead of canned for this recipe, start with 3/4 cup of dried beans and cook them according to the package instructions.
How to Make BBQ Chickpea Tacos
Follow the recipes for the pickled onions and slaw, then cook the chickpeas and assemble according to the instructions below.
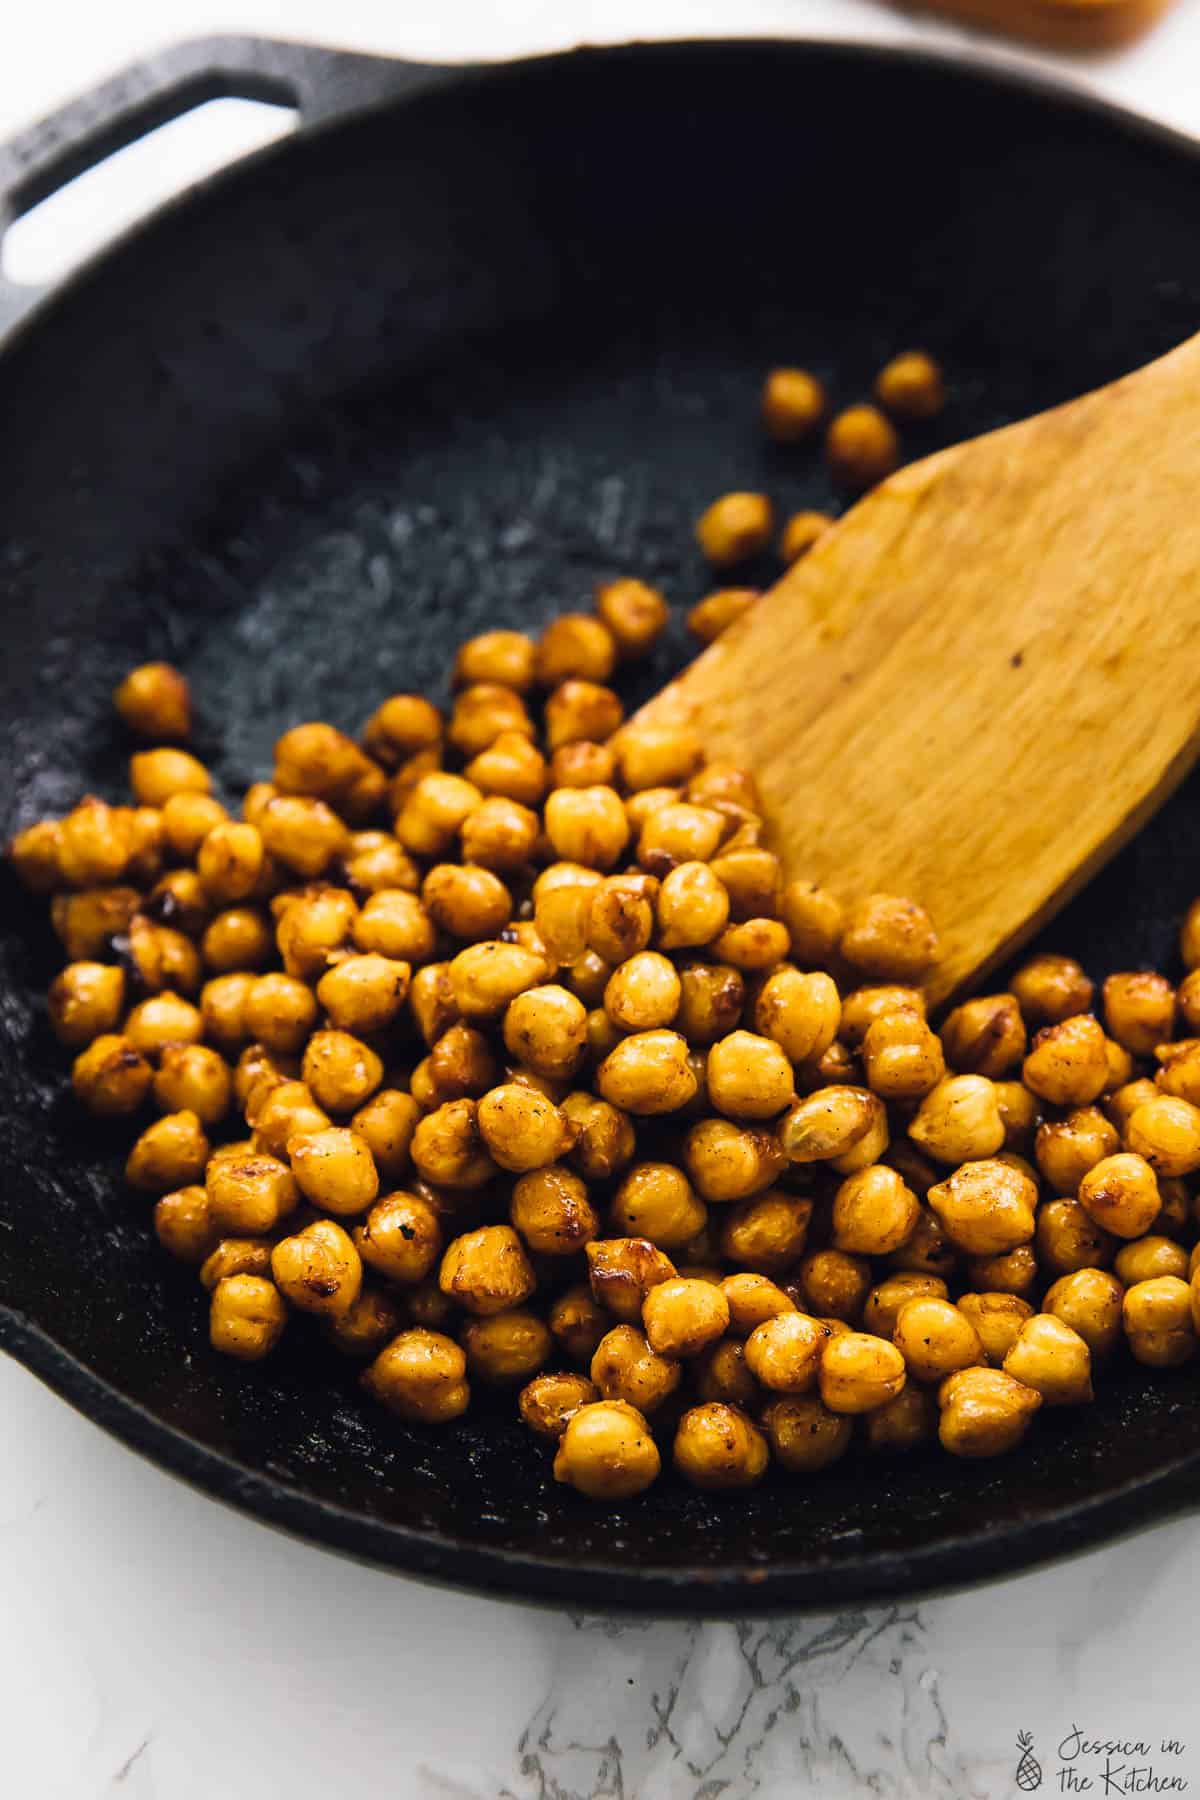
- Cook the chickpeas. Place the chickpeas in a small pot set over medium heat. Stir in the barbecue sauce and cook for about 5 minutes, or until the chickpeas are coated and the sauces thickens and gets sticky.
- Warm the tortillas. Heat a teaspoon of olive oil in a skillet set over medium heat. Warm the tortillas one at a time; once they’re puffy and browned in spots, flip and cook the opposite side.
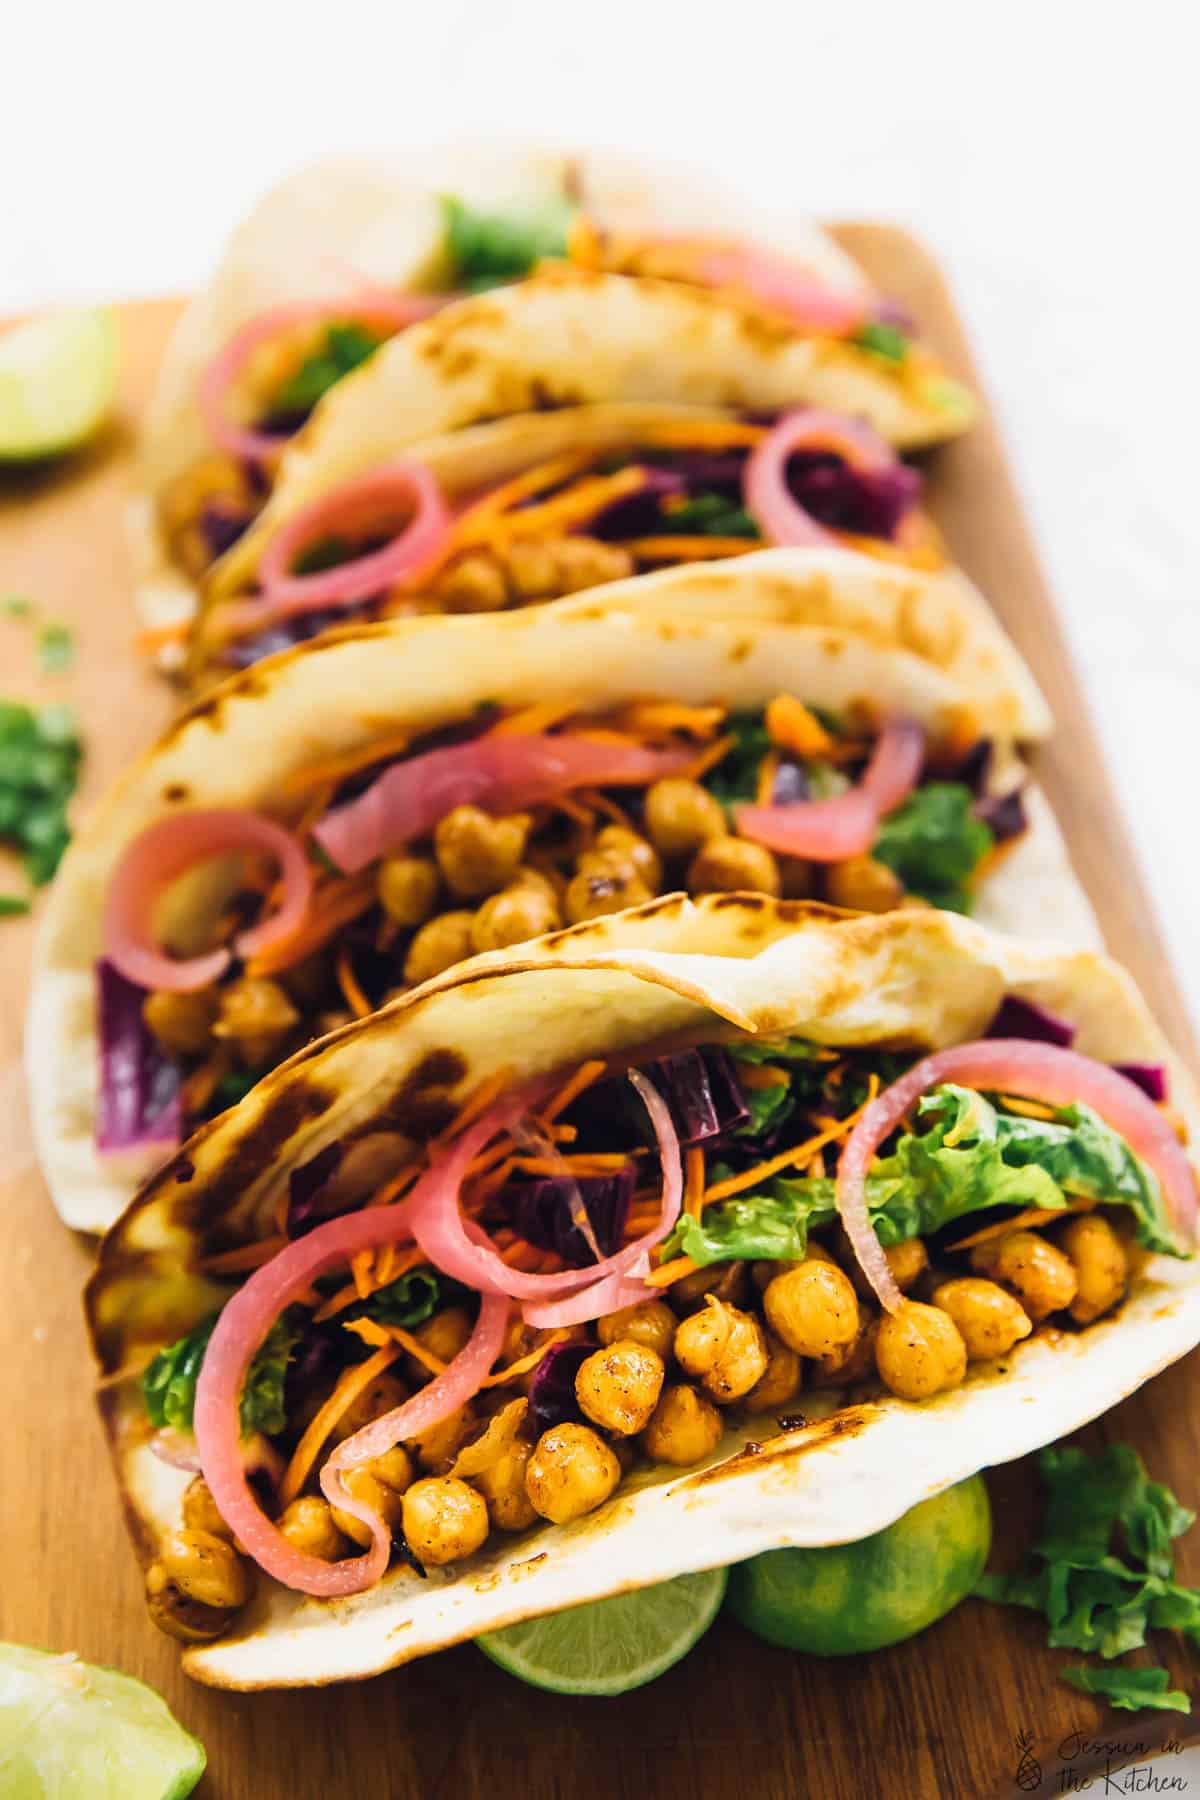
- Assemble. Top the tortillas with the chickpeas, slaw, and onions. Serve with a squeeze of fresh lime juice.
Tips for Success
My BBQ chickpea tacos couldn’t be any easier to make, but these tips will help you make sure they turn out perfect!
- Dry the chickpeas after rinsing. This will keep the BBQ sauce from getting watered down and help it get thick and sticky.
- Add more sauce. Once the chickpeas are warmed through, you can stir more sauce into the pan, or allow everyone to customise their own tacos with the amount of sauce they want.
- Don’t skip the slaw and onions! They are essential to the flavour of this recipe, balancing the sweetness of the chickpeas.
Variations
There are so many ways to make this recipe your own. You can skip the tortillas and serve the BBQ chickpeas, slaw, and onions over rice or quinoa for taco bowls, or serve them over greens for a BBQ chickpea taco salad.
You can also try different toppings. Vegan ranch is delicious on these tacos, or add your favourite plant-based cheddar shreds.
Serving Suggestions
Serve your BBQ chickpea tacos with a simple side dish like Grilled Mexican Street Corn or Black Bean Avocado and Corn Salad.
How to Store Leftovers
For maximum freshness and flavour, store each component of these BBQ chickpea tacos separately; they can be refrigerated for up to 4 days. Then, reheat the tortillas and chickpeas in a skillet or the microwave and assemble.
Can This Recipe Be Frozen?
This recipe isn’t ideal for freezing, although the BBQ chickpeas will keep in the freezer for up to 3 months. (The other components should not be frozen.) Store them in an airtight container or freezer bag, then thaw in the refrigerator before reheating.
More Recipes With Chickpeas
- Vegan Chickpea Tuna Salad
- Mediterranean Chickpea Salad
- Easy Chickpea Tikka Masala
- Vegan Spicy BBQ Chickpea Pizza
Enjoy friends! If you make this BBQ chickpea taco recipe, please snap a photo and tag #jessicainthekitchen on Instagram! We’d also love it if you would leave a comment below, and give the recipe a rating! Thanks so much!
BBQ Chickpea Tacos with Kale Cabbage Slaw
Ingredients
- 1 15 ounce cooked chickpeas, rinsed and drained, 1 ½ cups
- ¼ cup bbq sauce
- Serve with Kale Cabbage Slaw
- Serve with Quick Pickled Onions
- 5 10 ” inch soft taco shells
- Serve with limes
Instructions
BBQ Chickpeas
- In a small pot over medium heat, place the chickpeas and 2 tablespoons barbecue sauce. Heat for about 5 minutes until warm and the sauce becomes sticky and coats the chickpeas.
- Remove from the heat and coat with the remaining barbecue sauce. If desired, you can add more barbecue sauce.
Assembling the Tacos
- Heat 1 teaspoon olive oil in a skillet over medium heat (if possible, brush with a pastry brush).
Place a taco shell in the heat until golden brown spots appear and they are slightly puffy for a few seconds, then flip and cook the same. Set on a plate to assemble. - Layer with kale cabbage slaw, chickpeas and pickled onions over the soft taco shells. Serve with limes. Enjoy!
Notes
- If you’re gluten free remember to check that your taco shells are gluten free!
- To store: Store each component of these BBQ chickpea tacos separately; they can be refrigerated for up to 4 days. Then, reheat the tortillas and chickpeas in a skillet or the microwave and assemble.
- To freeze: This recipe isn’t ideal for freezing, although the BBQ chickpeas will keep in the freezer for up to 3 months. (The other components should not be frozen.) Store them in an airtight container or freezer bag, then thaw in the refrigerator before reheating.
Disclaimer: Although jessicainthekitchen.com attempts to provide accurate nutritional information, kindly note that these are only estimates. Nutritional information may be affected based on the product type, the brand that was purchased, and in other unforeseeable ways. Jessicainthekitchen.com will not be held liable for any loss or damage resulting for your reliance on nutritional information. If you need to follow a specific caloric regimen, please consult your doctor first.


Delicious! Our go to on a busy night. When I am lazy I omit the slaw and just do shredded lettuce and cheese. So good.
Awesome Christina! We’re so happy that you like our recipe!