Gluten-Free Focaccia
This gluten-free focaccia has the perfect texture and taste—you’ll never guess it’s not made with wheat!
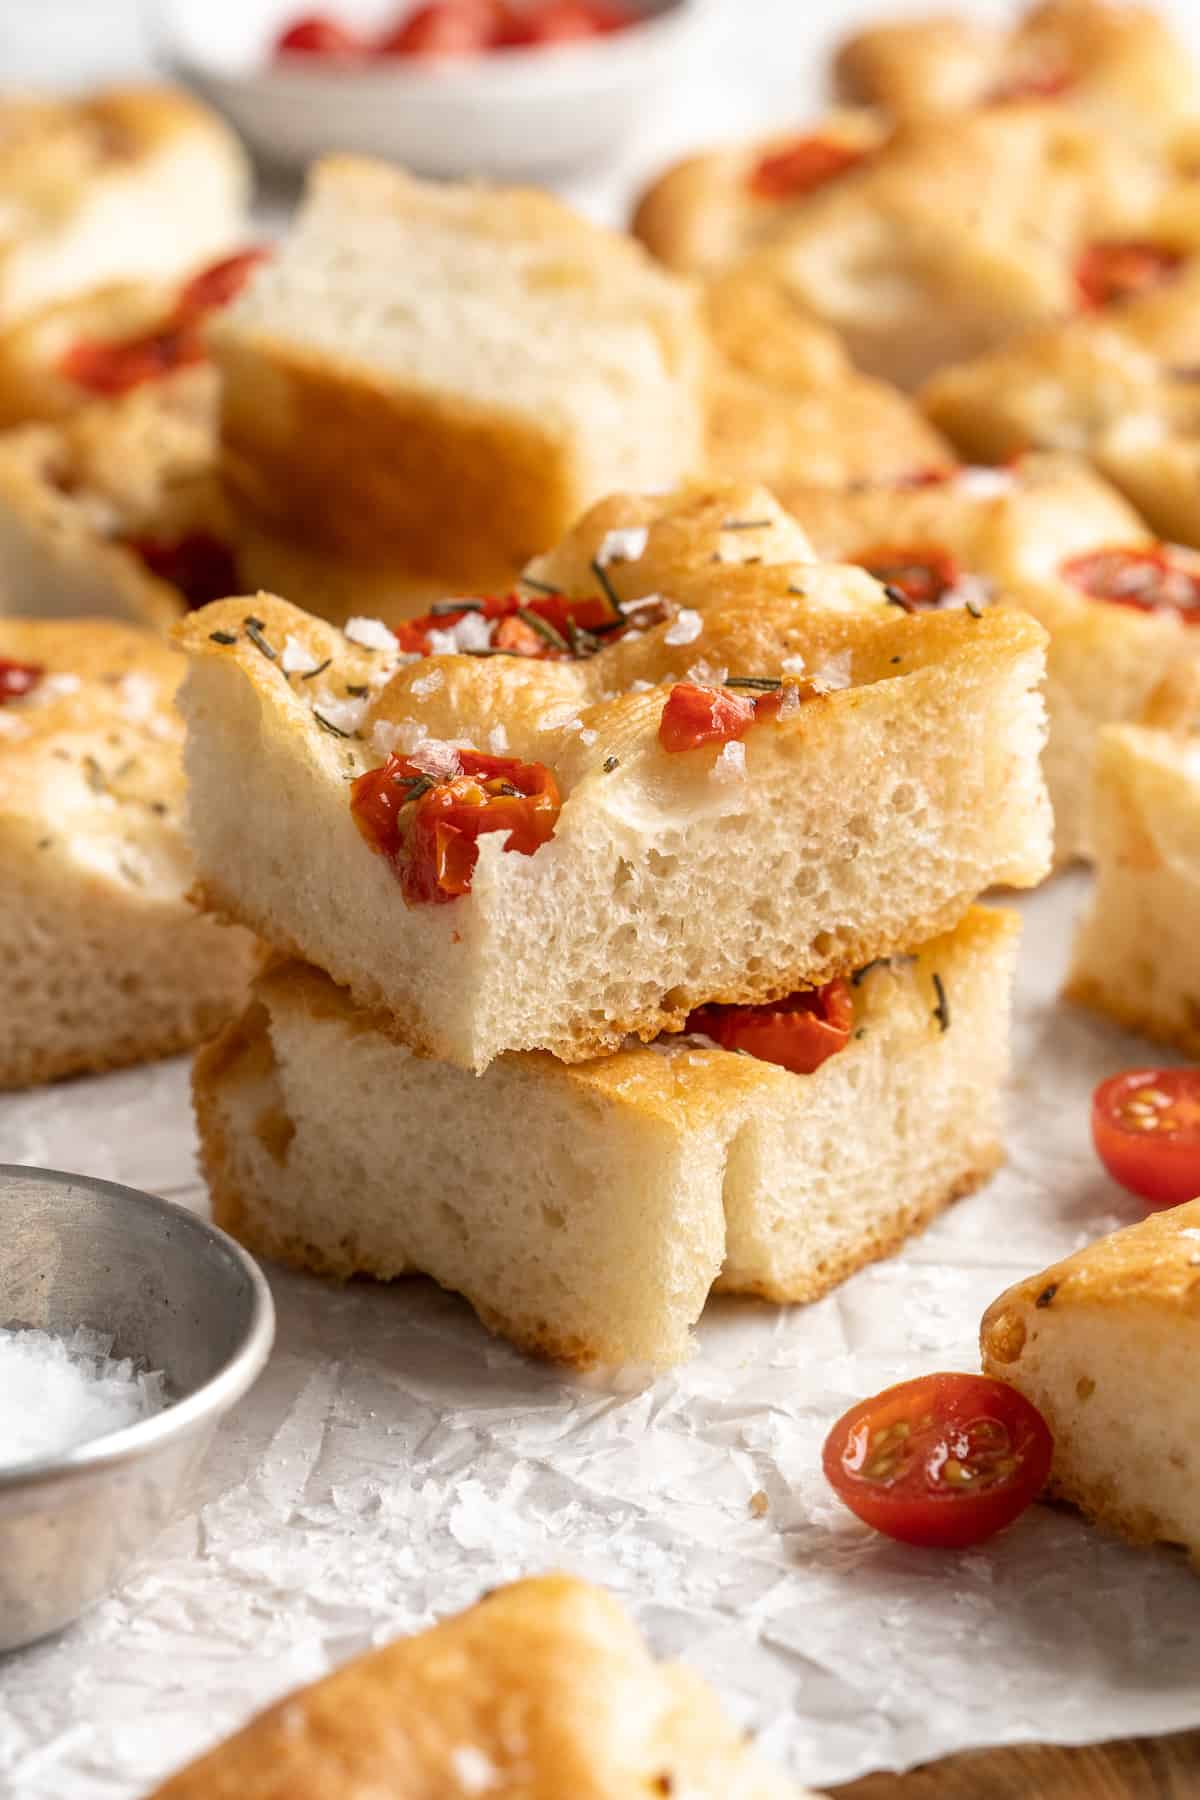
I’ve always been a focaccia lover. Whenever I buy it, it’s from our local bakery, but that can get expensive pretty quickly so I decided to make my own gluten-free focaccia at home. Game changer!
I was surprised by how easy focaccia is to make. While I do love making gluten-free sandwich bread, it is a bit of a project. Not so with this focaccia: forget kneading, forget difficult dough. This is easy peasy, and yes you can do it while bingeing your favourite TV show.
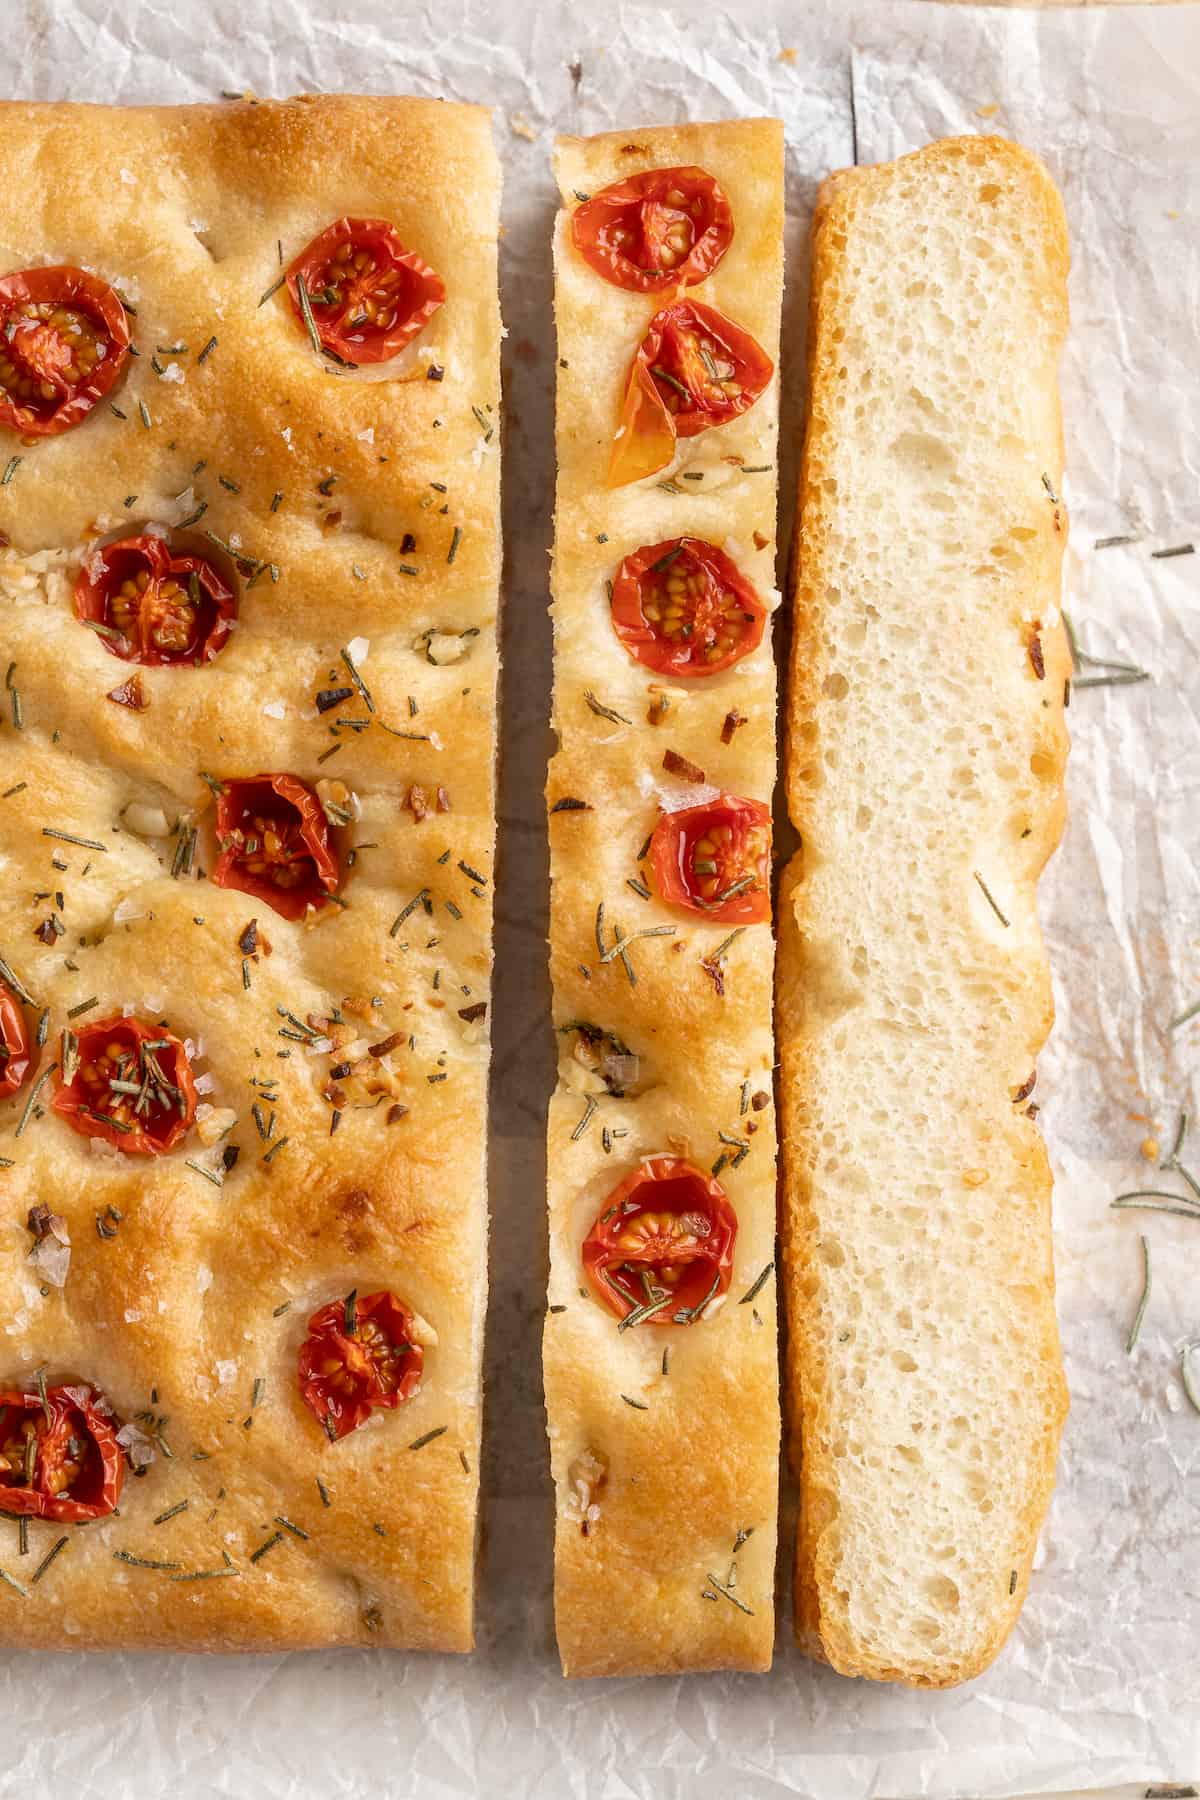
Why You’ll Love This Gluten-Free Focaccia Recipe
- Easy. Making this gluten-free focaccia takes about 15 minutes of “on” time, an hour to rise, then bake it and enjoy!
- Delicious. The bits of garlic in the dough roast during baking, the tomatoes burst and caramelise, and the rosemary makes the whole house so fragrant. Flaky sea salt is the perfect finishing touch!
- Customisable. Follow the same base recipe and tweak the add-ins based on your own preferences or what you have on hand. I share some ideas below!
Notes on Ingredients
Scroll down to the recipe card to find the ingredient quantities and recipe instructions.
- Gluten-free flour – I use Bob’s Red Mill for this gluten-free focaccia; you’ll need one with a 1-to-1 ratio.
- Sea salt – You’ll need some fine sea salt for the dough and some coarse, flaky salt for topping.
- Instant yeast – Is Yeast Vegan?
- Organic cane or coconut sugar– The sugar feeds the yeast, helping the bread rise.
- Cherry tomatoes – You can also use grape tomatoes; a variety of colours looks quite striking!
- Garlic
- Rosemary – Finely mince the leaves.
- Warm water – Between 110°F and 120°F.
- Extra-virgin olive oil
Is Instant Yeast the Same as Active Dry Yeast?
There is a difference between active dry yeast and instant yeast. You can mix instant yeast directly into recipes, but you need to dissolve active dry yeast into liquid first.
How to Make Gluten-Free Focaccia
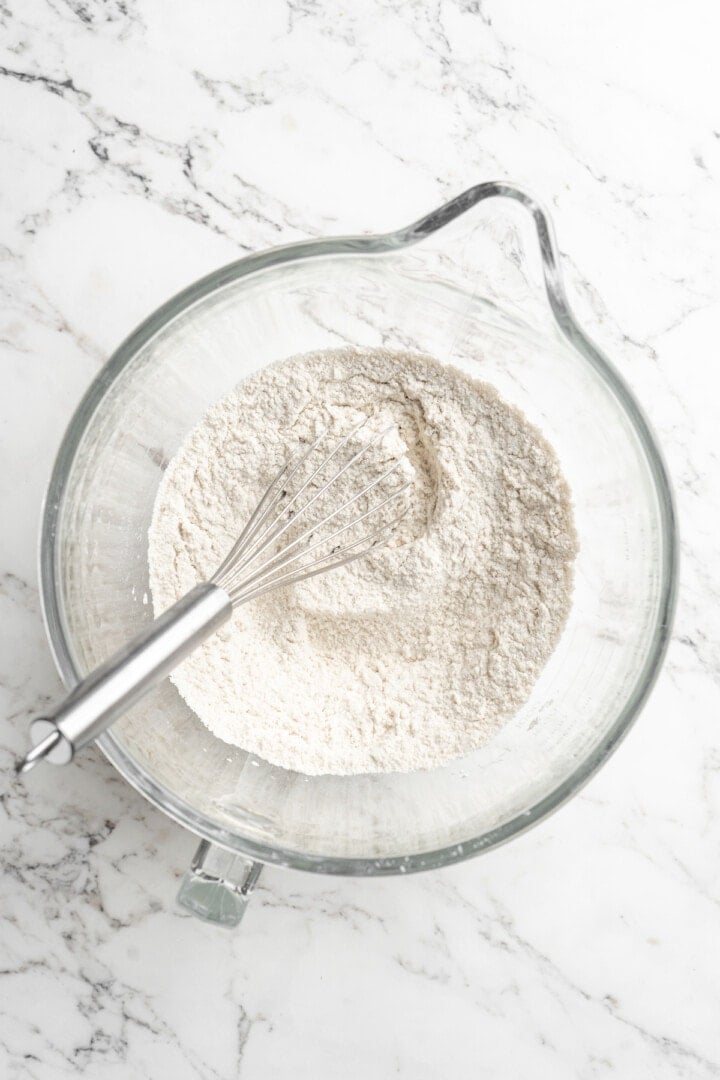
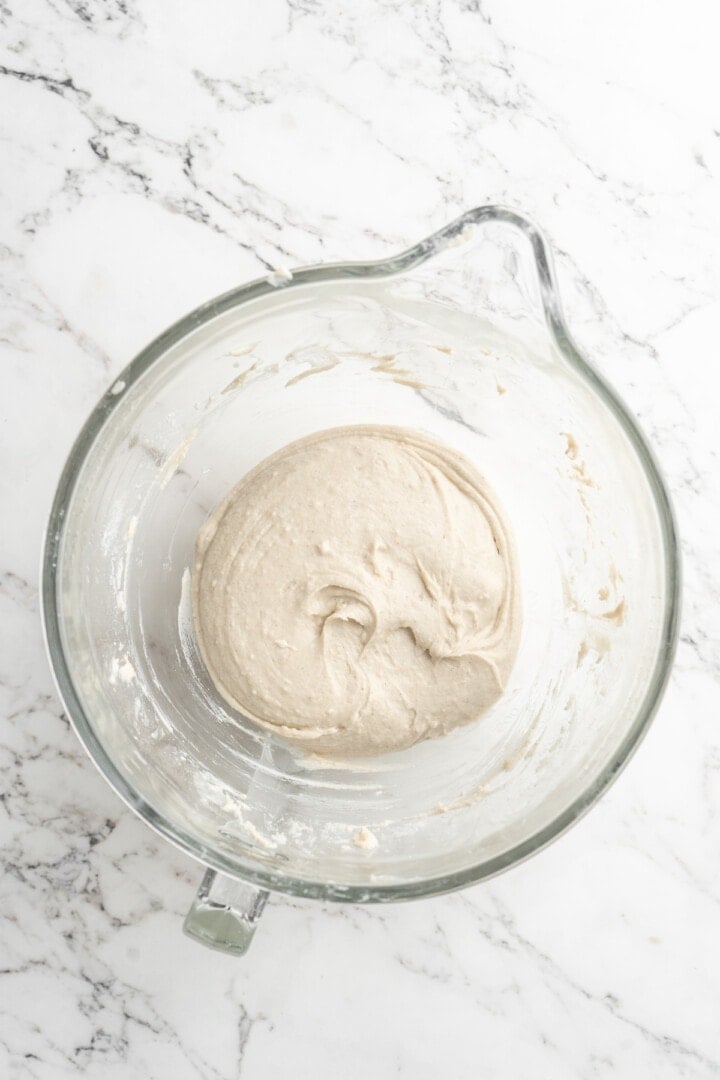
- Mix the dry ingredients. In the bowl of a stand mixer (or a large bowl if you don’t have a stand mixer), combine all but 1/4 cup of the flour with the salt, yeast, and sugar.
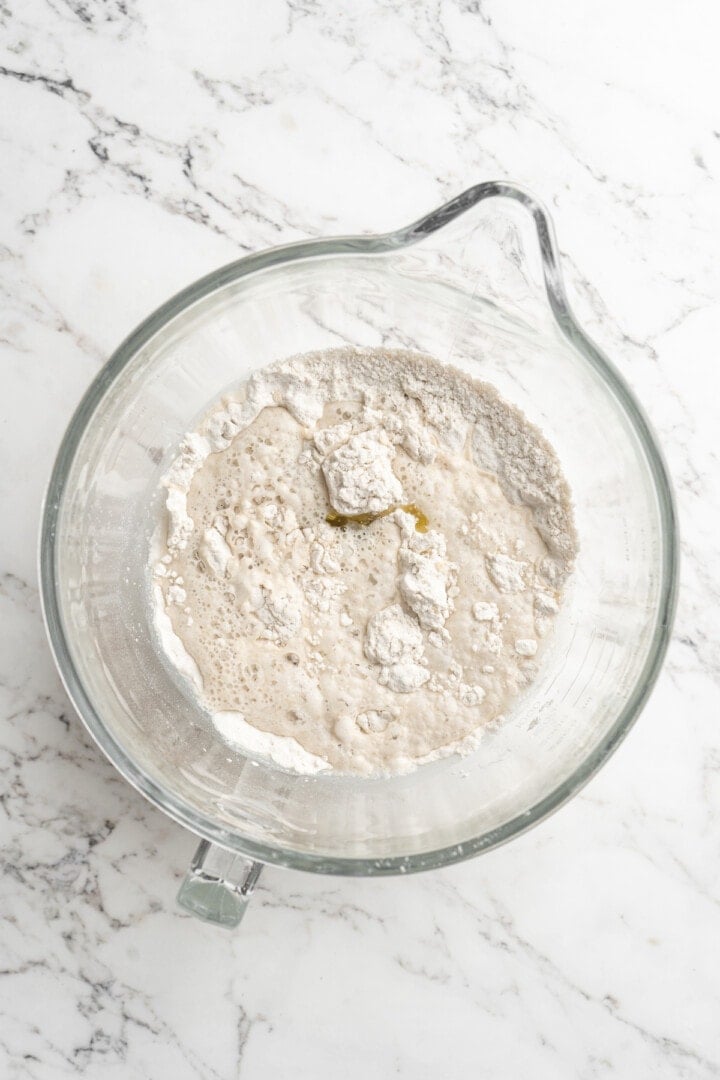
- Make a dough. Stir in the warm water and 2 tablespoons of oil using either the dough hook or your hands. Add the extra flour if needed; the dough will be wet.
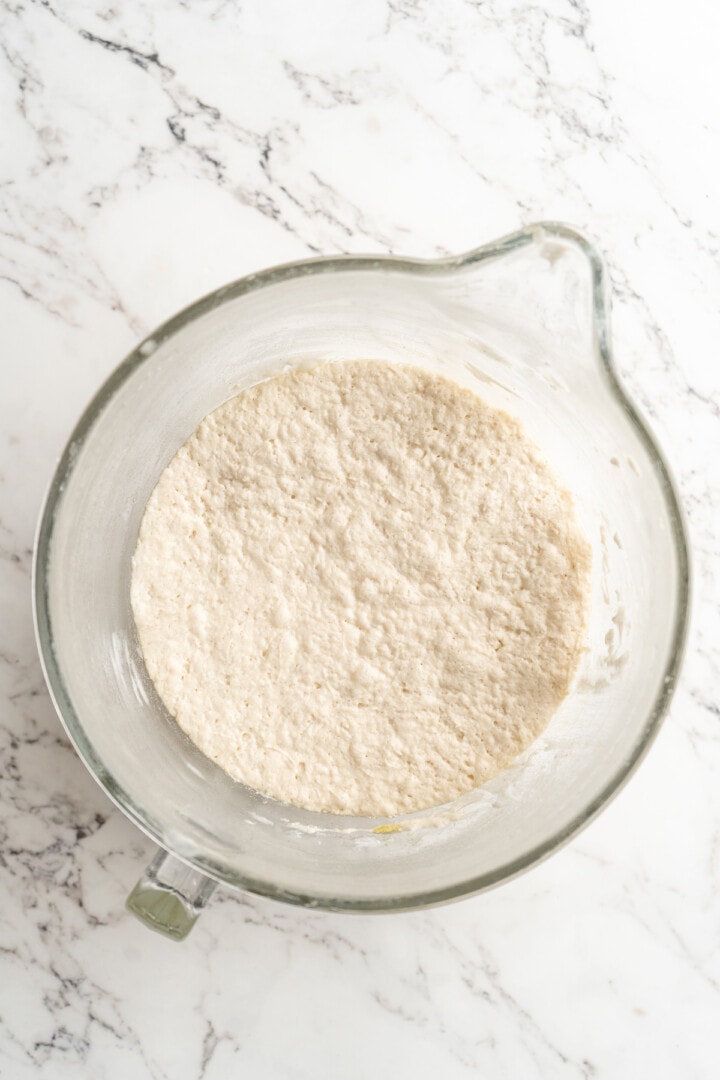
- Rise. Lift the dough, oil the bowl, then place the dough back in. Cover with a cloth or towel and allow to rise in a warm place for about 1 hour.
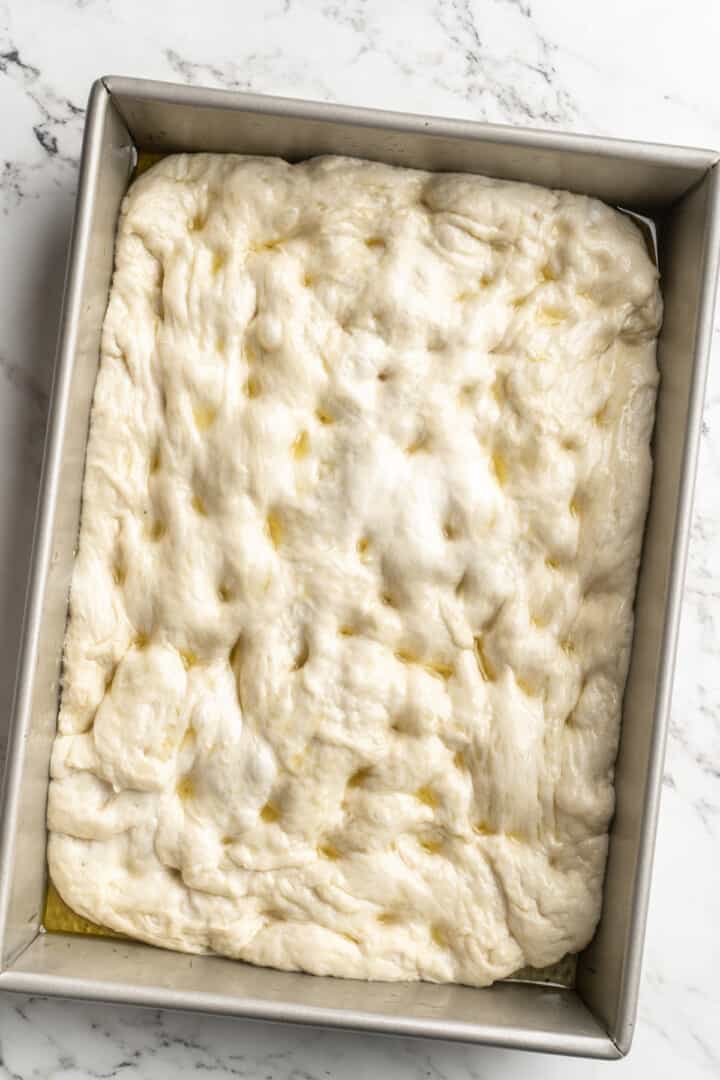
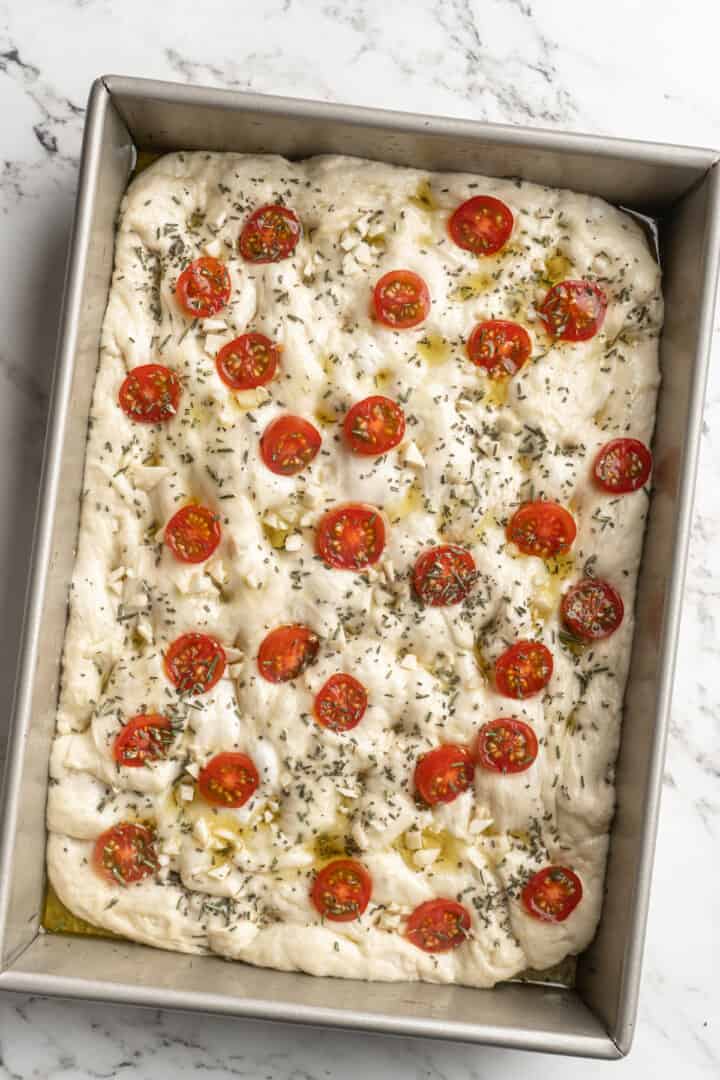
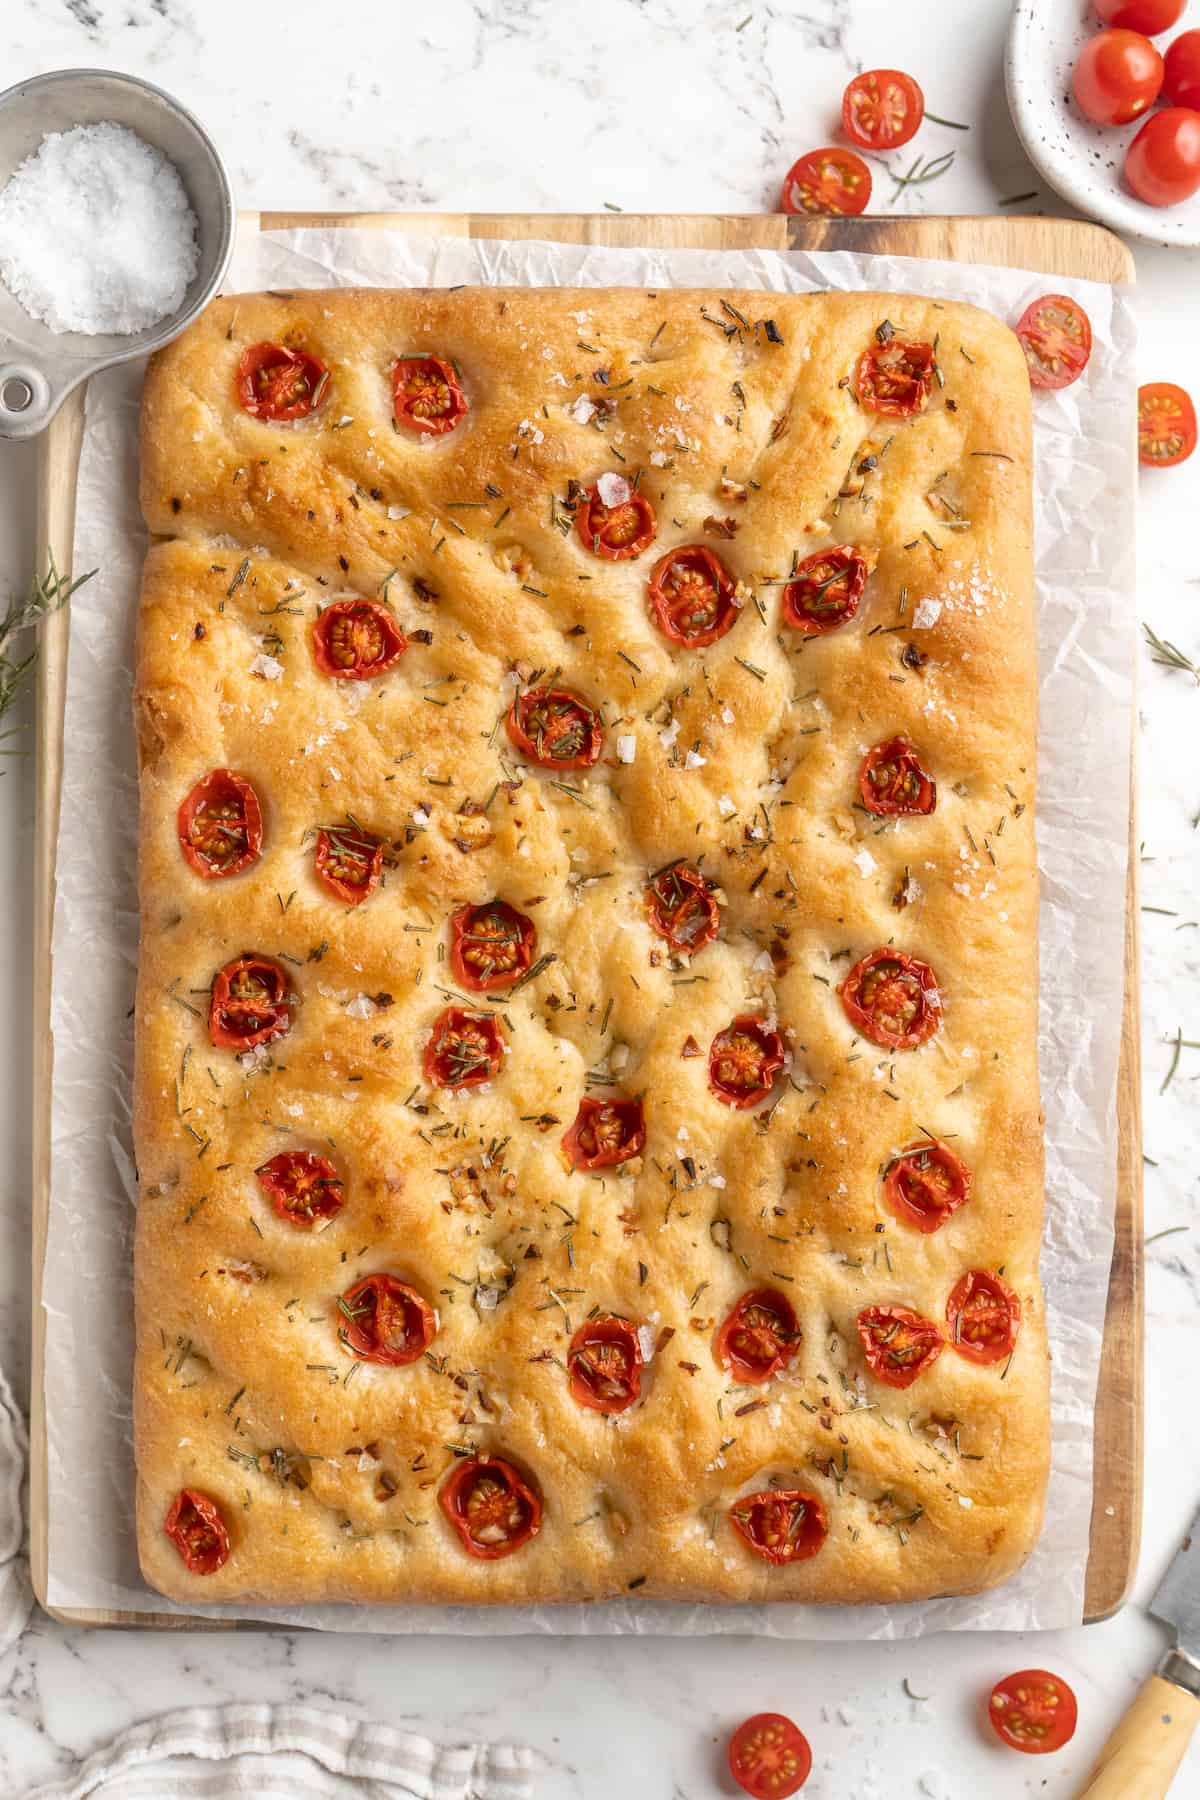
- Shape. Transfer the dough onto a greased baking sheet and press it into a 9×11 rectangle. Lightly oil your fingers and gently poke holes about an inch apart throughout the dough. Push a few pieces of garlic in each hole, then top the dough with the tomato slices.
- Rest. Drizzle the dough with the remaining olive oil and sprinkle the rosemary on top. Rest for 30 minutes while the oven preheats to 425°F.
- Bake. Place the pan in the oven and bake for 25 to 30 minutes, or until golden brown.
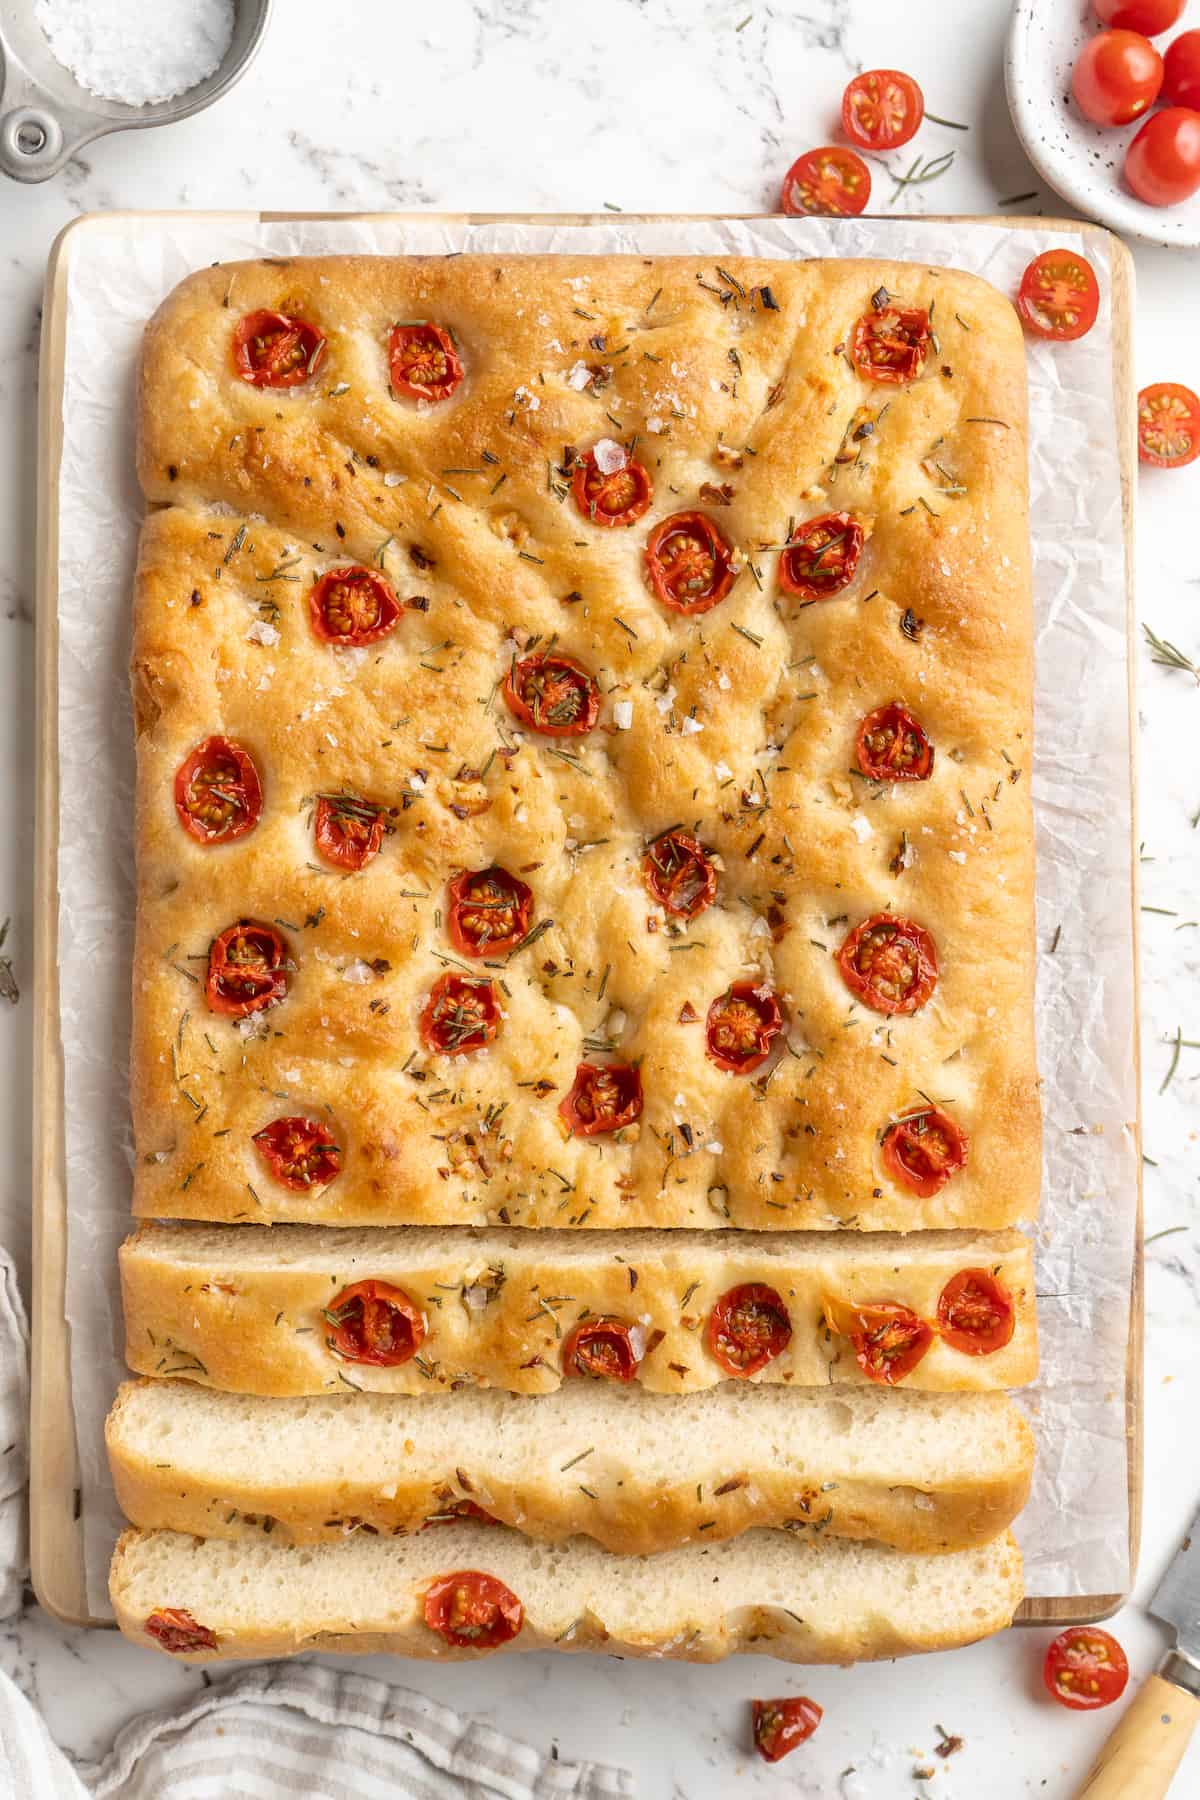
- Cool. Sprinkle salt on top of the focaccia, then remove it from the pan and transfer to a wire rack. Cool fully, then cut and serve.
Tips for Success
- Make sure the yeast is active. If you’re like me, you’ve had your yeast for a while in your fridge, and you’re wondering if it’s still good. Here’s how to test yeast before making this gluten-free focaccia.
- Use water that’s warm, not hot. This is crucial to the baking of the dough. The water should be about 120ºF. Hotter and it’ll kill the yeast, colder and it won’t be activated.
- Watch the dough, not the clock. The rising times are approximate—pay more attention to the appearance of the dough, not how much time has elapsed. If your kitchen is chilly, rising might take a little longer, while it might be faster on warm days.
Variations
I don’t recommend changing the base of this recipe, but you can feel free to switch up the toppings! Here are some ideas:
- Rings or petals of red onion add colour and a nice, caramelised flavour.
- Try another herb, like thyme or oregano.
- Add briny kalamata olives to make olive focaccia.
- Halved red grapes make an unexpectedly delicious addition, especially with rosemary and flaky sea salt.
- Sprinkle grated vegan cheese on top.
Serving Suggestions
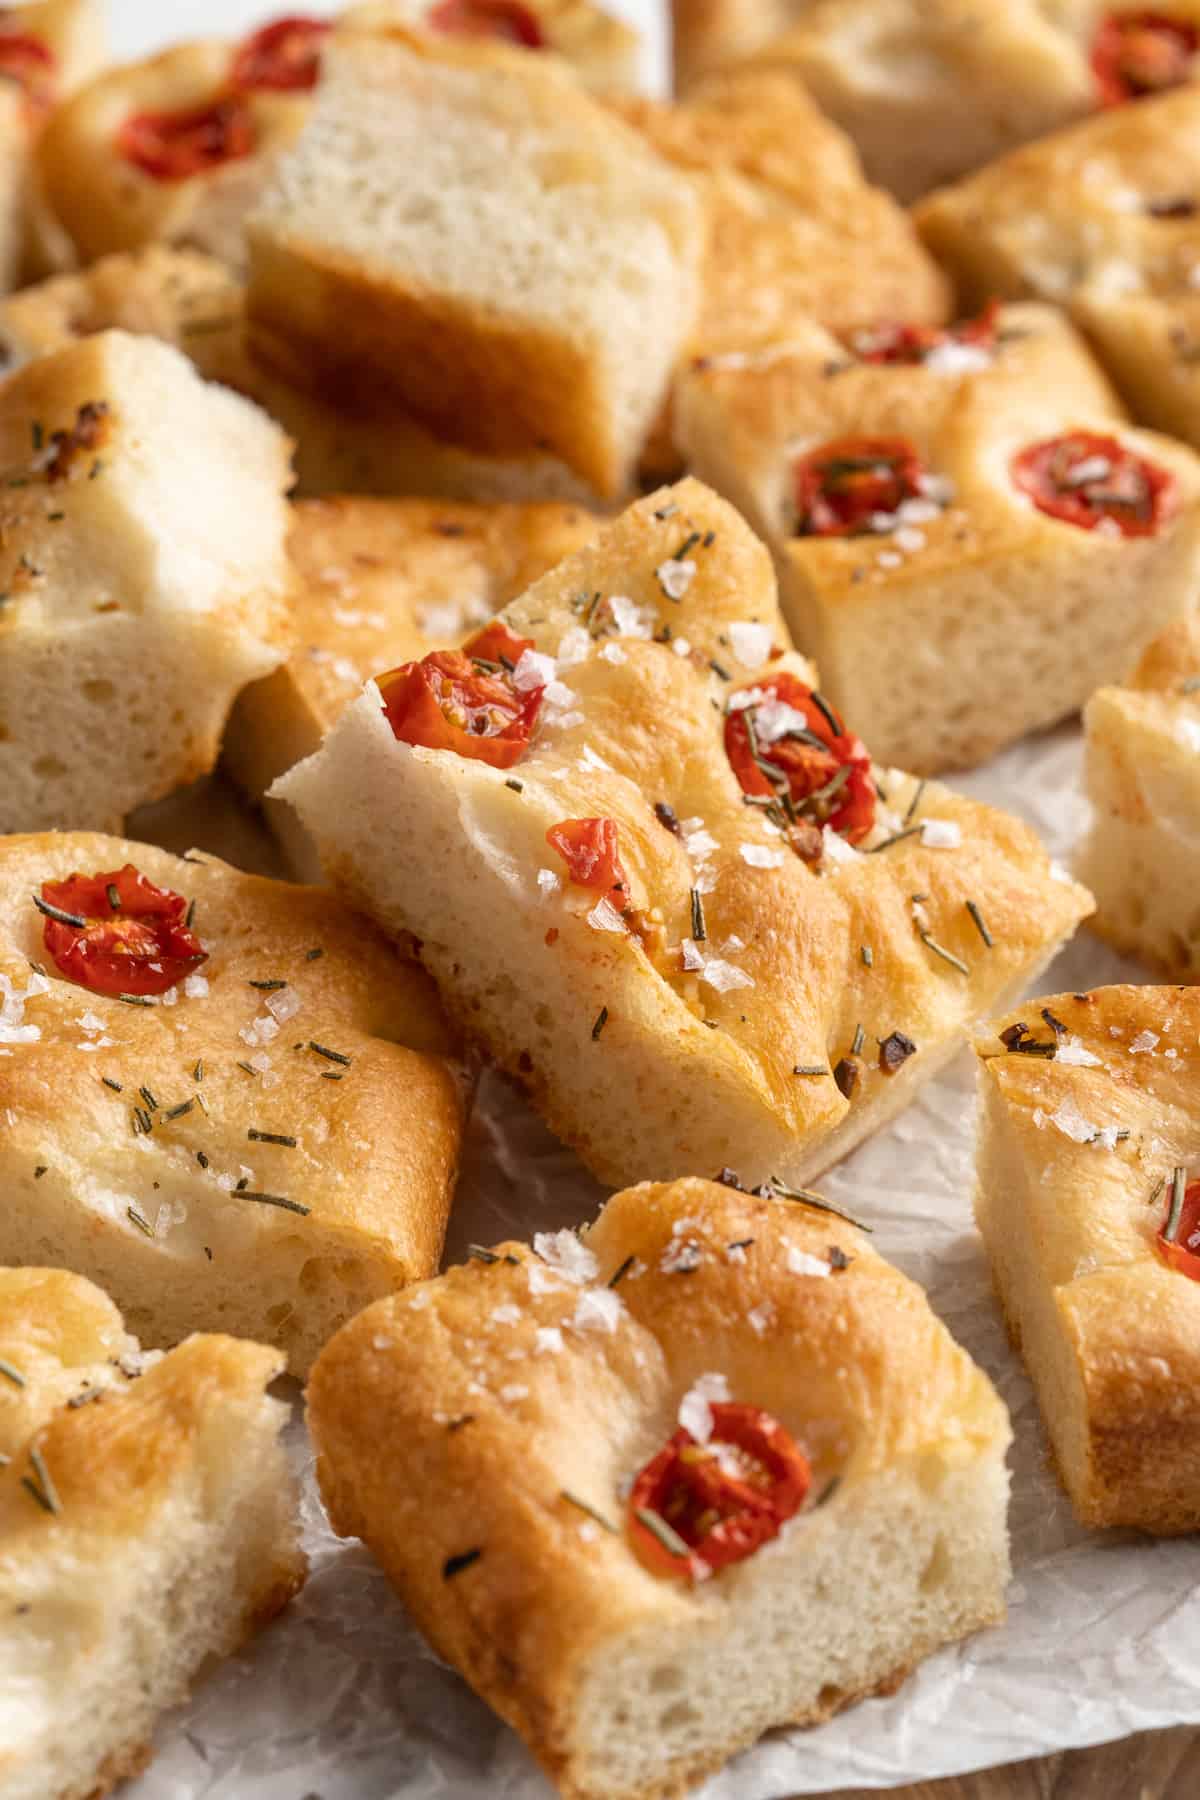
My favourite way to serve this gluten-free focaccia is with a soup (like this Butternut Squash Soup) or Pesto Zucchini Noodles with Burst Cherry Tomatoes. You can also use it to make great sandwiches, and pair with pretty much every meal you’re having!
How to Store
Gluten-free focaccia bread will stay fresh at room temperature for up to 2 days when stored in an airtight container.
Can I Freeze This Recipe?
Yes, gluten-free focaccia freezes beautifully! I recommend freezing it in slices and then reheating them in your toaster oven. This bread will last up to 3 months when frozen.
More Gluten-Free Recipes
- Strawberry Banana Bread (Gluten Free + Vegan)
- Gluten Free Brownies (Vegan)
- Vegan Gluten Free Chocolate Cake Recipe
- Gluten Free White Chocolate Cranberry Pistachio Cookies
- Easy Vegan Almond Flour Pizza Crust (Gluten Free & Low Carb)
Enjoy friends! If you make this gluten-free focaccia, please snap a photo and tag #jessicainthekitchen on Instagram! We’d also love it if you would leave a comment below, and give the recipe a rating! Thanks so much!
Gluten-Free Focaccia
Ingredients
- 2 ¼ cups all purpose gluten free flour mix, (333g)
- 1 teaspoon sea salt
- 2 ¼ teaspoons instant yeast
- 1 tablespoon organic cane or coconut sugar
- 1 ½ cups 110°F-120°F water
- ¼ cup extra virgin olive oil
- ¼ cup cherry tomatoes, cut into small pieces, (41.5g)
- 3 cloves garlic, finely minced
- 2 sprigs rosemary, chopped and stems removed
- large sea salt pieces, for topping
Instructions
- In the bowl of a stand mixer or any large bowl, combine all the flour, salt, yeast and sugar in a large mixing bowl and stir until blended.
- Add in the warm water (ensure it's still warmed to the necessary temperature) and two tablespoons of the oil. Stir with a dough hook or your hands until just completely combined. Add up to ¼ cup more flour is the dough feels way too sticky. The dough will be wet, not like regular dough – you haven't done anything wrong!If you don't have a thermometer – the water should be warm enough that you feel that "sting" of warm water but you can still keep your hand under the water. Water for tea is far too hot and will kill your yeast!
- Lift the dough out, grease the bowl slightly with a little oil from the remaining 2 tablespoons, and then place the dough back in. Cover with a cloth of towel and allow to rise/rest in a warm place (like an off, closed oven) for about 1 hour.
- Remove towel and gently spread the dough onto a greased baking sheet and into a rectangle shape until its even throughout, into a 11 x 9 shape (you can also use a baking sheet that is this exact size). Lightly oil your fingers a little from the remaining oil and gently poke holes about every inch in the dough going nearly to the bottom of the dough. You can also use the back of a wooden spoon or spatula. Into each hole, push a few pieces of garlic, using an equal amount in each hole for the entire bread. Then add the tomato slices equally around the wholes.
- Drizzle the bread with what's left of the remaining olive oil, and sprinkle the rosemary on top of the bread. Allow it to rest for a 30 minutes at least on the sheet while the oven preheats to 425°F/220°C.
- Bake for 25 to 30 minutes or until golden brown. Top with handful of coarse sea salt. Remove the bread from the pan and transfer to a wire rack. Allow to cool fully. Cut into squares or rectangles and serve. Enjoy!
Notes
Disclaimer: Although jessicainthekitchen.com attempts to provide accurate nutritional information, kindly note that these are only estimates. Nutritional information may be affected based on the product type, the brand that was purchased, and in other unforeseeable ways. Jessicainthekitchen.com will not be held liable for any loss or damage resulting for your reliance on nutritional information. If you need to follow a specific caloric regimen, please consult your doctor first.


Hi Jessica
Can you tell me what the list of ingredients is in that flour please?
Hi Lynne,
You bet—I’ve looked it up and the Bobs Red Mill Flour Gf Baking has the following ingredients: Sweet white rice flour, whole grain brown rice flour, potato starch, whole grain sorghum flour, tapioca flour, xanthan gum. I hope this helps!!
Just made this – SO good! Thank you for sharing recipe. I used Bob’s Red Mill All Purpose gluten free flour. I did have to add much more flour to get a dough consistency, but it all worked out. My bread was fluffy, not too chewy, and moist.
Hi Enola,
So so happy to hear that you were able to get the right consistency going, and enjoyed this recipe!! I appreciate you sharing.