Gluten Free Brownies (Vegan)
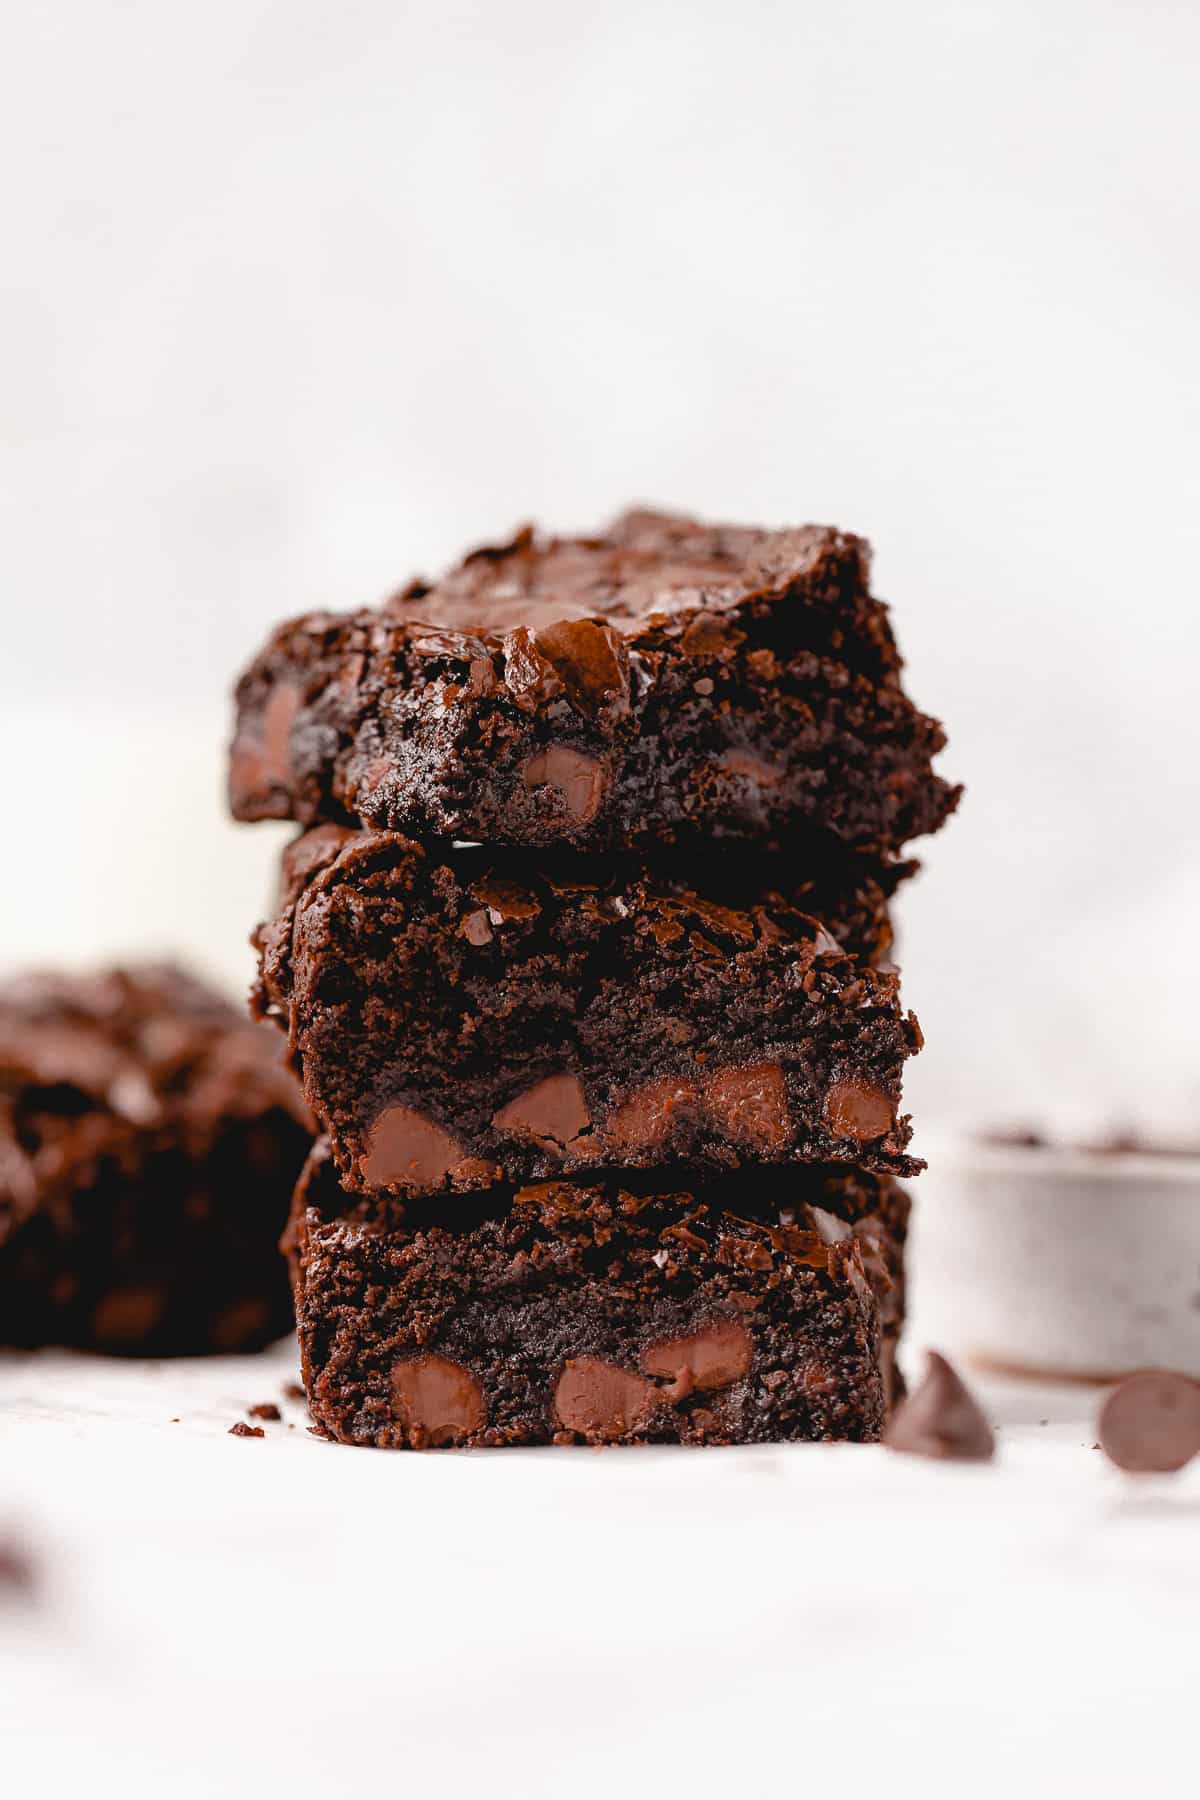
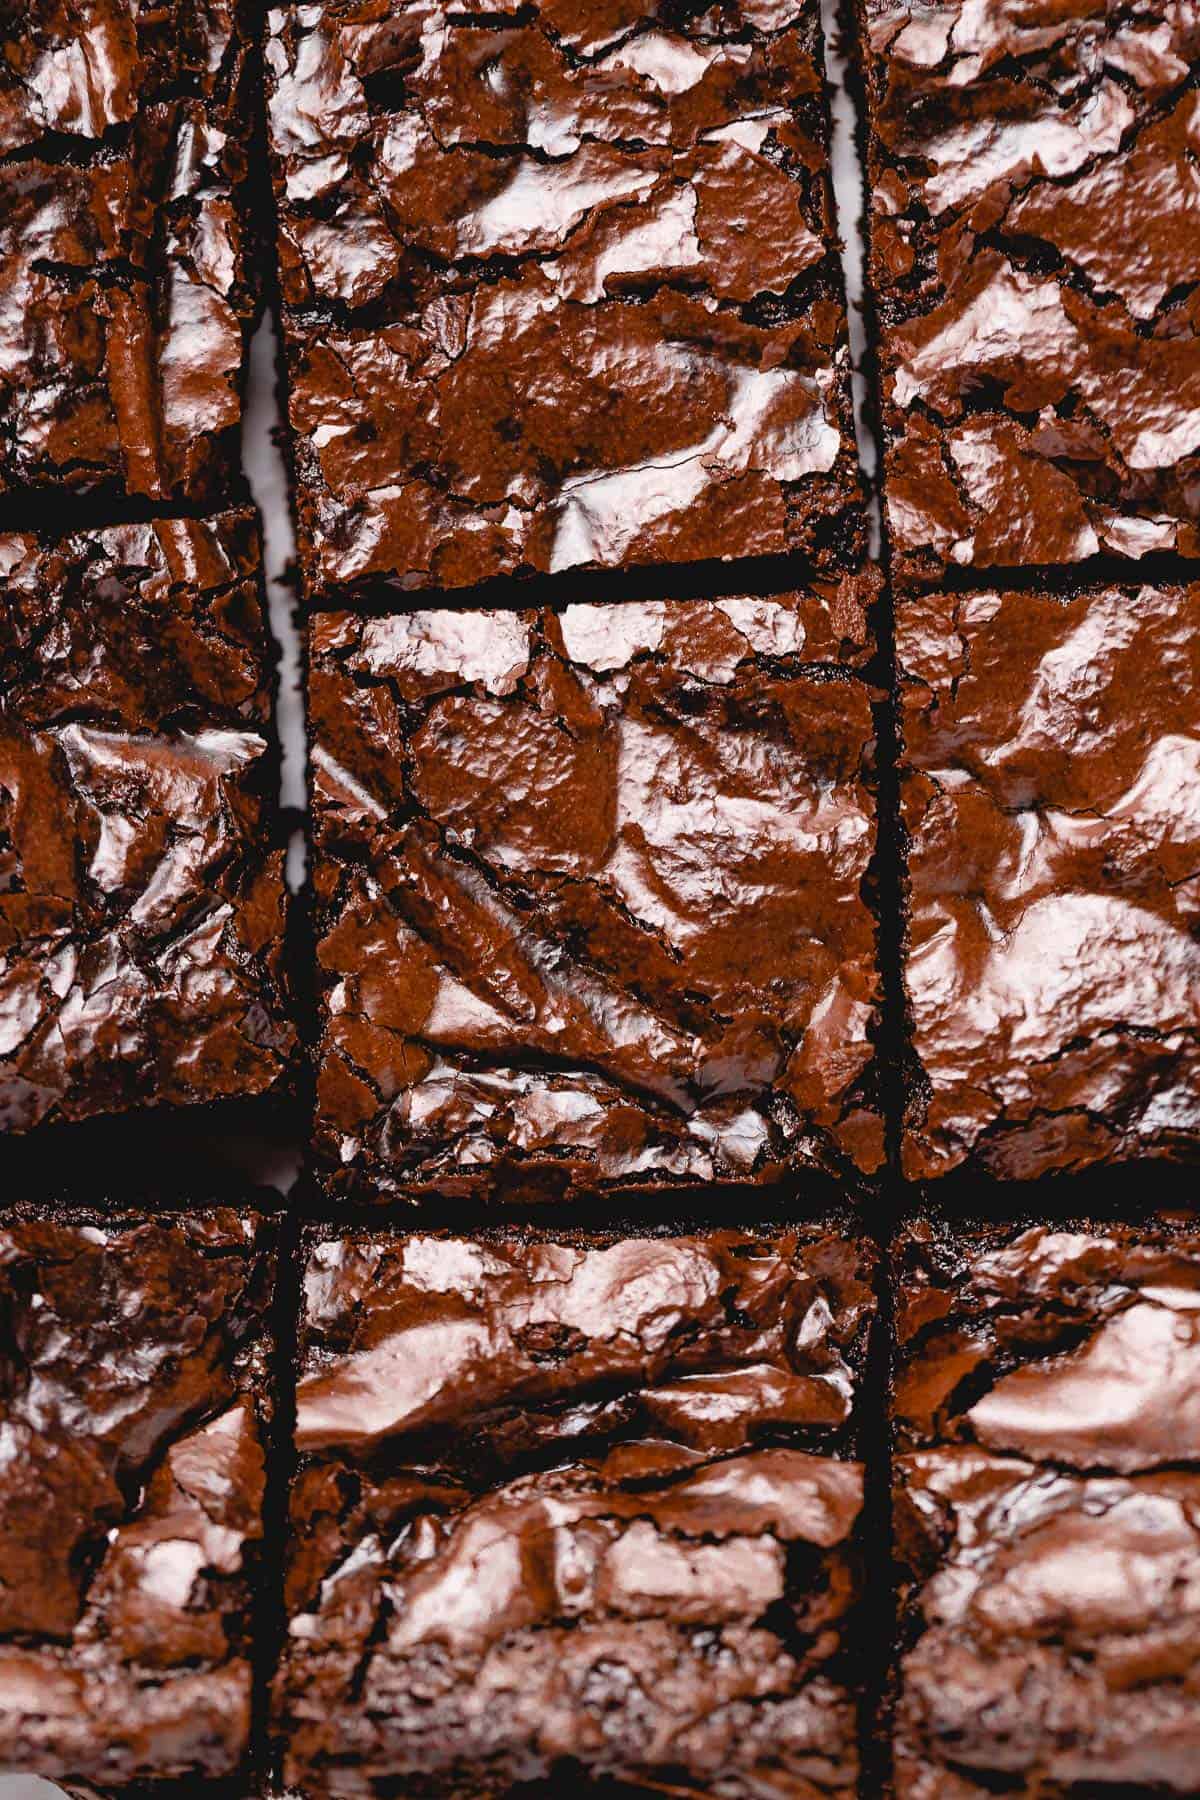
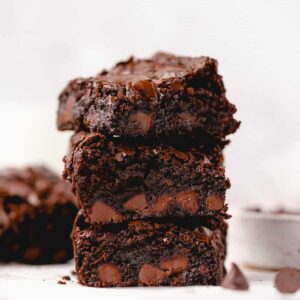
These gluten free brownies are thick, moist, chewy and taste incredible! They only need 10 ingredients, and are perfect for your gluten free and allergy friendly needs! Follow my tips for the best results every time!
Estimated reading time: 7 minutes
Thanks to Bob’s Red Mill for sponsoring this blog post! Thanks so much to you for supporting the brands who support Jessica in the Kitchen! All texts and opinions are my own.
This gluten free brownies recipe has been requested for such a long time and they’re finally here! They’re dairy free, egg free, and vegan! If you or someone in your life has certain allergy needs, these brownies are THE best place to be! Best of all? These are the best gluten free brownies made from scratch that I’ve ever had.
As usual, these gluten free brownies are made with Bob’s Red Mill, my favourite gluten free flour brand! Let me tell you, I’ve been using this flour for years. It’s basically on permanent rotation in our household. Whether you’re making these brownies, or my chocolate mug cake, or even my chocolate cake – this flour will give you the results you desire!!
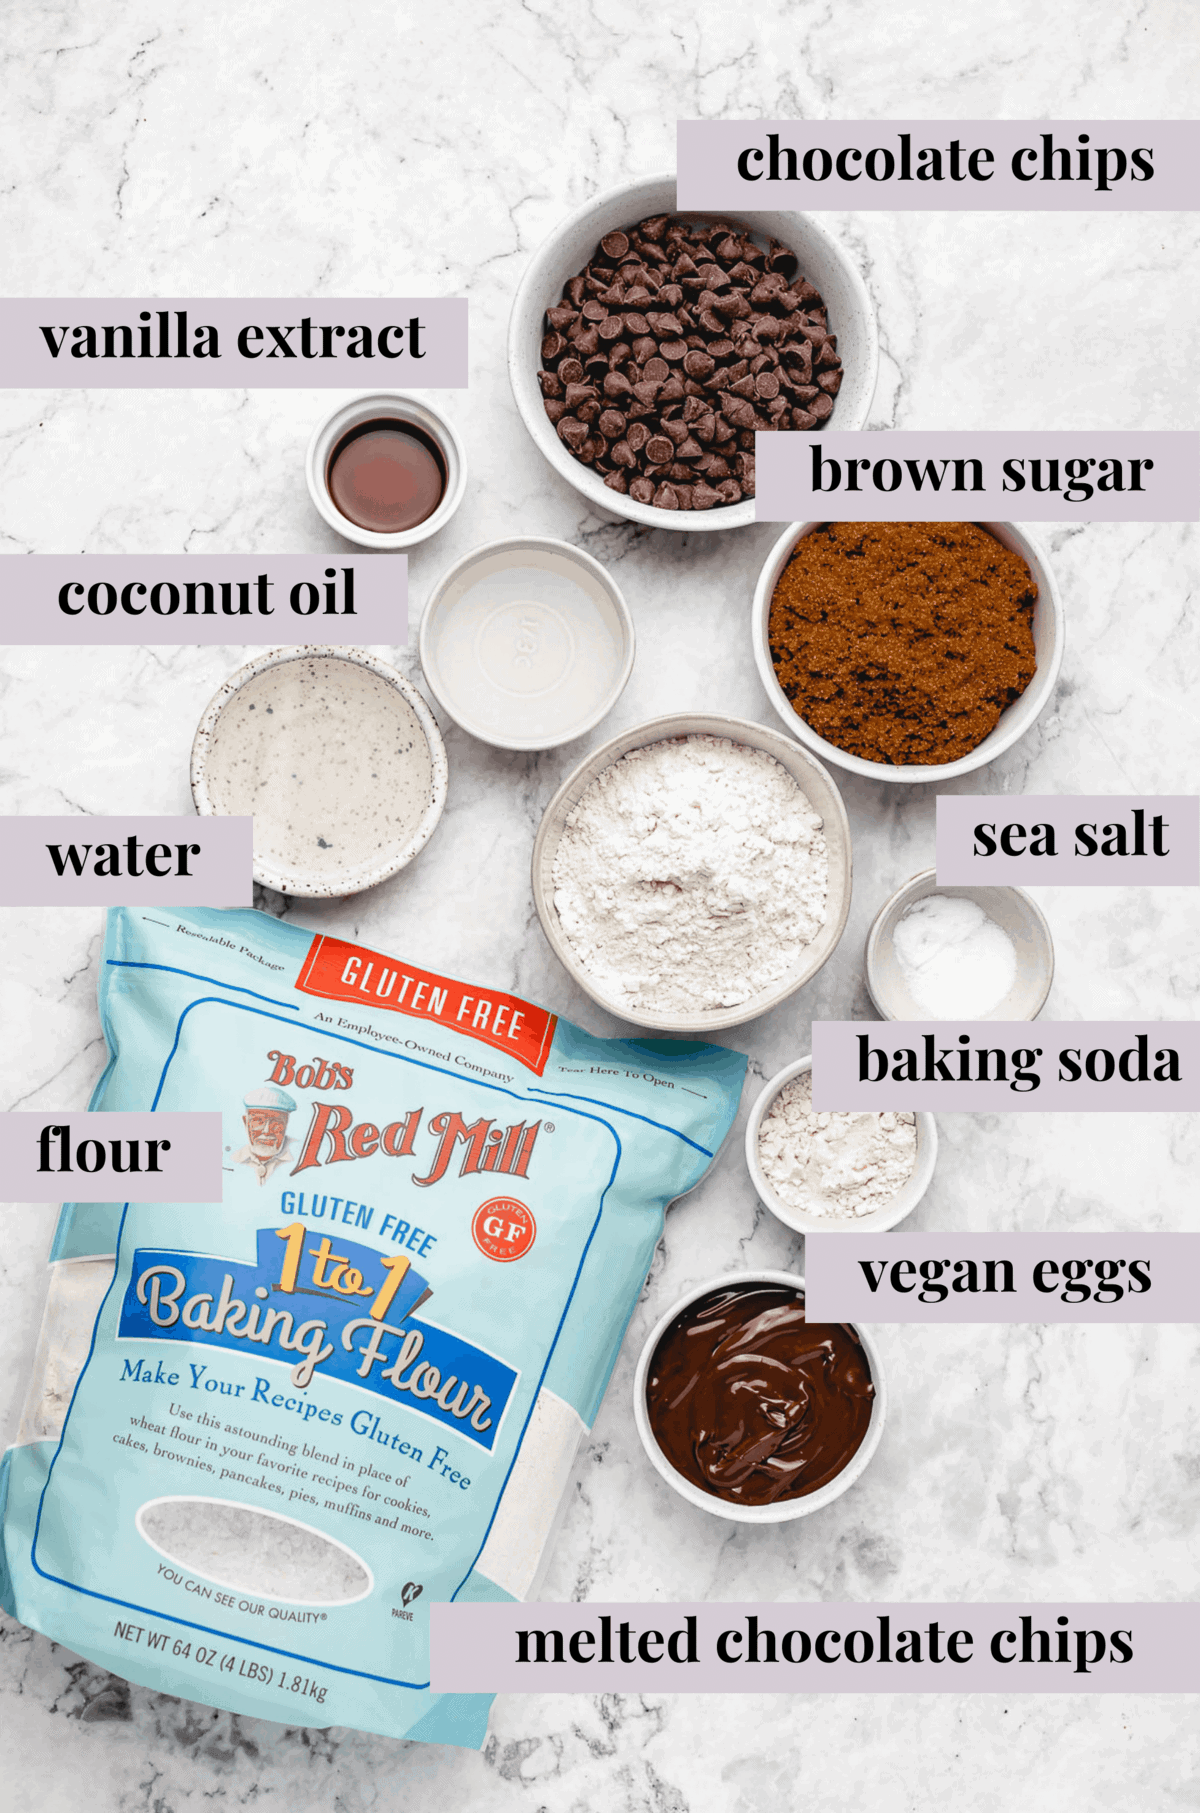
Notes on the Ingredients:
Please scroll to the recipe for the full detailed ingredients and instructions!
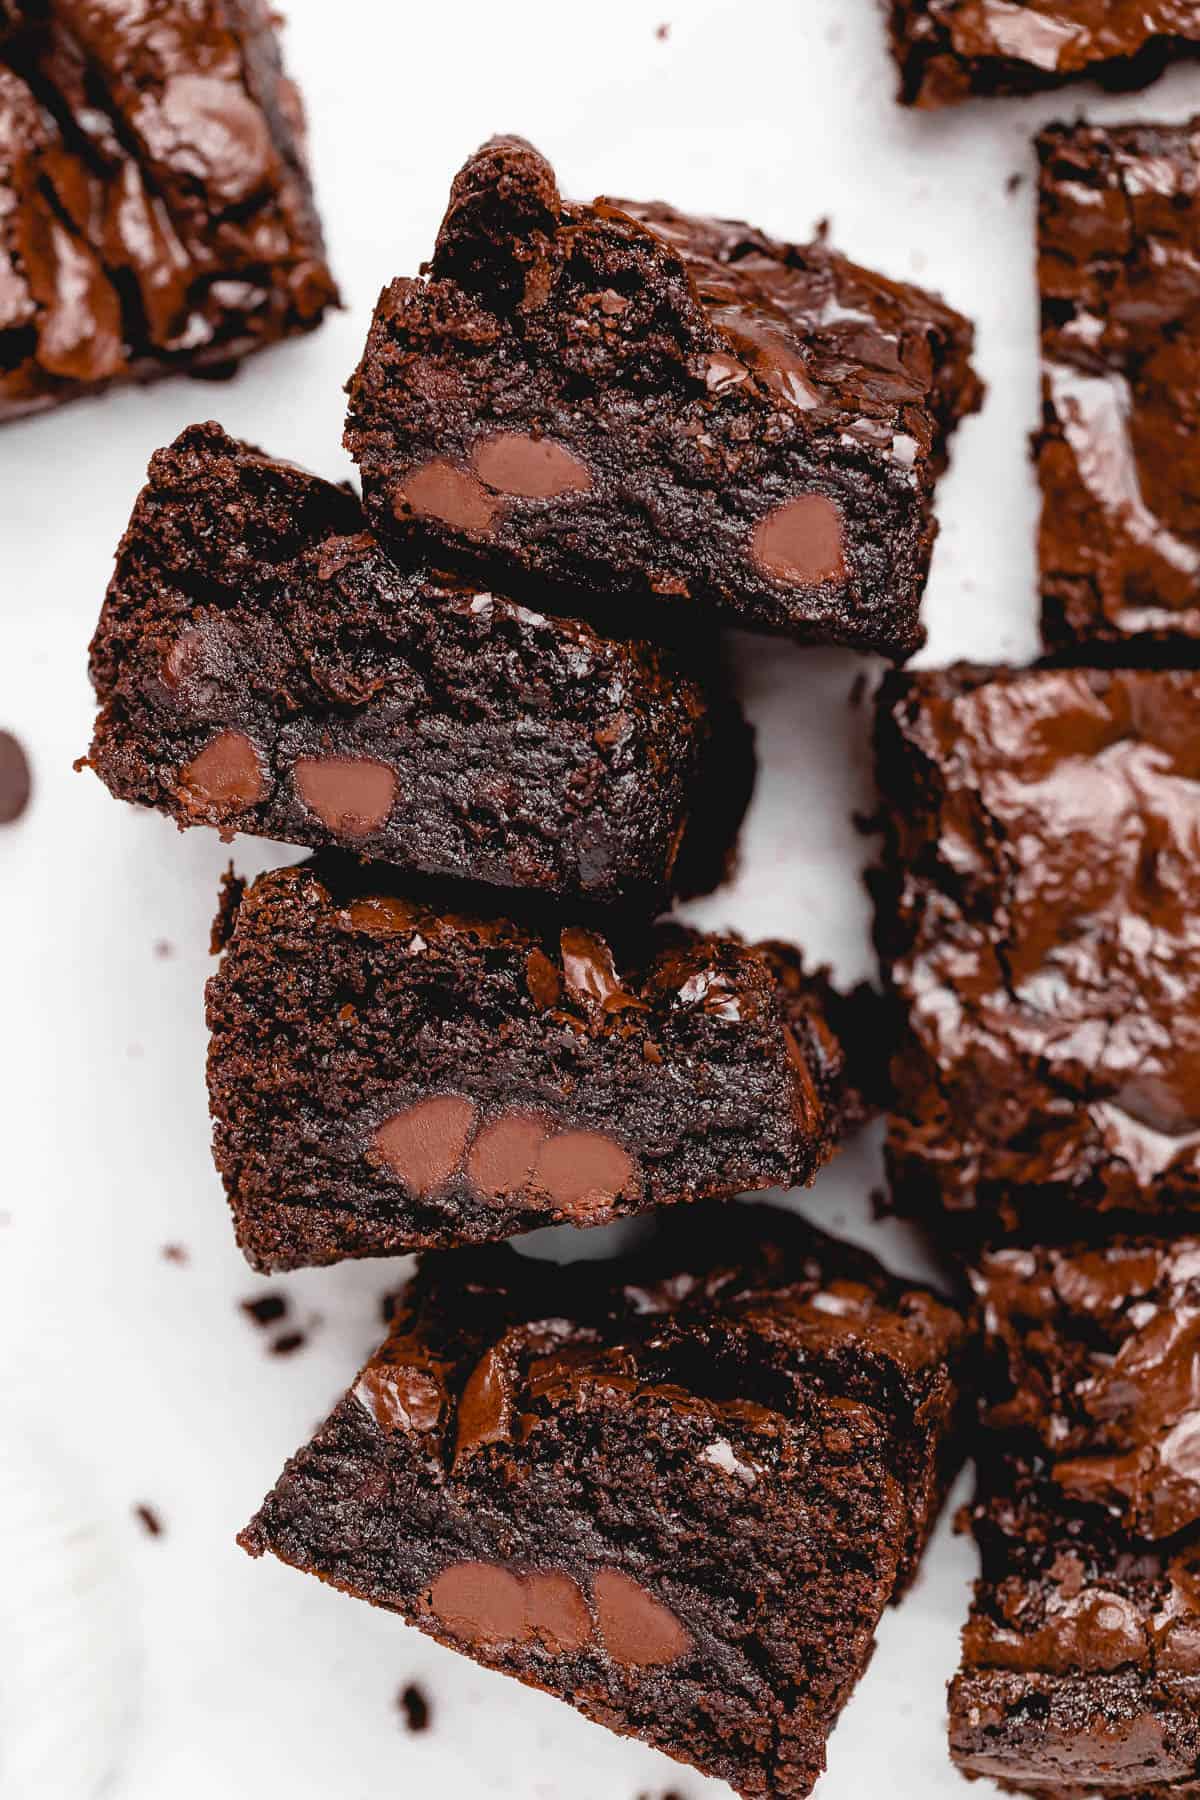
- Chocolate Chips: you’ll need some for melting, and some to mix into the brownie batter for double chocolate brownies!
- Bob’s Red Mill Gluten Free 1-to-1 Baking Flour: Always weigh out your flour for the best results! I love this gluten free flour for the texture and consistent results.
- Sea Salt: I like to use sea salt instead of regular salt. Sea salt granules are bigger than regular salt granules though, so if you want to use regular salt, I recommend reducing the measurement.
- Baking Soda: using a little baking soda gives the brownies a great lift.
- Vegan Eggs: For the best texture, the Bob’s Red Mill Egg Replacer is my go-to. Flax eggs are also a great option, but as there is natural oil in flax seeds, it can produce a slightly “oily on the bottom” results. This doesn’t happen when you’re using the egg replacers. One bag lasts a while, and I just always keep one in the fridge for whenever I’m ready to use it.
- Brown Sugar: white sugar will also work here, and so will pure cane sugar if you prefer.
- Melted Coconut Oil (or any oil): is the substitute for butter in this recipe; it makes for fabulously rich brownies. You don’t have to use any coconut oil. You can use refined coconut oil for no flavour, or any other oil!
- Water: make sure to only add the amount in the recipe. Adding too much water makes the brownies less thick, and less likely to hold together after baking.
- Pure Vanilla Extract: for extra yummy flavor!
How to Make Gluten Free Brownies (Step by Step)
These brownies come together in 6 easy steps. Once you’ve melted the chocolate chips, all you really have to do is mix the rest of the ingredients together, and pop the brownies in the oven to bake. You’re welcome for that wonderful, chocolate-y smell! For the full ingredients and instructions, scroll to the recipe!
Preheat the Oven: Preheat oven to 325°F/160°C.
Melt the Chocolate Chips: Melt chocolate chips in the microwave for a minute, stirring after to see if chips have melted. See full recipe below for complete melting instructions.
Combine Flour, Salt & Baking Soda: In a medium bowl, whisk the flour, salt and baking soda until combined. Set aside.

Mix Wet and Dry Ingredients: In a separate bowl, add the flax eggs, sugar and oil and mix until combined for about 2 minutes. Add the water and the vanilla extract and mix again.
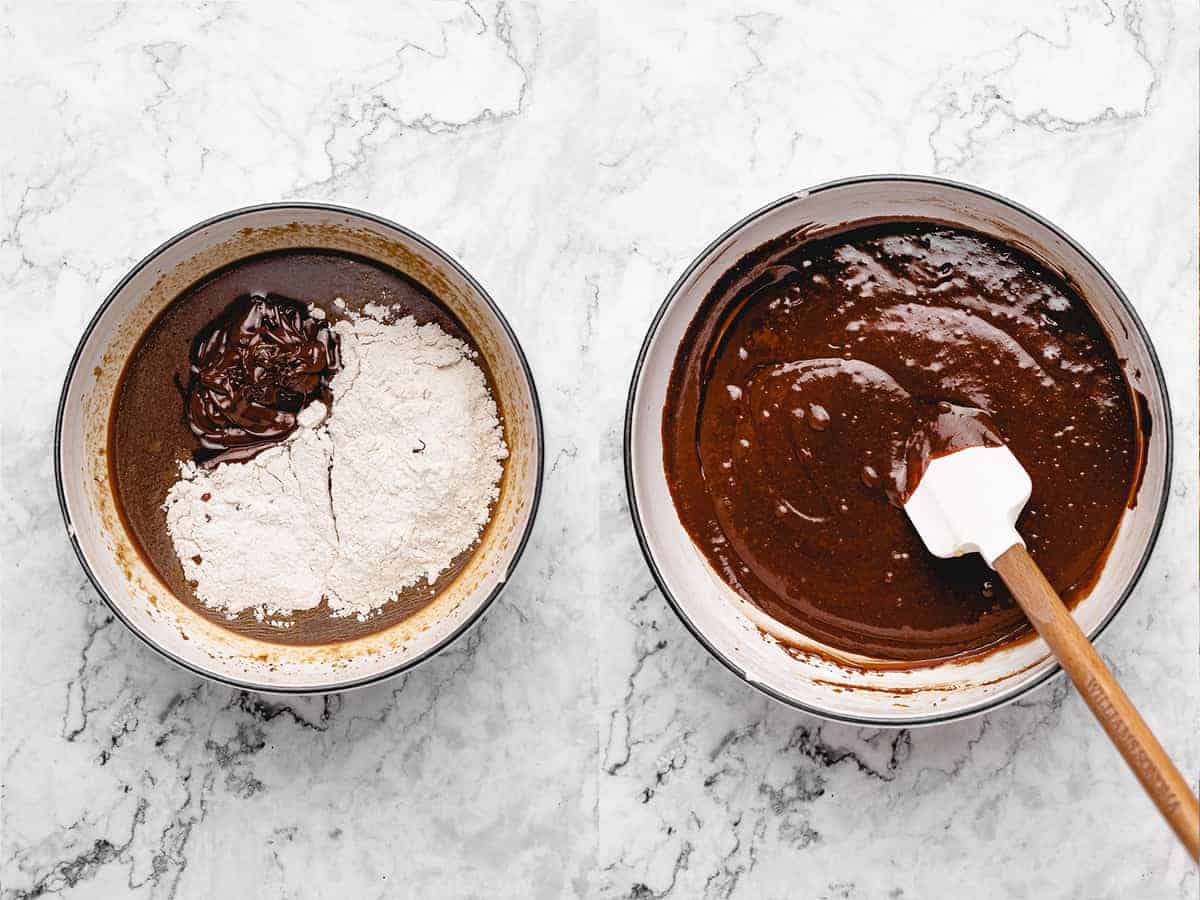
Then add the dry mixture to the wet mixture and melted chocolate chips and stir for about 3 minutes until combined.
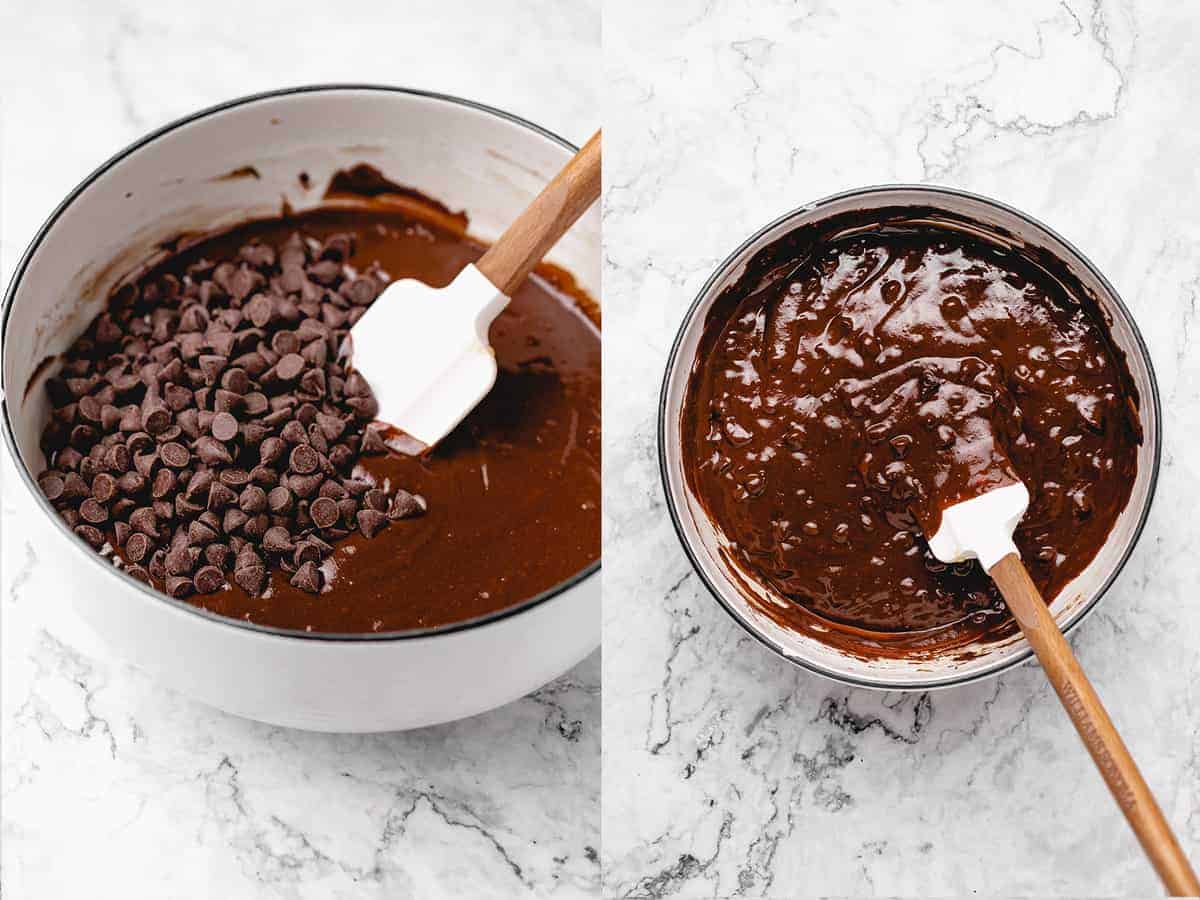
Add Chocolate Chips: Stir in 1 cup chocolate chips. Pour into a greased, parchment lined, or a greased foil-lined 8×8 square pan.
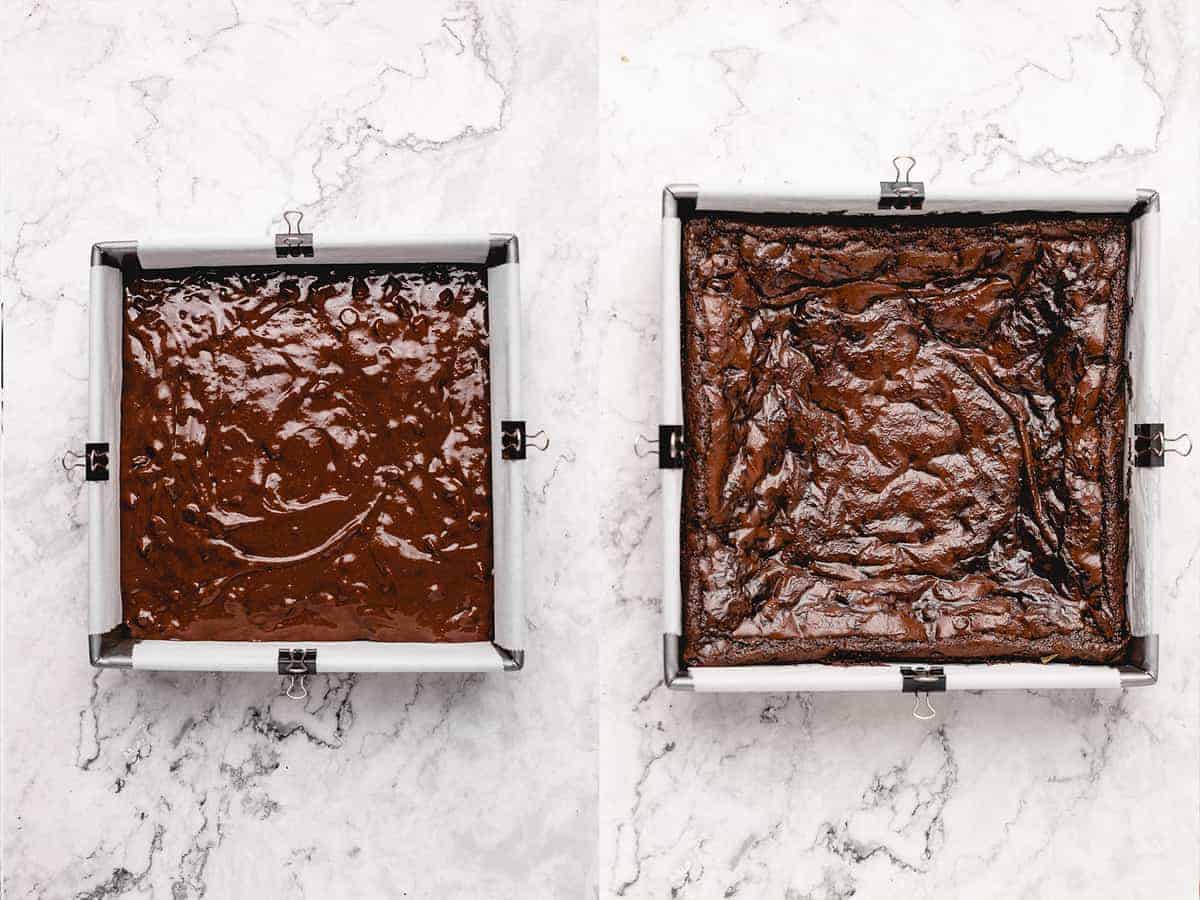
Bake for 35 minutes.
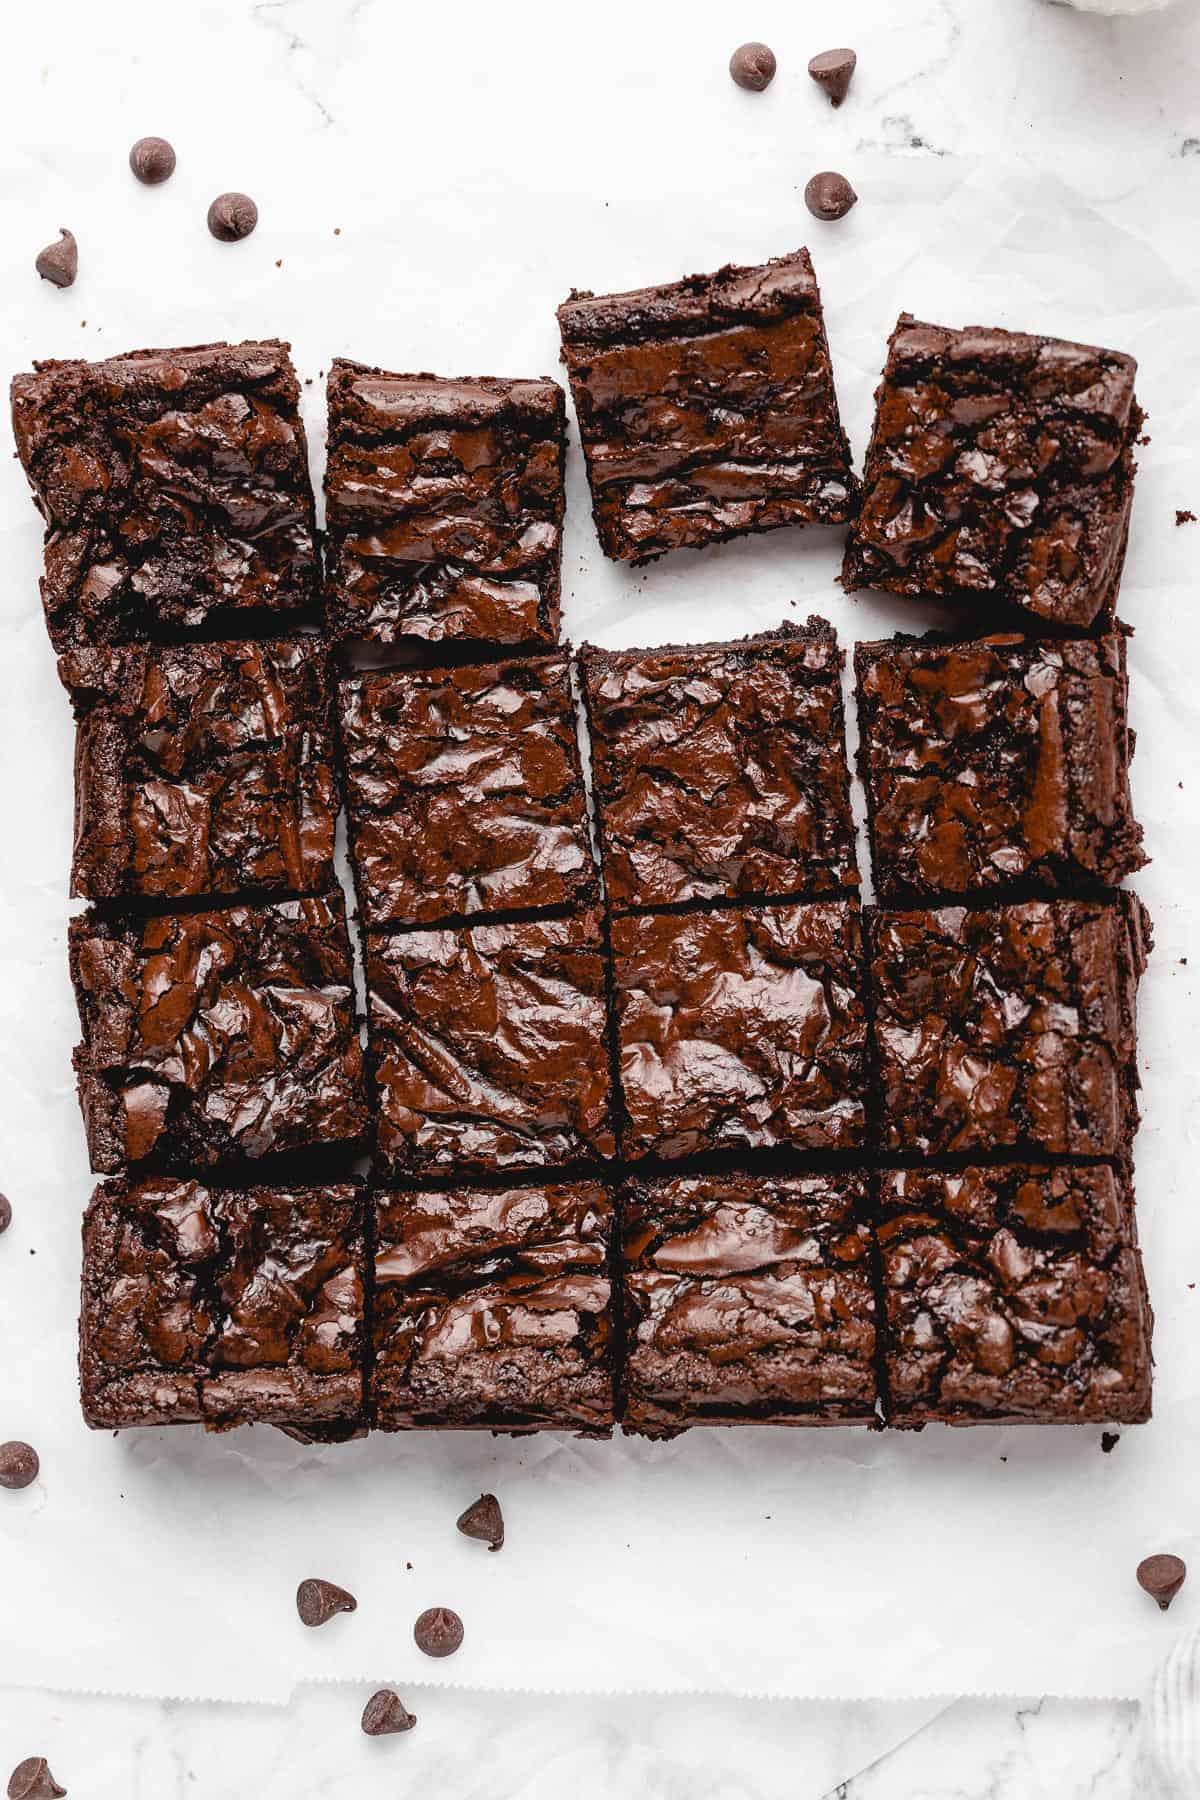
Let Brownies Cool: When finished, remove from the oven and allow to cool completely in a pan on a wire rack. Slice into 9, 12 or 16 slices. Enjoy!
Tips for Success:
- Pan Size: Don’t change the pan size! It’s crucial for the success of the right texture and outcome of brownies.
- Especially for gluten free flour, I always recommended weighing out your flour. If you look on the back of the flour, it actually weights differently than wheat flour, and that’s why it’s extra important to weigh it out. I just use a regular kitchen scale, and get guaranteed results each time. Plus, weighing out my ingredients removes ANY stress from the baking process as to whether you’re “doing it correctly”.
- For Extra Fudgy Brownies: once the brownies have cooled, let them firm up in the fridge for an hour or two. If you’re a fan of really thick, dense brownies (i.e. not cake-like), this is the way to go.
- Also, let the brownies cool before you cut them so that they don’t crumble.
- For the best texture, the egg replacers are my go to. Flax eggs are also a great option, but as there is natural oil in flax seeds, it can produce a slightly “oily on the bottom” results. This doesn’t happen when you’re using the egg replacers. One bag lasts a while, and I just always keep one in the fridge for whenever I’m ready to use it.
- Especially if you’re using an older baking pan, I recommend using parchment paper to line your pan. It makes sticking basically impossible, and allows you to lift the entire brownie out of the pan!
- Now, your chocolate chips. The chocolate chips you use in this recipe can actually make a huge difference on whether your brownies come out cake-y or fudgy! I highly recommend using a semi-sweet or vegan milk chocolate here. It tends to have more cocoa butter/chocolate liquor base, which results in a creamier and fudgier consistency.
- Especially ensure that you weigh out your oil. I can’t tell you how many times I eye-ball oil and it’s way over the actual weight, which can produce an over-oily end product.
- Always check that your baking soda is still fresh before starting!
How to Store Extra Brownies
Extra brownies can be refrigerated for about a week in an airtight container. When you want to enjoy them again, I recommend microwaving them for a couple of seconds so that they’ll be nice and warm.
Can I Freeze Homemade Brownies?
You can totally freeze homemade brownies. They store really well in tightly-sealed freezer bags, or stacked in an airtight container. Once frozen, they will keep for 2-3 months. When you want to eat them again, it’s a good idea to thaw them in the fridge overnight.
Related Recipes
Gluten Free Brownies (Vegan)
Ingredients
- 1 cup chocolate chips, melted (188g)
- 1 cup Bob’s Red Mill Gluten Free 1-to-1 Baking Flour, (133.75g)
- 1/2 teaspoon sea salt
- 1/4 teaspoon baking soda
- 2 Bob’s Red Mill Egg Replacer*, or flax eggs (see notes below)
- 3/4 cup brown sugar, or cane sugar or coconut sugar (158g)
- 1/3 cup melted coconut oil, or any oil (66g)
- ¼ cup water
- 1 teaspoon pure vanilla extract
- 1 cup chocolate chips , unmelted
Instructions
- Preheat the oven to 325°F/160°C.
- Melt chocolate chips in the microwave for a minute, stirring after to see if chips have melted. If not, microwave in increments of 30 seconds until completely melted. Alternatively, you can melt it over a small pot of boiling water (Not a lot of water in the pot) and put the chocolate chips in a heatproof and melt proof bowl over the pot and stir until melted.
- In a medium bowl, whisk the flour, salt and baking soda until combined. Set aside.
- In a separate bowl, add the egg replacers, sugar and oil and mix until combined for about 2 minutes. Add the water and the vanilla extract and mix.
- Add the dry mixture from earlier to the wet mixture along with the melted chocolate chips and stir for about 3 minutes until combined.
- Stir in 1 cup chocolate chips. Pour into a parchment paper lined 8×8 square pan. Bake for 35 minutes.
- When finished, remove from the oven and allow to cool completely in a pan on a wire rack.
- Slice into 9, 12 or 16 slices. Enjoy!
Notes
- Pan Size: Don’t change the pan size! It’s crucial for the success of the right texture and outcome of brownies.
- Especially for gluten free flour, I always recommended weighing out your flour. If you look on the back of the flour, it actually weights differently than wheat flour, and that’s why it’s extra important to weigh it out. I just use a regular kitchen scale, and get guaranteed results each time. Plus, weighing out my ingredients removes ANY stress from the baking process as to whether you’re “doing it correctly”.
- For Extra Fudgy Brownies: once the brownies have cooled, let them firm up in the fridge for an hour or two. If you’re a fan of really thick, dense brownies (i.e. not cake-like), this is the way to go.
- Also, let the brownies cool before you cut them so that they don’t crumble.
- For the best texture, the egg replacers are my go to. Flax eggs are also a great option, but as there is natural oil in flax seeds, it can produce a slightly “oily on the bottom” results. This doesn’t happen when you’re using the egg replacers. One bag lasts a while, and I just always keep one in the fridge for whenever I’m ready to use it.
- Especially if you’re using an older baking pan, I recommend using parchment paper to line your pan. It makes sticking basically impossible, and allows you to lift the entire brownie out of the pan!
- Now, your chocolate chips. The chocolate chips you use in this recipe can actually make a huge difference on whether your brownies come out cake-y or fudgy! I highly recommend using a semi-sweet or vegan milk chocolate here. It tends to have more cocoa butter/chocolate liquor base, which results in a creamier and fudgier consistency.
- Especially ensure that you weigh out your oil. I can’t tell you how many times I eye-ball oil and it’s way over the actual weight, which can produce an over-oily end product.
- Always check that your baking soda is still fresh before starting!
Disclaimer: Although jessicainthekitchen.com attempts to provide accurate nutritional information, kindly note that these are only estimates. Nutritional information may be affected based on the product type, the brand that was purchased, and in other unforeseeable ways. Jessicainthekitchen.com will not be held liable for any loss or damage resulting for your reliance on nutritional information. If you need to follow a specific caloric regimen, please consult your doctor first.


The recipe seems wonderful but please suggest other healthy flour substitute.. will almond or buckwheat flour work here?
Hi Jeena! Thanks so much for reading. Here’s our almond flour brownie recipe I think this might help https://jessicainthekitchen.com/vegan-almond-flour-brownies-gluten-free-fudgy/
Thank you for the this recipe! My toddler is basically allergic to wheat, eggs, milk…etc. We’ve tried gluten and vegan-free store bought brownies and they just didn’t cut it. He and I LOVE these brownies. Very scrumptious and we’re lucky if they last even 3 days. Thank you!
Hello, I want to make your brownies, but I need your help. I use a different egg powder, and to replace one egg, I need 3 grams of powder and 30 millilitres of water, so how much powder do I need for your recipe? I would be very grateful for your help.
Hi Nadiia,
You’ll want to use the amount given for two “eggs” for this recipe! Hope this helps.
Made these today after seeing them on IG & they were delicious! I used grape seed oil instead of coconut & they came out great, only slightly oily. Next time I’ll measure the oil as you mentioned, I did measure the flour. This is the first vegan brownie recipe that has turned out great for me, the rest have been disastrous 😬
Thank you!
Aww I’m soo happy that it came out so great for you!! Thanks so much for sharing with me!
In the recipe, it says 2 Bob’s Red Mill egg replacers… but not the measurement. Is it cups? Tablespoons? I’m confused and I wanna bake this!!
Hi Naree,
I didn’t put the measurement because it differs per egg replacement, and sometimes companies change these measurements. The BRM bag will give you the precise measurements for their egg replacer as will everyone as how much water to put with it. So just check the bag!
The best vegan brownie recipe I’ve ever made finally after 5 years! My only note is I’ve had 2 people unrelated mention they taste a slight after taste of baking soda. Is there any way to adjust or swap for baking powder? Or could it possibly be the flavor or the psyllium husk coming through?
Thanks!
Hi Ly,
First off—thank you so much for sharing the love on these Gluten Free Brownies. I’m so thrilled to hear that you enjoyed it so much. The brown sugar should be acidic enough to neutralize the baking powder (thanks to the molasses), but you could definitely add in 1 teaspoon of apple cider vinegar or lemon juice as an extra acid component to neutralize that slight aftertaste! This can be added into the water when making. Really keen to hear back if it makes a difference for you, so we can include it in the blog post!
Thank you again!
Wonderful, I’ll definitely try and report back soon thank you so much!
Best vegan gluten-free brownies ever! I used semi sweet chocolate chips but look forward to trying vegan milk chocolate chips or maybe half and half, they were so perfectly fudgy with a crackly top, chocolatey and the bit of salt was just lovely! So glad I found this recipe, its my new go to 🙂
Hi Ali Cat,
Thank you so so much for sharing the love on this recipe. I’m so thrilled they turned out so well for you!
HI! I was just looking for a brownie recipe to use my Bob’s red mill 1to1! I run a brownie troop and want to give them brownies on our last day and one girl is gluten-free. I don’t have egg replacement can I use regular eggs?! Other recipes call for Xantham gum. I am glad this doesn’t but will the texture be chewy? I look forward to trying these! (I see in comments below that you also have an almond flour recipe! I love almond flour baked goods but of course I need to make these nut free)
Can one use regular egg instead of replacement?
Hi Lynette,
I am unsure since I am vegan, and have not tested it!
These brownies are absolutely delicious!!
Hi Aimee,
So so happy to hear that these brownies hit the spot for you!
Can I use dairy free butter instead of the coconut oil? Also, why is there no dutch cocoa powder, just curious, because I have found over the years this ingredient is what really elevates the brownies. If I wanted to use, do you know how much I would add and if I would have to take anything out? I really need a brownie that is not so rich and this seems like it is since the fat is 1/2 of the flour.
Hi Ellen,
You can definitely use dairy free butter in lieu of the coconut oil for this recipe. We’ve designed this recipe without the dutch cocoa powder for a number of reasons, including accessibility to the product, and to ensure that it’s not too rich with the already-added chocolate. If you’re looking for one that includes it, you can try the Vegan Almond Flour Brownies.