Gluten-Free Sandwich Bread
This gluten-free sandwich bread won’t disappoint! A custom gluten-free flour blend yields a soft, tender bread that’s still sturdy enough to stand up to any sandwich filling.
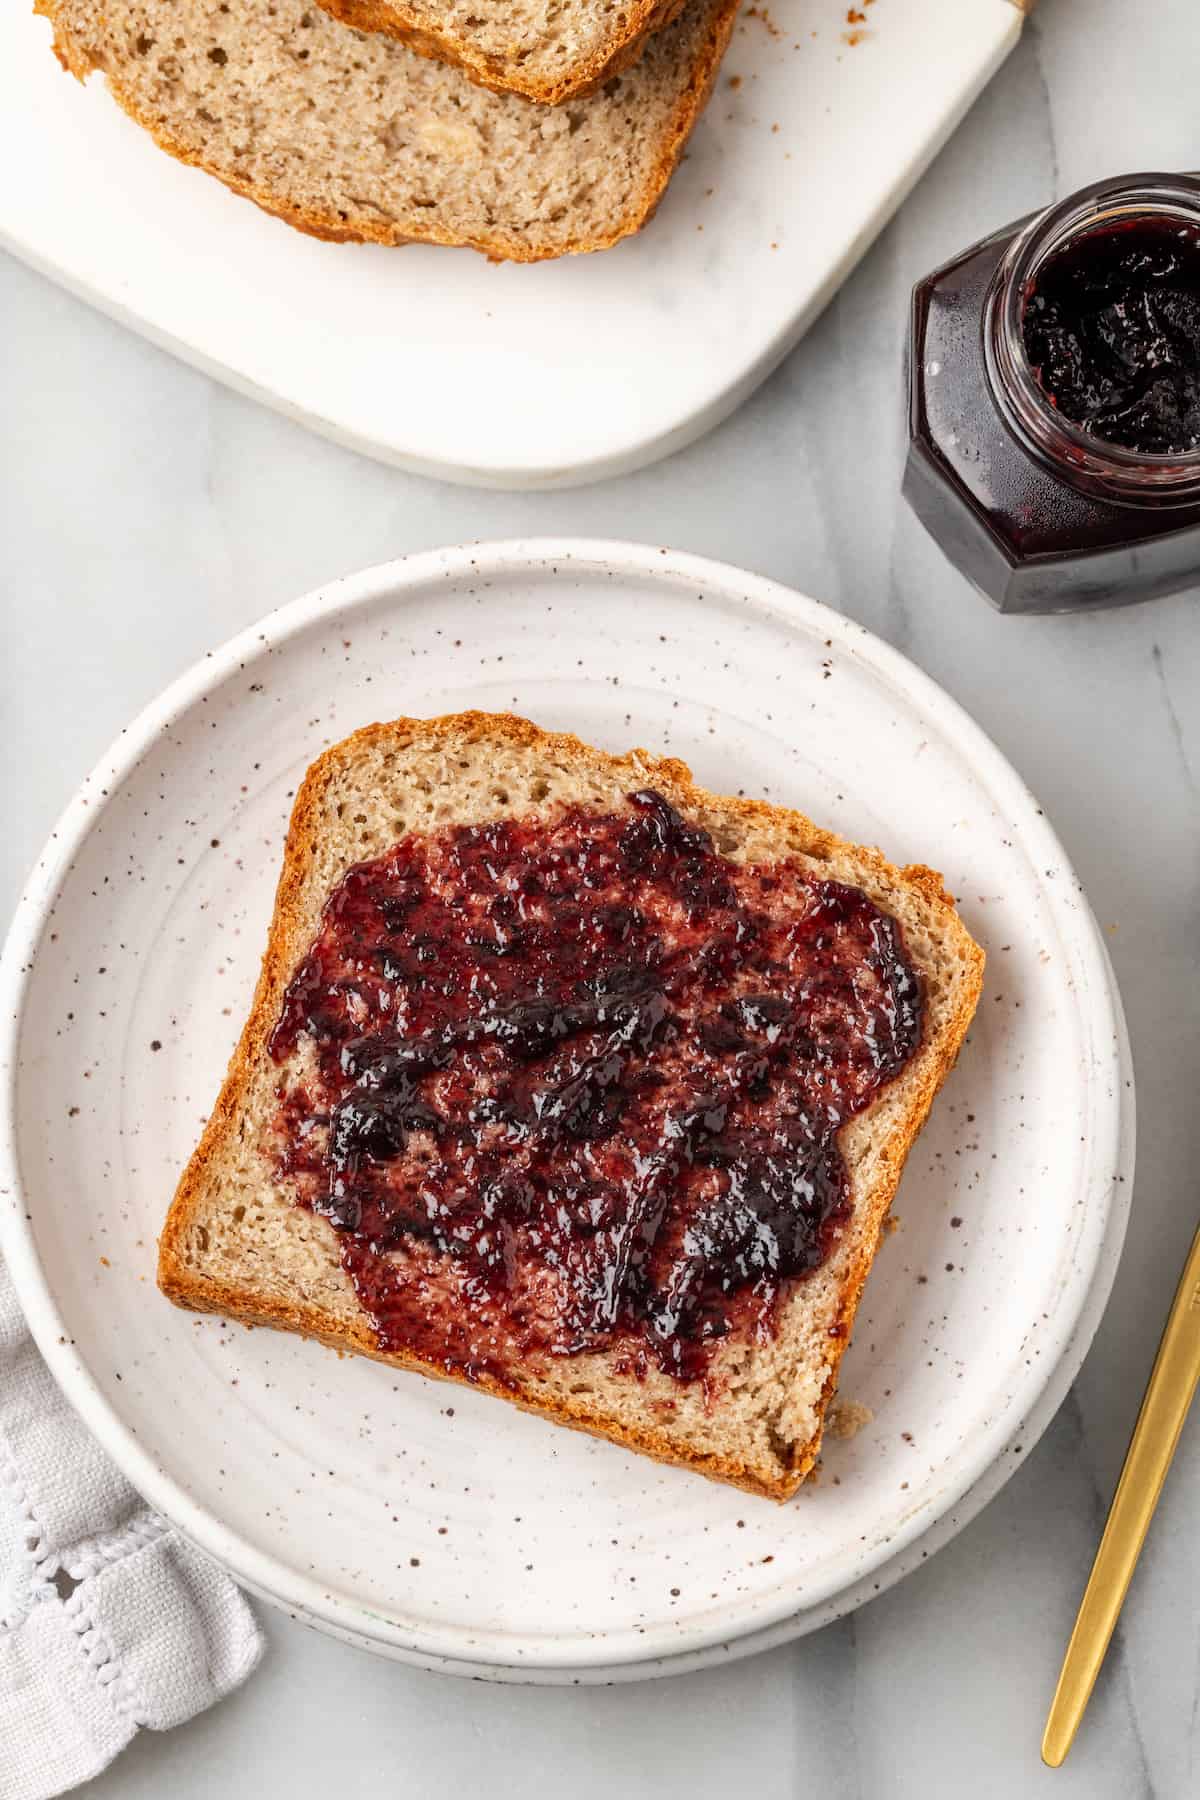
Although in theory you can use any bread to make sandwiches, a sandwich bread is ideal. It’s the right size, the right texture, and the perfect flavour to complement (rather than compete with!) your fillings. But finding a vegan and gluten-free sandwich bread recipe you actually want to eat can be difficult.
Until now! This gluten-free sandwich bread has everything you want in a sandwich loaf, but it’s also made without wheat, butter, milk, or eggs. Rather than relying on a store-bought gluten-free flour, I’ve formulated a mixture specifically designed to yield the perfect sandwich bread.
While there are some specialty ingredients here, know that each one plays a critical role in this recipe, so it’s important not to make changes!
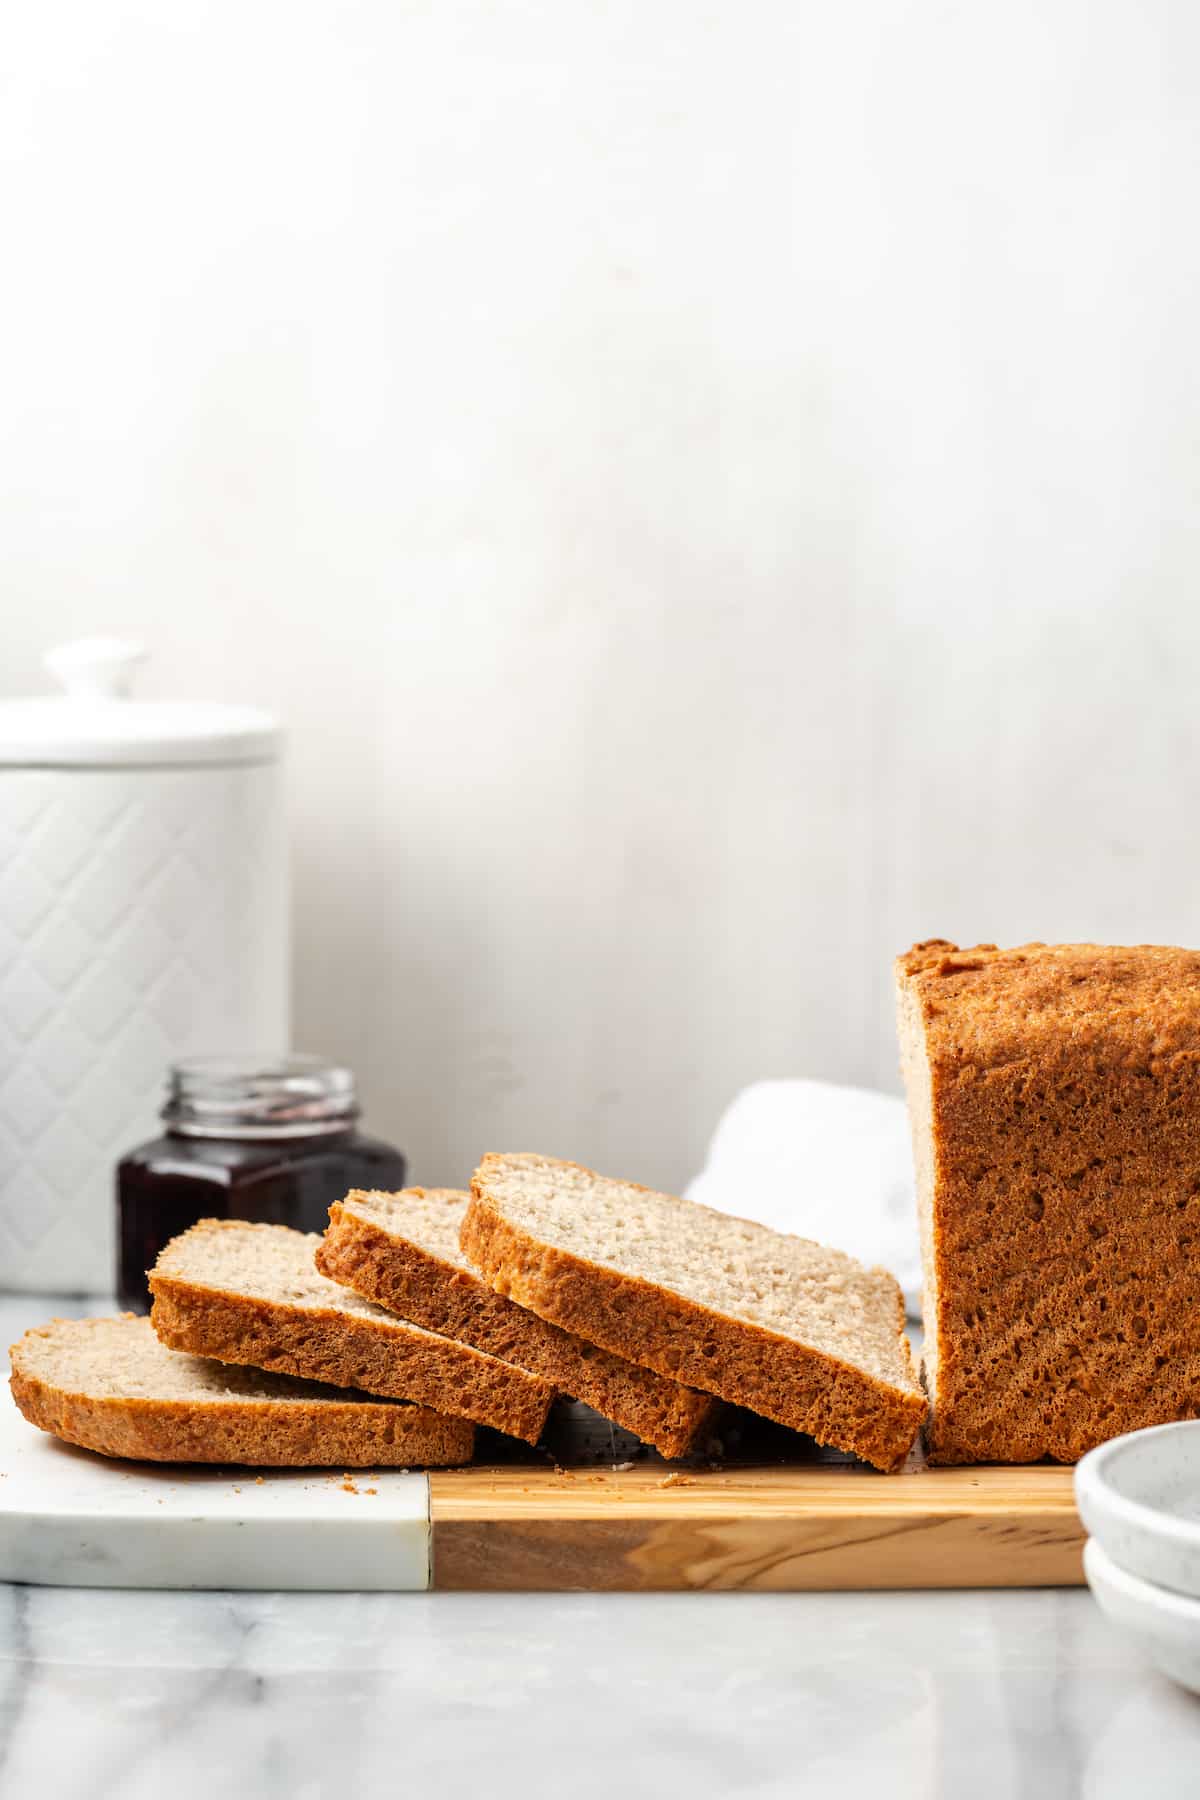
Why You’ll Love This Gluten-Free Sandwich Bread Recipe
- Pillowy soft. While some gluten-free sandwich breads are dry and crumbly, this recipe yields a loaf that’s soft and tender, making it the perfect base for your favourite sandwich fillings.
- Easy to make. Yeast breads can be difficult to master, but a basic sandwich bread like this one is a great place to start if you’re new to baking with yeast.
- Gluten-free and vegan. Many gluten-free breads rely on eggs for structure, but this sandwich bread recipe is both plant-based and gluten-free. (Learn more: Is Yeast Vegan?)
Notes on Ingredients
Scroll down to the recipe card to find the ingredient quantities and recipe instructions.
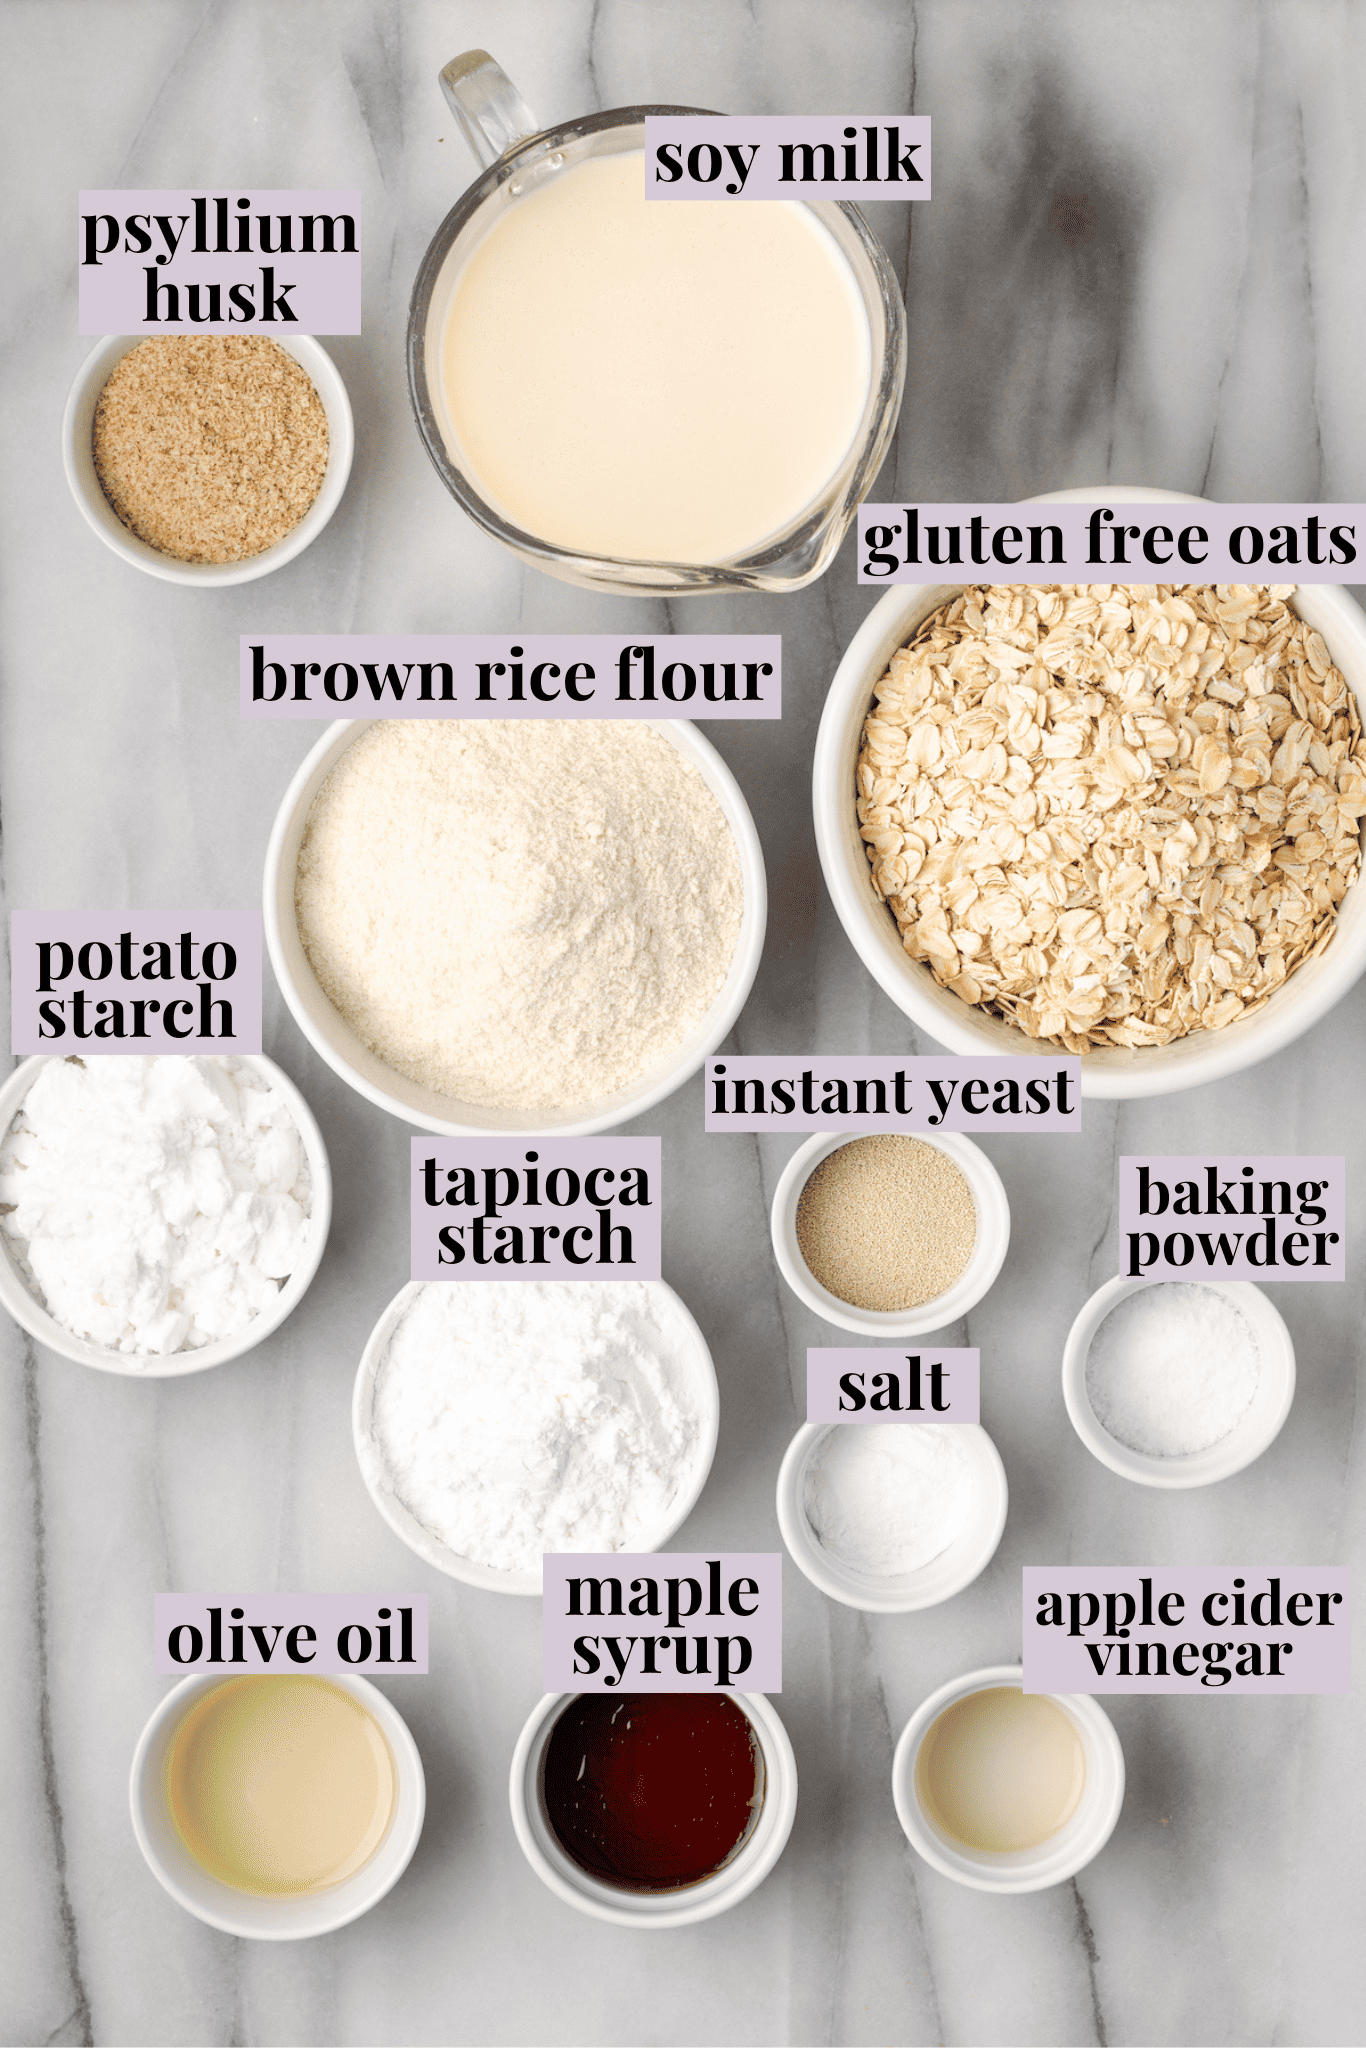
- Gluten-free oats – Not all oats are gluten-free, as some are processed using the same equipment as wheat. Make sure the oats you use are gluten-free certified.
- Psyllium husk – This is a binder that adds some elasticity to the dough.
- Soy milk – Soy milk has a higher protein content than most other plant milks, which is why it’s my choice for this gluten-free sandwich bread. Be sure yours is unflavoured and unsweetened.
- Brown rice flour – This adds a mildly nutty flavour reminiscent of whole wheat sandwich bread.
- Potato and tapioca starches – These starches improve the texture of the finished bread and also help make the dough more elastic.
- Instant yeast – If your yeast has been sitting in the pantry for a while, be sure it hasn’t expired. Here’s how to test yeast to see if it’s still good.
- Salt
- Baking powder – Baking powder is a staple in quick breads, but we add it to this sandwich bread for an extra boost.
- Maple syrup – Sandwich bread usually has a subtle sweetness to it and we use maple syrup to achieve that here.
- Olive oil
- Apple cider vinegar – White vinegar also works if that’s what you have on hand.
What Is a Pullman Pan?
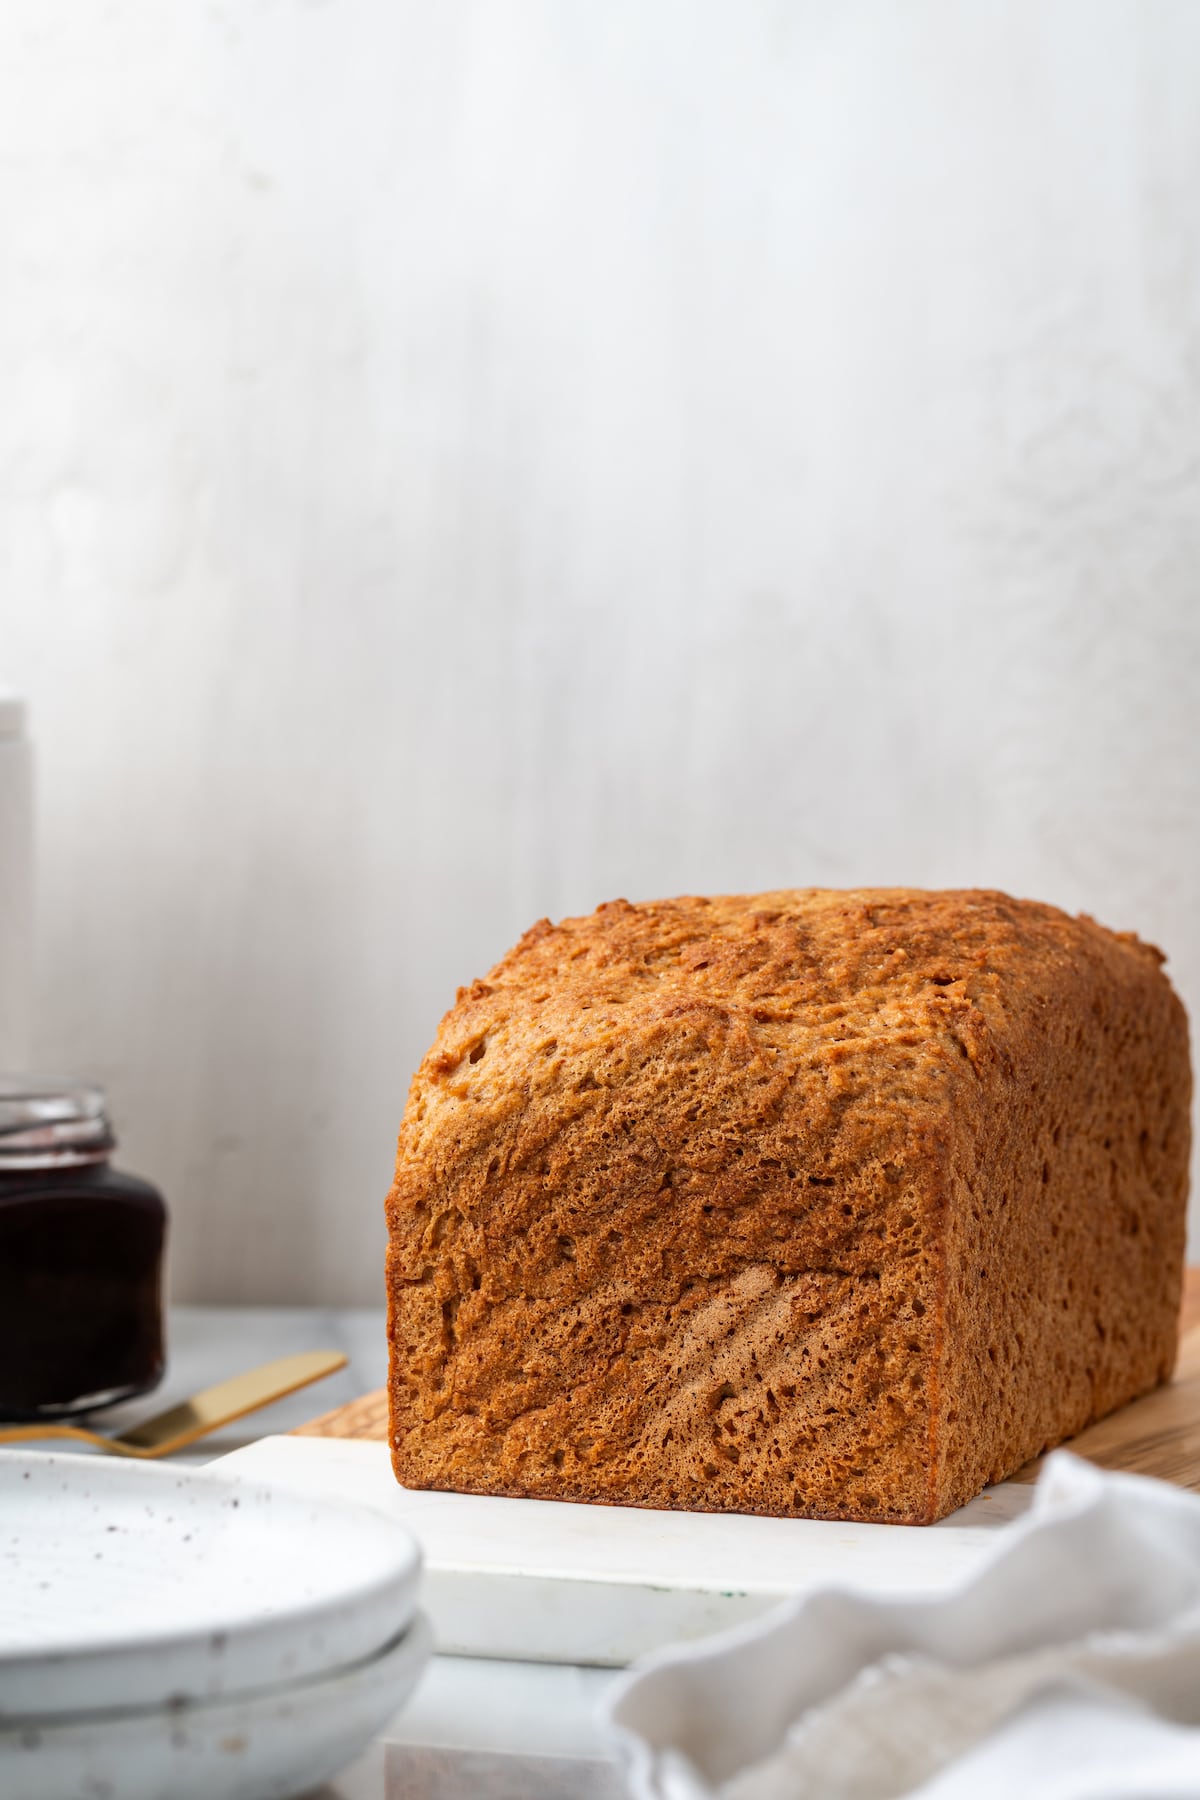
A Pullman pan is a loaf pan with a sliding lid. It’s designed to create perfectly square bread slices, as the bread bakes with the cover on. The straight sides and tight-fitting lid produce bread with a fine crumb and a tender, uniform texture. For this gluten-free sandwich bread, we’re utilizing the Pullman pan solely for its tall, straight sides, so the cover isn’t needed and you’ll get a traditional domed top on your loaf.
How to Make Gluten-Free Sandwich Bread
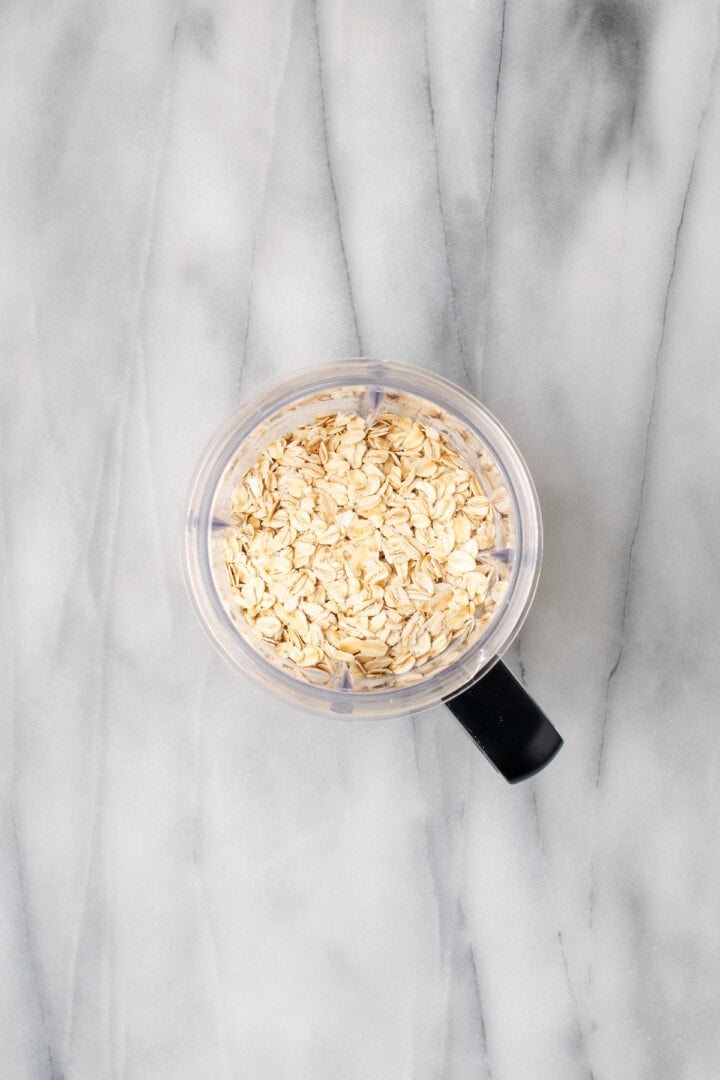
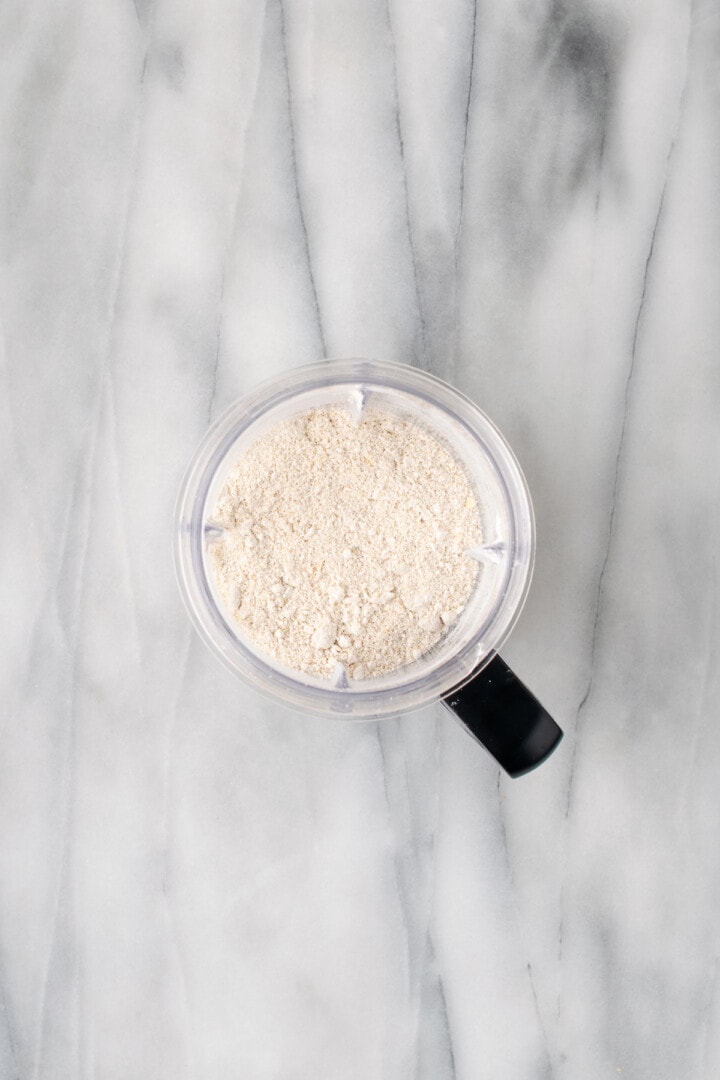

- Make oat flour. Process the oats in a high speed blender until they resemble flour.
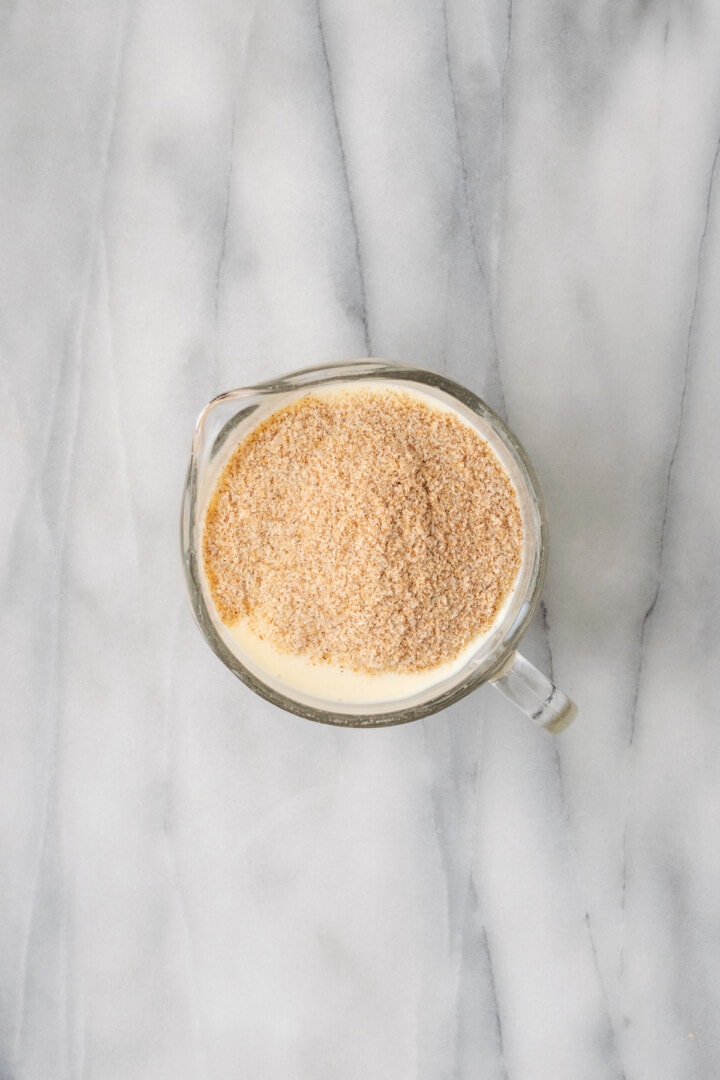
- Thicken the psyllium. Warm the soy milk and whisk it with the psyllium husk in a small bowl or liquid measuring cup. Set aside to thicken.
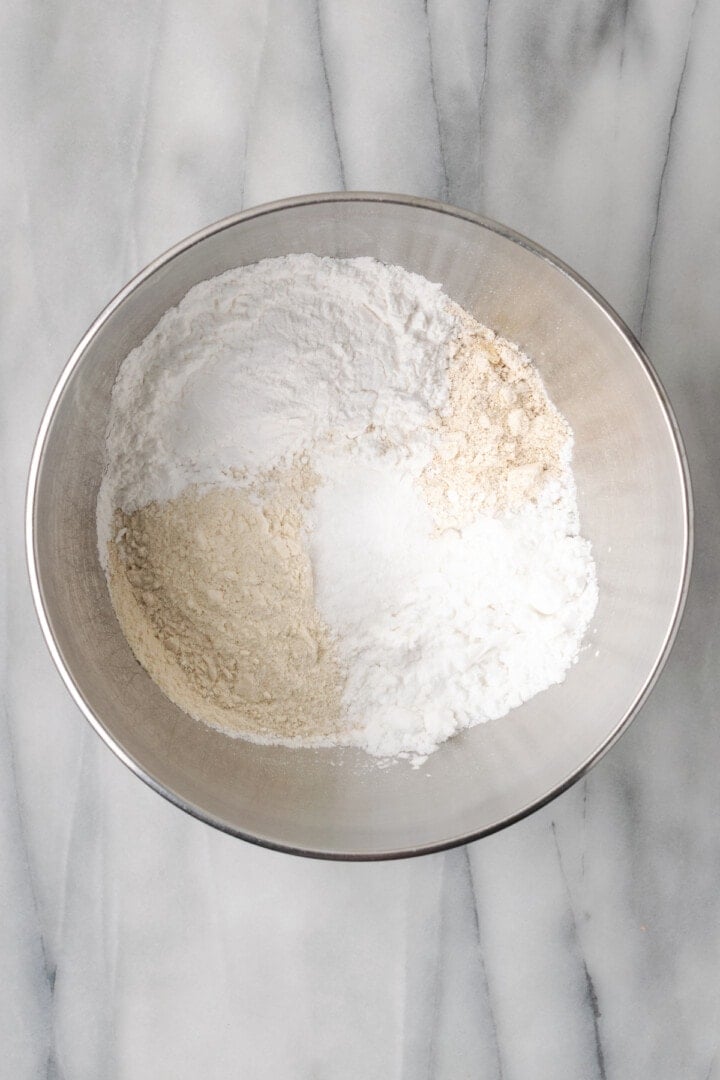
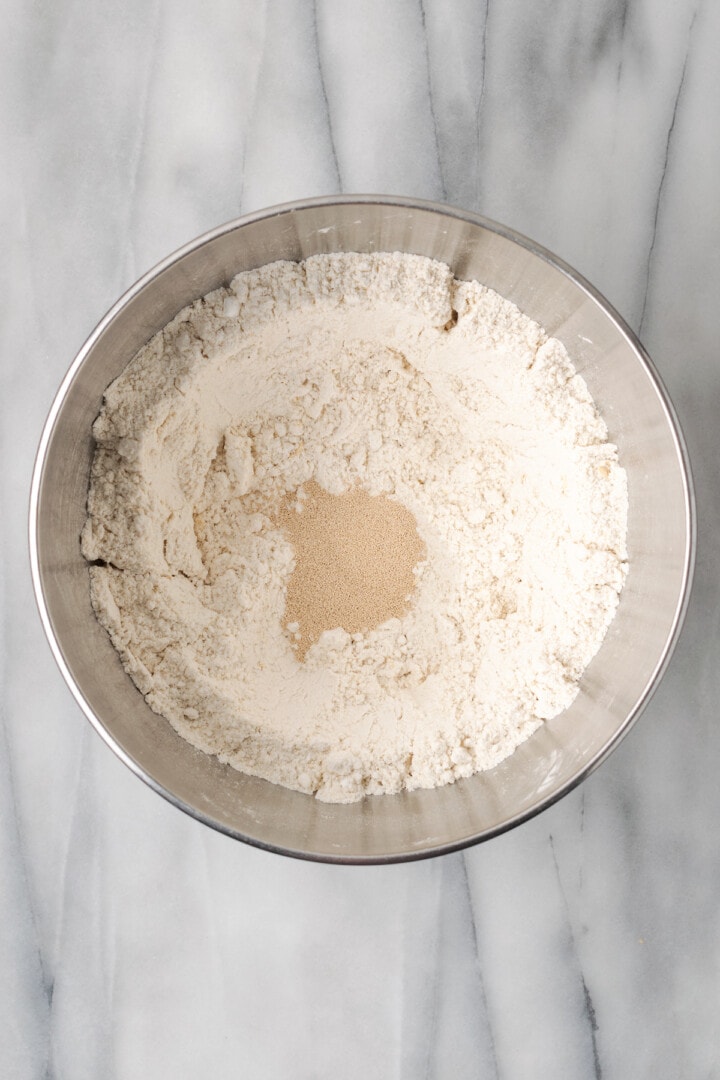
- Mix the dry ingredients. Stir the brown rice flour, oat flour, potato starch, tapioca starch, baking powder, and salt in the bowl of a stand mixer fitted with the hook attachment. Add the instant yeast and mix again.
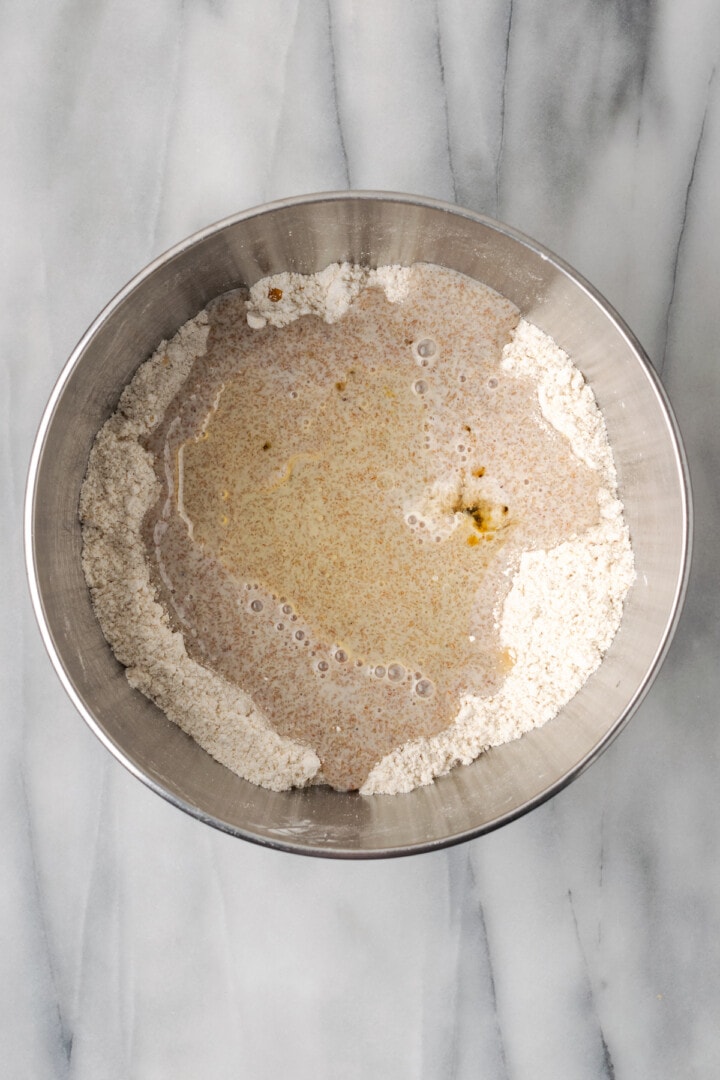
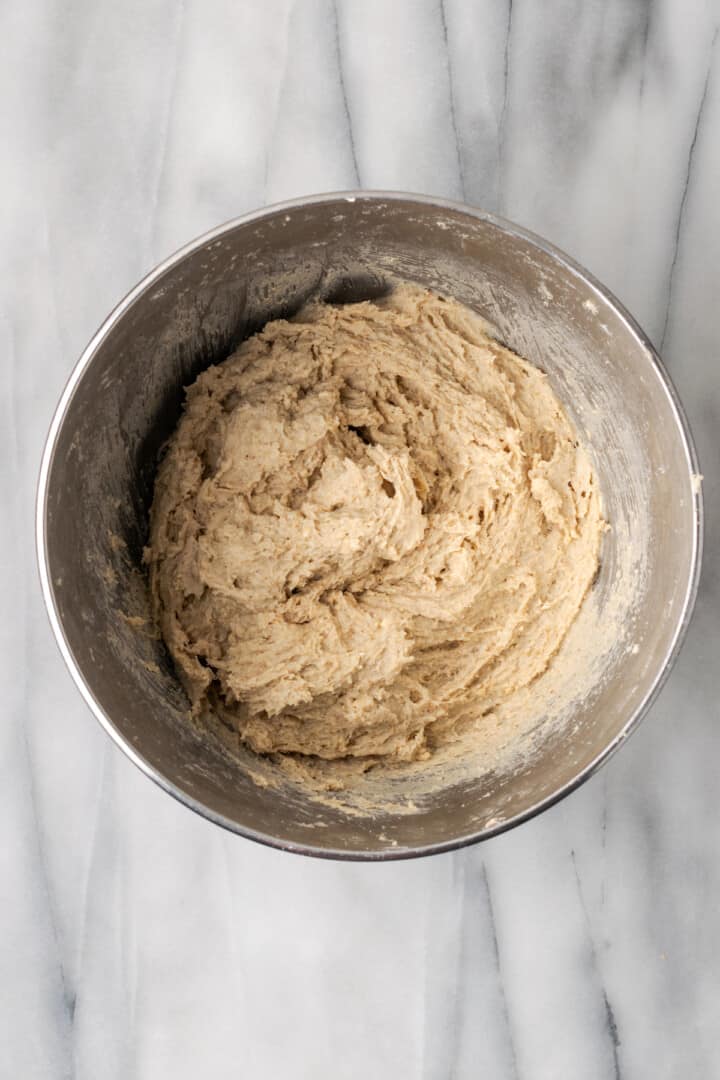
- Combine the wet and dry ingredients. Mix the psyllium gel, maple syrup, olive oil, and vinegar into the flour mixture on low speed until the dry ingredients are incorporated. Scrape down the bowl as needed. Once the flour is incorporated, increase the speed to medium-low and mix for 5 minutes.
- Rest. Allow the dough to rest for 10 minutes in the bowl.
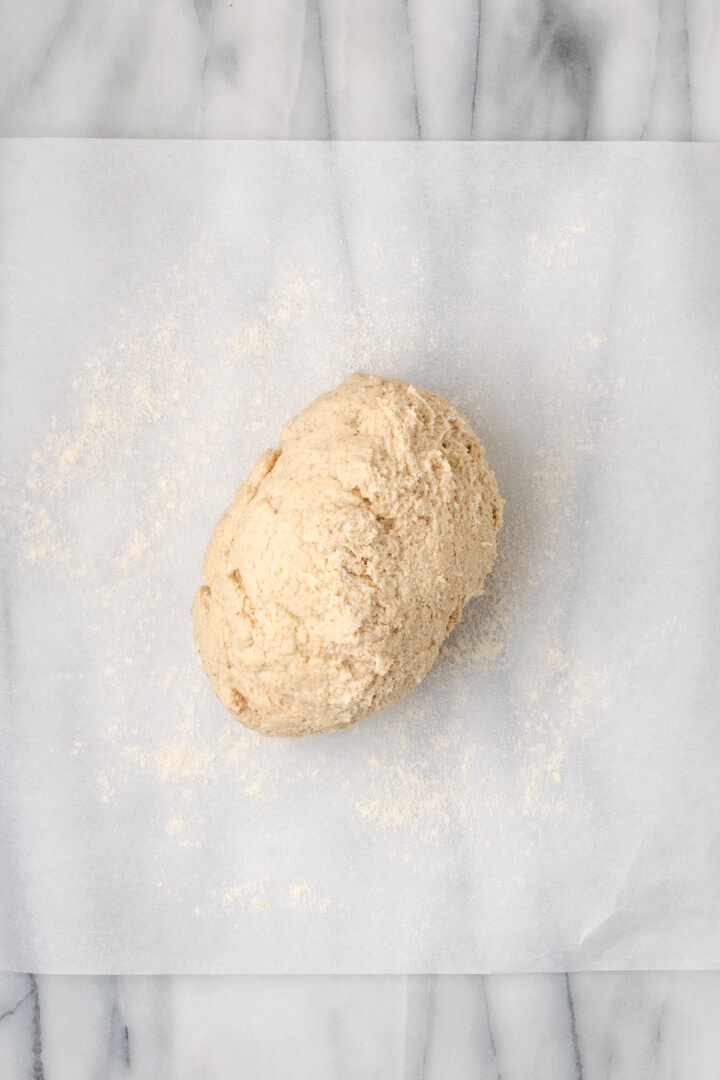
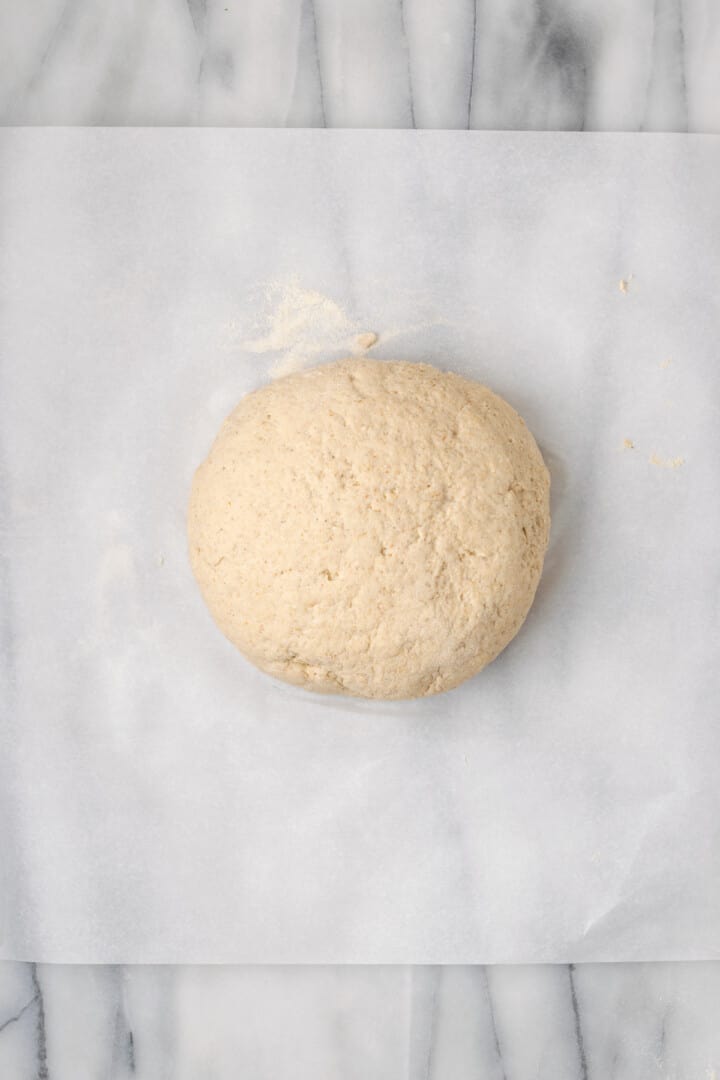
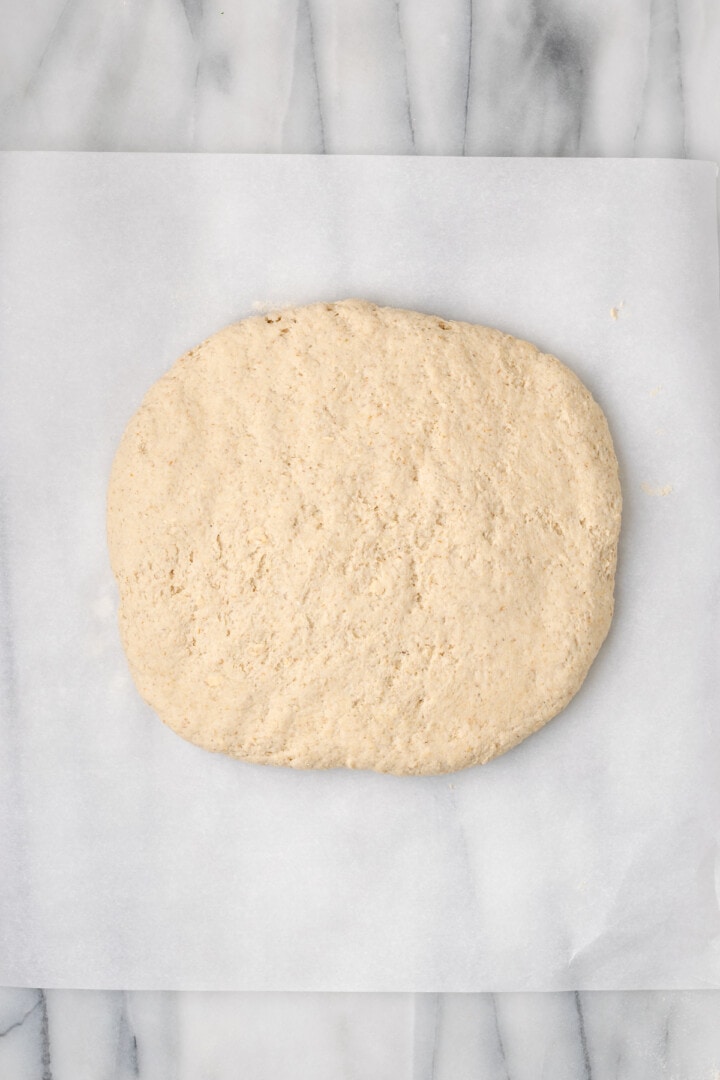
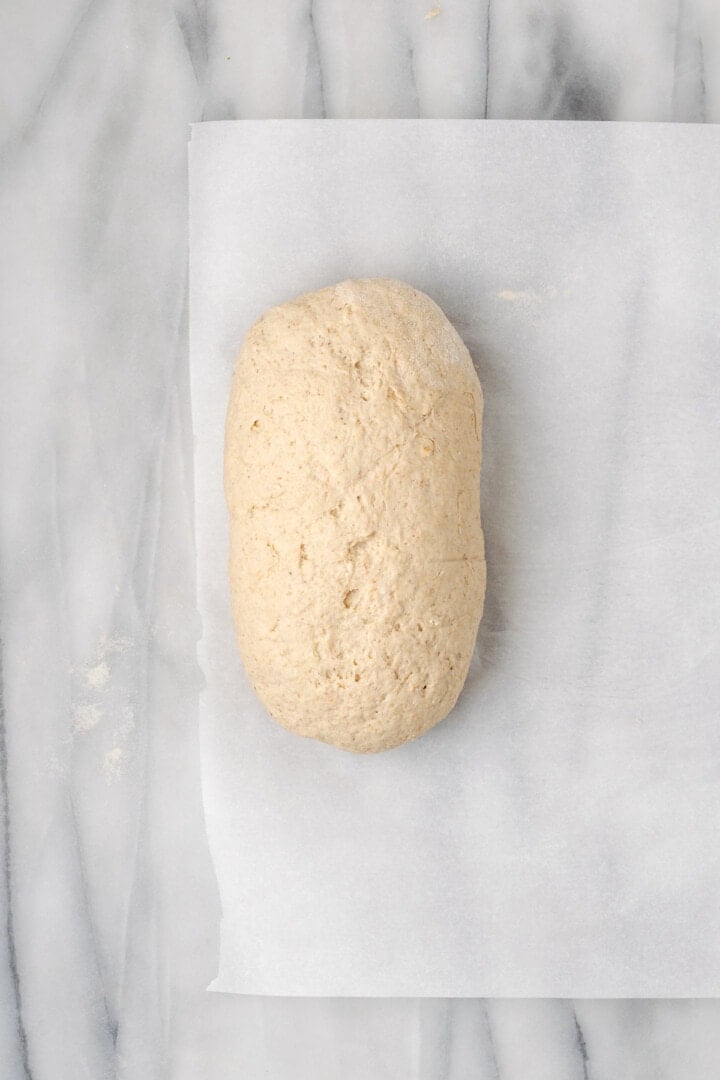
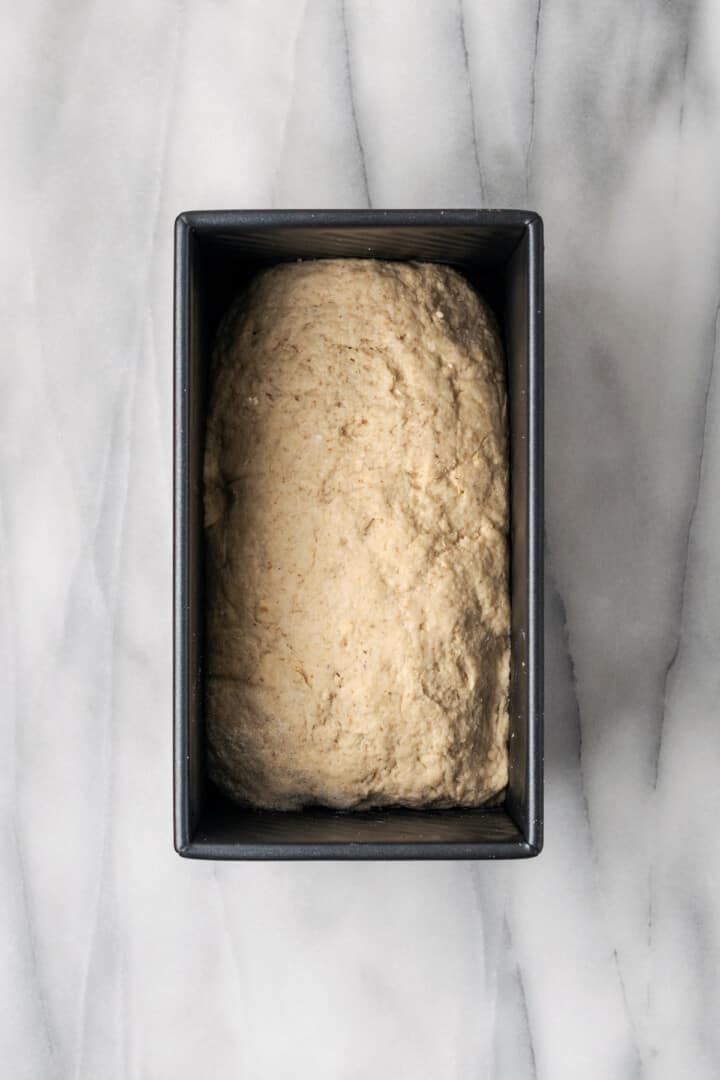
- Knead. Turn the dough out onto a lightly floured surface. Knead gently a few times until you can form it into a smooth circle. Pat the dough into a rectangle shape as wide as your bread pan, then roll the dough into a log, tuck the ends under, and place it into a Pullman pan.
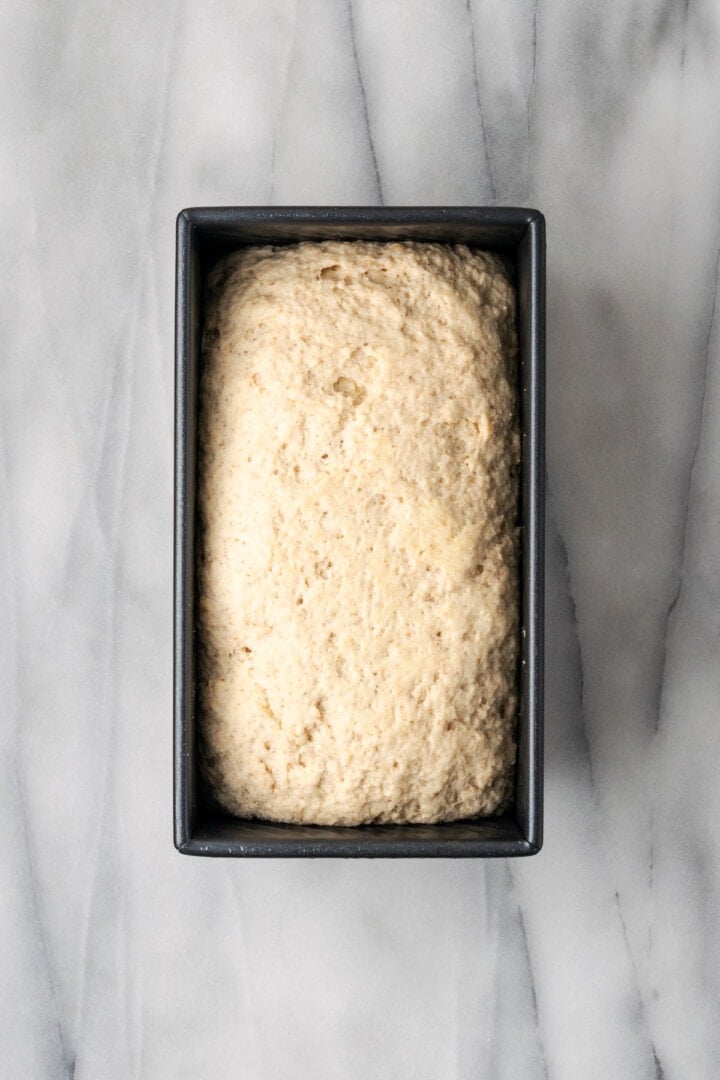
- Rise. Cover the dough and leave it to rise in a warm place for about an hour, or until it has doubled in size.
- Prepare. Place a pan of water on the bottom rack of your oven while it preheats to 400ºF.
- Bake. Place the loaf pan in the preheated oven. Reduce the temperature to 375ºF and bake for 30 minutes. Remove the pan of water and bake for another 20-30 minutes, or until the internal temperature reaches 205ºF.
- Cool. Remove the loaf from the oven and allow it to cool before slicing; it will take at least 4 hours.
Tips for Success
- Don’t use a regular bread pan. I would strongly advise against using any pan other than a Pullman pan for this bread. A regular loaf pan has shorter sides that won’t provide sufficient height to support the loaf as it rises and bakes. I use a 1-pound Pullman loaf pan that measures approximately 8.38 x 4.8 x 4.5 inches on the outside and 7.5 x 4 x 4.4 inches on the inside.
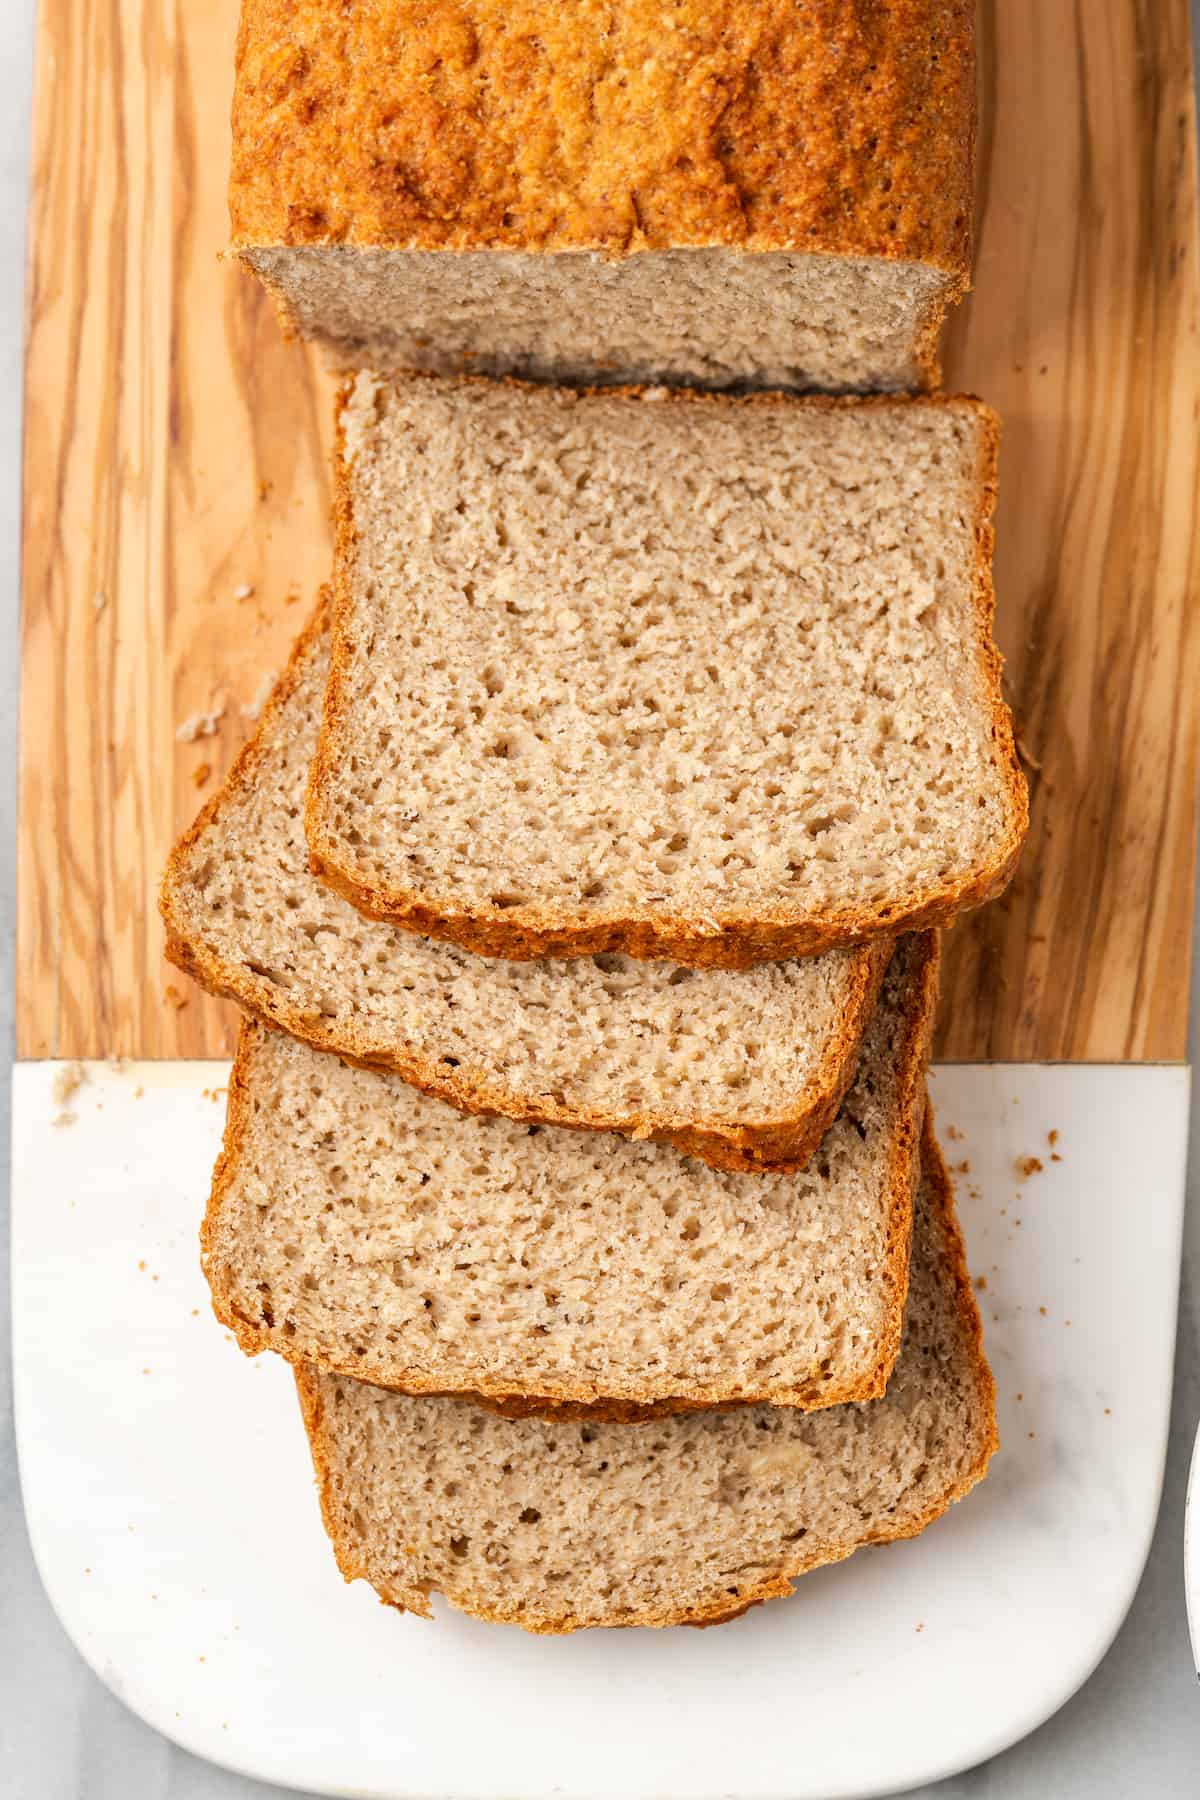
- Let it cool completely. Overnight cooling is best! If you slice into this gluten-free sandwich bread too soon, the inside will be gummy.
- Make the crust softer. If your bread feels too crusty on the outside, you can place it in a closed bread bag and the outside will soften.
Serving Suggestions
Use this gluten-free sandwich bread for all the things! You can’t beat a classic PB&J, or try it for making a vegan BLT sandwich or smashed chickpea avocado sandwich. It’s also great for:
How to Store
This bread is best right after it’s sliced, but it will stay fresh for 2-3 days at room temperature in an airtight container or plastic bag.
Can I Freeze This Recipe?
Once the bread has cooled, slice the loaf. Wrap it in two layers of plastic wrap, then place it inside a freezer bag. Freeze for up to 2 months. To thaw, remove the bread from the freezer and leave it on your kitchen counter until it’s no longer frozen.
More Vegan Yeasted Bread Recipes
- Vegan Japanese Milk Bread
- Garlic and Rosemary Focaccia Bread
- No Knead Bread (Dutch Oven Bread)
- Gluten Free Focaccia Bread with Garlic, Rosemary and Tomatoes
- Vegan Cinnamon Rolls
Enjoy friends! If you make this gluten-free sandwich bread, please snap a photo and tag #jessicainthekitchen on Instagram! We’d also love it if you would leave a comment below, and give the recipe a rating! Thanks so much!
Gluten-Free Sandwich Bread
Ingredients
- 1 ½ cups gluten-free oats, 144 grams
- 3 tablespoons psyllium husk, 18 grams
- 1 ¾ cups + 1 tablespoon soy milk, 435 ml
- 1 cup brown rice flour, 160 grams
- 6 tablespoons potato starch, 72 grams
- 6 tablespoons tapioca starch, 60 grams
- 2 ½ teaspoons instant yeast
- 2 teaspoon salt
- 1 teaspoon baking powder
- 3 tablespoons maple syrup
- 2 tablespoon olive oil
- 1 teaspoon apple cider vinegar
Instructions
- Add the gluten-free oats to a high speed blender. Process until they resemble flour. It’s fine if there are a few larger pieces of oats in the oat flour.
- Warm the soy milk to 110ºF/43ºC. Combine the psyllium husk with the soy milk in a small bowl or measuring cup. Mix well and set aside. It will begin to thicken and resemble runny oatmeal.
- Combine the brown rice flour, oat flour, potato starch, tapioca starch, baking powder and salt in the bowl of a stand mixer fitted with the hook attachment. Stir together until well mixed. Then add the instant yeast and mix again.
- Add the psyllium gel, maple syrup, olive oil and vinegar to the flour mixture. Stir on low speed until the dry ingredients are incorporated. You may need to scrape down the bowl a few times. Once all of the flour is incorporated, increase the speed to medium low and mix for 5 minutes.
- Once the mixing time has elapsed, allow the dough to rest for 10 minutes in the bowl.
- Turn the dough out onto a lightly floured surface. Knead the dough gently a few times until you can form it into a smooth circle. Pat the dough out into a rectangle shape as wide as your bread pan. Then roll the dough up into a log, tucking the ends under, and place it into a Pullman pan.
- Cover the dough and leave it to rise in a warm place for about an hour or until it has doubled in size.
- Place a pan of water on the bottom rack of your oven. Preheat the oven to 400ºF / 204ºC.
- Once the dough has risen, place it in the preheated oven. Immediately reduce the temperature to 375ºF / 190ºC. Bake at 375ºF / 190ºC for 30 minutes with steam (do not open the door during this time). Remove the steam pan and bake for another 20-30 minutes at 375ºF / 190ºC. The final internal temperature should be at least 205ºF / 96ºC on an instant read thermometer.
- Remove the loaf from the oven and allow it to cool completely before slicing; it will take 4 hours or more. Overnight cooling is best. If you slice it too soon, the inside will be gummy. If your bread feels too crisp on the outside, place it in a closed bread bag and the outside will soften.
Notes
Disclaimer: Although jessicainthekitchen.com attempts to provide accurate nutritional information, kindly note that these are only estimates. Nutritional information may be affected based on the product type, the brand that was purchased, and in other unforeseeable ways. Jessicainthekitchen.com will not be held liable for any loss or damage resulting for your reliance on nutritional information. If you need to follow a specific caloric regimen, please consult your doctor first.


I have a Zogurushi Bread Machine a friend gave me.
How would it work in the bread machine.
I have been looking for a GF bread recipe without eggs for a while now.
Thank you for your hard work in sharing your recipes with us.
Thanks so much for reading Ann marie. We actually haven’t tested this yet for bread makers as soon as we do we’ll update the post and you.
Hi Jessica,
I’m eager to make this bread. However, I can’t eat soy. Can you suggest another plant-based milk instead? I usually use oat, cashew or almond milk. Thanks! Lynn
Hi Lynn thanks so much for reading. Cashew, oat or almond milk definitely can be used as substitute!
Hi! Looks fantastic! But my GF d-i-l cannot have soy. Can you recommend a sub for the soy milk? I’m thinking I might try cashew milk — seems like its protein content might be enough… Thanks!
Thanks so much for reading you should be able to use cashew milk as a decent substitute. I hope this helps
I haven’t tried your recipe yet. I want to know if it’s psyllium husk
or psyllium husk powder that you used in your recipe?
Thank you,
Jeanie
Hi Jeanie,
It’s Psyllium husk! But if you were using the powder, you could, by reducing the amount by 15%. I hope this helps! Enjoy!
Thank you, Jessica!
You’re so welcome Jeanie!
I made this recipe three times and the third is the best as I added two packages of yeast. The bread rose nicely and is less dense. That is the only adjustment I made to the recipe and I used psyllium husk powder. Thanks for the recipe.
Hi Linda,
Thank you so much for sharing!!
Hi, I made this bread once so far and I thought it was really good. The ingredients worked well for me. I thought it had a good flavor and texture. I’d like to make it again. My loaf did sink in the middle so I may have to try a different pan or something. I used a psyllium powder so I used the gram measure instead of volume measure. It got a little dry after 3 days but was still good when toasted. I cut the loaf in half and put one half in the freezer to help it last longer. Overall really a good bread.