Vegan Waffles (Fluffy and Crispy)
These are the BEST Vegan Waffles! They are crispy, so fluffy, and very simple with only pantry ingredients! I share some foolproof tips so they’re perfect and great for meal prep!
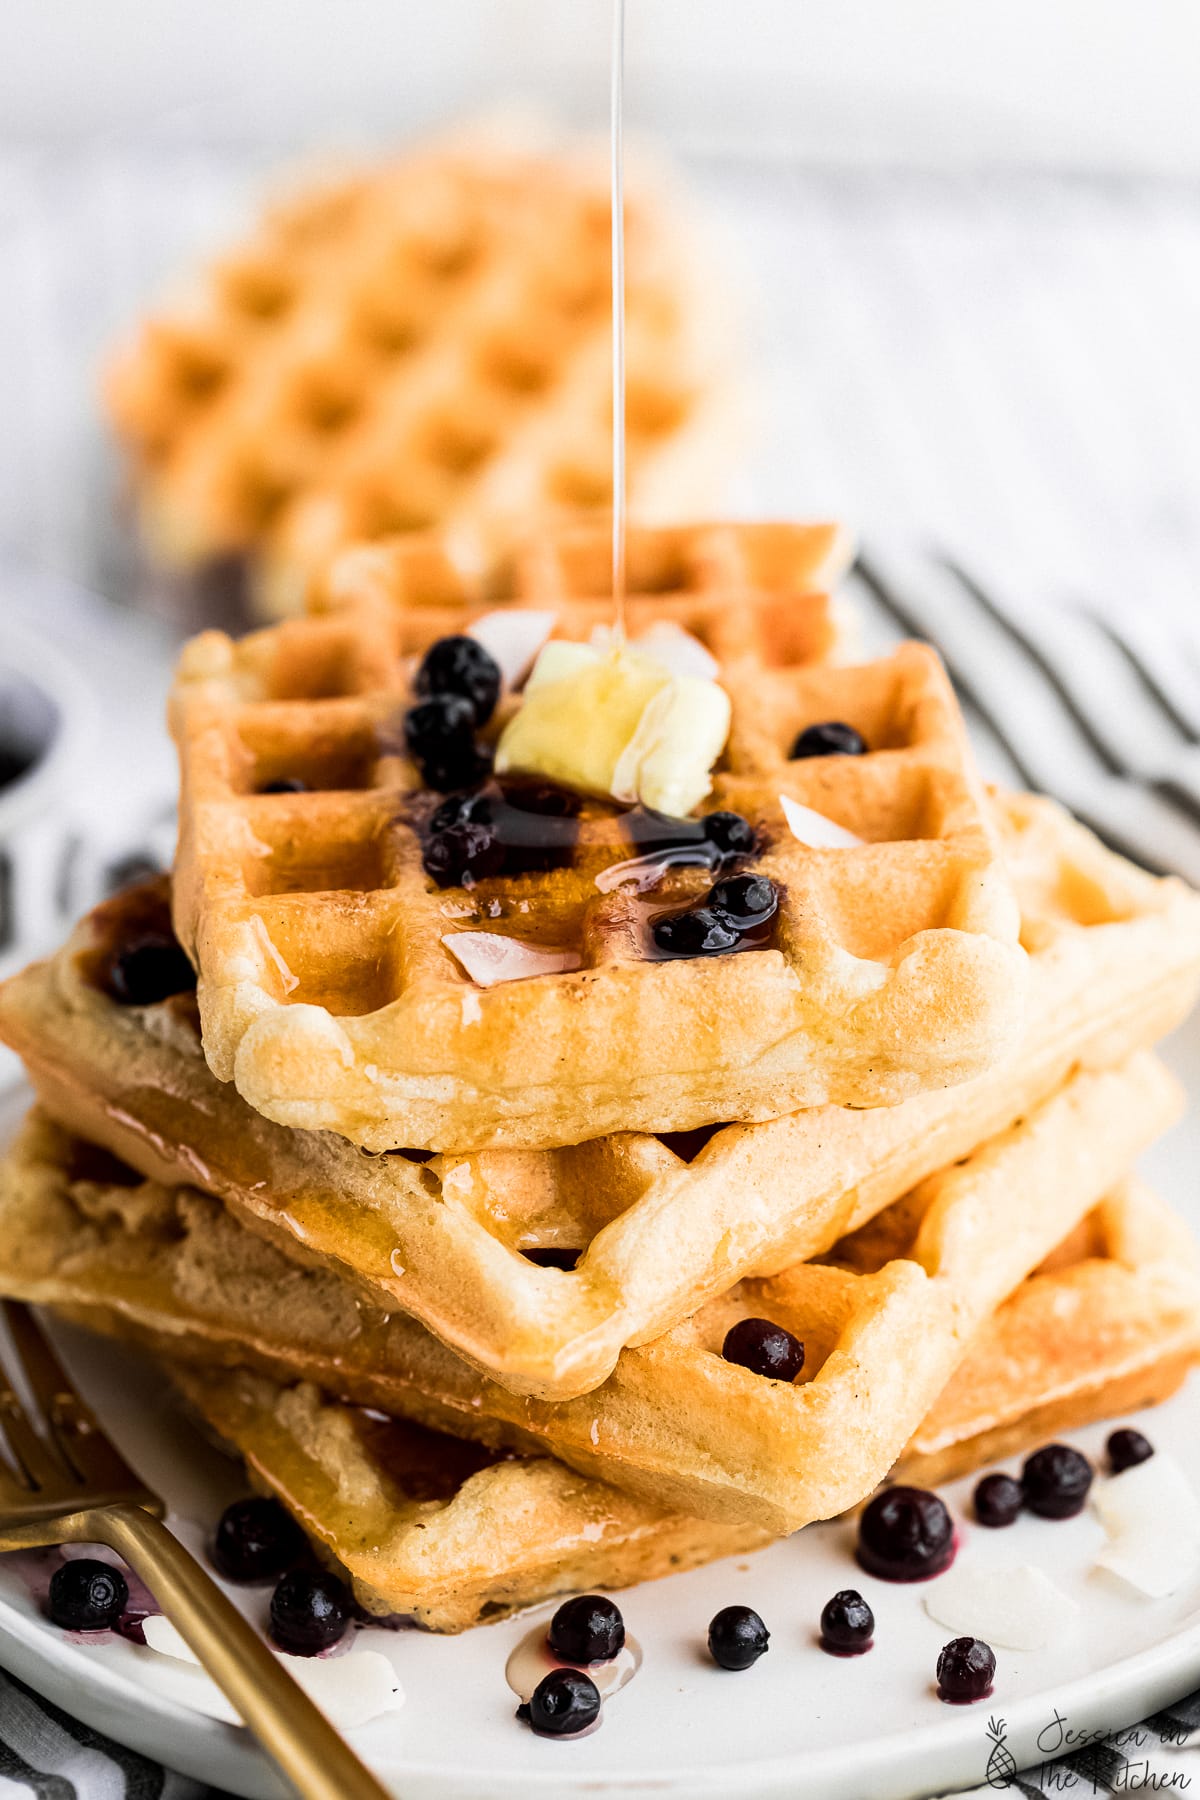
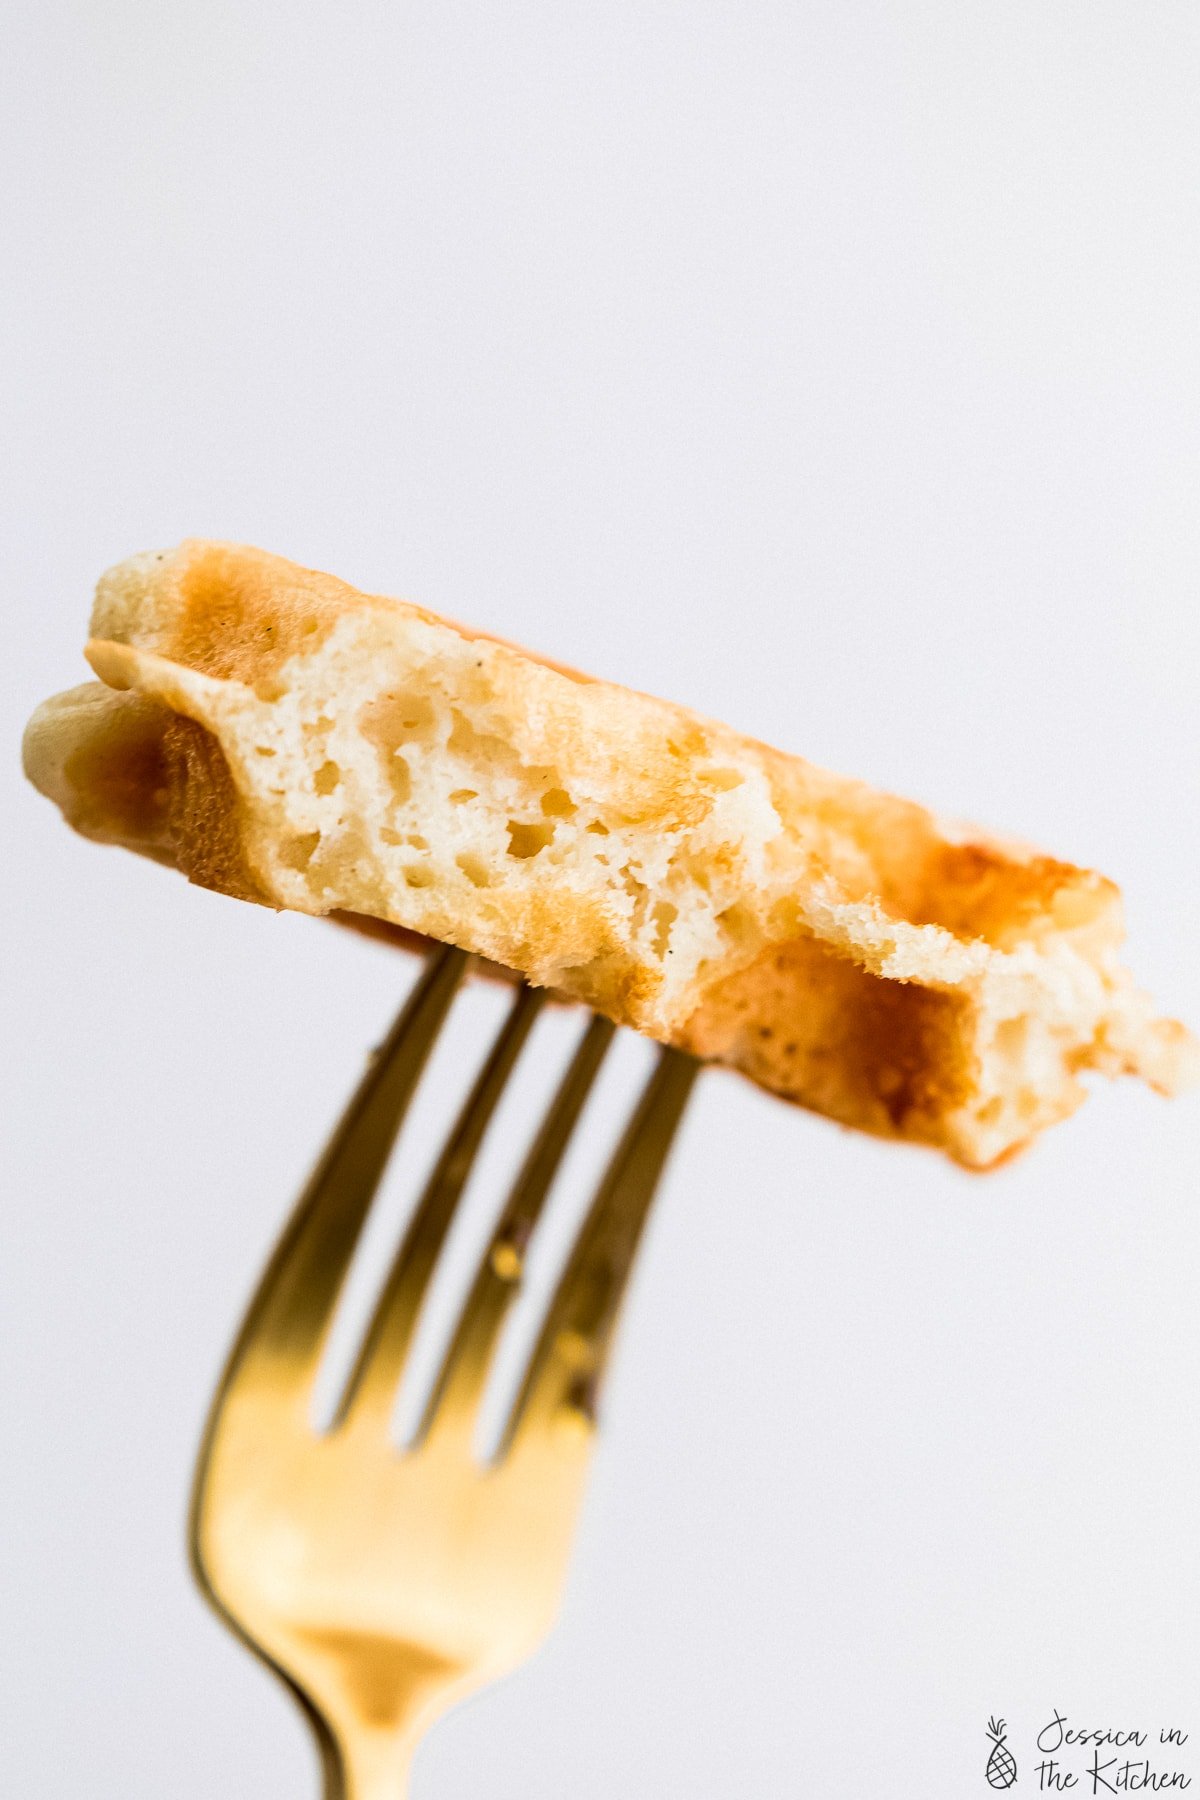
If there’s one thing I know for sure, I LOVE waffles. Waffles of all kinds. I love sweet waffles. I love savoury waffles. Gluten free waffles. Even Mac and cheese waffles! Today I’m finally sharing some super easy, fluffy, classic buttermilk vegan waffles. These are honestly my absolute favourite, and they’re pantry friendly too! They have that ideal texture of crispy on the outside and fluffy on the inside, and they’re meal prep perfect. I usually just double a batch and I’m good to go.
Expert Tips & FAQ
When made properly, homemade vegan waffles taste like they’re fresh from your favourite diner or breakfast spot. Here are some of my top tips:
- Test to ensure that your baking powder is still active. Let’s just say I’ve confidently whipped up a double batch of pancakes only to realise I had tossed my good baking powder and kept the expired one. We don’t want that! It’s very easy to test and will make all the difference in getting your pancakes nice and fluffy!
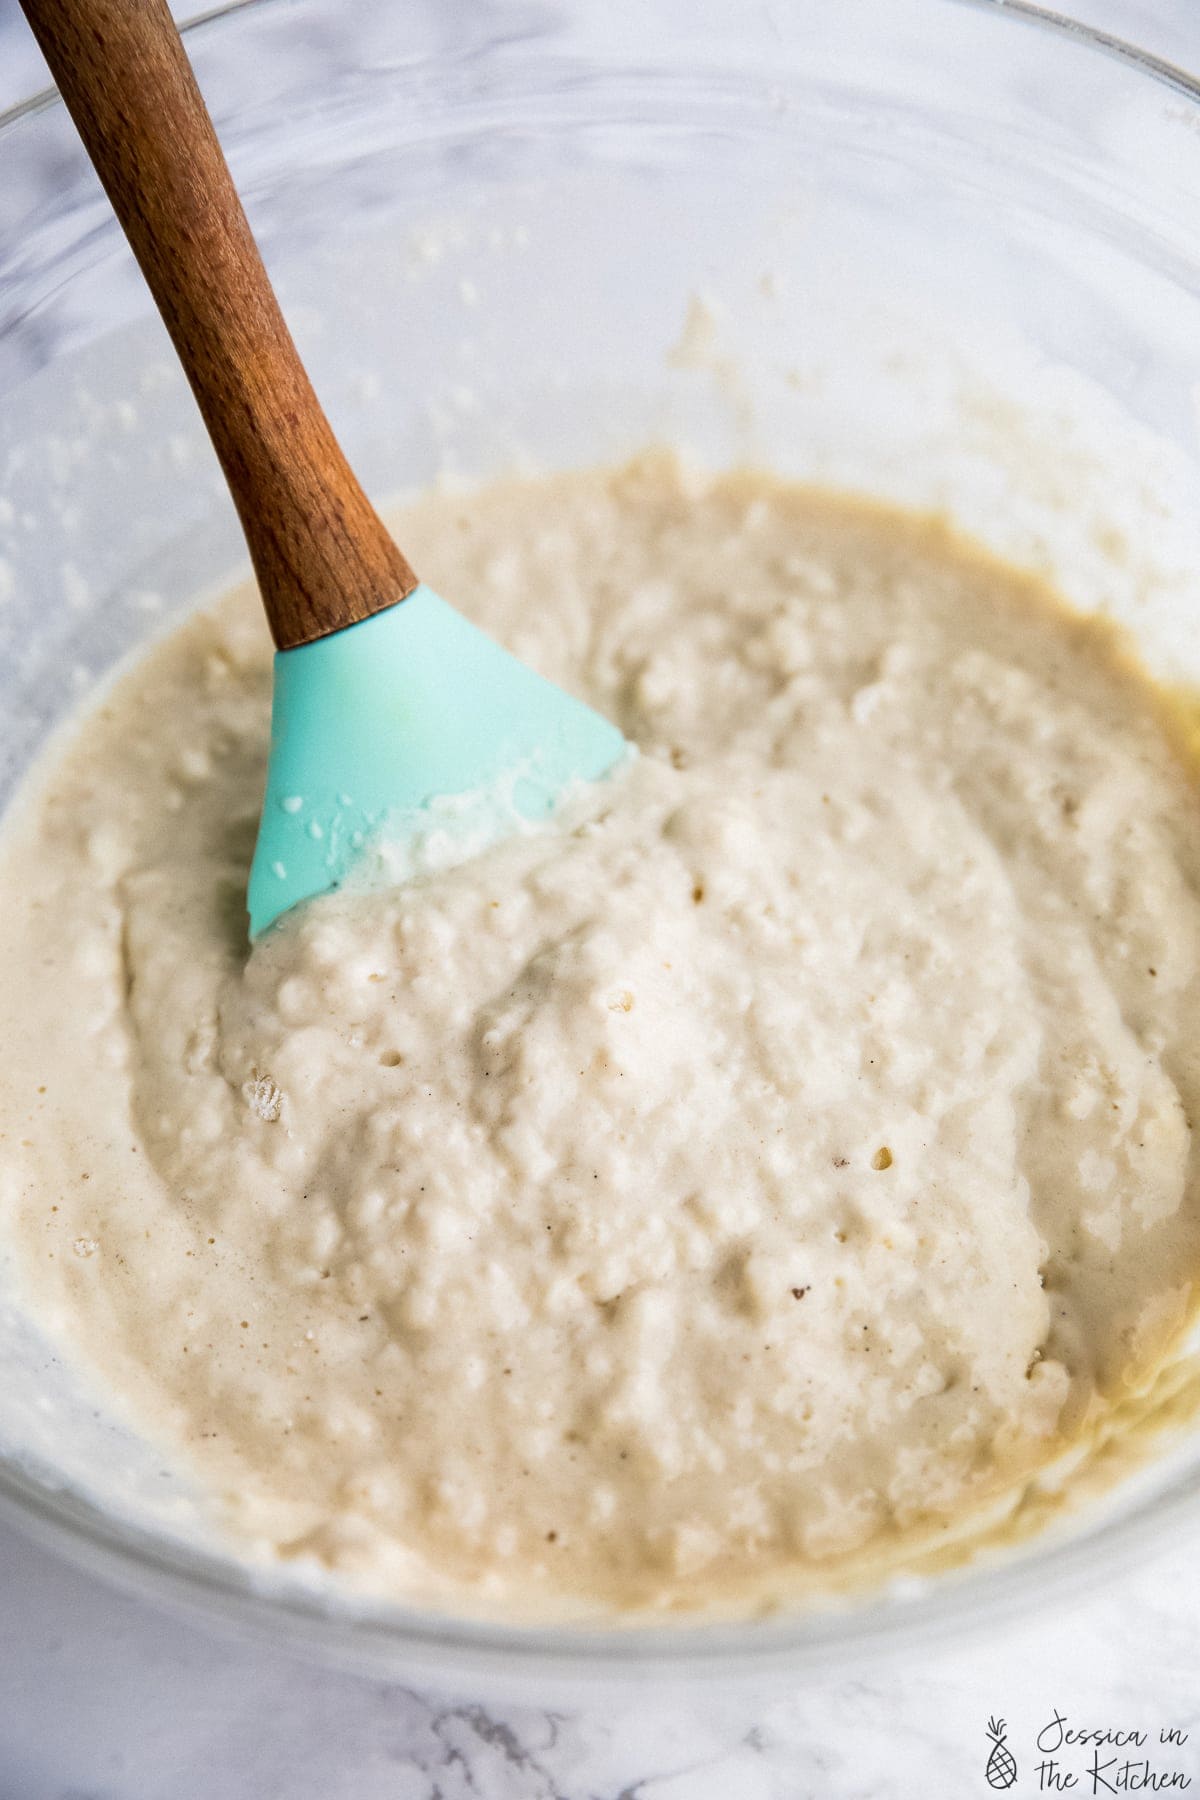
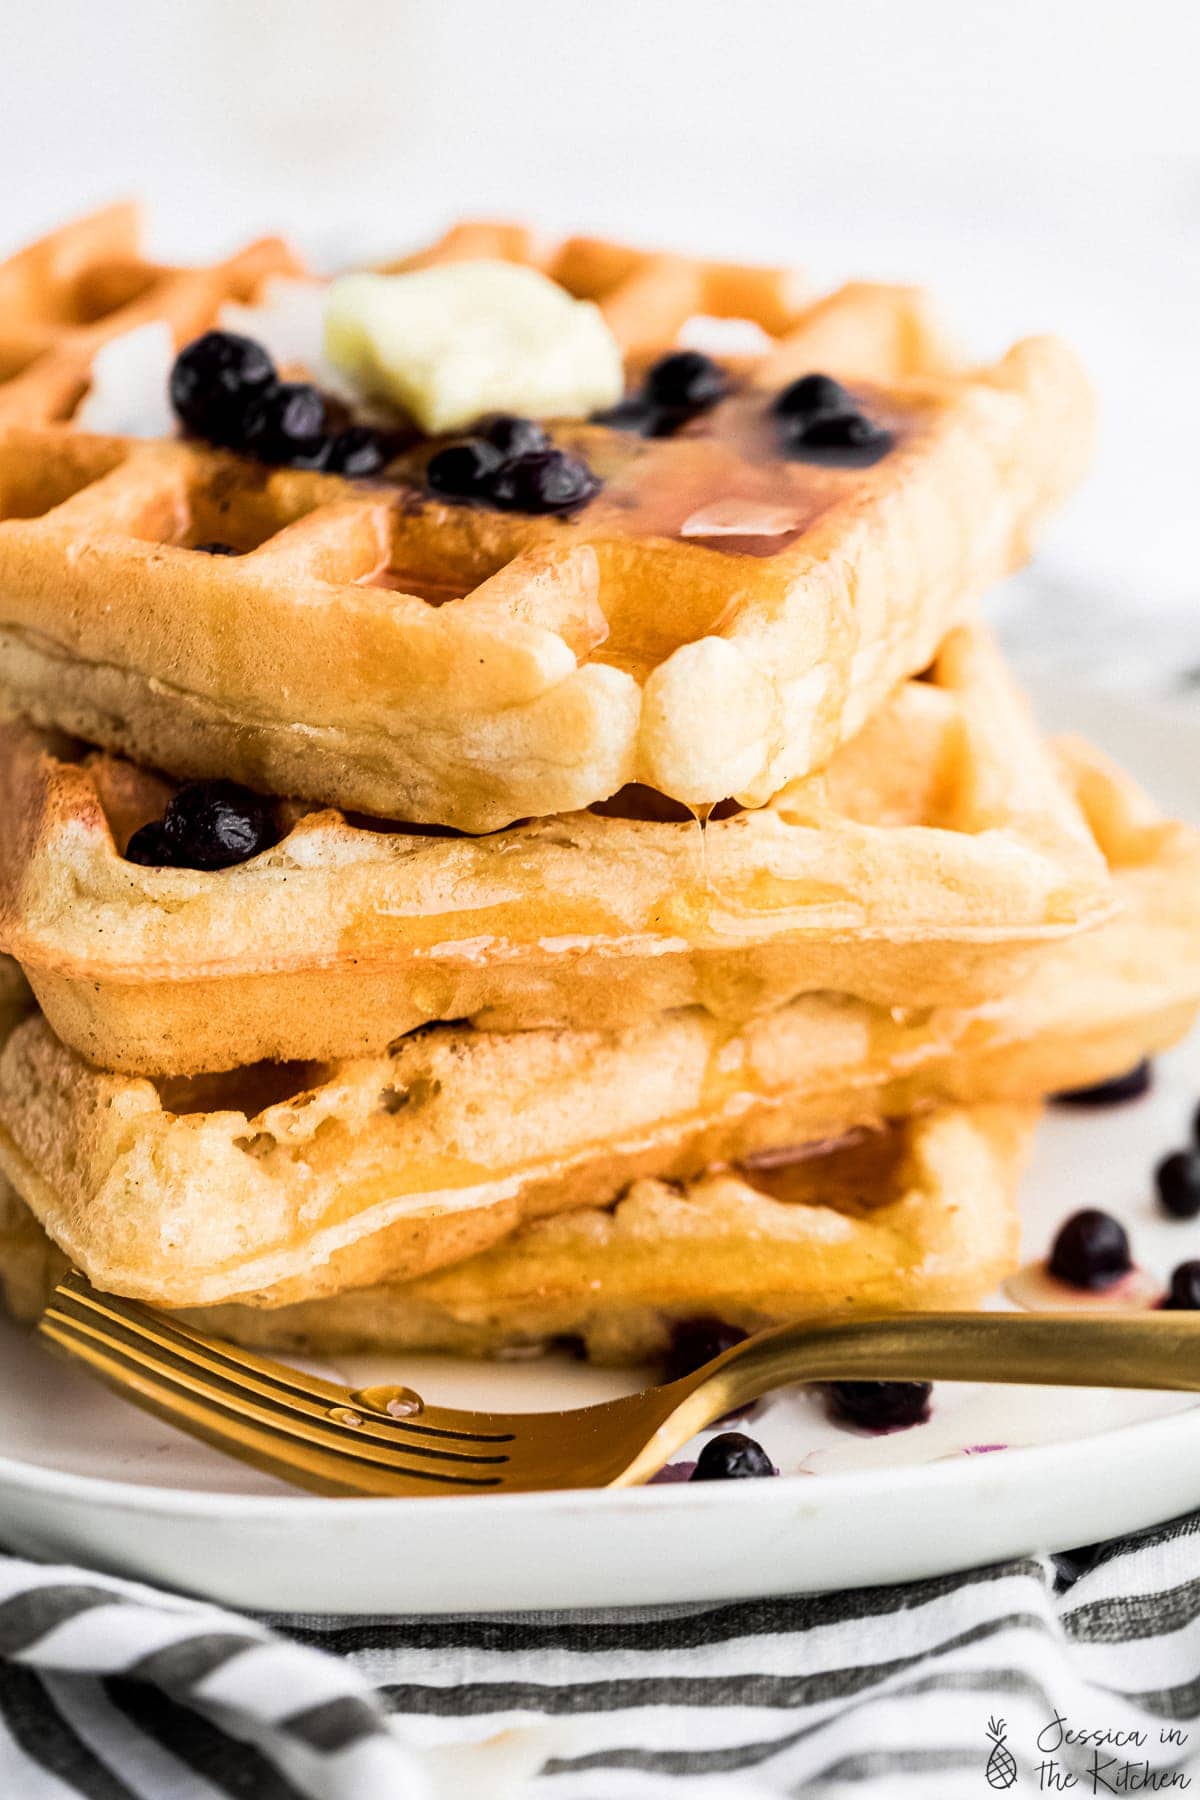
- Don’t overmix your batter. Like, seriously. Lumpy waffle batter is key for light and fluffy waffles, so ensure that it looks similar to the photos above.
- Sifting your ingredients really helps with the fluffiness. If you don’t have a strainer, sieve or sifter, that’s okay, you can still make the recipe. I do recommend it, however.
- While waffles aren’t as precise as baking a cake, I would still recommend weighing out your ingredients. It ensures the perfect consistency of the batter.
- Ensure all your wet ingredients are room temperature. Cold soy milk doesn’t mix very well, so I always pull a new container (I usually make several batches of waffles at a time) OR I take my bottle from the fridge, pour out what I need and warm it up in the microwave so it’s room temperature. If you’re planning ahead, you can always just leave it on your counter until it is room temperature.
- Always lightly grease your waffle iron. The oil in the batter is for crispiness but also helps with them not sticking to the waffle iron.
- ALWAYS let the steam from your waffle iron dissipate before you open the waffle iron. If there’s steam, it’s still cooking!!
- Freeze your vegan waffles so they last! I recommend flash freezing them, then heating them up in your toaster oven. They remain just as light and fluffy.
 Related Recipes
- Lemon Poppyseed Waffles
- Vegan Waffles
- Orange Cranberry Waffles
- Banana Bread Waffles
- Mac and Cheese Waffles
- Jalapeño Cornbread Waffles
- Vegan Pumpkin Waffles
- PB and J Waffles
- Vegan Pancakes
- Top them with Blueberry Sauce
Enjoy friends! If you make this post about these Buttermilk Vegan Waffles, please snap a photo and tag #jessicainthekitchen on Instagram! We’d also love it if you would leave a comment below, and give the recipe a rating! Thanks so much!

Vegan Waffles (Fluffy and Crispy)
Ingredients
- 1 ½ cups unsweetened soy milk, (360mL) or coconut milk or any vegan milk
- 2 teaspoons apple cider vinegar, (10mL) or lemon juice
- 2 cups all-purpose flour, (240g)
- 1 tablespoon baking powder, (14.4g)
- ½ teaspoon sea salt, (2.8g)
- 1 tablespoon brown sugar, (12.5g) or maple syrup. Add up to 3 tablespoons for sweet waffles
- ¼ cup melted coconut oil, (60mL) or melted vegan butter or any oil
- ½ teaspoon vanilla extract, (2.1g)
- fruits to serve or a dollop of vegan whipped cream
Instructions
- Mix the milk and the lemon juice or ACV together in a small bowl/measuring cup. Set aside for about 5 minutes – this will make the vegan buttermilk.
- In a large bowl, sift the flour, baking powder and salt. The sifting really helps to make the waffles fluffy.
- Add the sugar, melted butter/oil, vanilla extract, and buttermilk mixture into the dry ingredients and using a spatula, gently mix the batter until JUST combined. It's okay (and normal) to have some lumps. The batter should be thick and scoopable.
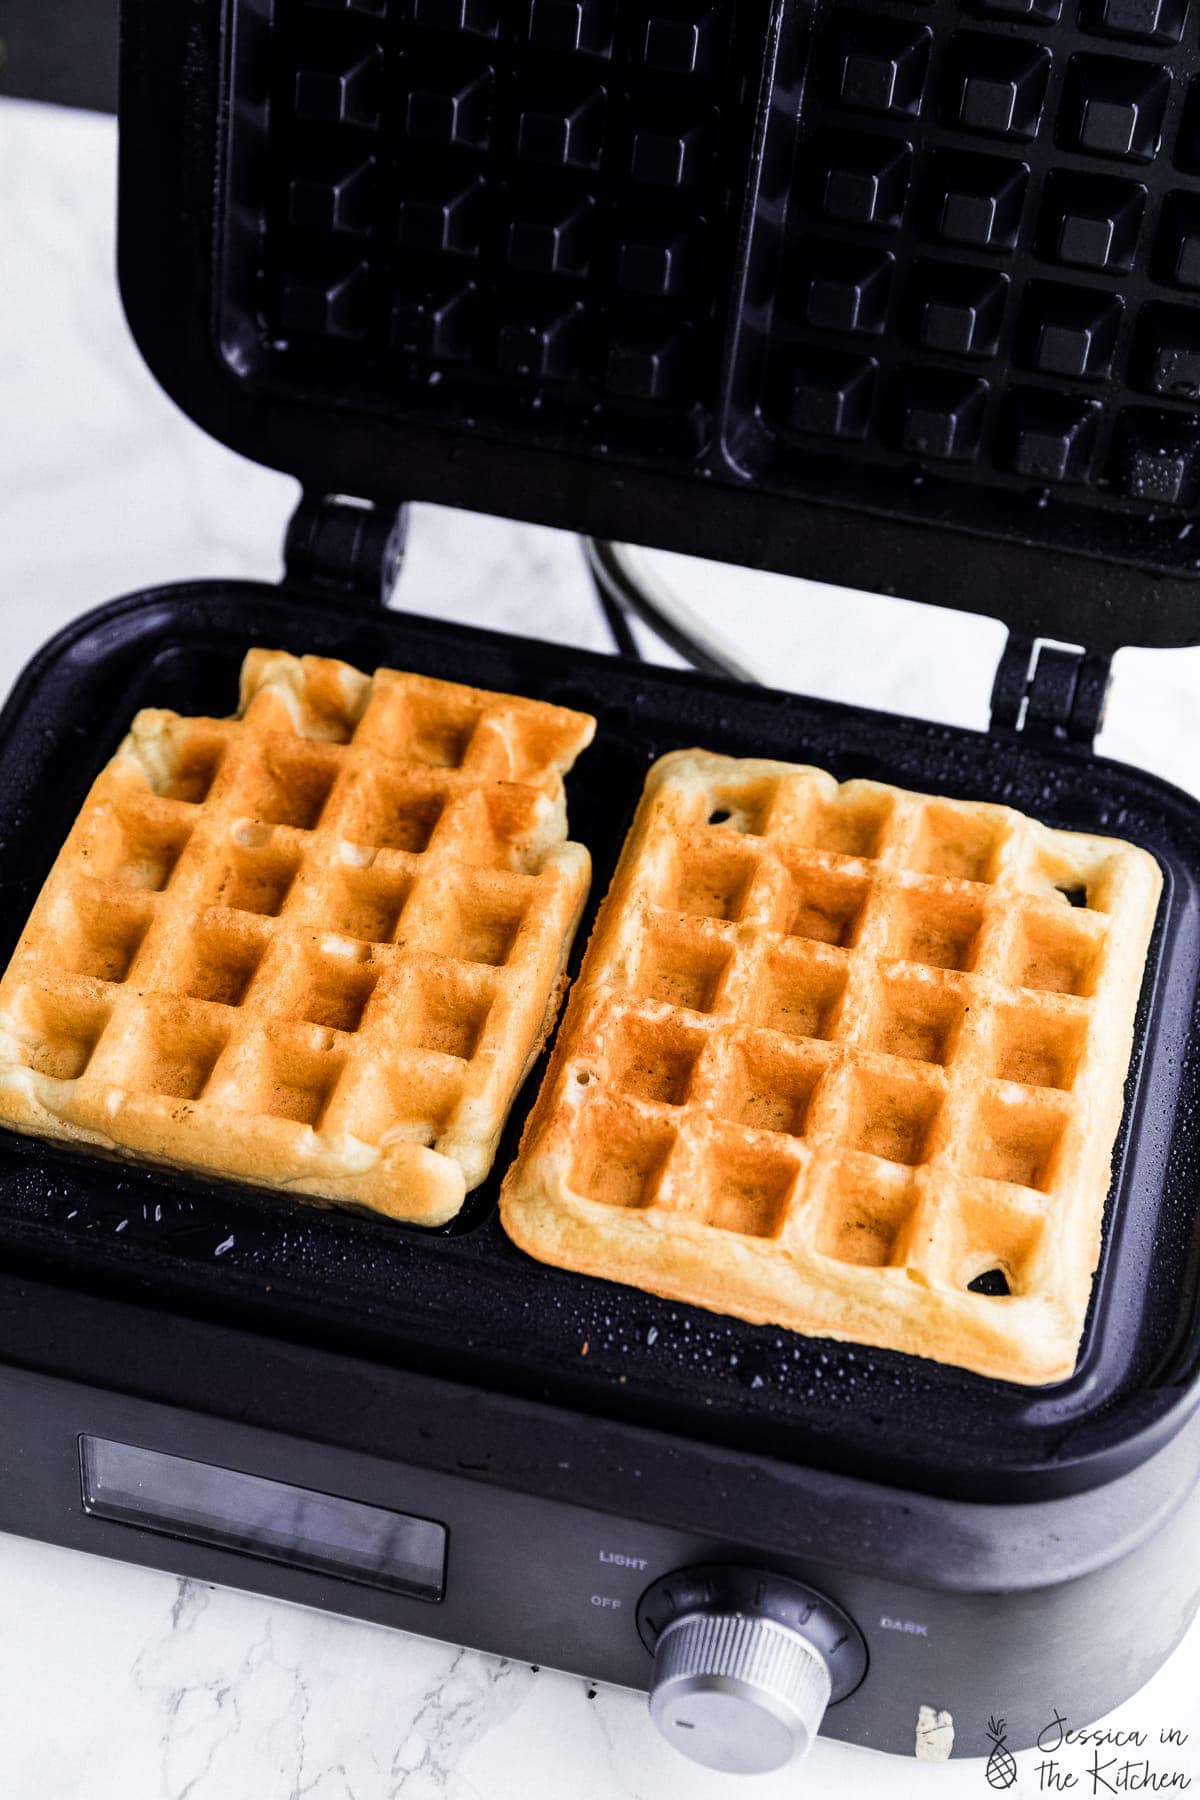
- Turn on and preheat your waffle maker according to which done level that you want. Do this after mixing your batter to give your batter some time to rest while it heats up. I set mine to about medium because I like mine crisp and golden but also very fluffy.
- Using a ½ cup (120mL) measuring cup, scoop out some batter and pour/spread into the middle of the greased waffle maker. You don’t need to push it to the edges. Close and let cook until the steam has COMPLETELY stopped from the waffle maker. Don't open it before the steam is finished!
- Remove each waffle and place on a baking sheet in your oven or toaster oven on "warm" or 200°F/95°C to keep warm and crispy until finished with the entire batter. Continue with the rest of the batter.
- Serve with your favourite toppings like blueberry sauce and enjoy!
Notes
Expert Tips & FAQ
When made properly, homemade vegan waffles taste like they’re fresh from your favourite diner or breakfast spot. Here are some of my top tips:- Test to ensure that your baking powder is still active. Let’s just say I’ve confidently whipped up a double batch of pancakes only to realise I had tossed my good baking powder and kept the expired one. We don’t want that! It’s very easy to test and will make all the difference in getting your pancakes nice and fluffy!
- Don’t overmix your batter. Like, seriously. Lumpy waffle batter is key for light and fluffy waffles, so ensure that it looks similar to the photos above.
- Sifting your ingredients really helps with the fluffiness. If you don’t have a strainer, sieve or sifter, that’s okay, you can still make the recipe. I do recommend it, however.
- While waffles aren’t as precise as baking a cake, I would still recommend weighing out your ingredients. It ensures the perfect consistency of the batter.
- Ensure all your wet ingredients are room temperature. Cold soy milk doesn’t mix very well, so I always pull a new container (I usually make several batches of waffles at a time) OR I take my bottle from the fridge, pour out what I need and warm it up in the microwave so it’s room temperature. If you’re planning ahead, you can always just leave it on your counter until it is room temperature.
- Always lightly grease your waffle iron. The oil in the batter is for crispiness but also helps with them not sticking to the waffle iron.
- ALWAYS let the steam from your waffle iron dissipate before you open the waffle iron. If there’s steam, it’s still cooking!!
- Freeze your vegan waffles so they last! I recommend flash freezing them, then heating them up in your toaster oven. They remain just as light and fluffy.
Disclaimer: Although jessicainthekitchen.com attempts to provide accurate nutritional information, kindly note that these are only estimates. Nutritional information may be affected based on the product type, the brand that was purchased, and in other unforeseeable ways. Jessicainthekitchen.com will not be held liable for any loss or damage resulting for your reliance on nutritional information. If you need to follow a specific caloric regimen, please consult your doctor first.


I have so many allergies and I was upset at the fact that I might not be able to have waffles. Your recipe saved me! Best waffles ever!!!!
My whole family loved these waffles!! Thank you so much!
I made these for breakfast and ate them with some fresh plums! These are the best waffles I’ve ever had! Definitely saving for the future!
Is the batter meant to be quite doughy? Mine was and I couldn’t pour it into the waffle maker
Hi Marina,
Sounds like you added too much flour for sure. I always recommend weighing out your flour or doing the correct scoop method else you’ll pack too much in.
I’m making them now and can’t wait. So many vegan waffle recipes have too many ingredients. Love how simple this.
One question – the link to testing the baking powder appears to be expired? Or is it just me? I have Instagram but when I log in, it says the story is unavailable
Hi Carolyn,
Hope you enjoyed! Oh wow thanks for sharing with me, I will definitely look into that link! It’s in my stories so shouldn’t be saying that.
Made the recipe as written, they were absolutely delicious, thank you!!
I just made these. They are better than all the non-vegan homemade recipes I tried, even the waffle house recipe. I want to say that they were way better, because they actually mirrored the taste and quality of a real waffle. Non-vegan recipes I have tried, for some reason, always seem to come out too cake-like for me.
Great recipe.
Thank you so much Jason W’ere so happy that you enjoyed it.
I added some apple I had picked and preserved. These were a great alternative to egg+dairy waffles. Will definitely make again
I have tried numerous vegan waffle recipes and they were all certainly waffles. I guess none of them made an impact on me, because I never saved them. Then there’s this one… My gosh! I am printing this one and keeping it forever! This recipe does indeed crisp up nicely. The only sugar is a bit of maple (I prefer maple over brown sugar), so they aren’t sickly sweet. Very easy to make when you don’t know what to make for breakfast.
Only after I made my waffles did I read the author’s note indicating the importance of checking the date on the banking powder. I looked at mine, and I definitely used expired baking soda! Hah… But they were still very yummy waffles! I wonder how much better they’ll be with fresh baking powder. 😉
I’m really really happy I found this recipe and I’m grateful to the author for sharing!
Whoops, some typos. Dang mobile “smart” keyboard.
I did use baking powder, not soda, and I mistakenly said the wrong thing in my original comment. But the rest holds!
Yum!!! 😊
I used oat milk (cause that’s the milk I always have and use for pretty much everything), measured everything like in the recipe, but added 2 tbsp (or maybe more.. Didn’t measure that, just wing it) of cocoa powder. Served with melted Nutella, white chocolate and hazelnut spread (which tastes like inside of kinder bueno) and kinder bueno wafer on top. Omnomnom 🙂 my midnight snack sorted for the next couple of days, just gonna play around with topping (already thinking about tomorrow.. Peanut butter and raspberries, biscoff and biscuits, tahini and banana,… 🤔 😁 Thank you x
My vegan daughter and her family are coming for a couple of weeks. I made these waffles to freeze for the kids. Honestly, I ate 3 before they ever made it to the warming oven. The only change I made is I added cinnamon. They are really delicious! I also used Einkorn flour which has much less gluten. I will make these for myself…my non vegan self…YUM.!