How to Make a Beautiful Crudité Platter
A perfect crudité platter is a feast for the eyes, with a rainbow of colours and an assortment of shapes and textures. This easy tutorial will show you how to make a crudité platter that’s sure to impress your guests!
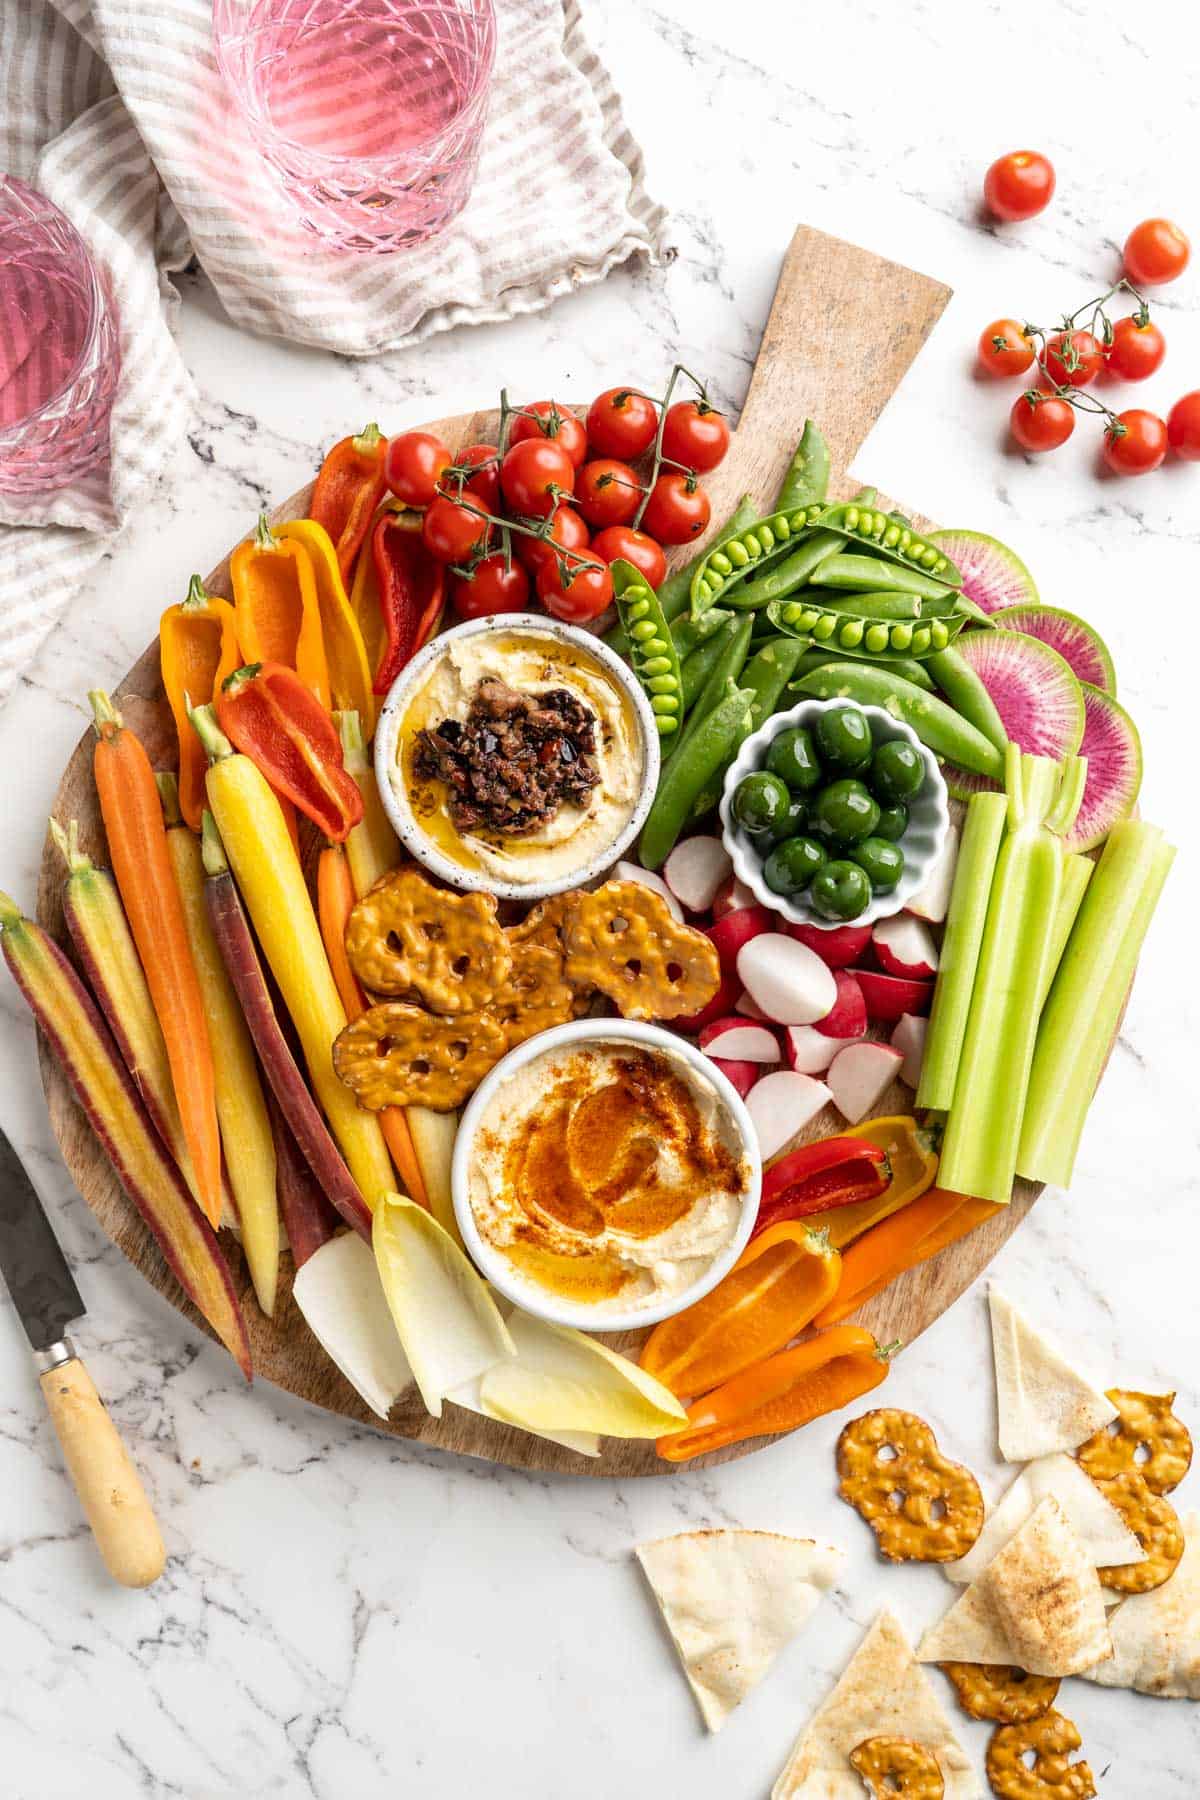
There was a time when the crudité platter was the most ho-hum snack option at any party. Some sliced cucumbers, maybe a handful of limp celery and baby carrots, and a plastic tub of dip plopped in the centre—yawn.
Well, friends, times have changed and now crudité platters are worth getting excited about. The colours! The textures! All the dips and spreads!
Best of all, making a crudité platter is one of those things that takes very little effort, but it looks super impressive. Make one for a party and your guests will ooh and ahh, but only you will know that the whole tray took you just a few minutes to assemble.
Best Vegetables for a Crudité Platter
Making the perfect crudité platter requires thought and planning to ensure that the colours, textures, and flavours of the vegetables are balanced.
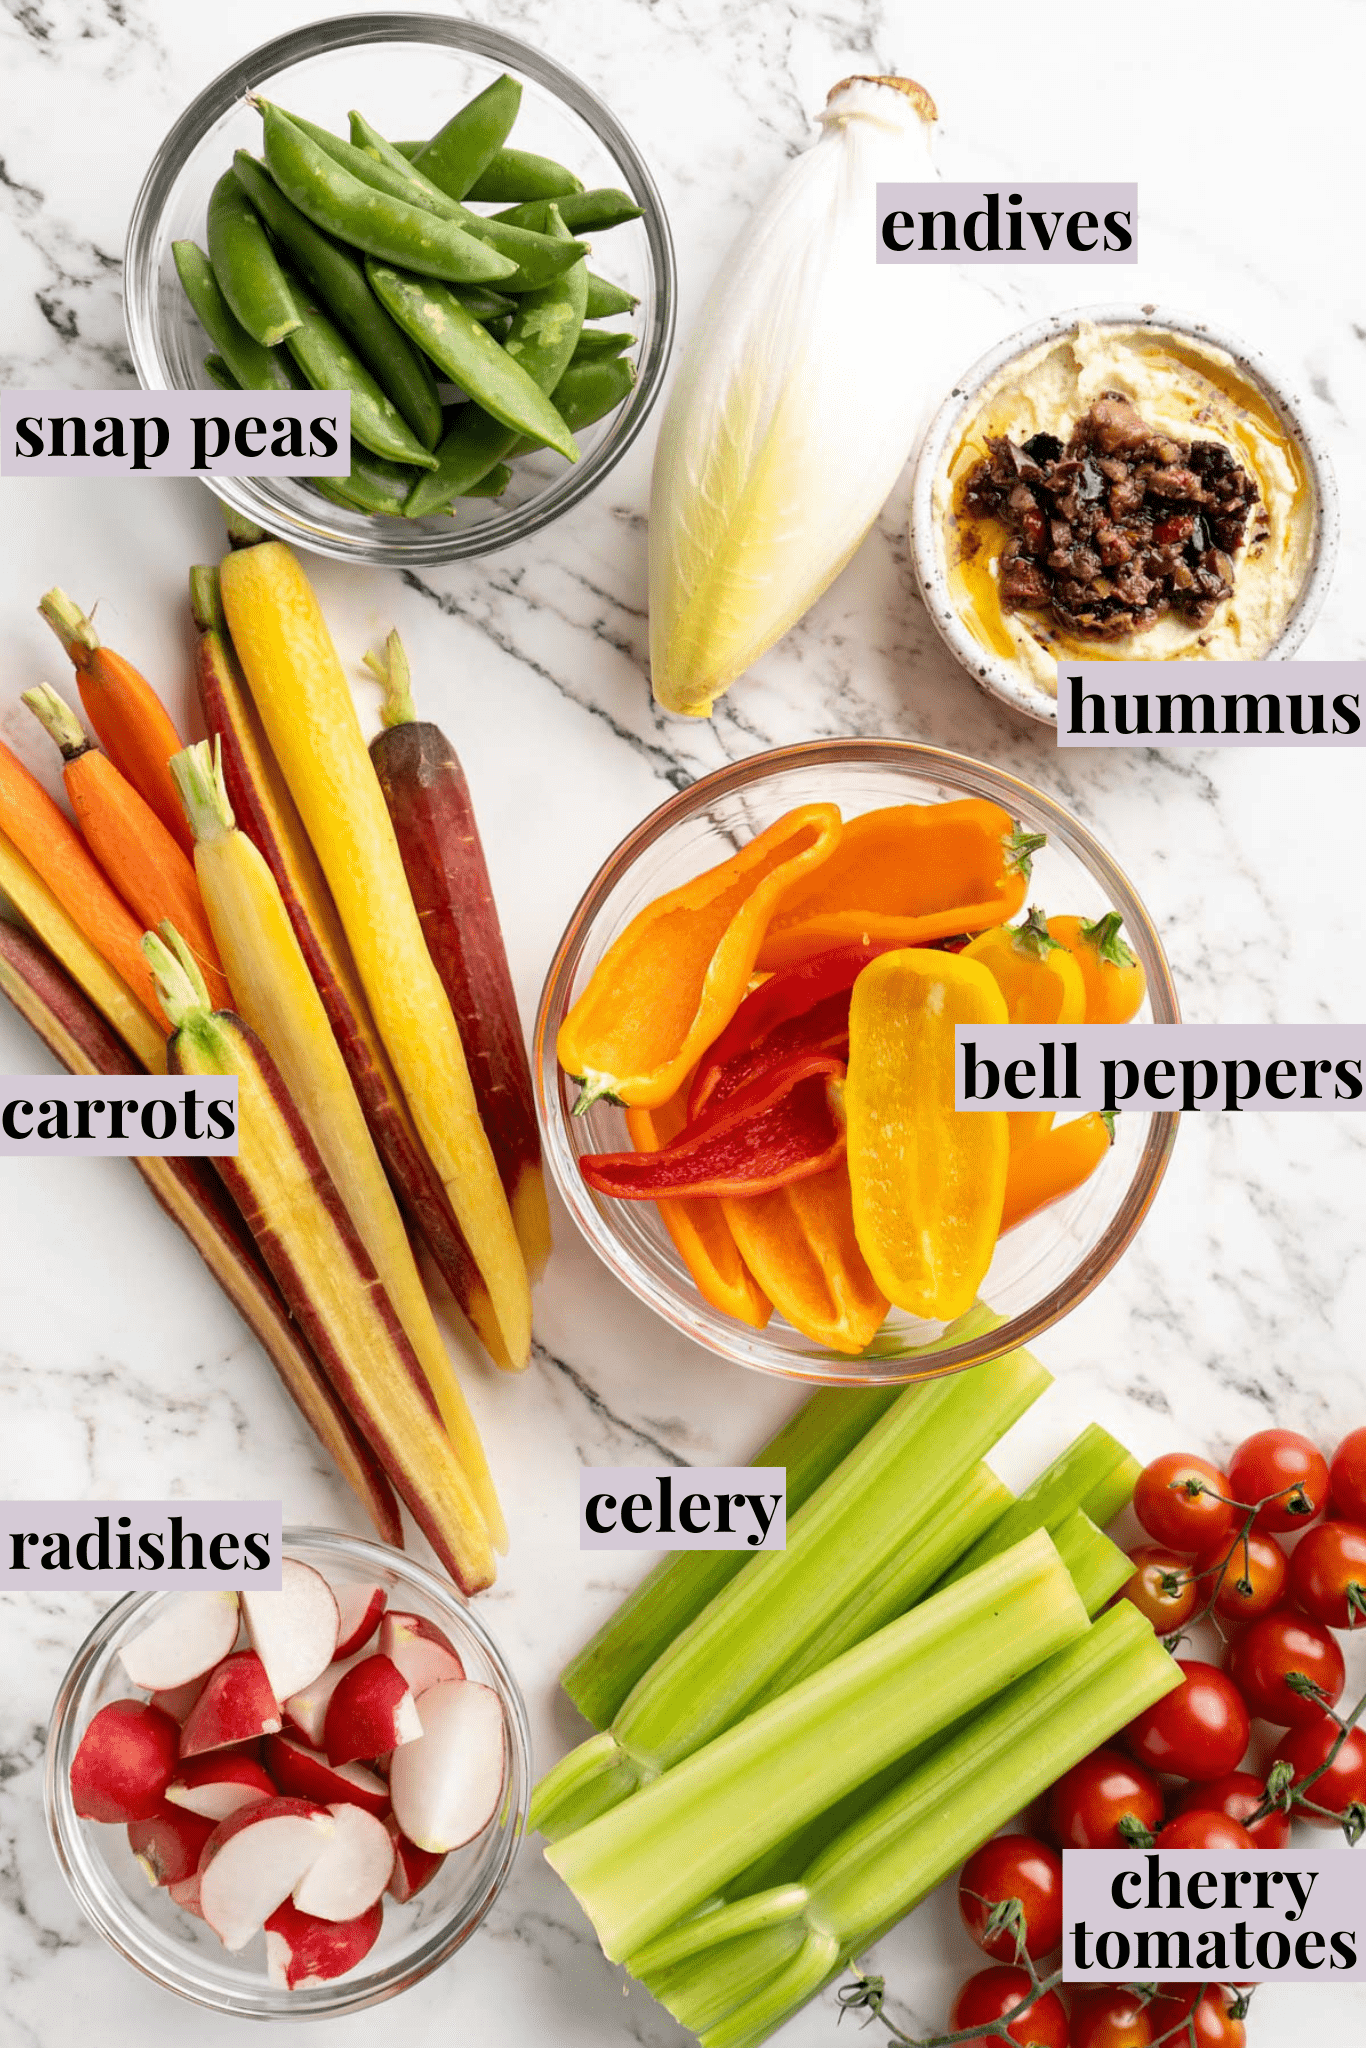
When choosing vegetables for a crudité platter, choose a mixture of different colours and shapes. A variety of crunchy, juicy, and mild-flavoured veggies, as well as some strongly flavoured veggies, should be included to ensure that there is something for everyone’s taste preferences. And it goes without saying that when you’re shopping for your veggies, you want them to look perfect. Now’s not the time for bruises, browning, or any vegetable that looks past its prime.
Some of the best vegetables to include on a crudité platter are:
- Carrots – I think larger carrots look better on a crudité platter than baby carrots.
- Celery
- Endives
- Bell peppers – I like using baby bell peppers in an array of colours.
- Radishes – Large radishes can be thinly sliced for dipping like chips (as I did with the watermelon radishes pictured), small radishes can be left whole, and medium radishes can be halved or quartered.
- Broccoli and cauliflower florets – I prefer these blanched, but if you don’t mind raw, that works too!
- Snap peas – I opened some up and left others whole.
- Asparagus spears – Blanch these to soften them just a bit.
- Green beans – These can be served raw or blanched.
- Jicama slices
- Cherry tomatoes – Leave them on the vine for a pretty look.
- Artichoke hearts
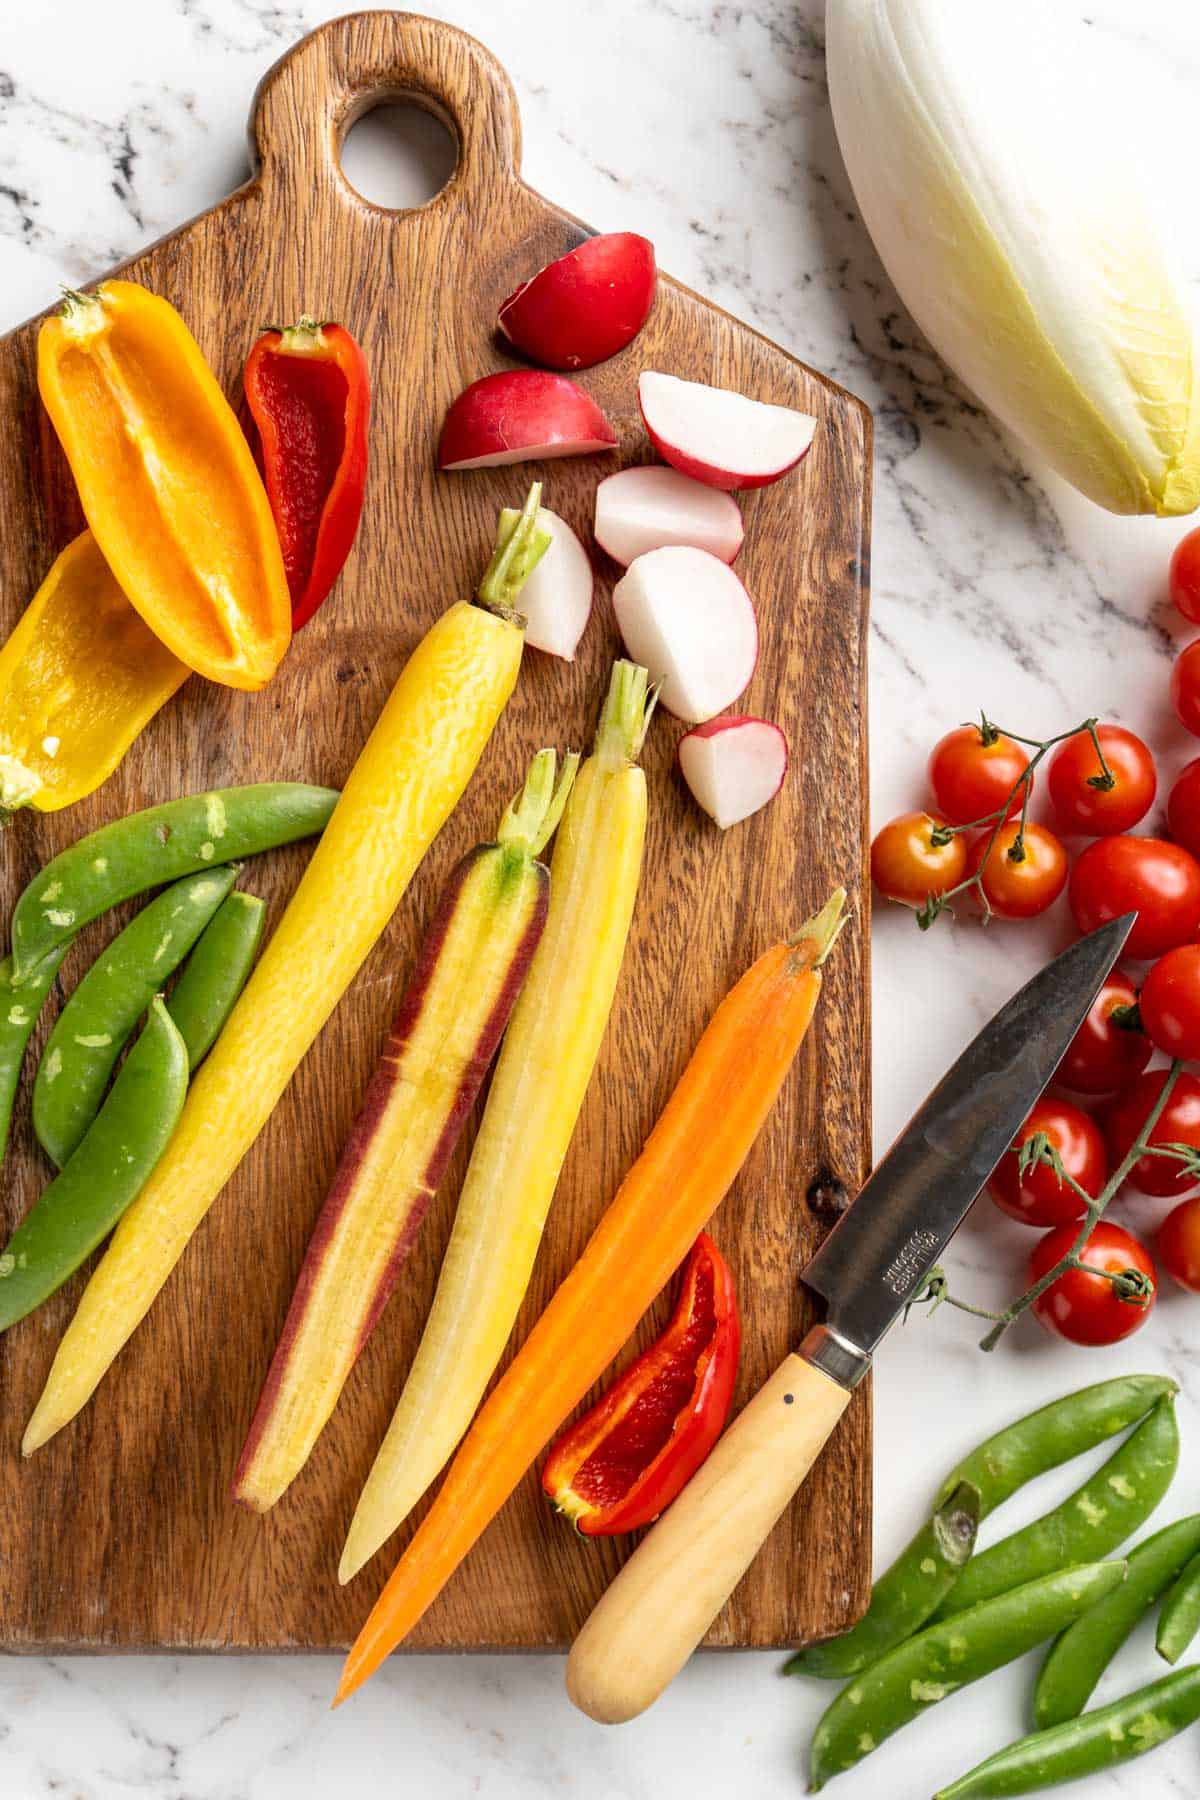
Once you have chosen your vegetables, it’s time to prepare them for the platter. Most vegetables should be washed and cut into pieces that are easy to dip; some you’ll want to blanch (as noted above) to soften them a bit.
Dips and Spreads
When it comes to creating a perfect crudité platter, the dip is just as important as the vegetables. I think the best crudité platters have options, so be sure to include at least two different dips so your guests have choices.
Creamy dips like ranch dressing or hummus are perfect alongside some of the crunchier veggies, or for a unique twist, you can also offer spreads such as pesto or guacamole. These options are perfect for adding variety to the platter without outshining the vegetables.
Here are some dips and spreads to consider:
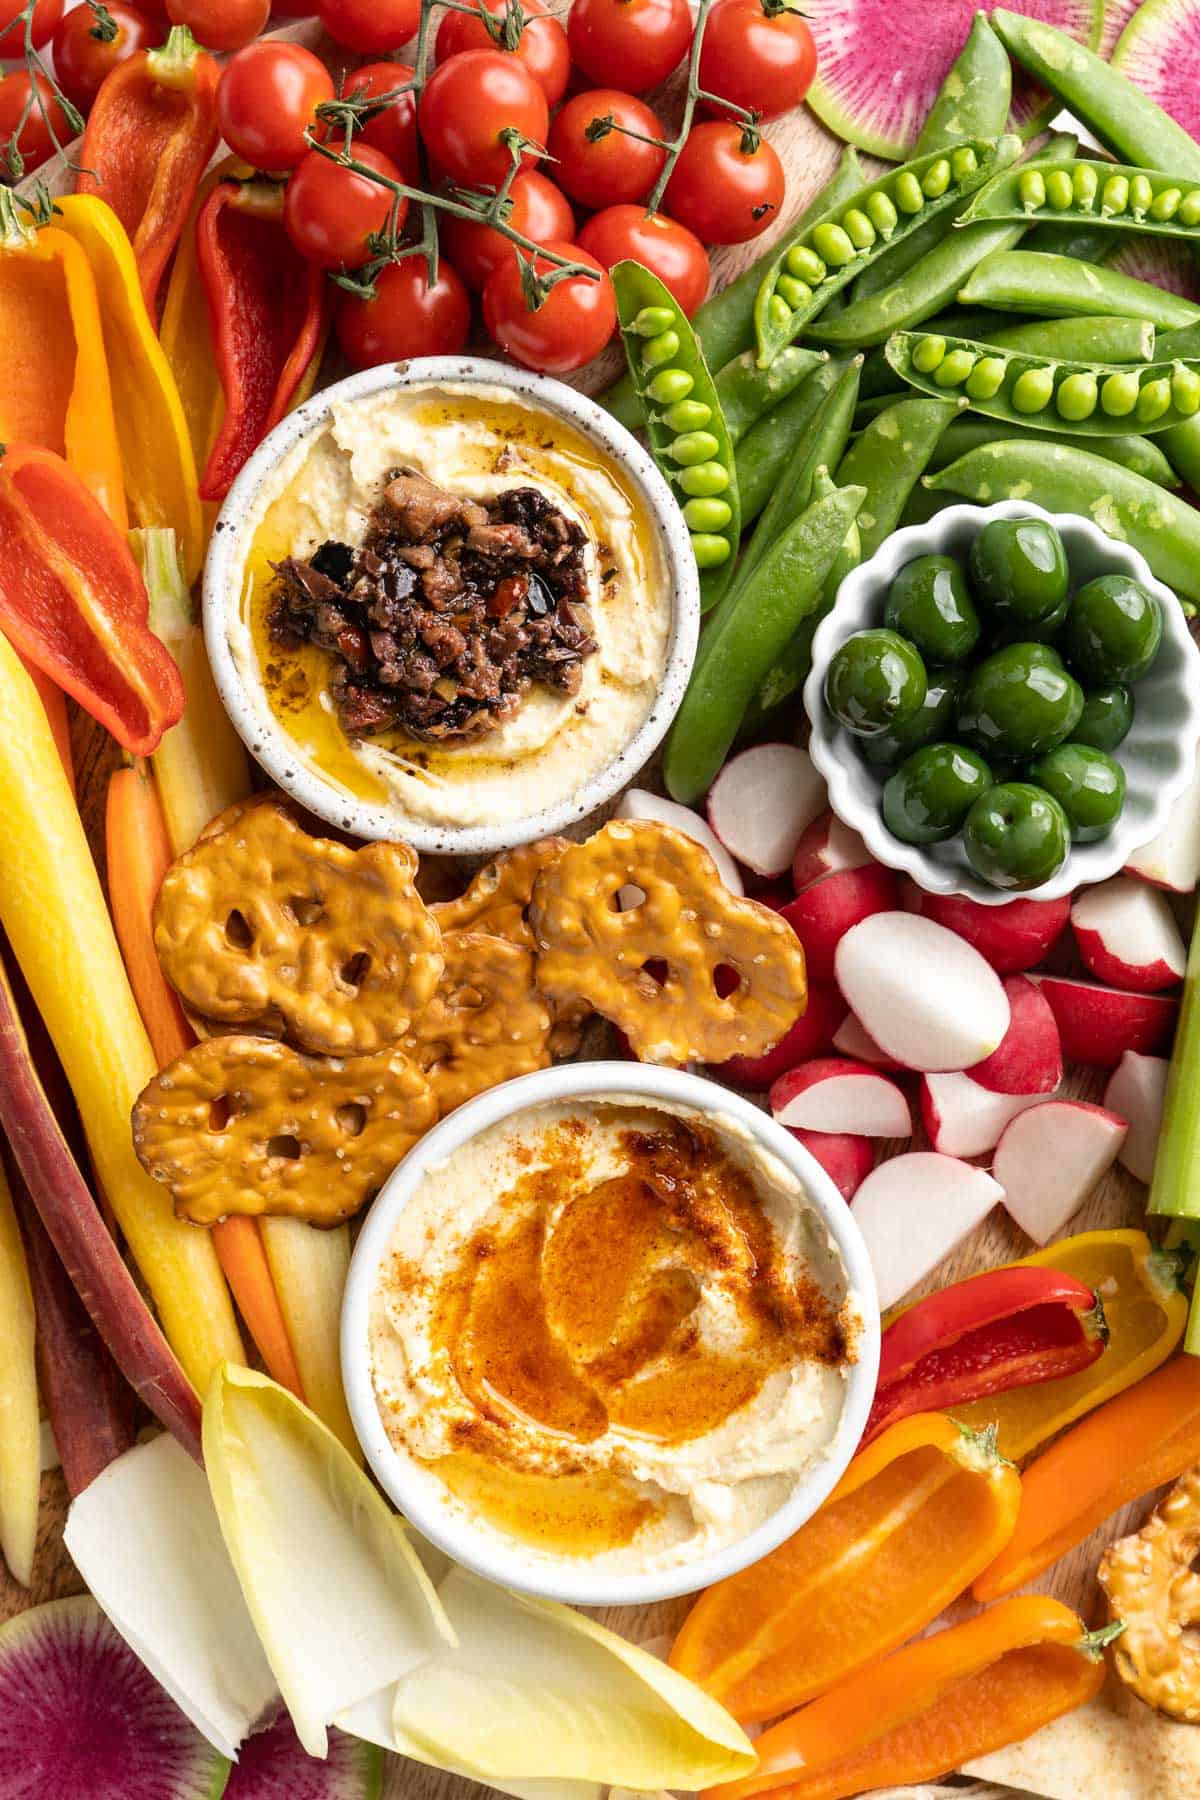
- Store-bought hummus – You can dress it up with a drizzle of olive oil and sumac or olive tapenade on top. If you have time, you can make homemade hummus instead—try my Perfect Homemade Hummus, Roasted Cauliflower Hummus, or Spicy Roasted Red Pepper Hummus.
- Vegan Whipped Feta Dip
- Roasted Garlic White Bean Dip
- Vegan Ranch Dressing – You can add a little less liquid to make it thicker for dipping.
Other Snacks and Garnishes to Add
In addition to vegetables, crudité platters can be jazzed up with other snacks to add to their visual appeal. Crackers, pita chips, nuts, and olives are all great options for adding flavour and texture to the platter, but don’t go overboard—remember, crudité boards are all about the veggies! Use other snacks as an accent.
Another option is to add some sprigs of fresh herbs to your board. The leafy texture contrasts nicely with the vegetables, and they also add some extra flavour to your crudité platter too. You can’t go wrong with fresh basil and tomatoes or a sprinkle of dill in homemade ranch dip!
How to Arrange a Beautiful Crudité Platter
When it comes to creating a beautiful crudité platter, presentation is key. Use a wood, marble, or stone board or platter that’s big, but not too big—you want a look of abundance and using a huge board for a smaller amount of food will make your board look sparse and uninteresting.
Here are the three simple steps to making the perfect crudité platter for a party:
1. Add the Bowls
Start by placing bowls of dip and small foods (like olives or nuts) on the board; using three bowls and placing them in a triangle works well visually. Don’t leave store-bought dips in the container you bought them in—transferring them to a bowl will look much more appetizing!
2. Arrange the Large Veggies
To arrange the vegetables, begin with the largest veggies and work with the shape of your board. With the round board pictured here, I’ve placed the large, long vegetables like carrots and celery along the perimeter; for a rectangular board, try placing the large vegetables at different angles for visual interest.
If you have a very large board, you can place groupings of the same vegetable in two or three different places; for a smaller board, keep all of the same veggies together for a cohesive look.
3. Fill in the Gaps
Next, fill in the gaps with smaller vegetables like radishes and tomatoes. Add some crackers and chips in between the vegetables to give the platter a bit of texture.
Keep in mind that if you finish and you don’t like the way your platter looks, you can start over again and re-arrange things!
Serving and Storing Your Crudité Platter
Once your crudité platter is assembled, it should be kept cold until you’re ready to serve it. You can assemble your board and wrap it tightly in plastic wrap before refrigerating it, or prep the vegetables and dip, then assemble everything right before serving. (If you have time, assembling just before serving is your best bet because everything will look a little bit fresher.)
Any leftovers can be stored in an airtight container and refrigerated for up to 3 days.
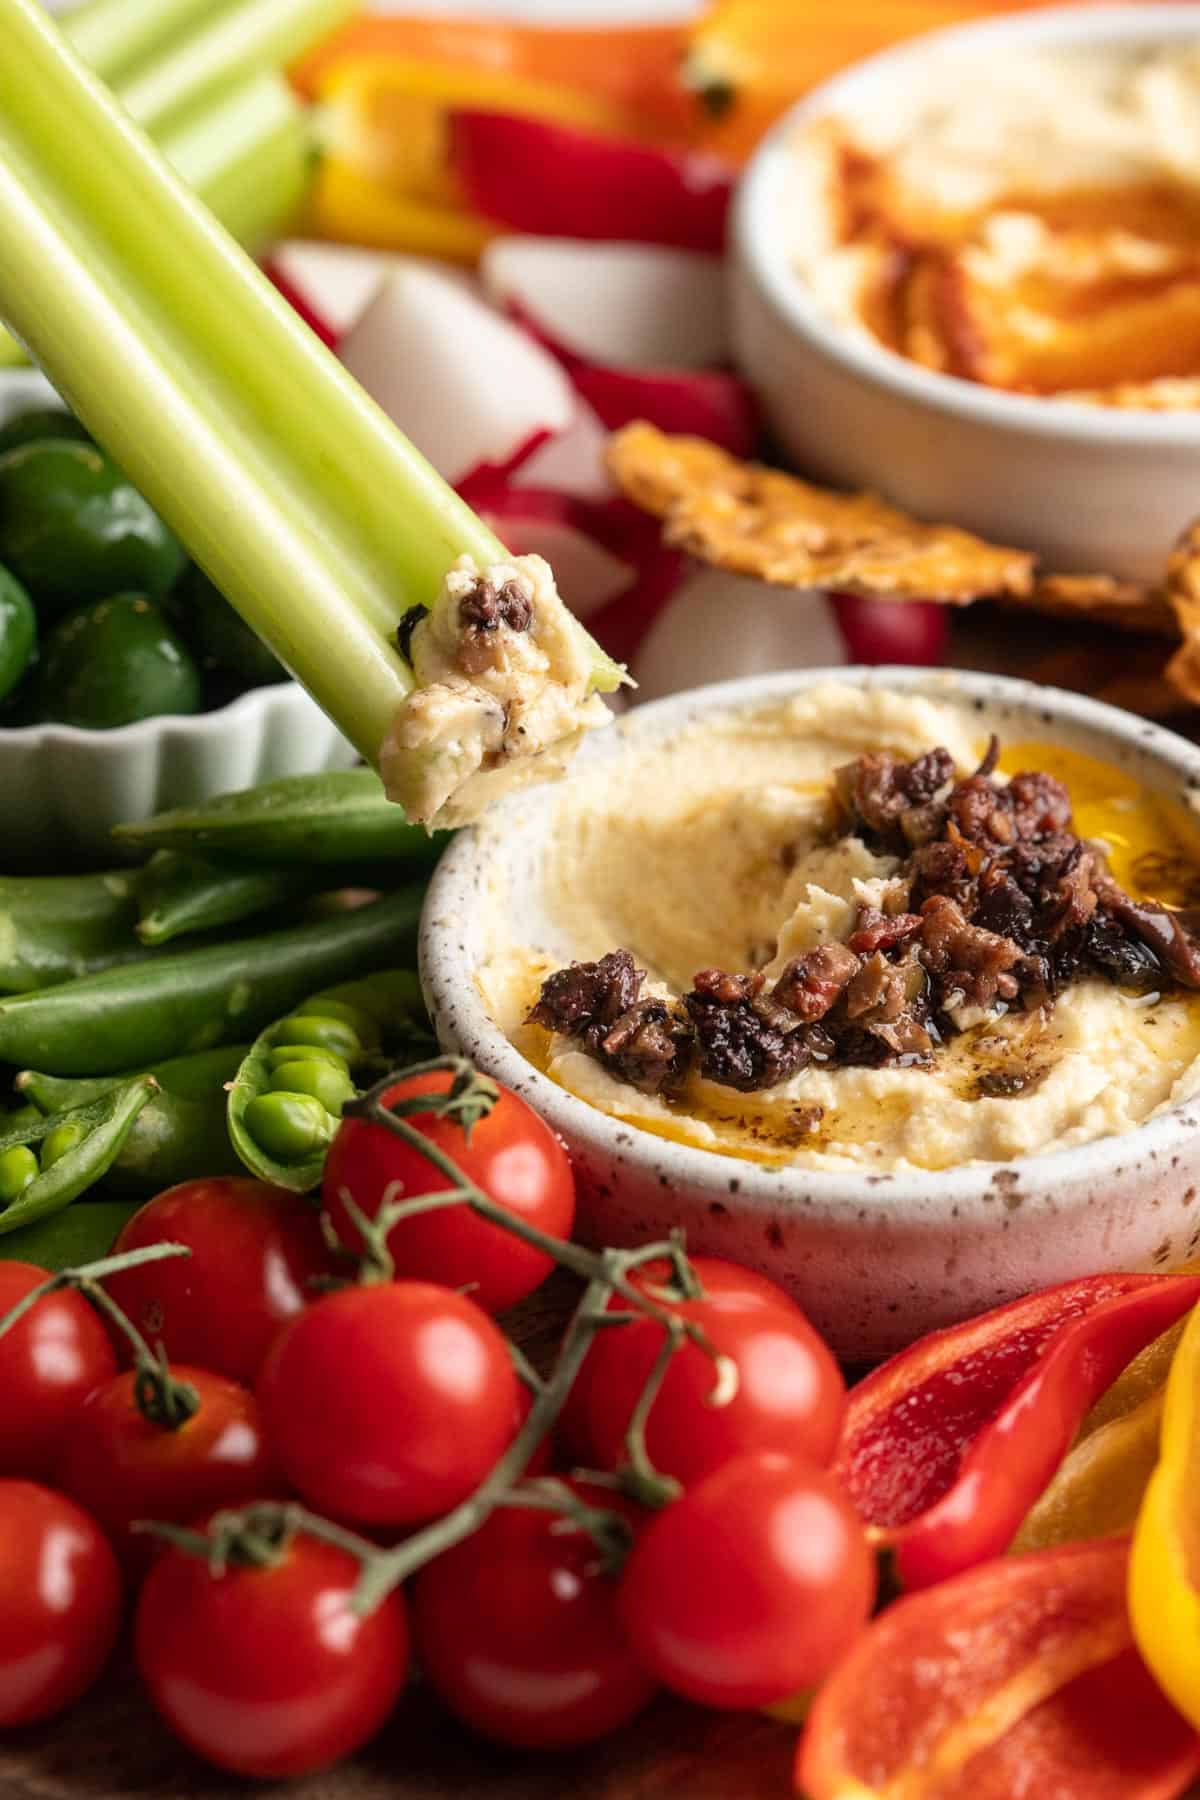
Enjoy friends! If you make this vegetable crudité platter, please snap a photo and tag #jessicainthekitchen on Instagram! We’d also love it if you would leave a comment below, and give the recipe a rating! Thanks so much!
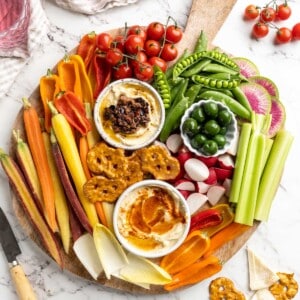
How to Create an Easy Crudité Platter
Ingredients
- Radishes
- Snap peas
- Bell peppers
- Celery
- Cherry Tomatoes
- Endives
- Carrots
- Roasted Garlic Hummus, 10 oz.
- Beet Hummus, 10 oz.
- OPTIONAL: Breads, pita chips, crackers, pretzels
Instructions
- Wash, dry and cut all the vegetables to your desired sizes (I don’t cut the tomatoes since they’re so small and juicy).
- Serve in an attractive manner (like in the photos) around the the Roasted Garlic Hummus and Beet Hummus. Serve with optional breads, pita chips, crackers and pretzels if you like.
- Serve and enjoy!
Notes
- I recommend cutting the vegetables on the same day that you’ll be serving them so that they are still bright and fresh.
- If you plan to be using broccoli for this platter, I would recommend blanching it first.
- Feel free to substitute your own favourite dips and vegetables.
Disclaimer: Although jessicainthekitchen.com attempts to provide accurate nutritional information, kindly note that these are only estimates. Nutritional information may be affected based on the product type, the brand that was purchased, and in other unforeseeable ways. Jessicainthekitchen.com will not be held liable for any loss or damage resulting for your reliance on nutritional information. If you need to follow a specific caloric regimen, please consult your doctor first.


HI, I just served something like this to my family! 🙂 It hit the spot with both vegans and nonvegans….
Just curious, what veggies do you think would require blanching? I served just raw veggies, but I’m
wondering what else I might add that I didn’t think about. Thanks for any tips!
Hi Heidi,
Yum!!! So happy to hear that – crudité platters are so magical that way! If you’re serving maybe like cauliflower or broccoli, you could slightly blanch them to boost flavour and remove any bitterness people might experience! I love raw carrots, but they will look even brighter if blanched too! I hope that helps!! 🙂
Oooo, that’s a great idea about removing the bitterness!!! My hubby, who’s also vegan, has issues with some raw veg, so this is a great tip. Thank you!
Hi Heidi,
Thank you so much and so happy that this helps!!