Vegan Pumpkin Pie (9 Ingredients)
This vegan pumpkin pie tastes and bakes JUST like the classic – you’re going to LOVE this! Made with only 9 ingredients, it’s rich, smooth in texture, and filled with flavor! It also just so happens to be gluten-free!

After making this vegan pumpkin pie, friends, I am HOOKED on pie.
I always thought making pies was hard, but after making this super simple vegan pumpkin pie, I’ve learnt that it really isn’t! Speaking of which, one bite and you’ll be hooked, too. This pie is the perfect pie for Thanksgiving – that is a fact. The Mr., who grew up eating pumpkin pie at Thanksgiving, verified that 100% for me.
The three slices I had also verified this fact. Oops. But, when you’ve got a smooth pumpkin pie made with cinnamon, ginger, and rich pumpkin puree sitting in front of you, all sliced up and ready to go, it’s impossible not to sample a slice (or three!). Get in on the goodness, and you’ll see what I mean!
Also, if you’re in the mood to make some more easy pumpkin desserts, try these pumpkin sugar cookies, these pumpkin cupcakes, or this pumpkin sheet cake!

Why You’ll Love This Vegan Pumpkin Pie
Pumpkin pie is a classic Thanksgiving dessert, but you can make it all year-round if you like! Here’s why I think you’ll be hooked on it, just like me:
- Perfectly smooth. This pumpkin pie filling is so creamy and moist. Pair that with a flaky gluten-free crust, and every bite is a dream!
- Sweet and comforting. This pumpkin pie is filled with sugary maple syrup, sweet brown sugar, rich pumpkin puree, and cozy cinnamon and ginger. What a comforting combination!
- Quick and easy. This pie can be prepped in 15 minutes and baked in 1 hour! That’s all there is to it.

Notes on Ingredients
These are the ingredients you’ll need to round up to make a vegan gluten-free pumpkin pie. You can find the exact amounts for each in the recipe card below, along with the directions!
- Pumpkin – You can use fresh pumpkin pie puree or canned, up to you!
- Coconut Milk – You want to ensure you’re using the one from the can since it’s nice and thick and will yield that beautiful silkiness that you’re looking for!
- Spices – Although I’ve listed the cinnamon, ginger, and all spice separately, you can substitute 1 ½ teaspoons pumpkin pie spice instead! If you like your pie extra spiced, feel free to use 2 teaspoons.
- Salt – I like to use sea salt in this recipe.
- Maple Syrup – Pure maple syrup is the way to go!
- Brown Sugar – Cane sugar and coconut sugar can also be used.
- Cornstarch – This is crucial because it is the perfect thickener and it binds the pie ingredients together, creating a smooth texture. I have not tested arrow starch, but you can test it if you’d prefer to use that.
- Pie Crust – You don’t have to use mine if you’re not gluten-free! You can also substitute the gluten-free flour in mine for regular flour for a regular vegan pie crust.
How to Make Vegan Pumpkin Pie
This vegan pumpkin pie is made in just a few simple steps! Here’s how it all happens:
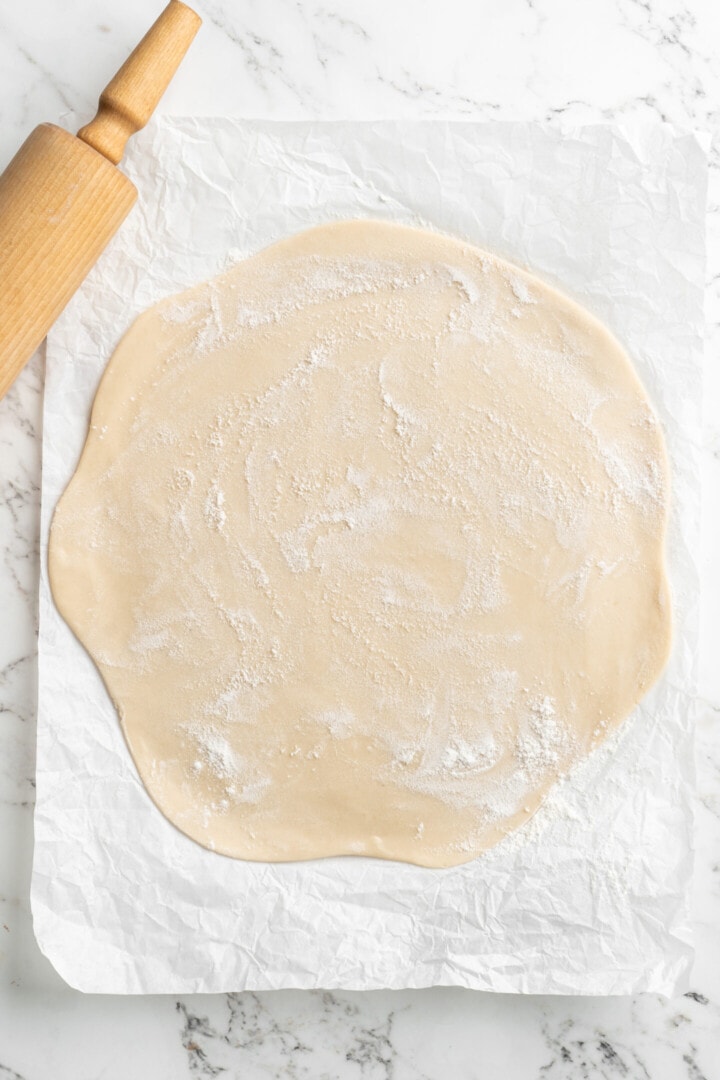
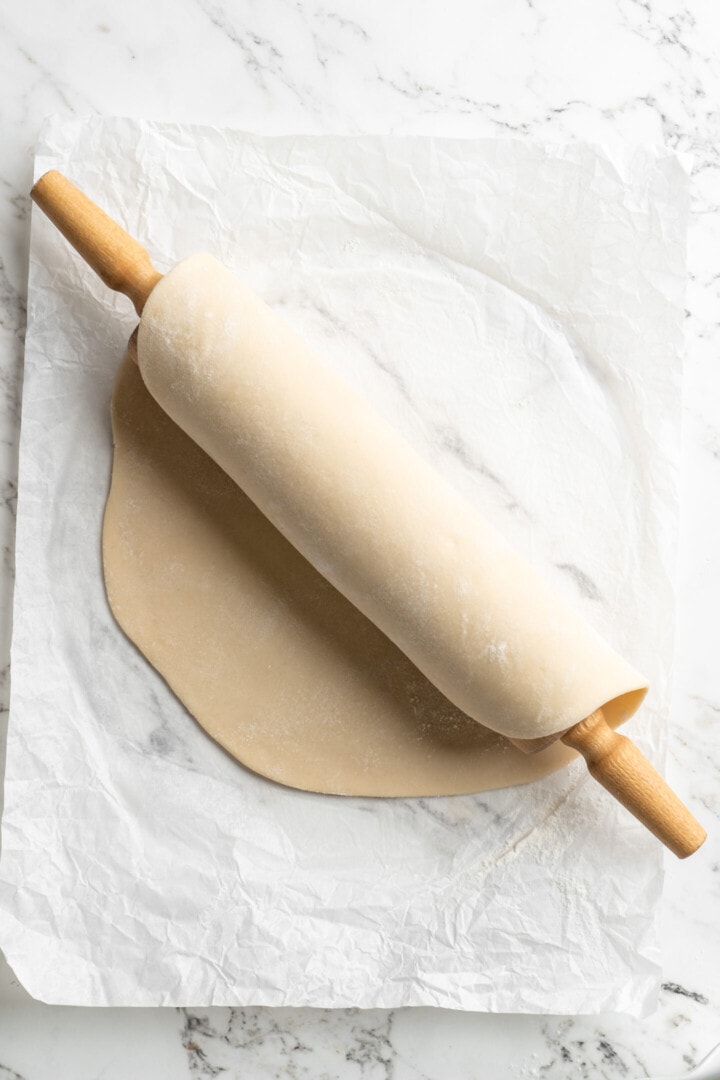
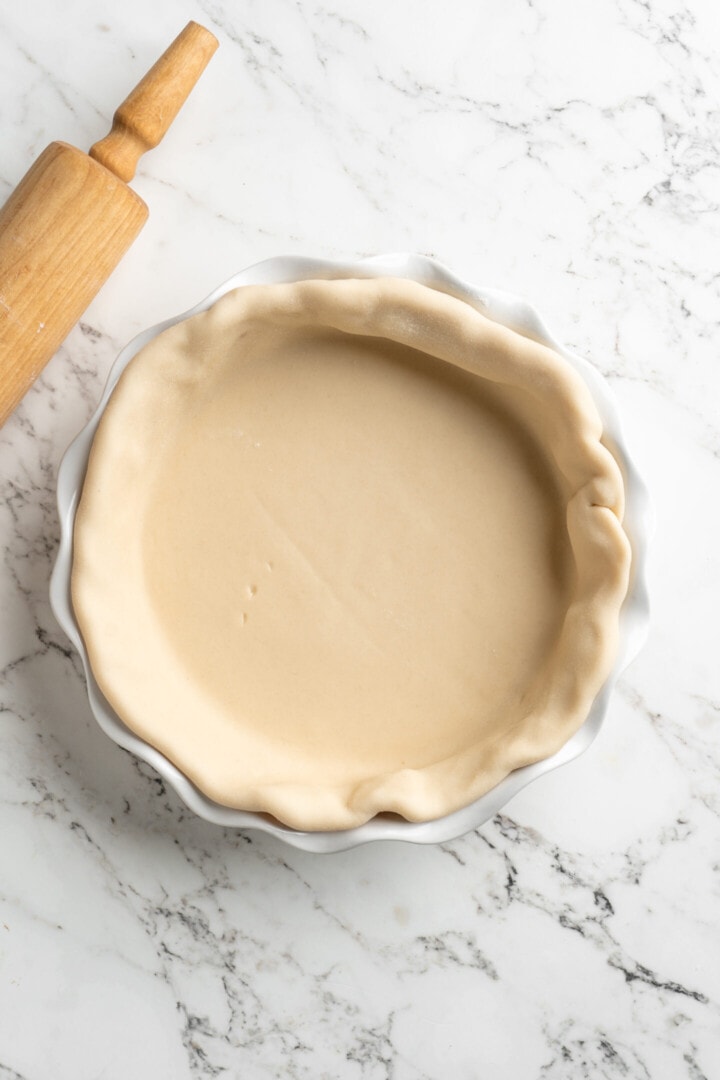

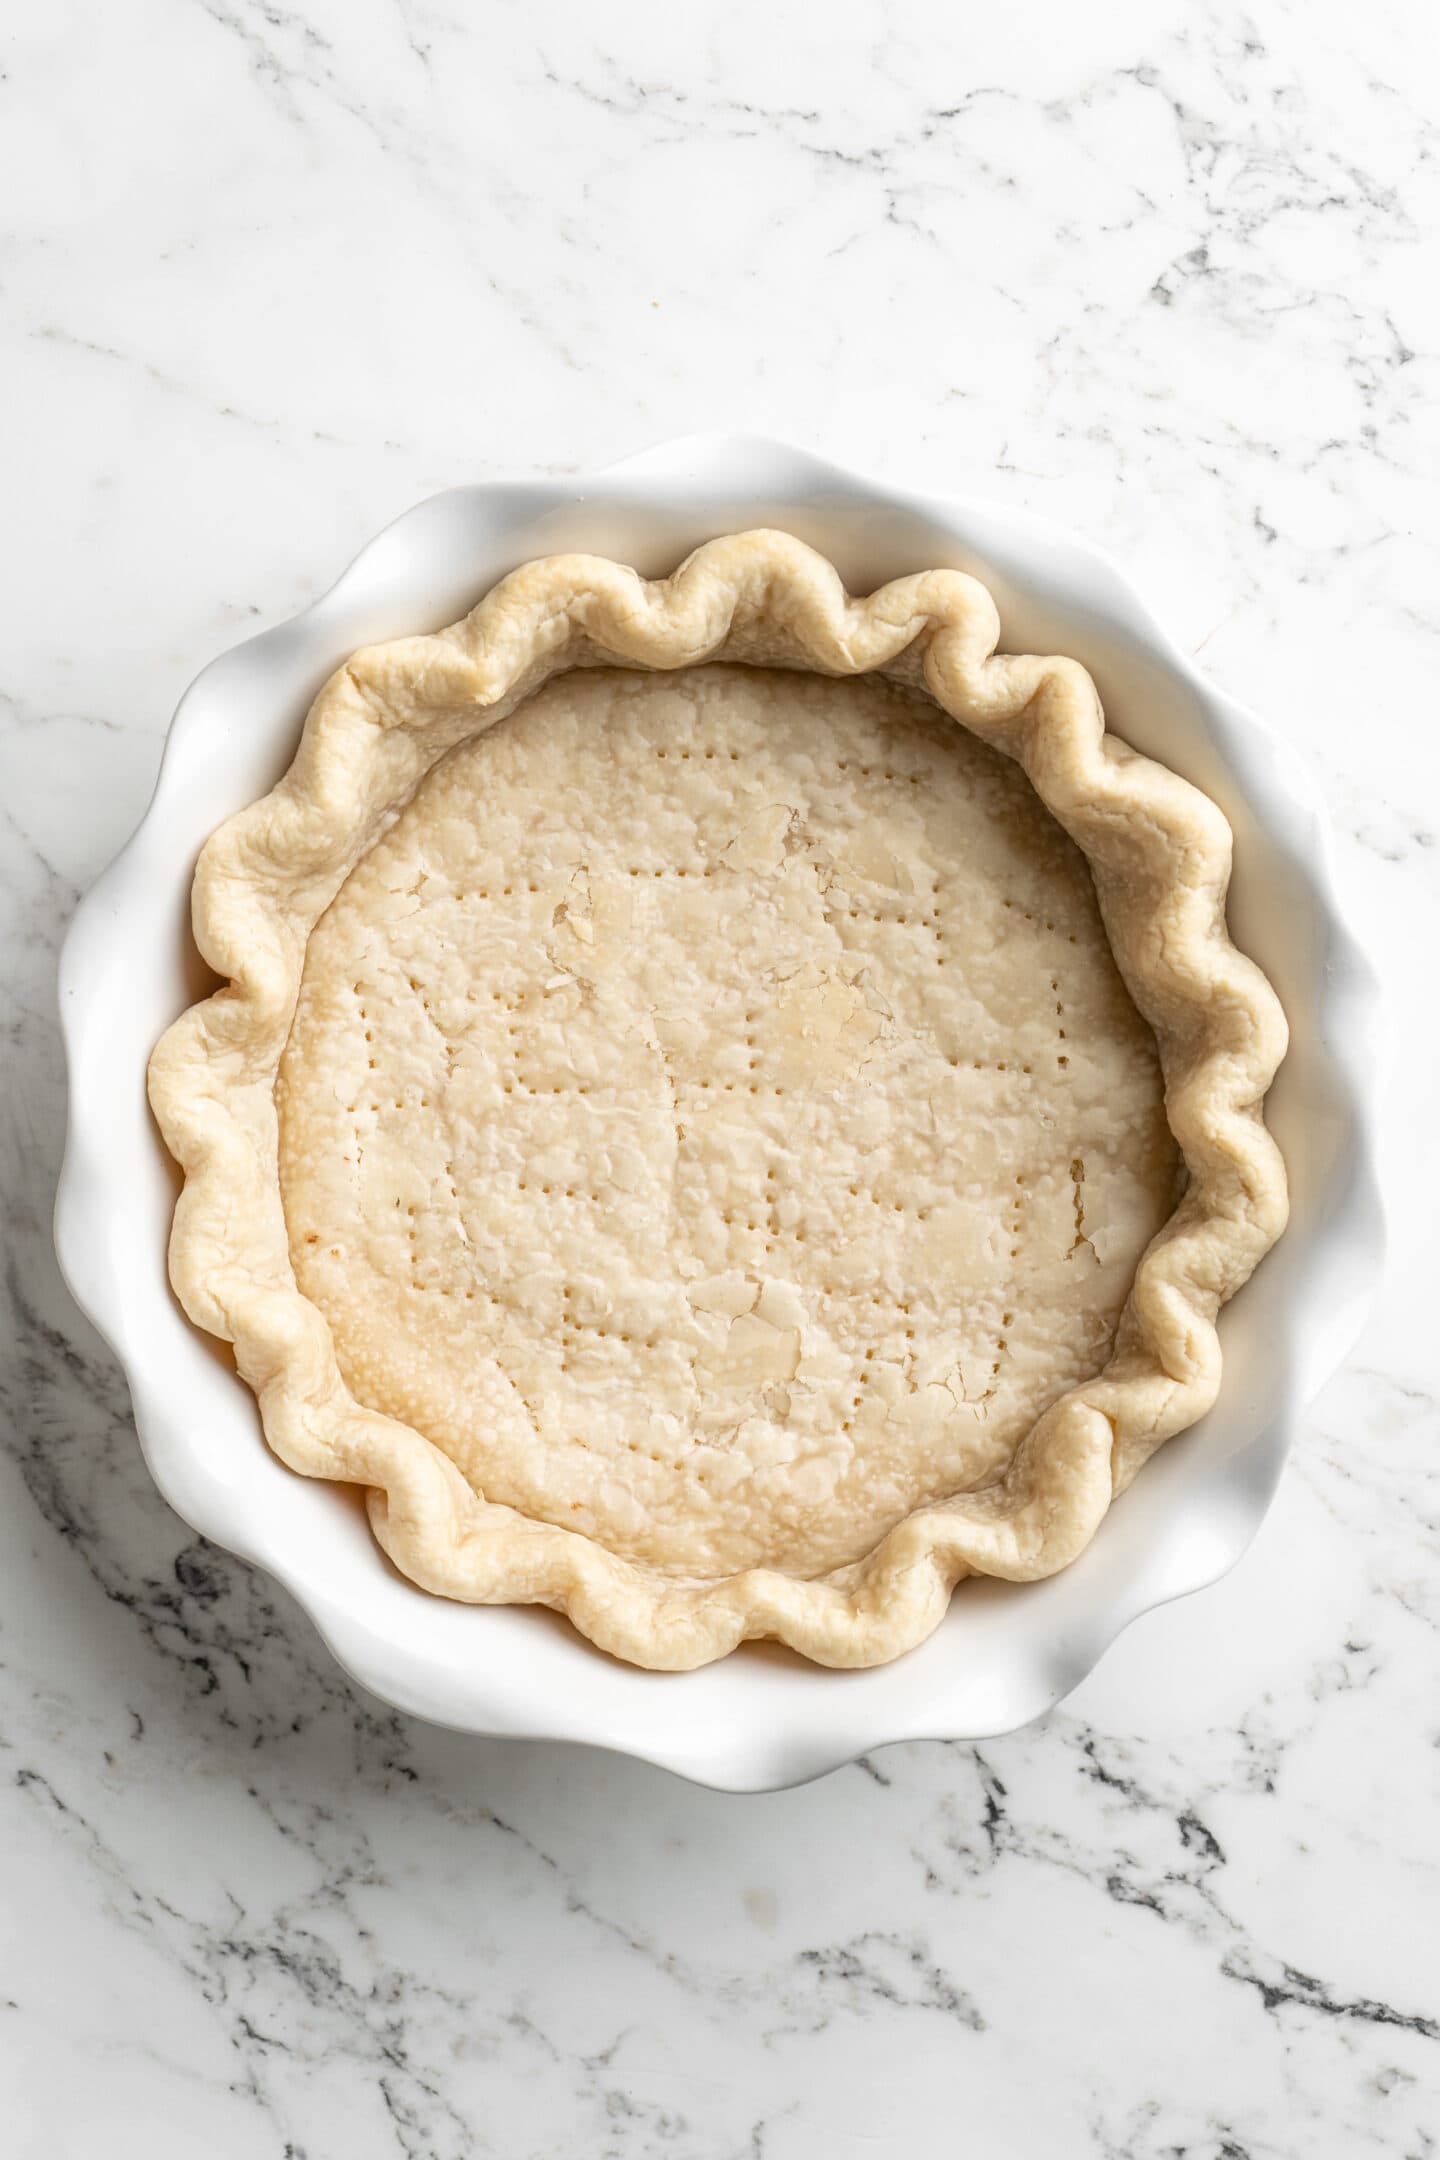
- Prepare the crust. Pre-bake your pie crust for 10 minutes, then set it aside.
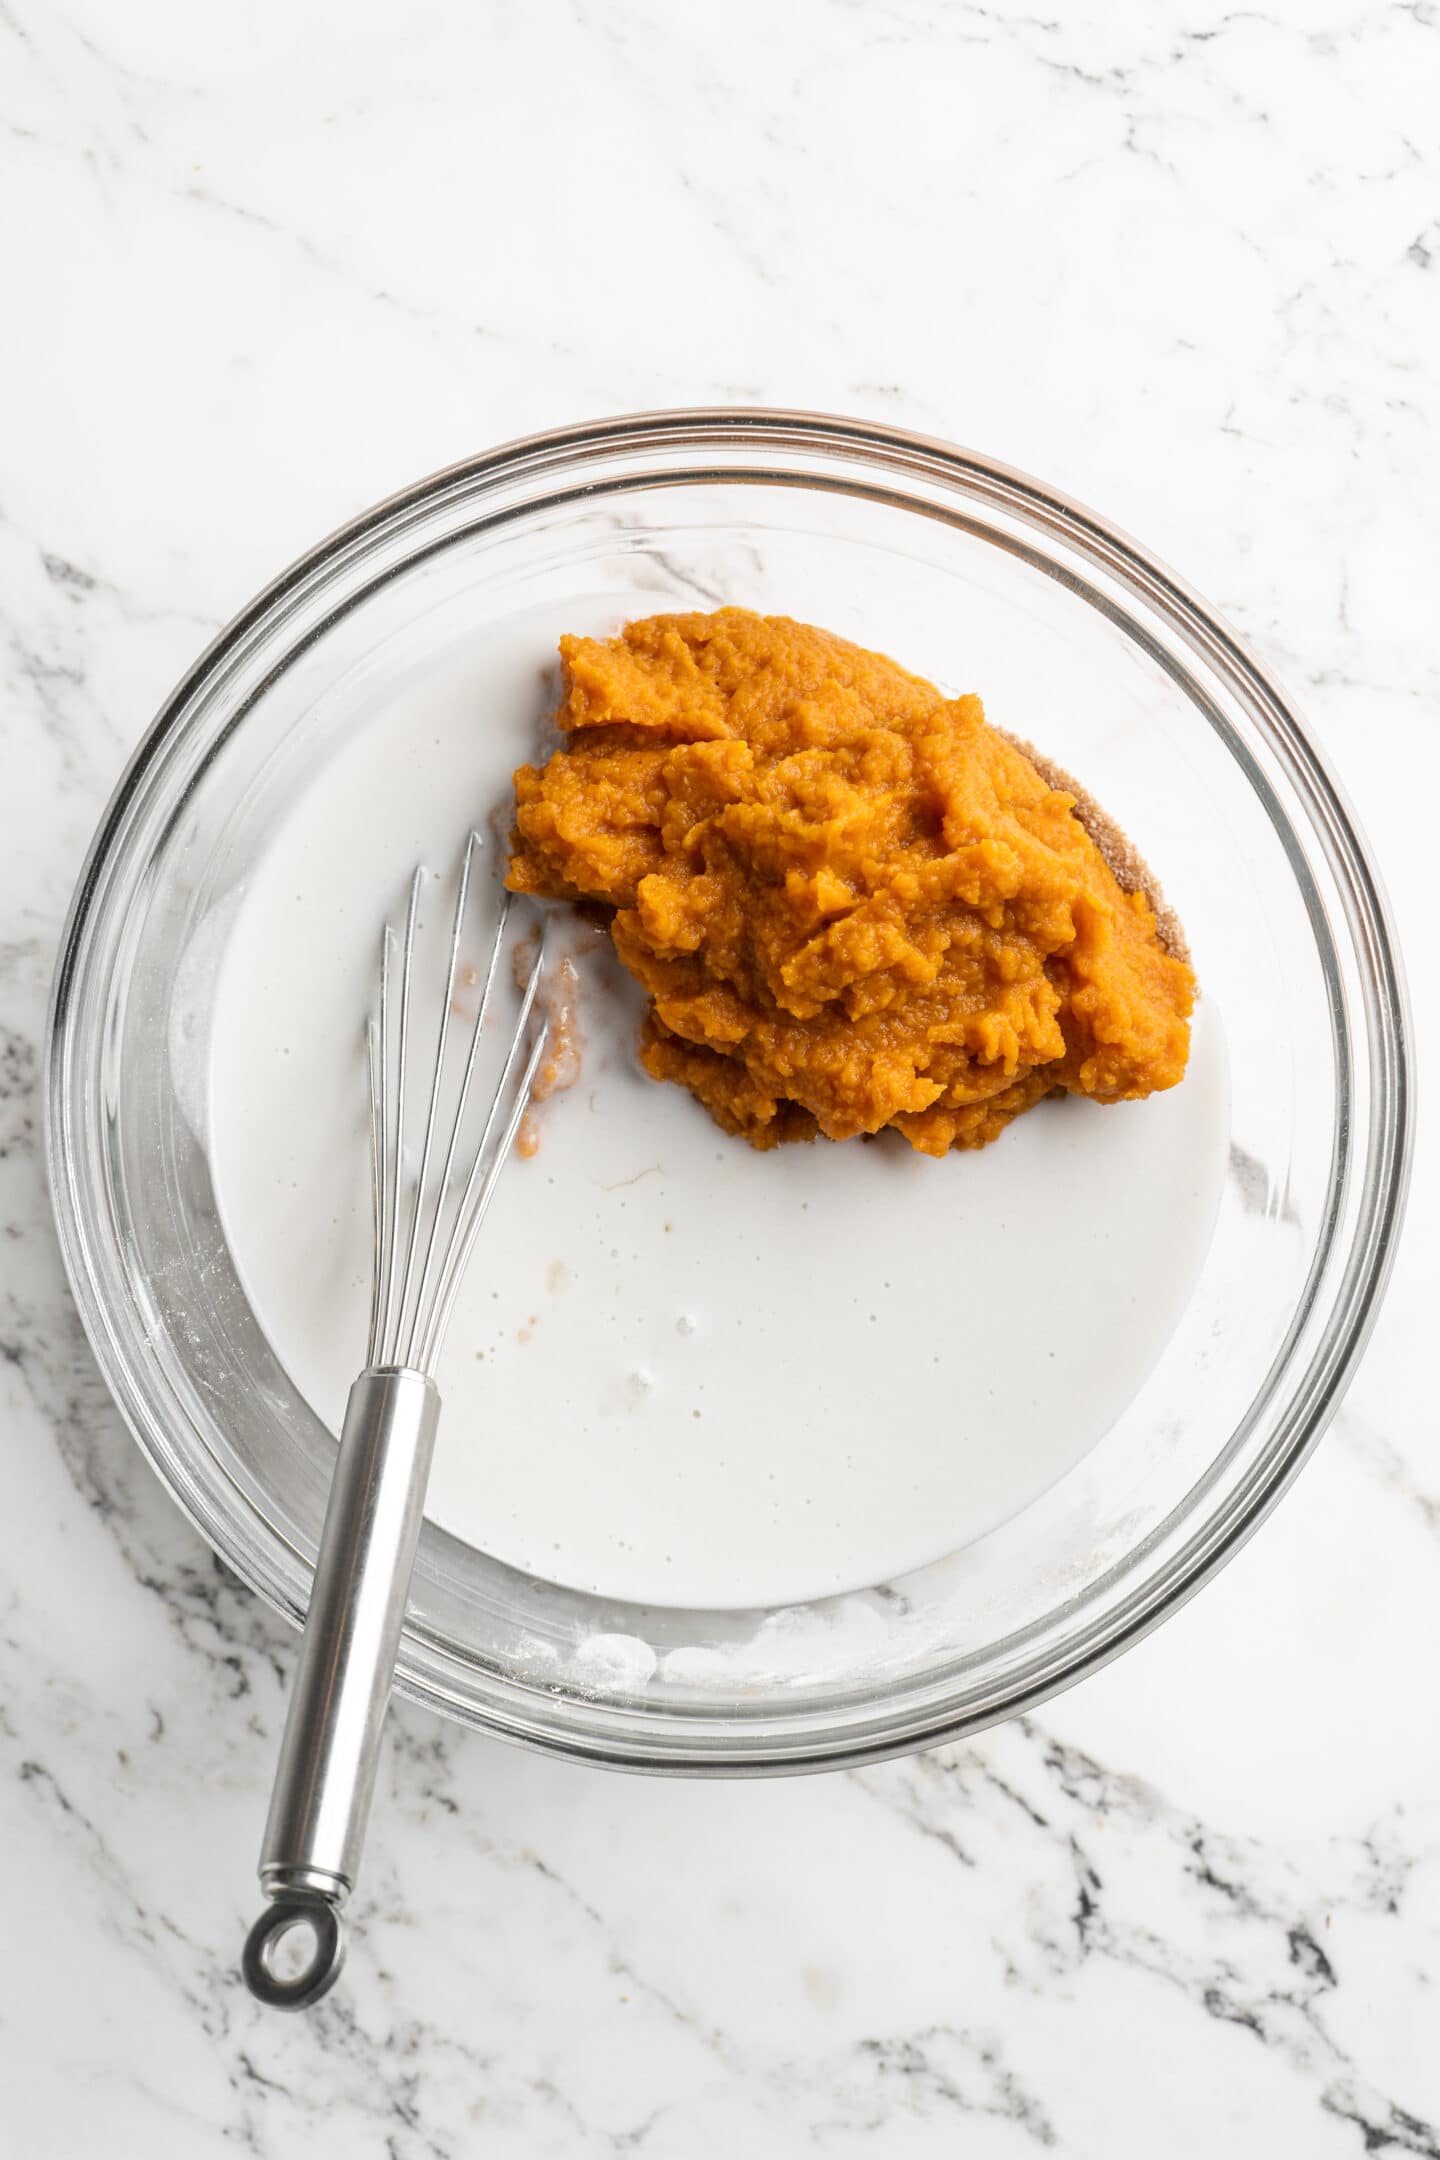
- Make the pie filling. In a large bowl, add all the pie ingredients. Add all the pumpkin puree, sea salt, thick coconut milk cream, cinnamon, ground ginger, all spice, maple syrup, sugar and sifted in cornstarch.
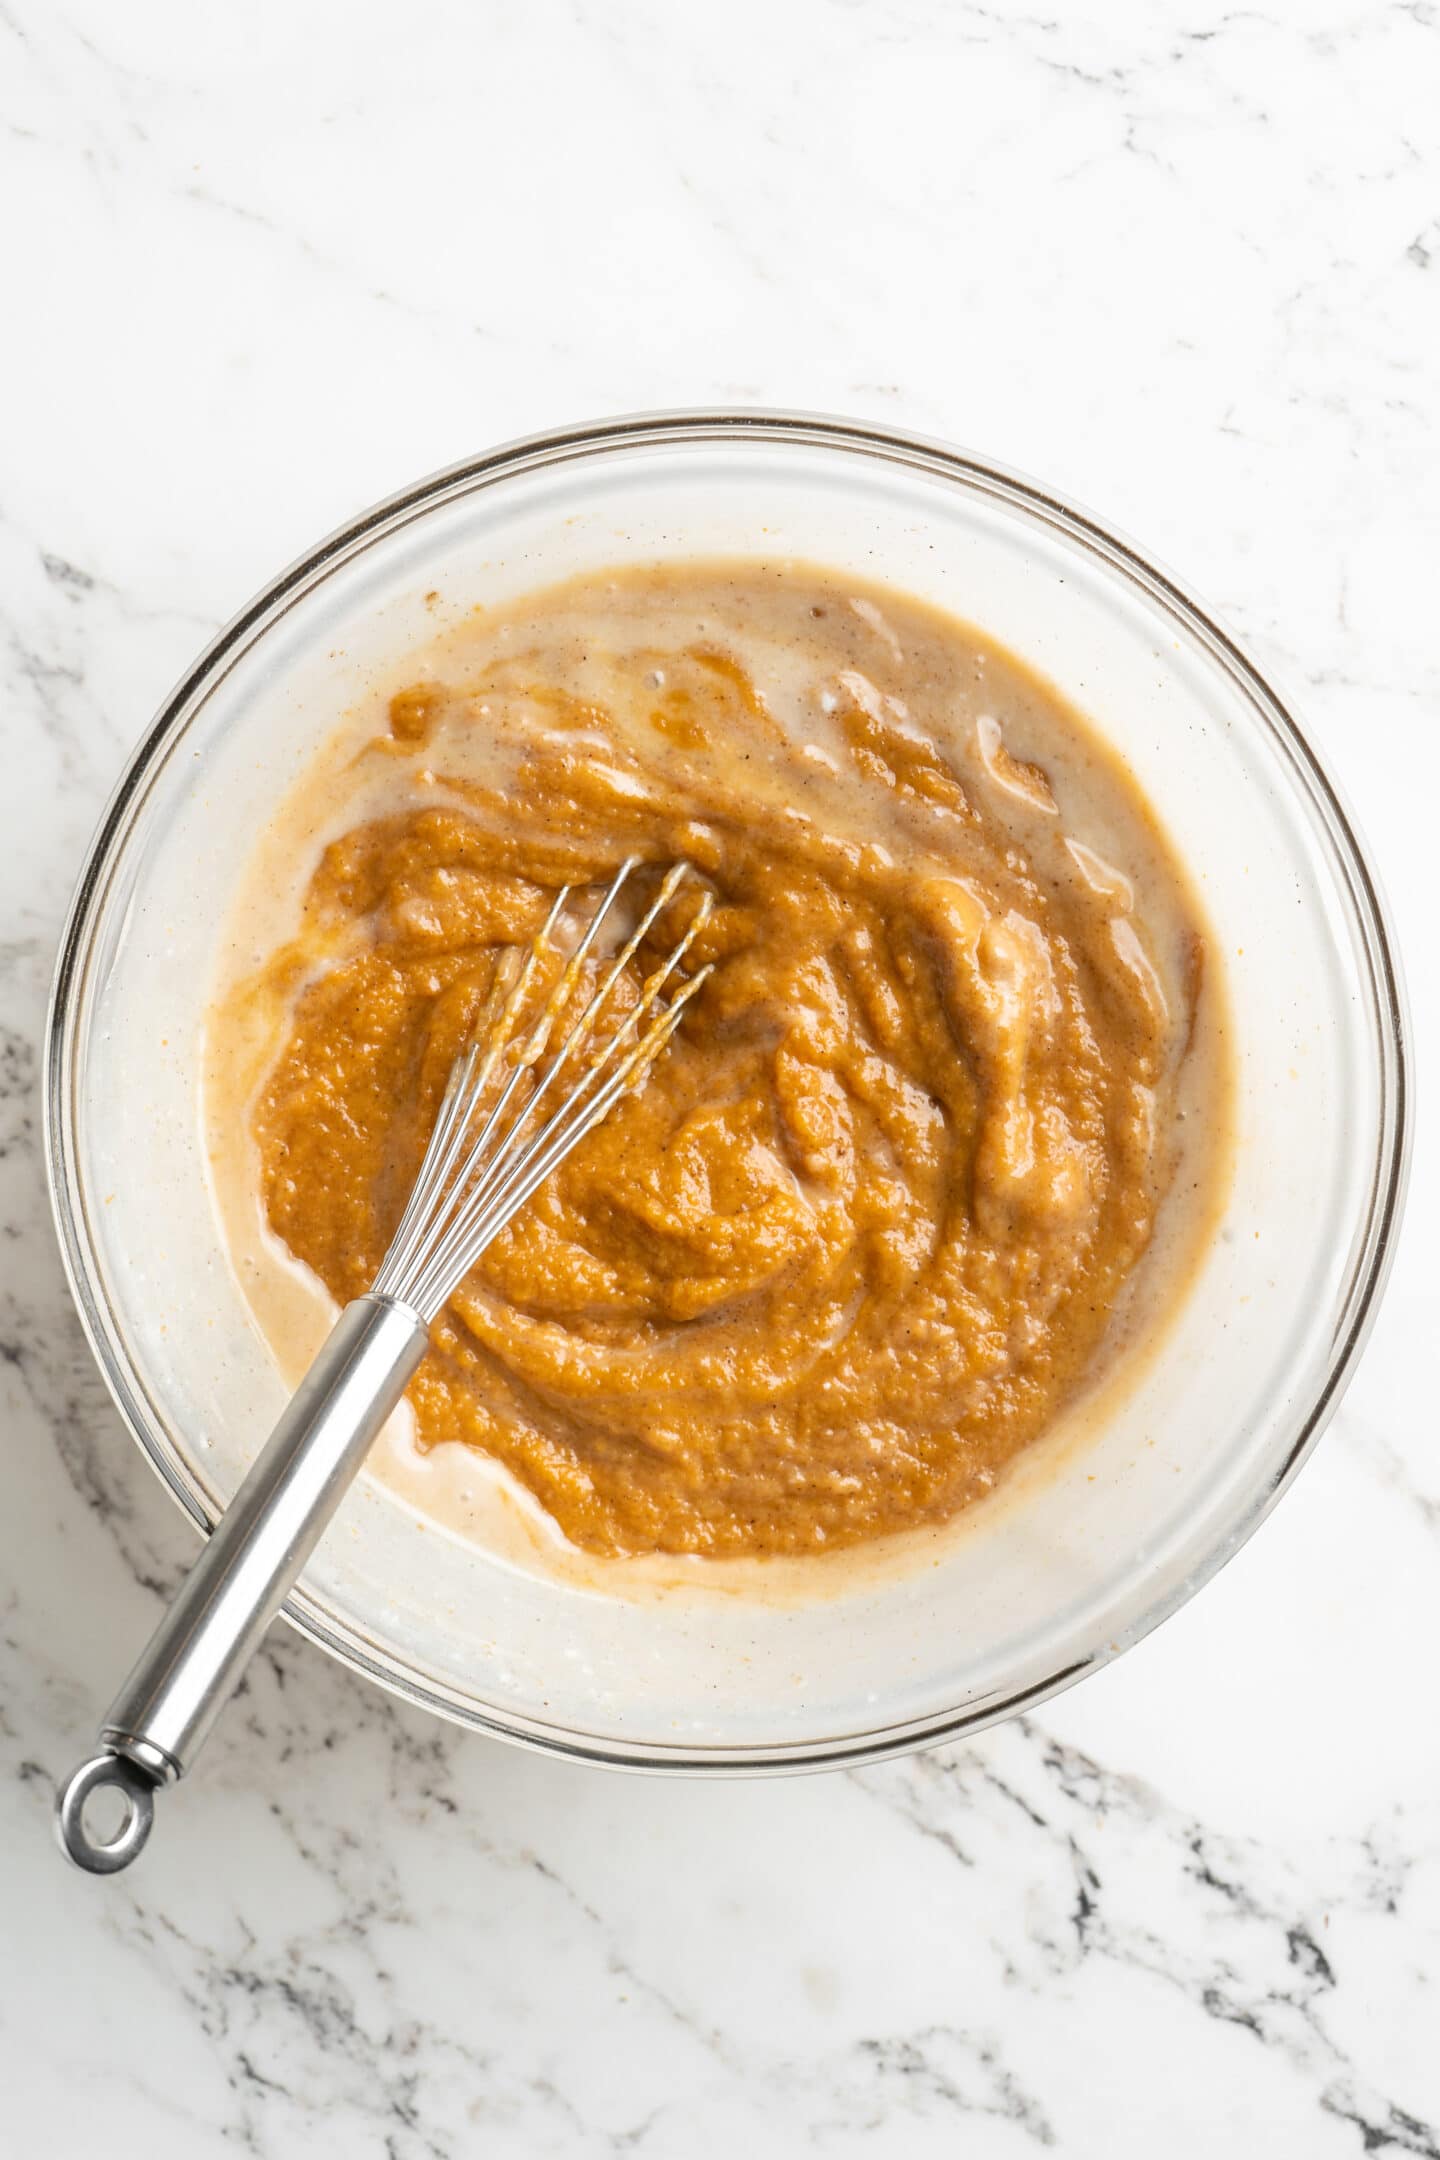
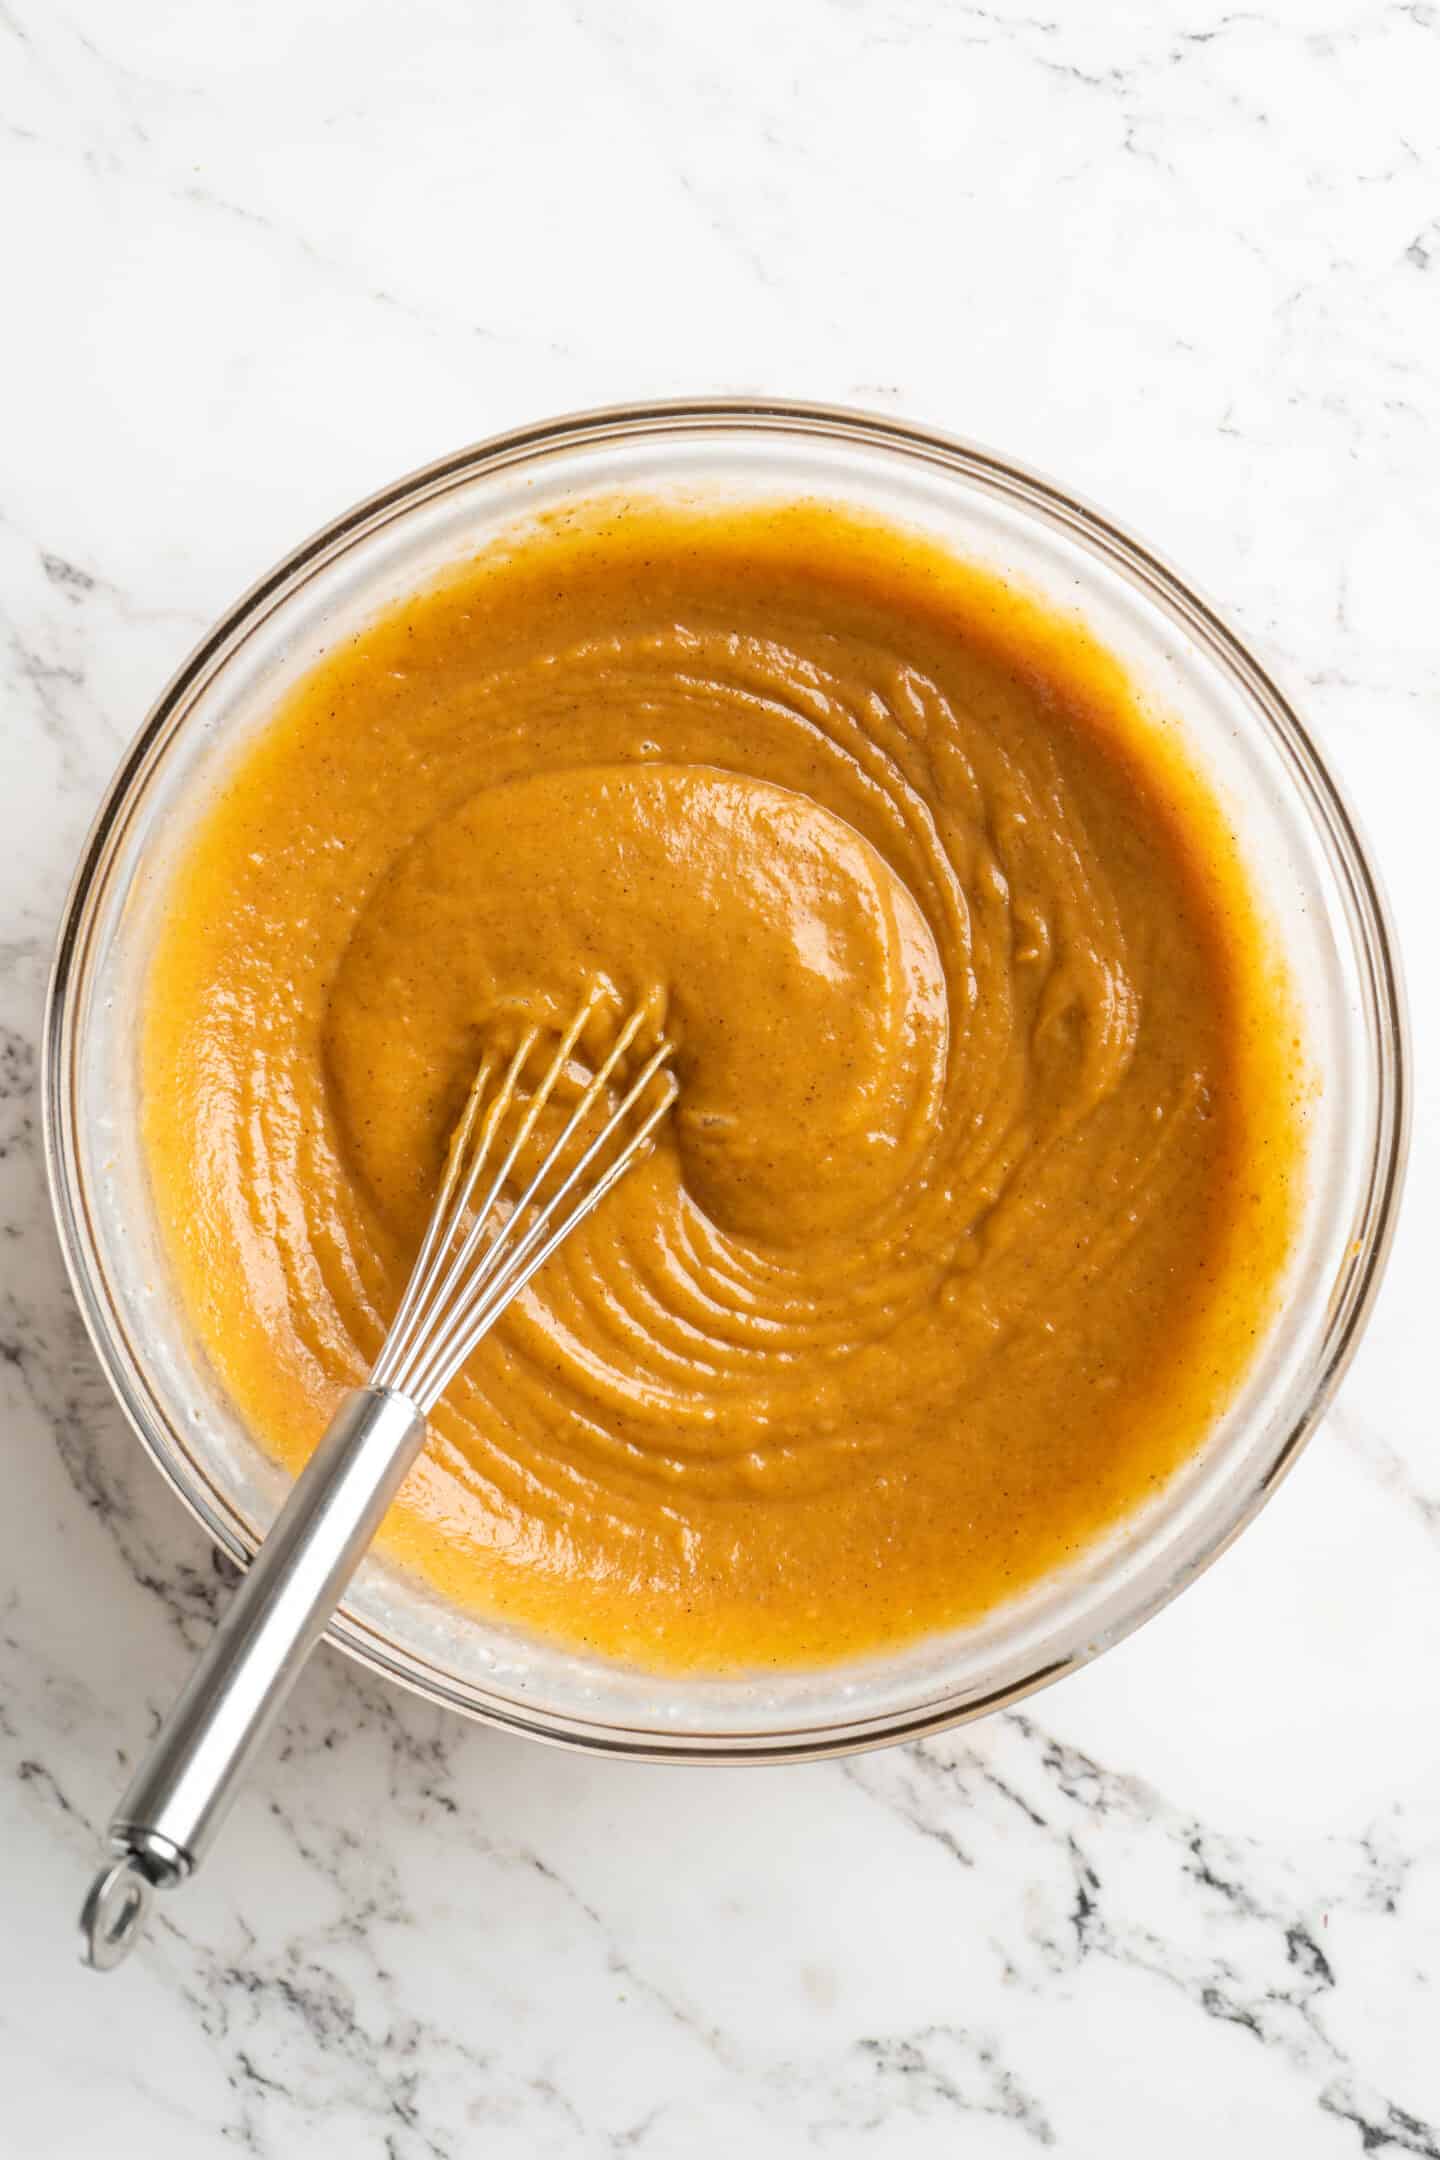
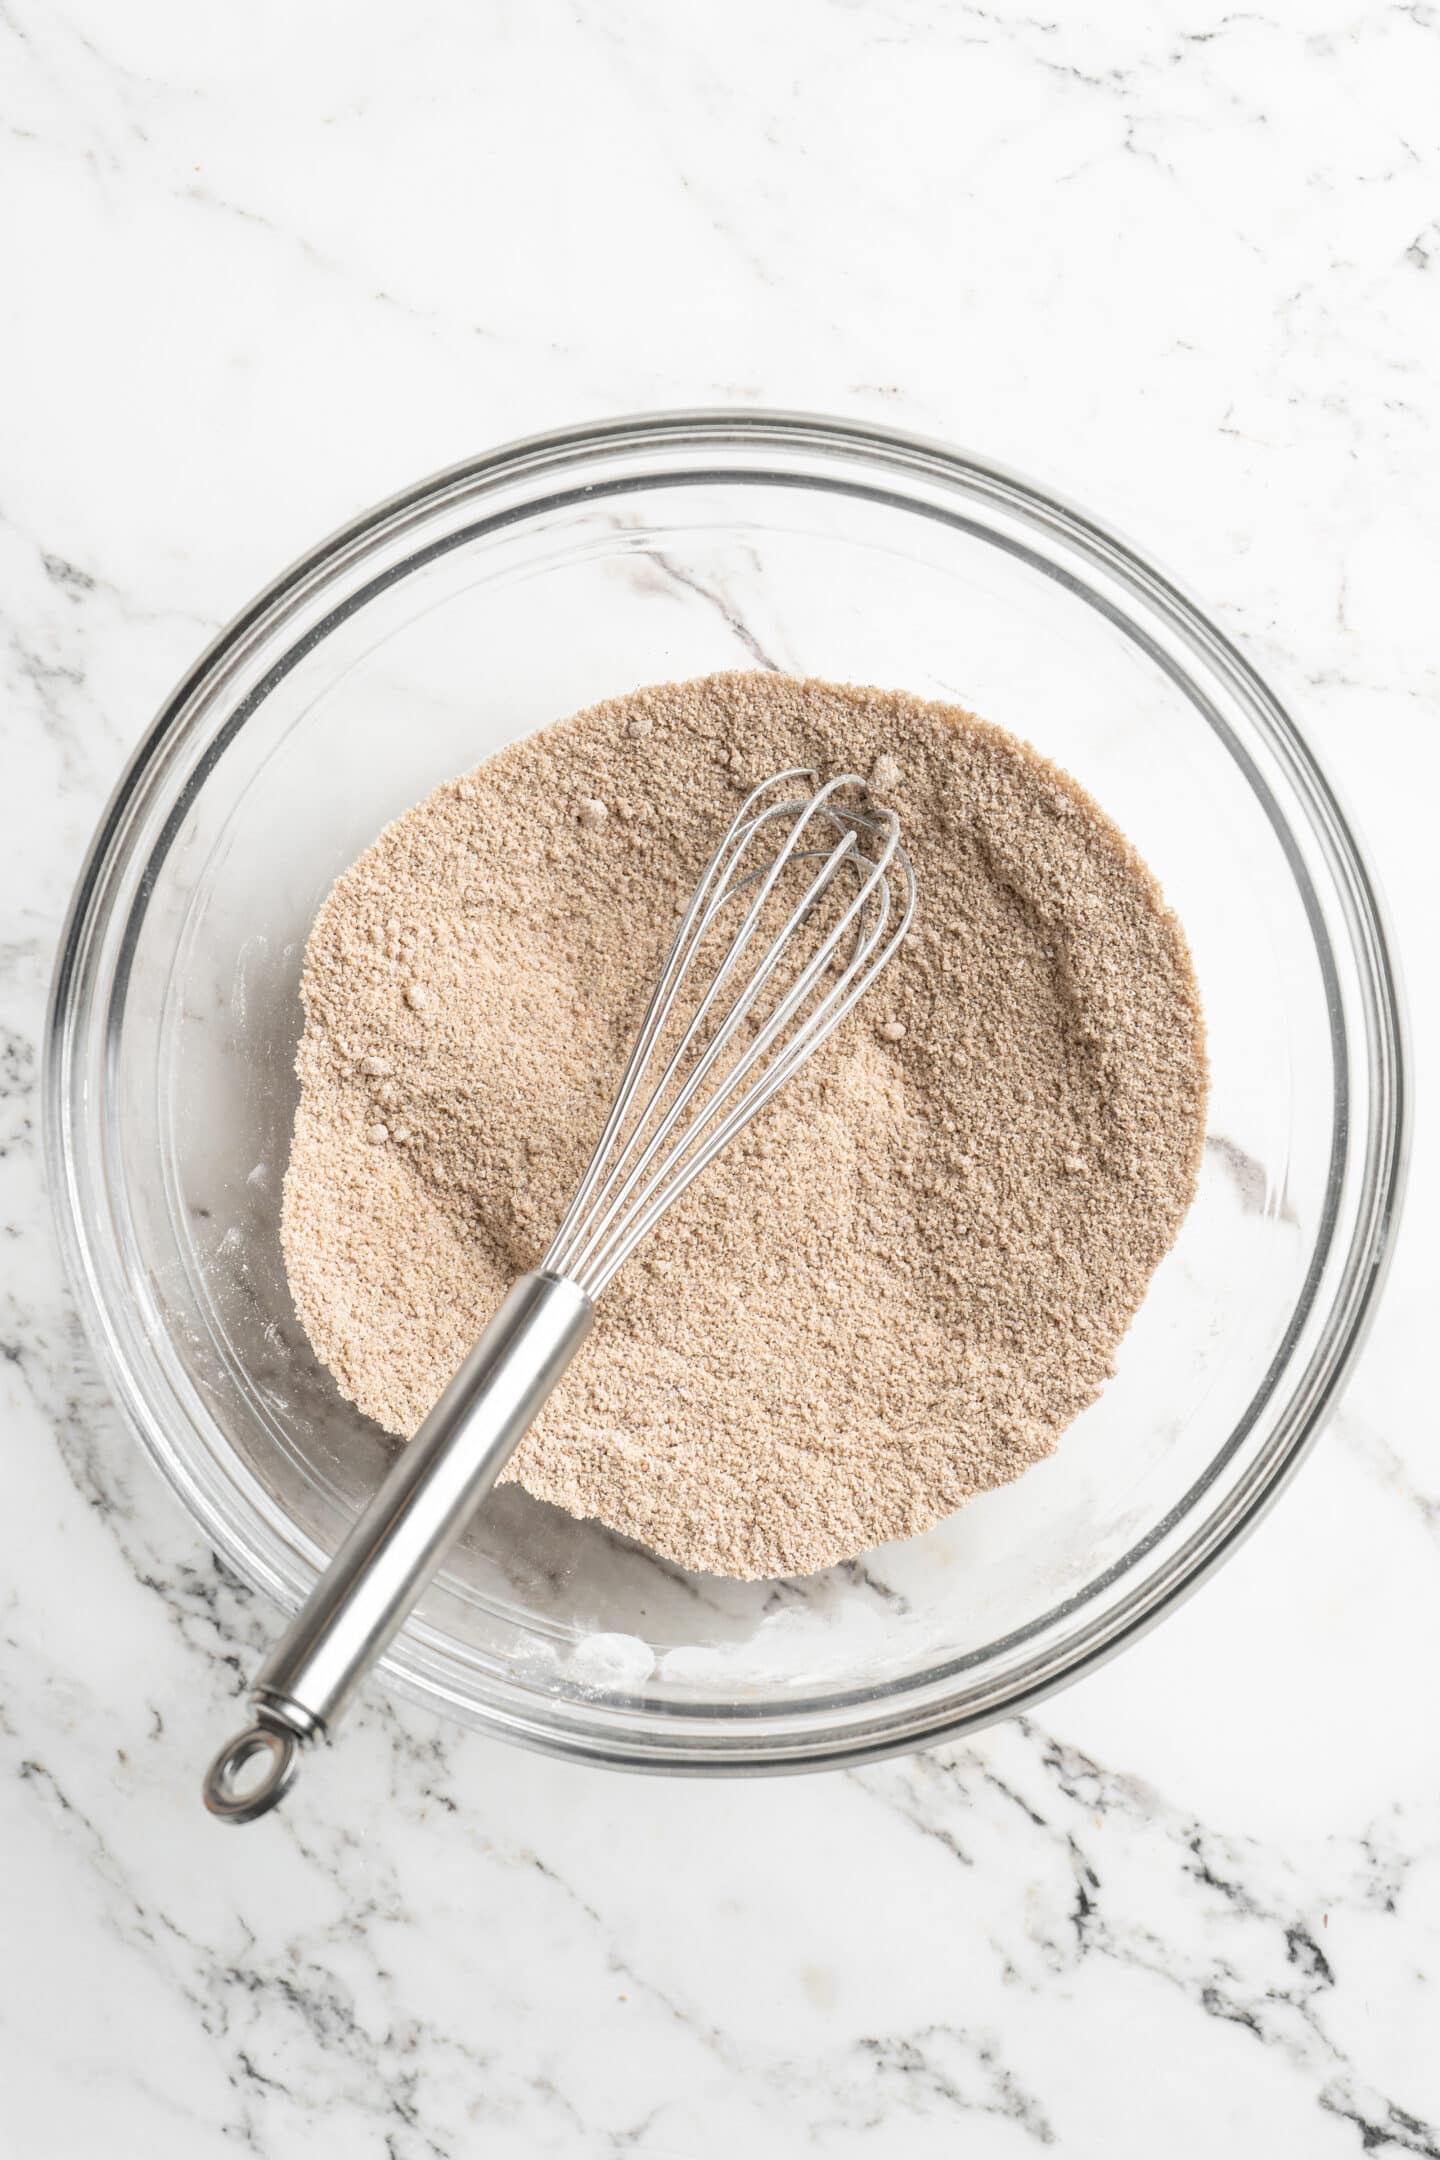
- Mix until everything is combined. Blend everything together well with a whisk until the cornstarch is completely whisked out. Alternatively, mix all the dry ingredients together first, blend out the cornstarch, and then add the wet ingredients.
- Allow the pie to rest before baking it. You can leave this to set for an hour covered with a kitchen towel first to allow the ingredients to completely blend together, or bake the pie immediately. To me, it tastes even better when the ingredients are left to sit a bit.
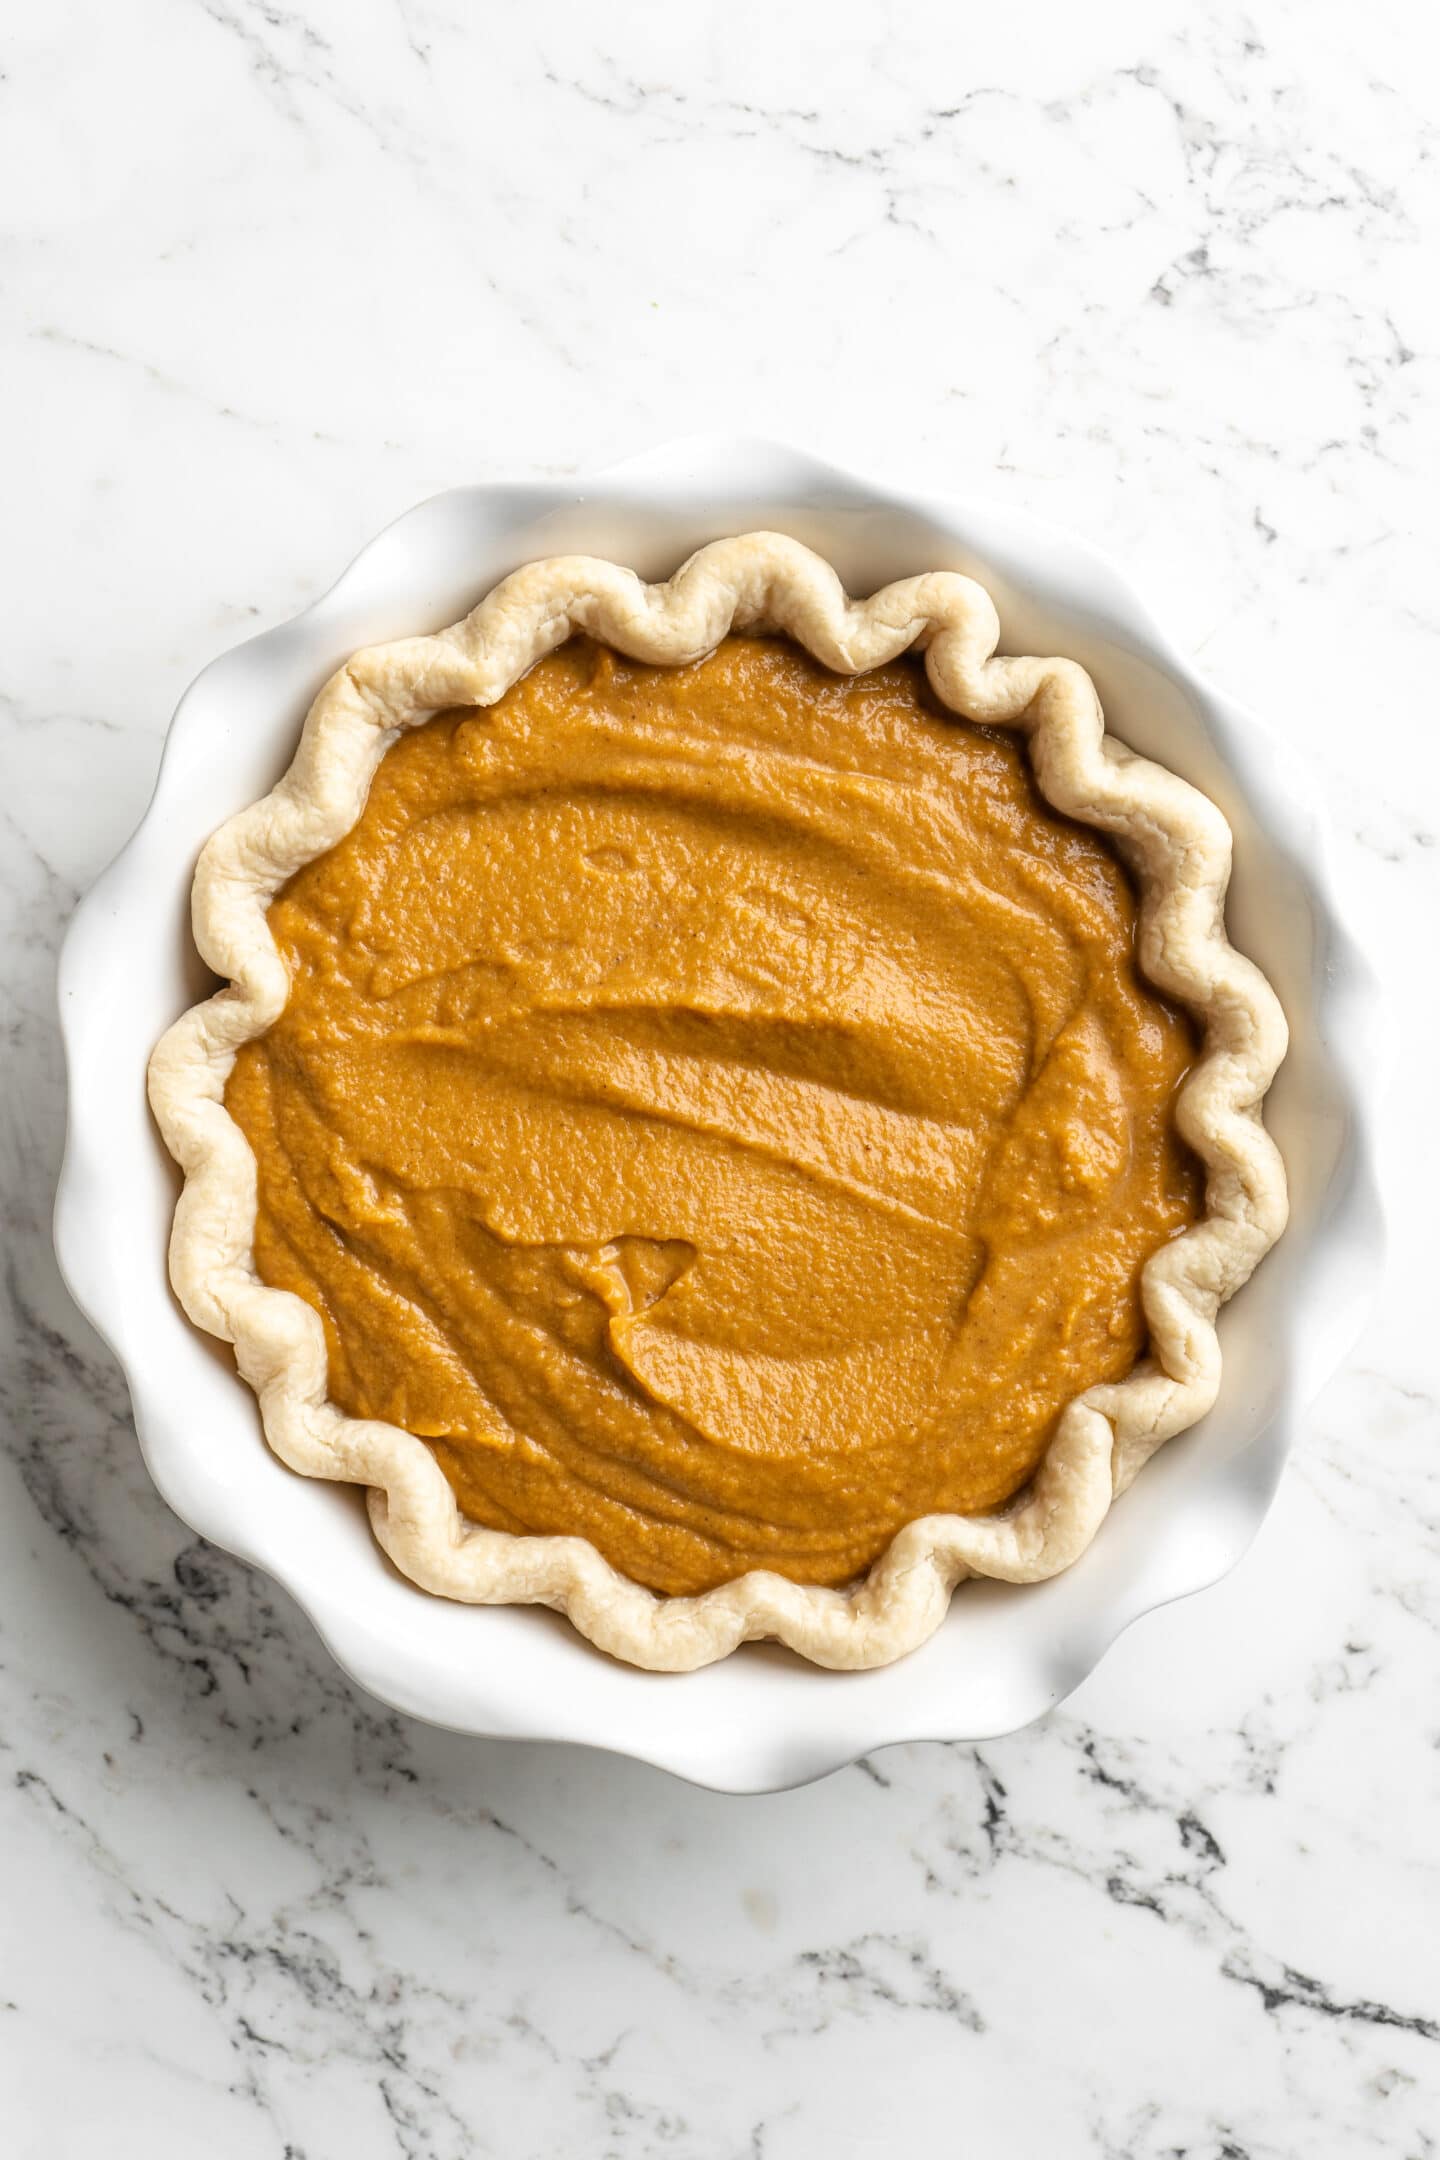
- Pour the batter into the pie crust. Then, bake the pie for 60 minutes in the oven on the lower shelf or highest shelf depending on your oven (whichever is furthest away from the heat). Finally, remove the pie from the oven and let it set and cool completely.
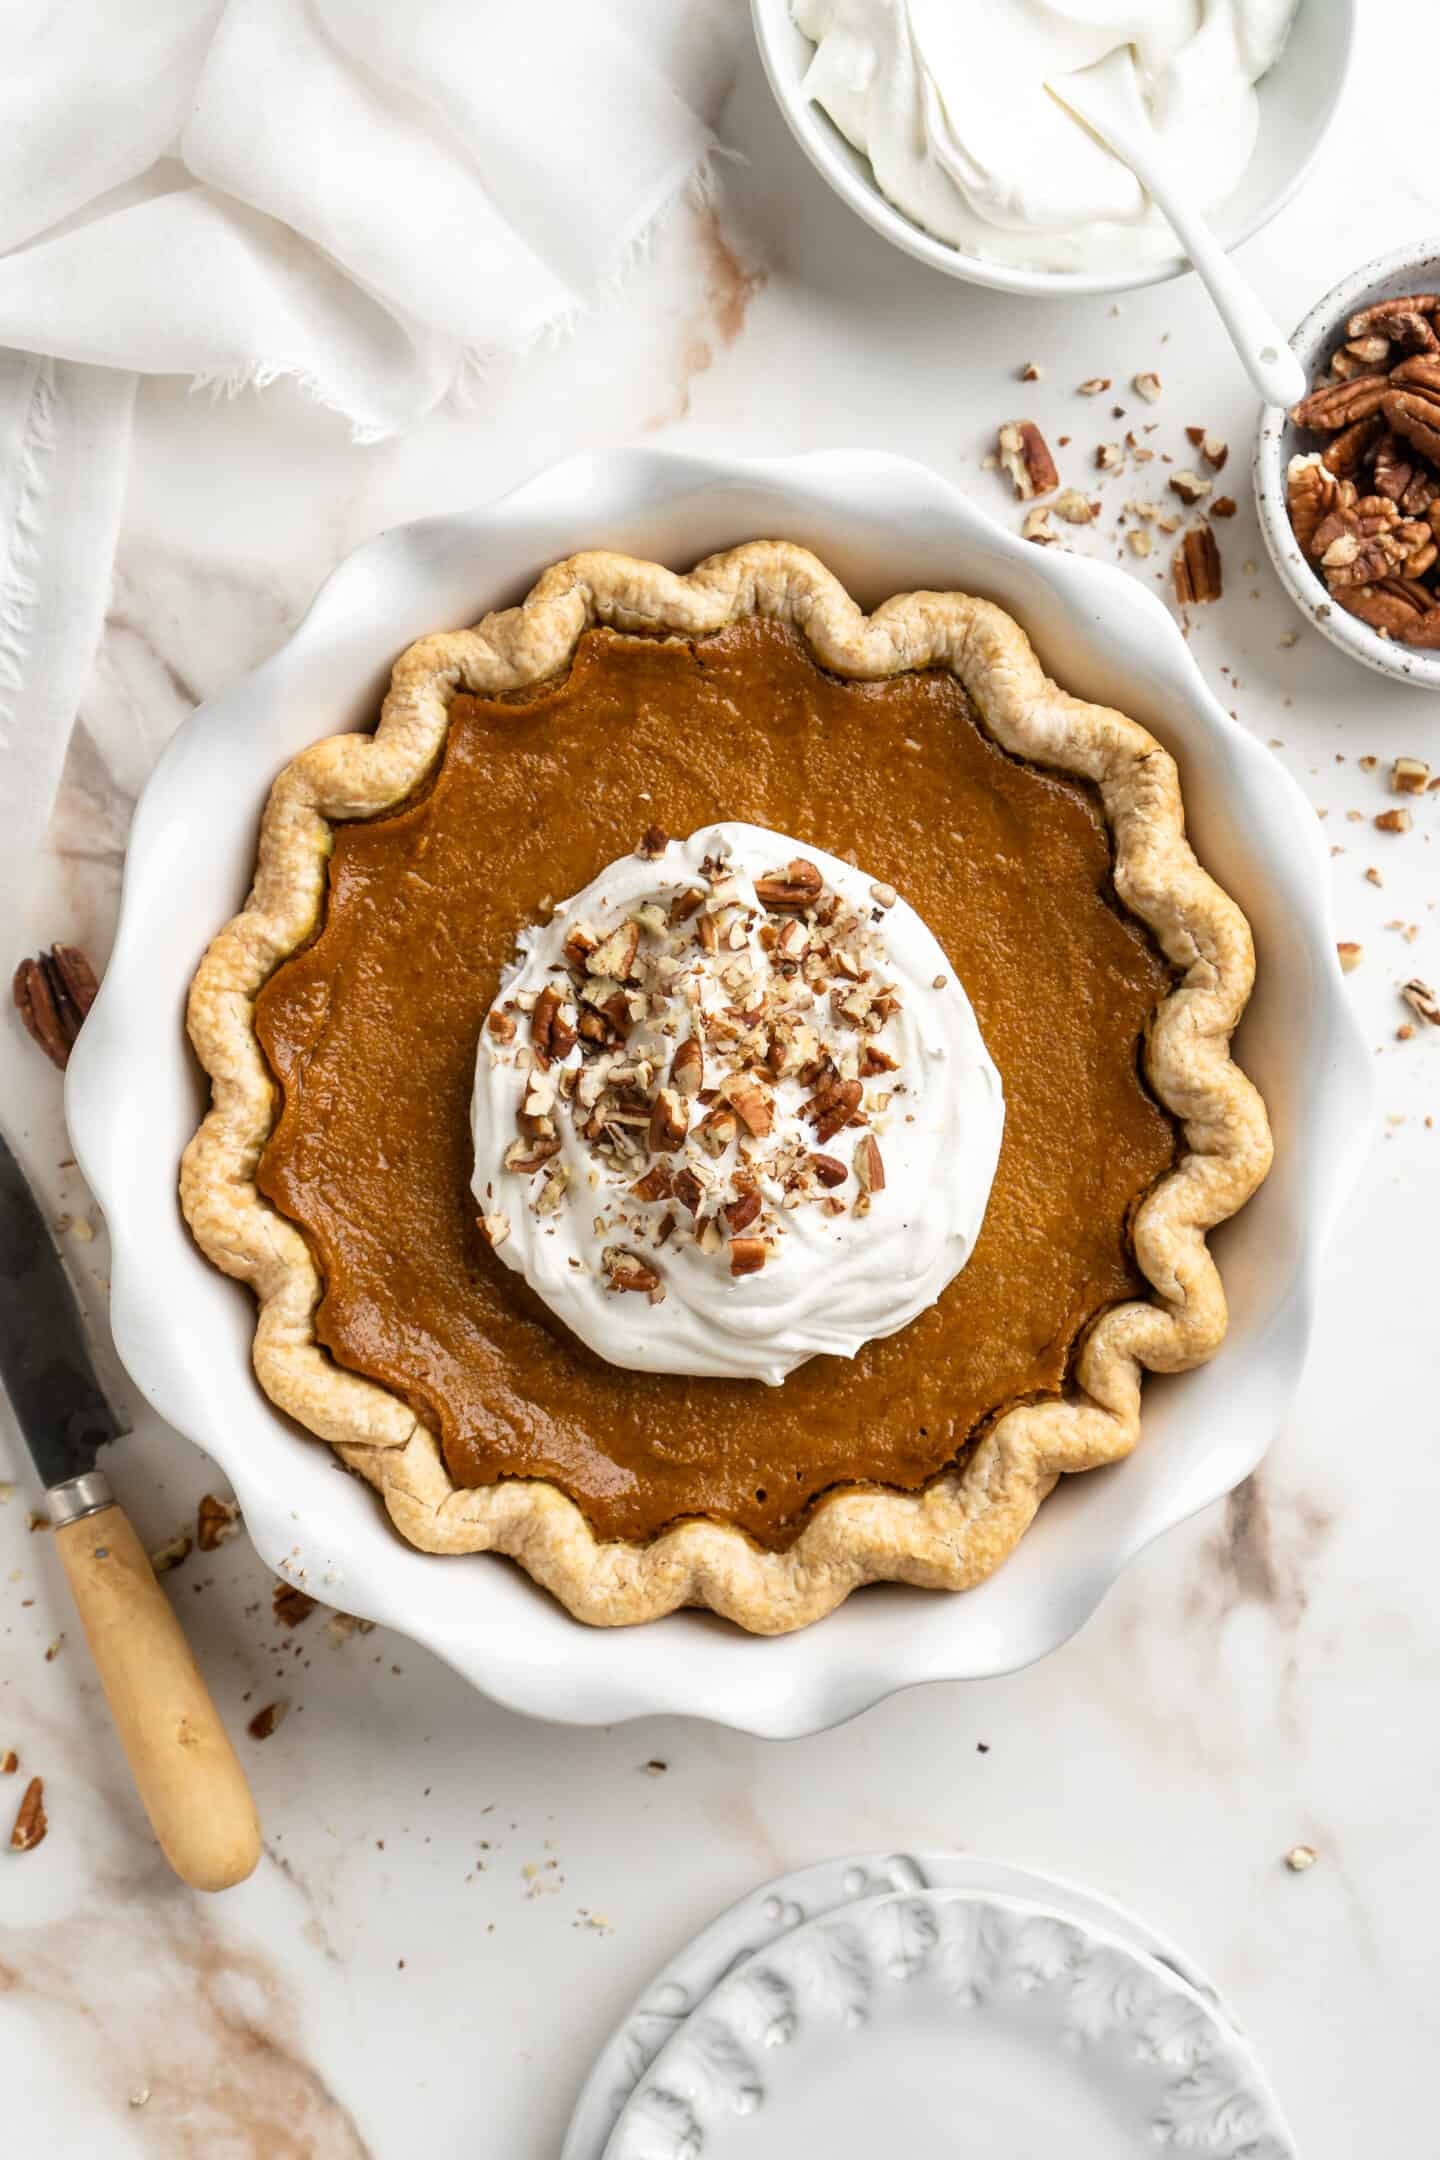
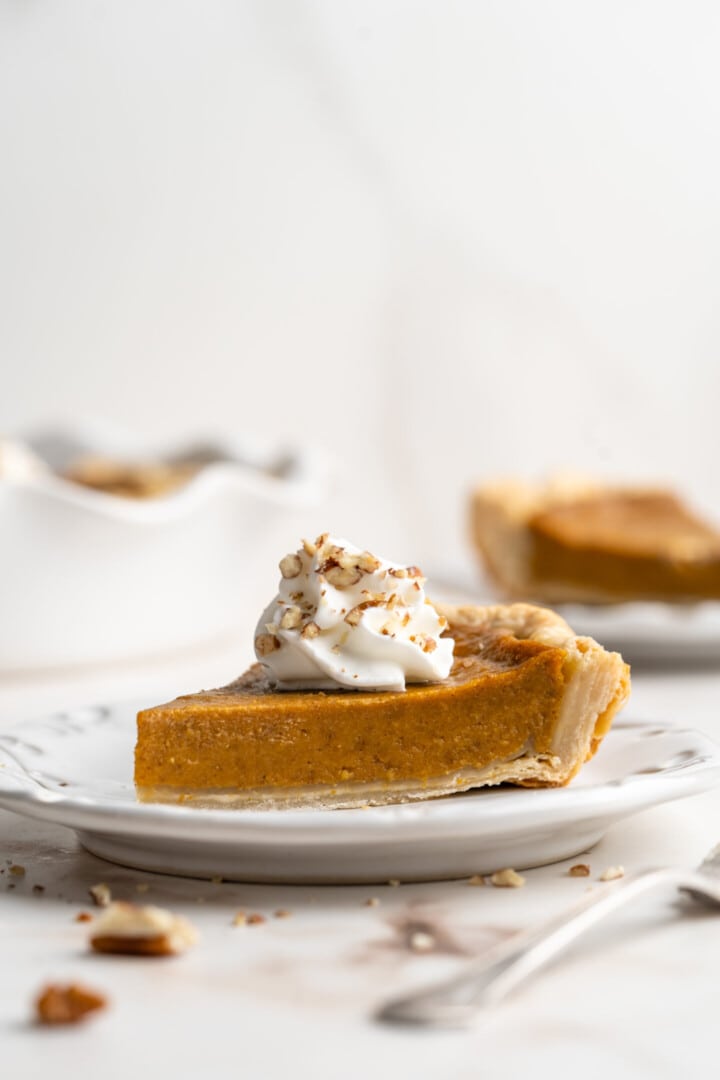
- Serve and enjoy. Cover the pie with saran wrap or foil and set it in the fridge for at least 4 to 6 hours, or ideally overnight. Then, remove the pie from the fridge, cut it, and serve. I highly recommend dolloping each slice with some delicious vegan coconut whipped cream. Enjoy!
Watch This Vegan Pumpkin Pie Recipe Come Together
You can mix this vegan gluten-free pumpkin pie together in no time. Watch it happen below!

Tips for Success
These quick tips and tricks will help you produce the best vegan pumpkin pie:
- Try not to make substitutions. I recommend making it just like I have. Substitutions can be extremely tempting, but this is fool-proof and already tested so many times that you don’t need to. The only substitutions I’d endorse would be using agave nectar instead of maple syrup, and coconut sugar for the cane sugar. I made this using both and loved them both in this.
- What to do if the pumpkin puree looks watery. If you’re using/getting a particularly watery pumpkin puree result (i.e. it looks more watery than the photos and the video) set it in a sieve/strainer over your sink for about 30 minutes to 1 hour. This will drain any excess liquid.
- Depending on the size of your pie dish, don’t fill the pie dish to the very top. It puffs up while baking, and you don’t want it to overflow. I have a 9″ pie dish that’s decently deep, so just keep that in mind. You want to fill it up to the level of what is in the video and photos.
- Let the pie cool completely, and then refrigerate it overnight. That way, the flavors are absolutely outstanding. I even made my batter ahead of time (about an hour) and let it sit so the flavors could blend. This isn’t necessary, but if you have the extra time, it makes the pie even better!
- Add a few simple decorations. You could spruce this pie up even more by adding a few cookie cutter leaves on top with the extra pie dough.

Serving Suggestions
While this pumpkin pie tastes amazing as-is, you can definitely add a few toppings when you serve it if you like!
- Whipped cream. As mentioned above, this coconut whipped cream is an incredible addition! Cashew whipped cream is also a personal favorite.
- Caramel sauce. Vegan caramel sauce tastes great on this pumpkin pie!
- Chopped nuts. Chopped pecans, for example, pair so well with a slice of pumpkin pie.
How to Store
Baked vegan pumpkin pie can be stored in an airtight container, or covered with saran wrap/foil. Keep it in the fridge for 4-5 days, and serve it warm, cold, or at room temperature – whatever you like best!
Can I Freeze Vegan Pumpkin Pie?
YES! You can freeze this for up to 4 days and it’ll still taste exactly the same. Or, you can freeze it for up to a month and it’ll taste very similar, although not as fresh at just baked. Wrap the pie in saran wrap, then in foil, and then place it in a freezer-safe zipped plastic bag. This ensures that smells and freezer burn will not affect your pie.
When thawing, place the pie in the fridge. Do not thaw it on the counter, as this will cause your crust to get soggy. If you have raw fish in your freezer, remove this first since this will be the first smell to seep into your pie.
More Thanksgiving Dessert Recipes
If you loved this vegan pumpkin pie recipe, try out another of these classic Thanksgiving desserts!
| WHAT YOU’LL NEED // SHOP MY FAVORITE INGREDIENTS & PREP PRODUCTS |

Vegan Pumpkin Pie (9 Ingredients)
Ingredients
- 2 cups pumpkin puree, (450g) homemade or canned
- 1/2 teaspoon sea salt
- 1 cup coconut cream, (230g) You can buy coconut cream or a full fat can of coconut milk and get it from the can, the thick creamy white portion only – *check notes on how to get it from the can
- 1/2 teaspoon cinnamon
- 1/2 teaspoon ground ginger
- 1/2 teaspoon all spice
- 1/4 cup maple syrup, (84g)
- 1/2 cup brown sugar, or cane sugar or coconut sugar, (105.3g)
- 1/4 cup cornstarch, (32g) – I recommend sifting this in
Instructions
- Preheat oven to 350°F/180°C.
- Pre-bake pie crust for 10 minutes. Set aside to cool.
- In a large bowl, add all the pumpkin puree, sea salt, thick coconut milk cream, cinnamon, ground ginger, all spice, maple syrup, sugar and sifted in cornstarch. Blend together well with a whisk or in a blender or food processor until cornstarch is completely combined. Alternatively to blend out the cornstarch, mix it with the spices first, then add the wet ingredients.
- You can leave this to set for an hour covered with a kitchen towel first to allow ingredients to completely blend together, or bake immediately. To me, it tastes even better when ingredients are left to sit a bit.
- Pour the batter into the cooled pie crust. Bake for 60 minutes in the oven on the lower shelf or highest shelf depending on your oven (furthest away from heat).
- Remove from oven and let set and cool completely.
- Cover with saran wrap or foil and set in the fridge for at least 4 to 6 hours, ideally overnight. Remove and cut the pie and serve. Dollop each slice with delicious whipped coconut cream. Enjoy!
Notes
- How to get the thick creamy white portion only from the coconut milk: Put a can of full-fat coconut milk in your fridge overnight. After being refrigerated overnight, open the can, and scoop out the thick solids out of the jar until you reach 1 cup. That’s what you want to use! You can set the coconut water into a jar in the fridge and use it in your smoothies or drink it.
- I recommend making this recipe exactly as made. If you want to, you can substitute the maple syrup with agave nectar. To test if your pie is finished baking, stick a toothpick into the corner of the pie. It should be solid. Try not to touch your pie – it’ll leave some imperfections.
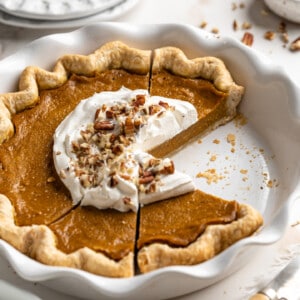
- When your pie comes out, it may be two different colors. This is from the spices in the pie. As it cools and settles, it’ll change to one solid color.
- You could spruce this pie up even more by adding a few cookie cutter leaves on top with the extra pie dough.
- If you’re using/getting a particularly watery pumpkin puree result (looks more watery than the video and photos) set it in a sieve/strainer over your sink for about 30 minutes to 1 hour. This will drain any excess liquid.
- To store. You can store this baked pumpkin pie in the fridge wrapped with saran wrap or foil for up to 5 days.
- To freeze. You can freeze this for up to 4 weeks. It will taste the same after a week of freezing, and only slightly different after that. Wrap the pie in saran wrap, then in foil, and then place in a freezer-safe zipped plastic bag. This ensures that smells and freezer burn will not affect your pie. When thawing, place in the fridge to thaw. Do not thaw on the counter as this will cause your crust to get soggy.
Disclaimer: Although jessicainthekitchen.com attempts to provide accurate nutritional information, kindly note that these are only estimates. Nutritional information may be affected based on the product type, the brand that was purchased, and in other unforeseeable ways. Jessicainthekitchen.com will not be held liable for any loss or damage resulting for your reliance on nutritional information. If you need to follow a specific caloric regimen, please consult your doctor first.


I have made this pie twice, now. Once with canned pumpkin and once with home made. It was delicious both ways! I am so happy to have a “go to” pumpkin pie recipe, since it is my favorite and I haven’t had it in so long, being allergic to eggs. Thank you for the great recipe!
Hi Mary,
Oh I’m SO happy to hear this!! You’re so welcome and Happy Thanksgiving when it comes!!
Looks amazing! My only question though, is did you use the whole can of coconut milk or just the hard cream on the top?
Hey Autumn!
The solid/hard cream parts: I used this exact method: https://jessicainthekitchen.com/2-ingredient-coconut-whipped-cream/ I hope that helps!! Happy Thanksgiving when it comes!!
So, I made our pumpkin purée from a pumpkin that my daughter picked, and I’m thinking maybe this is what did it, but my pumpkin pie is a dark brown instead of a lovely harvest orange color? Is that normal? Lol. Cause everything tasted DELICIOUS in the making process.
Hey Esme,
Hmm, that may have caused it! I used organic cane sugar when I made this, so if you used coconut sugar or any darker sugar, it may contribute to the colour, too. I’m sure it’s perfectly safe and still tasty to eat!! I hope that helps!!
Happy Thanksgiving when it comes Esme!!
Hey! Can I use anything else instead of maple syrup?
Hi Emmi,
If you’re not Vegan you can use honey! I hope that helps!
Hi Jessica, looks yummy! If I have shallow 9″ pie plates, this would probably make two pies right? How long should I cook them for in that case? Thank you so much!
Hi Shelly!
Thank you! How many inches is your pie dish? Mine is about 1.5 inches in a 9 ½ pie pan, so you can use that as a marker for yours! It sounds like yours would probably make 1 ½ pies or less, depending on the inches! I suggest that you pour the batter ¾ up (similar to the level I did in the video) to see how much fills up, and then make mini pies with the rest in like a muffin pan or a mini cheesecake pan! For the one that fills up all the way, still bake it for 55-60 minutes, and depending on how much batter is left over the rest, you can lower the baking to time accordingly (it’ll be hard to give you a specific time since I’m unsure how many batter would be left over, if any. Anywhere from 20 minutes to 30 should work, but just watch that second one!) I hope that helps Shelly and enjoy!
Oh my. This was so good I have already eaten two thick slices. Even better than I thought it would be. Thank you so much for the recipe. I dreamt of vegan gluten free pumpkin pie ever since I have gone vegan.
I’m so happy to hear that Karla!! You’re so very welcome and thanks for your comment!
Hi, I was wondering if there is a replacement I could use for the coconut milk? I am allergic to coconut and I really want to try this pie recipie.
Hi Karina,
I’m not sure since it’s the thick part you would need. Maybe cashew milk? I can’t guarantee but that would be the closest and thickest milk. I hope that helps!
How do I make the pumpkin purée?
Hey Samantha you can check this post out: https://jessicainthekitchen.com/how-to-make-pumpkin-puree/
Wish there were more directions for the pie crust
Hi Siarrah – it’s a link to the blog post with the pie crust, which also has its own video: https://jessicainthekitchen.com/gluten-free-vegan-pie-crust/
I can’t seem to get the fatty parts of the coconut milk! I’ve gone through 3 cans and each time it’s just milk! Am I suppose to do something with the canned milk prior? Sorry if this is a very stupid question ?
Hey Samantha,
Did you get to watch the video on the page? Usually in a can there’s the white milky part, and the clear coconut water part. This tip will definitely help! Stick the can in the fridge overnight or freezer for about two hours. After being refrigerated overnight/freezer, turn the can upside down and pour out the liquid on top. Then scoop the solids of the coconut milk out of the jar.
Use that part! I hope that helps! NOT a stupid question at all!!!