Vegan Yogurt Parfait Breakfast Popsicles
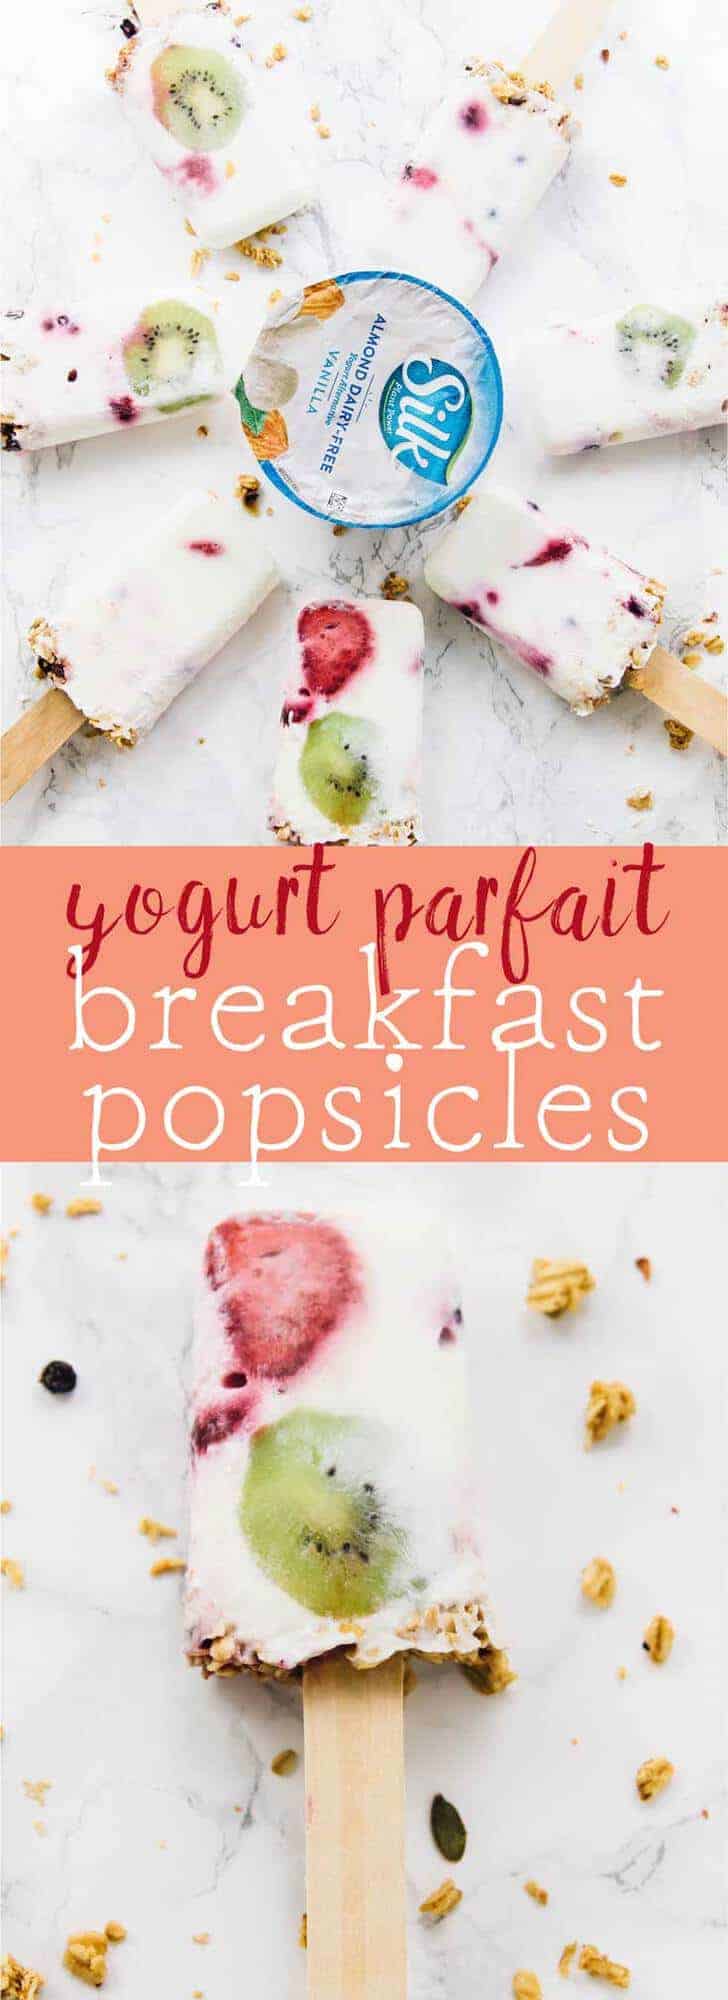
Want something to cool you down? These Vegan Yogurt Parfait Breakfast Popsicles are perfect for a breakfast on the go, or a quick and easy summer treat to cool you down! Great for kids!
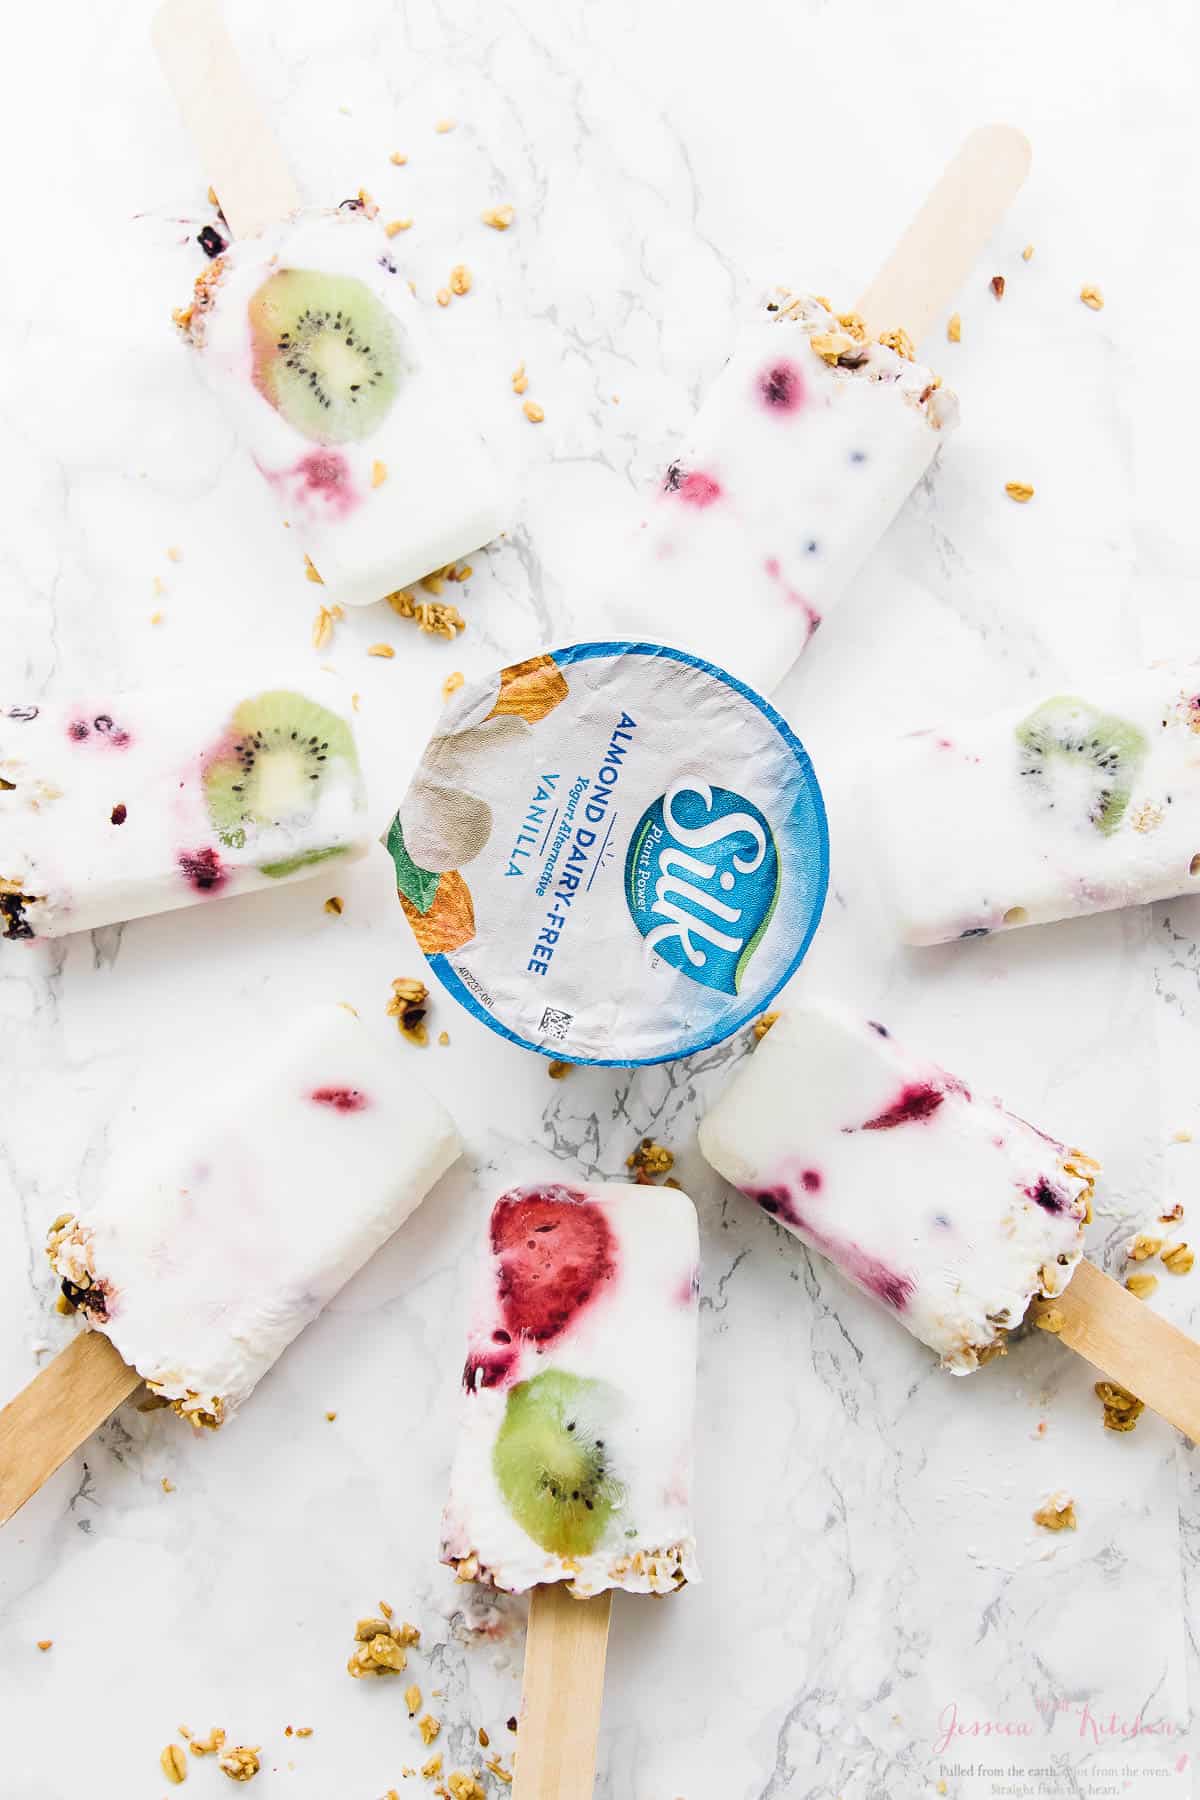
When was the last time that you enjoyed a refreshing, cooling and delicious popsicle? Really, think back. For some reason, we had popsicles all the time as kids and not so often as adults. These Vegan Yogurt Parfait Breakfast popsicles took me right back to my nostalgic childhood in a whole new way. These are like your childhood fudge popsicles reinvented with a delicious twist.
P.S. they’ll also cool you down in this insane heat. Can I get a yes for that?!
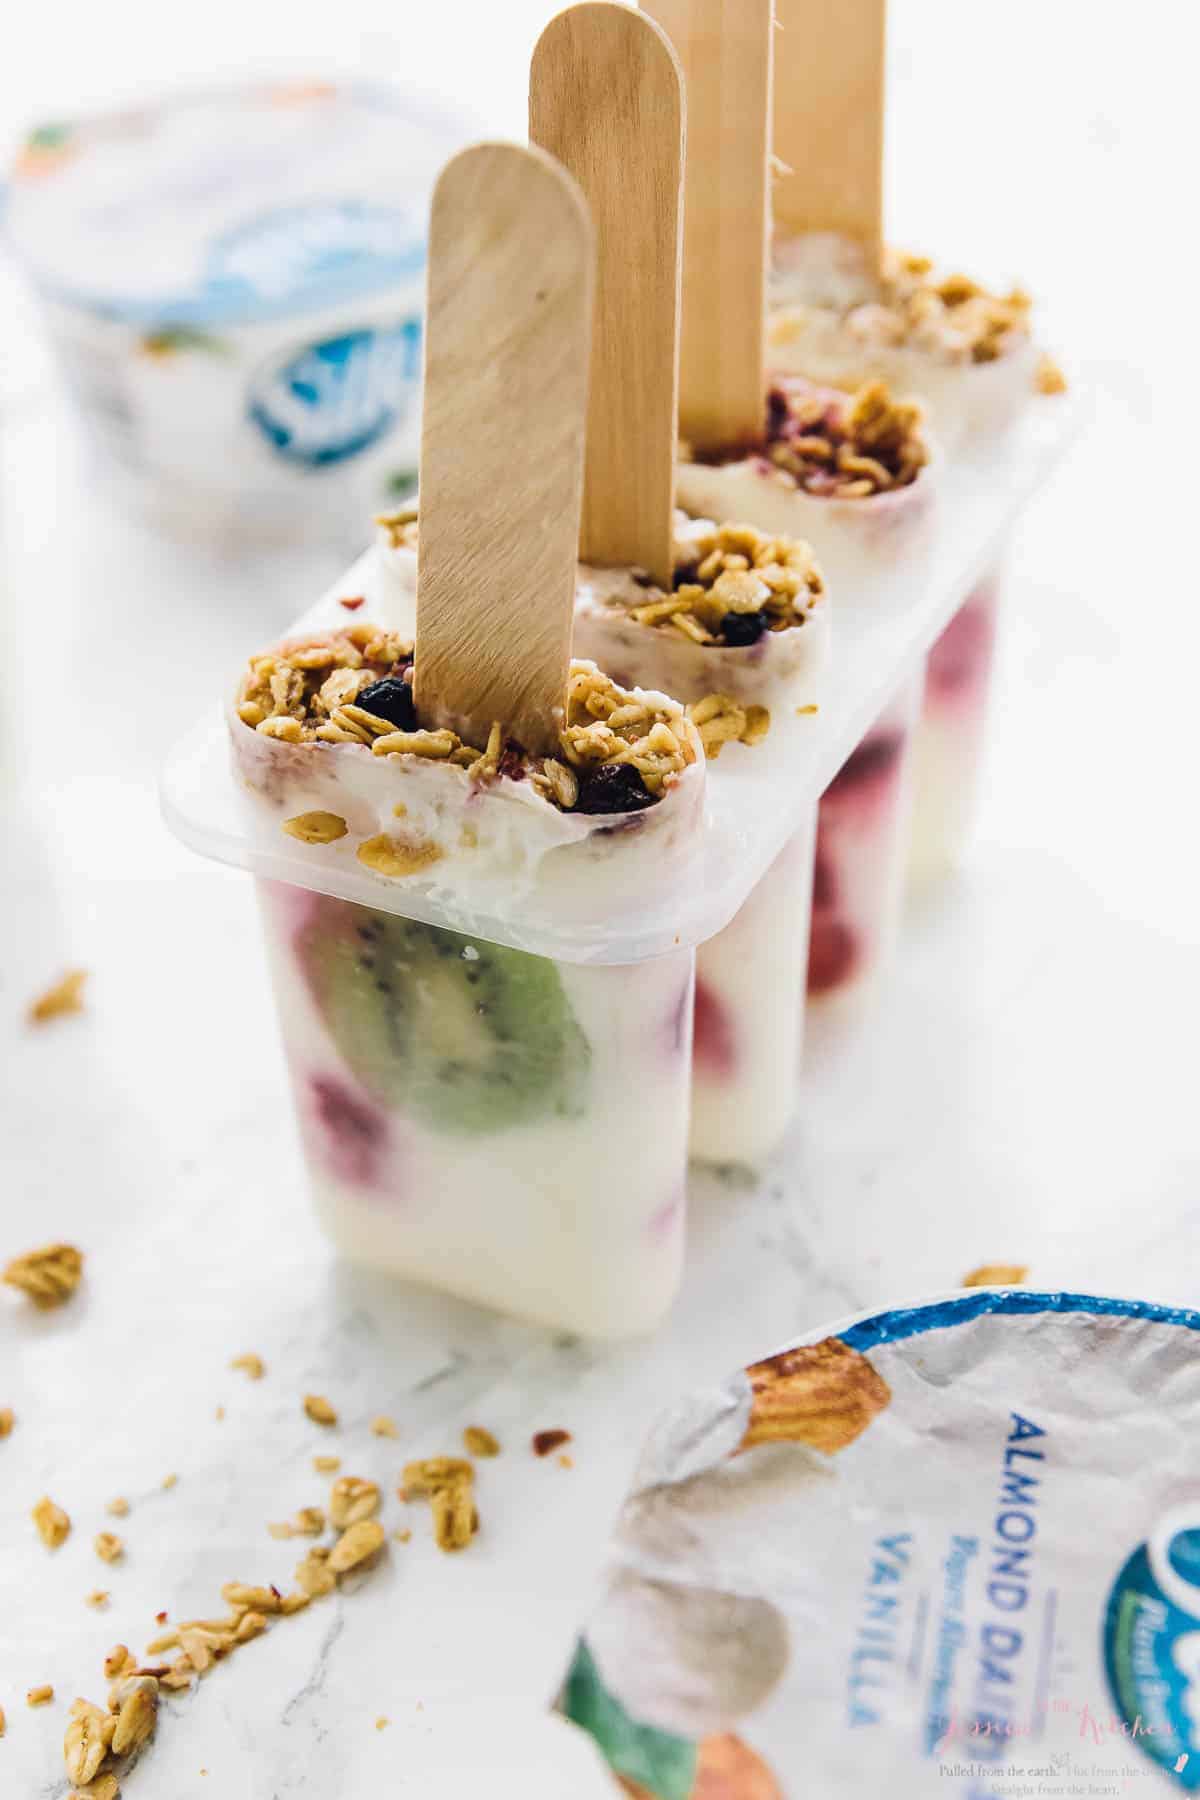
Friends, this summer heat though! Is it hot where you are too? We are going to London in a few days time where it’s a lot cooler right now and I am so looking forward to that. Until then, I knew I would need something that would help me combat this heat in a super easy and tasty way. The day I made these Vegan Yogurt Parfait Breakfast Popsicles was particularly hot and one bite cooled me right down! These breakfast popsicles are such a neat, kid-friendly and tasty way to have a yummy, cooling breakfast to start your day off perfect.
Or a perfect treat by the pool. Why not both?!
I made these breakfast popsicles using Silk’s Almondmilk Dairy Free Yogurt Alternative. If you haven’t tried it, it not only tastes like yogurt but is SO good consistency wise and tastes amazing.

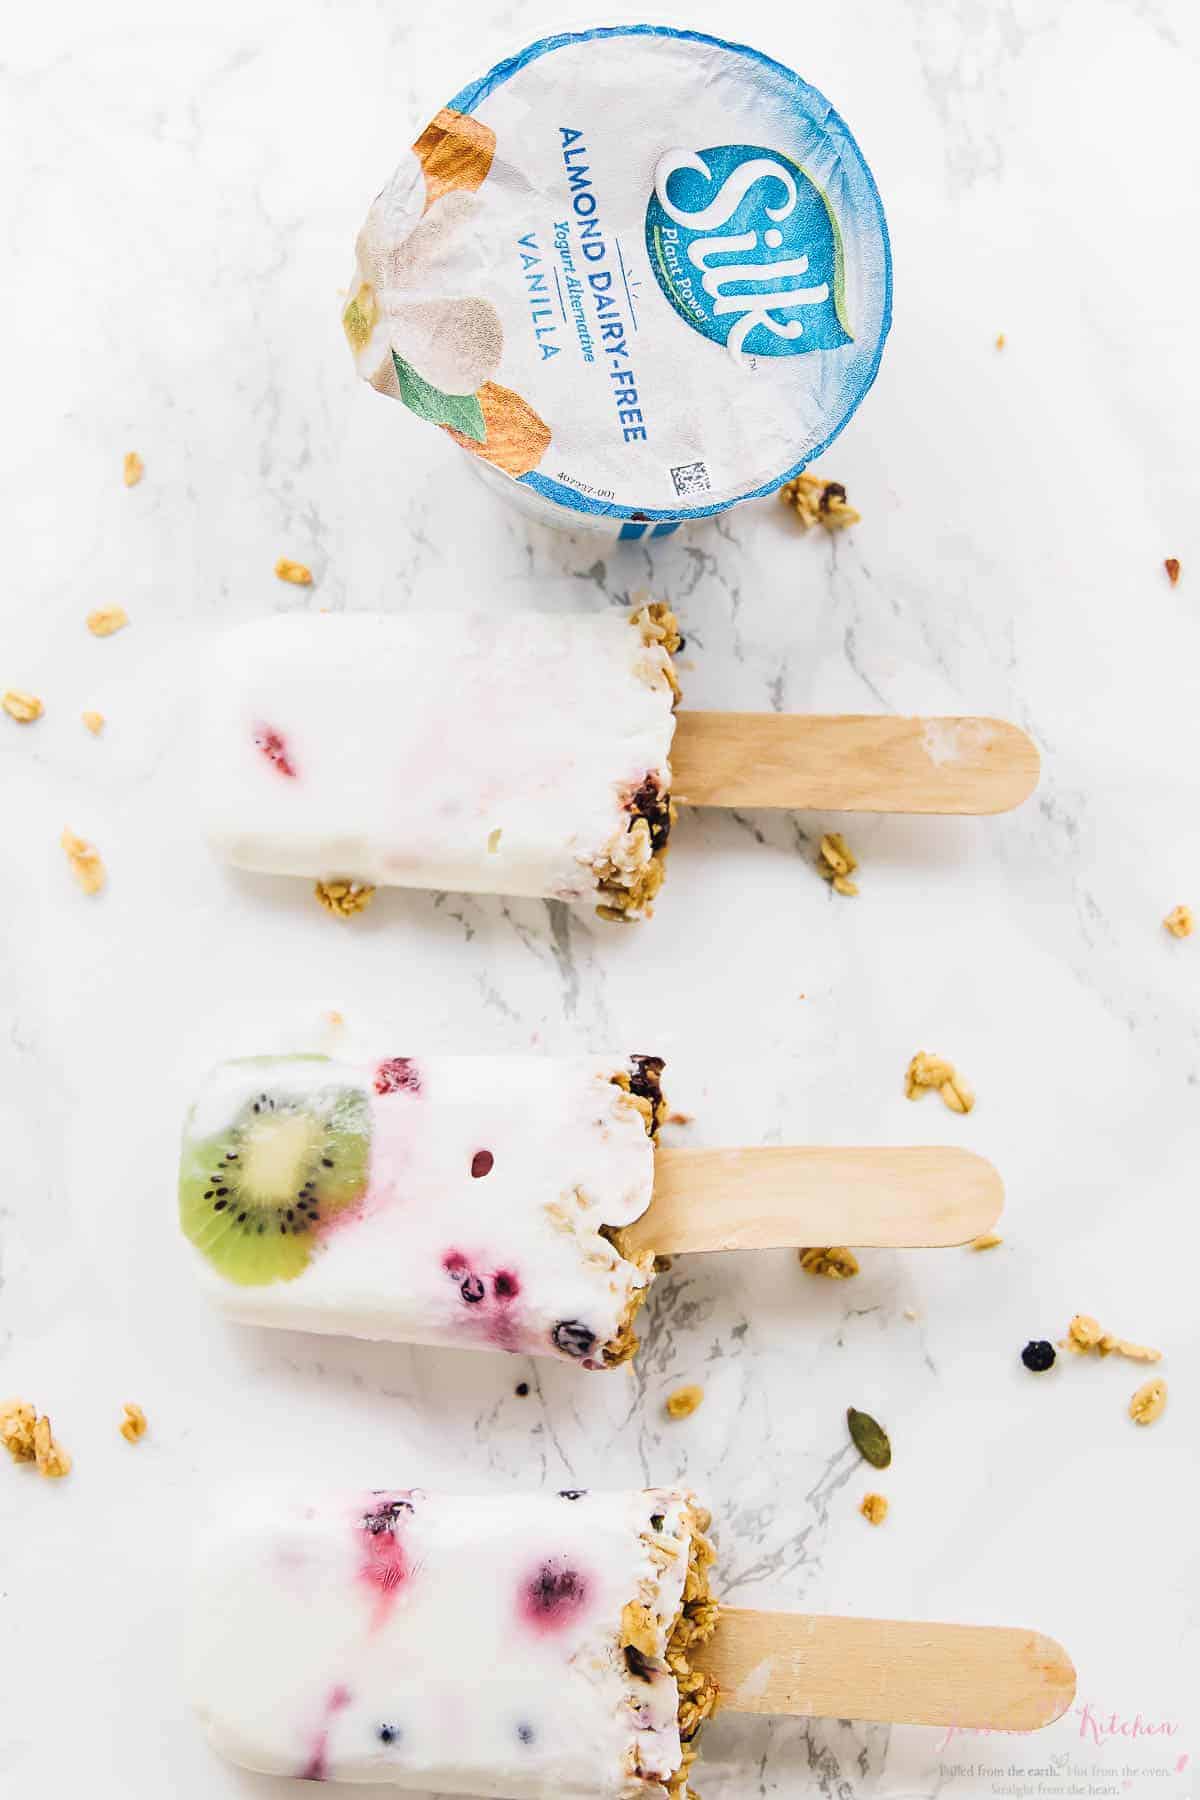
I got mine at Kroger Supermarket in the milk & milk alternatives section, where the shelves were stocked endlessly with Silk Almondmilk Dairy-Free Yogurt Alternative options! It was super easy to find, and I love how many options I had.
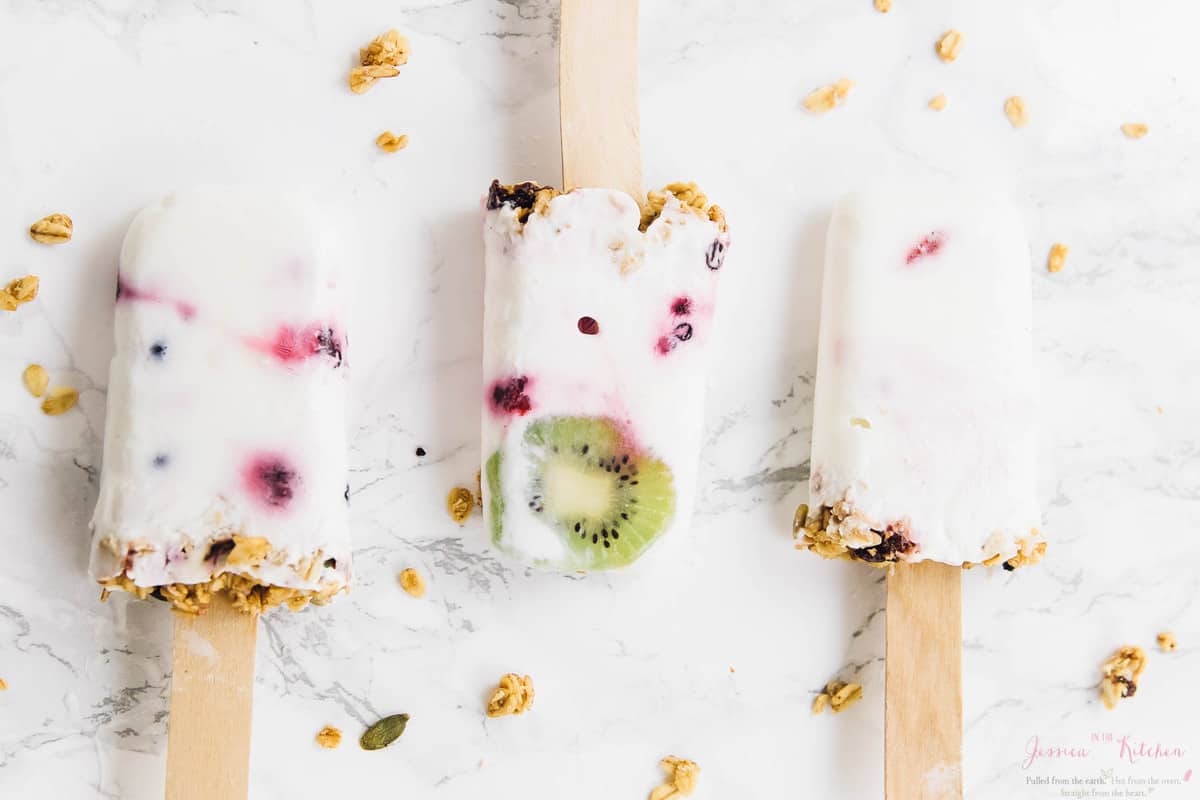
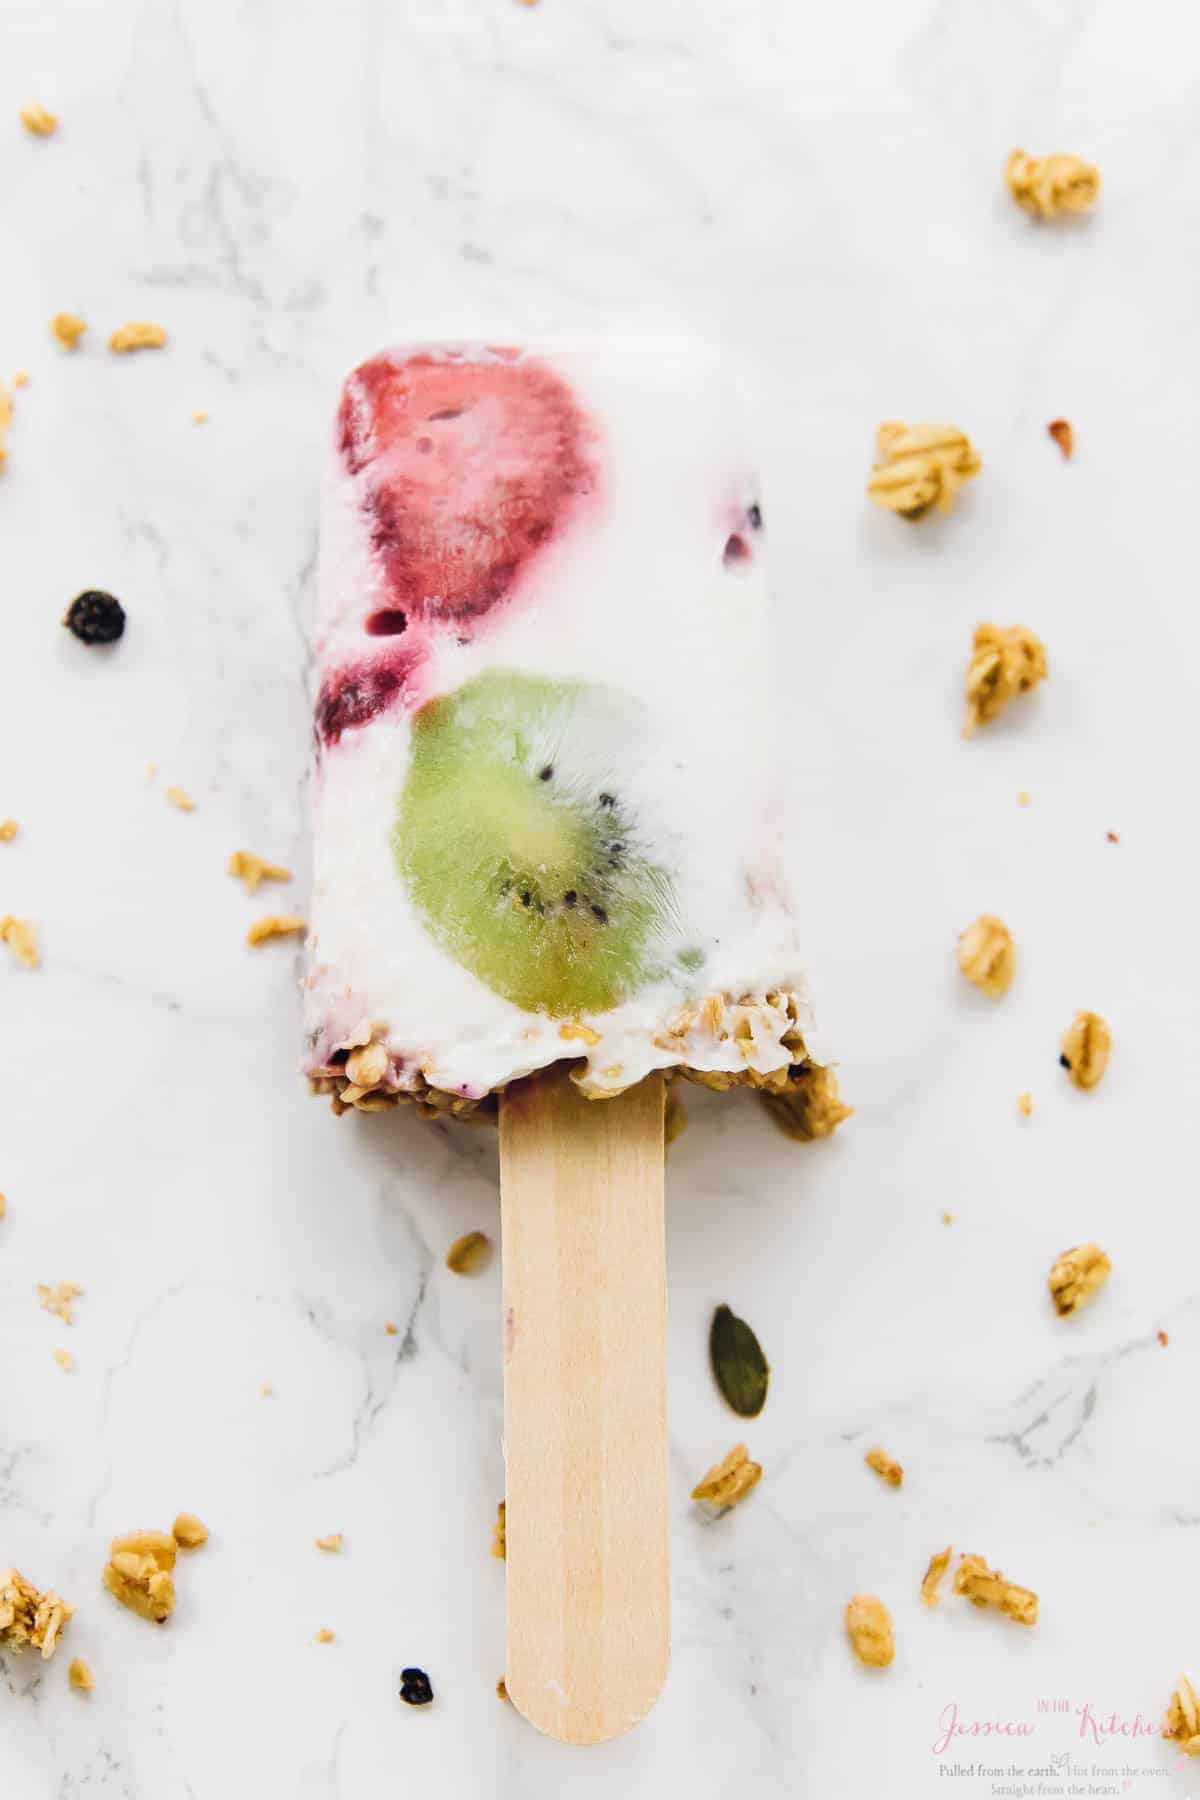
If you’re still undergoing summer heat, these combat the heat like crazy and so easily. I made these with the yogurt, summer fruits, and granola. That’s it. They have a divine fudge like consistency, and are also a great treat for kids during the holidays.
Can we also talk about that gorgeous colour, though?! I love how the fruits just complement the pop from the yogurt so beautifully, so they also make a beautiful presentation.
Enjoy friends!
Vegan Yogurt Parfait Breakfast Popsicles
Ingredients
Vegan Yogurt Parfait Breakfast Popsicles
- 2 cups Silk Dairy-Free Yogurt Alternative
- 1 cup mixed fruit – I used strawberries, raspberries, blueberries and sliced kiwis
- 1/2 cup granola
Instructions
Vegan Yogurt Parfait Breakfast Popsicles
- Line the yogurt and the mixed fruit bowl (I put my kiwis in a separate plate) beside the popsicle container.
Spoon the yogurt into the popsicle container, then some fruit, alternating like a parfait. - Leave some space at the top of each mold. Top it off equally with the granola, pushing down slightly so it sticks into the yogurt.
- Stick your popsicle sticks inside and freeze for at least 6 hours, covering according to your popsicle container’s instructions.
- Remove and enjoy! I like to let it sit on the counter for a few minutes first so removal is easier. Alternatively you can dip it in hot water for about 10 seconds and then remove. Serve and enjoy!
Notes
The yogurt is already sweet, but if you want it sweetener you can add a few teaspoons of maple syrup before pouring in. P.S. check out the Silk store locator to find Silk Almond Dairy Free Yogurt Alternative in their area. P.S. 2 – check out the Spoonful of Silk yogurt page to get a coupon for your yogurt! This is a sponsored conversation written by me on behalf of Silk. The opinions and text are all mine. Thanks for supporting brands that support Jessica in the Kitchen!
Disclaimer: Although jessicainthekitchen.com attempts to provide accurate nutritional information, kindly note that these are only estimates. Nutritional information may be affected based on the product type, the brand that was purchased, and in other unforeseeable ways. Jessicainthekitchen.com will not be held liable for any loss or damage resulting for your reliance on nutritional information. If you need to follow a specific caloric regimen, please consult your doctor first.


Simple and tasty, Jessica. We have a unseasonable cool summer here..haven’t had any ice treat this year yet…hope this week it will be better and warmer..
Hey Angie,
Ah wow!! A cool summer actually sounds pretty great hahah, but I do hope you get to have some yummy ice treats!!
YUM!!
This perfection on a stick!! Delicious and filling and so easy to make. thanks for yet another great recipe.
Thank you so much Judy! We’re so happy that you enjoy it!
it taste so amazing!!!
We’re so happy that you enjoyed this recipe Kelly! Thank you so much for reading and leaving such a nice comment!