Vegan Ice Cream
This vanilla vegan ice cream recipe is rich, creamy, and incredibly easy to make with only 5 ingredients!
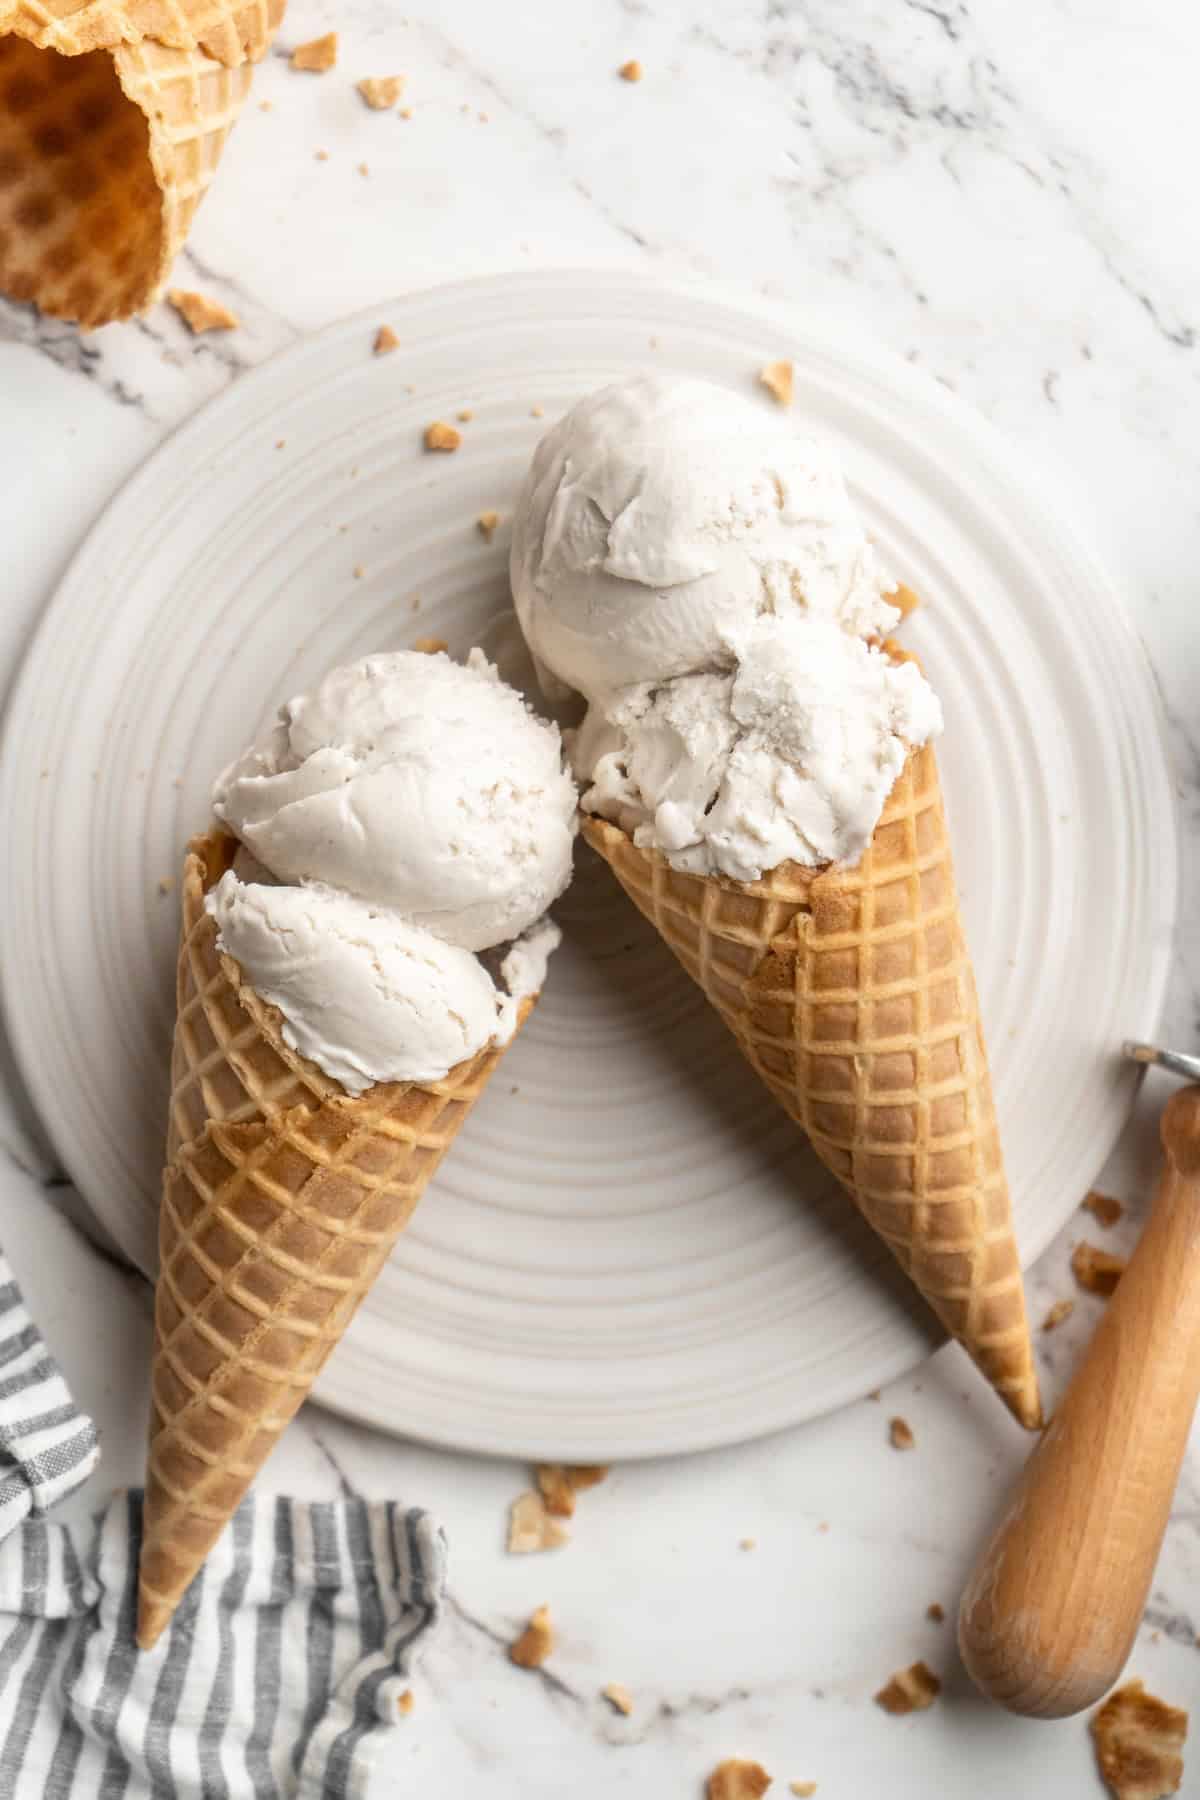
I’ve made many vegan ice cream recipes over the years—even chocolate avocado ice cream! Yet somehow, I never made my favourite flavour: vanilla bean.
Yes friends, I’m that girl who loves vanilla ice cream. In a world with thousands of ice cream flavours, my top choice is vanilla bean. Something about that classic flavour gets me every time—especially when it’s this vegan ice cream, which has the most fabulously rich cashew and coconut base.
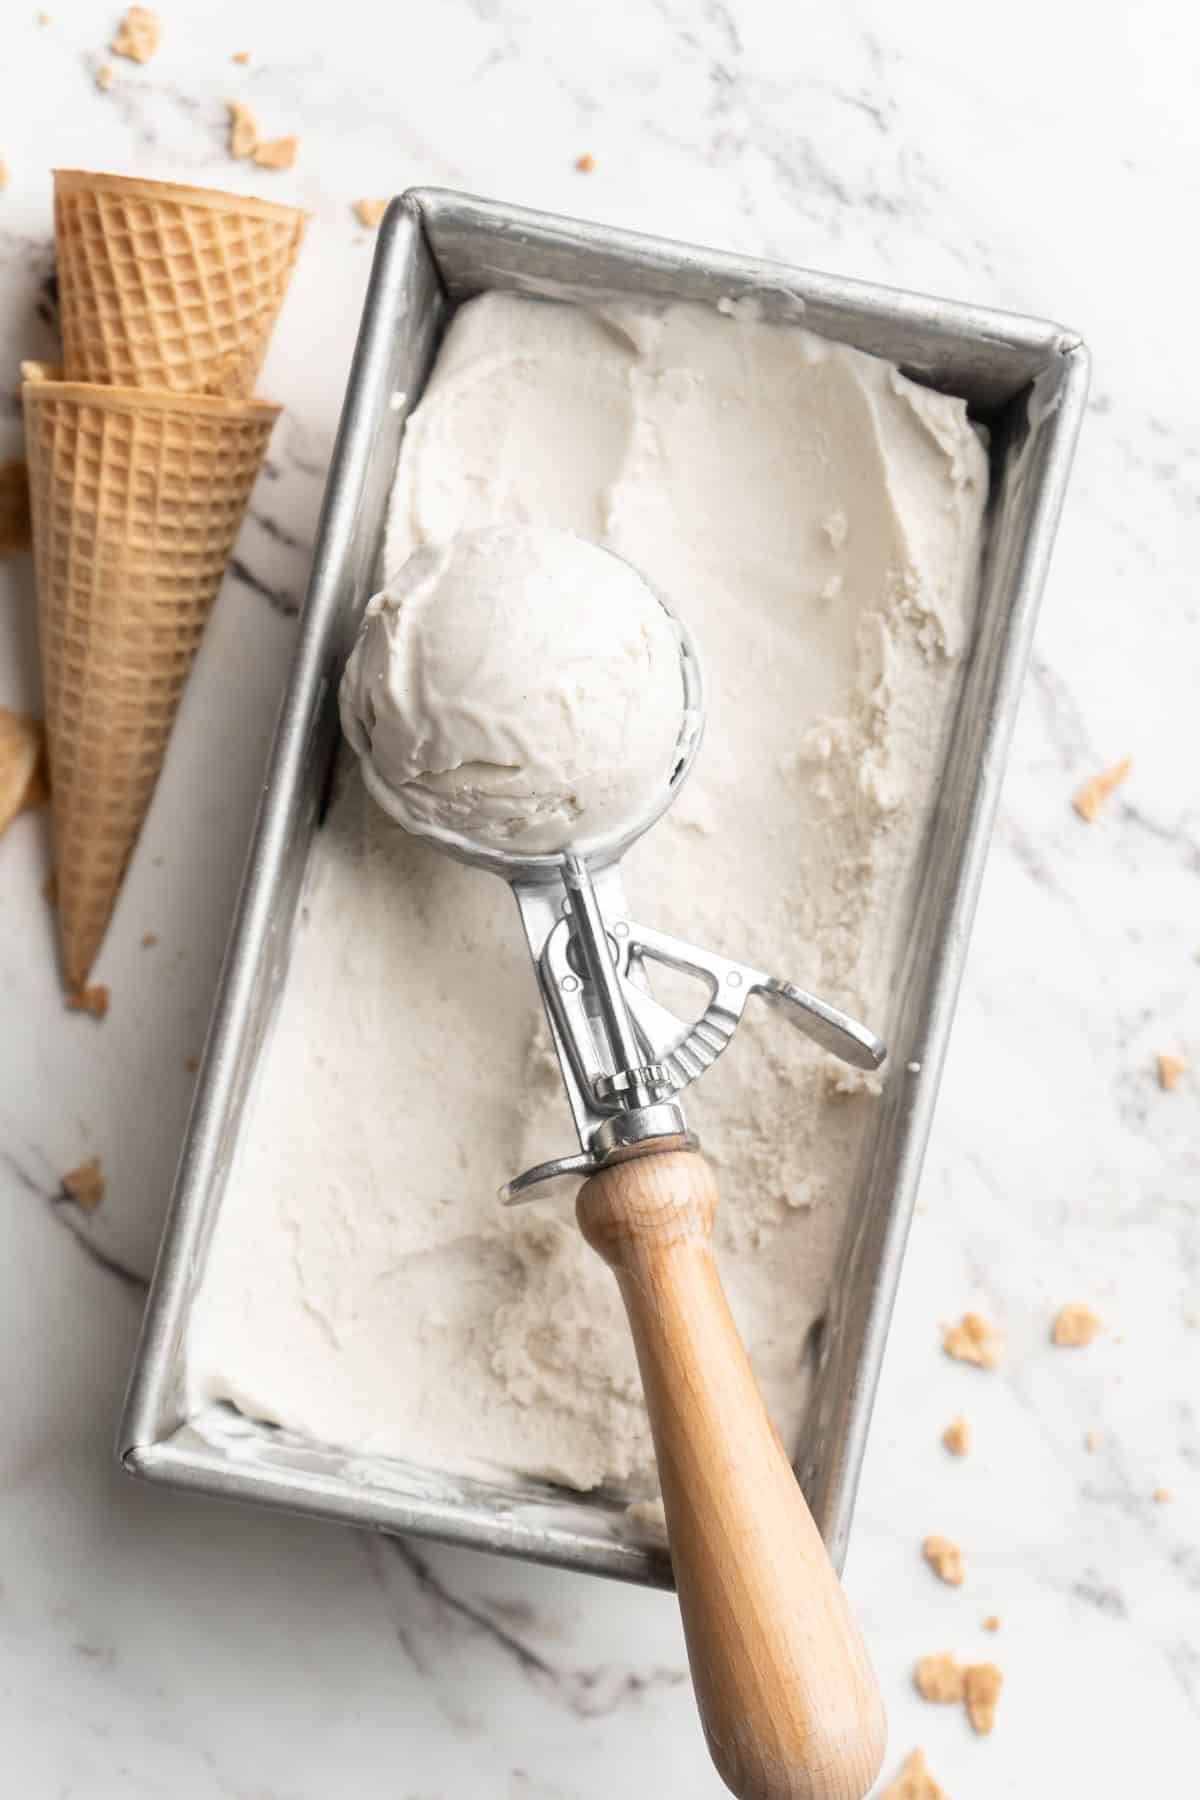
Why You’ll Love This Vegan Ice Cream Recipe
- Creamy and smooth. Some vegan ice creams have a texture that’s thin and flat, but the cashew and coconut ensure that this recipe is super rich, decadent, and creamy.
- Easy to make. Skipping the egg-based custard makes this ice cream easier to make than the classic version. Woo hoo!
- Incredible flavour. Real vanilla extract or bean makes all the difference here. A true vanilla ice cream like this one is a real treat.
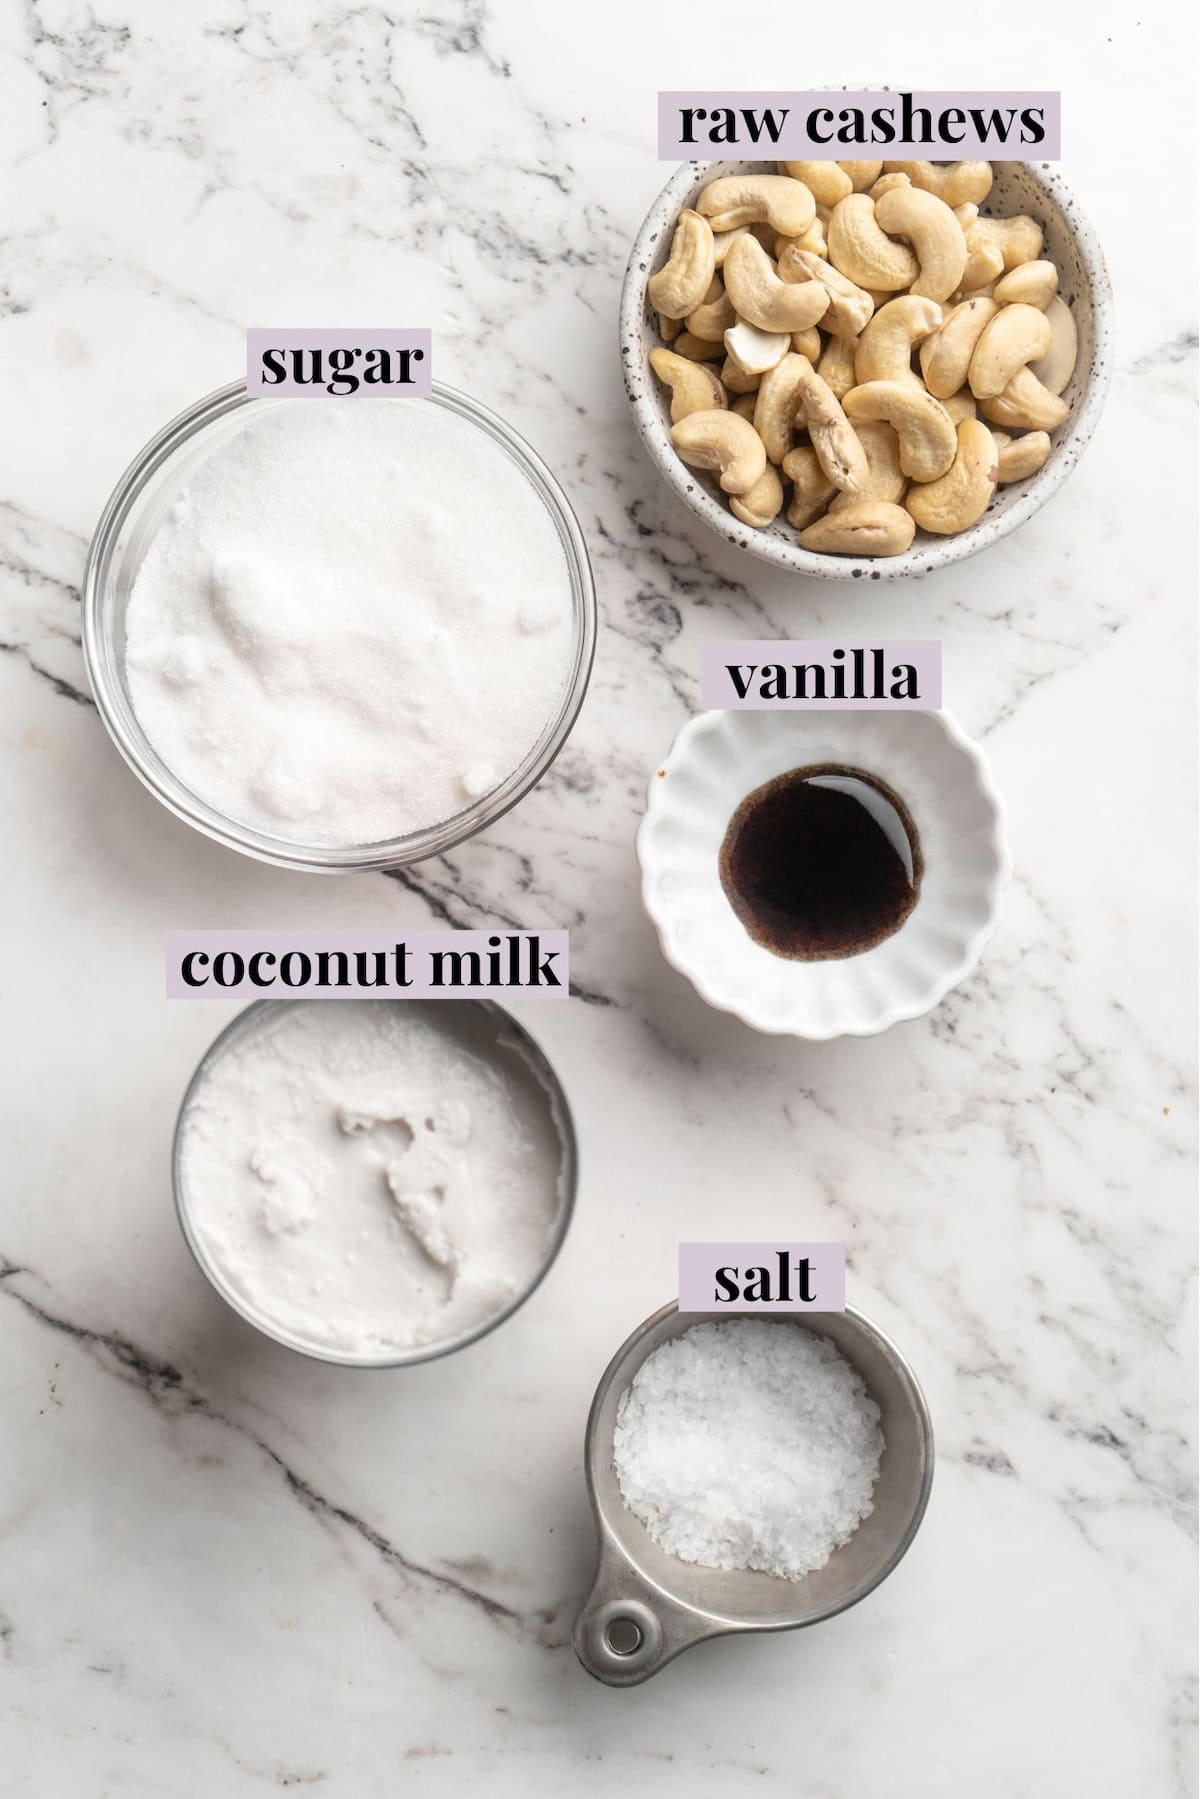
Notes on Ingredients
Scroll down to the recipe card to find the ingredient quantities and recipe instructions.
- Cashews – Soaking the cashews overnight is essential, as this allows them to puree into a completely smooth mixture. If you forget, you can boil the cashews with just enough water to cover them for 5 minutes. Drain, cool, and proceed!
- Coconut Milk –Use full-fat coconut milk, not lite or coconut milk powder.
- Vanilla – Vanilla bean paste is my go-to for this recipe because I love flecks of vanilla bean in my ice cream. You can also use a few vanilla beans or vanilla extract in equal amounts.
- Sugar – If you want a slightly less sweet ice cream, use ½ cup.
- Sea salt – A pinch of sea salt is a flavour enhancer and balances the sweetness.
How to Make Vegan Ice Cream
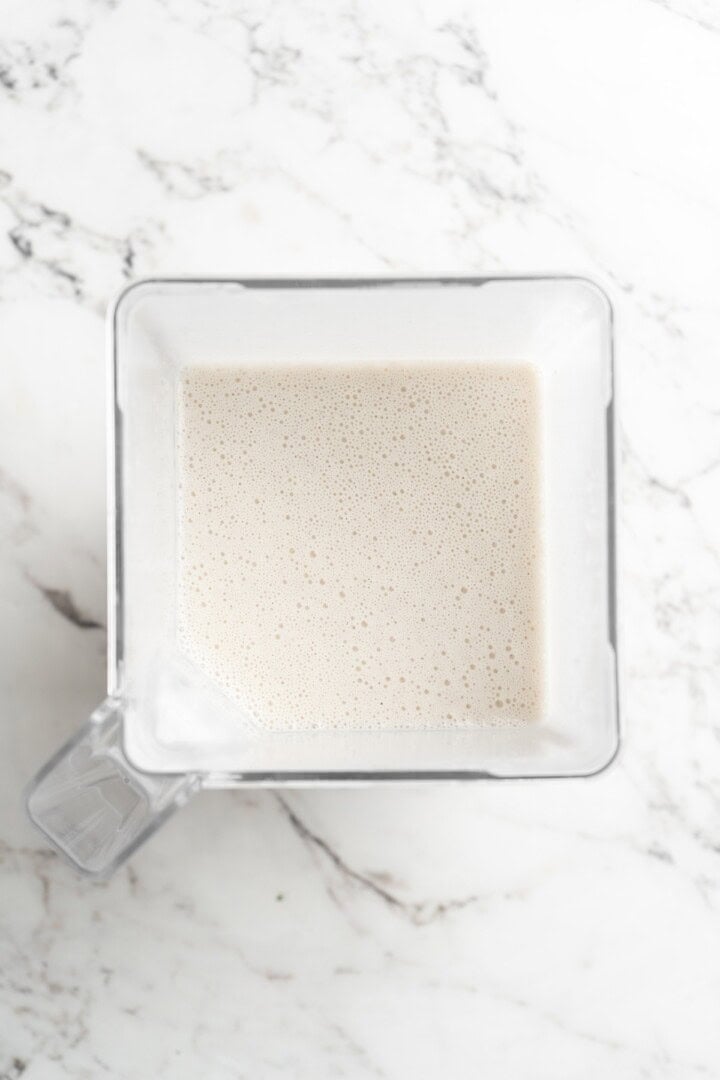
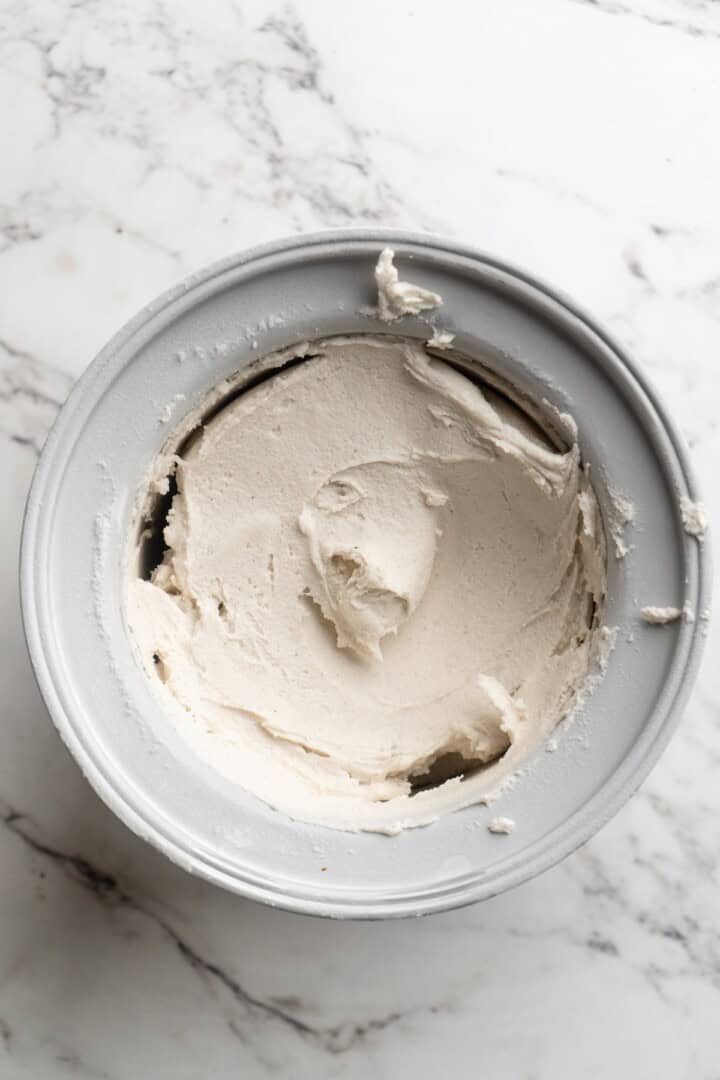
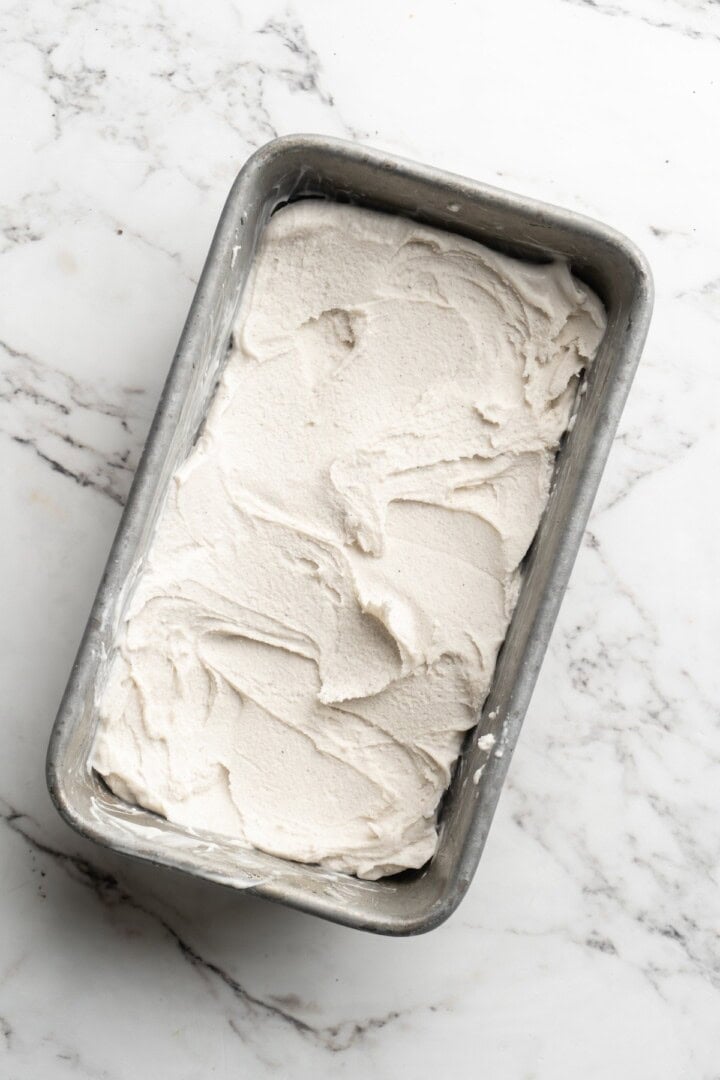
- Prepare. Soak the cashews and freeze your ice cream maker drum ahead of time.
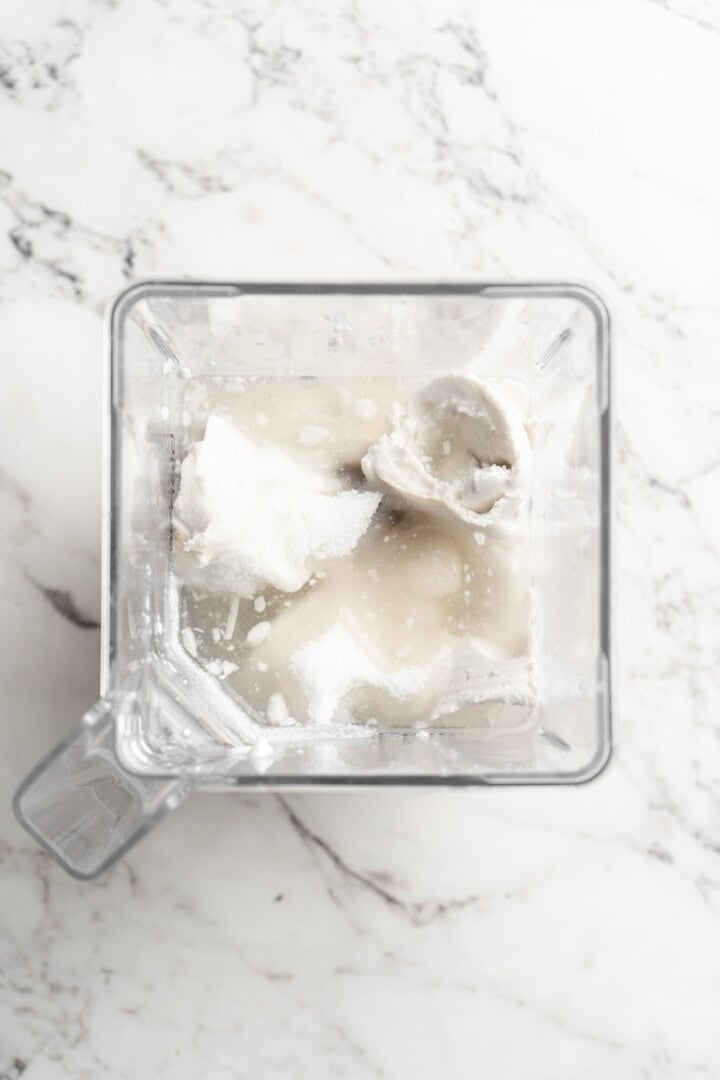
- Make the ice cream mixture. Blend all of the ingredients until completely smooth.
- Chill. Refrigerate the ice cream mixture for at least 4 hours.
- Churn the ice cream. Follow the instructions for your ice cream machine.
- Freeze. Transfer the ice cream into a container or loaf pan. Cover and freeze for at least 4 hours.
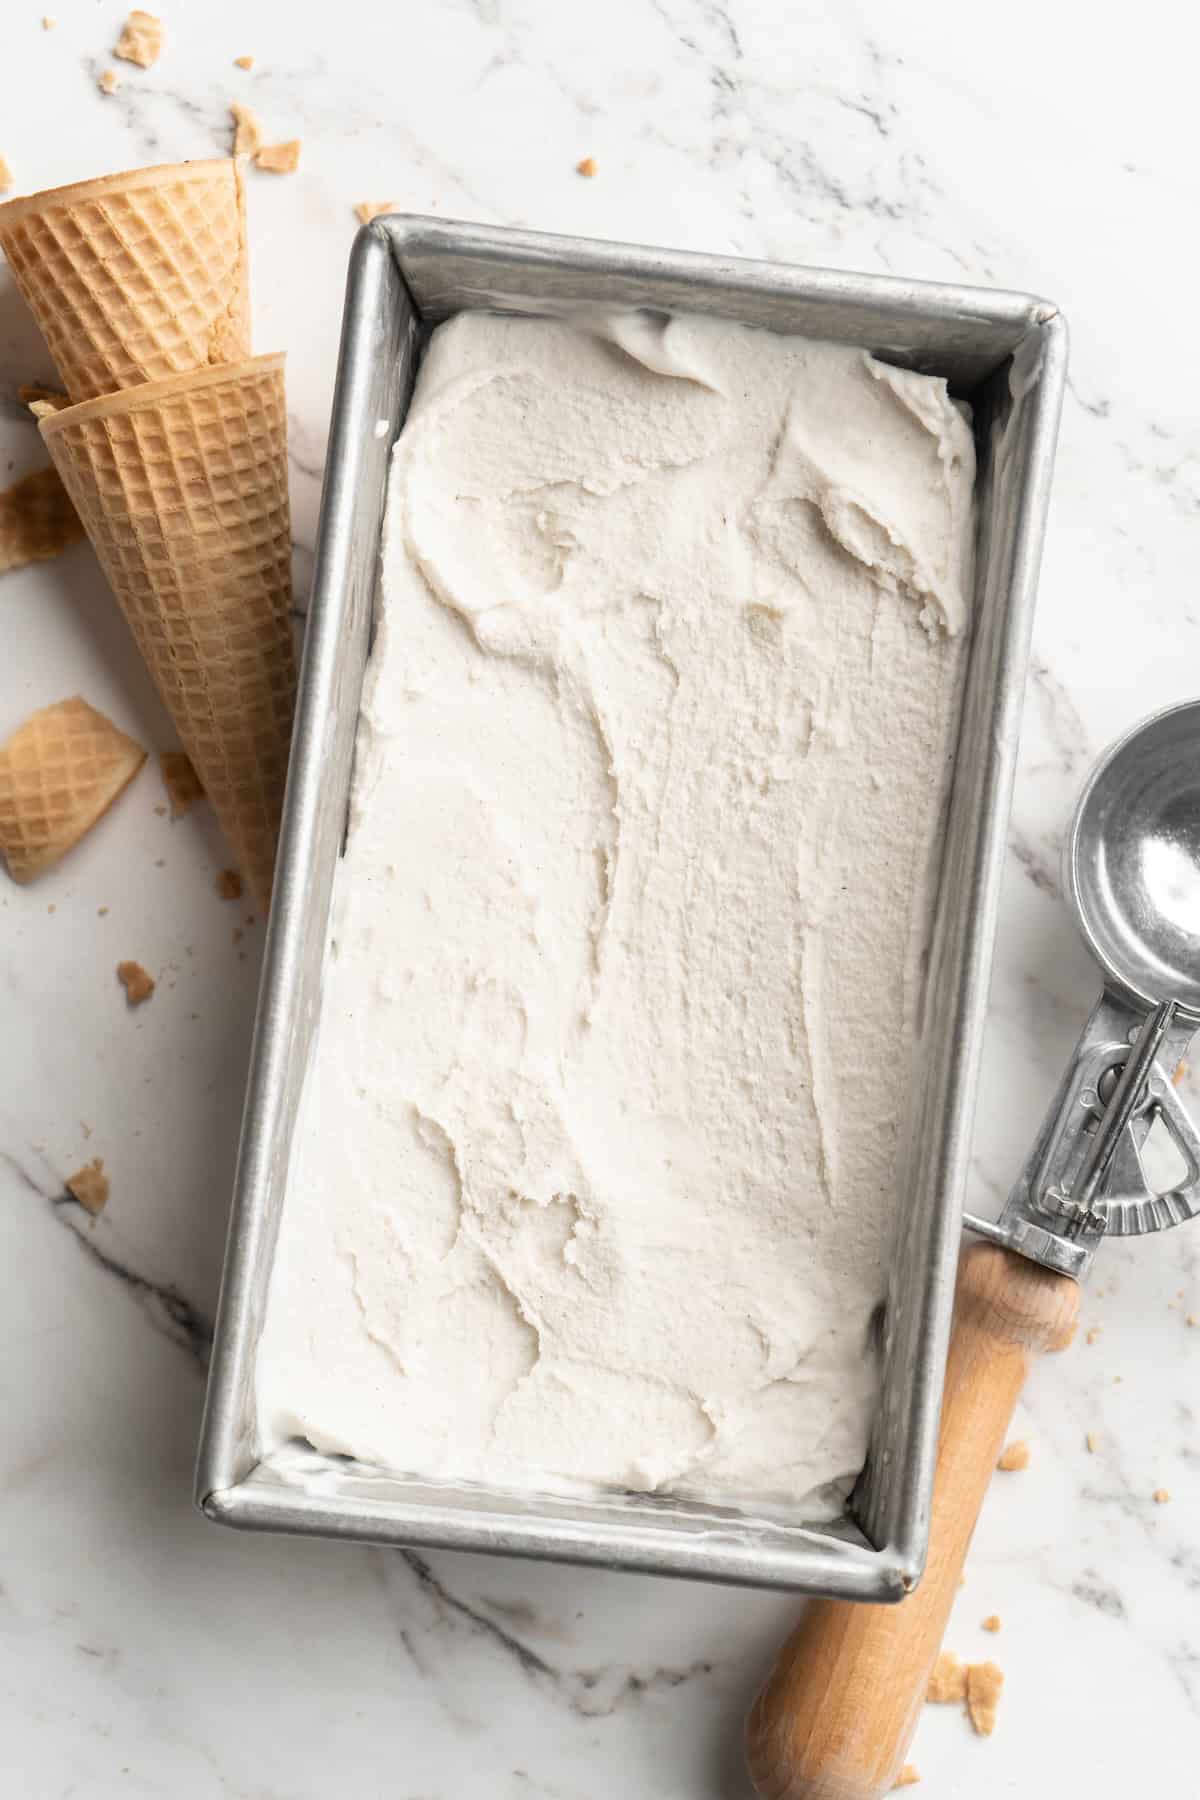
- Serve. Let the ice cream sit at room temperature for 5 minutes, then scoop and serve.
Tips for Success
- Freeze the ice cream maker drum ahead of time. I freeze it for at least 7 hours, but 24 hours is best. It can be tempting to shorten this time but it’s necessarily to get the mixture cold enough to turn it into ice cream. I just leave my base in the freezer, which means it’s always ready!
- Don’t skip chilling the ice cream mixture. I also tested this recipe with not chilling at all, chilling for 10 minutes, and chilling overnight. Chilling for at least 4 hours makes a difference—the vegan ice cream is creamier, freezes faster in the ice cream maker, and is even easier to scoop.
- Make sure the room is cold. If you live in a hot climate like I do, I recommend doing this in the coolest part of your house or turning on your AC if you have one. This ensures the mixture solidifies properly.
- Try some add-ins. Swirl jam, caramel, chopped peanut butter cups, and other add-ins into the soft ice cream after adding it to the storage container, but before freezing.
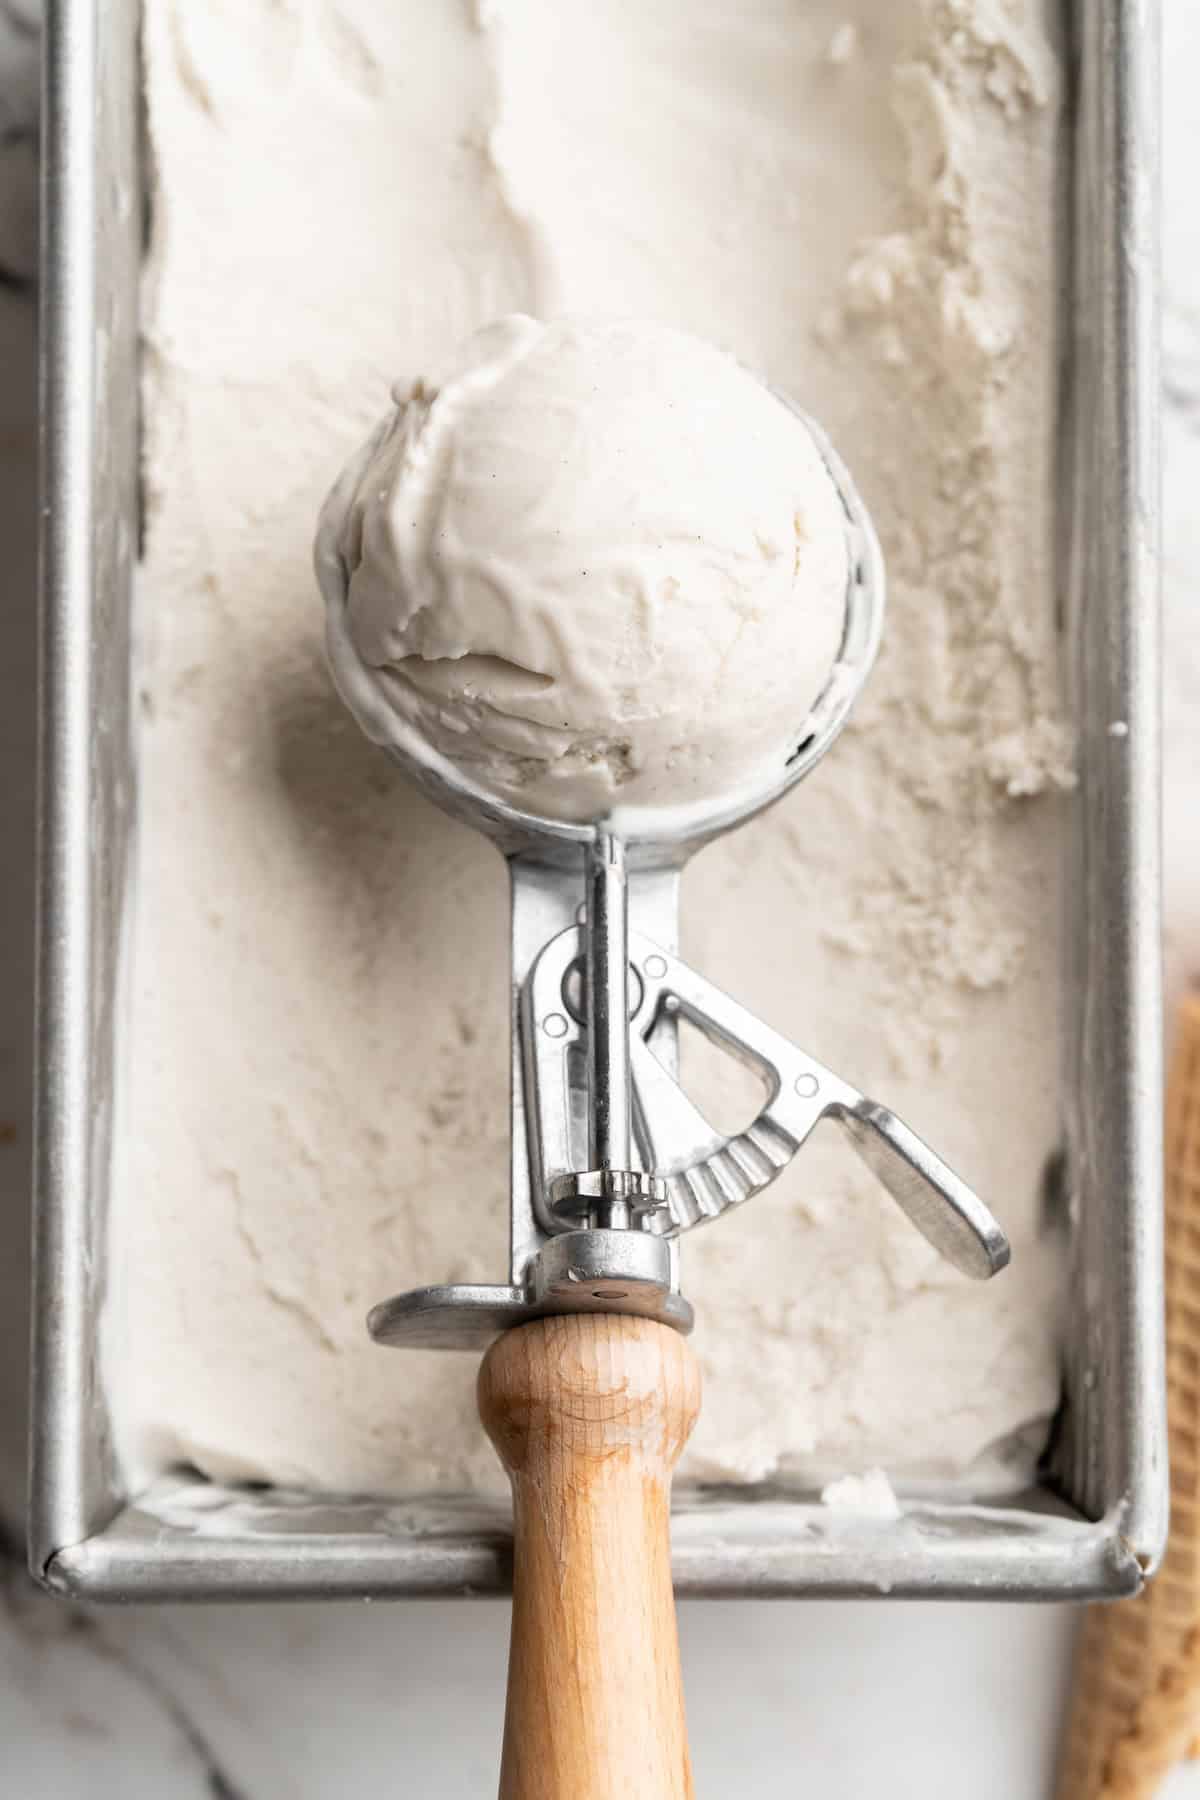
My Favourite Ways to Serve Vegan Ice Cream
- With a (generous!) drizzle of easy vegan caramel sauce
- Sprinkled with pumpkin granola on top
- Sandwiched between two air fryer chocolate chip cookies
- Scooped on top of warm slice of vegan apple pie
How to Store
Cover this vegan ice cream very tightly to prevent ice particles from forming. It will keep in the freezer for up to 2 weeks.
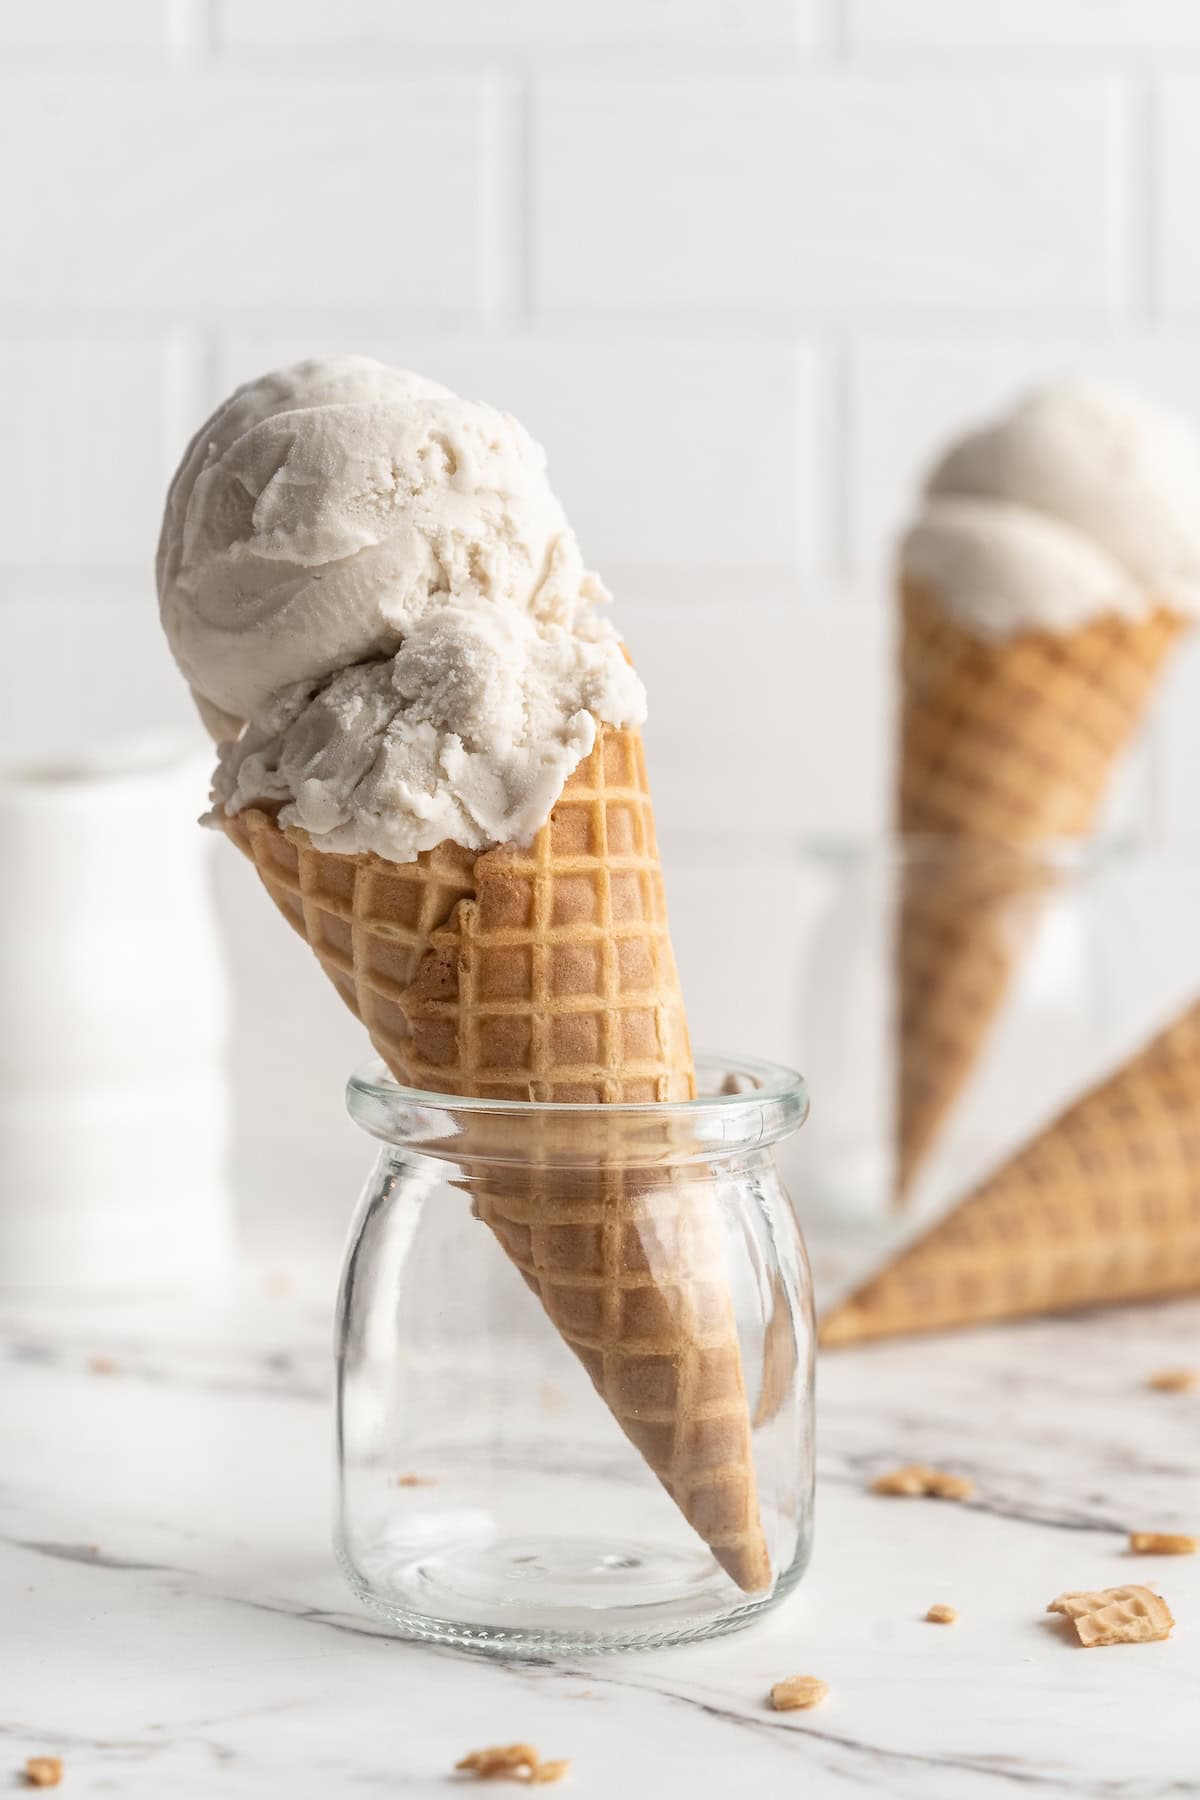
More Vegan Ice Cream Recipes
- Peanut Butter Ice Cream
- Grilled Peaches with Coconut Ice Cream
- Vegan Mango Ice Cream (3 Ingredients)
- 2-Ingredient Vegan Blueberry Ice Cream
- Vegan Strawberry Coconut Ice Cream (No Churn)
Enjoy friends! If you make this vegan ice cream recipe, please snap a photo and tag #jessicainthekitchen on Instagram! We’d also love it if you would leave a comment below, and give the recipe a rating! Thanks so much!

Vegan Ice Cream
Ingredients
- 1 cup raw cashews, soaked in water overnight or boiled for 5 minutes*, drained
- 2 (13.4 ounce) cans full fat coconut milk
- 1 tablespoon vanilla bean paste , or extract or 1 vanilla bean
- ⅔ cup cane sugar , or other organic granulated sugar
- ½ teaspoon sea salt
Instructions
- Ensure your cashews are completely soaked from before. Also ensure your ice cream maker freezer base is in the freezer for at least 7 to 24 hours before (preferably 24 hours) . If you just keep it in your freezer, then it’s always ready!
- In a high speed blender, blend the soaked cashews, coconut milk, vanilla bean paste, cane sugar and the sea salt together until completely smooth, about 2-4 minutes on high speed depending on your blender. You want to ensure it’s 100% smooth, so feel free to blend longer until you’re sure all the cashews are blended out. If that means you need to blend longer, definitely blend until fully smooth.
- Pour mixture into a bowl, container or leave in the blender and cover. Sometimes the mixture can get hot while blending. Place it in the fridge for 4 hours in the coldest spot, up to 2 days if you don't plan to make the ice cream immediately.
- Remove from the fridge. Set up your ice cream machine and place the ice cream maker freezer base into the machine and pour the ice cream mixture in. Prepare according to manufacturer settings, for about 20-25 minutes of churning. The mixture should be thick and smooth. If you're not using an ice cream maker, check out my chocolate avocado post for no churn instructions.
- Scoop the soft serve ice cream into a container (I use a loaf pan) and smooth down. Place plastic wrap or a reusable wrap or parchment or wax paper flat against the ice cream, then wrap the outside of the pan too. You want to ensure it's all protected from ice crystals. Place in the freezer for at least 4 hours to set up, even overnight if you desire. You can also enjoy it immediately like soft serve!
- After at least 4 hours in the freezer, remove container from freezer and allow it to sit for at least 5 minutes on the counter (like you would store bought ice cream). Scoop, serve and enjoy!
Notes
Ice cream making Tips & FAQ
- You can easily boil your cashews with just enough water covering them for 5 minutes. Drain, let cool, and proceed! This way you can make the recipe the same day.
- I used an ice cream maker to make this recipe. Ensure your ice cream maker base is ready! It can be tempting to shorten this time but it’s necessarily to get the mixture cold enough to turn it into ice cream. I just leave my base in the freezer, which means it’s always ready!
- It’s important to use full fat coconut milk. Don’t use lite. Also remember we are using the full can of coconut milk. Also, do not substitute coconut milk powder. It isn’t creamy enough and will result in icy ice cream.
- Don’t rush your ice cream base (the actual mixture) chilling time. I made it after 10 minutes in the freezer, and after a few hours in the fridge and after whole night in the fridge. The last two were far more creamy, set much faster in the ice cream maker, and were much easier to scoop. I highly recommend chilling the cashew cream for the right length of time.
- If you live in a hot climate (like I do) I recommend doing this in the coolest part of your house or turning on your AC if you have one. This ensures the mixture solidifies properly.
- Always cover your finished ice cream as per the recipe, otherwise ice particles will form in it and result in some small ice chunks.
- If you’re not using an ice cream maker; follow my tips from my chocolate avocado ice cream to get the best texture.
- Cover this vegan ice cream very tightly to prevent ice particles from forming. It will keep in the freezer for up to 2 weeks.
Disclaimer: Although jessicainthekitchen.com attempts to provide accurate nutritional information, kindly note that these are only estimates. Nutritional information may be affected based on the product type, the brand that was purchased, and in other unforeseeable ways. Jessicainthekitchen.com will not be held liable for any loss or damage resulting for your reliance on nutritional information. If you need to follow a specific caloric regimen, please consult your doctor first.


About that milk… you say you use canned full fat coconut milk – but having just looked at numerous different brands, it seems like most are
based on extracts, with emulsifiers and/or thickeners. There were two that didn’t contain that though.
Am I right in assuming that the milk you use contains various additives that might lead to higher creaminess of the ice cream?
Hi David,
When I say canned full fat I more mean don’t use cans that say “lite” or boxed coconut milk which is even more water than coconut meat. Truthfully you could even make the coconut milk yourself (which I LOVE doing and it tastes 10x better by the way!). The whole point is choosing coconut milk that is fattier than one that it is filled with water – which would to produce a more icy, lacking in flavour cream as opposed to the creamy flavourful ice cream we want. Let me know if this helps!
Got it, just wanted to make sure that my result resembles your result. 🙂
(And then experiment from there because I’m not keen on all that saturated fat. 😉 Already had some success with water, coconut cream, apple pectin and agar but while it was lovely fresh, it got too hard after freezing, so I got me some glycerides from fatty acids today. Still need to try it out though.)
HI DAVID. I USE TRADER JOE’S CANNED COCONUT MILK. FULL FAT. IT IS DELICIOUS IN EVERYTHING I COOK WITH IT! INCLUDING VEGAN ICE CREAM. HOPE THIS HELPS.
When it comes to the cashews – presumably, it’s just about softening them and you can just boil them for 20 minutes if you don’t want to wait until the next day?
Hi David,
Yes! I usually boil them for like 5 minutes but 10 minutes would be even better! Thanks for asking this so I can update the post with it!
Thank you so much for this recipe! My husband and daughter are both lactose intolerant and this recipe has been a game changer for them!
I made it and added some frozen bing cherries when whizzing up the base. My daughter thought it was a bit “icy,” but I didn’t notice. What could one do to decrease that?
Thank you!!
HI Rebecca,
So happy to hear! Are you making it with an ice cream maker or without? Also are you storing it in an ice cream container/with the Saran Wrap pressed firmly against the ice cream? That’ll help me to know how to best answer next!
Hi Jessica!
Thank you for your blogs and recipes.
Always great information and wonderful inspiration!
Apologies if this has been brought up before, but with some strict vegan guidelines, white granulated sugar can sometimes be processed with animal bone char, to essentially bleach the color out.
That said, do you know if using vegan raw or unrefined brown sugar would change the consistency of the final results?
I truly love all you do to promote a healthier and kinder way of eating.
Thank you!
Hi Coco,
Using vegan raw or unrefined brown sugar won’t change the consistency!
By the way once your granulated sugar is organic (due to how it has to be made organic) it should be vegan! I can update the ingredients so no one is led astray! Appreciate you bringing that up in the comments. Please note the following brands are 100% vegan sugars:
Florida Crystals
Wholesome Sugar
I hope that helps so much too! I appreciate your kind comments so much, you’re so welcome!!
WOW JESSICA, THIS SOUNDS SO DIVINE!! HOWEVER, I DO NOT OWN AN ICE CREAM MAKER NOR DO I WANT TO BUY ONE. I DO HAVE A RECIPE FOR VANILLA BEAN ICE CREAM THAT I MAKE THAT IS VERY GOOD ALSO. THANK YOU FOR SHARING YOUR DELICIOUS-LOOKING RECIPE! I HAVE MADE SO MANY OF YOUR OTHER RECIPES THOUGH, AND LOVE THEM!
You’re so welcome Debbie!! Wow thank you so much so happy to hear this!!
I ACTUALLY JUST PUT IN THE FREEZER A NO-CHURN VANILLA BEAN FRESH PEACHES ICE CREAM. LOOKS AND TASTES GOOD. JUST HAVE TO WAIT FOR IT TO FREEZE NOW.
Wow sounds so good! Enjoy so much Debbie!!
I am very allergic to cashews. what can I use instead??
Hi Doris,
You can used soaked sunflower seeds!
This recipe is amazing! I’ve made it so many times.
How do I make rum and raisin ice-cream using this base? I plan on using raisins soaked in appleton estate rum. Please help.
Hi Wendy,
Thanks for sharing! I’ve been double checking this for you why the late response. You should be able to use 2 tablespoons of rum plus up to 1 cup of raisins. I hope this helps and enjoy!
Has anyone tried making this with a ninja creami? I would think you can make it as is and then freeze it and spin it? Any thoughts?
Thanks so much for the recipe. I’m hoping to try this tomorrow, but I am wondering if date syrup or another sweetener might be a good substitute for the sugar? If so, should there be any adjustments to the recipe?
Hi Cathy,
You could absolutely sub in date syrup—just be mindful that it’s a little less sweet than regular sugar! Since the sugar currently in the recipe is a dry ingredient vs the liquid of the date syrup so I would recommend removing 2 tablespoons of the coconut milk (preferably the coconut water portion of it if you can), to balance out the extra liquid. This will avoid creating a slightly thinner ice cream base.