Vegan Waffles (Fluffy and Crispy)
These are the BEST Vegan Waffles! They are crispy, so fluffy, and very simple with only pantry ingredients! I share some foolproof tips so they’re perfect and great for meal prep!
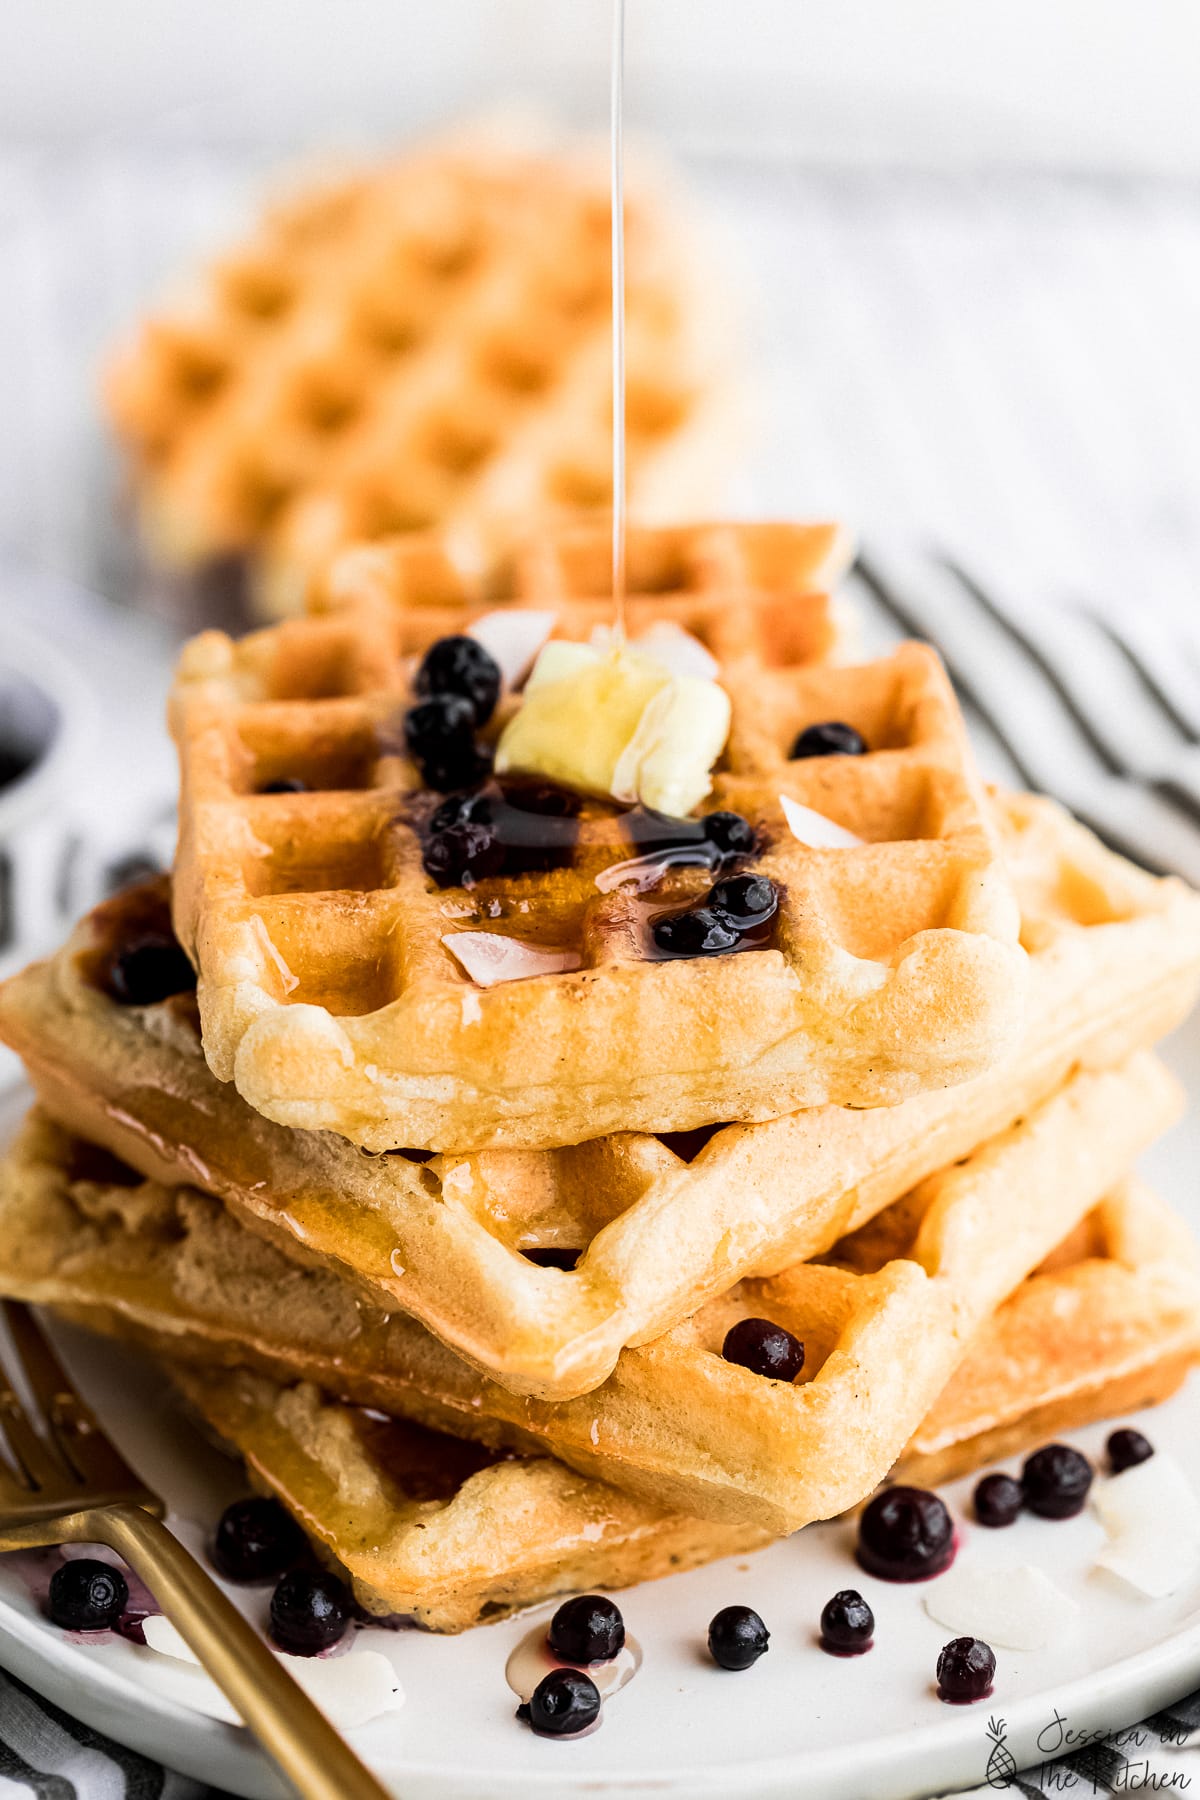
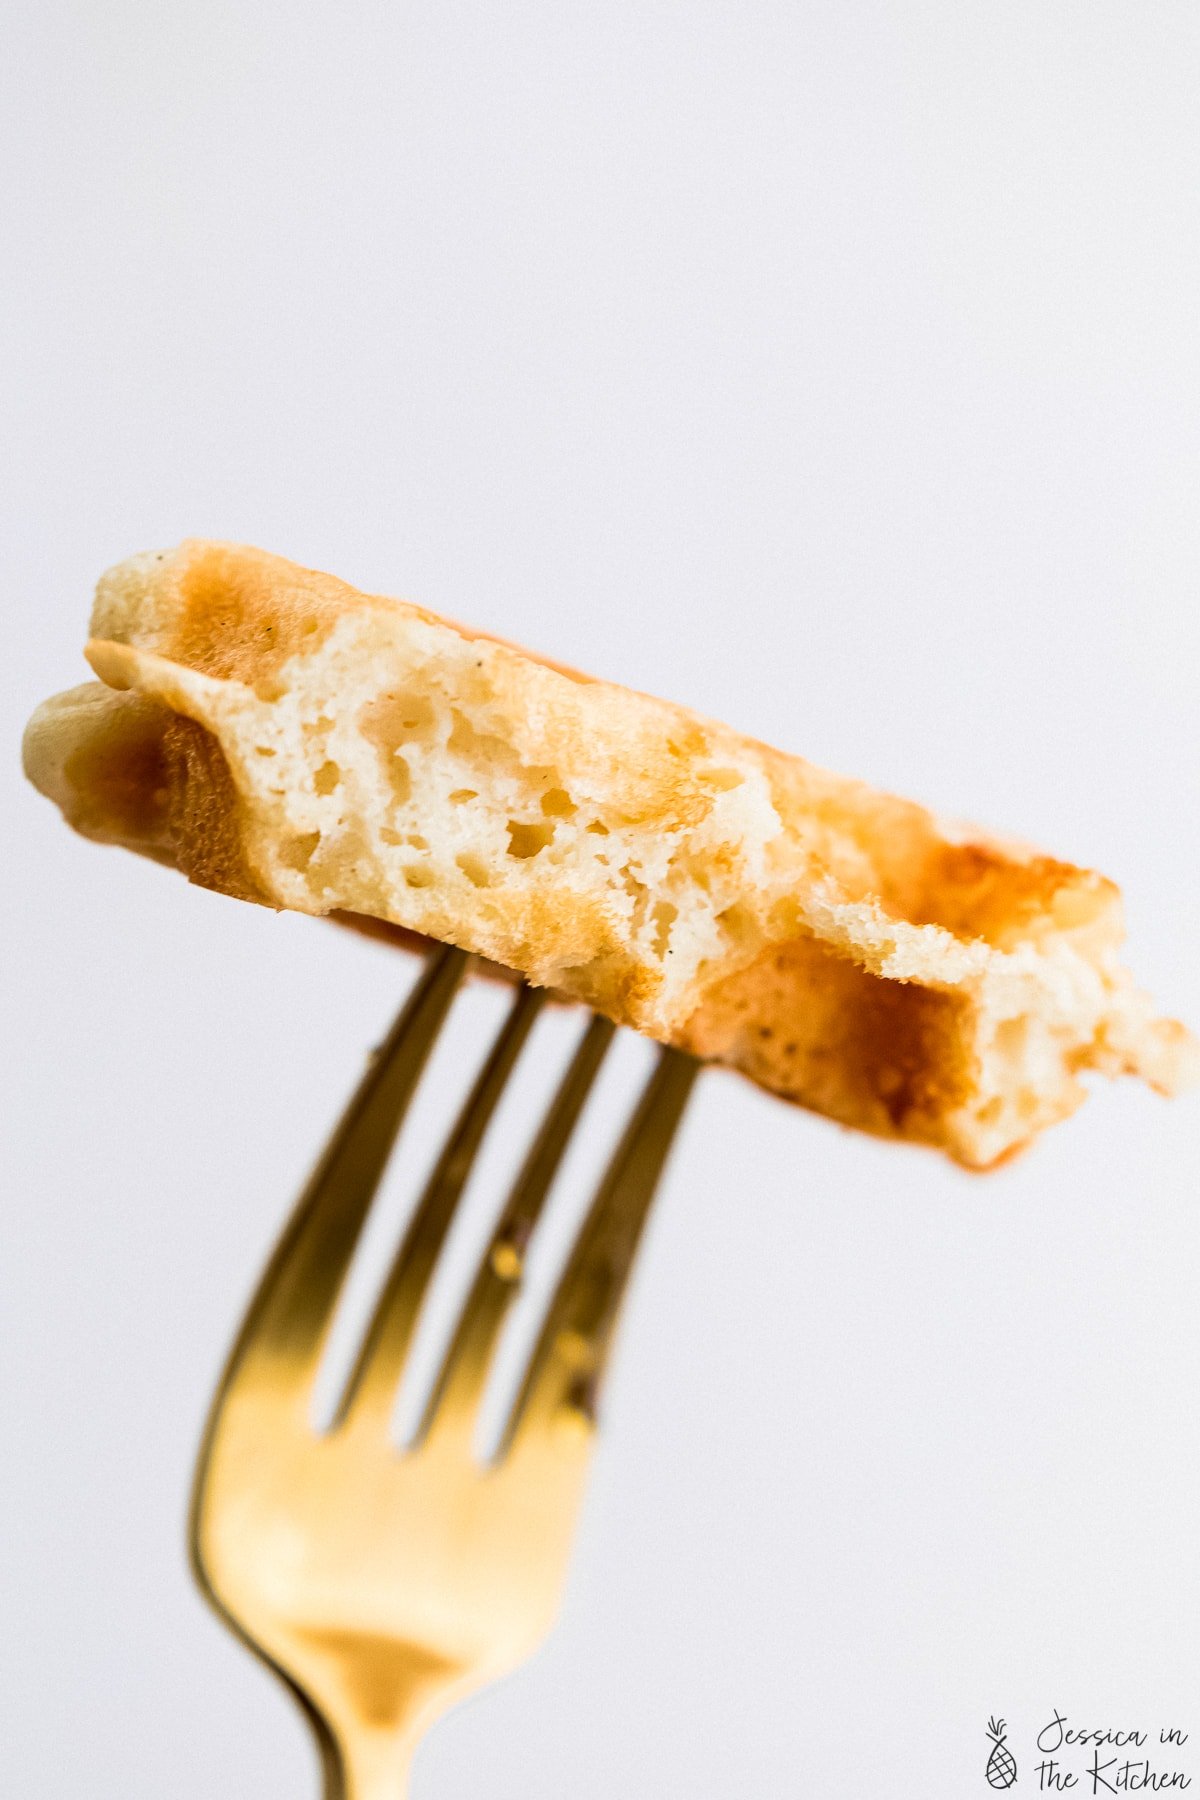
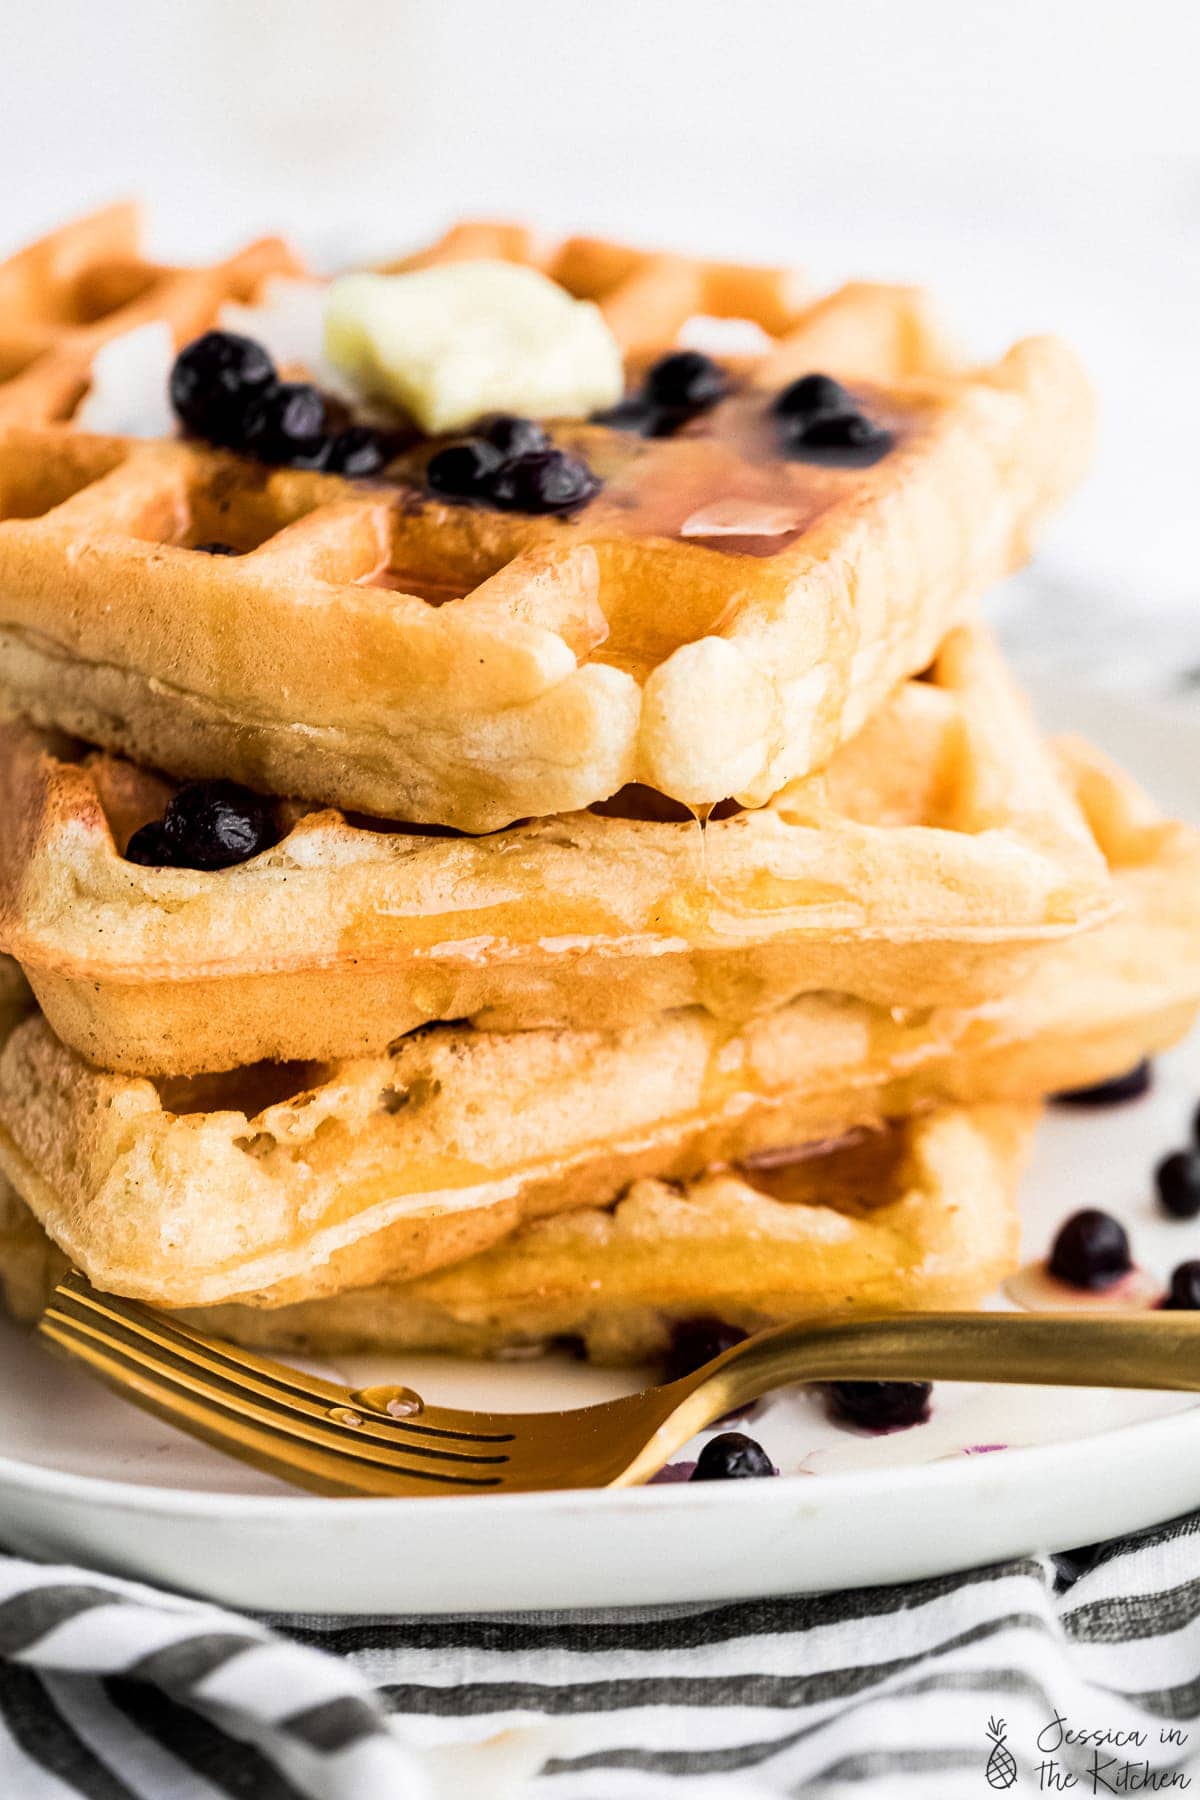
If there’s one thing I know for sure, I LOVE waffles. Waffles of all kinds. I love sweet waffles. I love savoury waffles. Gluten free waffles. Even Mac and cheese waffles! Today I’m finally sharing some super easy, fluffy, classic buttermilk vegan waffles. These are honestly my absolute favourite, and they’re pantry friendly too! They have that ideal texture of crispy on the outside and fluffy on the inside, and they’re meal prep perfect. I usually just double a batch and I’m good to go.
Expert Tips & FAQ
When made properly, homemade vegan waffles taste like they’re fresh from your favourite diner or breakfast spot. Here are some of my top tips:
- Test to ensure that your baking powder is still active. Let’s just say I’ve confidently whipped up a double batch of pancakes only to realise I had tossed my good baking powder and kept the expired one. We don’t want that! It’s very easy to test and will make all the difference in getting your pancakes nice and fluffy!
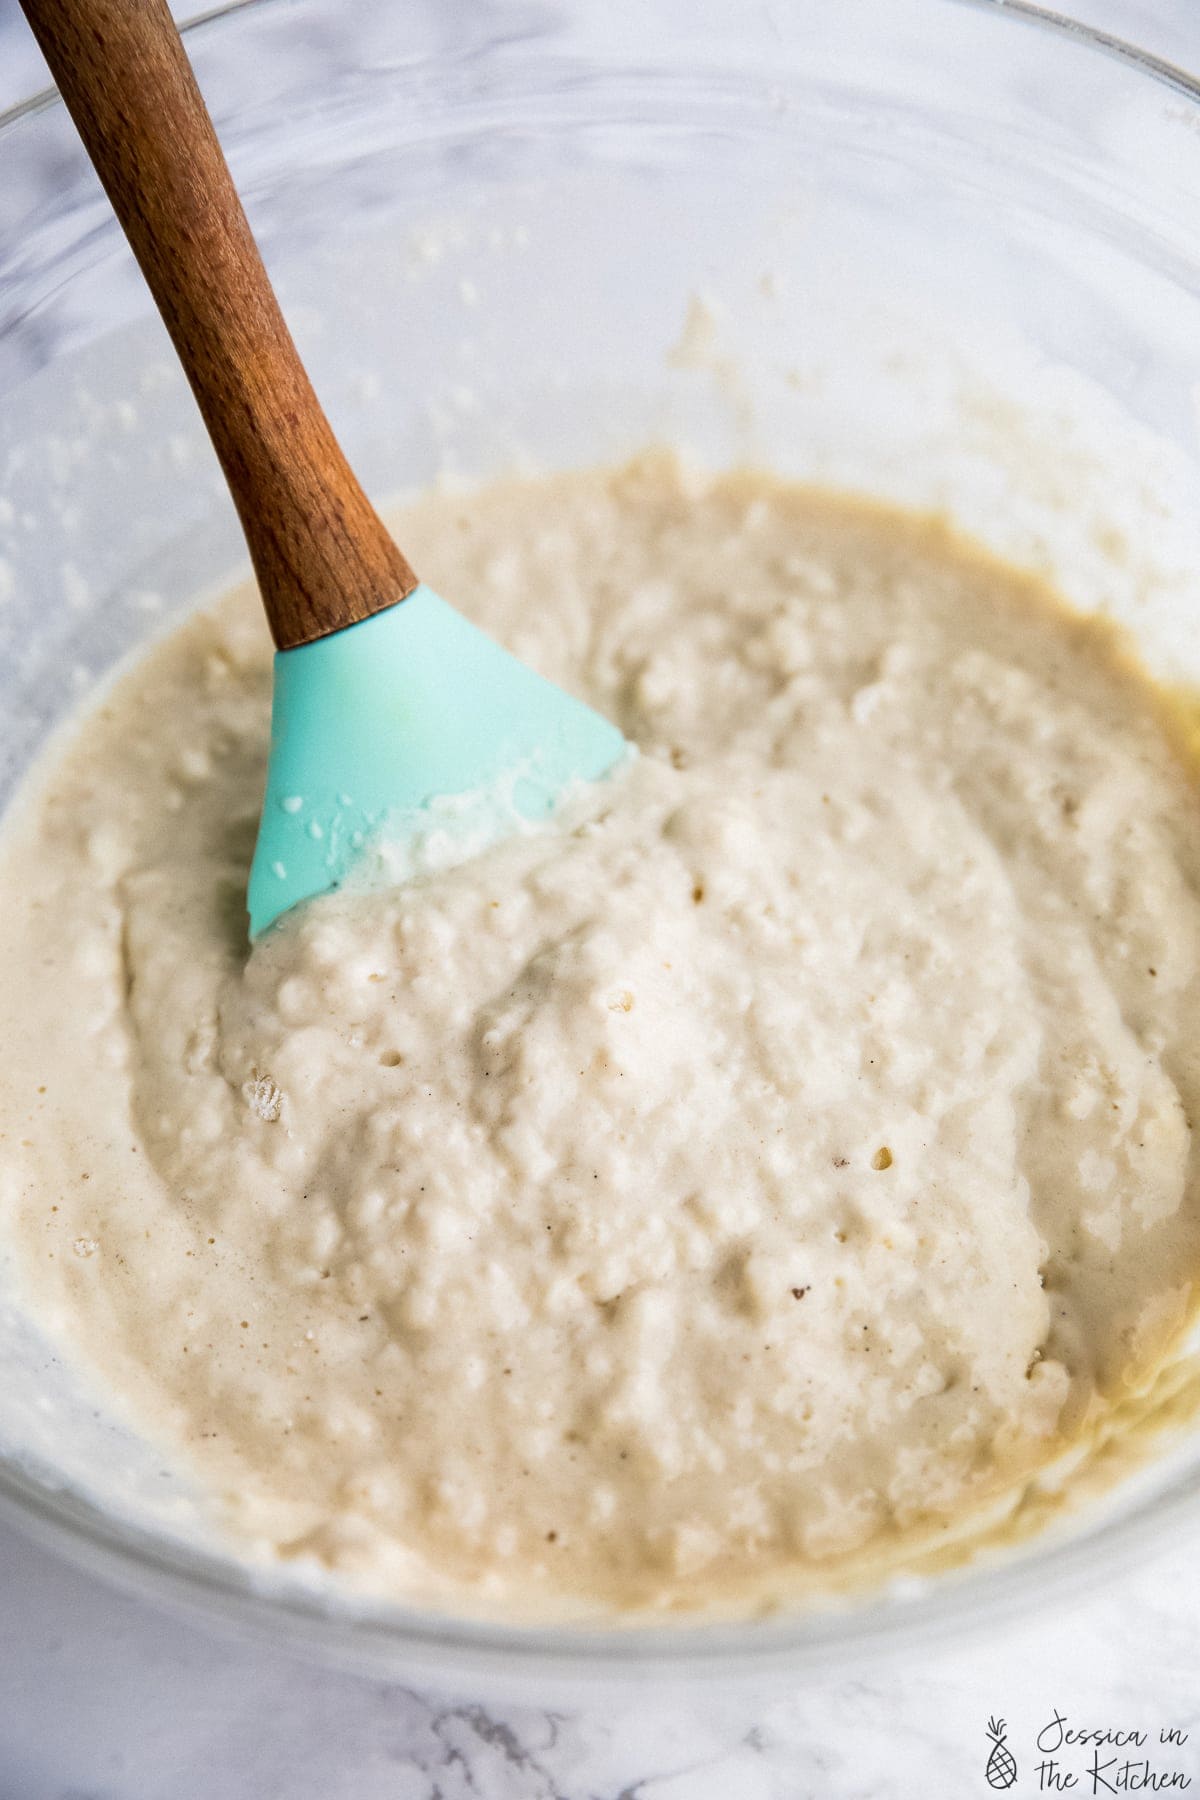
- Don’t overmix your batter. Like, seriously. Lumpy waffle batter is key for light and fluffy waffles, so ensure that it looks similar to the photos above.
- Sifting your ingredients really helps with the fluffiness. If you don’t have a strainer, sieve or sifter, that’s okay, you can still make the recipe. I do recommend it, however.
- While waffles aren’t as precise as baking a cake, I would still recommend weighing out your ingredients. It ensures the perfect consistency of the batter.
- Ensure all your wet ingredients are room temperature. Cold soy milk doesn’t mix very well, so I always pull a new container (I usually make several batches of waffles at a time) OR I take my bottle from the fridge, pour out what I need and warm it up in the microwave so it’s room temperature. If you’re planning ahead, you can always just leave it on your counter until it is room temperature.
- Always lightly grease your waffle iron. The oil in the batter is for crispiness but also helps with them not sticking to the waffle iron.
- ALWAYS let the steam from your waffle iron dissipate before you open the waffle iron. If there’s steam, it’s still cooking!!
- Freeze your vegan waffles so they last! I recommend flash freezing them, then heating them up in your toaster oven. They remain just as light and fluffy.
 Related Recipes
- Lemon Poppyseed Waffles
- Vegan Waffles
- Orange Cranberry Waffles
- Banana Bread Waffles
- Mac and Cheese Waffles
- Jalapeño Cornbread Waffles
- Vegan Pumpkin Waffles
- PB and J Waffles
- Vegan Pancakes
- Top them with Blueberry Sauce
Enjoy friends! If you make this post about these Buttermilk Vegan Waffles, please snap a photo and tag #jessicainthekitchen on Instagram! We’d also love it if you would leave a comment below, and give the recipe a rating! Thanks so much!
Vegan Waffles (Fluffy and Crispy)
Ingredients
- 1 ½ cups unsweetened soy milk, (360mL) or coconut milk or any vegan milk
- 2 teaspoons apple cider vinegar, (10mL) or lemon juice
- 2 cups all-purpose flour, (240g)
- 1 tablespoon baking powder, (14.4g)
- ½ teaspoon sea salt, (2.8g)
- 1 tablespoon brown sugar, (12.5g) or maple syrup. Add up to 3 tablespoons for sweet waffles
- ¼ cup melted coconut oil, (60mL) or melted vegan butter or any oil
- ½ teaspoon vanilla extract, (2.1g)
- fruits to serve or a dollop of vegan whipped cream
Instructions
- Mix the milk and the lemon juice or ACV together in a small bowl/measuring cup. Set aside for about 5 minutes – this will make the vegan buttermilk.
- In a large bowl, sift the flour, baking powder and salt. The sifting really helps to make the waffles fluffy.
- Add the sugar, melted butter/oil, vanilla extract, and buttermilk mixture into the dry ingredients and using a spatula, gently mix the batter until JUST combined. It's okay (and normal) to have some lumps. The batter should be thick and scoopable.
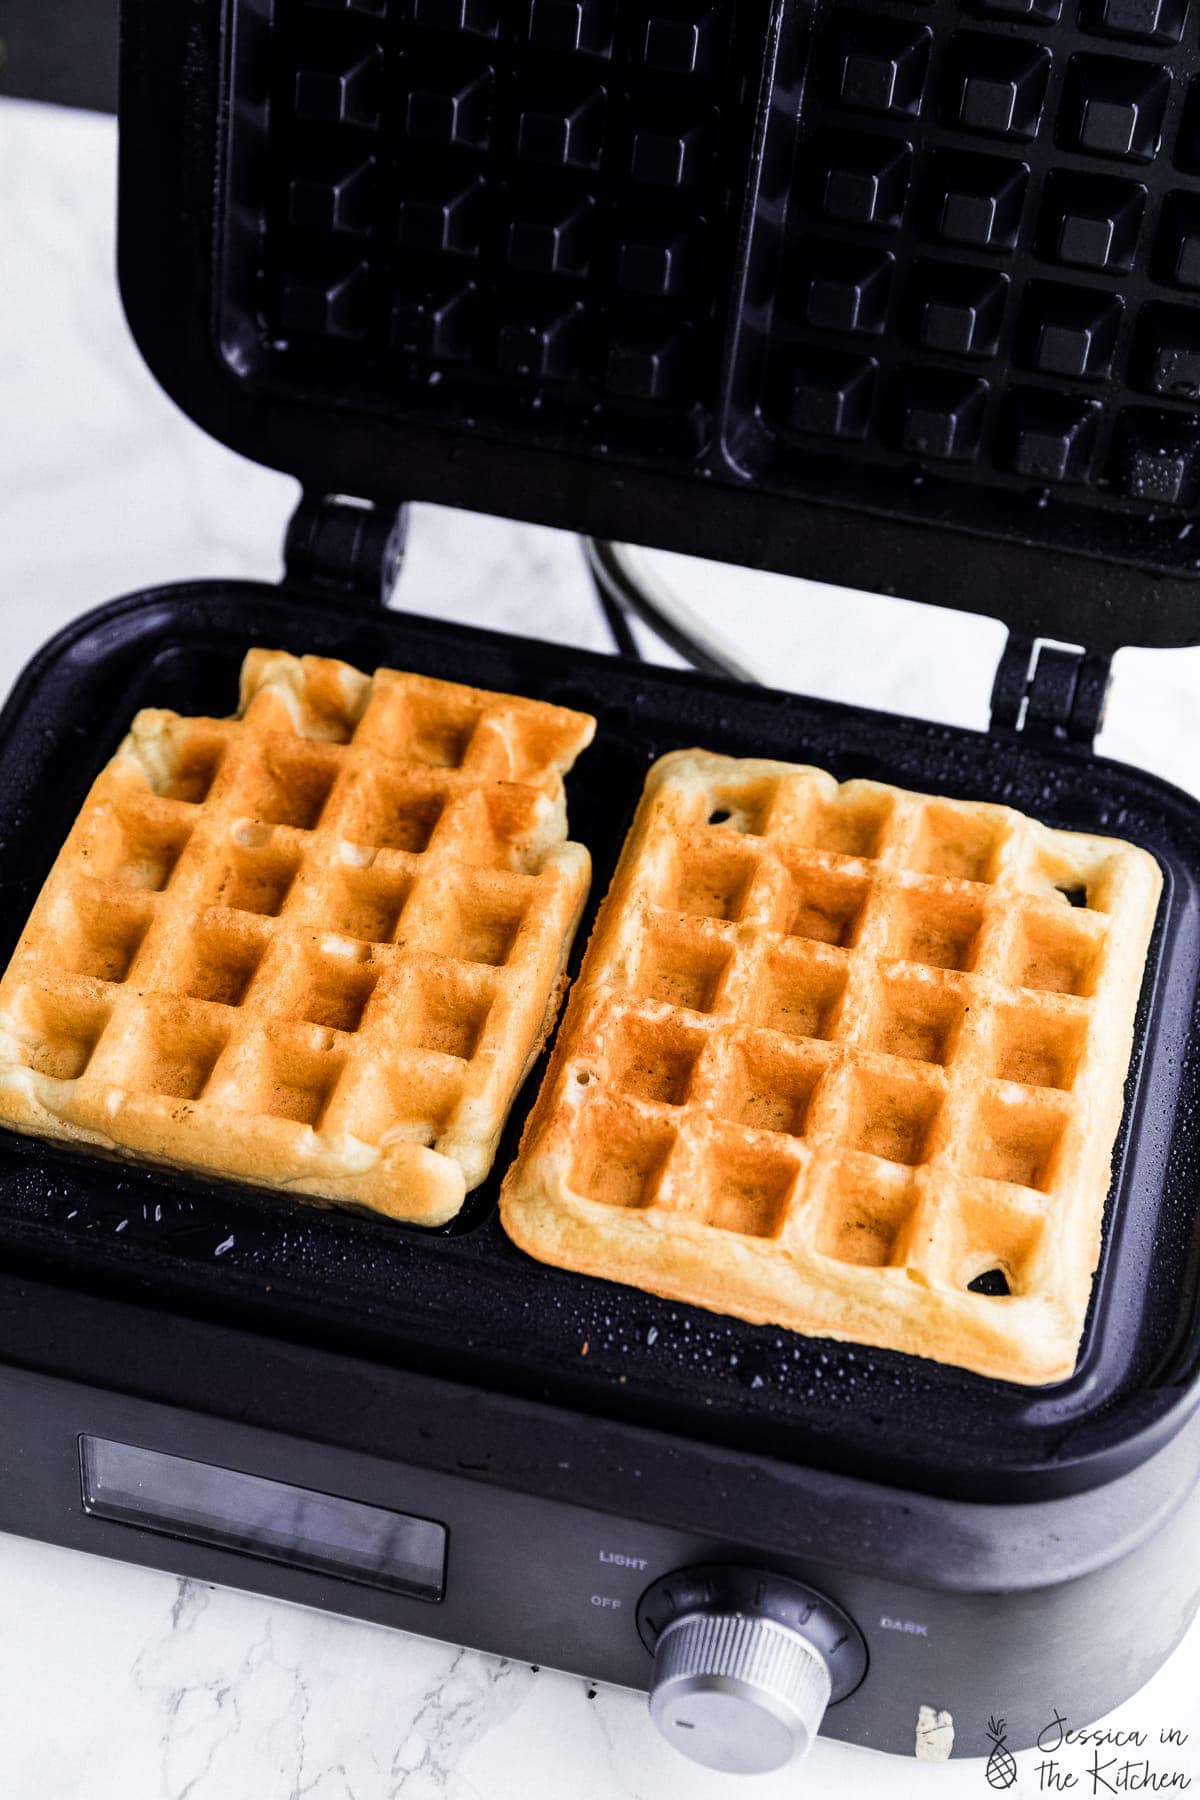
- Turn on and preheat your waffle maker according to which done level that you want. Do this after mixing your batter to give your batter some time to rest while it heats up. I set mine to about medium because I like mine crisp and golden but also very fluffy.
- Using a ½ cup (120mL) measuring cup, scoop out some batter and pour/spread into the middle of the greased waffle maker. You don’t need to push it to the edges. Close and let cook until the steam has COMPLETELY stopped from the waffle maker. Don't open it before the steam is finished!
- Remove each waffle and place on a baking sheet in your oven or toaster oven on "warm" or 200°F/95°C to keep warm and crispy until finished with the entire batter. Continue with the rest of the batter.
- Serve with your favourite toppings like blueberry sauce and enjoy!
Notes
Expert Tips & FAQ
When made properly, homemade vegan waffles taste like they’re fresh from your favourite diner or breakfast spot. Here are some of my top tips:- Test to ensure that your baking powder is still active. Let’s just say I’ve confidently whipped up a double batch of pancakes only to realise I had tossed my good baking powder and kept the expired one. We don’t want that! It’s very easy to test and will make all the difference in getting your pancakes nice and fluffy!
- Don’t overmix your batter. Like, seriously. Lumpy waffle batter is key for light and fluffy waffles, so ensure that it looks similar to the photos above.
- Sifting your ingredients really helps with the fluffiness. If you don’t have a strainer, sieve or sifter, that’s okay, you can still make the recipe. I do recommend it, however.
- While waffles aren’t as precise as baking a cake, I would still recommend weighing out your ingredients. It ensures the perfect consistency of the batter.
- Ensure all your wet ingredients are room temperature. Cold soy milk doesn’t mix very well, so I always pull a new container (I usually make several batches of waffles at a time) OR I take my bottle from the fridge, pour out what I need and warm it up in the microwave so it’s room temperature. If you’re planning ahead, you can always just leave it on your counter until it is room temperature.
- Always lightly grease your waffle iron. The oil in the batter is for crispiness but also helps with them not sticking to the waffle iron.
- ALWAYS let the steam from your waffle iron dissipate before you open the waffle iron. If there’s steam, it’s still cooking!!
- Freeze your vegan waffles so they last! I recommend flash freezing them, then heating them up in your toaster oven. They remain just as light and fluffy.
Disclaimer: Although jessicainthekitchen.com attempts to provide accurate nutritional information, kindly note that these are only estimates. Nutritional information may be affected based on the product type, the brand that was purchased, and in other unforeseeable ways. Jessicainthekitchen.com will not be held liable for any loss or damage resulting for your reliance on nutritional information. If you need to follow a specific caloric regimen, please consult your doctor first.


Just love your vegan waffle recipe. Have been vegan going on four years and it’s the best recipe of all
This is AMAZING! Best waffles I’ve ever had! Thank you soooo much for sharing this recipe
These are PERFECTION
When Jessica says fluffy, she means fluffy! These are PERFECTION. Highly recommend sifting the flour – I honestly think that’s key. These are so, so good and freeze great, too!!
This recipe was amazing. I’ve tried making eggless waffles before and failed miserably. My waffles would always stick to the waffle maker. This time I followed the recipe almost exactly and halved it. The only thing I changed was that I added a couple of tablespoons of water to the batter since I felt it was too thick. The waffles came out beautifully and my kids gave a big thumbs up. Thank you so much.
I tried this recipe this morning and my husband and I really liked it! I added some cinnamon and some pecans and they were yummy. I can’t wait to make them for our granddaughters the next time they spend the night. Thank you for this recipe!
How much lemon juice?
Hi Janna, it’s lemon juice or apple cider vinegar – 2 teaspoons. Enjoy!
This is my first comment on a recipe I’ve found online! I’m motivated to do so, because these waffles work perfectly and have become a staple in my house. The flash freezing is ideal for an easy treat breakfast or snack – the waffles are just as good toasted straight from the freezer. I made a couple of changes owing to the ingredients I had to hand the first time, and I’ve stuck to them, as it works so well. I use olive oil instead of coconut oil/melted vegan butter and I simply replaced the all purpose flower and baking flour with self raising flour (readily available in the UK). I have a stove top waffle pan which doesn’t require greasing. Thank you so much for this recipe and careful method – these waffles bring joy to our family on a regular basis!!!!
I used a gluten free all-purpose flour, Earth Balance buttery sticks & maple syrup. The batter was more like dough. It looked way thicker than the picture. I added more oatmilk until it resembled more of a scoopable batter. I scooped about 3/4 cup of batter into the waffle maker, spread it out a bit & added another small scoop. Within about 3 to 4 minutes, the steam subsided & the waffle was nicely browned with a crispy outside & tender inside. I warmed frozen blueberries with maple syrup on the stove with leftover melted buttery stick residue & poured it on top of the waffle. I haven’t made waffles in over 10 years & this was my first time making vegan waffles. This recipe is a true winner! Next time, I’ll add a full cup of batter to the waffle maker & will try using glutinous all-purpose flour to see if that makes a difference in the consistency of the batter. Thanks for sharing this recipe!
Believe the hype. My daughter and I made these together and they are absolutely perfect. Very crispy outside and very tender inside. We followed the recipe closely as we could, using melted vegan block butter and subbing in 40g cake flour because I ran out of AP. We have a Belgian style maker and the recipe made three full size waffles. They are also still delicious and crispy after freezing and reheating in oven. Thank you so much. This is my forever waffle recipe and I can’t wait to check out your other recipes.