How to Make Oat Milk Recipe
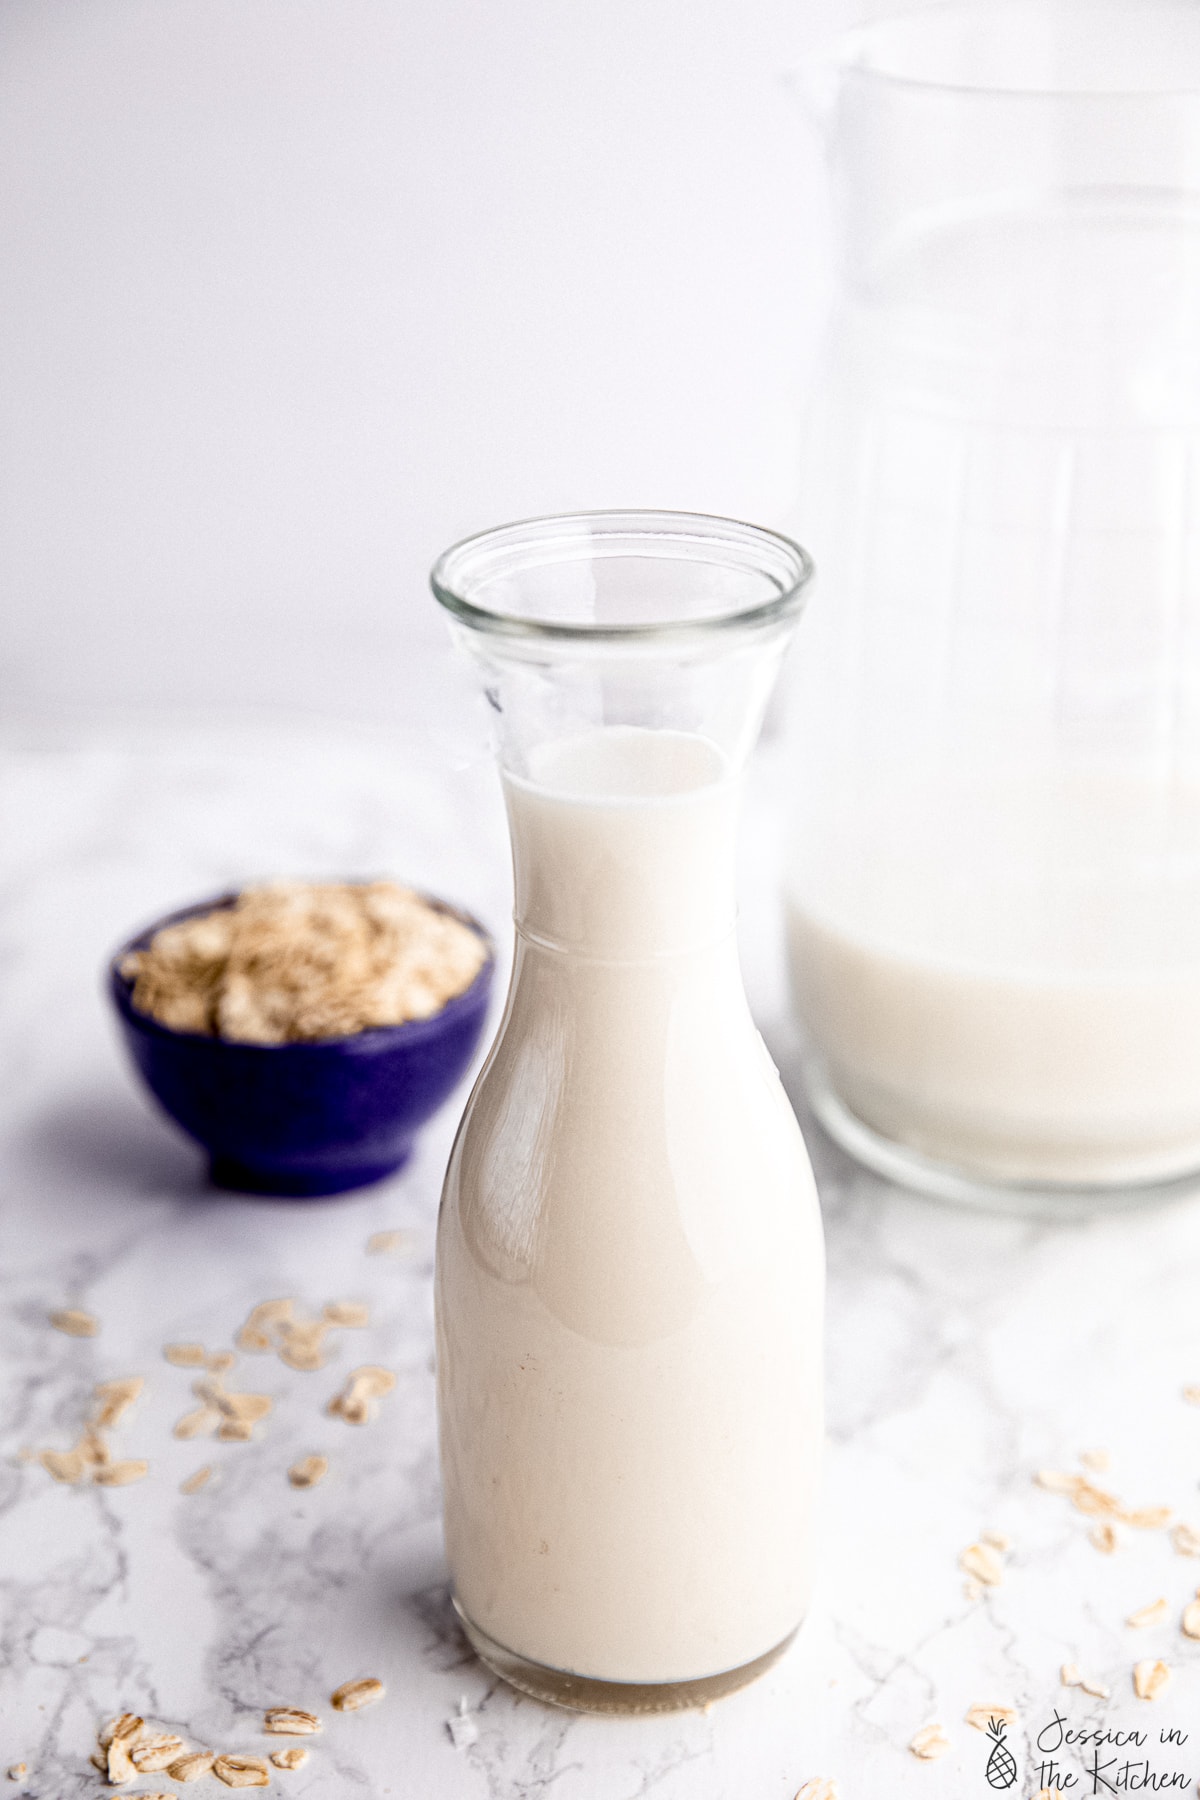
This easy oat milk recipe will show you how to make oat milk at home for a fraction of the cost of store-bought. Rich, creamy, delicious and perfect for using in all kinds of recipes!

After a few tries, I realised that making oat milk at home wasn’t exactly like making cashew milk or almond milk. On the surface, it seems easy: oat milk is made by blending oats with filtered water. But there’s a catch: it can have slimy mouthfeel if it’s not made properly.
Good thing for you, I’ve taken the guesswork out of how to make oat milk because I’ve tested this recipe again and again… and again and again. I wanted it PERFECT and I think I’ve worked out all the kinks to come up with a recipe for oat milk that’s delicious and creamy (not slimy!). I can’t wait to hear what you think!
Why You’ll Love This Oat Milk Recipe
- Mild flavour. Oat milk tastes kind of like oats, and also like the flavouring you give it (like vanilla extract). It has a lovely mild flavour, similar to oatmeal.
- A great choice for cooking and baking. The mild flavour makes oat milk excellent for using in recipes. I’ve used it to make a single mug macaroni (yes, my love for mug recipes is off the chart), and in banana bread and I didn’t taste any distinct oat flavour.
- Easy to make. With the right technique and just a few pantry staples, you can make your own oat milk at home, simple as that!

Notes on Ingredients
Scroll down to the recipe card to find the ingredient quantities and recipe instructions.
- Filtered cold water – The water should be quite cold—ice cold is best.
- Old fashioned oats – Also known as rolled oats. Be sure to buy gluten-free certified oats if you want your homemade oat milk to be gluten-free.
- Sea salt
- Maple syrup – You can adjust the amount to your preferences. Date syrup is another sweetener option.
- Vanilla extract – Skip this if you plan on using your oat milk for savoury recipes, but it’s a nice flavour enhancer if you’ll be drinking it straight, using it for cereal, etc.

How to Make Oat Milk
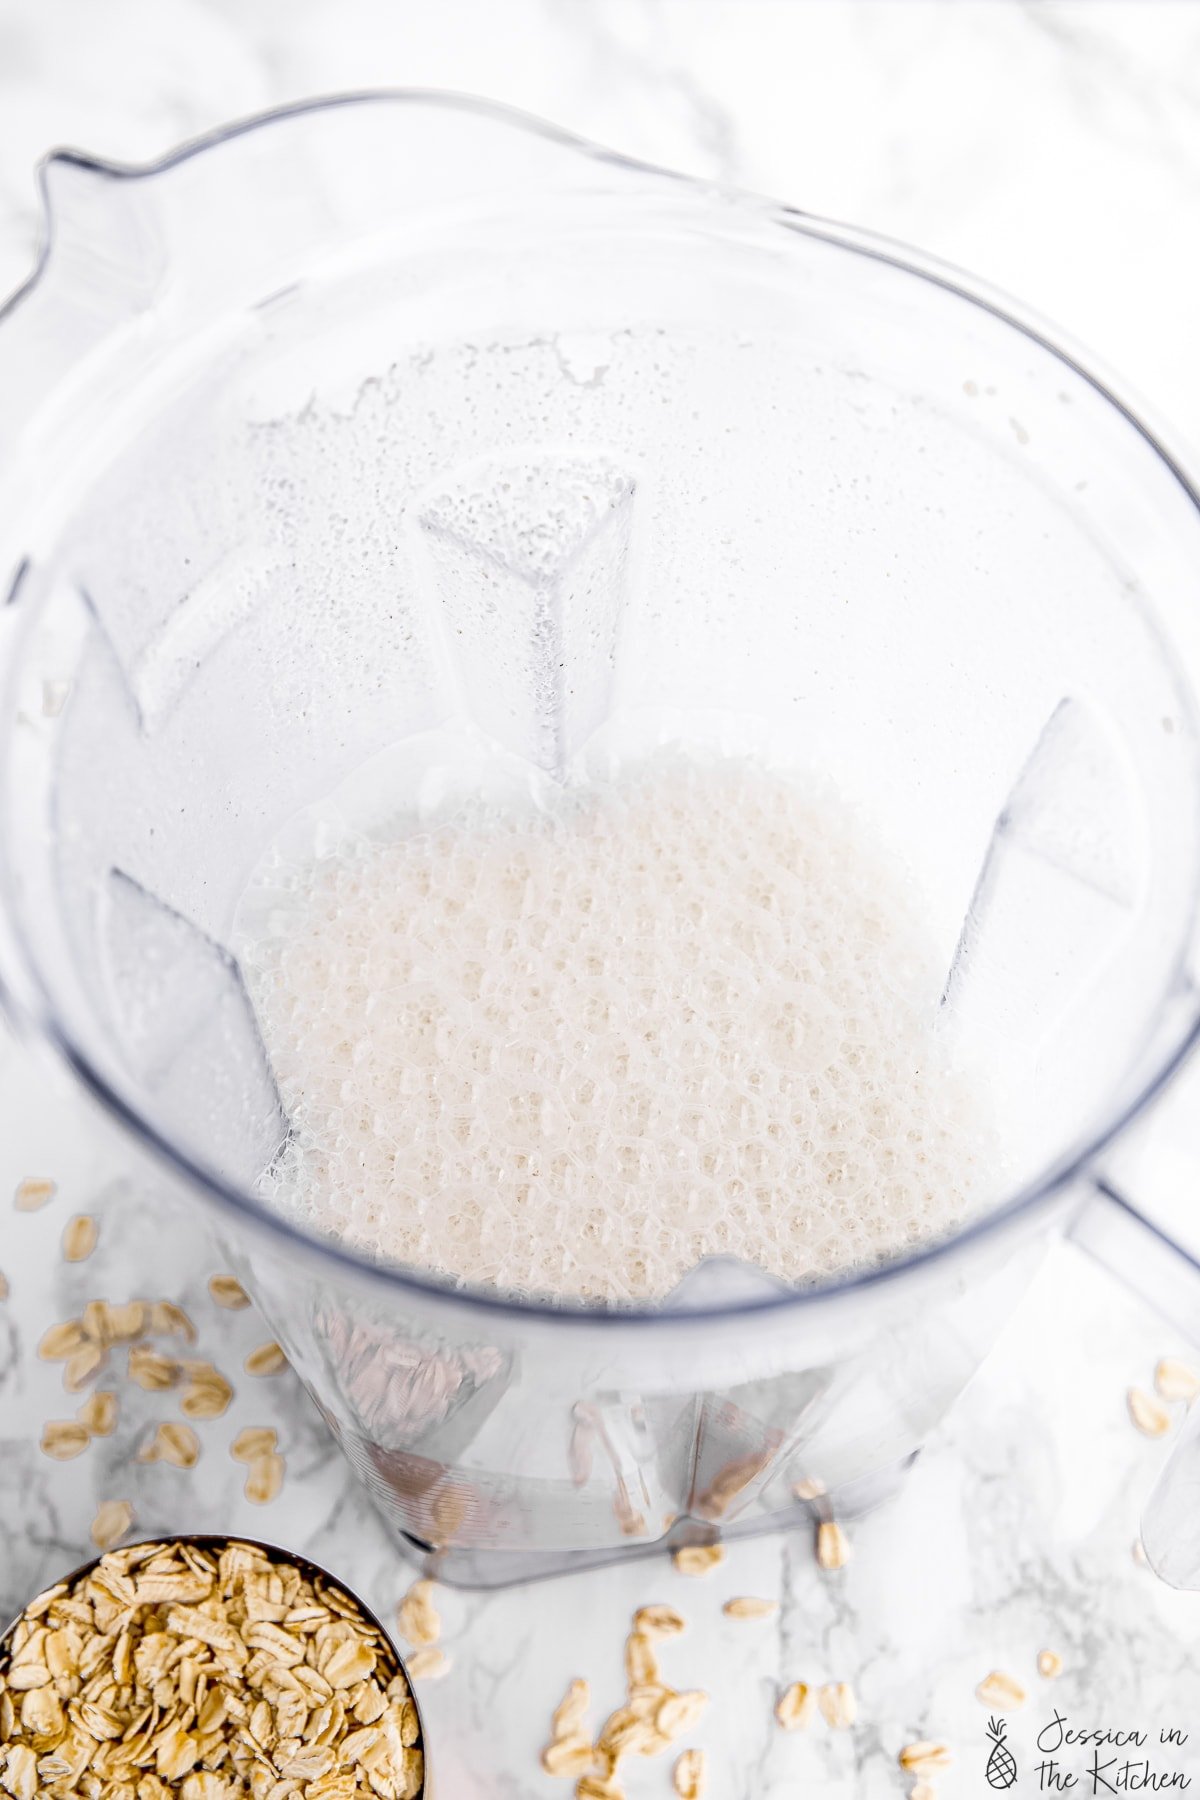
- Blend. Combine the cold water, oats, salt, and maple syrup in a blender. Blend for 30 seconds.
- Strain. Pour the oat milk through a fine mesh strainer into a bowl. Press the pulp with a wooden spoon to extract as much liquid as possible.
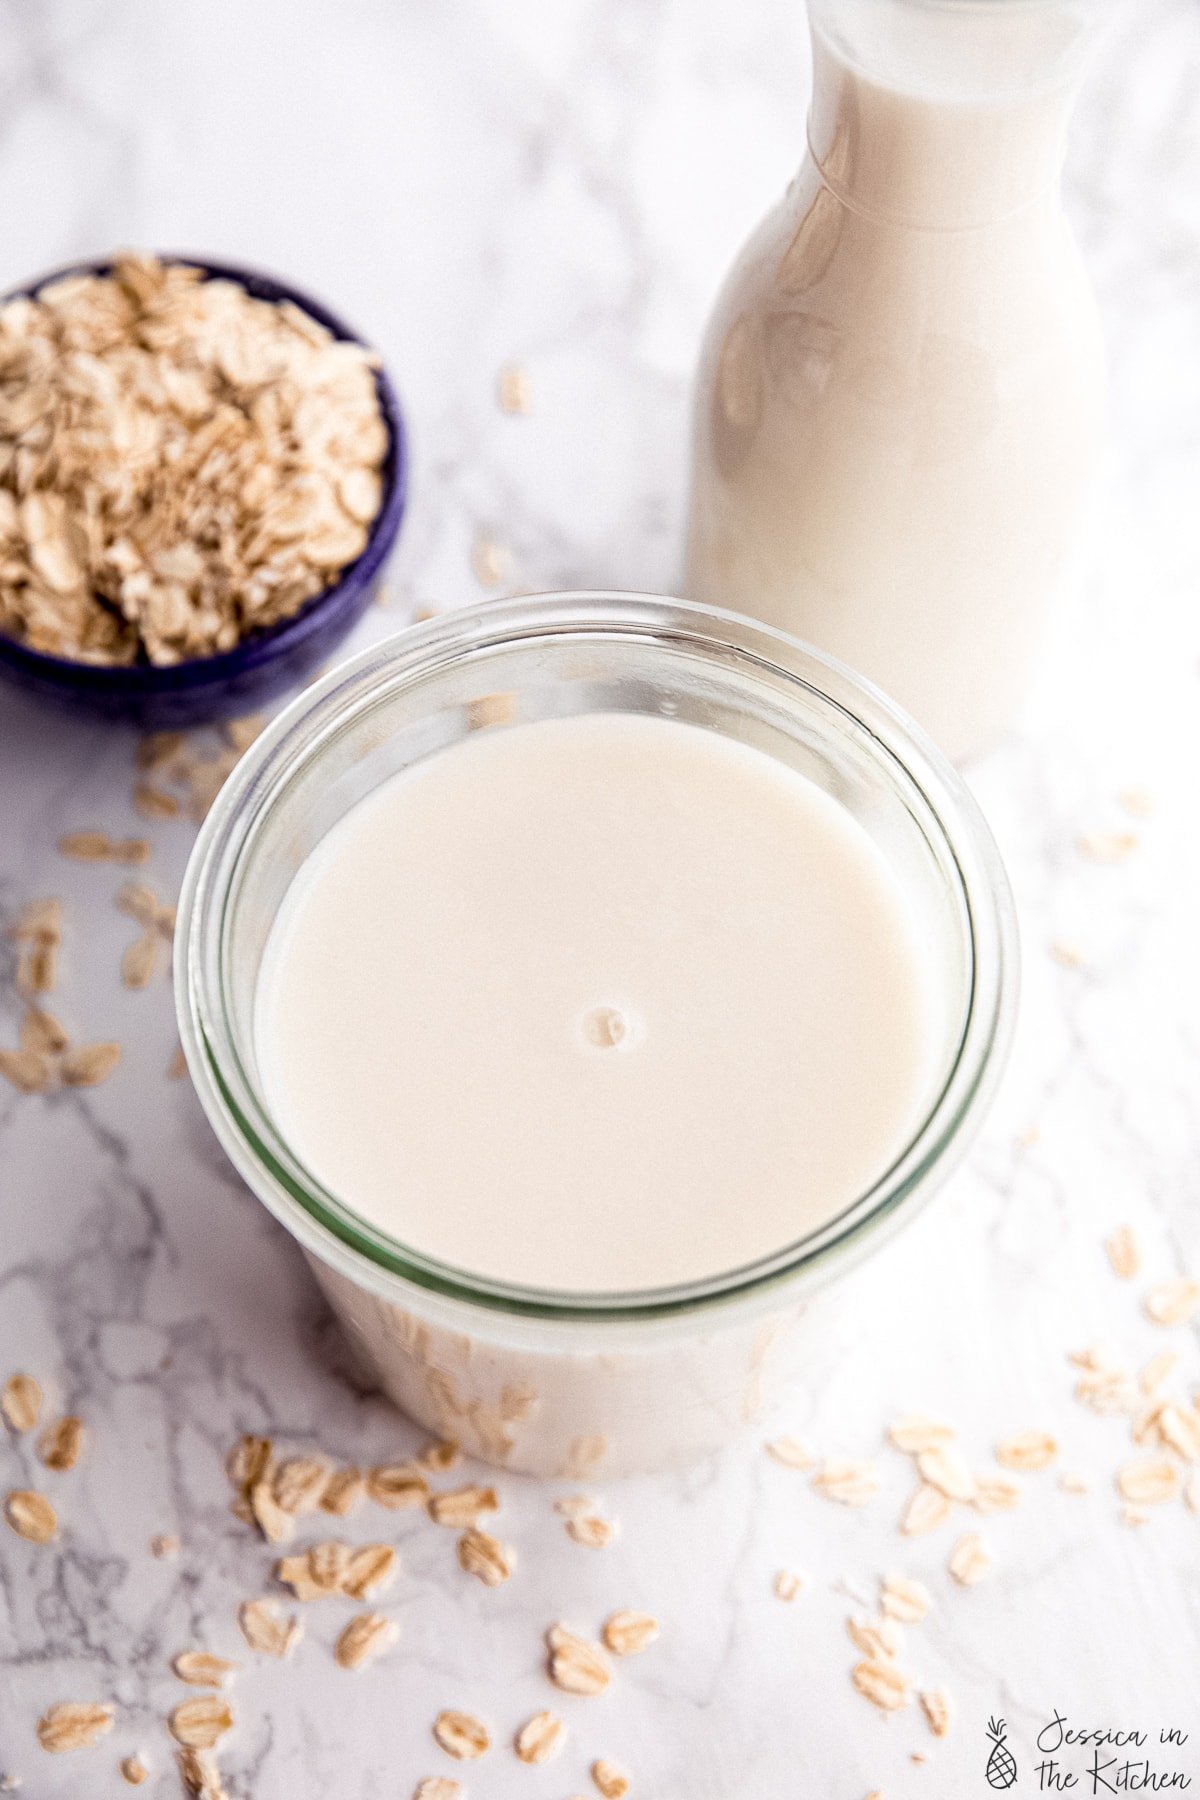
- Add more water. Transfer the oat milk to a glass bottle or jar. Stir in the extra cup of water, then use or refrigerate for later.
Tips for Success
- Make sure the water is super cold. Here’s the number one tip for not making oat milk slimy: use very cold water. We don’t want to heat up the oats! I add ice to water, let it sit for 10 minutes, then remove the ice and measure out 3 cups of water.
- Don’t soak your oats before. I tested this and it definitely contributed to that undesirable slimy consistency. It’s best to start with dry oats for this oat milk recipe.
- Use a high-speed blender. This part is kind of non-negotiable because you need a machine that’ll blitz the oats quickly, so they aren’t blending for too long. (This, again, helps prevent the sliminess.)
- Limit the blending time. You want to blend for as little time as possible. I blitz the mixture for about 30 seconds. After testing it several times I found that this was the best method.
- Save the pulp. You can discard the pulp or use it in smoothies, cookies, or other baked goods.

How to Use Homemade Oat Milk
Anything cold? Perfect. Hot recipes? Let’s get into that.
When homemade oat milk gets heated up in certain recipes, it’ll get slightly slimy. So if you’re making a hot breakfast beverage, for example, it wouldn’t be the best option. I do find that where the milk is just an ingredient in a recipe that’ll be cooked or baked, it works perfectly. So, I would say make it and test it to see where it works for you.
These are some of my favourite recipes to use this in:
How to Store
You can store this homemade oat milk recipe in an airtight container in the refrigerator for up to 6 days; shake it well before using it. You can also freeze it for up to 3 months and thaw it in the fridge before using.

Oat Milk Recipe
Ingredients
- 3 cups filtered very cold water, almost ice cold
- 1 cup old fashioned oats, or rolled oats
- pinch sea salt
- 1 tablespoon of maple syrup, or two tablespoons if you want it sweet
- 1/2 teaspoon vanilla extract
- 1 cup of cold water, this is extra water
Instructions
- Add the 3 cups of water, oats, sea salt and sweeteners into a high-speed blender and blend for 30 seconds until oats are blended completely. Don’t blend too long because you don’t want it to heat up the oat milk.
- Pour the oat milk into a fine mesh strainer over your jug or large-mouthed bowl and let it drain through. You may need to lightly press on the mixture with a spoon to get it through the pulp and into the bowl. You can discard the pulp or use it in smoothies, cookies or other baked goods.
- Transfer the oat milk back to the glass bottle or jar. Now, add in your extra cup of water, stir to combine and store in the fridge! Shake before use and enjoy! It lasts about 6 days in the fridge.
Notes
Disclaimer: Although jessicainthekitchen.com attempts to provide accurate nutritional information, kindly note that these are only estimates. Nutritional information may be affected based on the product type, the brand that was purchased, and in other unforeseeable ways. Jessicainthekitchen.com will not be held liable for any loss or damage resulting for your reliance on nutritional information. If you need to follow a specific caloric regimen, please consult your doctor first.


I have been making all my own plant based milk for two years in the “Almond Cow” which I love and have down to a science. I have been trying to make am acceptable “Oatmilk” for the same to years. I absolutely love the full fat “Oatley” oat milk which froths and is the perfect solution for a coffee creamer. Every time I make oatmilk I actually end up throwing it out, because it really doesn’t taste that good compaired to all my homemade nutmilks and it doesn’t froth or make a good coffee creamer. I am going to give it another shot using your recipe and appreciate you sharing it with us. Thank you, Mary Beth
Thanks so much for giving ours a try Mary Beth! We really hope you like it!! We tried multiple ways of making it and this way is our favorite!
Just made this. Amazing! Tastes better than any shop bought and a fraction of the price!
I’m delighted, thank you for sharing!
Thank you so much Amanda! We appreciate you coming over here to leave such a nice review!
Delicious recipe and extremely helpful tips for making oat milk at home! Thank you!
We’re so happy that you enjoyed this recipe Alicia! Thank you so much for reading and leaving such a nice comment!
I was just wondering if there’s any way I can use this in my coffee? Love your recipes 🙂
Hi Jasmine this recipe doesn’t seem to hold up extremely well with really hot beverages. It would work perfectly with an iced coffee though! Thank you so much for reading and we’re so happy that you love our recipes!
I love that this is such an accessible recipe. I haven’t made nut milks yet because I don’t have a nut milk bag and haven’t planned ahead enough to pre soak nuts- plus nuts are expensive! This oat milk recipe was low effort and easy to master thanks to Jessica’s thoughtful testing to perfect the recipe ingredients and techniques. Such a low risk intro to making non-dairy milk- try it if you haven’t already!
We’re so happy that you enjoyed this recipe Kelsey! Thank you so much for reading and leaving such a nice comment!
This recipe was so easy and quick to make. It makes about 4 cups which is the perfect amount for 1 person to use in a week, good for 6 days once mixed. I doubled the vanilla because I’m using this mostly in coffee so it adds a great flavor to my coffee. The consistency is right in the middle, not too watery and not too thick. Perfect!!
This is great. I would love to see more recipes for using all your milk-making pulp. I make small batches of oat milk in my smoothie cup (I’m by myself). I grind the oats into flour first and then add the ice cold water and other ingredients. I also make a small amount of cashew milk/cream (no straining) and add that to the oat milk for a bit of fat and protein in the oat milk. Thanks so much for sharing all your great recipes!
Hi Noreen,
Thanks so much for sharing, so happy you enjoyed! Almond Cow actually has some amazing recipes for using up pulp by the way! Highly recommend checking out their website!
Just made this tonight and it was a hit with my kids, which is a very big deal! Wonderful, simple, with a very “clean” taste. Thanks, Jessica!