Pumpkin Granola Recipe
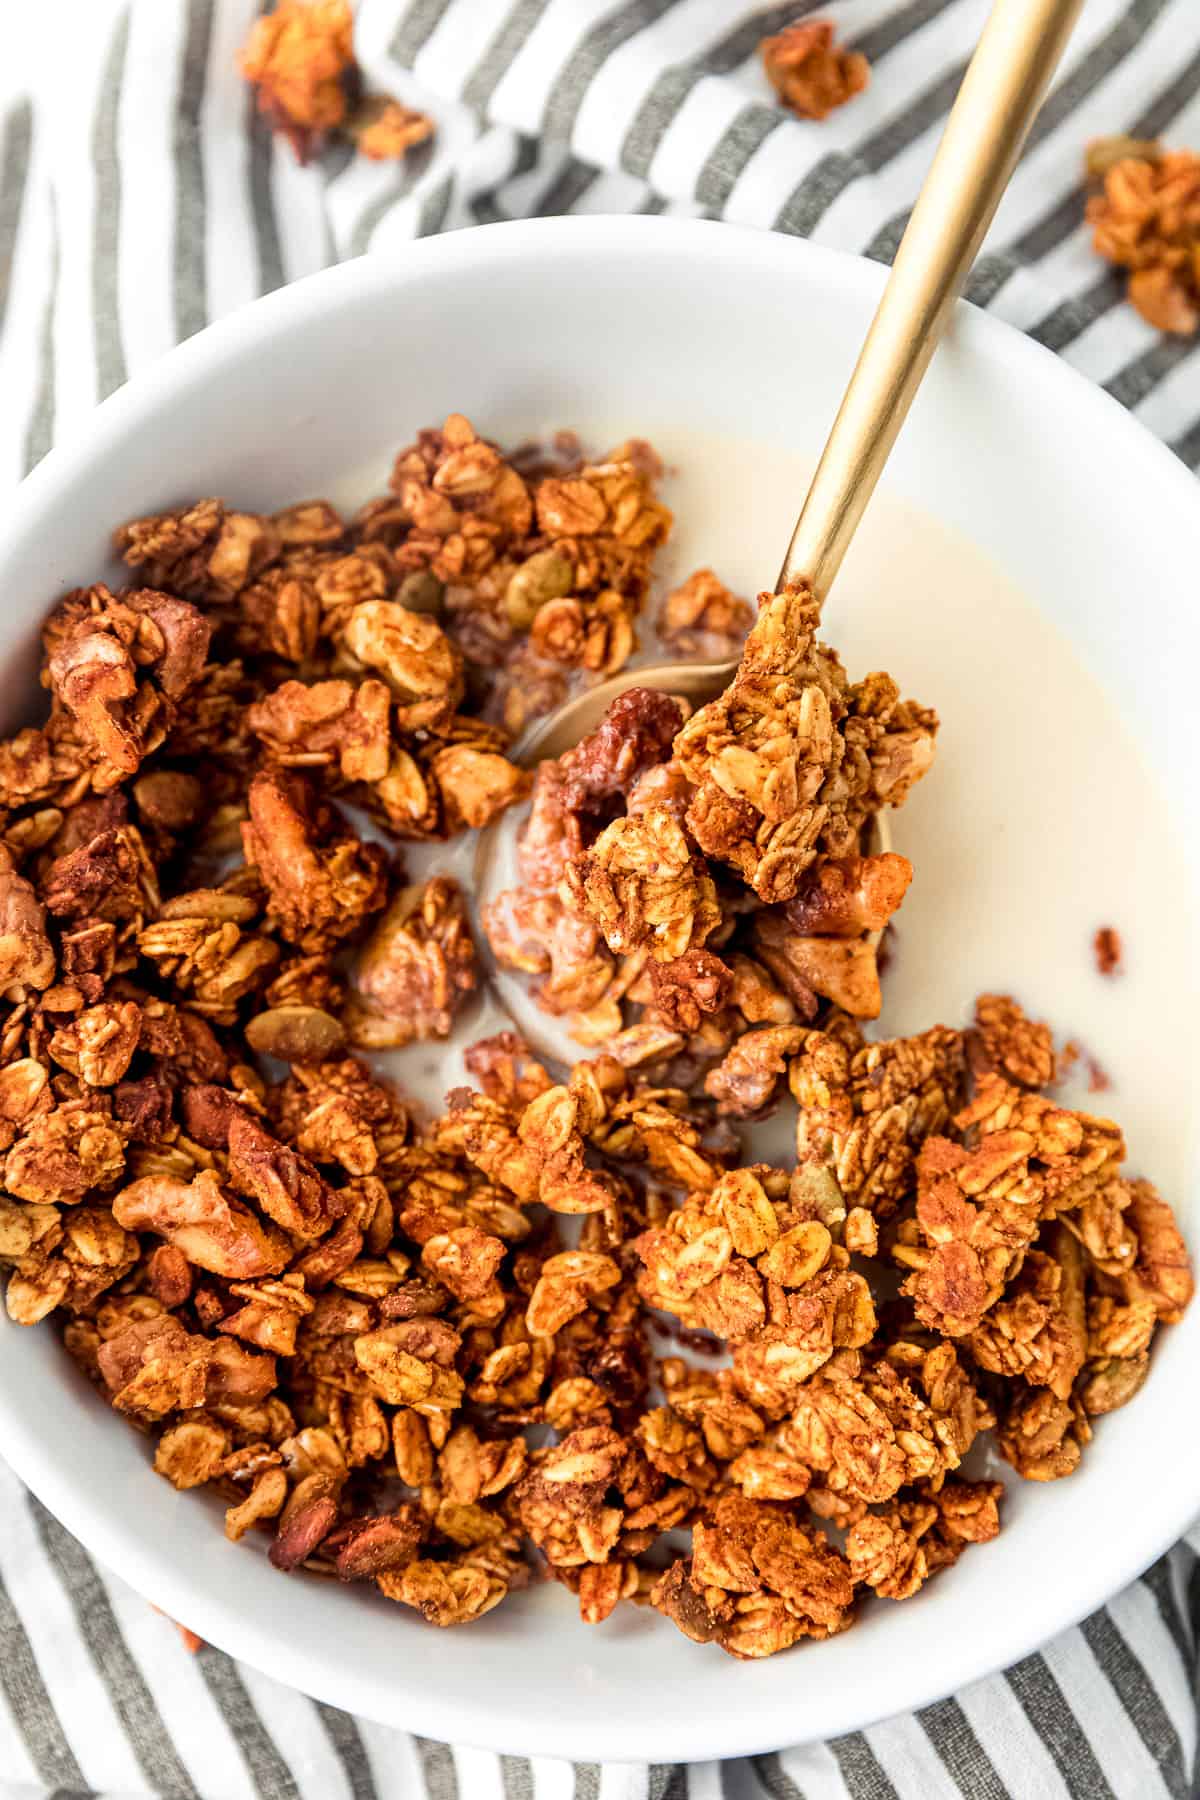
Prepped in just 10 minutes, this Pumpkin Granola will become a staple in your home! It’s made with 8 ingredients, and includes tips on how to make the best crunch and clumps, and lasts up to a month!
This post is sponsored by Bob’s Red Mill! Thanks for supporting the brands that support Jessica in the Kitchen! All thoughts and opinions are my own!
I’ve been making this pumpkin granola for years, and let me tell you, it only gets better each year. I swap some things out, increase some quantities and voila – here’s my best version yet!
When I make it, my entire home smells like a cafe (the kinds with a bakery inside) for a few hours. It’s like a natural fall candle. Then when it cools, you get to dive into a true five-star granola treat at home! I love that it’s also great for snacking on the go, including hiking or camping! I’m not much of a camper myself, but I can definitely see you reaching for a handful of this.
Looking for more pumpkin breakfast ideas? Try my pumpkin pancakes, pumpkin French toast, and pumpkin waffles!
Notes on the Ingredients
This recipe is made with just a handful of ingredients. Scroll down to the recipe card for measurements.
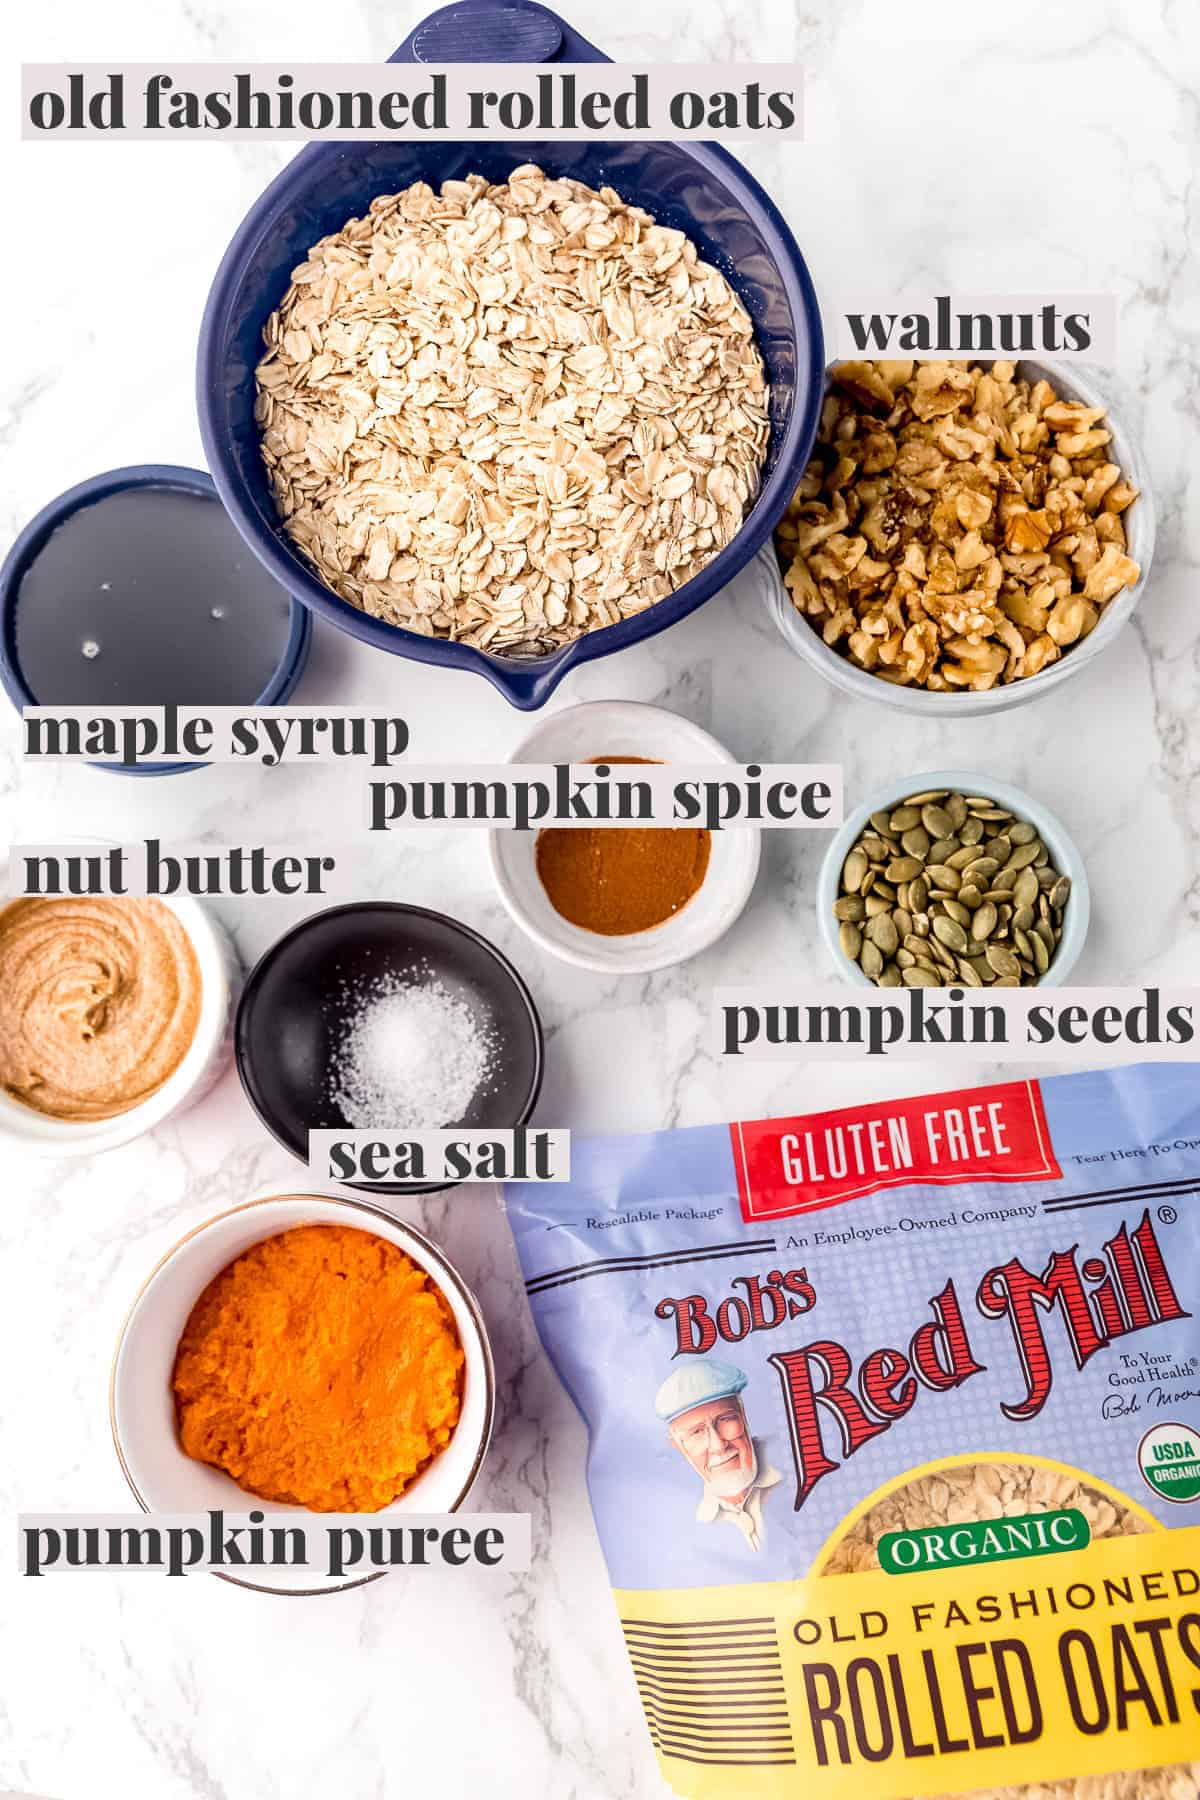
- Old fashioned oats: Old fashioned oats are necessary for the best texture of the pumpkin granola! My favourite brand to use is Bob’s Red Mill’s Gluten Free Old Fashioned Rolled Oats! It’s certified gluten-free, are high quality and are Non-GMO. They have a great texture and consistency and I love the size of the bags that it comes in! Definitely pick up several bags; you’ll love it!
- Pumpkin: This adds a delicious depth of flavour and actually helps to coat the granola, helping to prevent it from burning in the oven.
- Almond butter: You can also substitute any other nut butter or tahini – just ensure it’s a runny nut butter!
- Walnuts and pumpkin seeds: Ensure they’re unsalted and raw, and feel free to sub in any other nuts or seeds here too!
How to Make Pumpkin Granola
Here’s a quick overview of how to prepare this pumpkin granola recipe. Scroll down to the recipe card for detailed instructions.
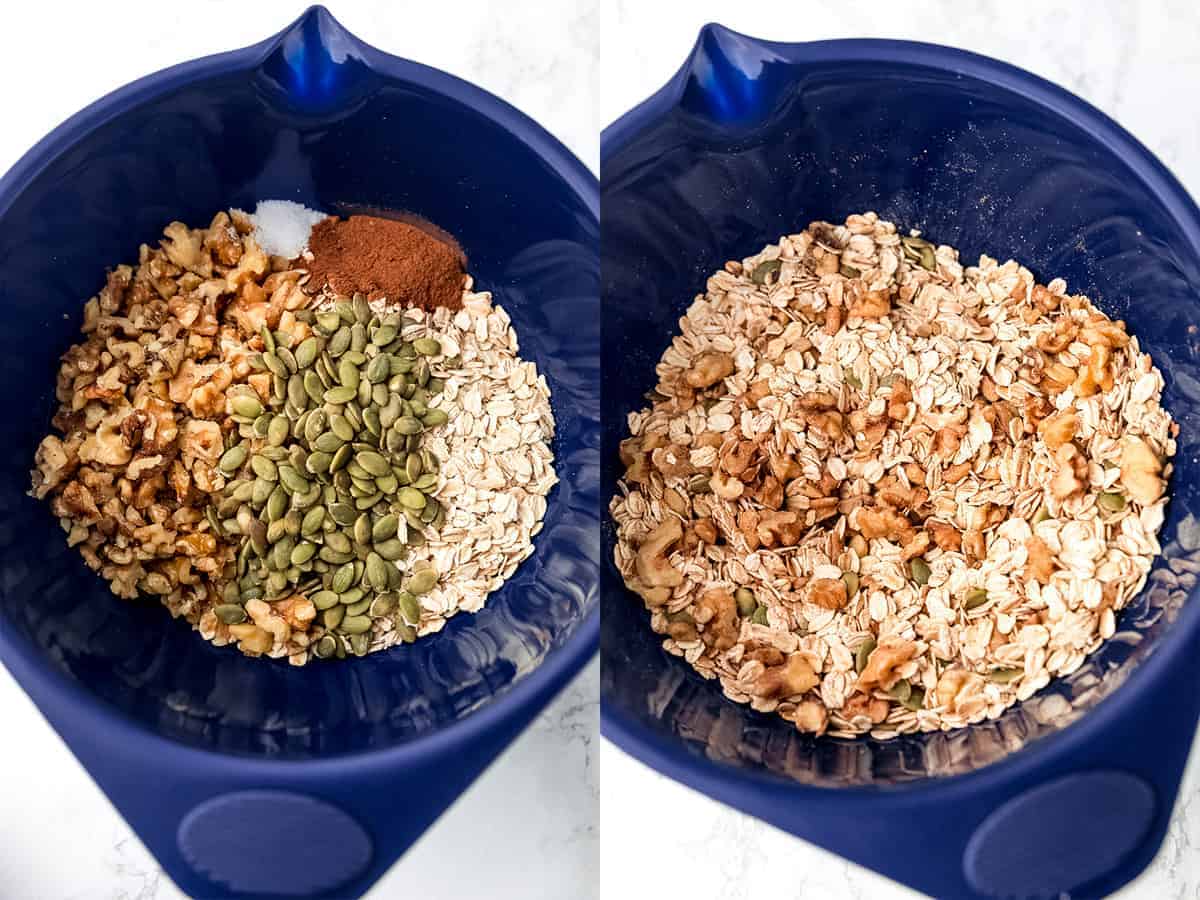
- Combine ingredients. First, add all the dry ingredients into a bowl. Stir them together.
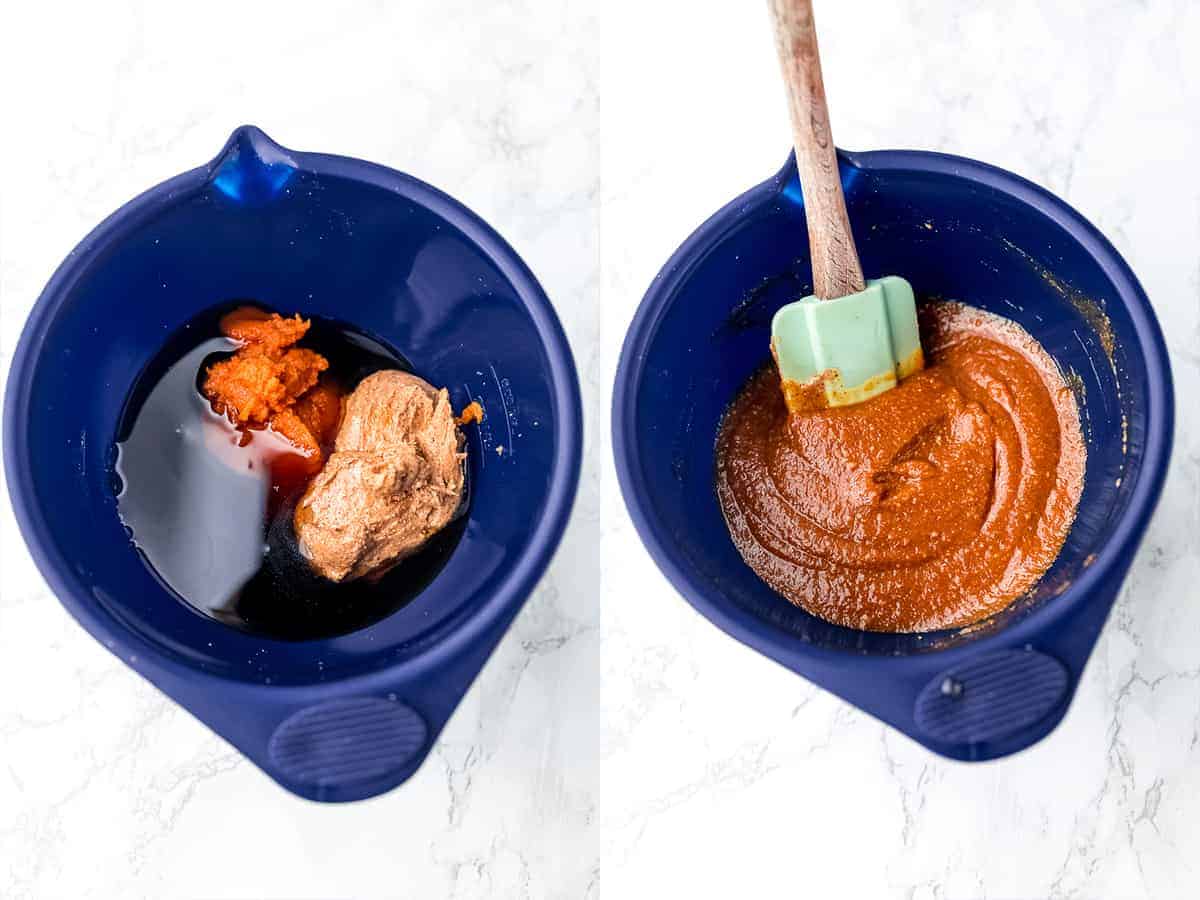
- Combine wet ingredients. Next, add all the wet ingredients into a separate small bowl. Vigorously stir them all together until smooth and combined.
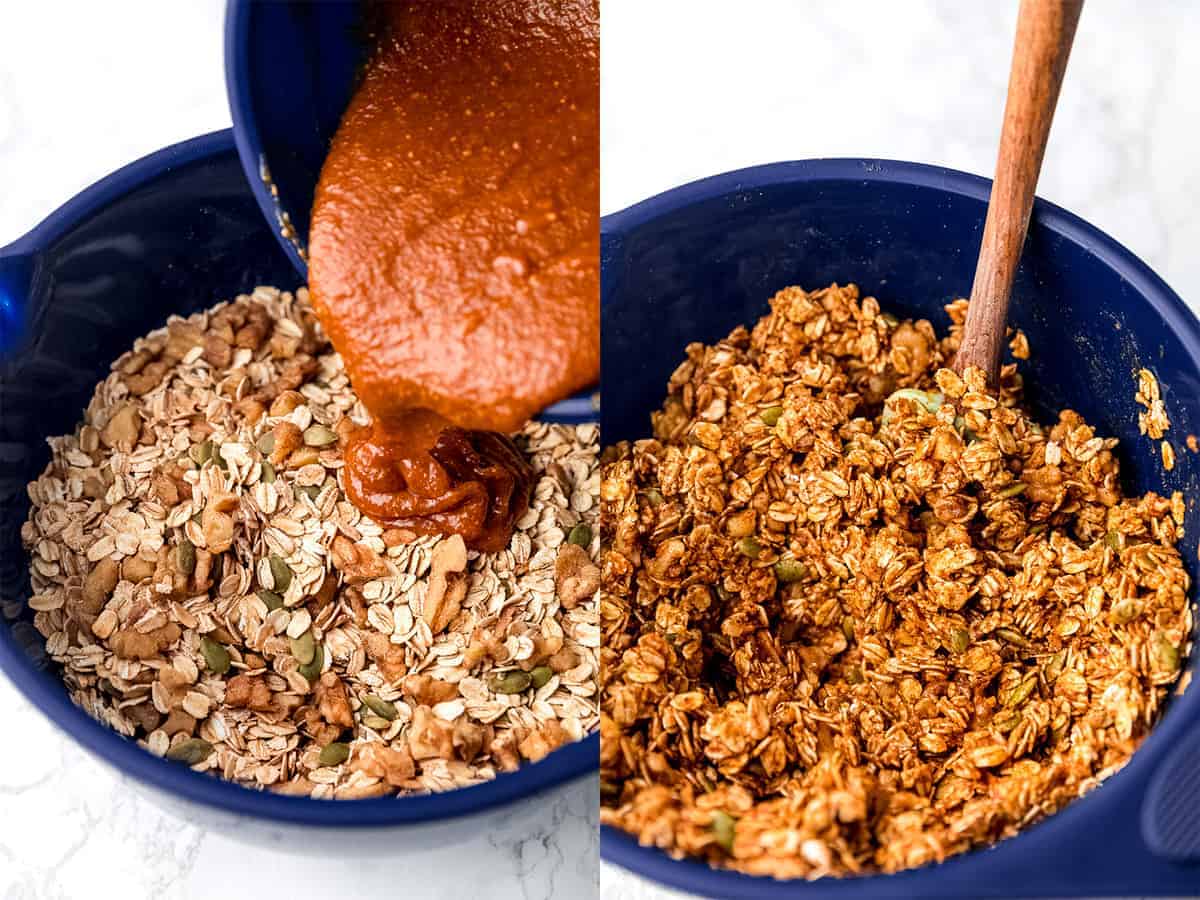
- Then pour the wet ingredients into the dry ingredients. Stir everything together with a spatula or wooden spoon until combined and coated. So easy!
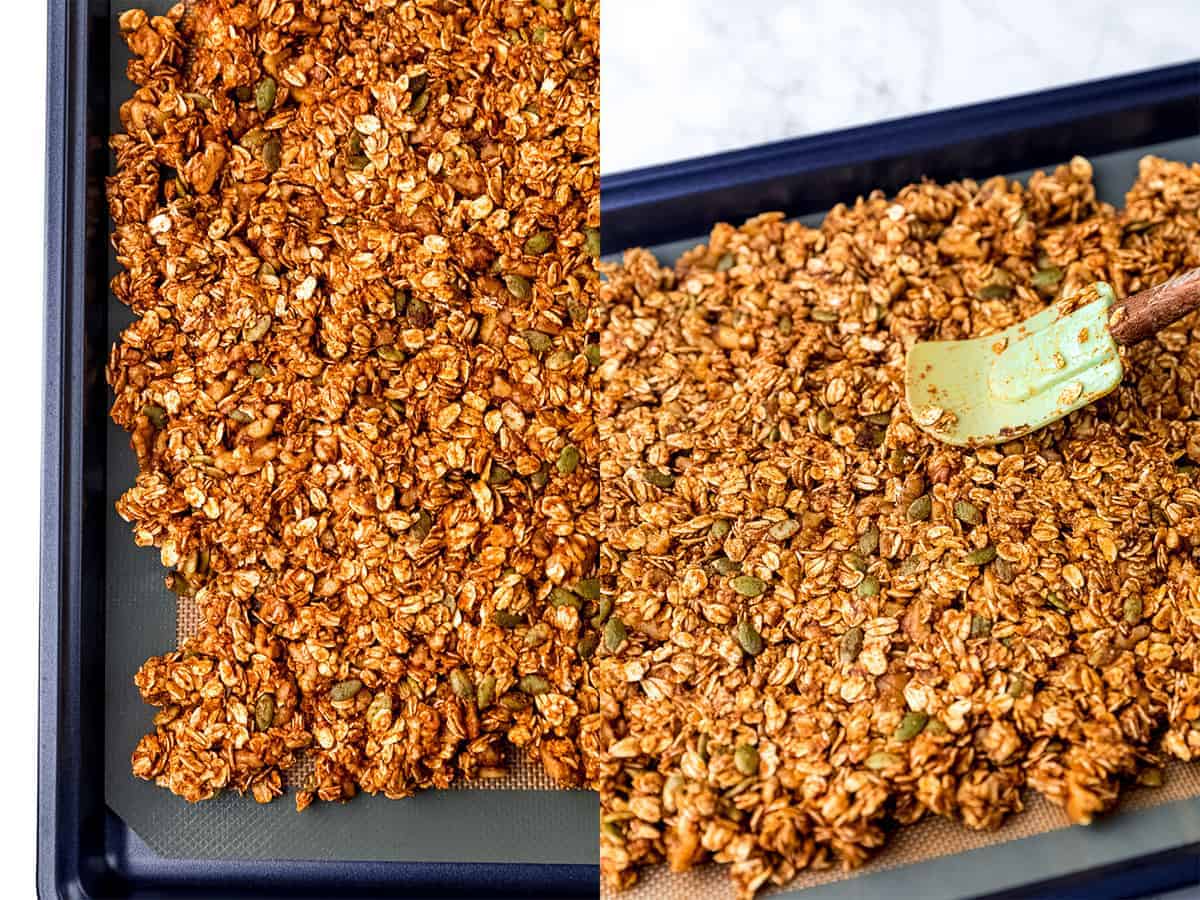
- Spread it all onto a baking sheet in a nice layer. Not too thick but not too thin or you won’t great clusters. Be sure to press the granola together with the spatula or your fingers to get some nice clusters.
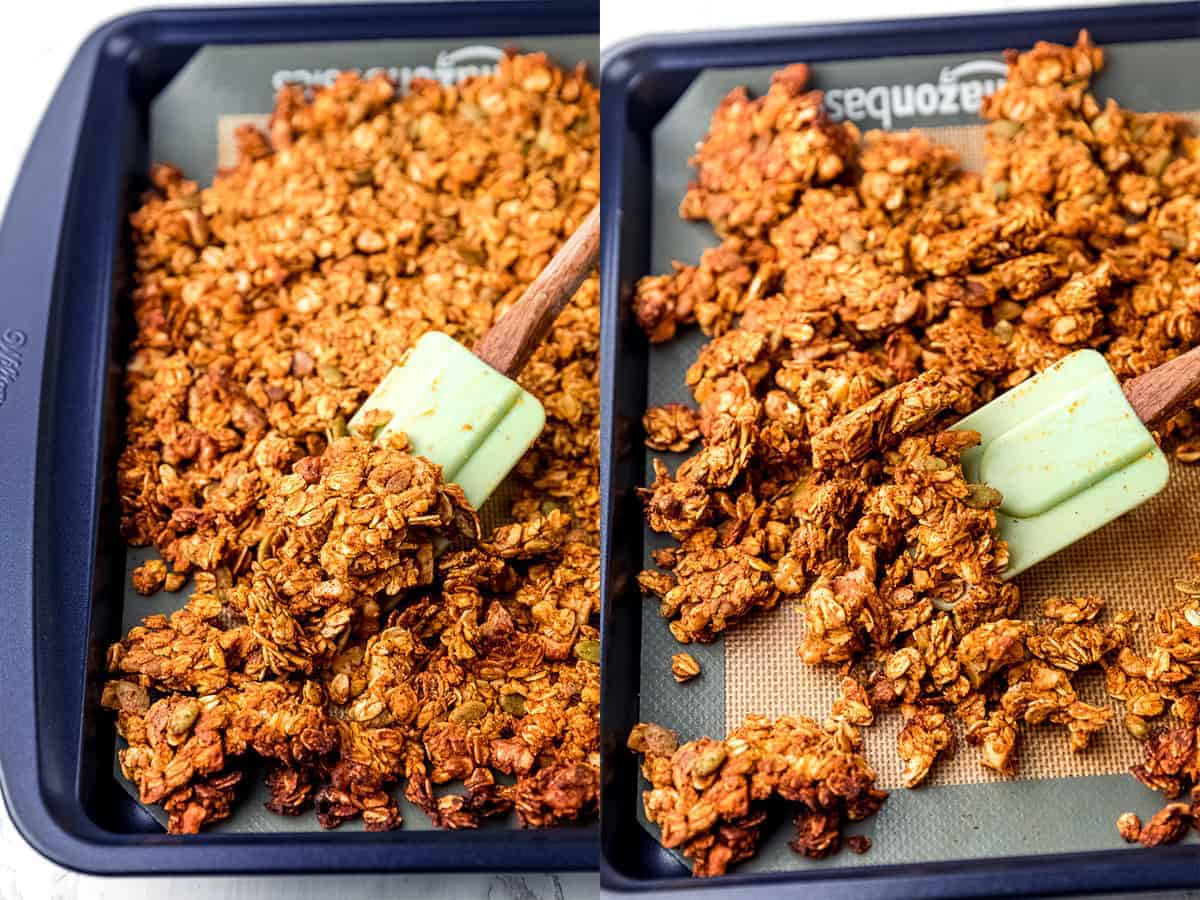
- Bake for 25 minutes. Stir the mixture halfway (when you have around 12.5 minutes left). Stir it gently, then place back inside the oven.
- Cool. Remove from oven and let cool COMPLETELY before touching to ensure it’s crunchy.
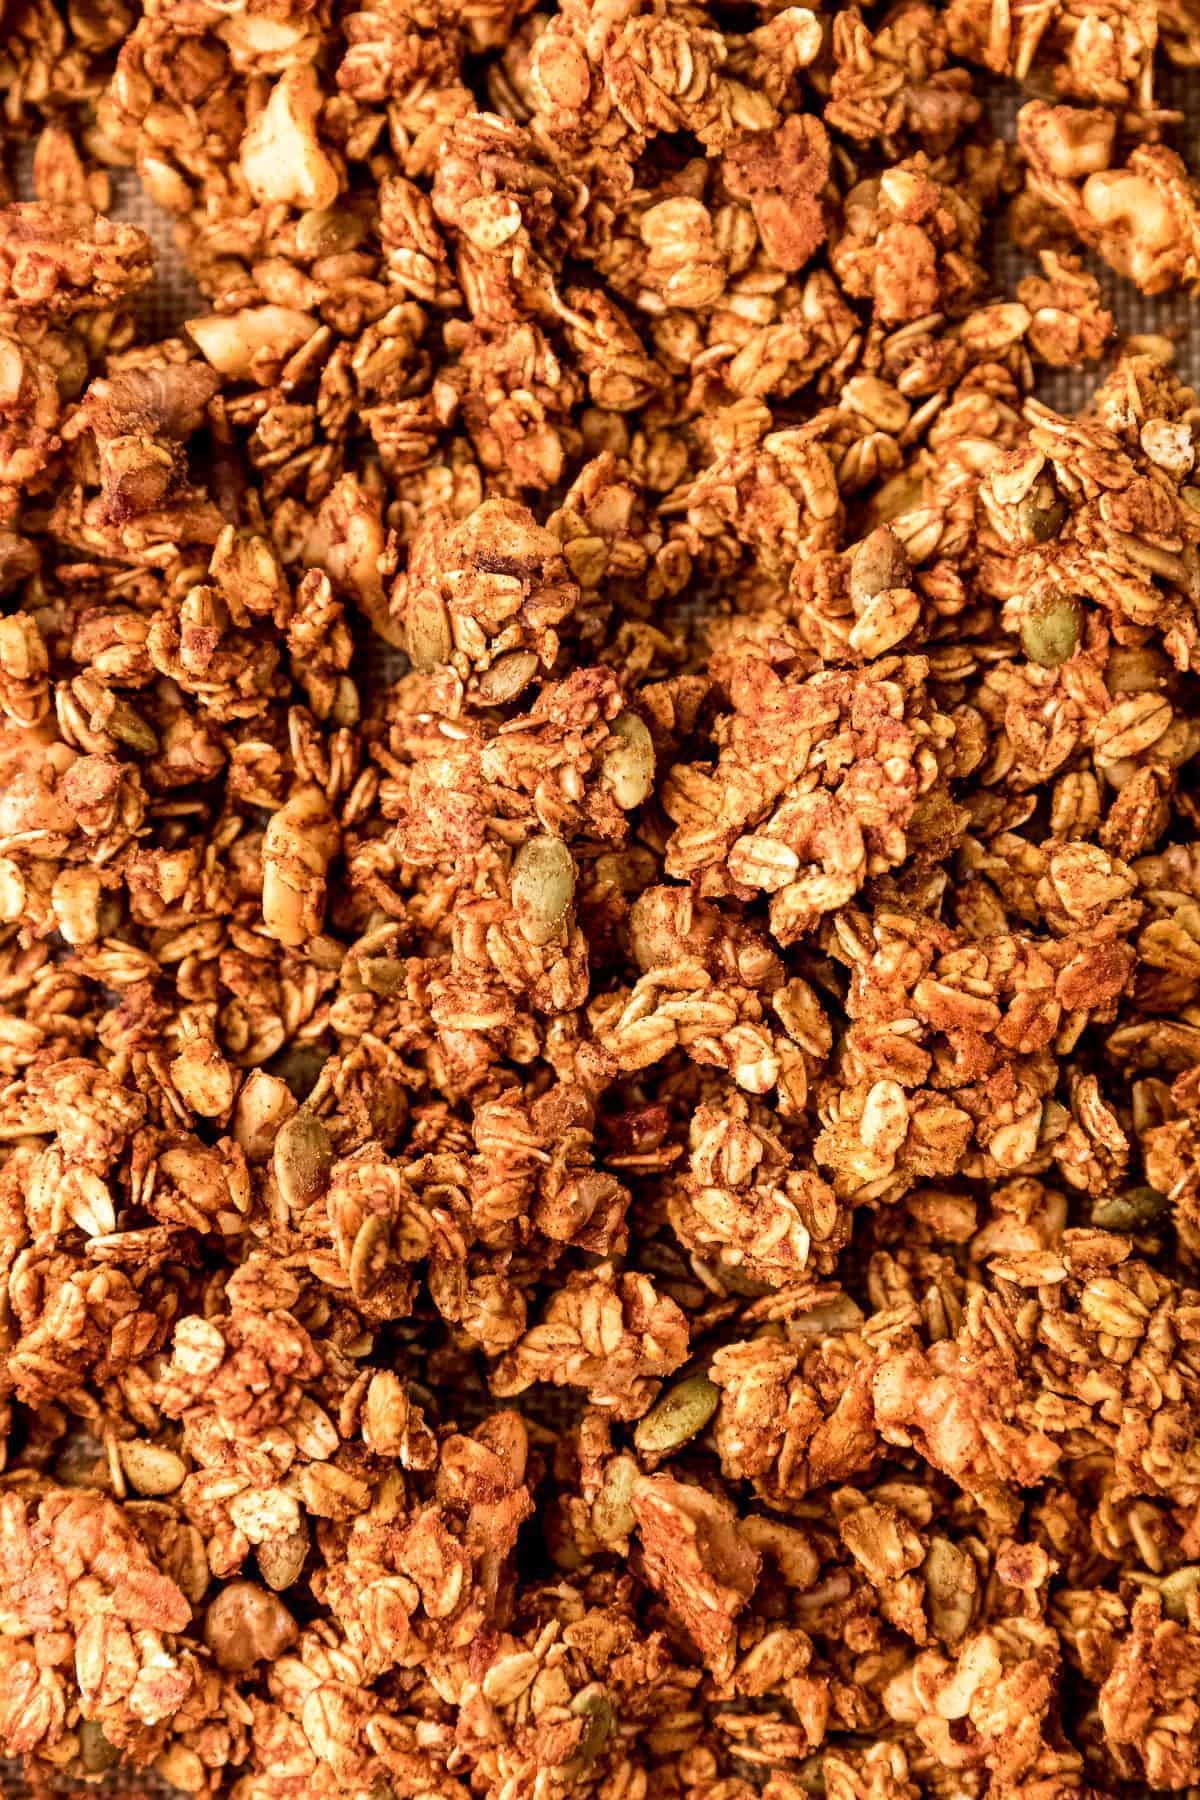
- Enjoy! When cooled, remove and enjoy immediately, or store in an airtight jar for up to a few weeks.
Expert Tips & FAQ
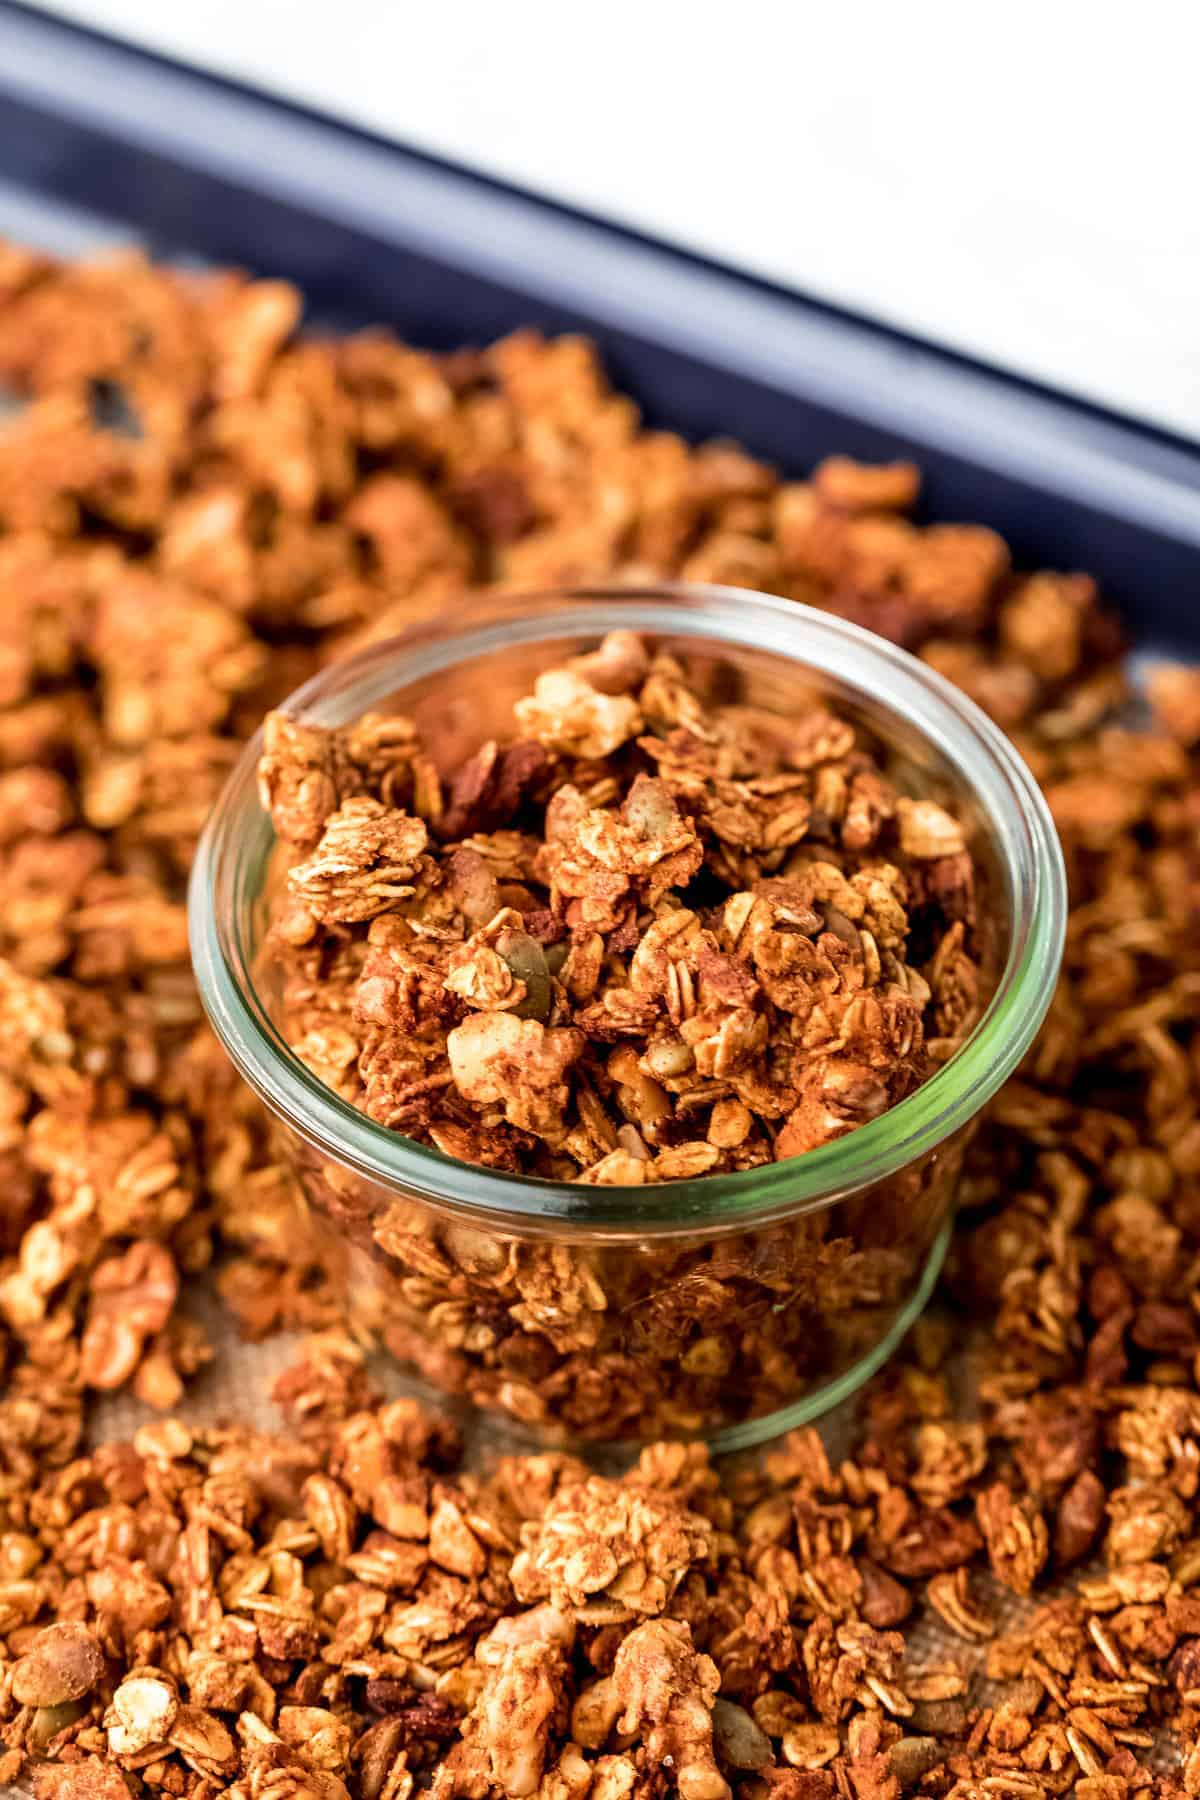
Here are some tips for the best clumping granola and thick clusters:
- Press the granola. Press down the granola on the sheet with your spatula or with your hands
- Be gentle. When you’re flipping/stirring the granola midway, be gentle with it so you don’t disturb any clusters.
- Cool completely. After it’s finished cooking, let it cool *completely* before touching. That way everything gets nice and crunchy and the clusters hardens. I’ll admit – it’s hard to do! Gav and I snuck quite a few pieces, but once it cooled?! It’s like a masterpiece!
- Add some additional ingredients. Optionally to make this even better, throw in some dried fruit (like cranberries), white chocolate or chocolate chips as soon as they come out of the oven. Chocolate makes everything better!
- Microwave the nut butter. If your nut butter isn’t runny enough, you can microwave it for about 10 seconds first.
Serving Suggestions
Serve this with my Cashew Milk, my vegan yogurt or my vegan ice cream!
How to Store Pumpkin Granola
The best way to store this granola is in an airtight jar or zipped bag. It’ll last up to a month in your fridge (and will stay crunchy).
More Pumpkin Recipes:
Enjoy friends! If you make this Vegan Pumpkin Granola, please snap a photo and tag #jessicainthekitchen on Instagram! We’d also love if you would leave a comment below, and give the recipe a rating! Thanks so much!
Pumpkin Granola Recipe
Ingredients
- 3 cups Bob's Red Mill Gluten Free Old Fashioned Rolled Oats, (288g)
- 1 cup chopped walnuts, or any nuts (120g)
- 1/4 cup pumpkin seeds, or sunflower seeds (28g)
- 2 teaspoons pumpkin pie spice, or cinnamon
- 1/4 cup almond butter, or any nut butter, tahini or sunflower butter (64g)
- 1/2 cup maple syrup, or agave nectar (168g)
- 1/3 cup pumpkin puree, (81g)
- 3/4 teaspoon sea salt
- dried fruit, chocolate chips or white chocolate chips, (optional)
Instructions
- Preheat oven to 350°F/180°C. Line your baking sheet with parchment paper or a silicone mat (it has to be lined with something).
- In a large bowl, stir together the oats, pecans, pumpkin seeds, pumpkin spice and sea salt.
- In a different bowl, add the nut butter, maple syrup/agave and pumpkin purée together. Stir together vigorously until completely combined.
- Pour the wet ingredients into the dry ingredients and stir with your spatula or a wooden spoon until combined and everything is coated.
- Spread the mixture into a nice even layer on your baking sheet.
- Bake for 25 minutes on your oven rack furthest away from your heat source, stirring the granola halfway (around 12.5 minutes). At that halfway point, remove from the oven, flip gently with a spatula so both sides get toasted, then return to oven. Watch it during the last 5 minutes of baking to ensure that it isn't burning.
- Remove from oven. The granola should be nice and golden brown in colour. Let it cool COMPLETELY before touching to ensure it's crunchy.
- When cooled, enjoy immediately! The best way to store this granola is in an airtight jar or zipped bag. It'll last up to a month in your fridge (and will stay crunchy).
Notes
Disclaimer: Although jessicainthekitchen.com attempts to provide accurate nutritional information, kindly note that these are only estimates. Nutritional information may be affected based on the product type, the brand that was purchased, and in other unforeseeable ways. Jessicainthekitchen.com will not be held liable for any loss or damage resulting for your reliance on nutritional information. If you need to follow a specific caloric regimen, please consult your doctor first.


I couldn’t stop eating them whenever I had some homemade granola..that’s why I haven’t baked some in a while and now this one have me crave some again! Gorgeous golden colour and wonderful autumnal flavour!
Thanks Angie!! Same here haha!
OOOOOOOOOOOOO this looks fantastic!!! i have yet to come across a pumpkin granola recipe, so GOOD WORK! haha. and pecans are so amazing, 5 lbs sounds like a great purchase to me. Pinning!
Thanks so much Beverley!!
I love homemade granola! This pumpkin spice version sounds amazing!!!
Thanks so much Liz!
Looks like all the goodness has come together in this recipe.
Thanks Megan!!
Hi there, Your recipes sound delicious.:-) As I’m plant based and everything free just about, I’d like to try your granola recipe because it’s got pumpkin in it. How innovative! However, as a Brit – ‘pumpkin spice’ – er ???
I’m assuming it’s a mix of different ‘sweet spices’ which I could try and put together but as I’m unsure of the quantities, would you be able to let me know. Don’t want to mess it up on the first attempt 🙁
I will also assume that the pumpkin puree has been made from roasted pumpkin (without any additions), parsed through a sieve or blended…? I’m making for me only as my family are all away at the moment so any help would be greatly appreciated. I look forward to trying this.
Hi Lewy,
Thanks so much for your comment! Pumpkin spice is a combo of many spices yes, but you could just 1 teaspoon cinnamon, and a mix of nutmeg, all spice, ginger, and ground cloves for the other teaspoon. I also made a post on how to make pumpkin puree, which I’m adding a video to this Saturday: https://jessicainthekitchen.com/how-to-make-pumpkin-puree/ . Yes, all natural and blended! I hope that helps! If you have any more questions, let me know!
I have been making my own granola for many years. But this tops my previous recipe which called for a lot of oil. My house smelled amazing, and the taste was even better! Love the clumps💕
Hi Marg,
Aww oh my gosh thank you so much!! That means so much to me!! 🙂 I’m so happy you enjoyed and yay to clumps and that incredible aroma!!
We’re so happy that you enjoyed this recipe Marg! Thank you so much for reading and leaving such a nice comment!
hey there, can this granola be dehydrated?
Hi Coco! Thanks so much for reading. We haven’t tested that for this recipe yet. If you do please let us know!
My new favorite granola recipe- it turned out perfect!!
We’re so happy that you enjoyed this recipe Dana! Thank you so much for reading and leaving such a nice comment!
This granola is delicious! It is super easy to make and so quick! I will be making this all of the time.
We’re so happy that you enjoyed this recipe Adrienne! Thank you so much for reading and leaving such a nice comment!
This is my new favouraite granola recipe — simple ingredients, quick and easy to make and most importantly, super delicious! As I’ve made granola in the past and find it to be quite forgiving, I used 1/4 cup of maple syrup + 2 tbsp plant milk (I find that this is the perfect amount of sweetness for me) and increased the pumpkin puree to 1/2 cup. Although this resulted in a slightly wetter batter, all I did was add in more oats until everything was nicely coated (I ended up adding about 1 extra cup — the best part is that this leads to an extra big batch of granola!). During baking my house smelled absolutely amazing and the granola itself came out beautifully crunchy and perfectly spiced. Thank you for the awesome recipe — will definitely be making this again!
We’re so happy that you enjoyed this recipe Emily! Thank you so much for reading and leaving such a nice comment!