Chocolate Mug Cake (Vegan)
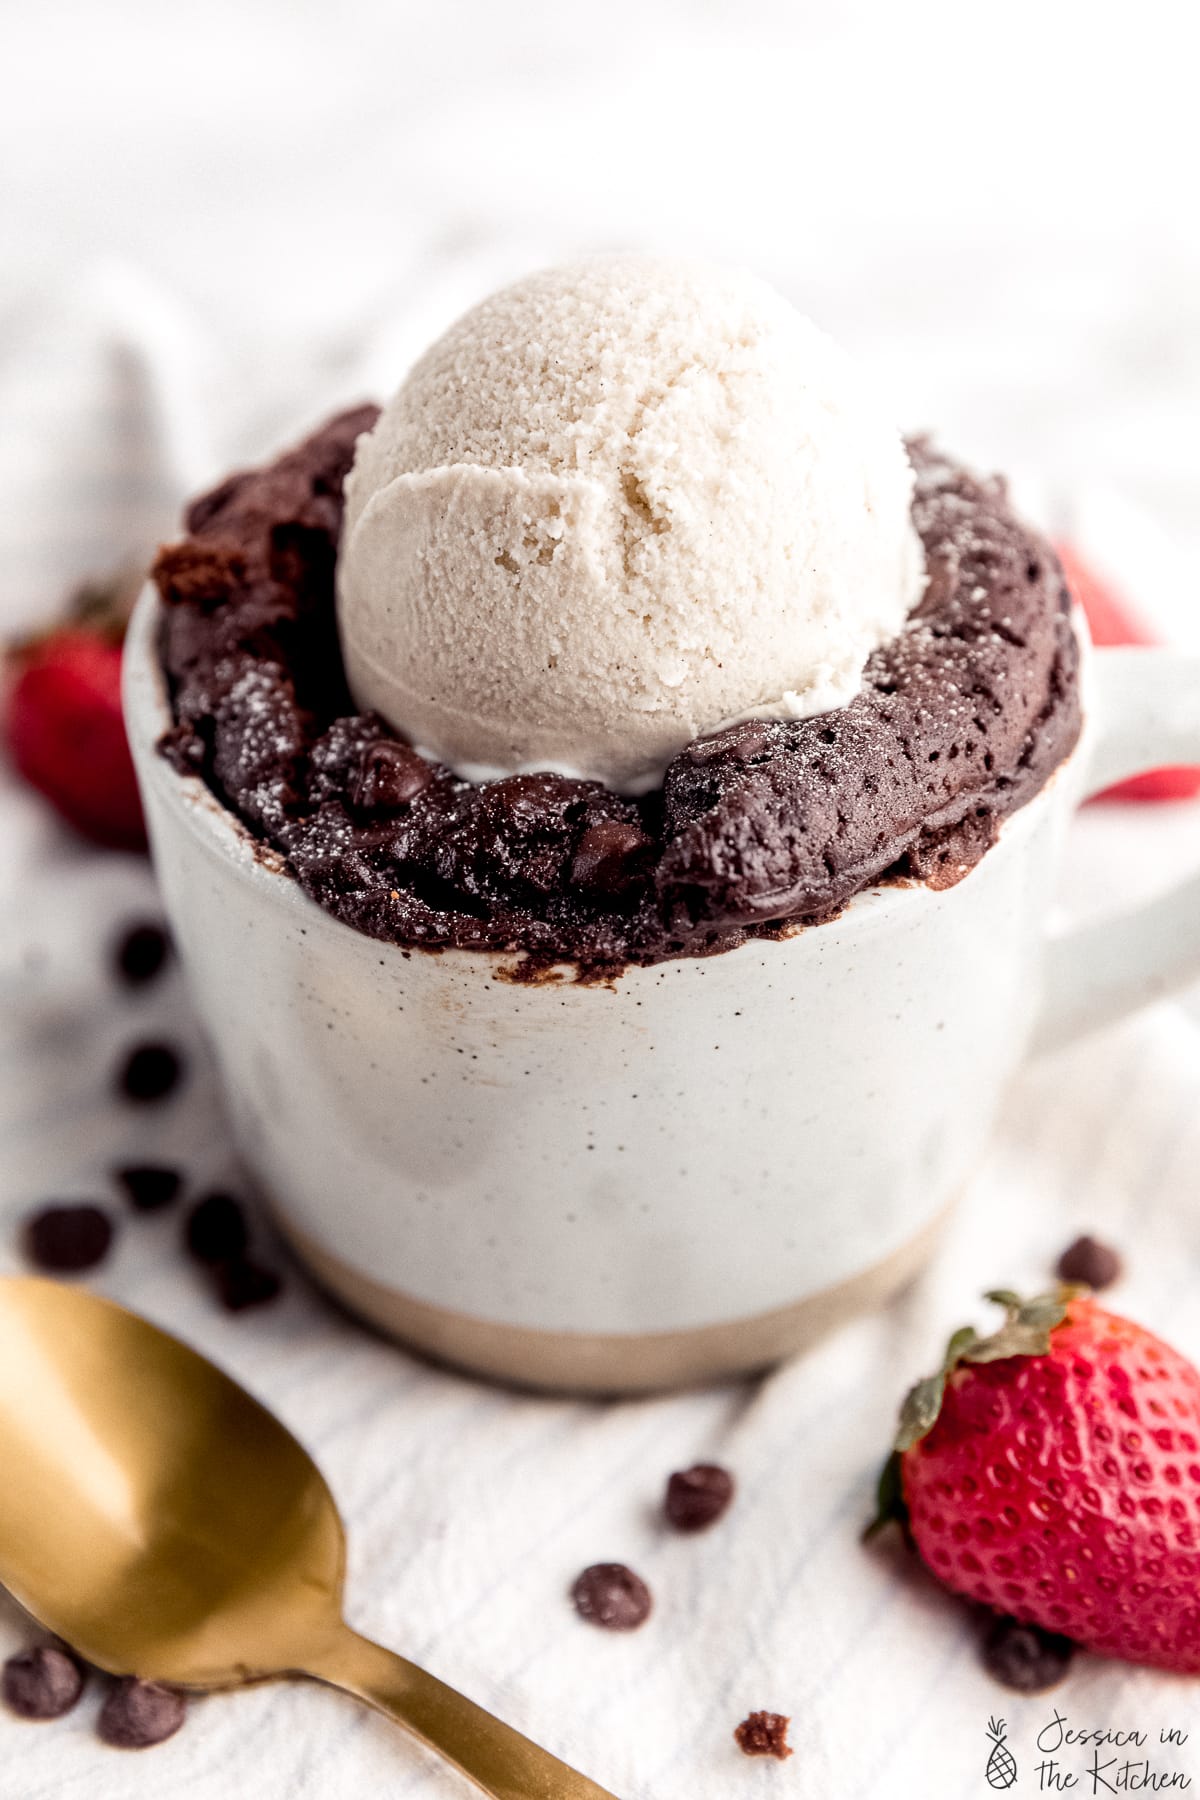
This Chocolate Mug Cake (Vegan) will totally blow you away! It’s vegan and made with very easy pantry ingredients in under 5 minutes start to finish. It has an incredible chocolate-y flavour that’s so addictive!
When I first came out with my Vegan Chocolate Cake, I didn’t realise how popular it would become! It’s been incredible seeing all your reviews and photos, and it let me know that I will definitely be coming with even more classics.
You know mug cakes are my thing. For my Vegan Banana Bread, I made my Banana Bread Mug Cake. For my Salted Tahini Chocolate Chip Cookies, I made my tahini chocolate chip mug cake. Now *drum roll please* presenting my Vegan Chocolate Mug Cake! It’s for me, the perfect single size version of my chocolate cake! I can’t count how many times I’ve eaten this (I’ll just say it’s for testing!) so know for sure that you’ll LOVE IT!
What is a mug cake?
In case you don’t know, a mug cake is exactly what it sounds like. A quick single-serving cake that’s usually whipped up in your mug and cooked quickly in it too. It usually takes about a minute to two minutes to make, and the result is a fully cooked, delicious and moist mini cake. I’ve made one before that’s the #1 search result for vegan brownie mug cake, so be sure to check that one out too.
Needless to say – mug cakes are incredibly convenient and so tasty! You usually only want a single serving anyway, and the overall time is always less than 5 minutes to make!
Best tips for making mug cakes
Making a mug cake is pretty much foolproof, but these few tips help to make a big difference. I’ve tested mug cakes over 2 dozen times (yes!), and here are the top tips I took away:
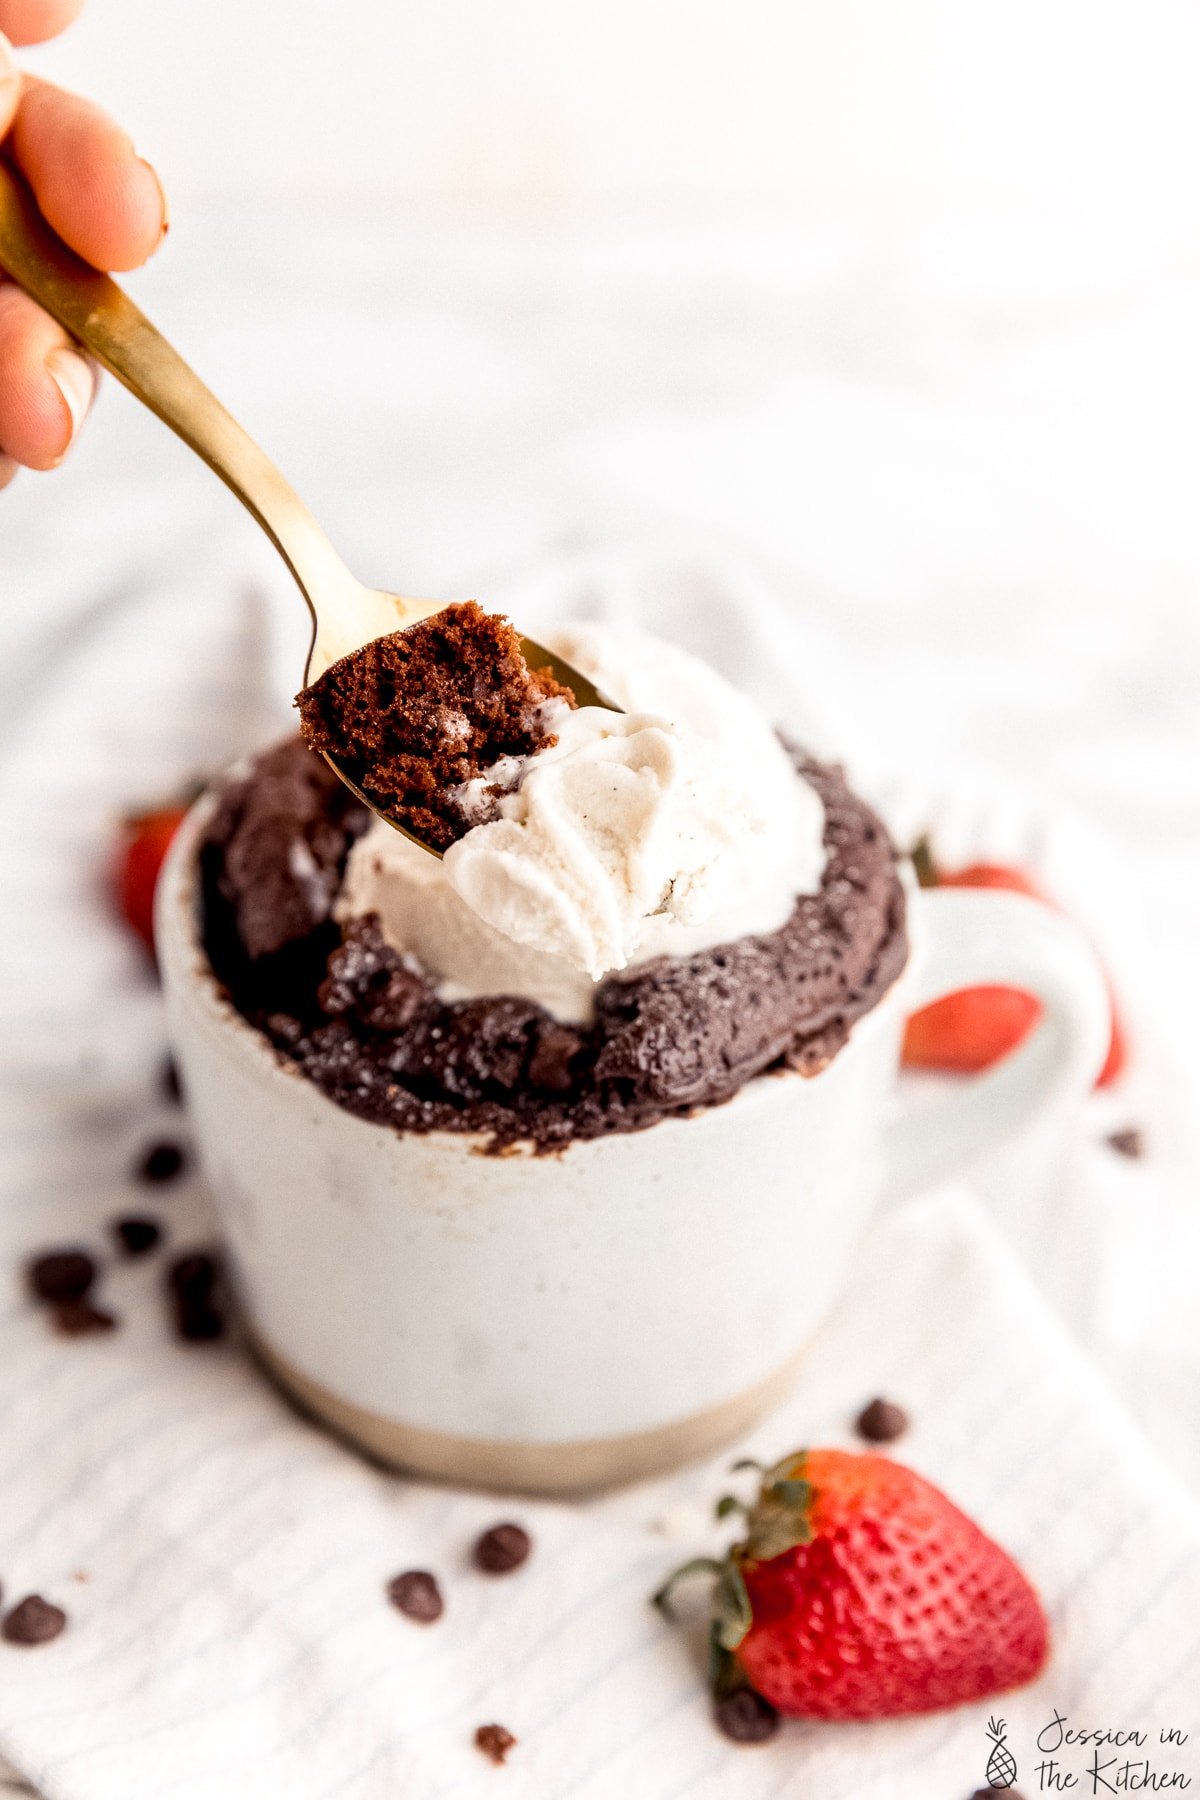
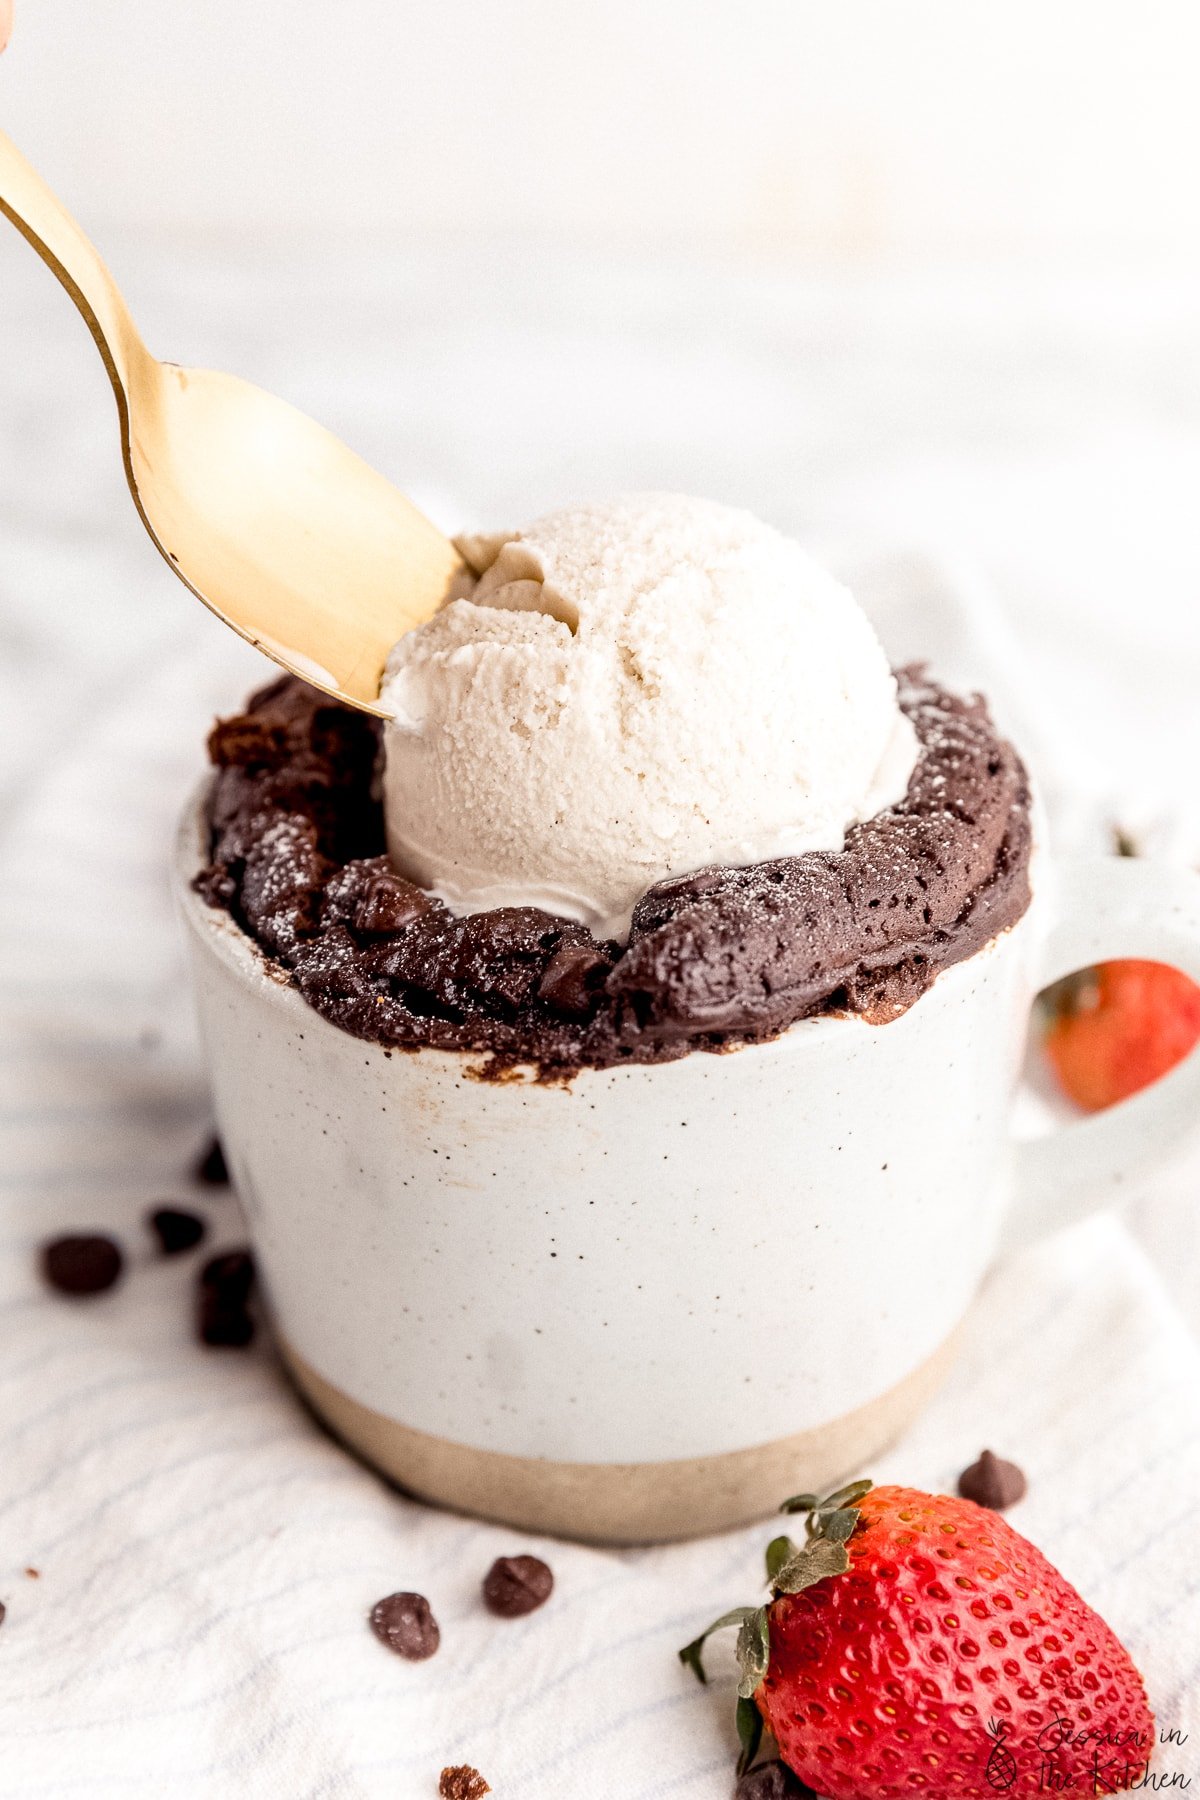
- Use a wide short-ish mug (like the one in these photos!). If you have a variety to choose from, using this type of mug means the cake rises higher in a concentrated space. I’ve found this helps with cooking.
- Ensure to stir it all together. Don’t go whisking it for minutes on end, but ensure your entire mug cake is mixed. Since it’s such a small container it can be easy to miss the bottom. Just ensure you incorporate everything. Sometimes I scoop from the bottom up a few times to ensure this.
- Adjust your time based on your microwave. The times I’ve provided should work but yours may need an extra 10 seconds. It’ll cook edges to centre so just check the centre that it’s mostly cooked…BUT:
- BUT, don’t overcook. This will make your mug cake gummy and rubbery and dry. Remember that the mug cake will keep cooking while it’s cooling so it’s better to slightly under bake it.
- Let it cool for like 3 to 5 minutes before digging in. It really does make a difference, like how you’d let a cake or brownies cool first!
- I’ve included instructions for baking this in your oven too!
That’s it friends! Whip this up and enjoy so much!!
Other mug cake recipes
- Banana Bread Mug Cake
- Vegan Chocolate Brownie Mug Cake
- Chocolate Chip Tahini Mug Cake
- Pumpkin Butter Mug Cake
Enjoy friends! If you make this Chocolate Mug Cake (Vegan), please snap a photo and tag #jessicainthekitchen on Instagram! We’d also love if you would leave a comment below, and give the recipe a rating! Thanks so much!
Chocolate Mug Cake (Vegan)
Ingredients
- 1 tablespoon oil, any oil of choice
- 3 tablespoons milk, any vegan milk works
- 2 tablespoons granulated sugar, I use cane sugar, you can use brown or coconut too
- 2 tablespoons unsweetened cocoa powder
- 3 tablespoons all purpose flour, or gluten free flour mix*
- 1/4 teaspoon baking powder
- 1/8 teaspoon sea salt
- 1/2 teaspoon vanilla extract
- 1 tablespoon chocolate chips
Instructions
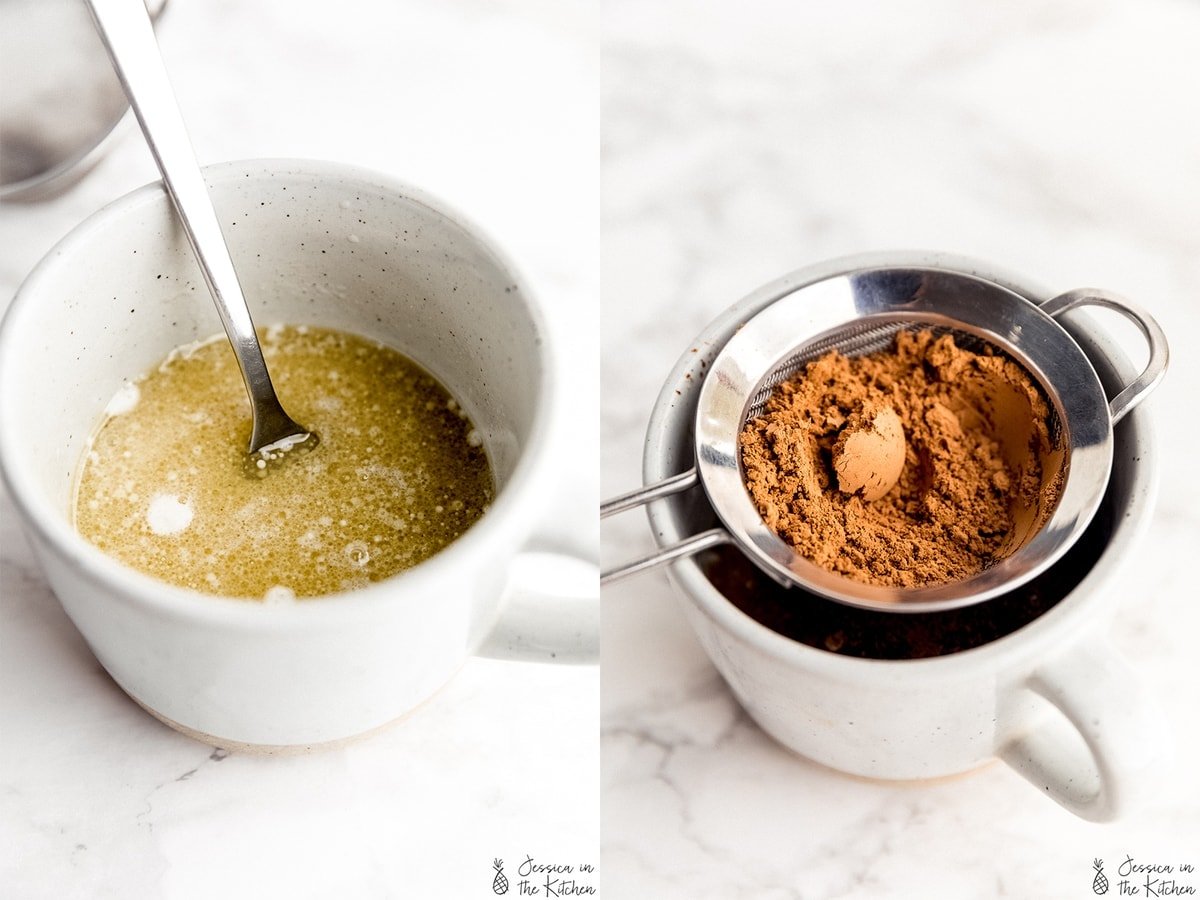
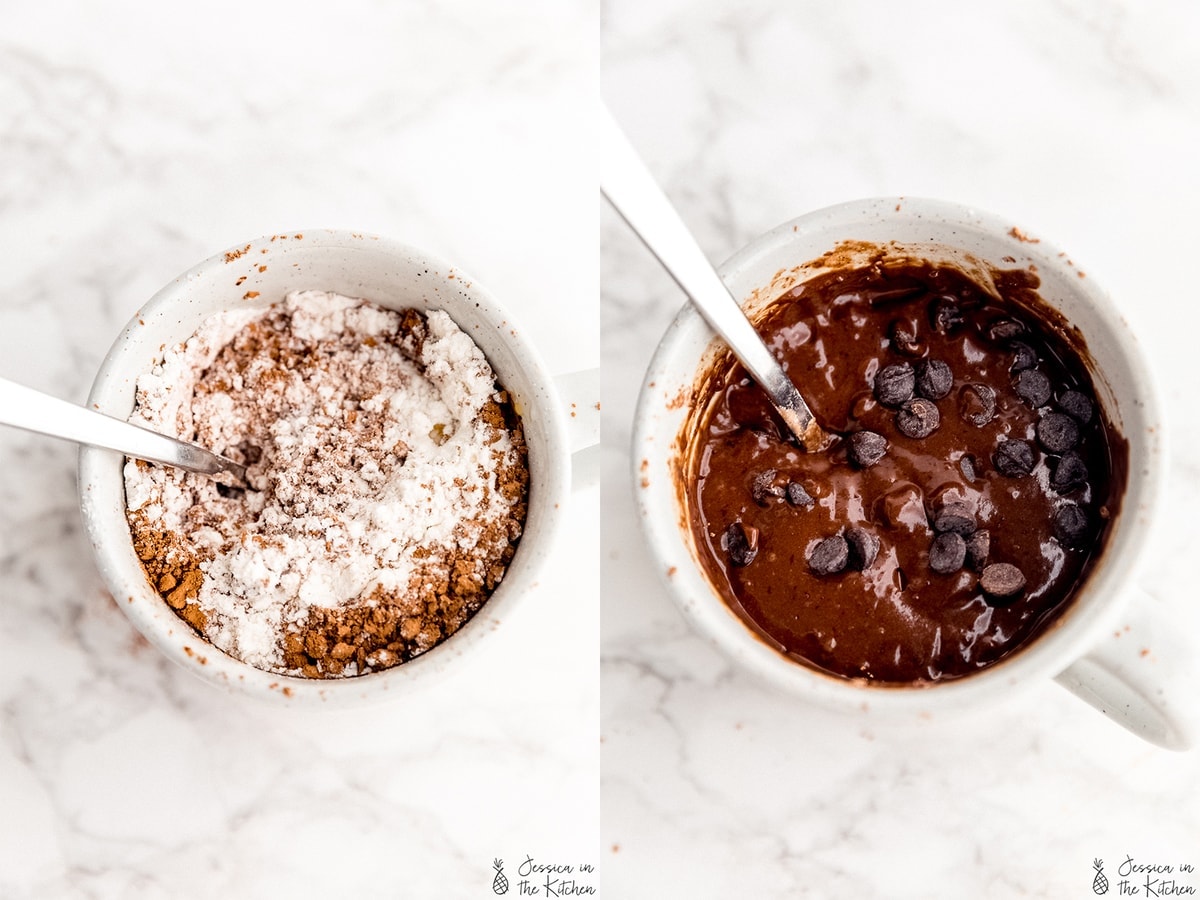
- In a mug, add in the oil, milk, sugar and cocoa powder. Whisk together for about 15 seconds. Add in the flour, baking powder, sea salt and vanilla extract.
- Stir to combine for about 30 more seconds to ensure it’s all incorporated, ensuring you get the bottoms too. Add in the chocolate chips and fold in. Feel free to sprinkle some of them on top.
- Place in your microwave for 65 seconds. It's okay if it's slightly undercooked because it'll continue to cook while it cools. It's better for it to be slightly undercooked than overcooked. Remove and let cool for about 3 to 5 minutes. Trust me!
- If making in your oven, preheat oven to 350°F/180°C and bake in about a 3.5-inch ramekin (ensure it's oven safe) for 25 minutes. Remove and allow to cool for about 5 minutes. Enjoy!
Notes
Best tips for making mug cakes
Making a mug cake is pretty much foolproof, but these few tips help to make a big difference. I’ve tested mug cakes over 2 dozen times (yes!), and here are the top tips I took away:- Use a wide short-ish mug (like the one in these photos!). If you have a variety to choose from, using this type of mug means the cake rises higher in a concentrated space. I’ve found this helps with cooking.
- Ensure to stir it all together. Don’t go whisking it for minutes on end, but ensure your entire mug cake is mixed. Since it’s such a small container it can be easy to miss the bottom. Just ensure you incorporate everything. Sometimes I scoop from the bottom up a few times to ensure this.
- Adjust your time based on your microwave. The times I’ve provided should work but yours may need an extra 10 seconds. It’ll cook edges to centre so just check the centre that it’s mostly cooked…BUT:
- BUT, don’t overcook. This will make your mug cake gummy and rubbery and dry. Remember that the mug cake will keep cooking while it’s cooling so it’s better to slightly under bake it.
- Let it cool for like 3 to 5 minutes before digging in. It really does make a difference, like how you’d let a cake or brownies cool first!
- I’ve included instructions for baking this in your oven too!
Disclaimer: Although jessicainthekitchen.com attempts to provide accurate nutritional information, kindly note that these are only estimates. Nutritional information may be affected based on the product type, the brand that was purchased, and in other unforeseeable ways. Jessicainthekitchen.com will not be held liable for any loss or damage resulting for your reliance on nutritional information. If you need to follow a specific caloric regimen, please consult your doctor first.



Sometimes you just need a quick chocolate cake fix and this was it!! I couldn’t believe it worked!! And it really takes less than 5 mins. Really don’t microwave for more than 65 secs. It’s tempting but it will keep cooking in the mug… anymore and it gets dry. ENJOY!
Easy. Delicious. Perfect for the end of a long day. Comes out perfect everytime!!
So surprised by how tasty this quick mug cake is!
More of a question than a comment. Reading the ingredients I can’t quite believe that this is a single portion due to the amount of sugar: 2 tablespoons is about 40 g sugar, then if you add the flour as well I don’t understand how the nutritional info can be correct as it says 50g carbs in the whole thing?
Should it be teaspoons?
Hi Lis! Thanks so much for reading. Actually 2 tablespoons of sugar is about 25 grams of carbs. I will however review the nutritional information but at a glance it seems to be correct. If I do have to make any corrections I’ll definitely keep you informed via this comment. I hope this helps and that you have can amazing day.
Just love this recipe!! Whether it’s microwaved or baked – it’s so satisfying!! With a glass of almond milk – perfect treat and really great with coconut sugar!
This little mug cake does not disappoint! It was so very good! I subbed applesauce for the oil and it worked just fine. All of my chocolate chips sank to the bottom, but I’m not complaining- the last couple of bites were melted chocolate! Delicious!
So so good!
One of the best mug cakes (or overall cakes) I have ever tried! Will definitely make again 🙂
This hit the spot! Texture was perfect. Great recipe- thank you.
Exactly what I was looking for, easy fast and delicious!
Loved this! Very quick and easy to make, took about 2 minutes in my 800watt microwave and was pleasantly fudge brownie cake like with a small amount of sauce at the bottom. I didn’t have chocolate chips and omitted vanilla but added a large tablespoon of crunchy peanut butter and a half teaspoon of biscoff spread (would have added more but the jar was almost empty 😁) so it was like a snicker cake. I also used self raising flour with a quarter teaspoon of baking powder plus a pinch of black salt for that eggy taste instead of normal salt.