Vegan Mug Brownie
This Vegan Mug Brownie is the easiest chocolate dessert you’ll ever make. It’s done in just 1 minute, and it only uses 6 ingredients! Microwave mug brownies are so chewy, fudgy and utterly delicious!
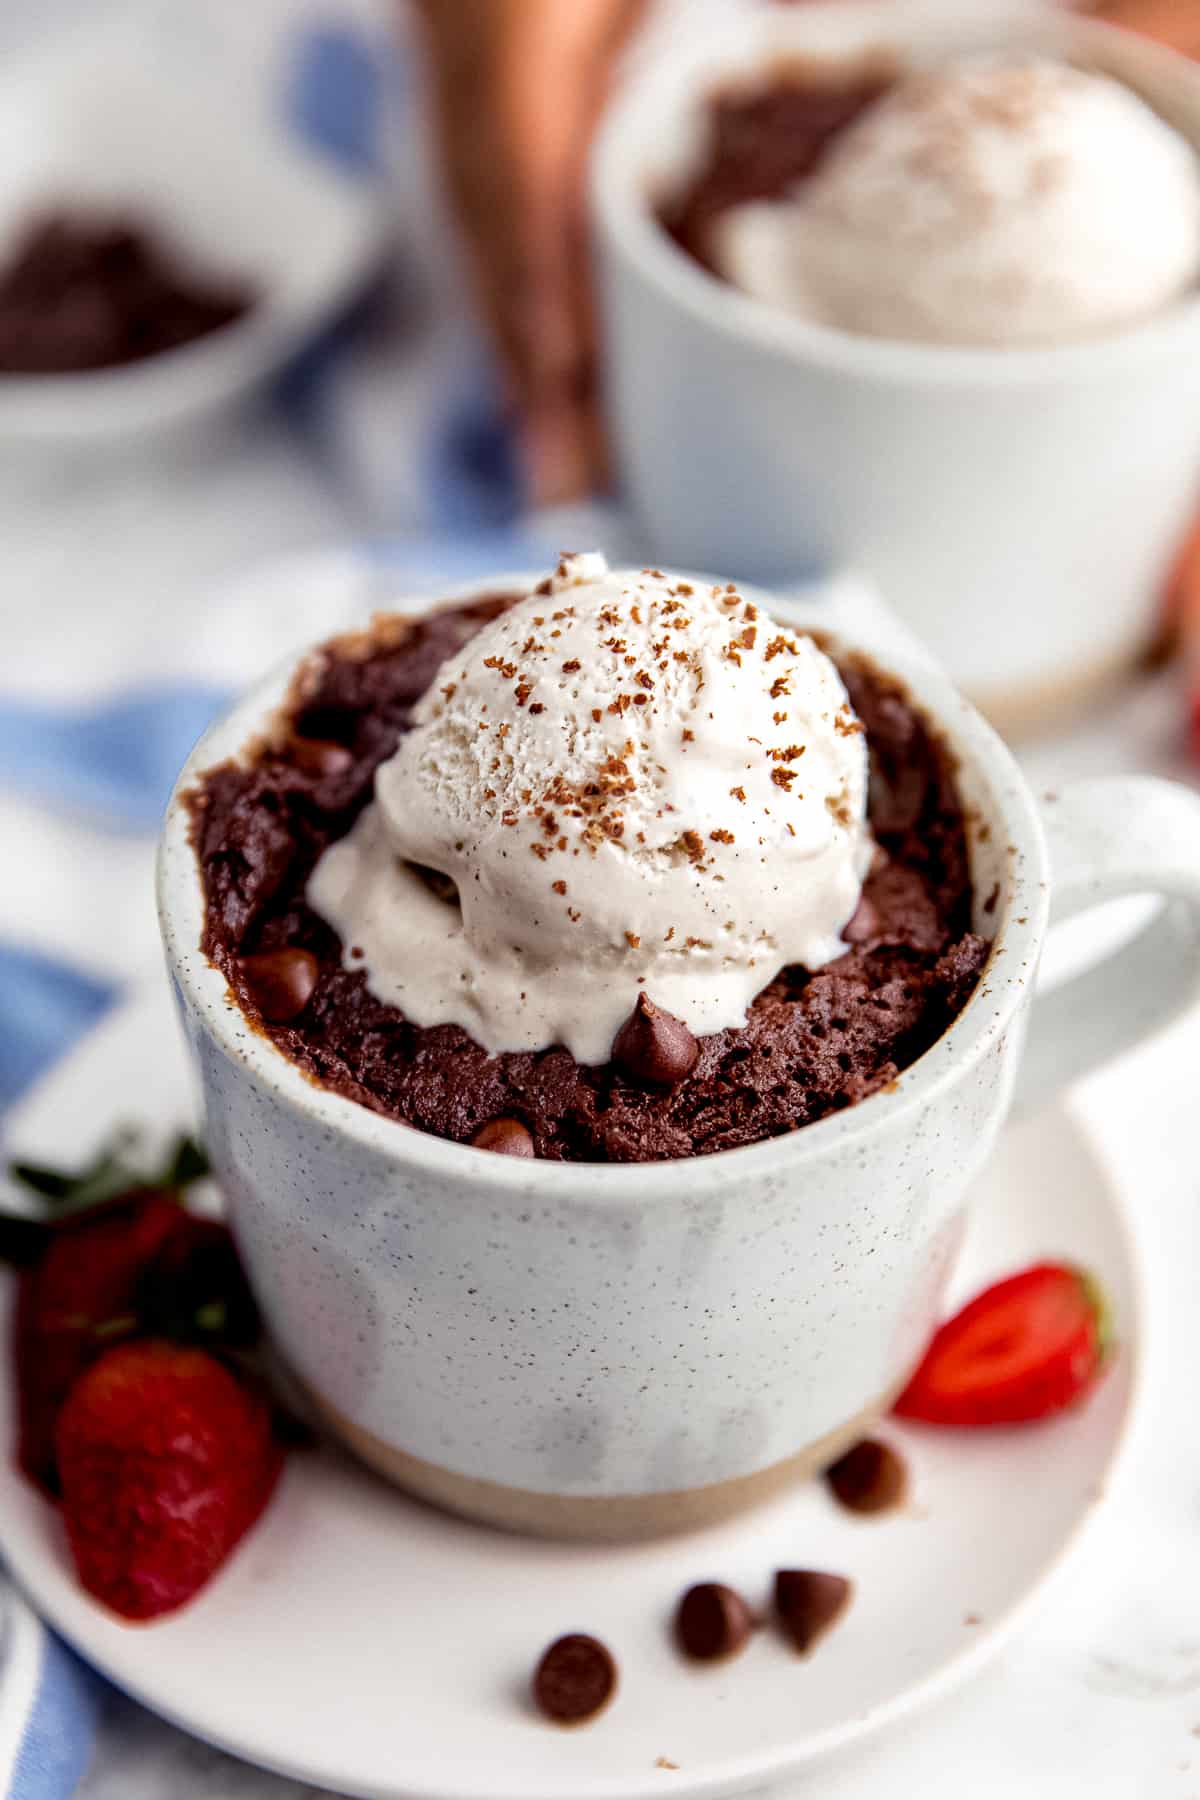
Sometimes the best things in life take a whole lot of effort. But, every once in a while, you get lucky and they come really easy to you, with almost no effort at all. What am I talking about? Glad you asked! I have three words for you: Vegan Mug Brownies.
They are my new favorite chocolate dessert. Mug brownies come together in a snap, they cook in a minute, and then you’re left with a delicious fudgy brownie in your favorite mug. Top it with some chocolate chips, and you might never go to the effort of making a whole batch of brownies again!
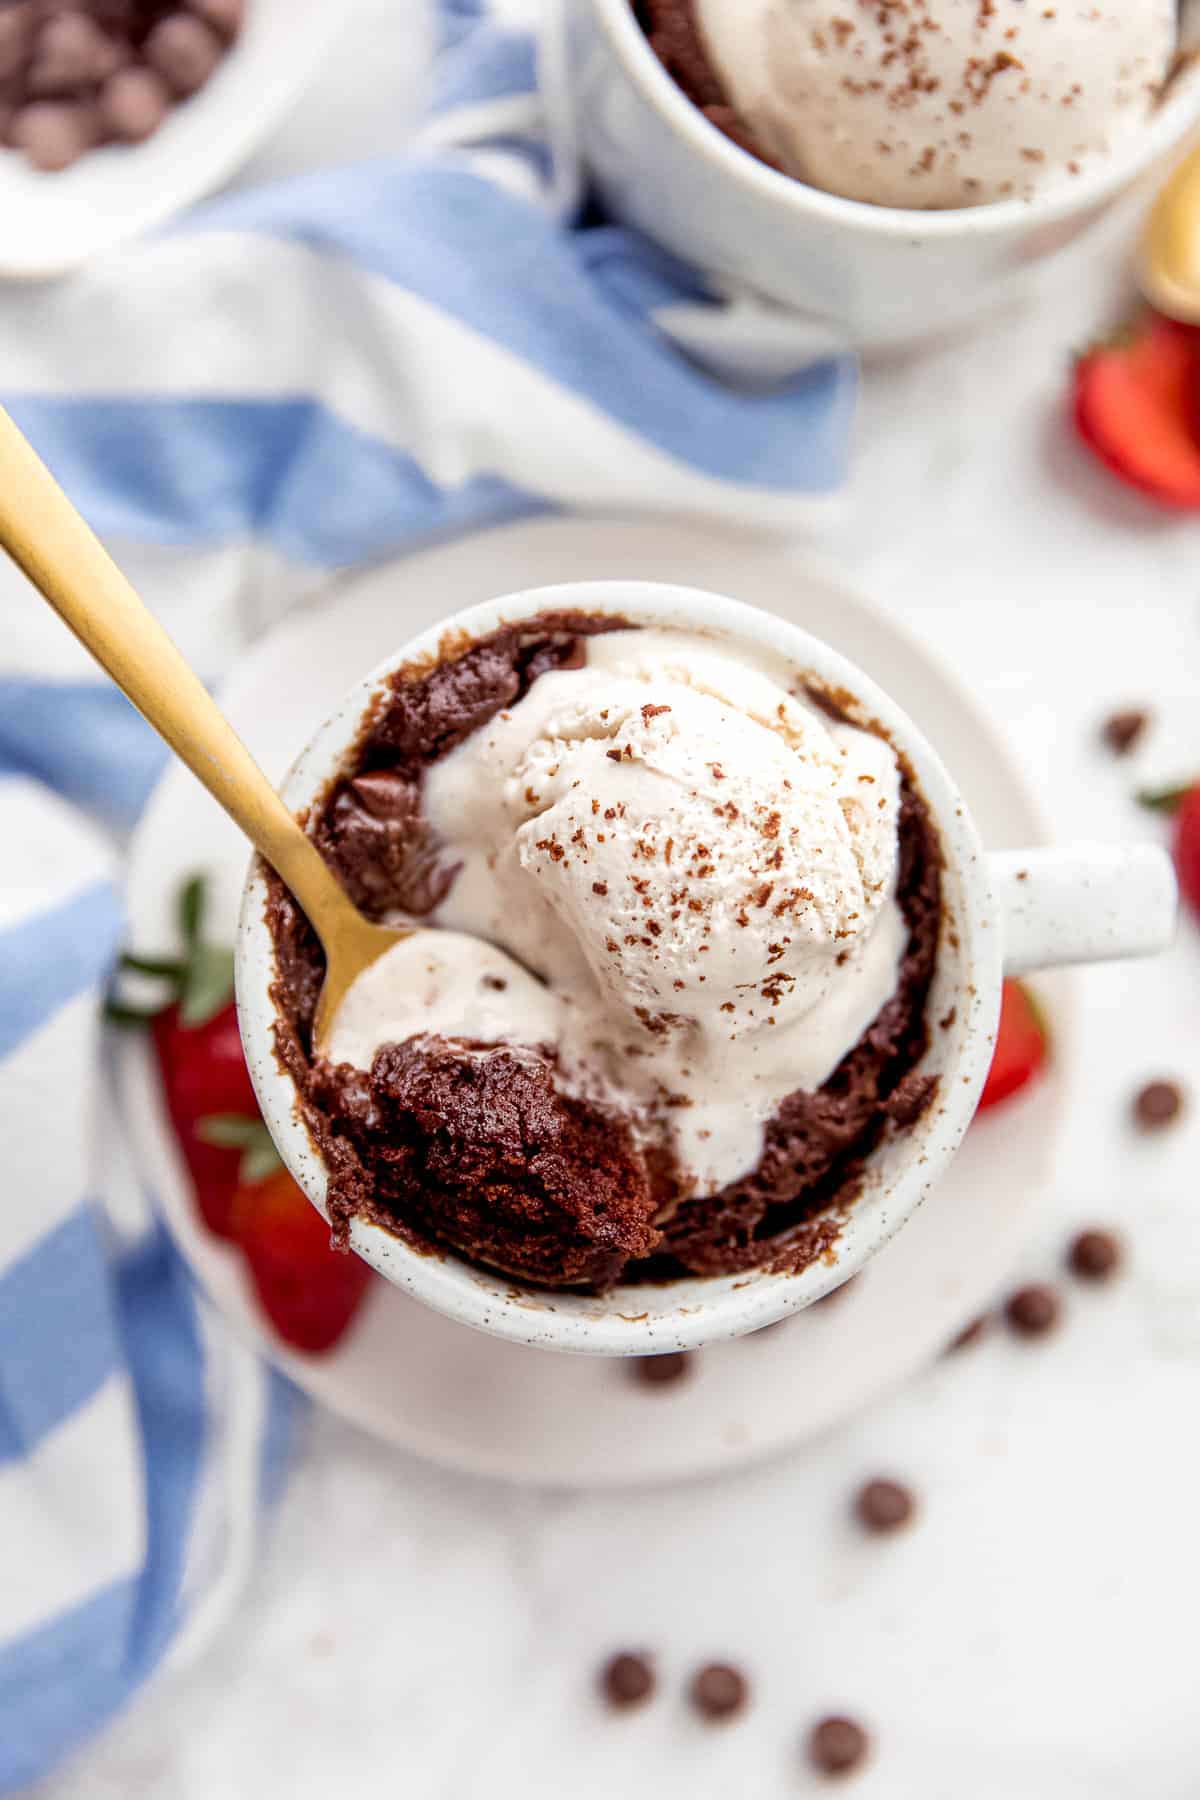
Easy Vegan Brownie in a Mug
So, here’s the story of how this Microwave Mug Brownie – or Brownie Mug Cake (whichever name your heart desires) – came to be.
A few days ago I had the beginnings of a craving. For a brownie. A ridiculously rich, fudgy, chocolate-y brownie. And the craving only kept growing the longer I held out. You know the feeling?
Anyway, I finally gave into the craving, but I still didn’t want to bake a whole batch… because then I might eat a whole batch. Baking brownies is a slippery slope sometimes.
But then I thought, what if I could bake just one? In 60 seconds?
A brilliant idea, and one that will cut down on excess calories! So, this easy Microwave Mug Brownie recipe was born, and now you can share in my chocolate-filled joy.
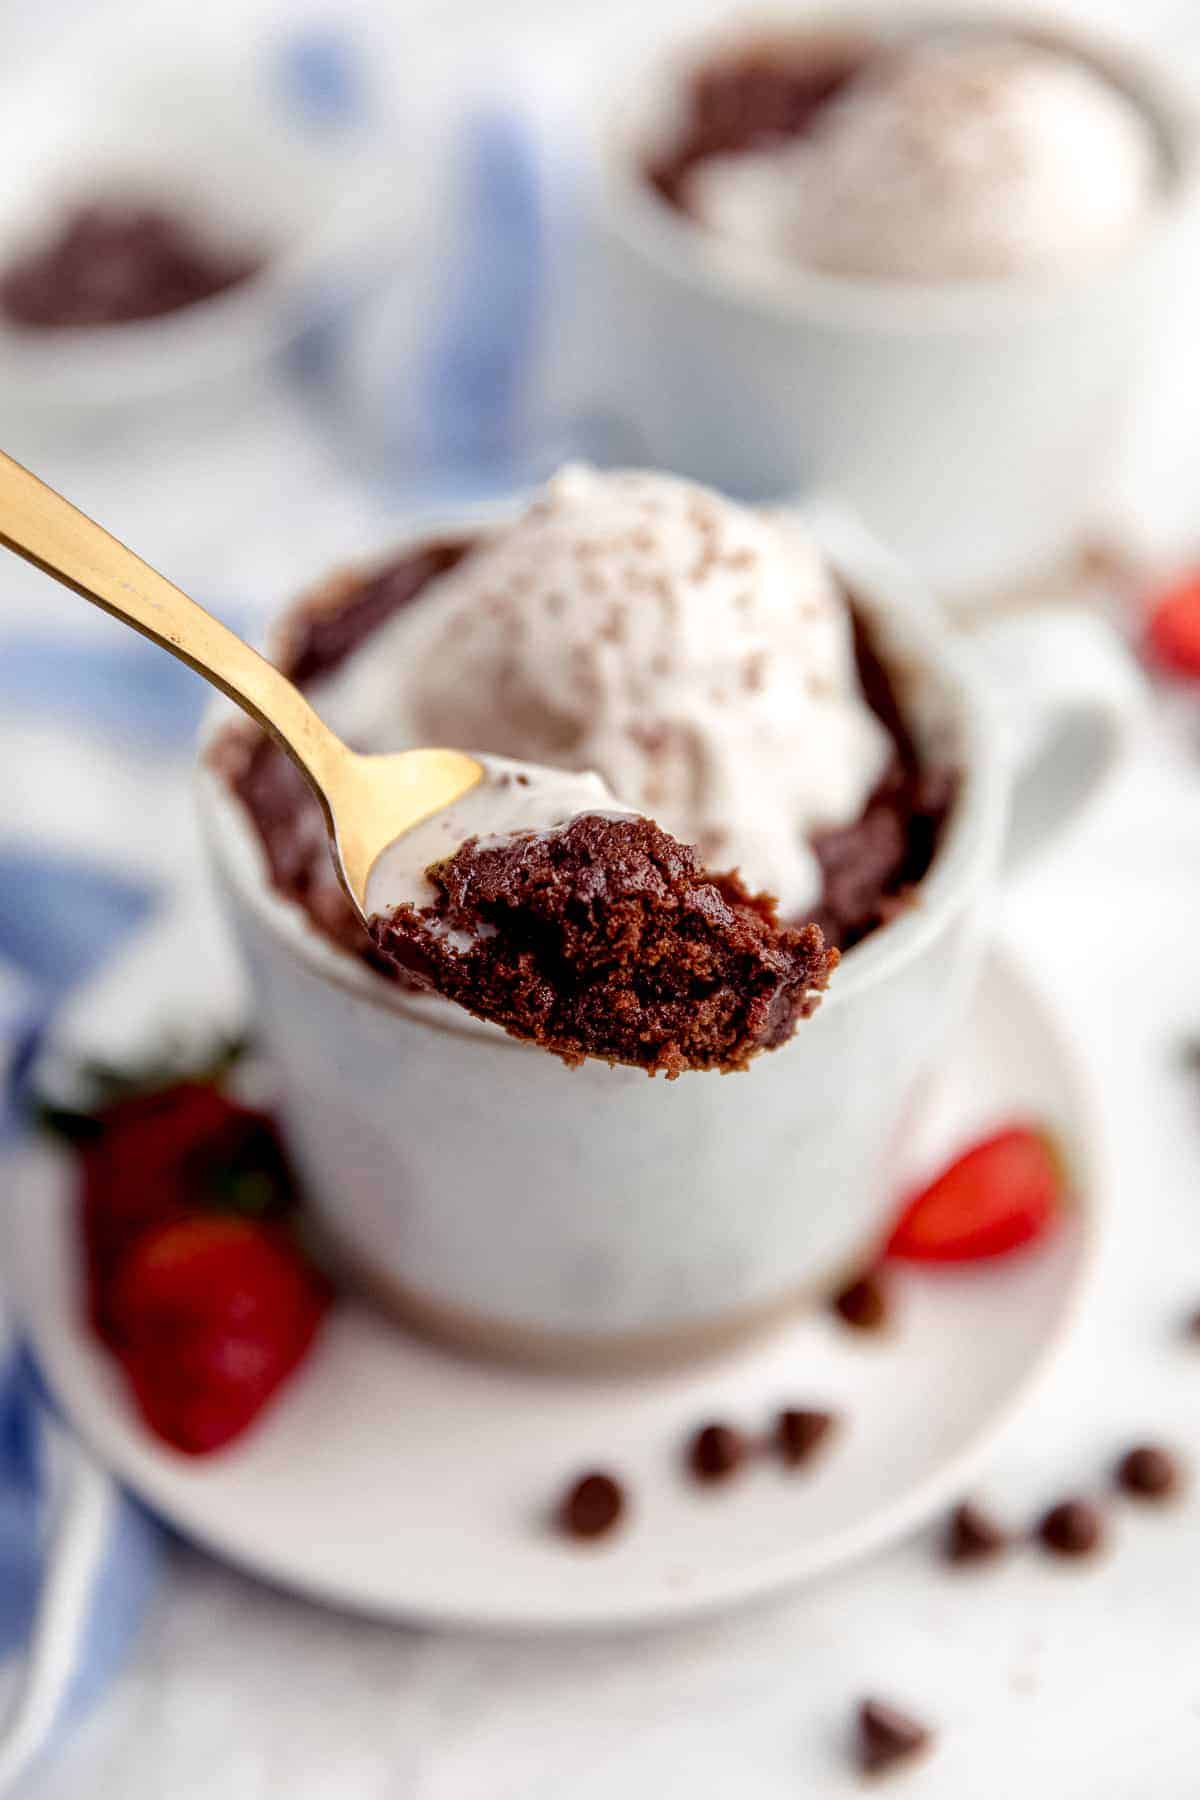
What’s the Difference Between a Brownie in a Mug and a Mug Cake?
The main difference between a brownie in a mug and a mug cake, is that the former is a single-serve brownie, and the latter is a single serving of cake. Mug brownies are made with your typical brownie ingredients, and mug cakes are made with basic cake-making ingredients. Both lists are reduced to the essentials, though, which makes for a simple yet delicious dessert. I highly recommend you make both (something like this Chocolate Mug Cake!), but let’s start with this Vegan Brownie in a Mug!
Notes on Ingredients
Ready to try this delicious brownie in a mug? Silly question on my part – who could say no to chocolate in any form?
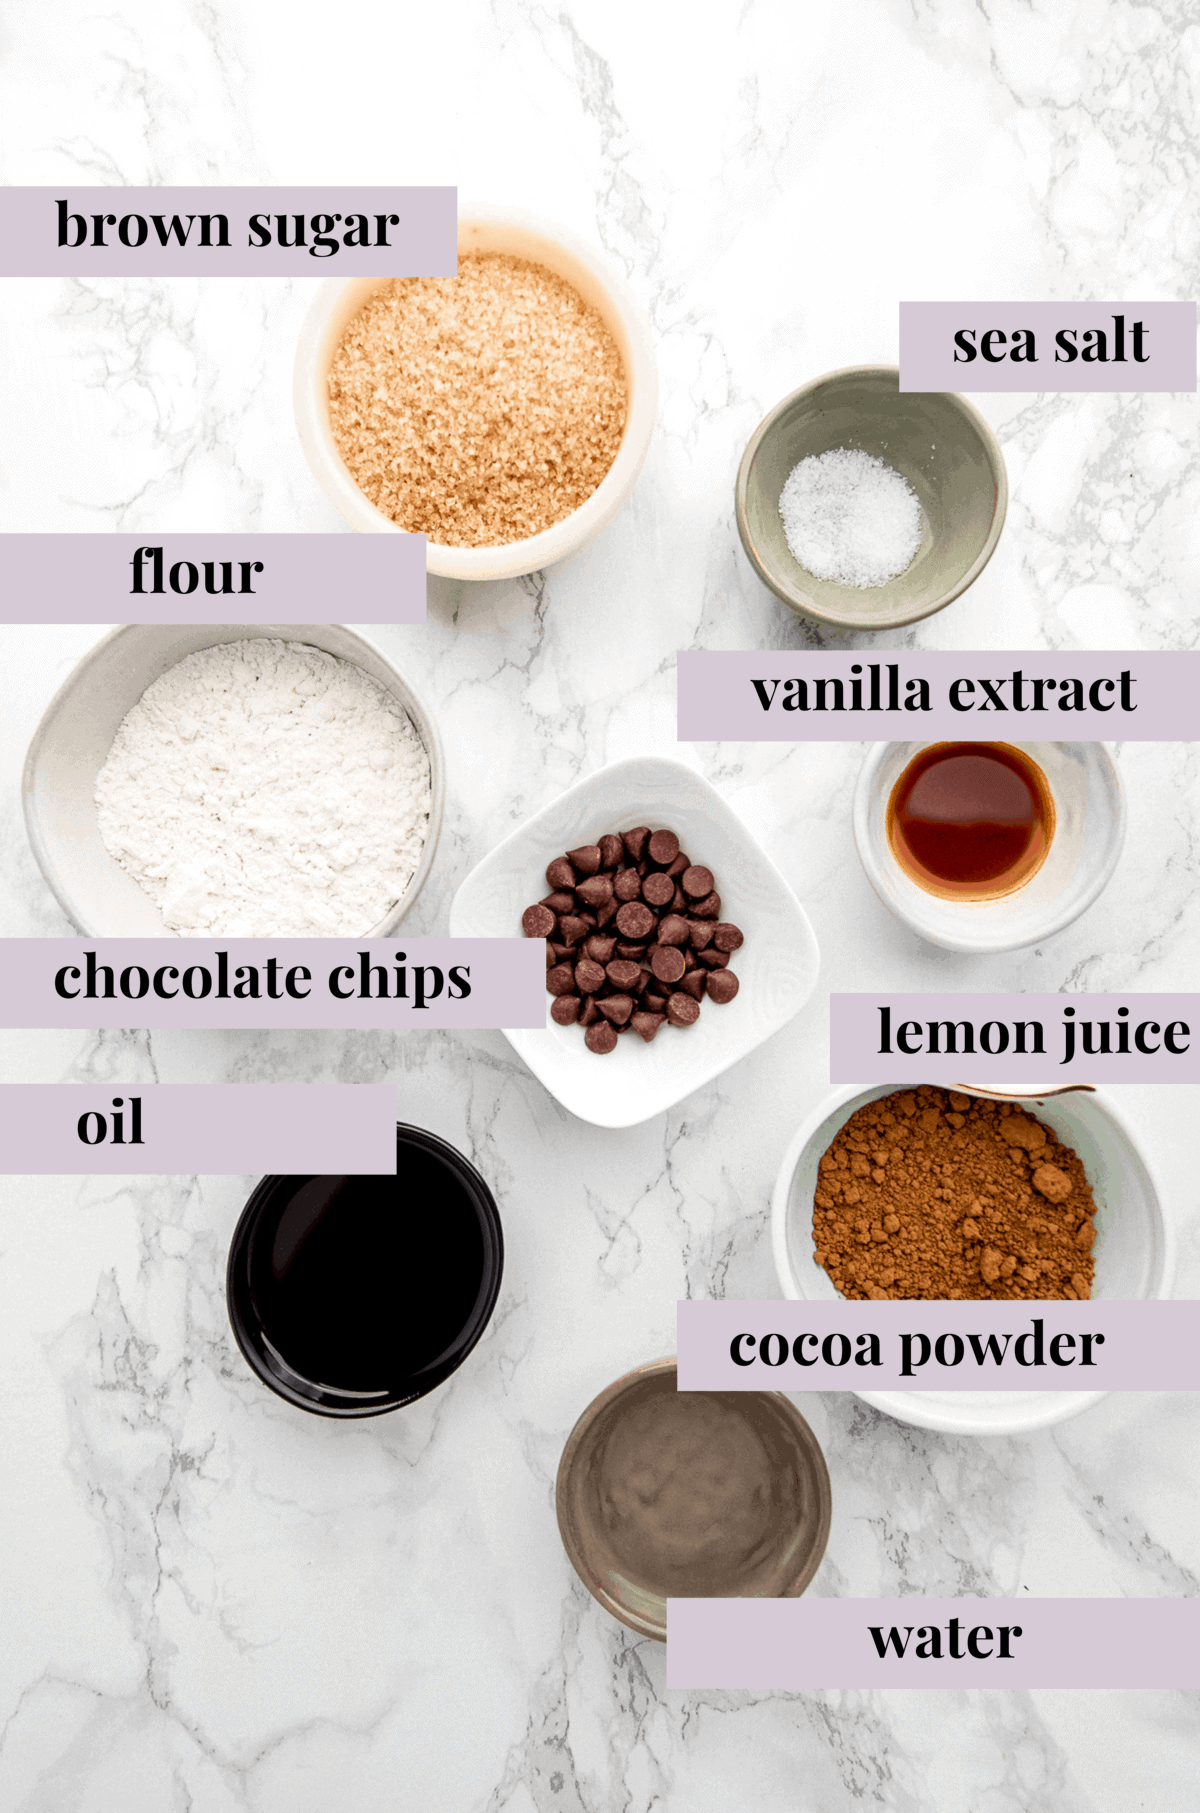
Here are the mug brownie essentials that you’ll need to round up:
- Flour: I used regular all-purpose flour, but you could try it with gluten free flour or another kind if you want.
- Sugar: Brown sugar is what we’re working with today.
- Coconut Oil: Other cooking oil will work too – vegetable oil is an easy substitute.
- Cocoa Powder: To give this brownie its chocolate flavor!
- Water: Cold, warm, room temperature, it doesn’t really matter.
- Salt: I like to use sea salt for this recipe – it really enhances the sweetness!
- Vanilla Extract: For added sweetness.
- Chocolate Chips: These are optional, but chocolate chip brownies are so good!
How to Make a Vegan Brownie in a Mug
Throw out everything you know about making a batch of brownies, because life in the kitchen just got a whole lot easier! Well, maybe don’t throw out everything… just put it to the side for now…
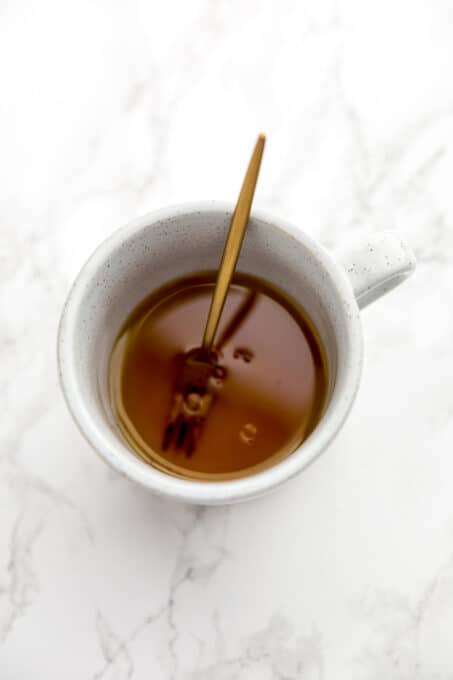
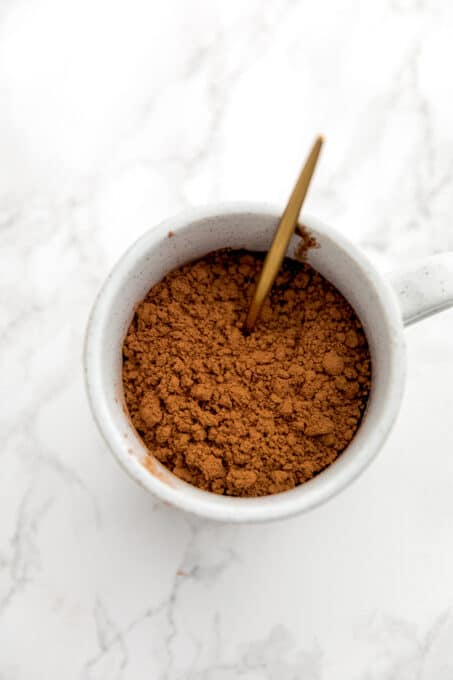
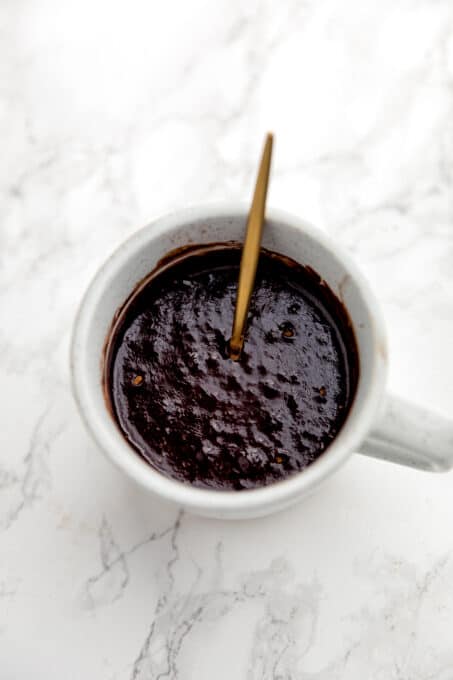
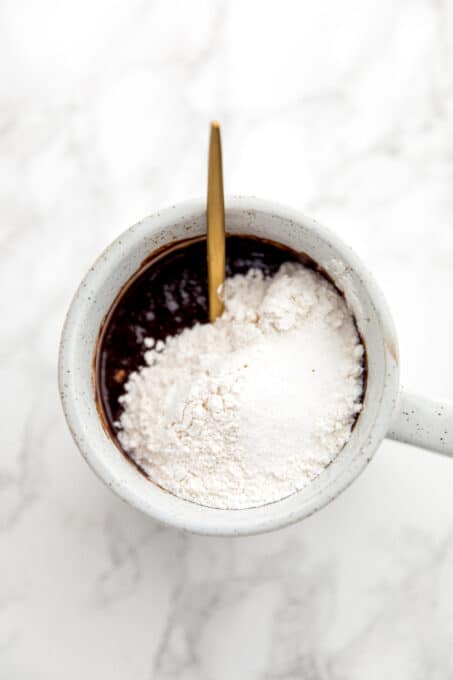
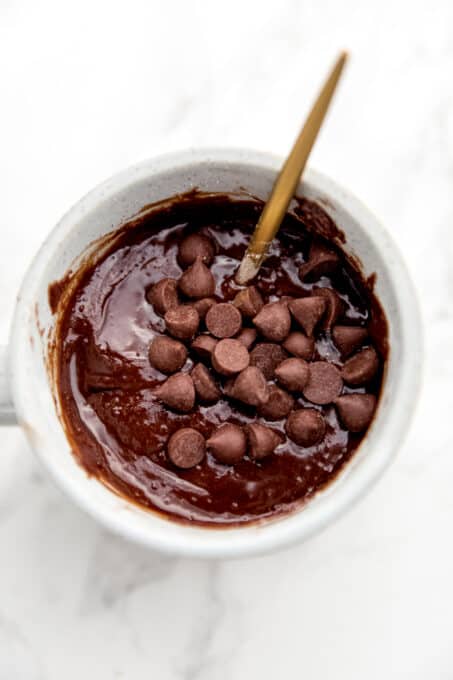
Combine All Ingredients: Using a fork, mix flour, brown sugar, oil, cocoa powder, water, vanilla extract, chocolate chips, and salt in a mug.
Put Mixture in the Microwave: Into the microwave you go! Say a little prayer that it doesn’t explode everywhere. (I put mine on 60 seconds – it was perfect.) Then dig in!
Talk about simple, you guys!
Tips for Success
Looking for some tips on how to make the BEST mug brownie? I’ve got you covered! Here’s what you need to do to get the tastiest and fudgiest brownie:
- Use a wide short-ish mug (like the one in these photos!). If you have a variety to choose from, using this type of mug means the cake rises higher in a concentrated space. I’ve found this helps with cooking.
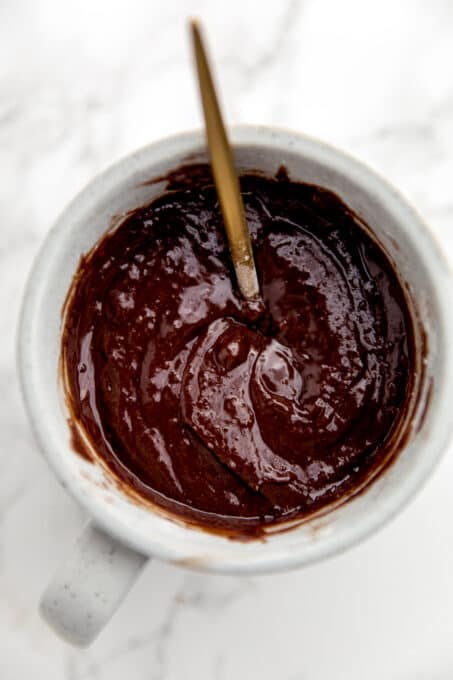
- Make Sure to Stir Thoroughly: Incorporate all the ingredients by scraping the bottom of the mug. You don’t want any loose powder at the bottom when you’re trying to enjoy your brownie!
- Don’t Overcook the Brownie: Microwaves can vary when it comes to cooking, so you made need to adjust the cooking time for this recipe. That may mean adding a few seconds on, or taking a few off. Just make sure you don’t overcook the brownie, because it will become dry – when in doubt, undercooked is better than overcooked.
- Let It Cool: This will allow for the brownie to set and for the texture to develop. It will also ensure that you don’t burn your tongue!
Variation Ideas
Feeling like you need to change things up? That’s totally fine! Mug brownies are easily customized. Here are just a few things you could do to switch this sweet recipe:
- Use Vegan Milk: Instead of water, you can use vegan milk (soy, almond, coconut, etc.) for an even richer end result!
- Add More Chocolate Flavor: To boost the chocolate flavor, you can add ¼ teaspoon ground coffee into the dry ingredients.
- Add-Ons: Add-ons can transform your brownie to make it totally over-the-top delicious! Some of my favorite additions include peanut butter, chocolate chips, M&Ms, etc.
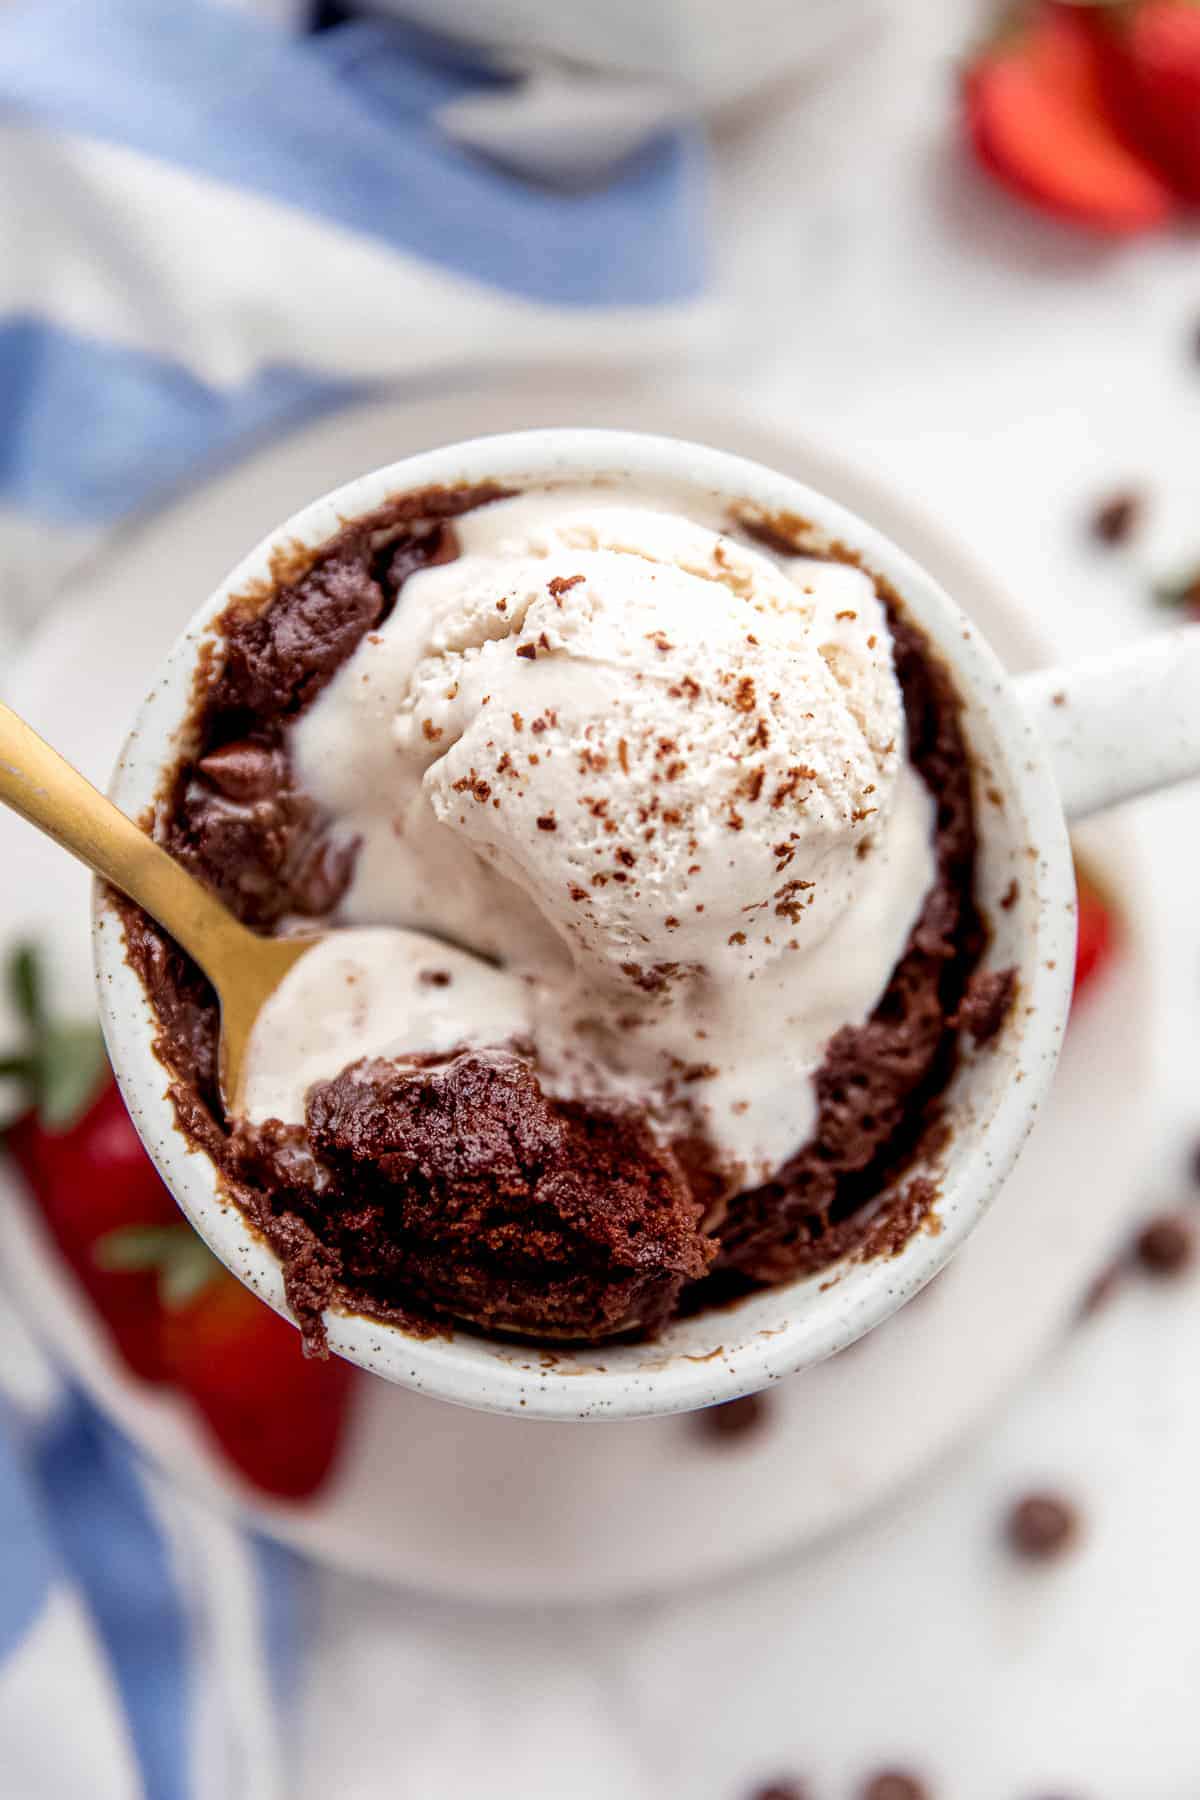
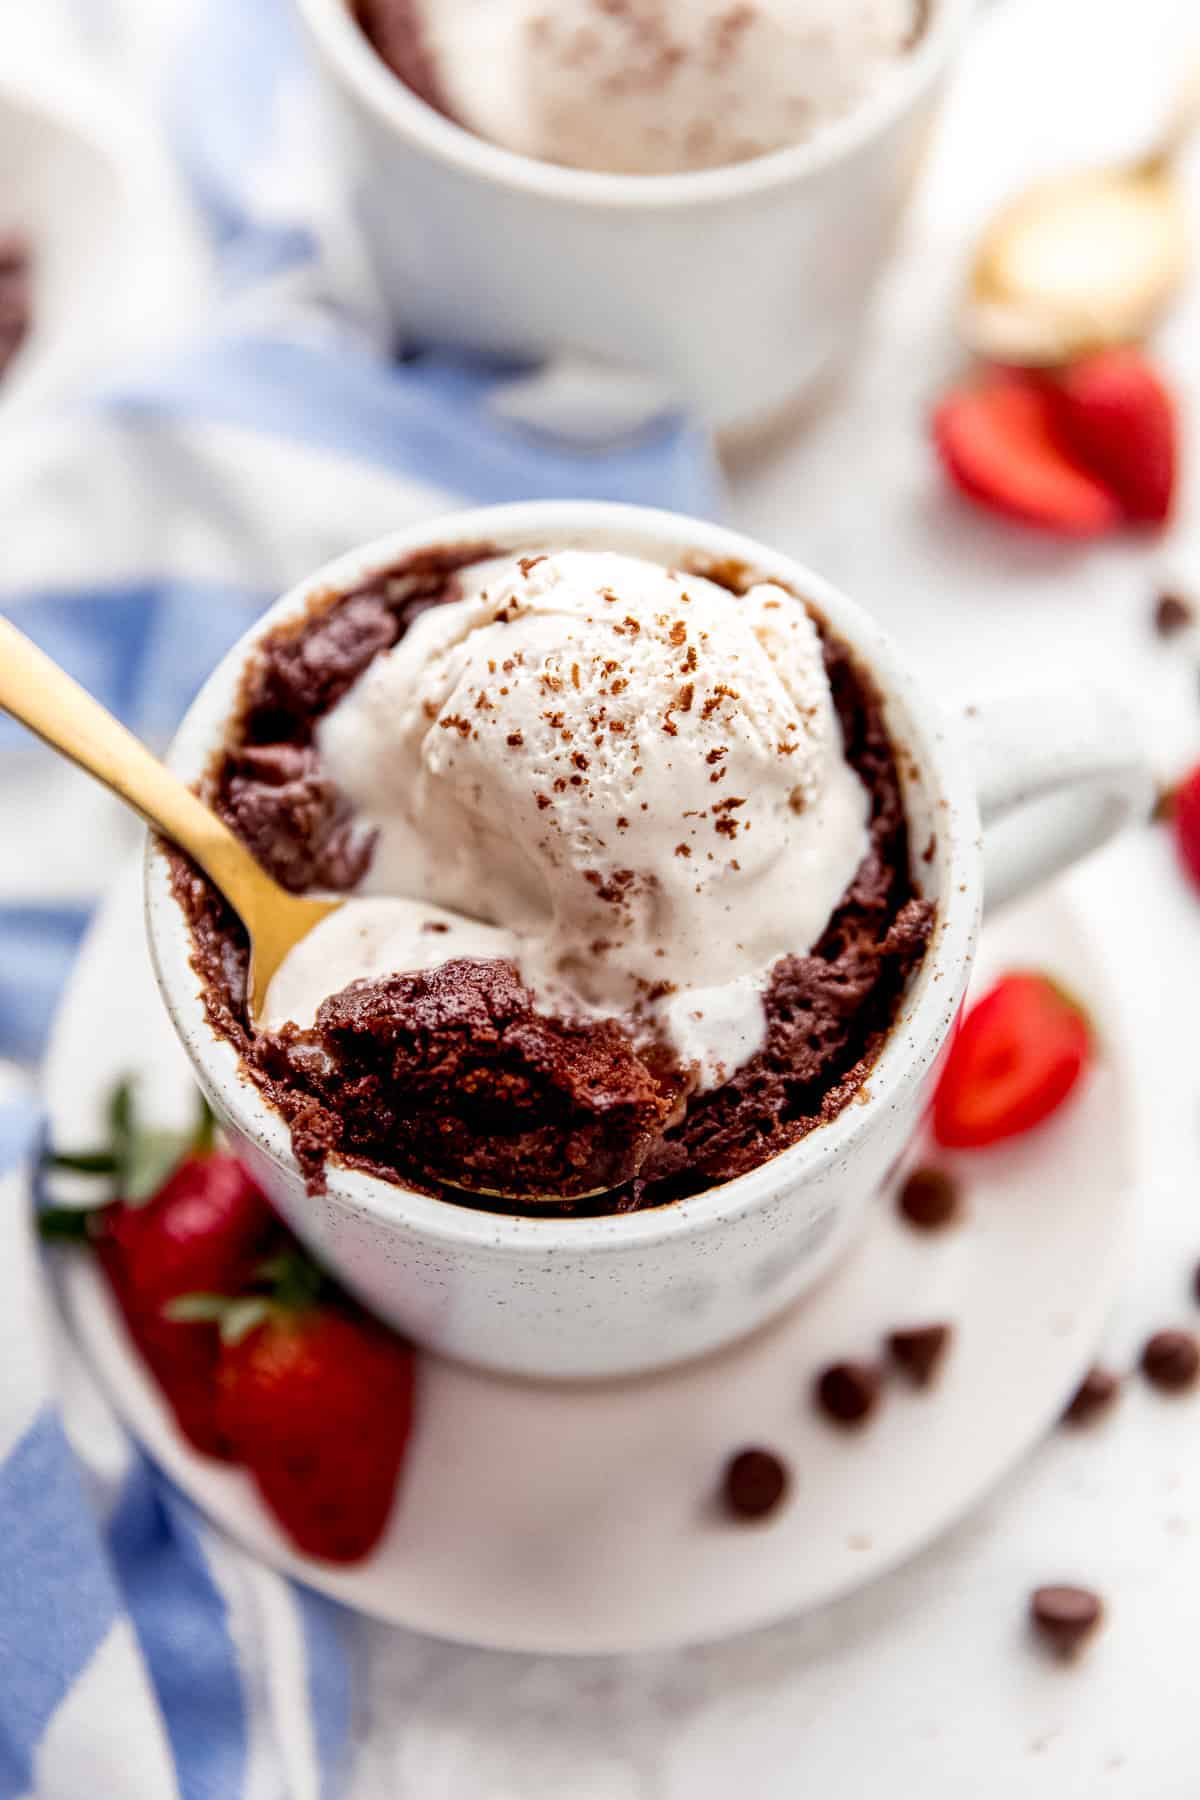
- Serve It With Ice Cream: See if you can fit a scoop of vegan ice cream into that mug – vanilla bean ice cream is my go-to!
If you try this Microwave Mug Brownie – 1 Minute, Vegan please let me know in the comment section below, or tag me on instagram with the hashtag #jessicainthekitchen! For more exclusive recipes follow me on Instagram.
Vegan Mug Brownie
Ingredients
- 2 tablespoons oil
- 2 tablespoons water
- 4 tablespoons brown sugar, or coconut sugar, white sugar or cane sugar
- 2 tablespoons cocoa powder
- 4 tablespoons flour
- ¼ teaspoon sea salt
- ½ teaspoon vanilla extract
- 1 tablespoon chocolate chips, + extra for on top
Instructions
- In a mug, add in the oil, water, sugar and cocoa powder. Whisk together for about 15 seconds. Add in the flour, sea salt and vanilla extract.
- Stir to combine for about 30 more seconds to ensure it’s all incorporated, ensuring you get the bottoms too. Add in the chocolate chips and fold in. Feel free to sprinkle some of them on top.
- Place in your microwave for 60 seconds. It's okay if it's slightly undercooked because it'll continue to cook while it cools. It's better for it to be slightly undercooked than overcooked. Remove and let cool for about 3 to 5 minutes. Trust me!
- Dig in, and enjoy!
Notes
- Use a wide short-ish mug (like the one in these photos!). If you have a variety to choose from, using this type of mug means the cake rises higher in a concentrated space. I’ve found this helps with cooking.
- Make Sure to Stir Thoroughly: Incorporate all the ingredients by scraping the bottom of the mug. You don’t want any loose powder at the bottom when you’re trying to enjoy your brownie!
- Don’t Overcook the Brownie: Microwaves can vary when it comes to cooking, so you made need to adjust the cooking time for this recipe. That may mean adding a few seconds on, or taking a few off. Just make sure you don’t overcook the brownie, because it will become dry – when in doubt, undercooked is better than overcooked.
- Let It Cool: This will allow for the brownie to set and for the texture to develop. It will also ensure that you don’t burn your tongue!
Disclaimer: Although jessicainthekitchen.com attempts to provide accurate nutritional information, kindly note that these are only estimates. Nutritional information may be affected based on the product type, the brand that was purchased, and in other unforeseeable ways. Jessicainthekitchen.com will not be held liable for any loss or damage resulting for your reliance on nutritional information. If you need to follow a specific caloric regimen, please consult your doctor first.
More Vegan Dessert Ideas
On the search for more easy vegan dessert recipes? Here are some of my favorites:



Recipie worked perfectly. The end product was pretty good. Will surely make this again!
Omgosh I’ve made this 2 days in a row! It’s so simple it should be a crime! Cake in a minute! It’s so delicious too! Thank you!
Awesome Whitney! We’re so happy you like it.
I did it! So, so good. I put Oatly vanilla ice cream on top…mmm.
For others who might be wondering what mug to use: I made this in a Fiestaware cup (not the mug, but the cup that has a saucer with it—it’s shorter than the mug and it worked perfectly).
Wow that sounds incredible! We’re so happy you tried it and liked it Lisa.
Best thing ever 100%
Nom!!! I love this recipe and it’s so easy to make. Thanks for sharing.
The recipe was easy and came out great. I added a few Choco chips and a glob of peanut butter before microwaving. I think next go round I’m going to try a little less brown sugar. 4tbsp in one cup seemed like a lot once I saw it in the mug.
This sounds wonderful and we’ve loved all your recipes that I’ve made so far. I don’t use the microwave as it changes the molecular structure of the food. What temperature and amount of time would be best for oven baking? Thanks!
Hi Susan,
Try 350F/180C for 25-30 minutes. Enjoy!
This was the first mug cake that I truly enjoyed! It was so easy to make as well. I used vegan butter instead of oil. Thank you for this lovely recipe <3
Hi Ashna,
So so happy to hear that you loved this recipe. Thank you for taking the time to share.
So easy and so yummy! My teenage daughters and I made this tonight and enjoyed it while watching a movie. We will make it again , thank you!