Vegan Strawberry Crisp – 7 Ingredients
This strawberry crisp is sweet, juicy, and so easy to make! It uses only 7 ingredients, most of which are already in your pantry, and makes a great quick vegan dessert!
Estimated reading time: 7 minutes
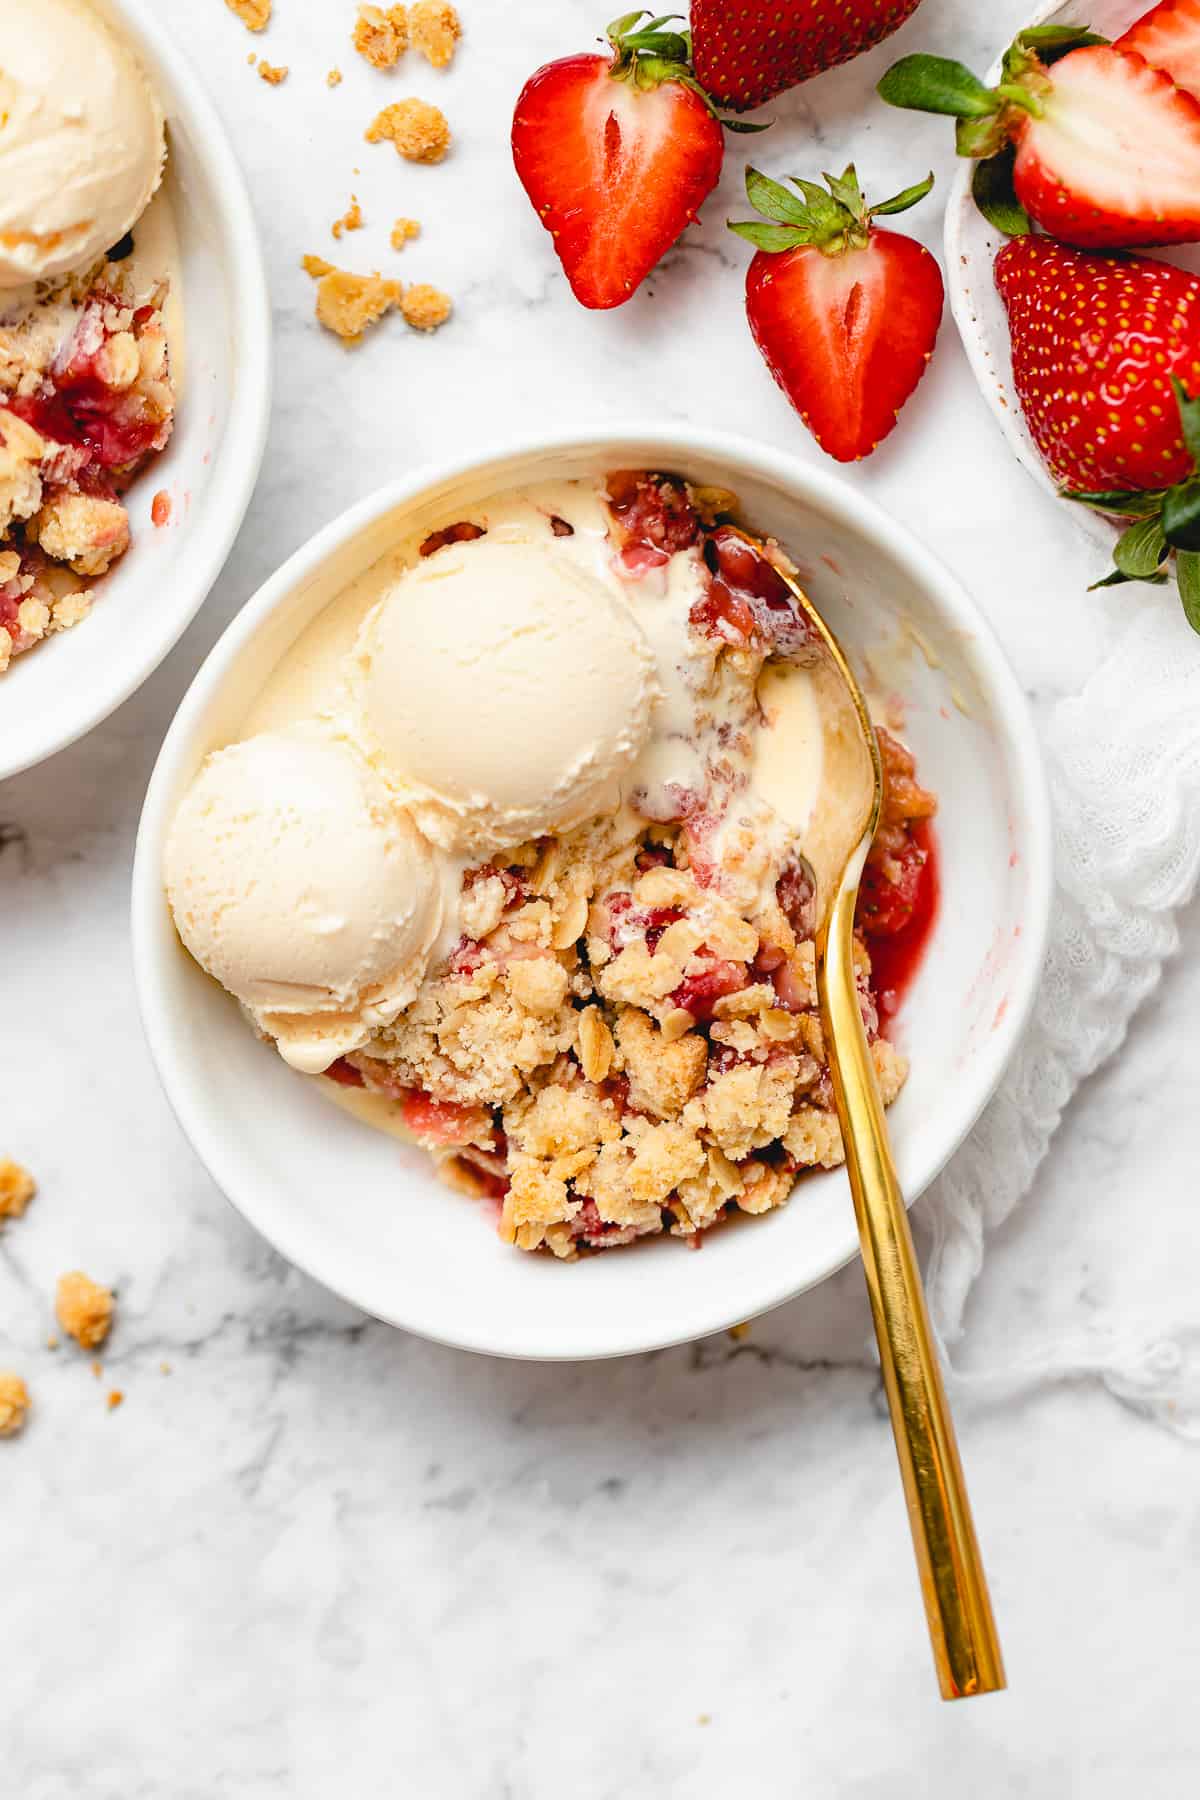
Vegan Strawberry Crisp has been my go-to quick fruity dessert for a while. Sometimes I substitute in blueberries, or even apples, but I always return to strawberries. I love how macerated they get and how they naturally breakdown to be such a juicy and fruity dessert. The crisp topping is the perfect mix of crispy and buttery, with a hint of sweetness for a great weeknight dessert!
This post is sponsored by Bob’s Red Mill! Thanks for supporting the brands that support Jessica in the Kitchen! All thoughts and opinions are my own!
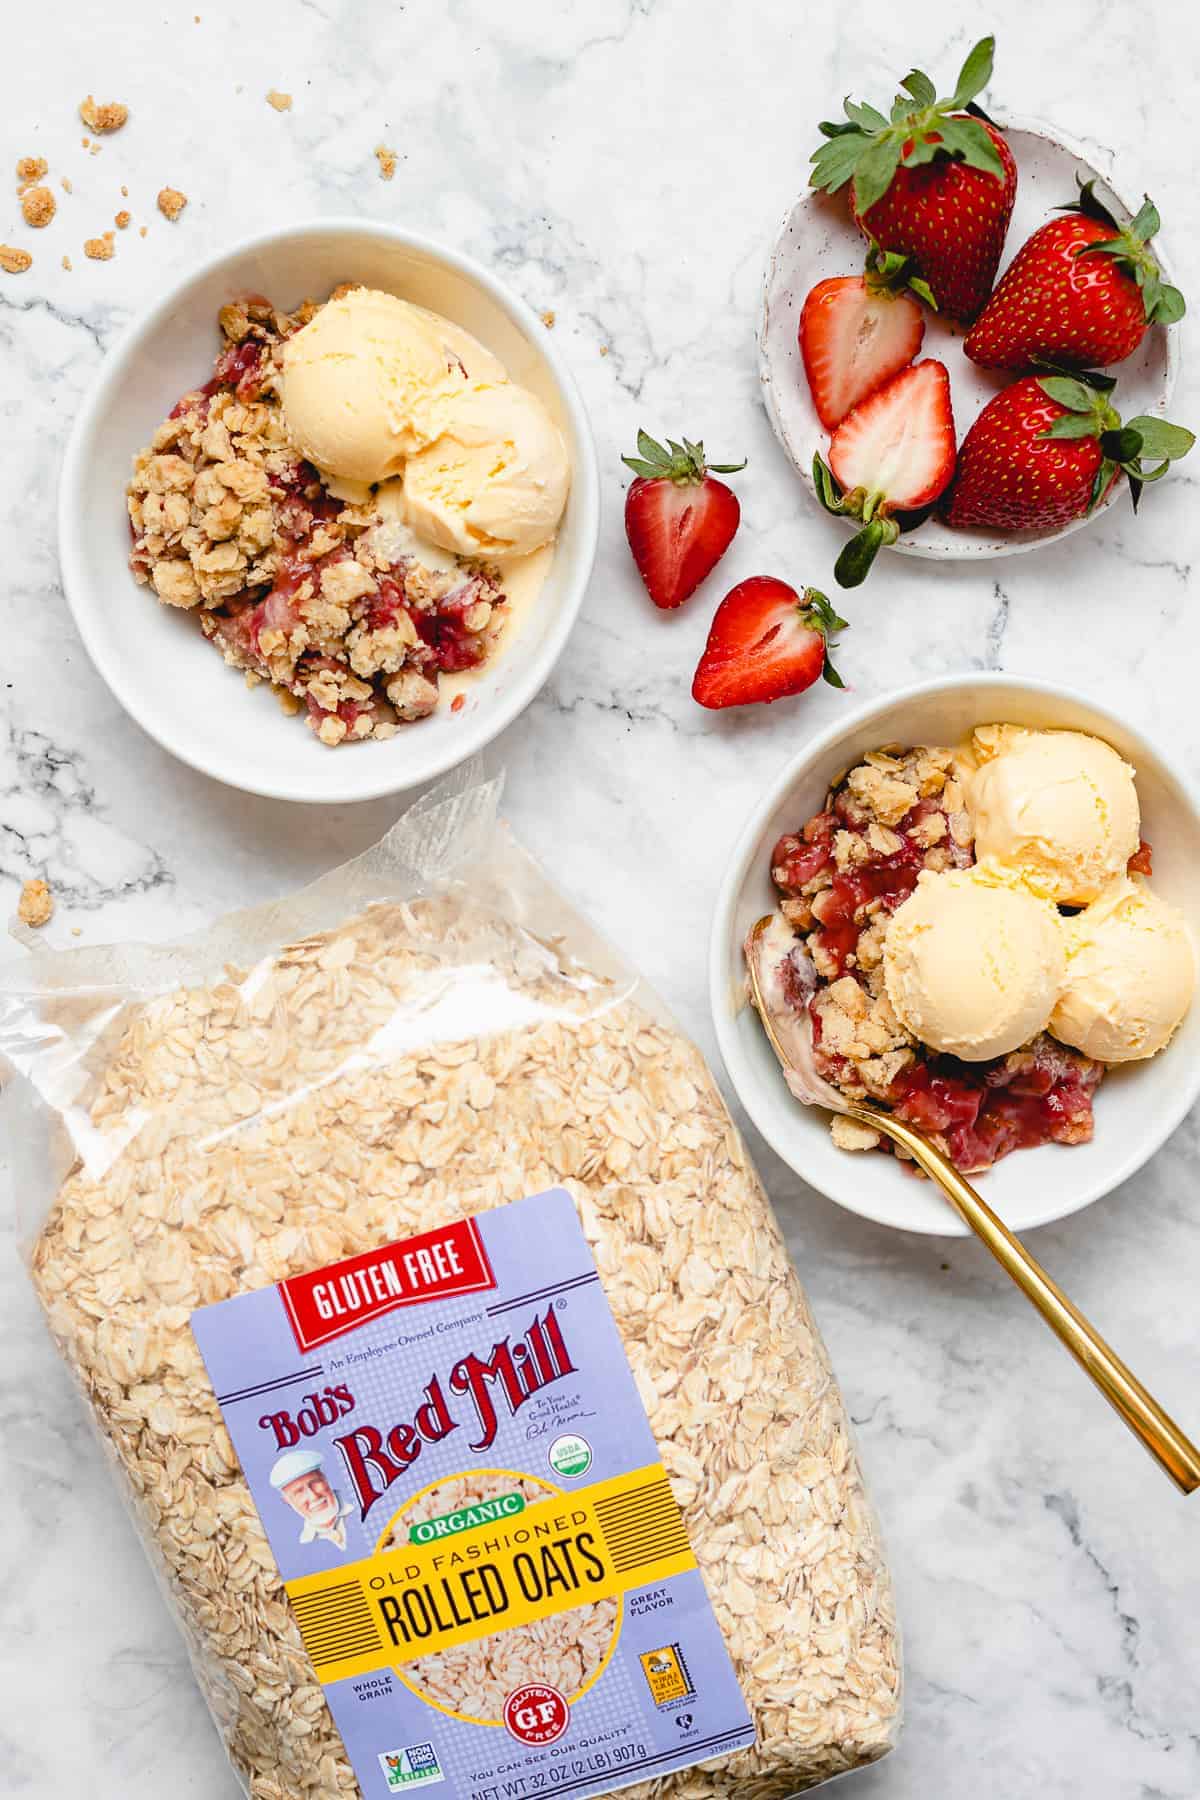
I’ve re-done this recipe to be a completely updated treat of the version I’ve enjoyed and I’m so happy to be re-making it with Bob’s Red Mill products, and to be a Bob’s Red Mill ambassador!
I’ve loved being an ambassador for so many years and seeing how many of you have converted to using their products. I go into the two products that I use here in more detail below, but I love the high quality, consistency, and taste/texture of all their products. They work perfectly in this crisp, too!
P.S. – Do you call it a crisp or a crumble? I call this recipe a crisp, but I’ve also got a recipe for Strawberry Crumble!
Why You’ll Love This Strawberry Crisp
Grab those fresh strawberries, and let’s get started on this simple strawberry crisp recipe! Here’s why I’m so obsessed with this dessert:
- Sweet and citrusy. Soft, citrus-infused strawberries pair so well with a sweet, crispy oat topping! It’s too good for words.
- Quick and easy. You can prep this dessert in 20 minutes with only 7 ingredients! Then, all you have to do is wait for it to bake and cool.
- The perfect summer dessert for any occasion. Strawberry crisp is the perfect casual dessert for a warm summer night, but you can also double the recipe and serve it for a dinner party. Up to you!
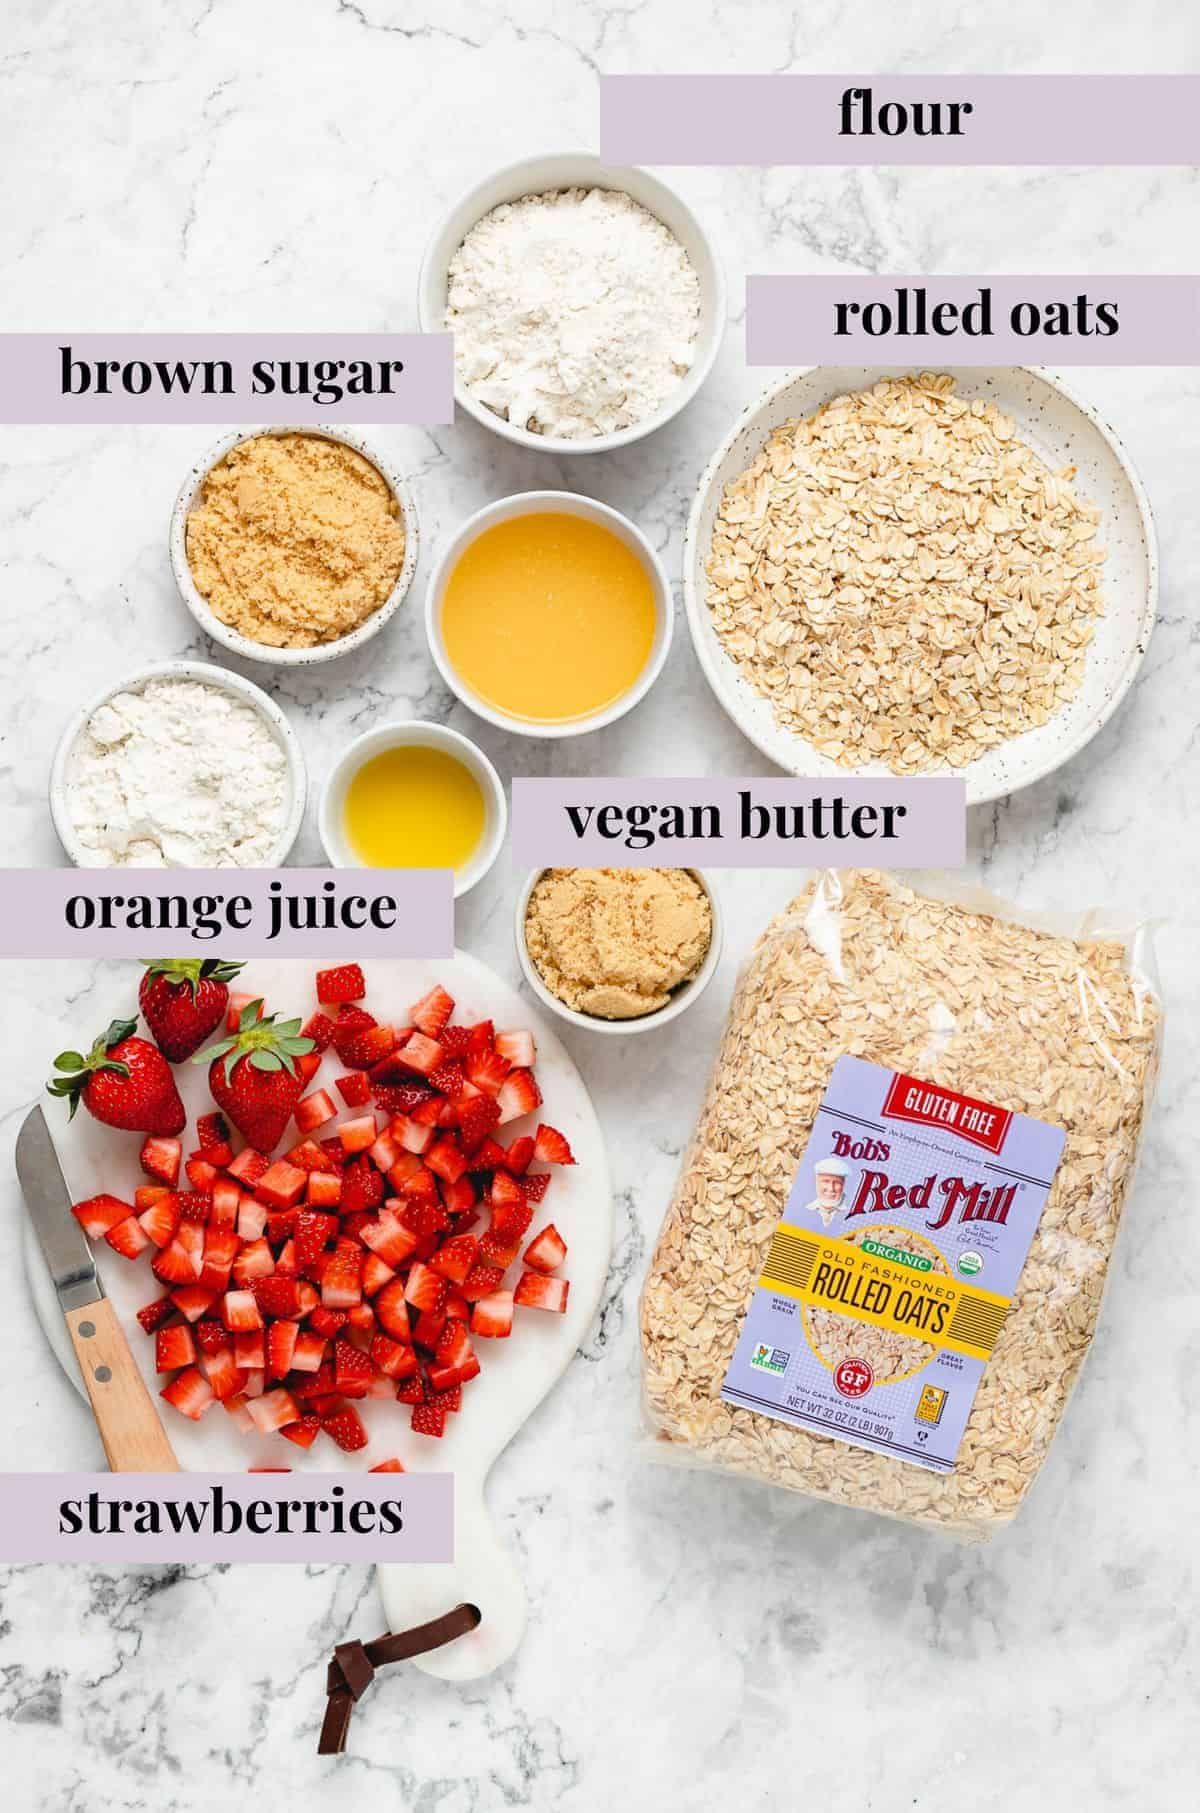
Notes on Ingredients
Scroll down to the recipe card to find the ingredient quantities and recipe instructions.
- Brown Sugar – You can also use regular granulated sugar, coconut sugar, or any other kind as long as it’s not liquid.
- Bob’s Red Mill 1-to-1 Gluten Free Baking Flour – My favourite gluten free flour! I use it to create a nice, thick, juicy filling, and in the topping for the perfect crunchy crisp.
- Strawberries – You can use either fresh or frozen! I have tips below if you’re using frozen.
- Orange Juice – This adds a bright punch of tangy flavour! You could also use lemon juice (half the amount) or pineapple juice.
- Sea Salt – This brings all the flavours together. If you’re using kosher salt, use a little less so that it’s not too salty (since the granules are smaller).
- Bob’s Red Mill Gluten Free Organic Old Fashioned Rolled Oats – These are my favourite oats! I love that they are certified gluten free if you need them to be. I recommend sticking to the old fashioned rolled oats kind so that the texture is correct. If you use quick oats, they might dissolve too quickly while cooking.
- Melted Vegan Butter – Vegan butter helps achieve the desired crisp, buttery consistency of the topping. The one I use is salted. If yours is unsalted, add a pinch of salt. You could also sub in oil, adding a pinch of salt.
How to Make Vegan Strawberry Crisp
Ready to see how this easy strawberry crisp comes together? Here’s the step-by-step guide!
- Prepare. Preheat the oven to 375°F/190°C.
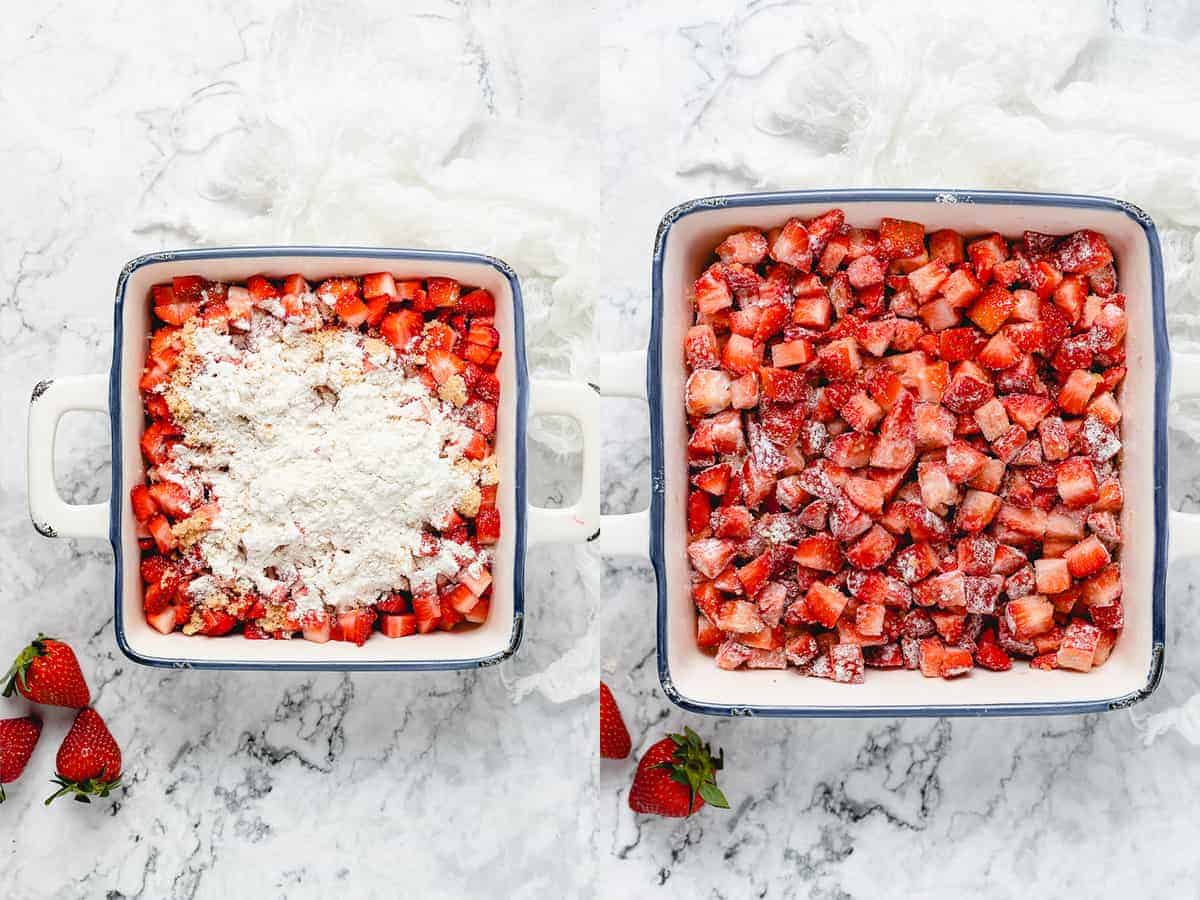
- Coat the strawberries. In your 8×8 baking dish, stir together the sugar, the Bob’s Red Mill 1-to-1 Gluten Free Baking Flour, and the sea salt. Add the strawberries and toss to coat them completely. Allow everything to sit for 10 minutes to bring out the flavor of the strawberries and to thicken their juices.
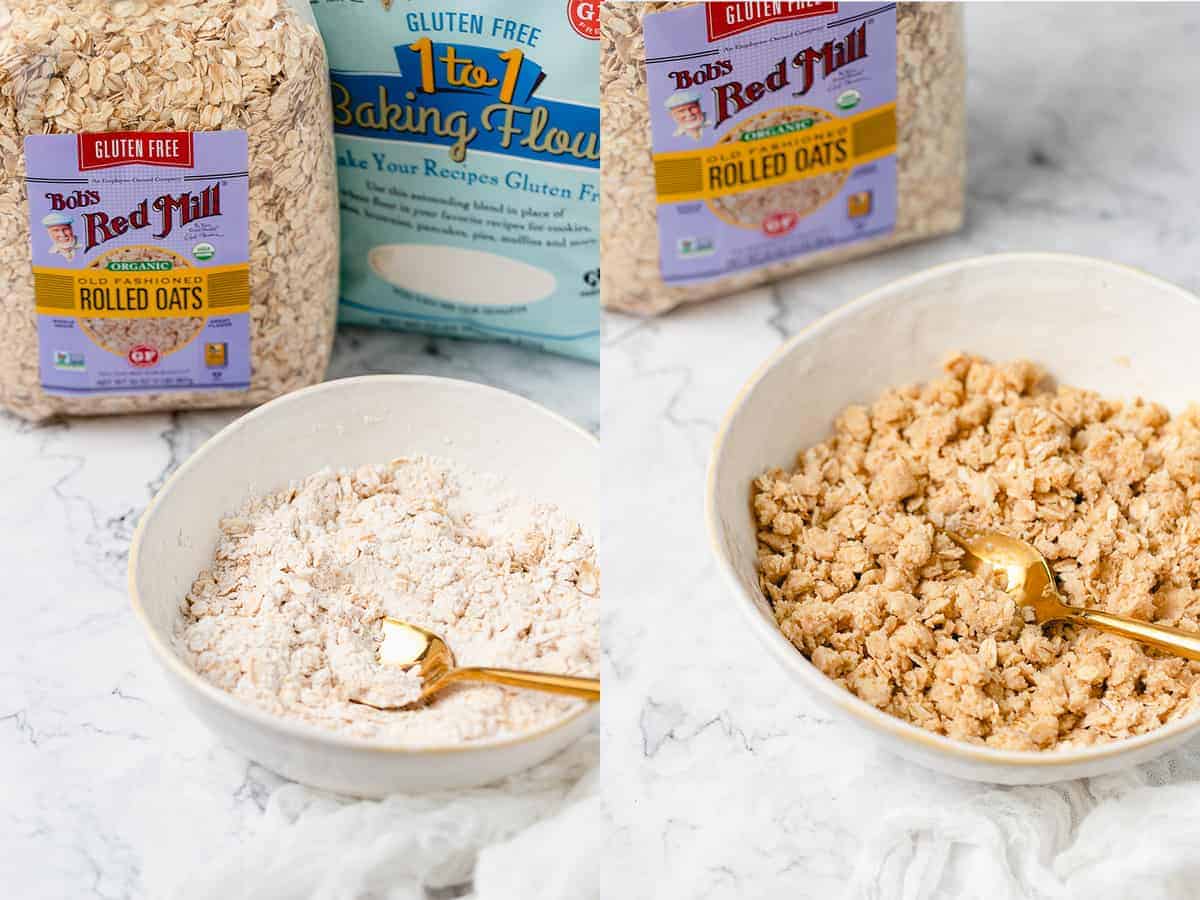
- Make the crisp topping. In another bowl, mix together the Bob’s Red Mill Gluten Free Organic Old Fashioned Rolled Oats, the remaining Bob’s Red Mill 1-to-1 Gluten Free Baking Flour, and the sugar. Pour the melted butter over the sugar and flour, and mix bit by bit until a crumble forms. You can use your fingers to clump it together in bits too. Don’t over-mix it.
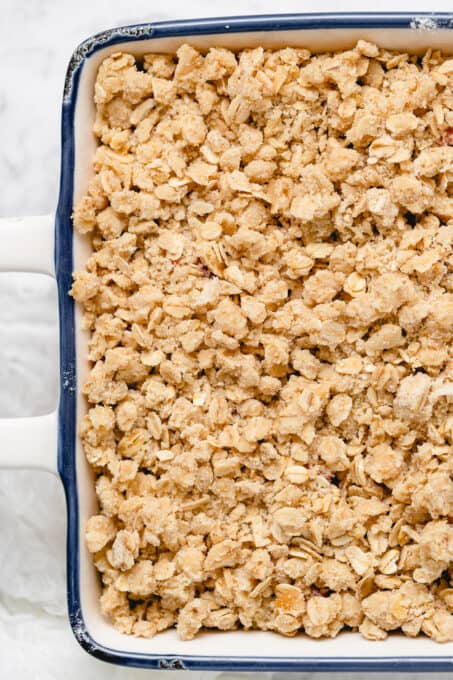
- Assemble. Top the strawberries with the oat flour mixture, covering everything entirely.
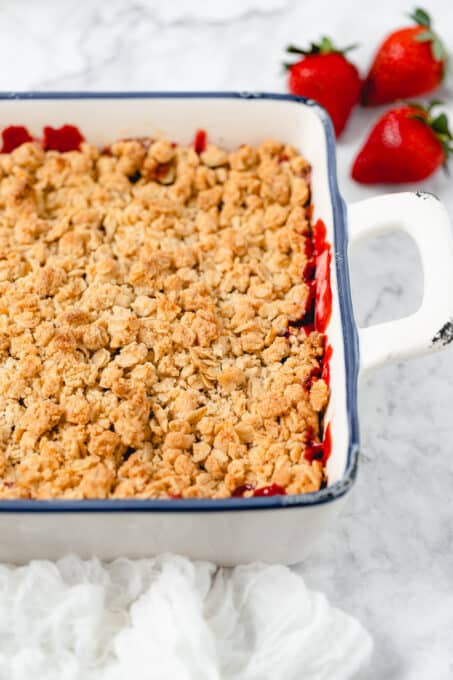
- Bake the crisp. Bake for 30 minutes, then broil on low for a few minutes until the top is golden brown. Allow everything to cool for 10 minutes before serving. Scoop into bowls and serve with ice cream for the best result!
Tips for Success
It’s a pretty simple process, but I’ve got a couple of tips and tricks that will help you out with this strawberry crisp recipe!
- Add more sugar if needed. If you’re using very fresh and tart strawberries, feel free to increase the sugar in the filling by 1 or 2 tablespoons. You can always taste a small amount of it after the ten minute rest period to see if it’ll be sweet enough for you!
- If you’re using frozen strawberries, let them thaw completely first. You can drain off the excess liquid, or add in a few more tablespoons of flour until it looks like in the photos.
- For a thicker crisp. If you want a thicker crisp, feel free to make a little bit more of the topping to cover it up even more!
- Possible flour substitutions. If you’re not gluten free, you can use Bob’s Red Mill Unbleached White All Purpose Flour.
- You could also use individual ramekins to make this. I would split it between 4-5 individual ones.
Serving Suggestions
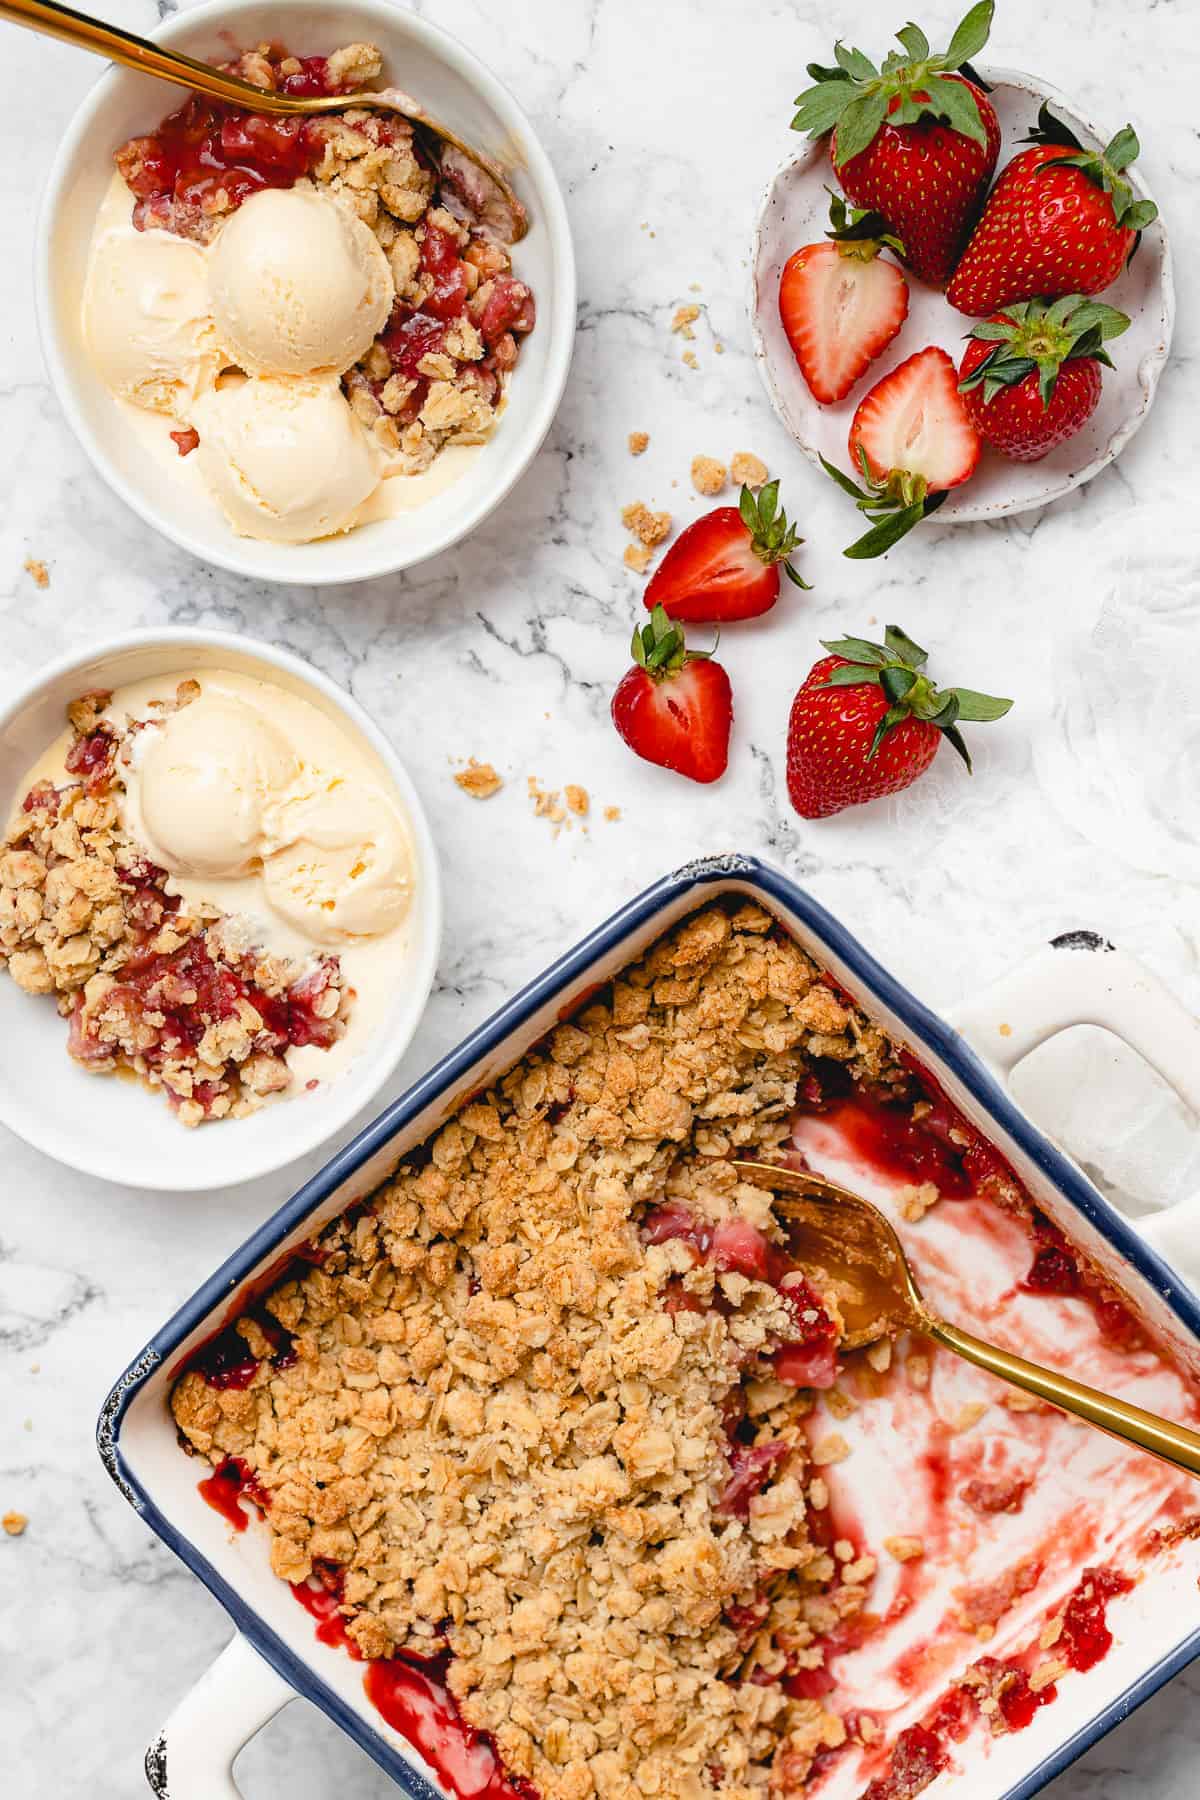
Strawberry crisp is pretty great as-is, but there are a couple of add-ons that you can indulge in if you like! A scoop of my Cashew Ice Cream would taste incredible with this. Cashew Whipped Cream would be great, too! A serving of fresh fruit on the side (blueberries, raspberries, blackberries, etc.) is always a good idea as well.
How to Store and Reheat Leftovers
This strawberry crisp recipe will last in your fridge for at least 4 days in an airtight container! Reheat it in the microwave for about 30 seconds, or heat it in the oven at 350ºF until warmed through.
Can I Freeze This Strawberry Crisp?
Once completely cooled, you can store this strawberry crisp in an airtight container in the freezer for 2-3 months. Remember to thaw it in the fridge overnight before reheating!
More Strawberry Desserts
Want to try some more easy strawberry dessert ideas? These ones are some of my favorites!
Enjoy friends! If you make this Vegan Strawberry Crisp, please snap a photo and tag #jessicainthekitchen on Instagram! We’d also love if you would leave a comment below, and give the recipe a rating! Thanks so much!

Vegan Strawberry Crisp – 7 Ingredients
Ingredients
Strawberry Filling
- ¼ cup brown sugar, or cane sugar, coconut sugar or white sugar
- 3 tablespoons Bob’s Red Mill Gluten Free 1-to-1 Baking Flour, or Bob’s Red Mill Unbleached White All Purpose Flour if you’re not gluten free
- ¼ teaspoon sea salt
- 2 pounds fresh strawberries, chopped (about 5 cups whole)
- 1 tablespoon orange juice, or pineapple juice
Crisp Topping
- ¾ cup Bob’s Red Mill Gluten Free 1-to-1 Baking Flour, or Bob’s Red Mill Unbleached White All Purpose Flour if you’re not gluten free
- ¾ cup Bob's Red Mill Gluten Free Old Fashioned Rolled Oats
- 5 tablespoons brown sugar, or cane sugar, coconut sugar or white sugar
- 6 tablespoons melted vegan butter, salted (if using unsalted, add a pinch of sea salt)
Instructions
Strawberry Filling
- Preheat oven to 375°F/190°C.
- In your 8×8 baking dish, stir together the ¼ cup of sugar, 3 tablespoons Bob’s Red Mill 1-to-1 Gluten Free Baking Flour, and the sea salt. Add the strawberries and orange juice and toss to coat completely. Allow to sit for 10 minutes to bring out the flavor of the strawberries and to thicken their juices.
Crisp Topping
- In another bowl, mix together the oats, remaining 3/4 cup Bob’s Red Mill 1-to-1 Gluten Free Baking Flour, and 5 tablespoons sugar. Pour over the melted butter and mix until bit by bit until a crumble forms. You can use your fingers to clump it together in bits too. Don't over mix it.
- Top the strawberries with the oat flour mixture, covering everything entirely.
Putting It All Together
- Bake for 30 minutes, then broil on low for a few minutes until top is golden brown.
- Allow to cool for 10 minutes before serving. Scoop into bowls and serve with ice cream for the best result!
Notes
- If you’re using very fresh and tart strawberries, feel free to increase the sugar in the filling by 1 or 2 tablespoons. You can always taste a small amount of it after the ten minute rest period to see if it’ll be sweet enough for you!
- If you’re using frozen strawberries, let them thaw completely first. You can drain off the excess liquid, or add in a few more tablespoons of flour until it looks like in the photos.
- If you want a thicker crisp, feel free to make a little bit more to cover it up even more!
- If you’re not gluten free, you can use Bob’s Red Mill Unbleached White All Purpose Flour.
- You could also use individual ramekins to make this – I would split it between 4-5 individual ones.
- A scoop of my Cashew Ice Cream would taste incredible with this!
- To store: This strawberry crisp recipe will last in your fridge for at least 4 days in an airtight container! Reheat it in the microwave for about 30 seconds, or heat it in the oven at 350ºF until warmed through.
- To freeze: Once completely cooled, you can store this strawberry crisp in an airtight container in the freezer for 2-3 months. Remember to thaw it in the fridge overnight before reheating!
Disclaimer: Although jessicainthekitchen.com attempts to provide accurate nutritional information, kindly note that these are only estimates. Nutritional information may be affected based on the product type, the brand that was purchased, and in other unforeseeable ways. Jessicainthekitchen.com will not be held liable for any loss or damage resulting for your reliance on nutritional information. If you need to follow a specific caloric regimen, please consult your doctor first.


Thank you!!
Turned out delicious! Even my non vegan son agreed!
When do you add the 1 TBSP of juice? I don’t see that mentioned. Thanks!
Hi Julie,
Apologies about that! Add it to the strawberries in step 2! I just updated the recipe. Enjoy so much!
Made a double batch, and added some rhubarb to the mix – delicious! Rave reviews from the whole crowd.
LOVE the rhubarb idea Marianne!! Thanks so much for sharing!!
I just made this strawberry crisp & it was delicious! I try to bake things healthier & this recipe was perfect. Thank you for sharing your recipe.
Hi Cindy,
So happy to hear that you loved this Vegan Strawberry Crisp recipe. Thank you ever so much for sharing the love!