Baked Vegan Mac and Cheese
This Baked Vegan Mac and Cheese is creamy, cheesy, and finished with an irresistible crispy, buttery breadcrumb topping! It makes great leftovers, and it works as both a side dish and a plant-based entree!
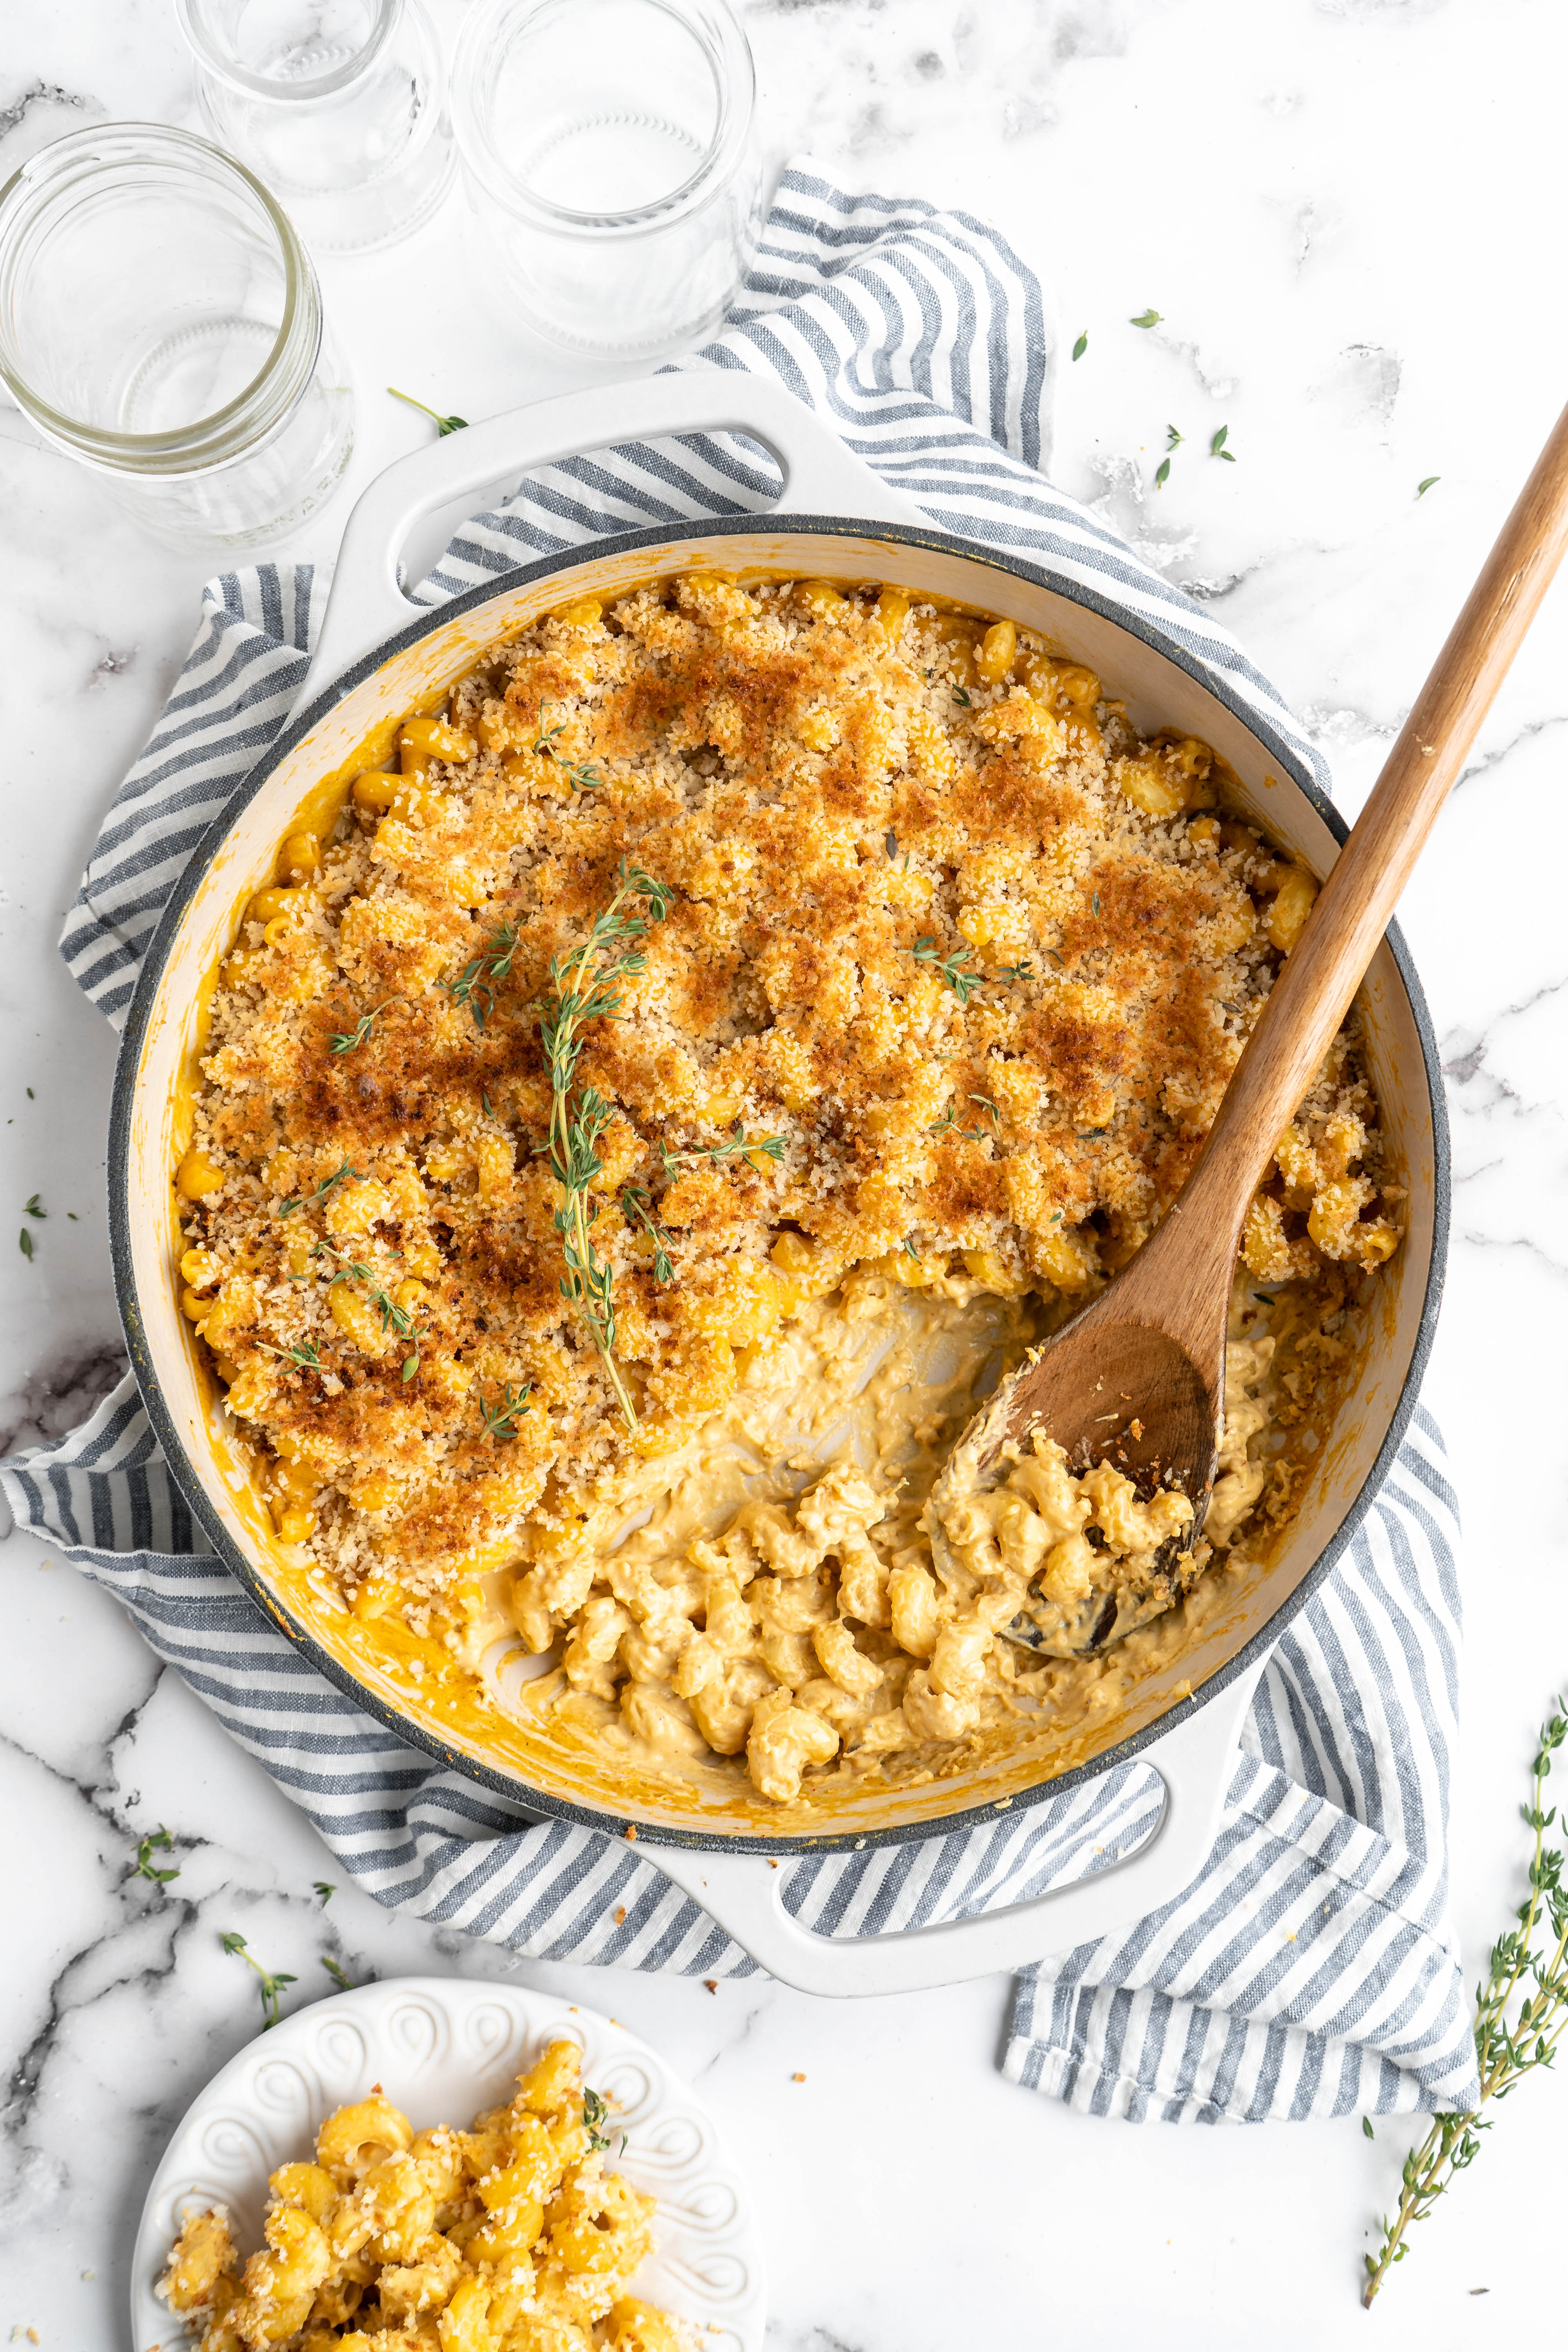
One of the most common sentiments I hear from vegetarians who are hesitant to go vegan is: “but I love cheese!”
I get it! Believe me, I loved cheese too. But there are so many incredible vegan cheeses out there these days, and you don’t even need to go to the fancy expensive grocery store to find them. You can make them at home!
The cheese sauce at the heart of this baked vegan mac and cheese recipe is the perfect example. It combines an assortment of easy-to-find ingredients that, when put together, create the creamy, smooth, umami-rich cheese flavour you know and love.
Toss it with elbow noodles, top it with buttery breadcrumbs, and you have yourself a classic mac and cheese dish—no dairy needed!
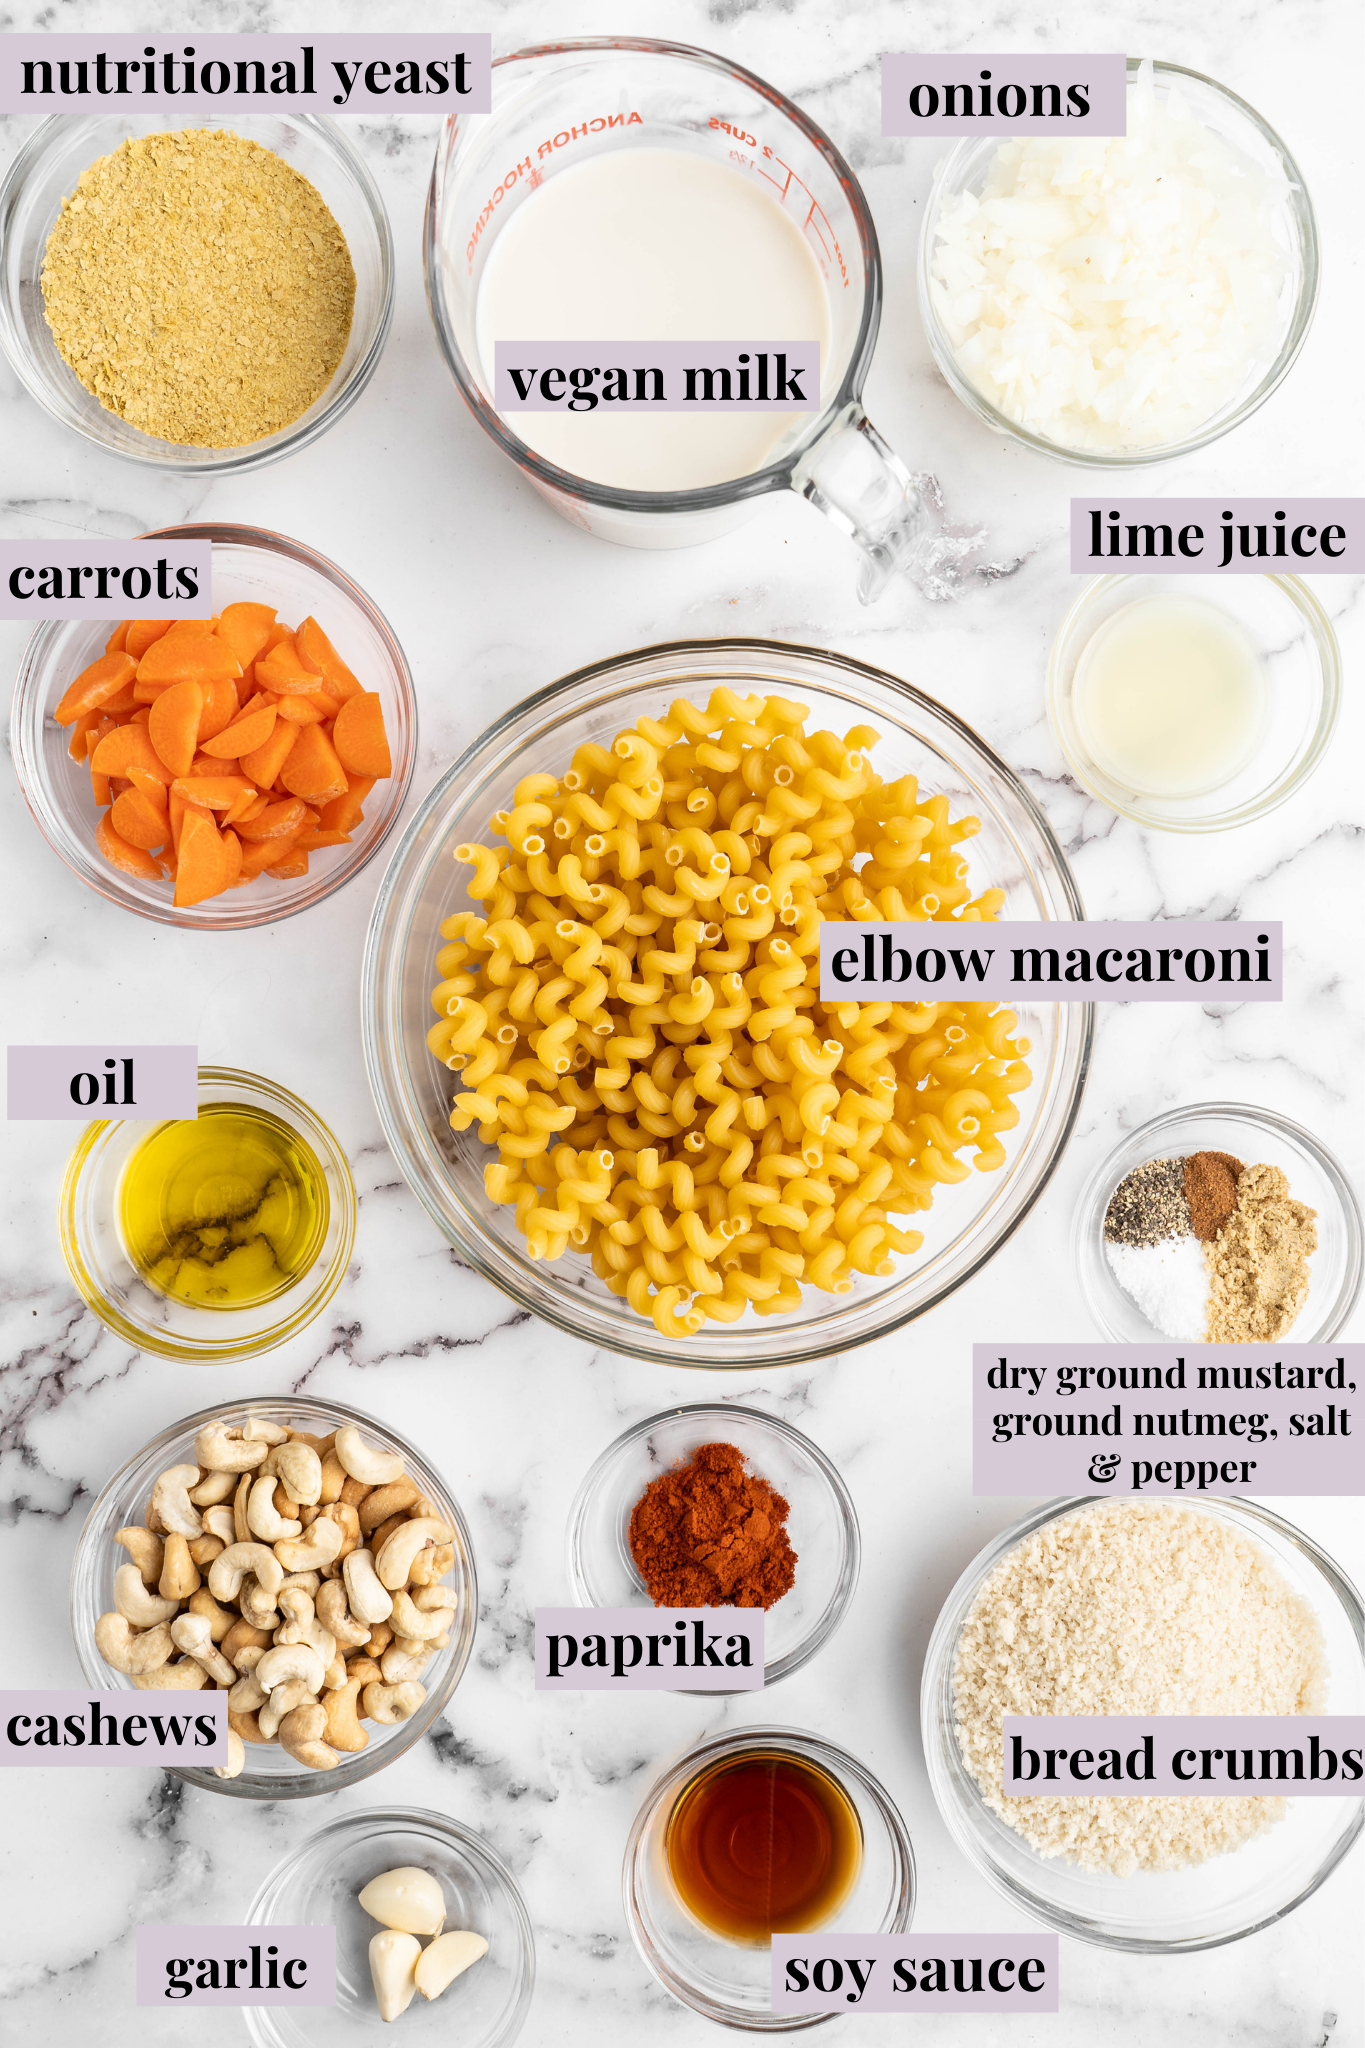
Notes on Ingredients
Please note that this is important information on the ingredients and instructions and the FULL recipe with amounts and details can be found DOWN BELOW (scroll to it) in the recipe card.
For the vegan mac and cheese:
- Elbow macaroni – If you prefer, you can use a different pasta shape, but make sure it’s one that “holds” creamy sauces well like shells, rotini, or cavatappi!
- Oil – Any oil will work, but I typically use olive oil.
- Carrot & Yellow onion – this recipe was updated in June 2025 to remove the need to saute the carrots and the onions on the stovetop, to create more ease while making this dish! They are no longer included in the recipe.
- Garlic
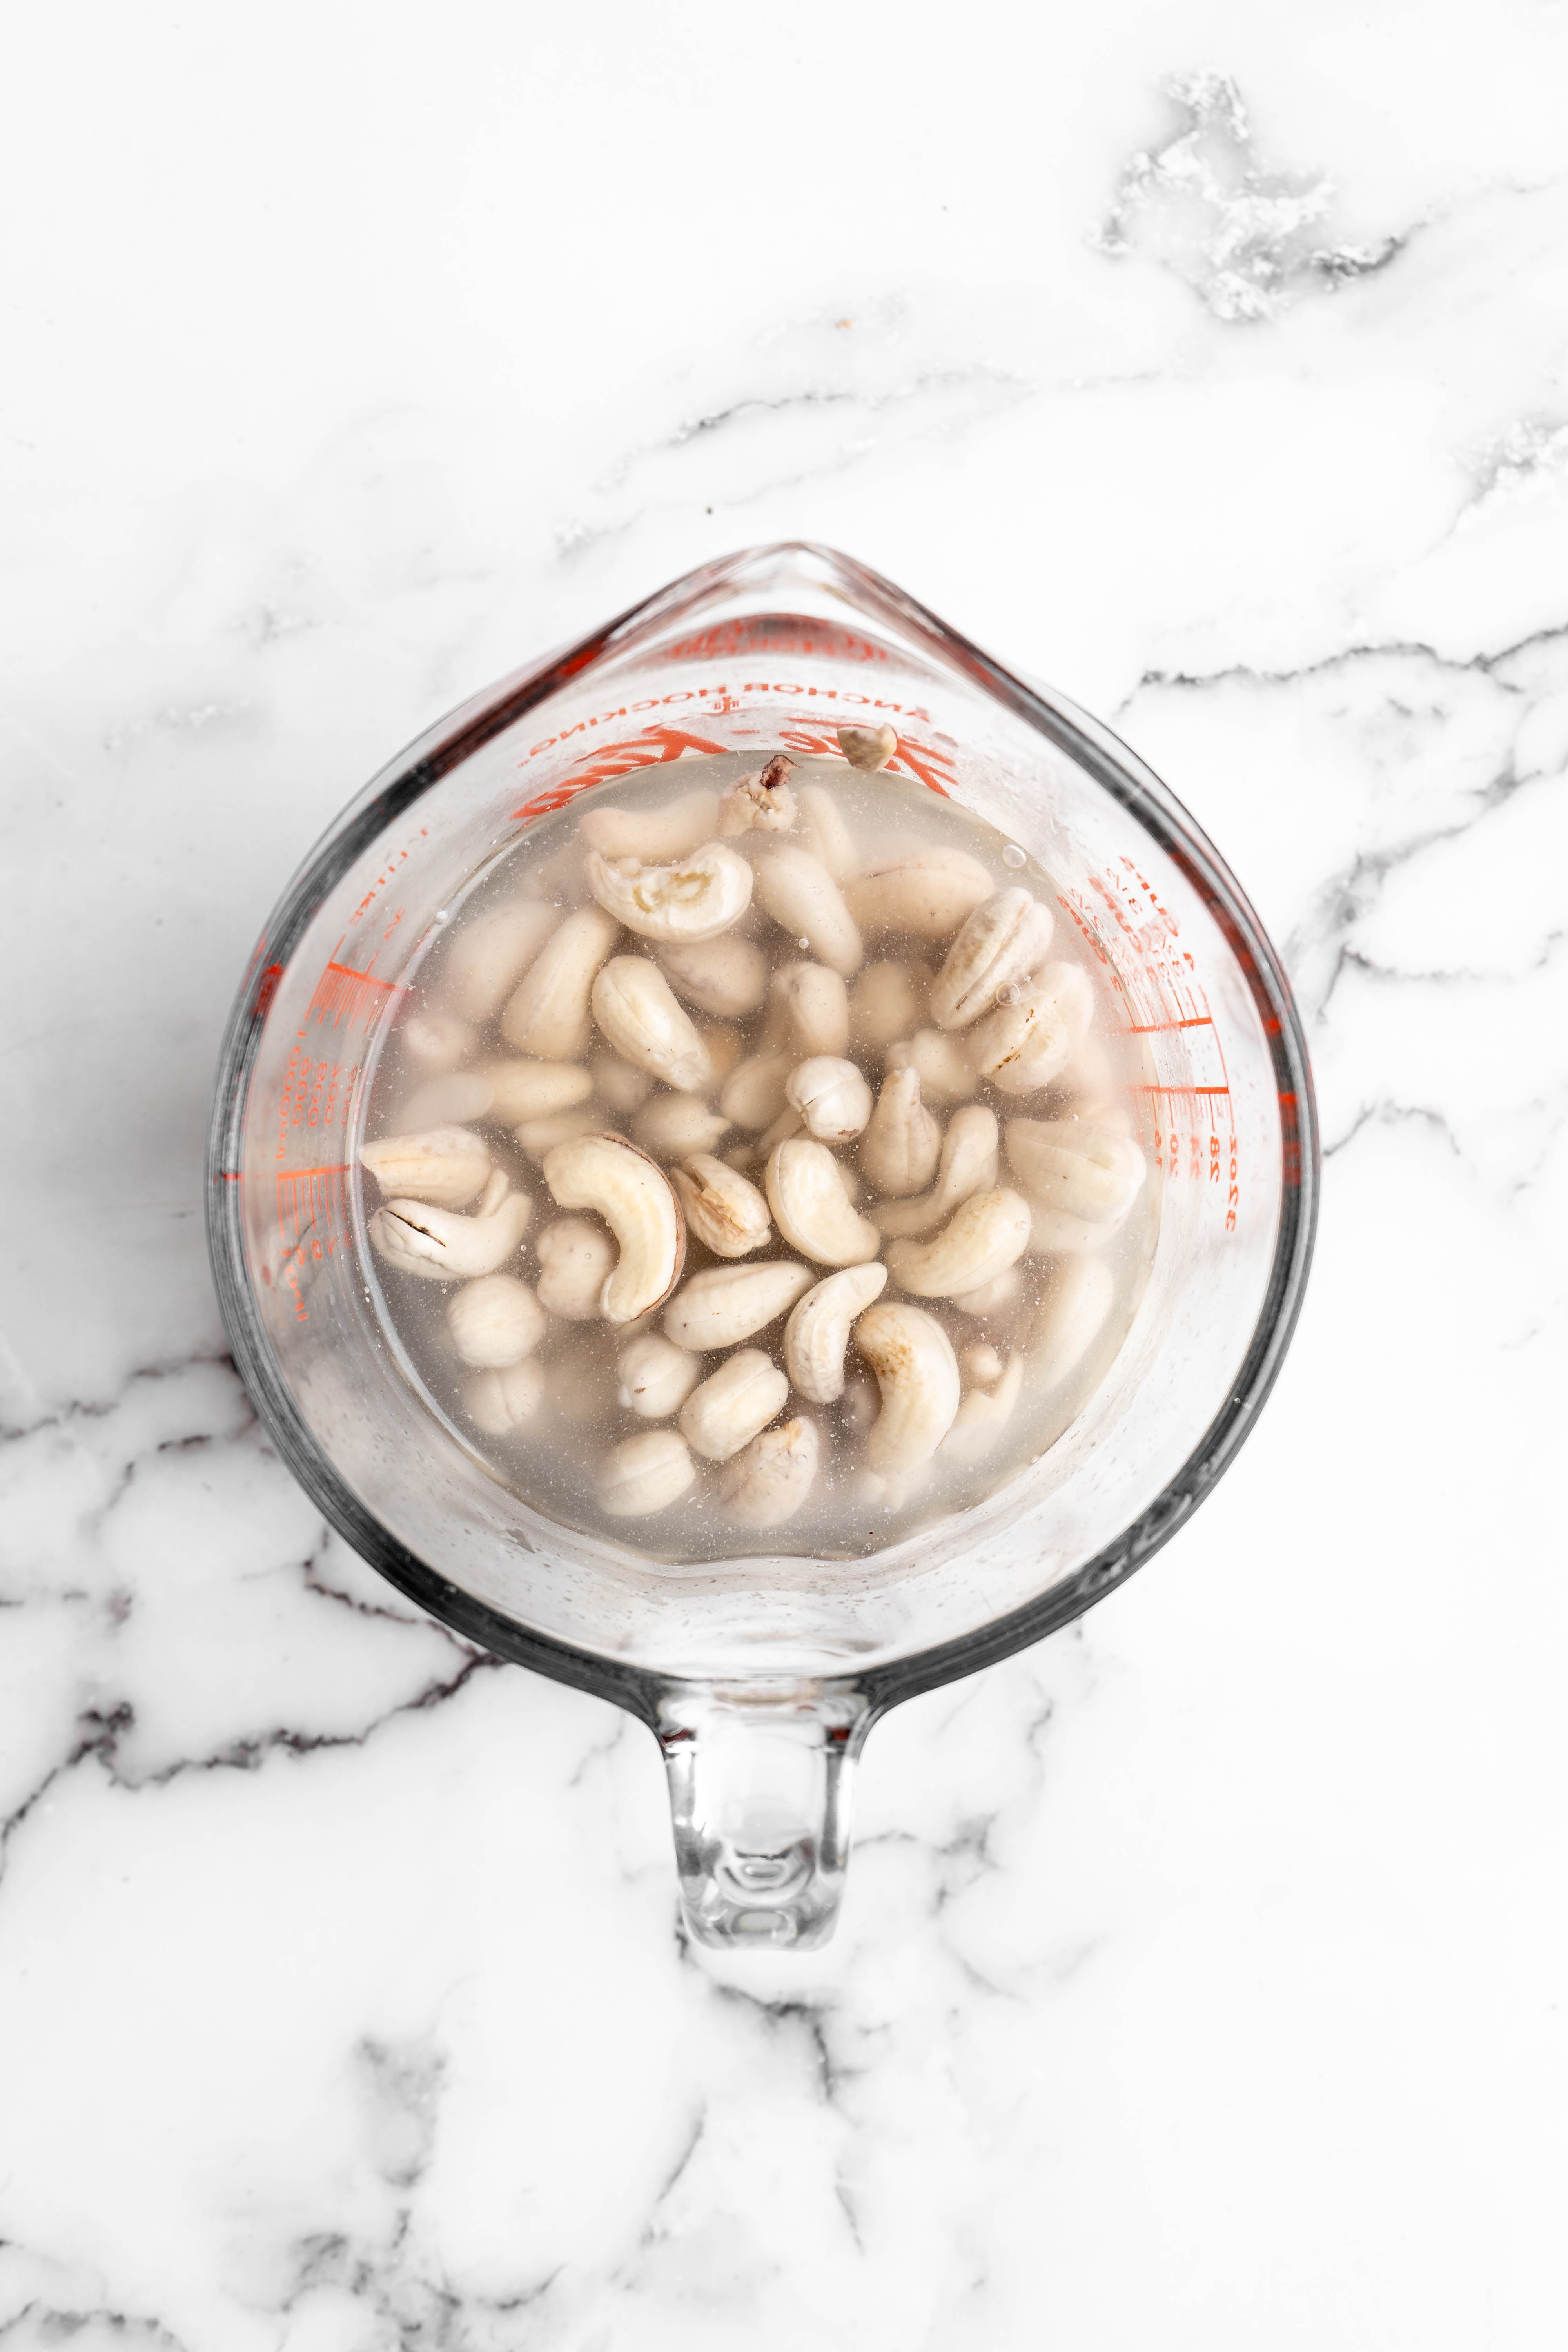
- Raw cashews – Soak these in water overnight, then drain and rinse them before starting the recipe.
- Sea salt
- Ground black pepper
- Dry ground mustard
- Lime juice
- Soy sauce, liquid aminos, tamari, or lite soy sauce
- Nutritional yeast
- Paprika
- Ground nutmeg
- Vegan milk – You can use any variety, but I recommend canned full-fat coconut milk because it’s so creamy.
For the breadcrumb topping:
- Breadcrumbs
- Salt
- Pepper
- Melted vegan butter or oil
What Is Nutritional Yeast?
Nutritional yeast is a common ingredient in vegan dishes because it has a natural cheesy flavour. This species of yeast grows on molasses, but it’s inactive, so you can’t use it to make bread or beer.
The nutritional yeast in this recipe is key to the flavour in the cheese sauce, so there’s really no way to omit or substitute it and still get the same results. Once you have it on hand, you can also use it in my Vegan Quiche Muffins with Sun-Dried Tomatoes and Spinach and Roasted Garlic Bread.
What Can I Use Instead of Cashews?
The cashews create a phenomenal creamy texture and flavour for this vegan baked mac and cheese, but if you can’t use them, you can try subbing tofu, almonds that have been soaked overnight (with the skins removed), or sunflower seeds. It won’t taste exactly the same, but it will give you a similar base.
How to Make Baked Vegan Mac and Cheese
Instead of making a roux like you would for traditional mac and cheese, this recipe starts by cooking carrots and pureeing them into a creamy sauce! Here’s what you’ll need to do.
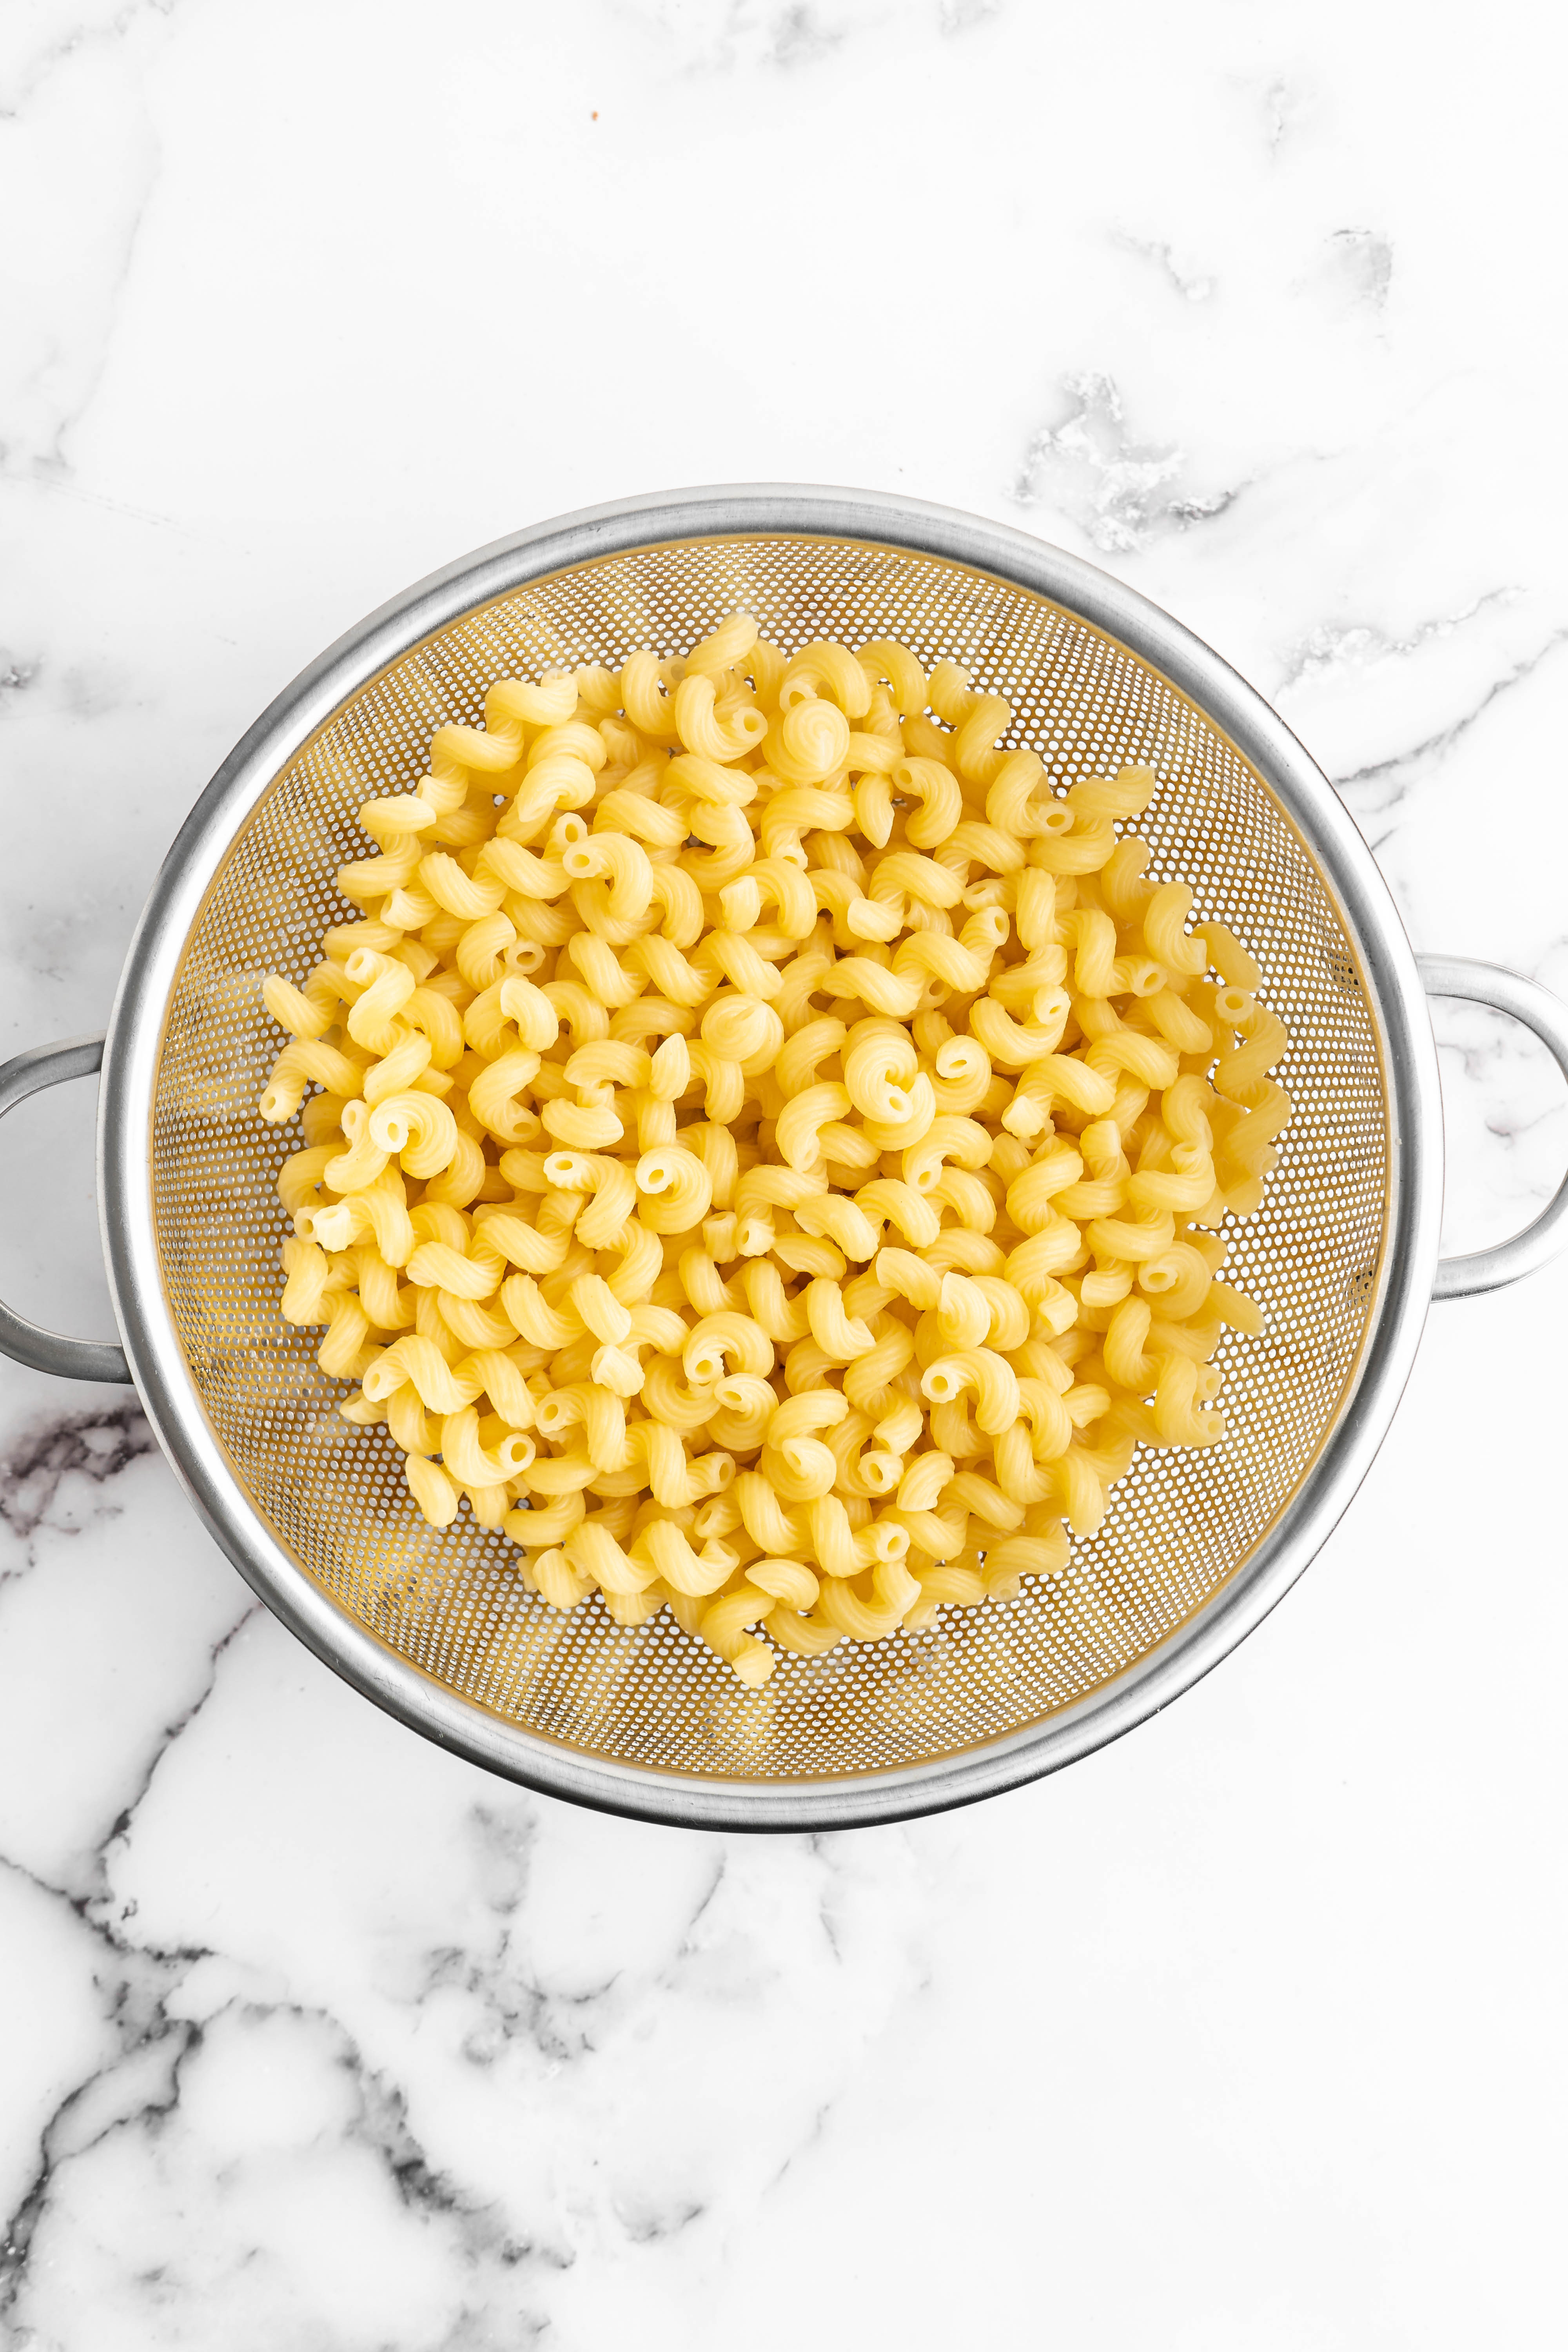
Prepare. Preheat your oven to 350°F/180°C and cook the pasta according to the package directions.
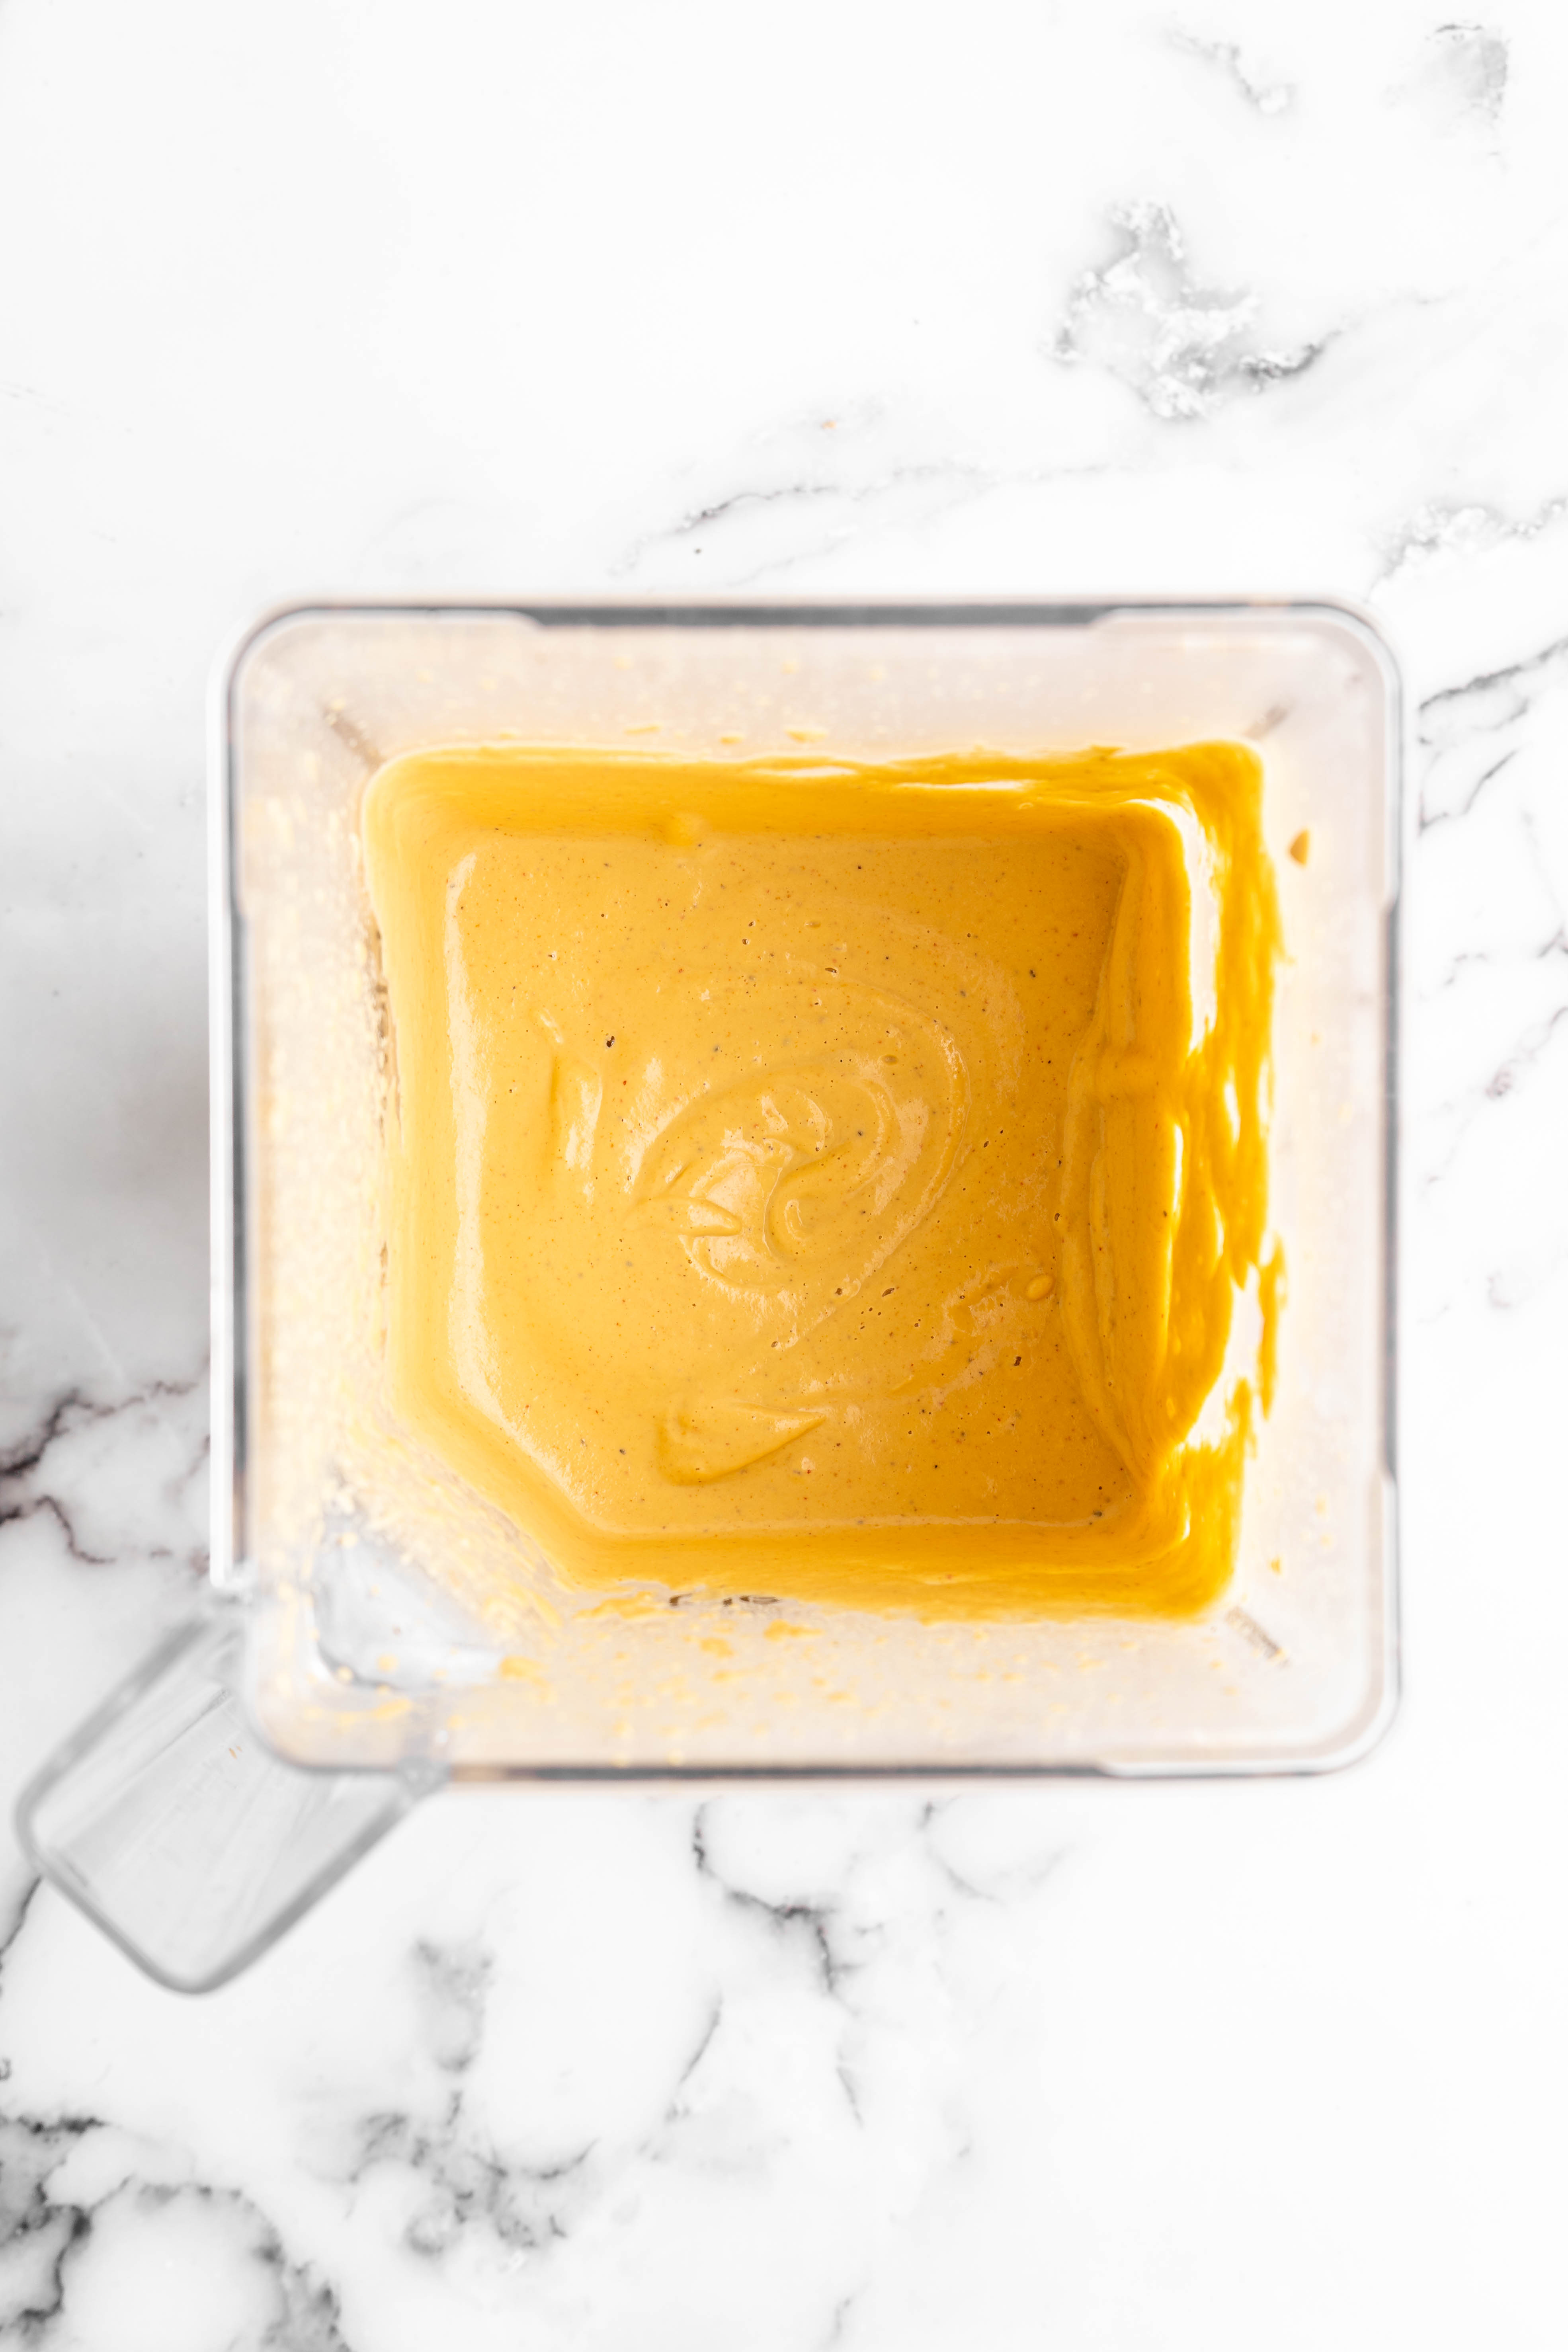
Make the sauce. Add the cashews, garlic powder, onion powder, salt and pepper, ground mustard, lime juice, soy sauce, nutritional yeast, paprika, ground nutmeg, and almond milk. Blend for 3 minutes on high speed, or until the sauce is completely smooth. Season to taste with salt.
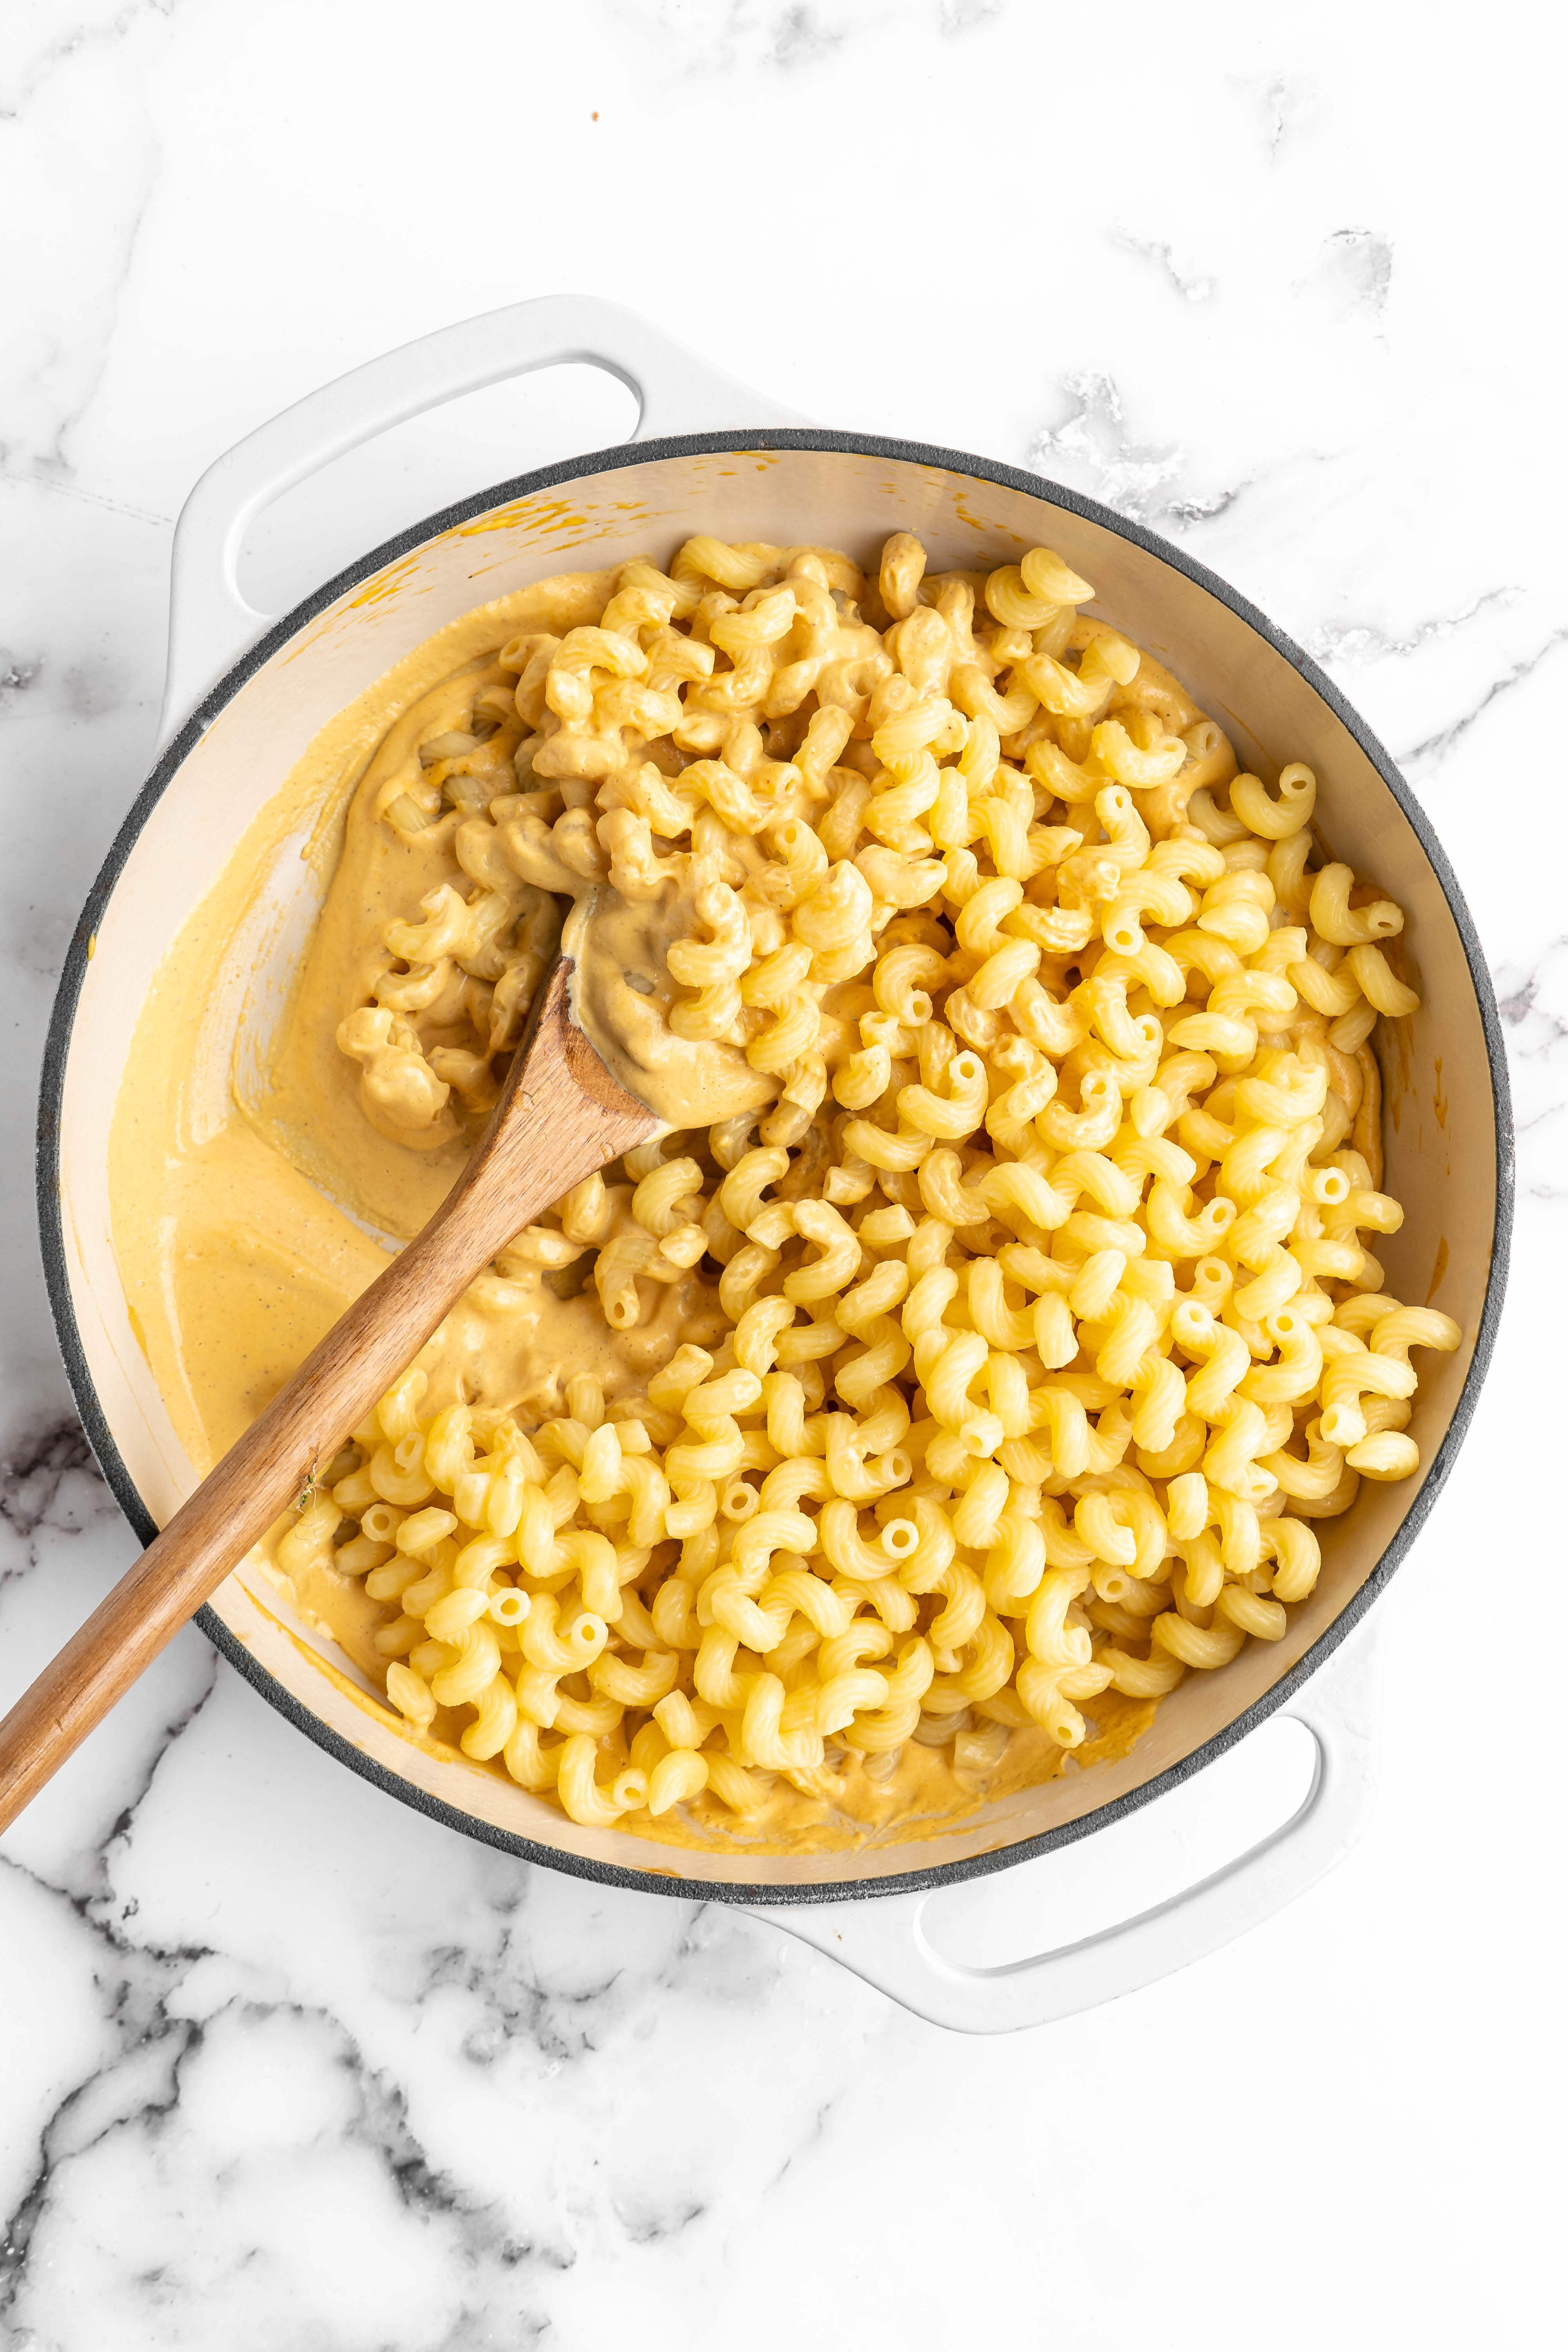
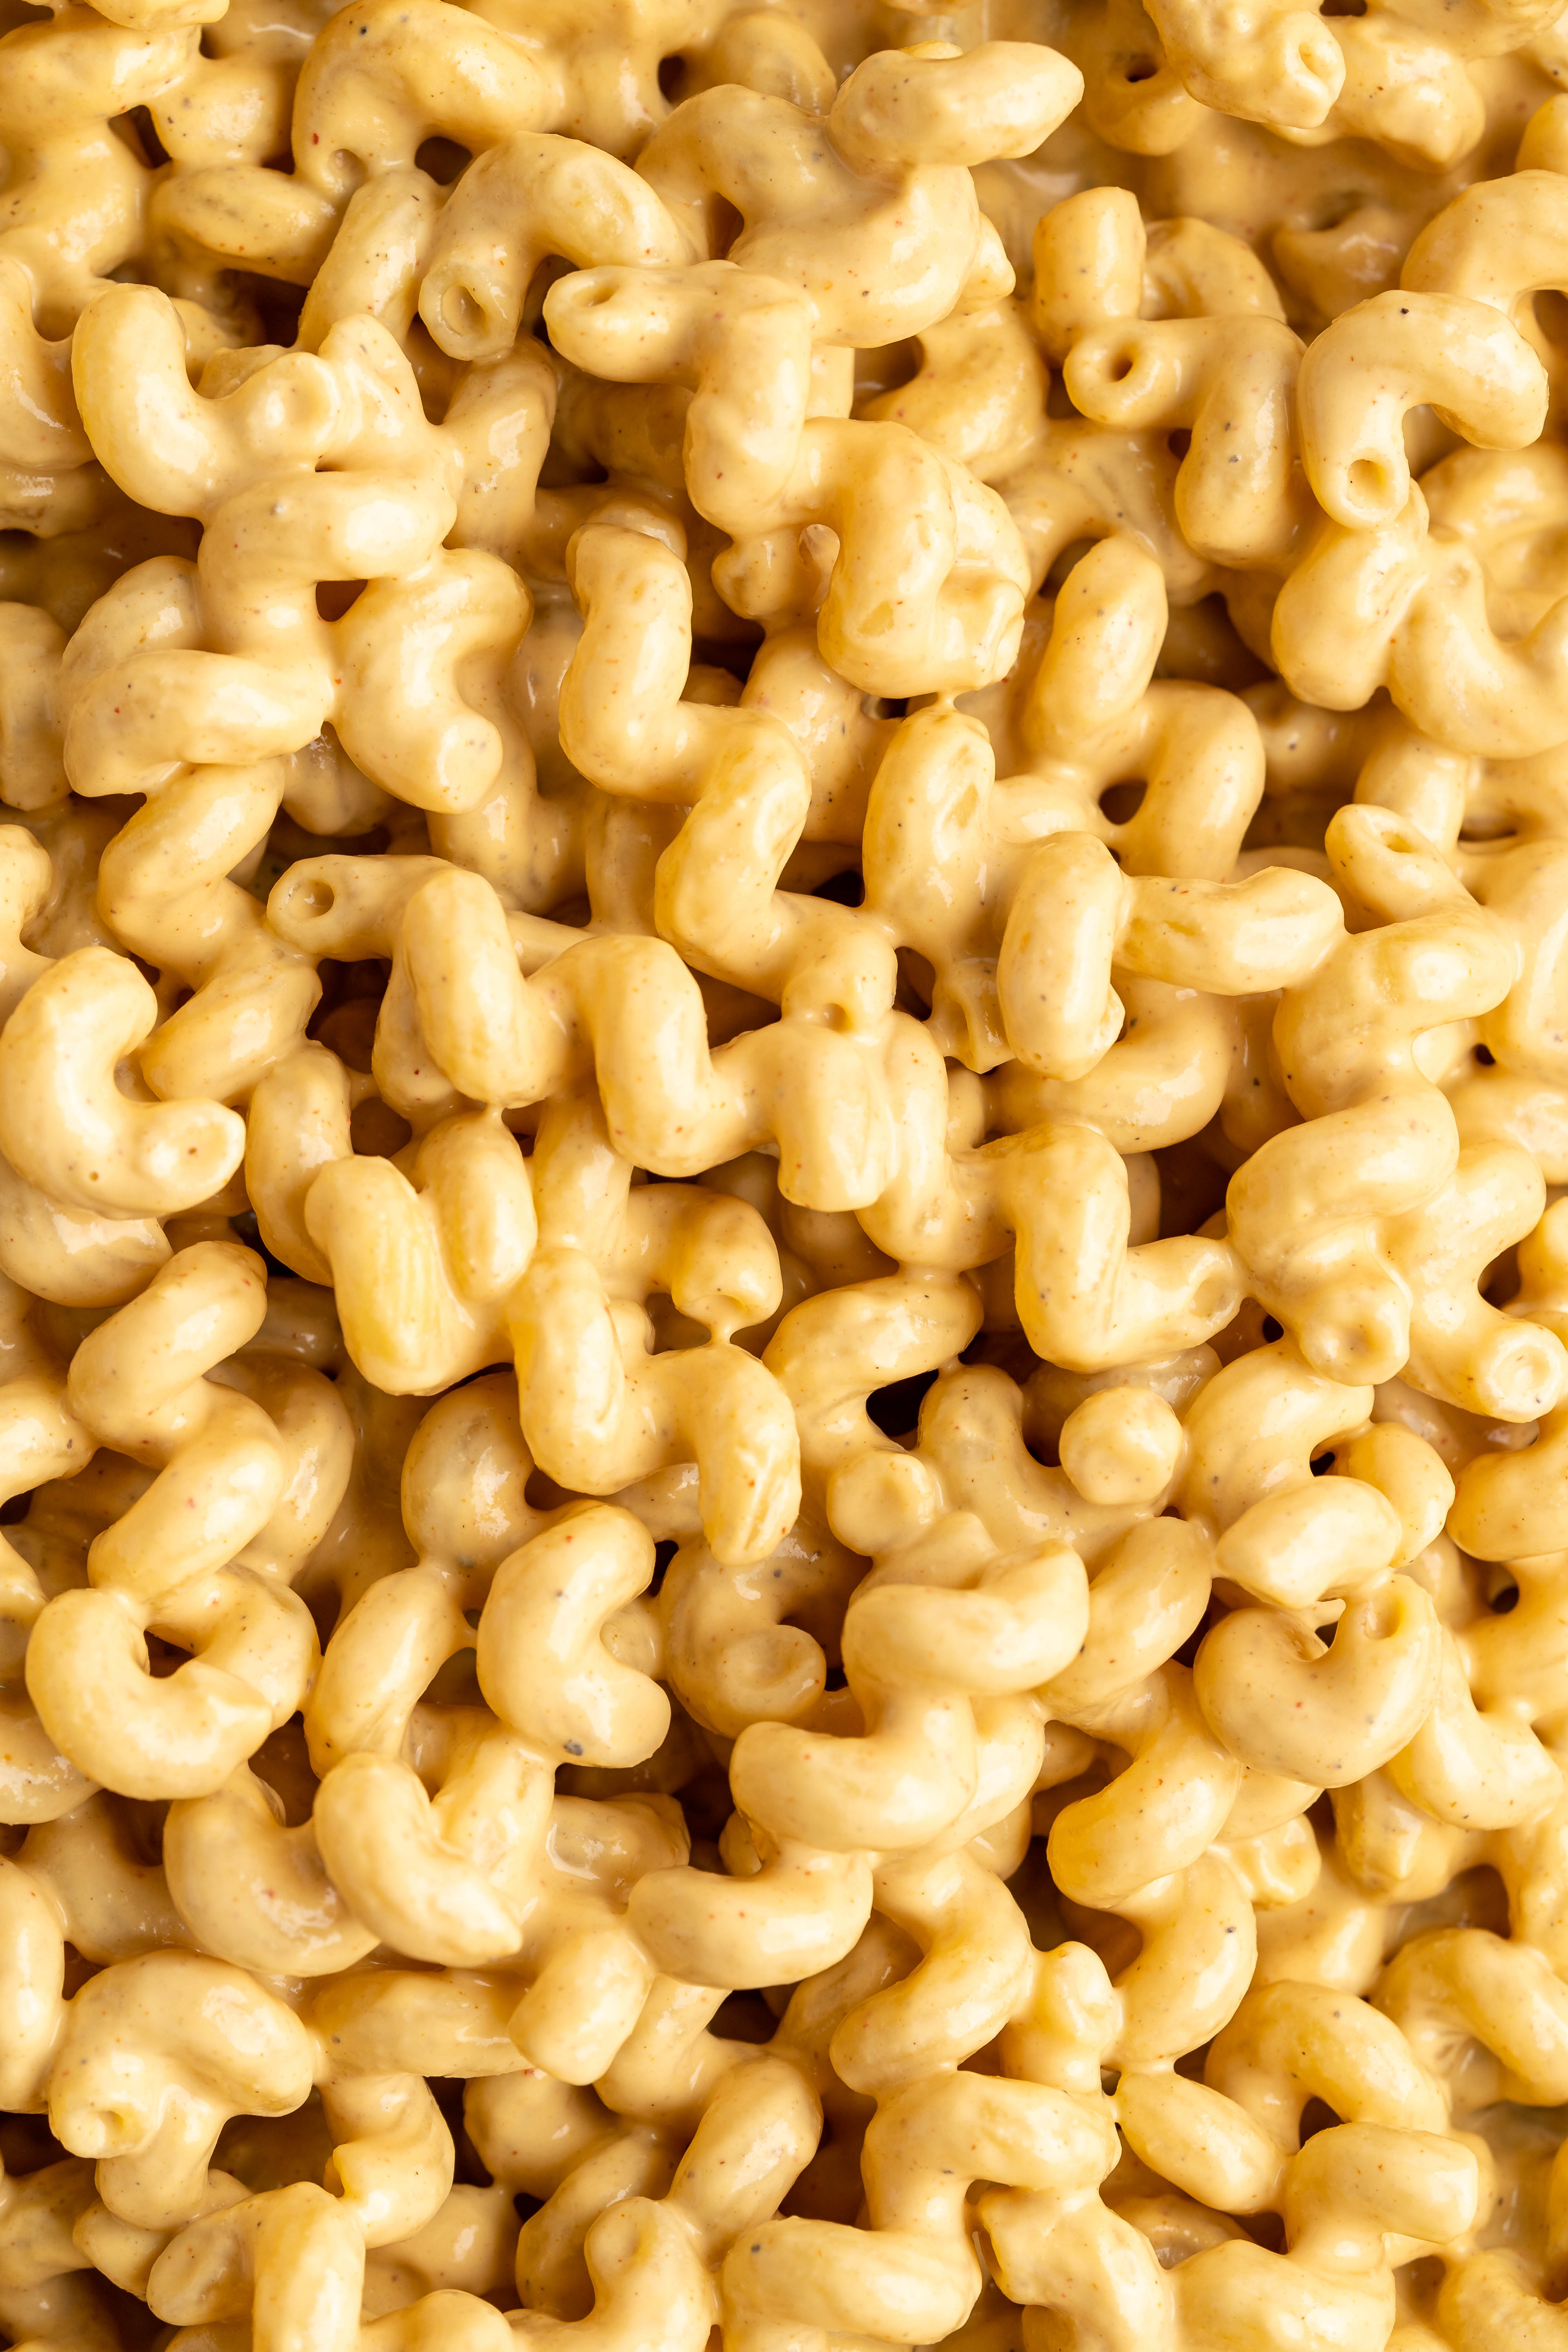
Add the pasta. Place the cooked macaroni in a cast iron skillet or baking dish. Stir in the sauce, making sure it’s evenly coated.
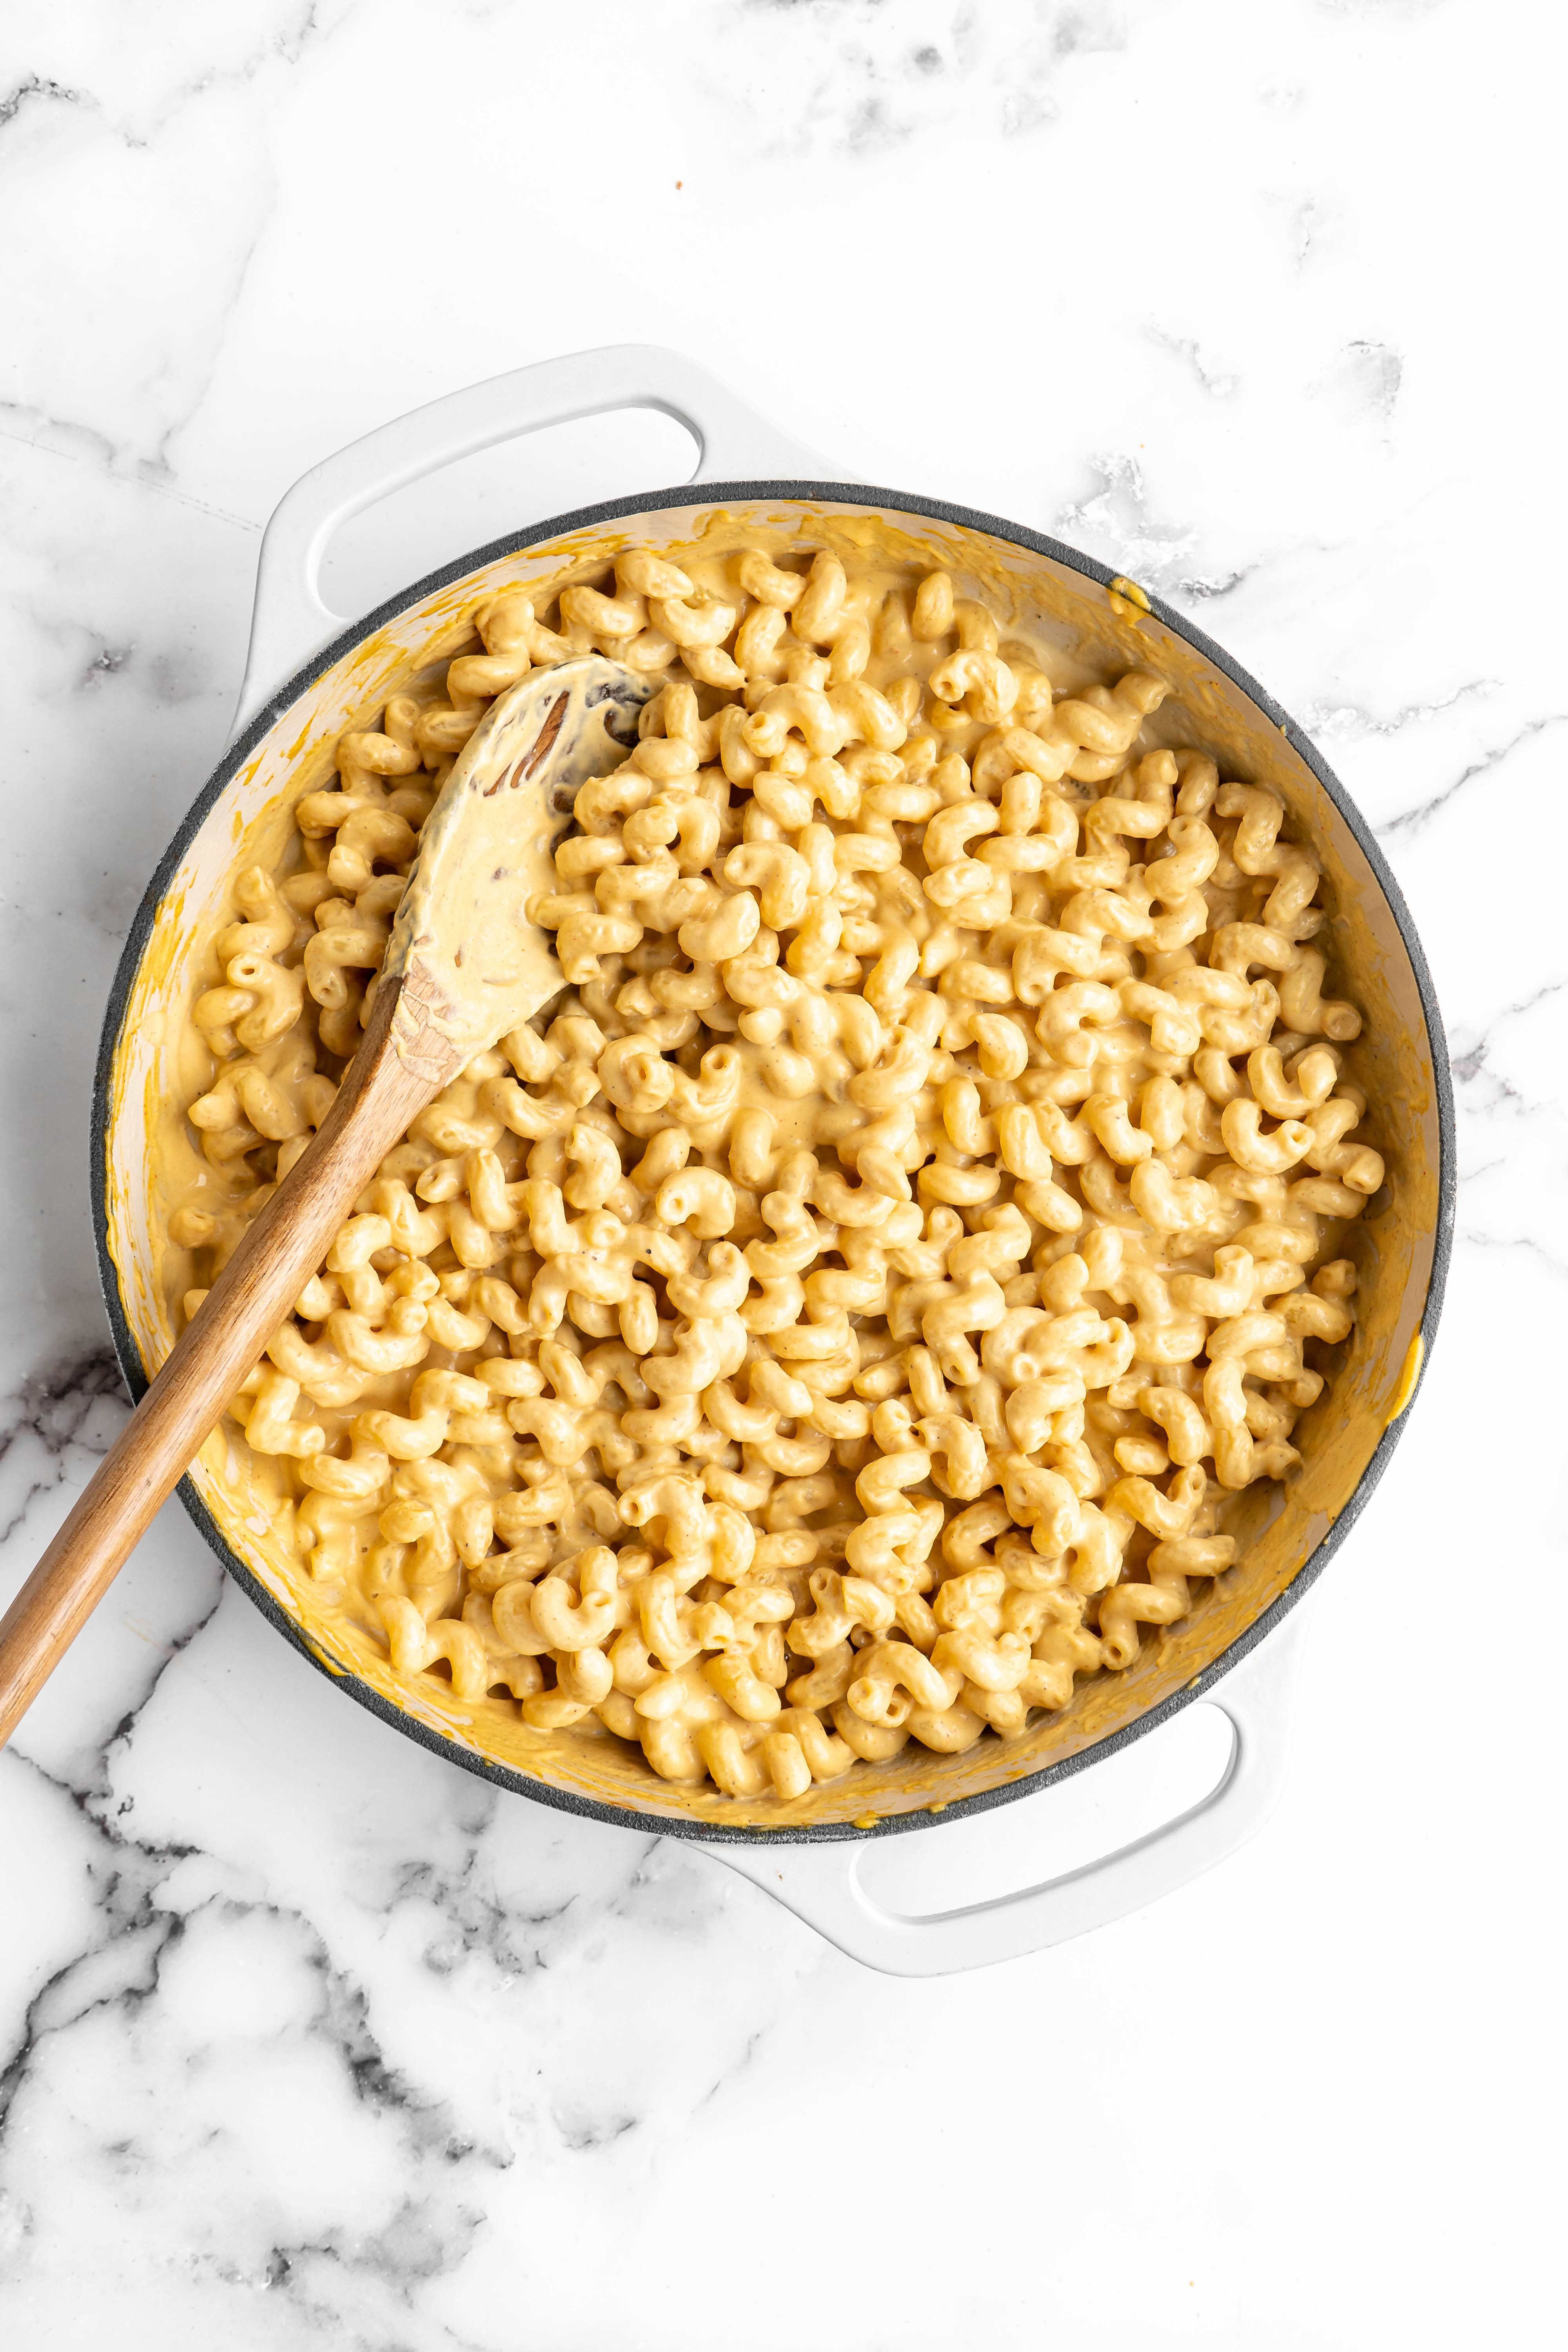
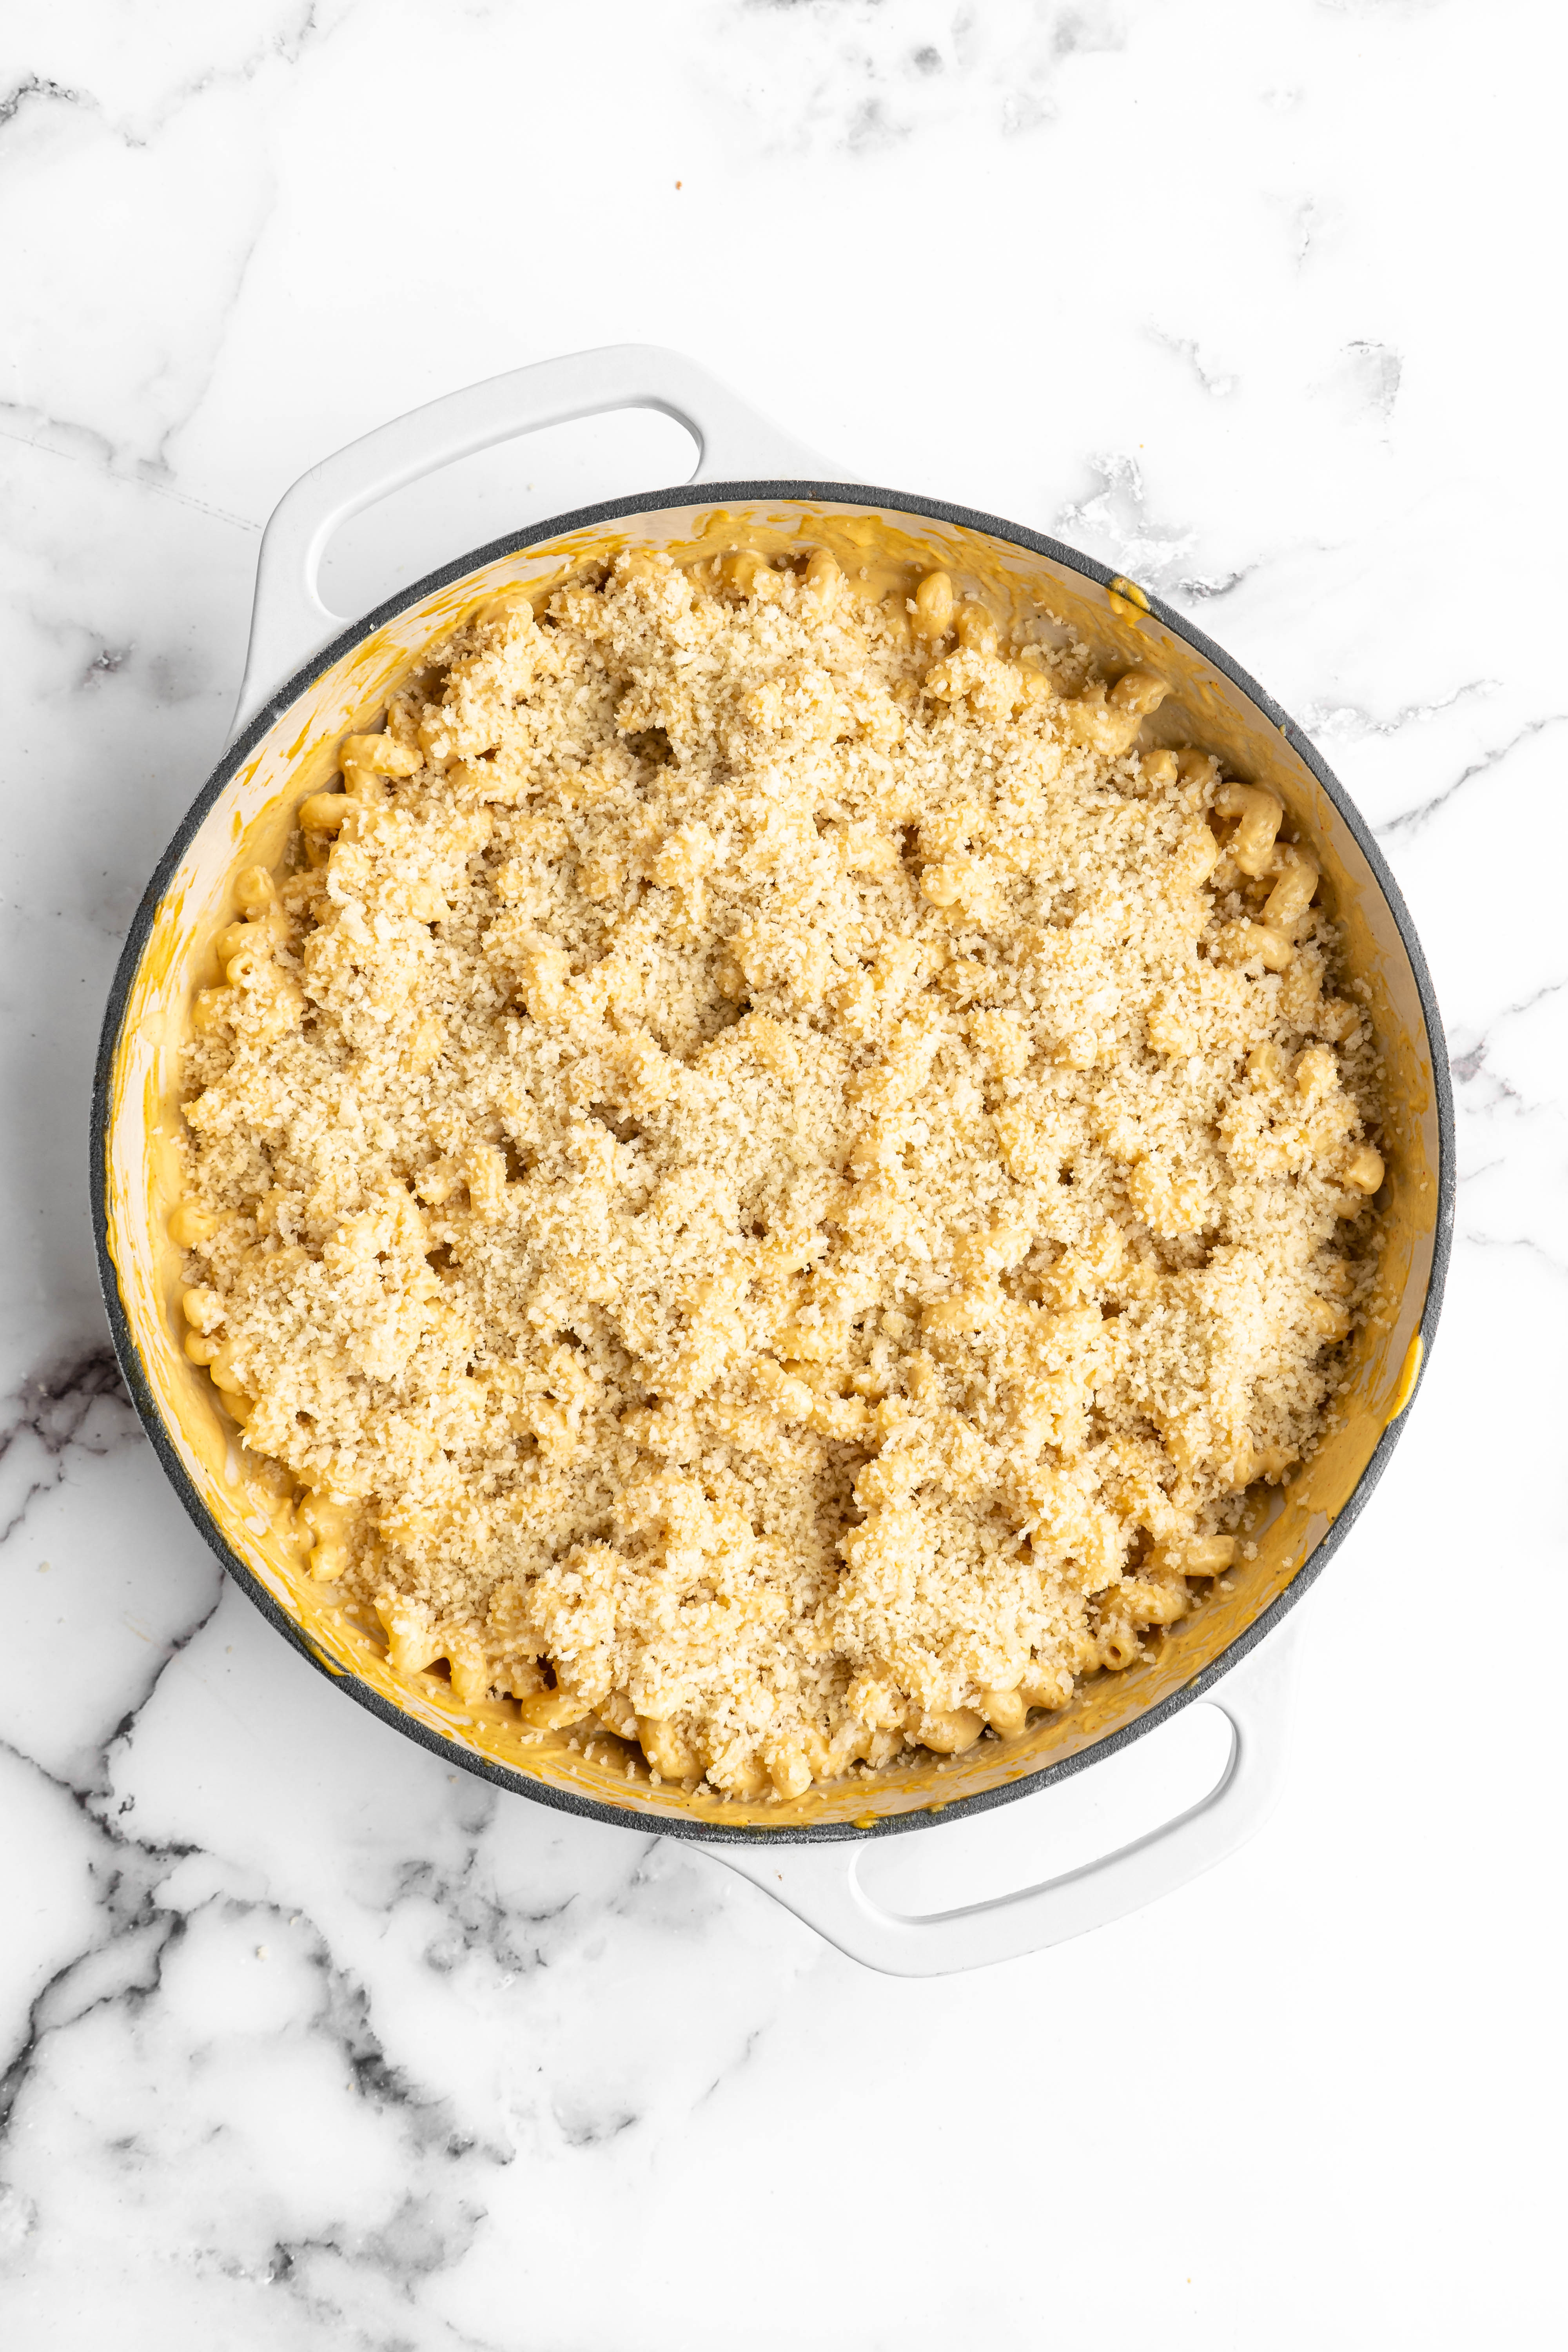
Make the breadcrumb topping. Stir together the breadcrumbs, salt, pepper, and oil or butter in a small bowl. Sprinkle over the top of the mac and cheese.
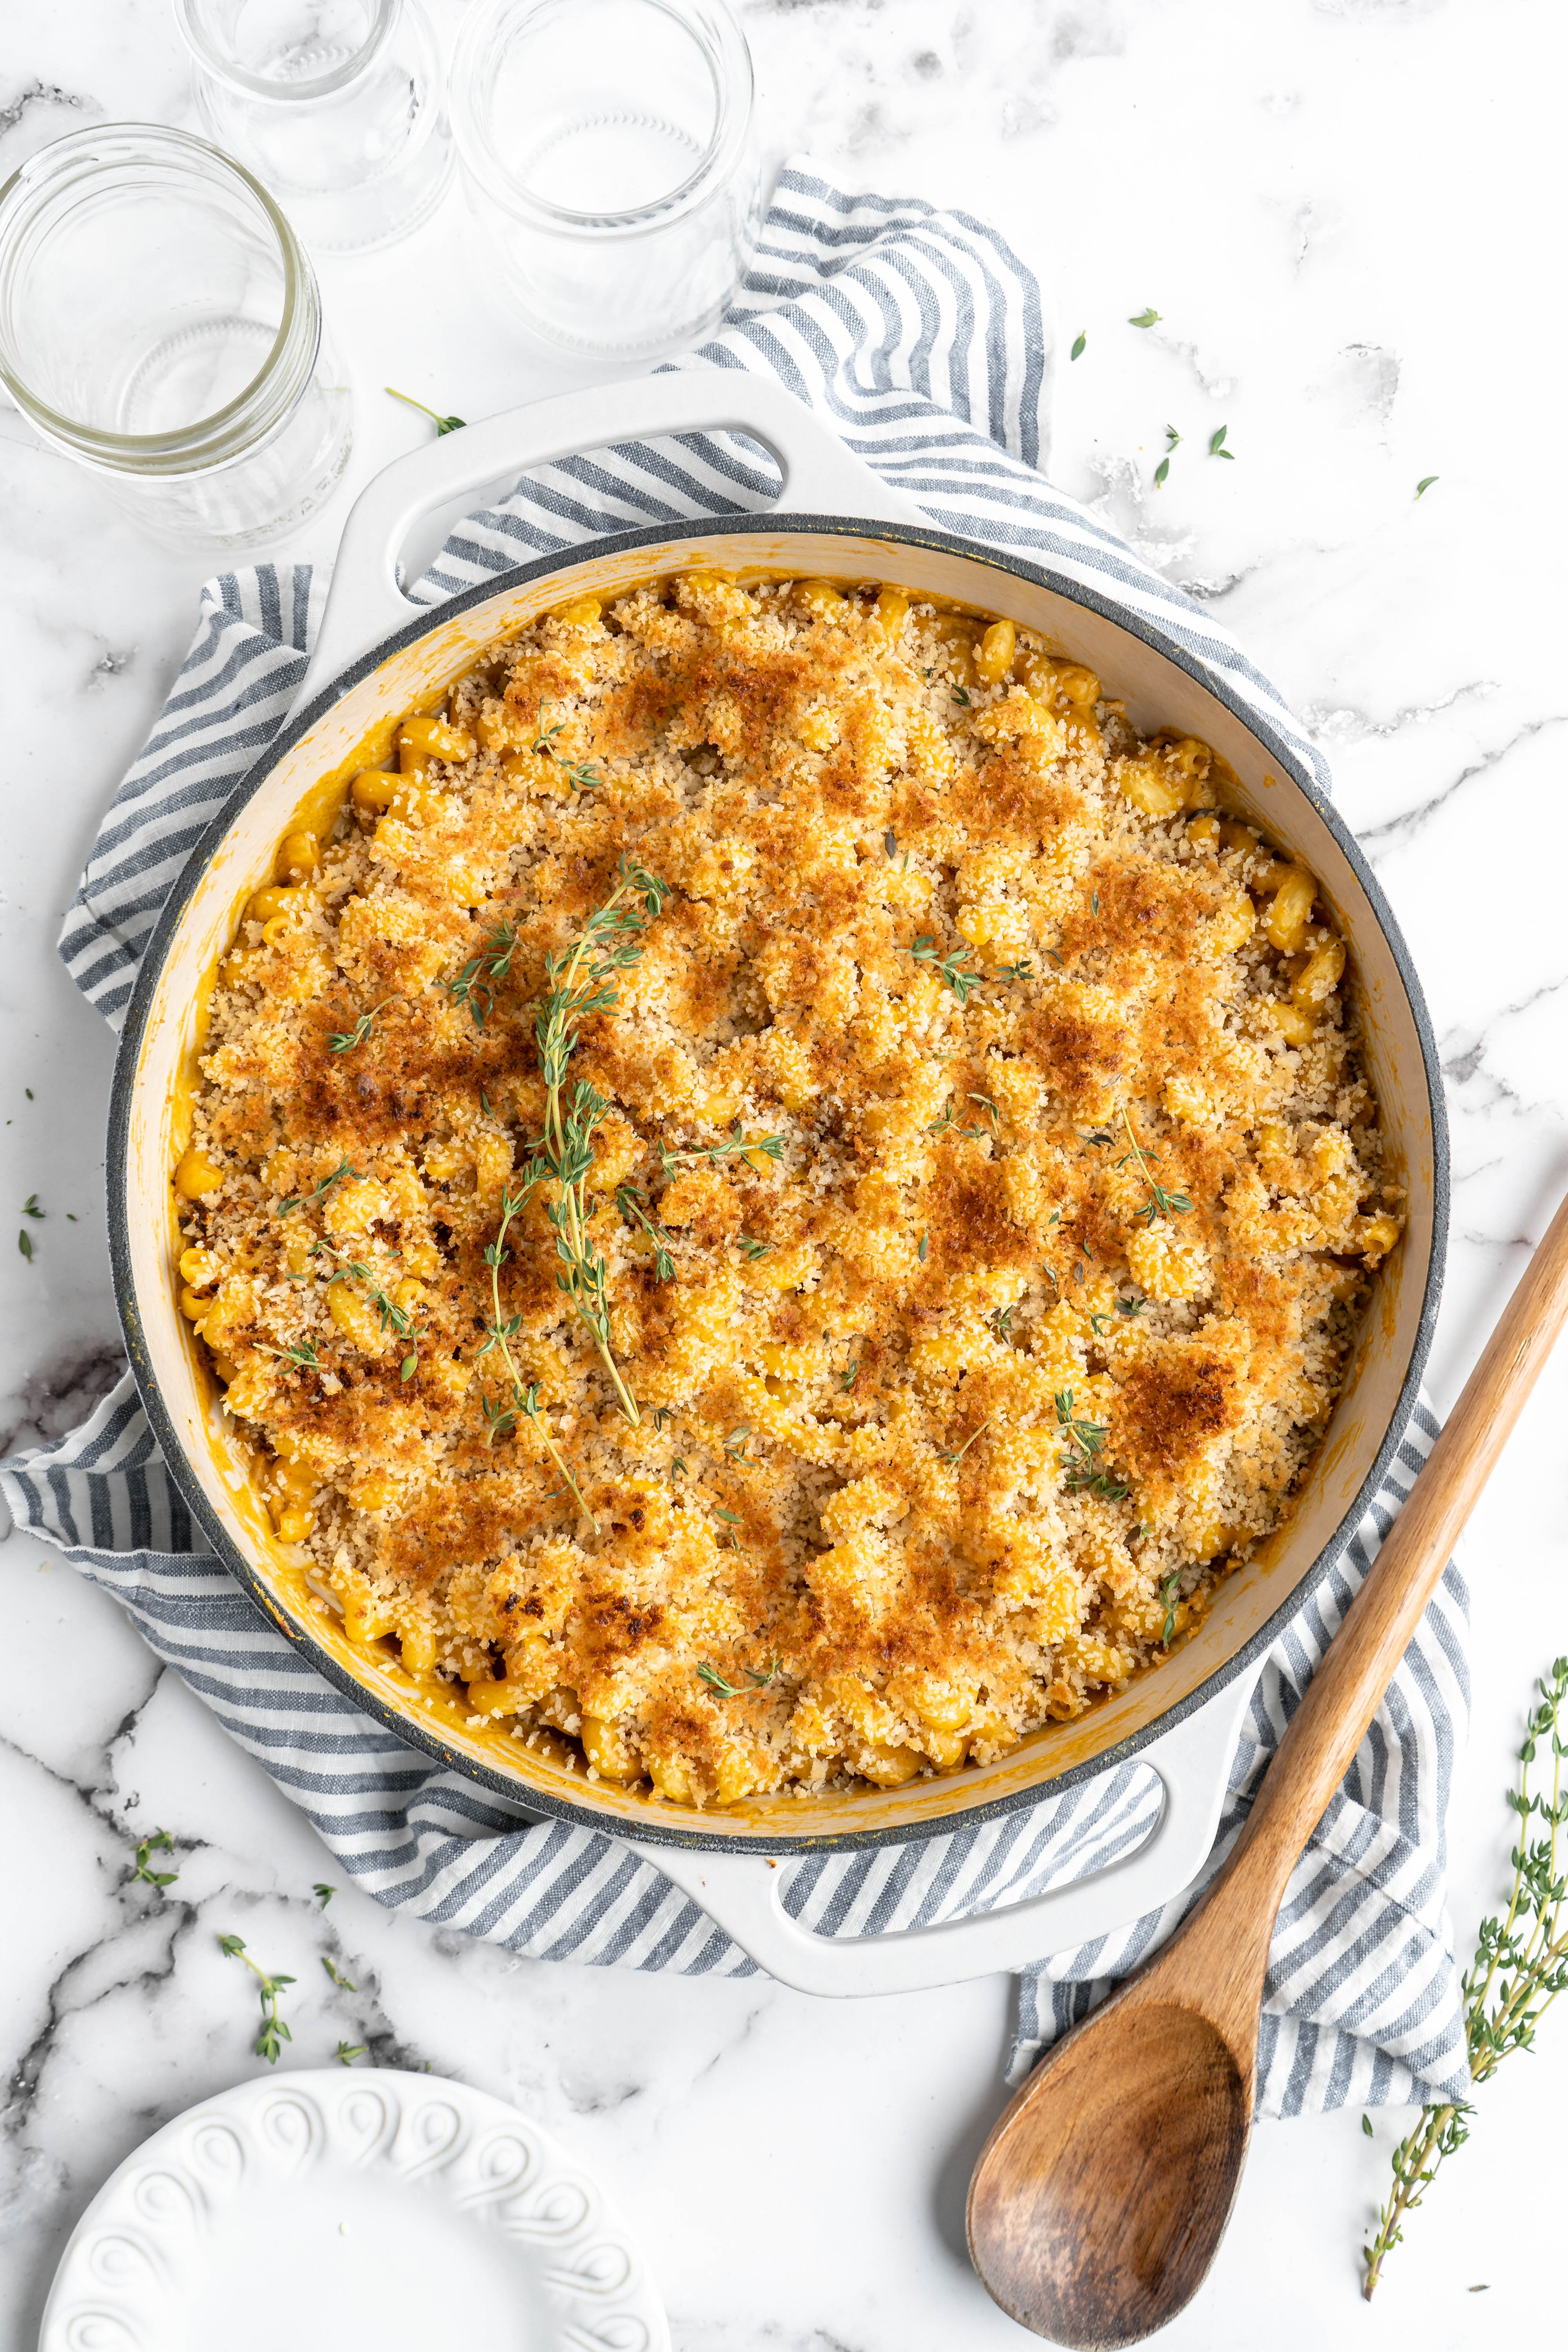
Bake. Place the dish in the oven and bake for 15 minutes, then broil for a few minutes, until the top is golden brown. Cool slightly before serving.
Tips for Success
I’ve made this recipe so many times, I have a lot of hints and tips to share!
- Simple substitutions. You can use garlic powder and onion powder instead of fresh garlic and onions if you want to keep your prep work to a minimum. I’ve also made this without carrots and added extra paprika and turmeric for colour.
- No high-powered blender? No worries! Just boil the cashews, which will soften them up enough that a regular blender will be able to puree them into a smooth sauce.
- Use a cast iron skillet if you have one. The mac and cheese will get crusty and crispy on the edges—so good!
- Making the sauce extra-cheesy. For that authentic cheese “pull” and texture, add a tablespoon of tapioca starch to the sauce before blending.
- Adding flavour to the breadcrumbs. Garlic powder and herbs are a great addition to the breadcrumb mixture!
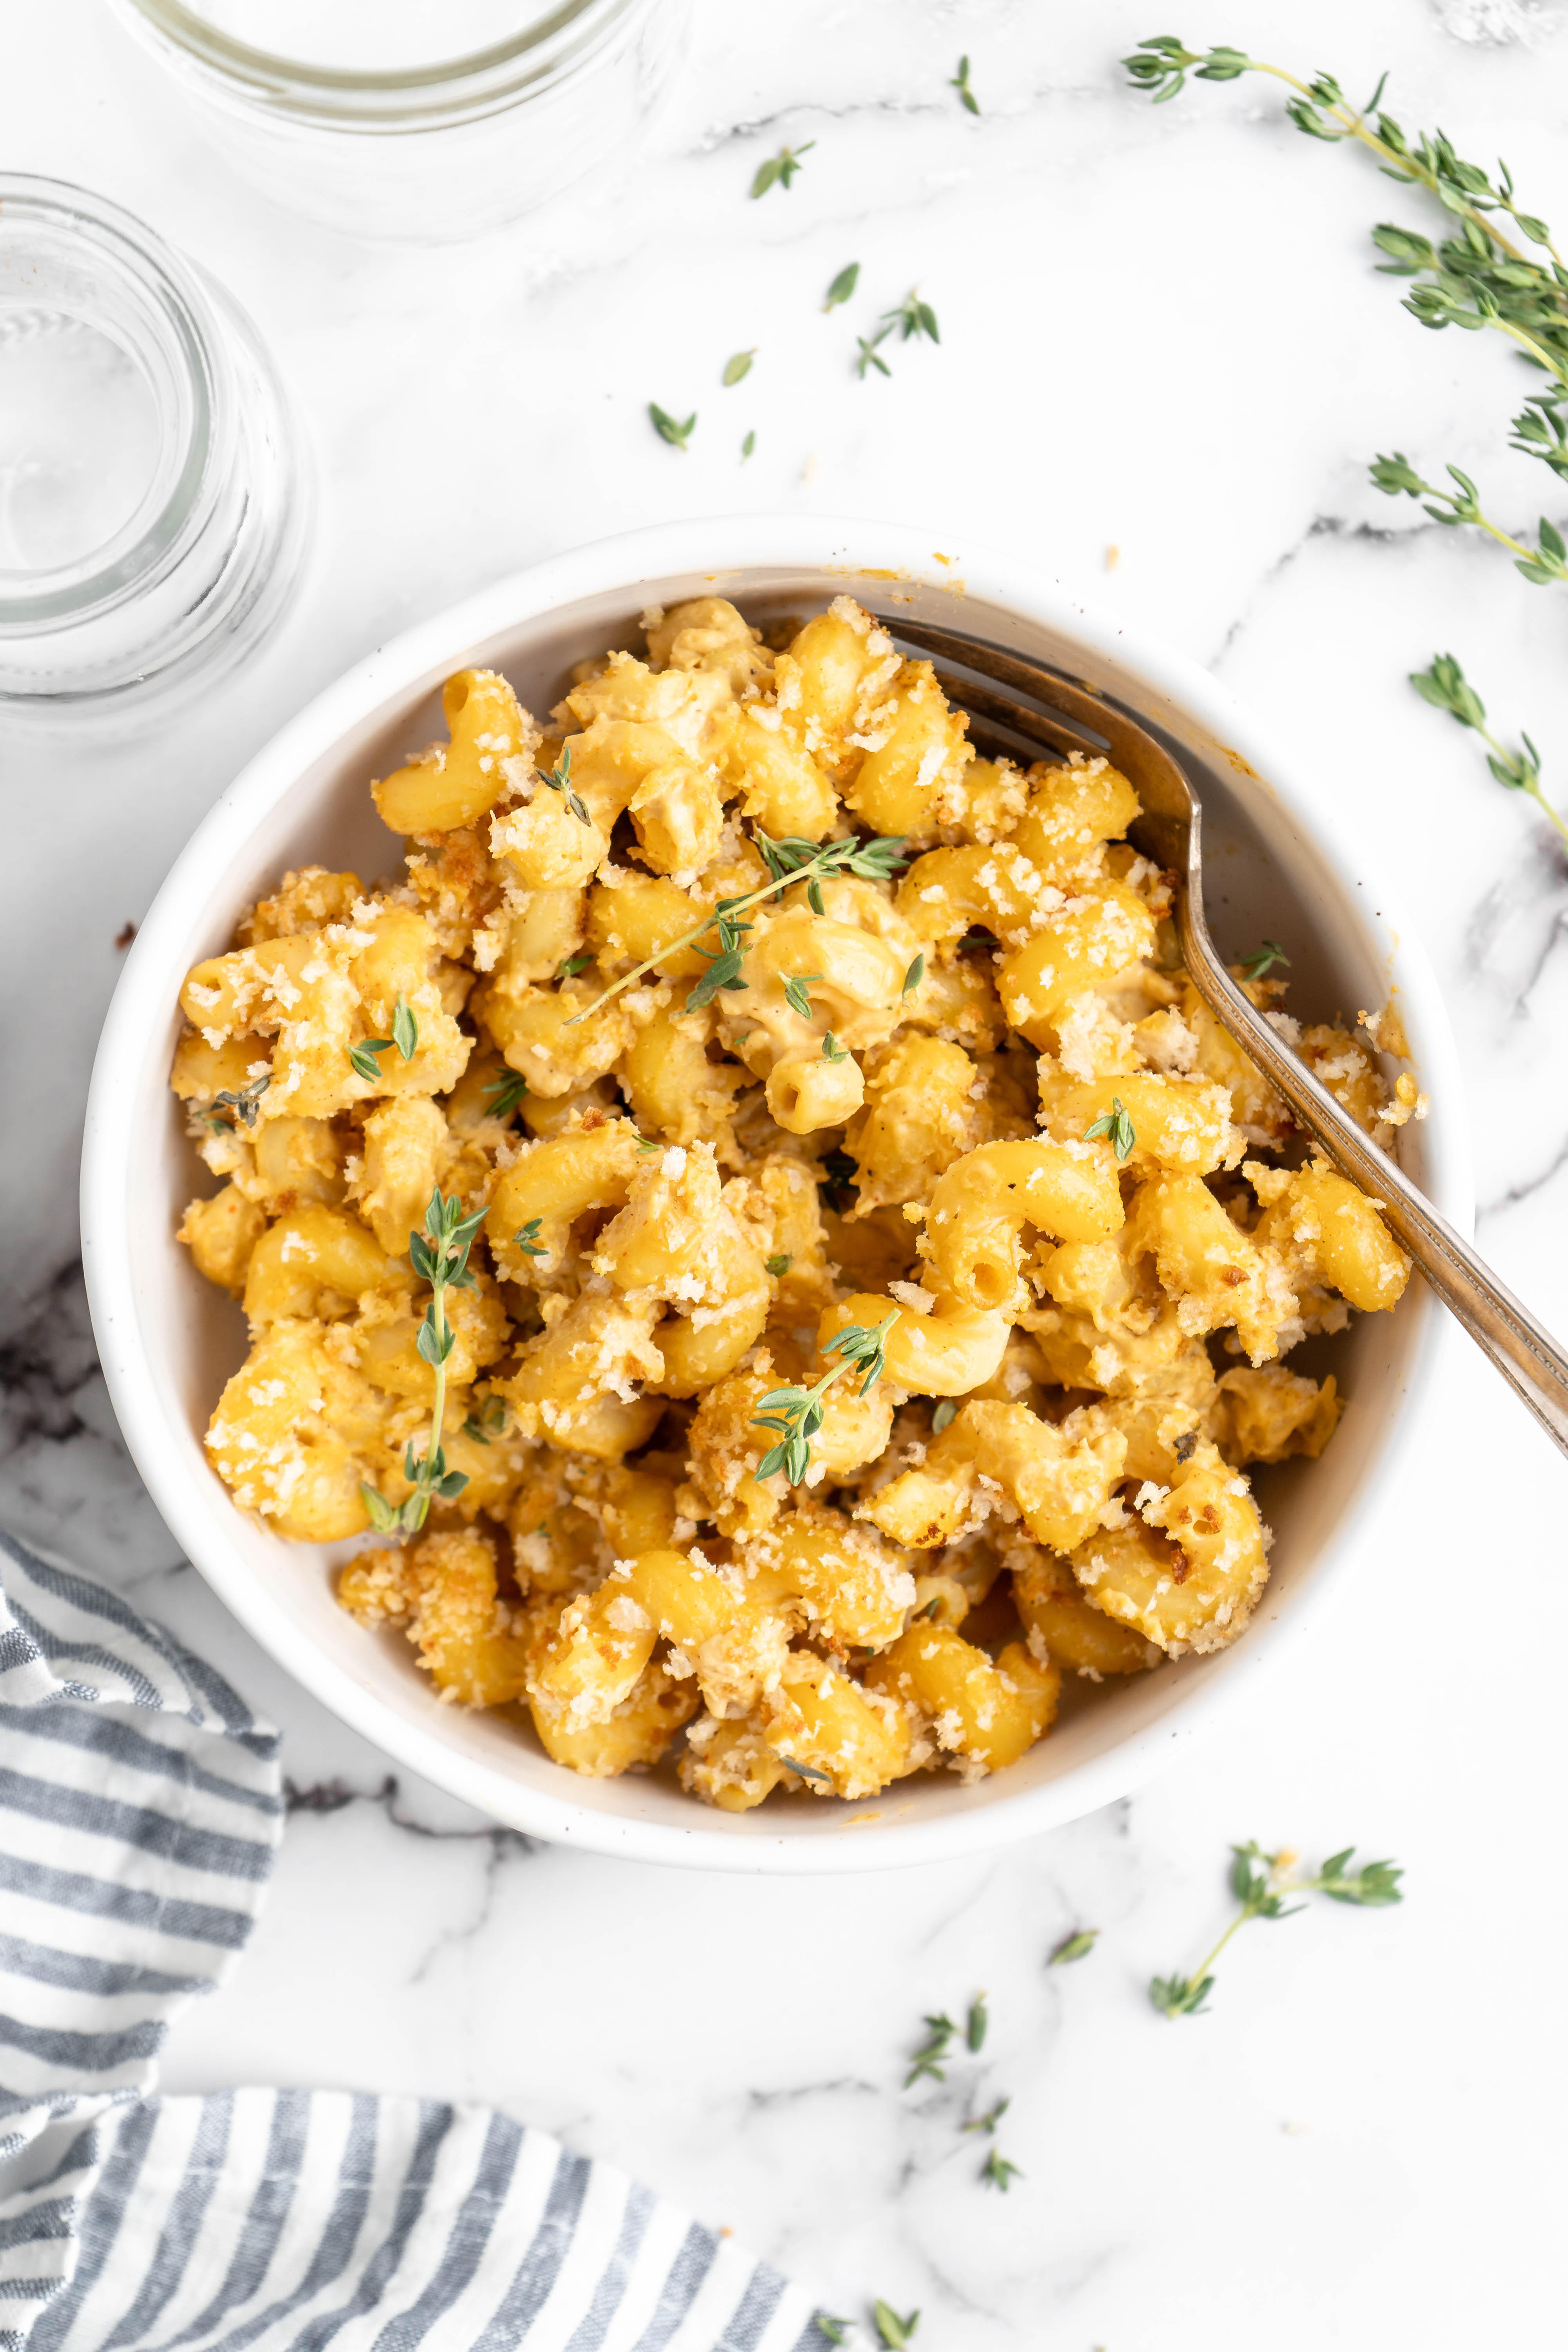
How to Store and Reheat Leftovers
Store any leftovers in an airtight container in the refrigerator for 3 to 4 days. They can be reheated in the microwave or in a 350ºF oven until warmed through.
Can This Recipe Be Frozen?
You can freeze baked vegan mac and cheese for up to 3 months. Wrap it well, or transfer leftovers to an airtight container. I recommend letting it thaw in the refrigerator and then reheating it in the microwave or oven, as this will result in more even heating.
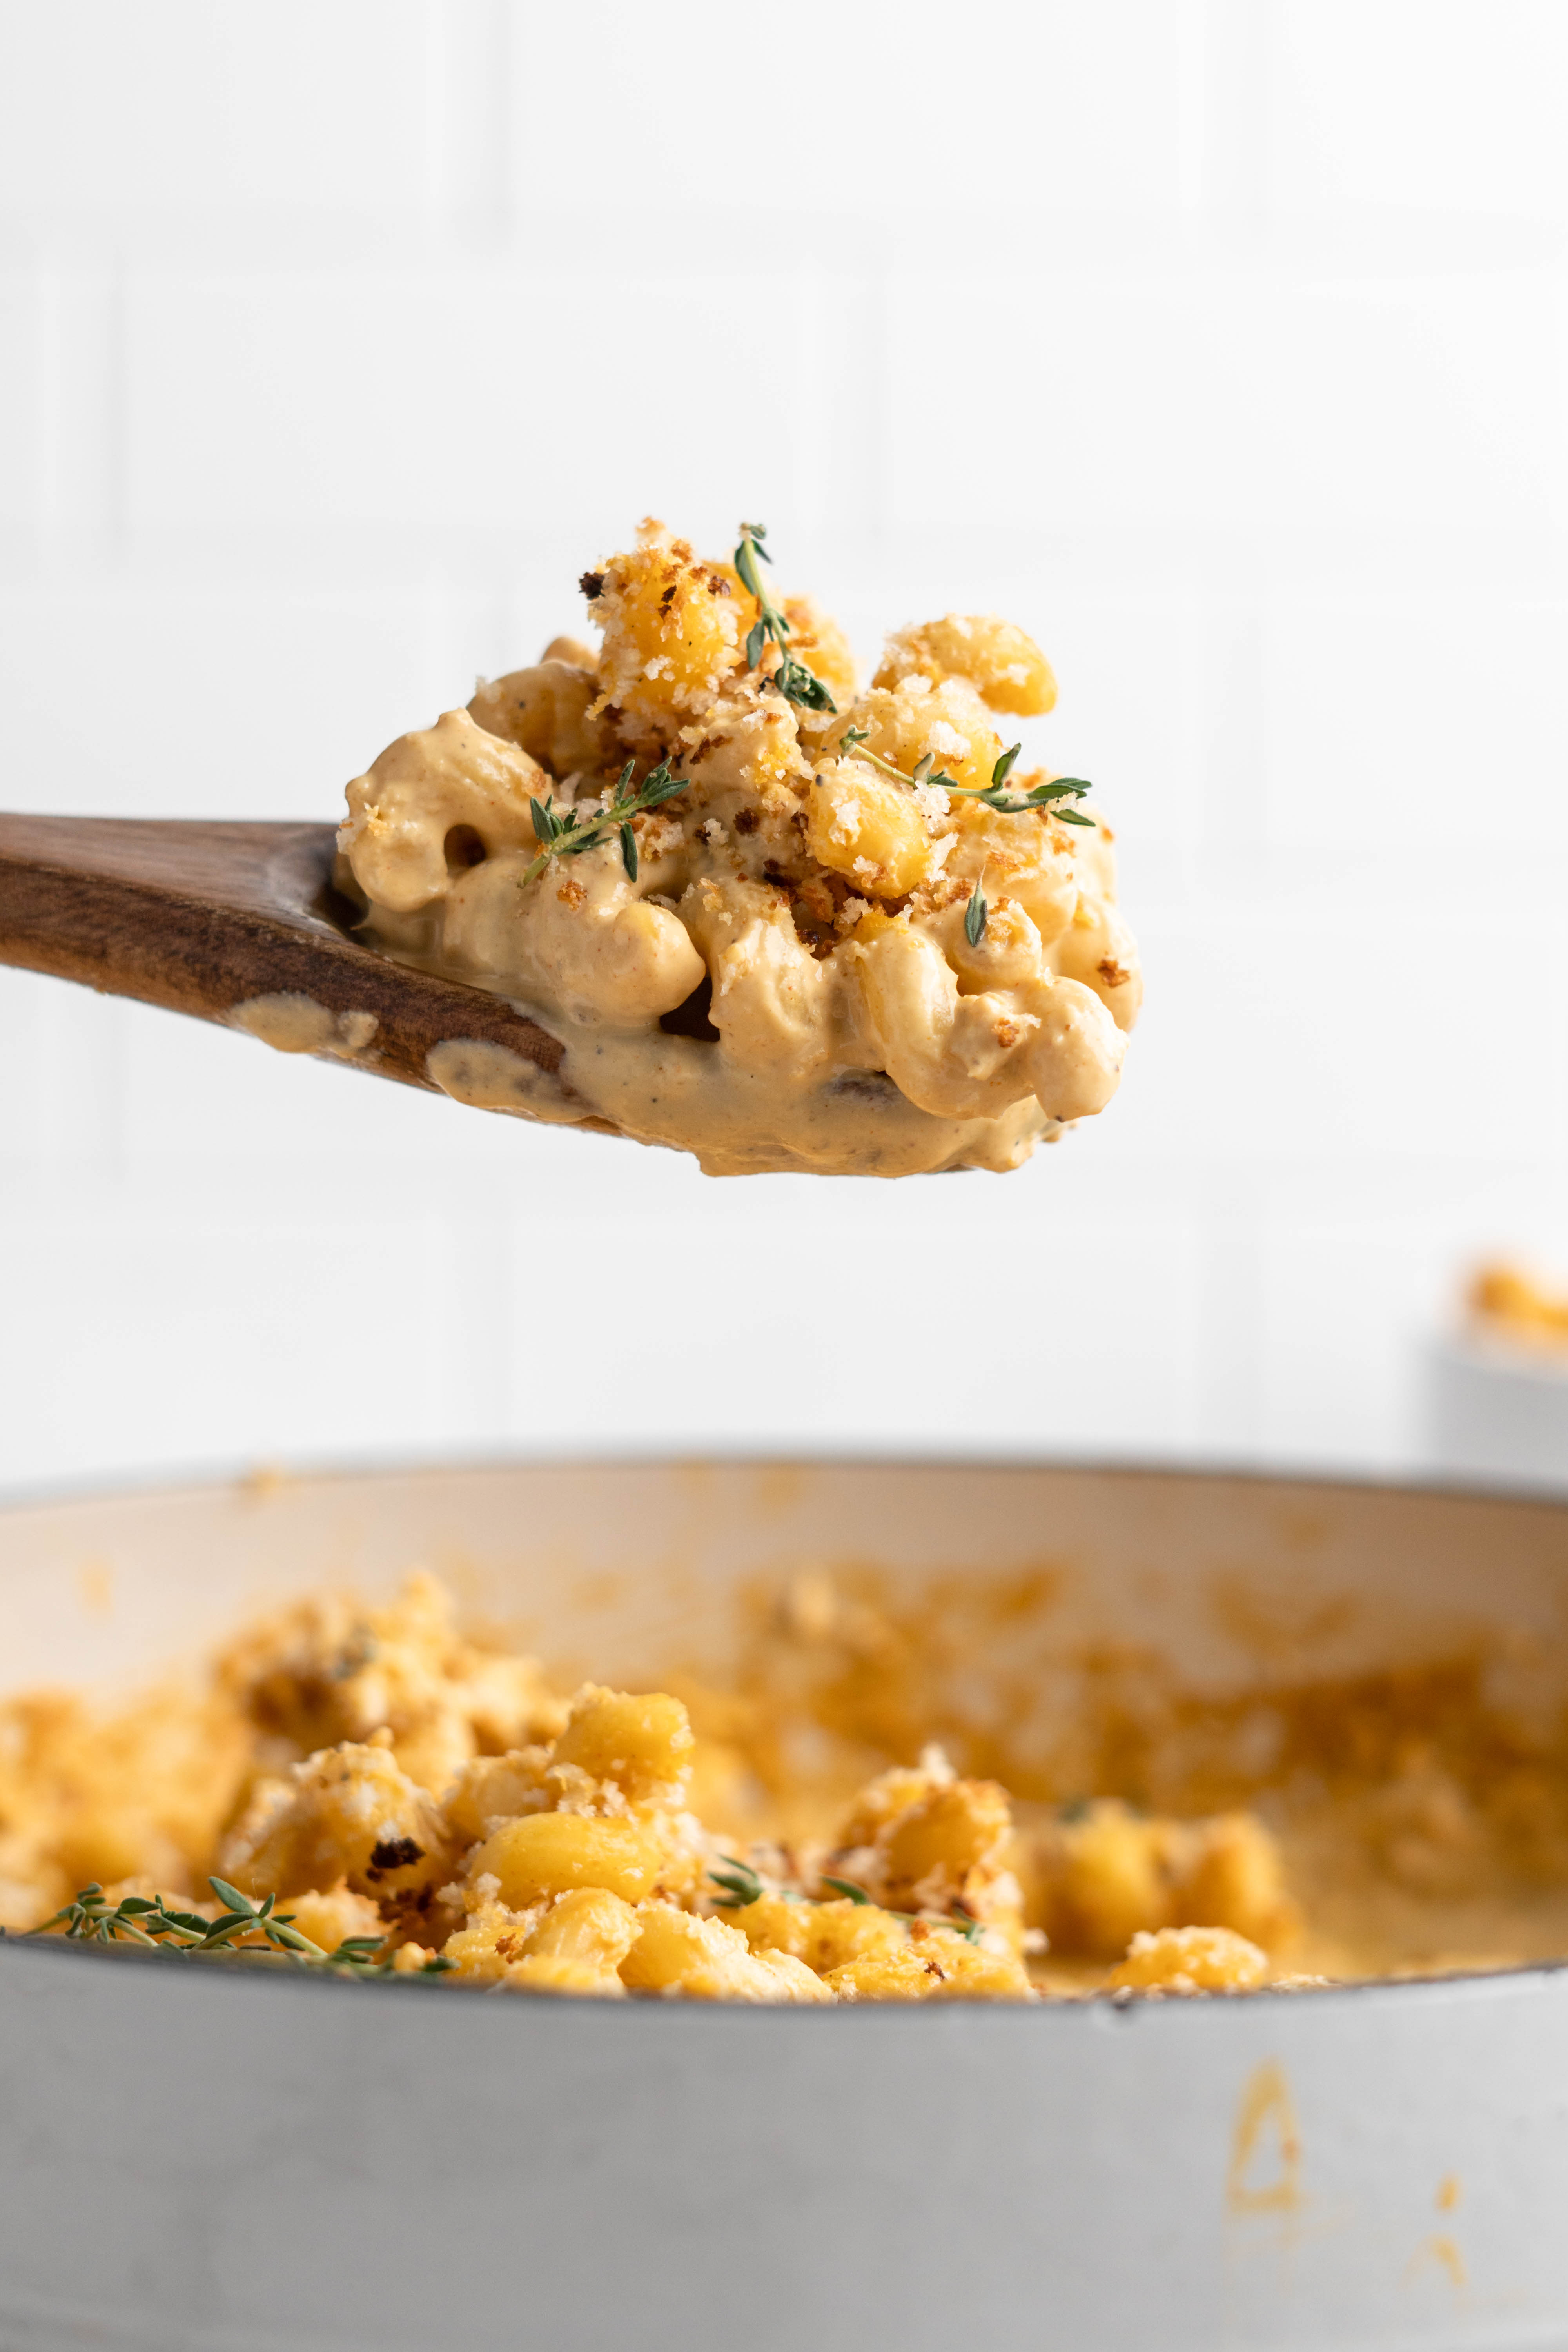
Enjoy friends! If you make this baked vegan mac and cheese recipe, please snap a photo and tag #jessicainthekitchen on Instagram! We’d also love it if you would leave a comment below, and give the recipe a rating! Thanks so much!
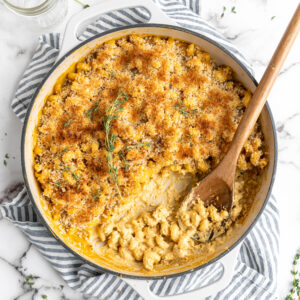
Baked Vegan Mac and Cheese
Ingredients
Creamy Vegan Mac & Cheese
- 3 cups elbow macaroni, (12 oz/340g)
- 1 tablespoon oil, any oil works, I love olive oil here (12.5g)
- 3 cloves garlic, minced
- 1 cup raw cashews, soaked in water overnight, then drained OR just easily boiled for 5 minutes*
- 1 teaspoon garlic powder
- 1 teaspoon onion powder
- 1 teaspoon sea salt
- 1/2 teaspoon ground black pepper
- 1 teaspoon dry ground mustard
- 1 tablespoon lime juice, or juice of 1 lemon
- 1/2 tablespoon soy sauce, or liquid aminos or tamari or lite soy sauce or miso paste
- ½ cup nutritional yeast
- 2 teaspoons paprika
- ¼ teaspoon ground nutmeg
- 1 ½ cups vegan milk, you can use any, I love canned full fat coconut milk cause it's so creamy
- 1 cup vegan shredded cheese, ¾ for the sauce, ¼ up to any amount you'd like for the top (optional)
Breadcrumb Topping
- 1 cup breadcrumbs, gluten free if needed
- salt & pepper to taste
- 3 tablespoons melted vegan butter, or oil
Instructions
Creamy Vegan Mac & Cheese
- Preheat oven to 350°F/180°C.
- Prepare elbow pasta according to package directions. Drain in a colander until ready to use.
- In a large high speed blender add the cashews, garlic powder, onion powder, salt and pepper, ground mustard, lime juice, soy sauce, nutritional yeast, paprika, ground nutmeg, non-dairy milk and ¾ cup vegan shredded cheese (I use cheddar – this is optional but adds great flavour).
- Blend together for about 3 minutes on a high speed, until sauce is completely smooth and incorporate. If you need to blend longer that's fine, just blend until smooth. Taste and add more salt if necessary.
- Add the macaroni to a cast iron skillet or other similarly sized oven safe pot or oven sized container (mine is about 8" to 9"). Pour the sauce over the macaroni. Stir to combine until fully combined and all the macaroni is coated with sauce.
- Mix breadcrumbs, salt and pepper to taste and vegan butter in a small dish with a small whisk or fork until combined. If using the ¼ cup vegan cheese shreds, gently mix into here too. Sprinkle over the top of the Mac and cheese, covering completely.
- Bake for 15 minutes until Mac and cheese is set, then broil for a few minutes until top is golden brown.
- Remove from oven, allow to cool slightly then serve and enjoy!
Notes
Disclaimer: Although jessicainthekitchen.com attempts to provide accurate nutritional information, kindly note that these are only estimates. Nutritional information may be affected based on the product type, the brand that was purchased, and in other unforeseeable ways. Jessicainthekitchen.com will not be held liable for any loss or damage resulting for your reliance on nutritional information. If you need to follow a specific caloric regimen, please consult your doctor first.


I loved it. It looks so delicious I will try today
Looks so good! I’m going to make this and drop it off to a family tonight. If I made extra, how are The leftovers? And I’m assuming not freezable, right?
Awesome Michelle! I hope your family enjoy it. You definitely can freeze it after you’ve made it. I hope this helps.
Jessica, this was AMAZING!! I made it this weekend for the family and I had to stop them from eating it all in one sitting, ha. Today’s leftovers were equally excellent. Thank you so much! My daughter, newly vegan, specifically said, “This was the one dish I have missed so much!!”
One question — for the nutrition information, what size would you consider a serving to be? A cup, or something else?
Hi Meredith,
I’m so happy to hear that!! Aw yay!
Re serving size, I would just divide the finished product by 8 for one serving!
Thank you so much! Goodness, I totally missed the serving number listing on the original recipe — I could have done that math on my own, oops! Apologies, and appreciation for letting me know. 🙂
Haha no worries Meredith! I hope you have a wonderful day!
I made this macaroni and cheese along with the bang bang cauliflower and my family loved it! My mom(loves dairy and meat) really enjoyed it and went back for seconds! You have great recipes!
We’re so happy that you and your wonderful family enjoyed this recipe Tyla! Thank you so much for reading and leaving such a nice comment!
This recipe was great.
Today I actually used this cheesy sauce for a quinoa bake with broccoli, chard, and sliced onion. Soooo good.
I can’t wait to use this in a traditional way and with some more remixes.
This tasted authentically cheesy which was wild. Btw, USE THE COCONUT MILK. You won’t taste it at all. I’ve been eating vegan for 3 years and have never dared to do a cheesy sauce with coconut milk cuz I always thought I would taste the coconut since that flavor is so strong. I was w-r-o-n-g.
Great recipe, it was super easy to make and really delicious. I even made it in my Ninja Foodi so I didn’t have to heat the house up with the oven. Will definitely make again.
We’re so happy that you enjoyed this recipe Kimberly! Thank you so much for reading and leaving such a nice comment!
I was really shocked at how this came together…I am not a ‘cook’. I had a can of coconut milk in the pantry and used that, following the directions it all came together and the sauce blended up quickly. It was really good! It stored and reheated nicely as well. Thanks for sharing this recipe, it’s been great sharing your recipes with those in my family who are not vegan.
Hi Jill,
Aww I am so happy to hear that!! Thank you so much for your kind comment and review and I’m so happy that you and your family enjoyed!!
This is DELICIOUS! So easy to make and freezes like a dream, new favourite dish! Didn’t have quite enough cashews so added some cashew butter and it worked perfectly. Yum!
This is my new favorite Mac and cheese recipe! I’m always trying different ones to switch it up, but have stayed away from ones with coconut milk. Although I use coconut milk often I was hesitant to use it in a Mac and cheese, I didn’t want it to taste like coconut. When I saw this recipe I knew I had to try it and I trusted Jessica when she said the coconut milk was a must try. Let me tell you it does not have a coconut flavor. It’s perfect and creamy as so so tasty. Such a satisfying Mac and Cheese. The whole family loved it! Already planning on making again very soon.
Thanks for another killer recipe Jessica!
This is the best vegan Mac n cheese I’ve made so far. Even my non-vegan boyfriend enjoyed it so much! Everything is perfect about it. The breadcrumb mixture is a MUST!