Vegan Pizza
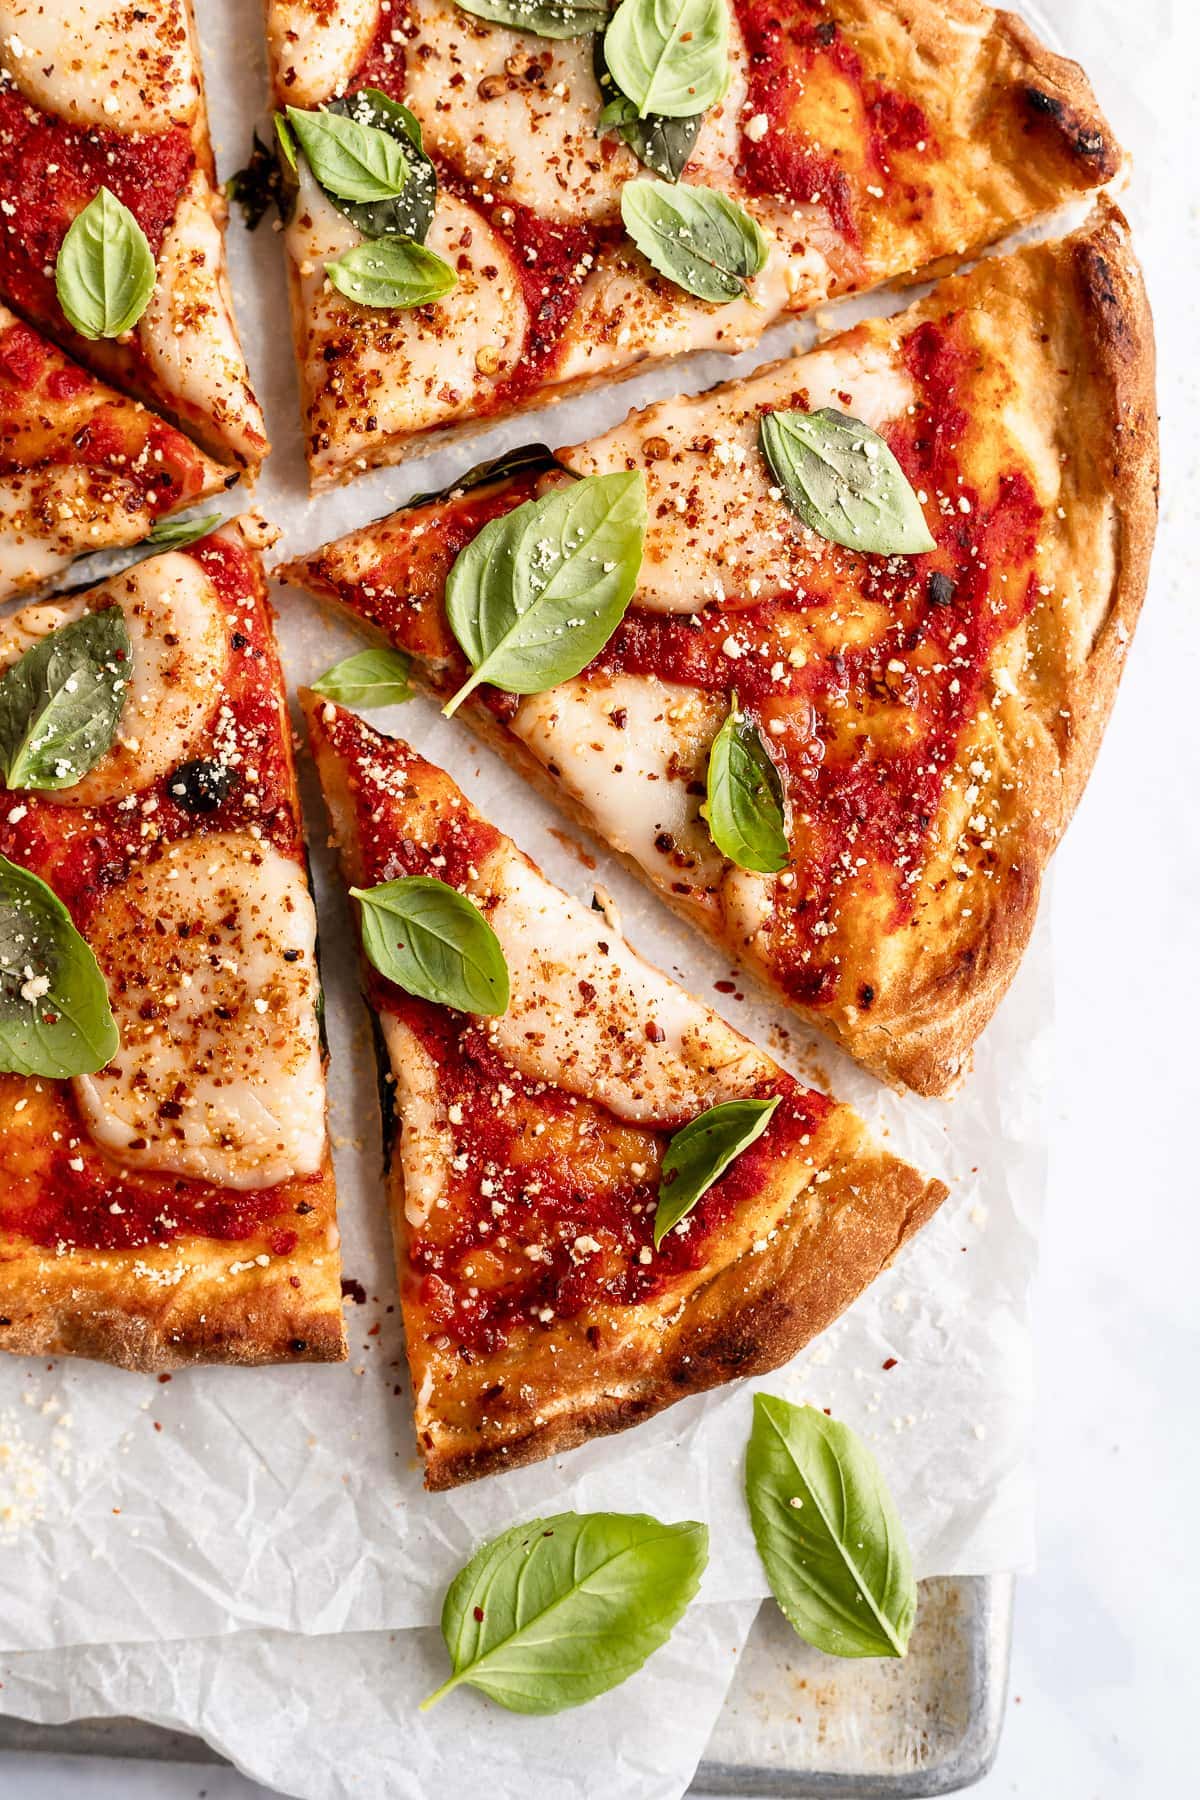
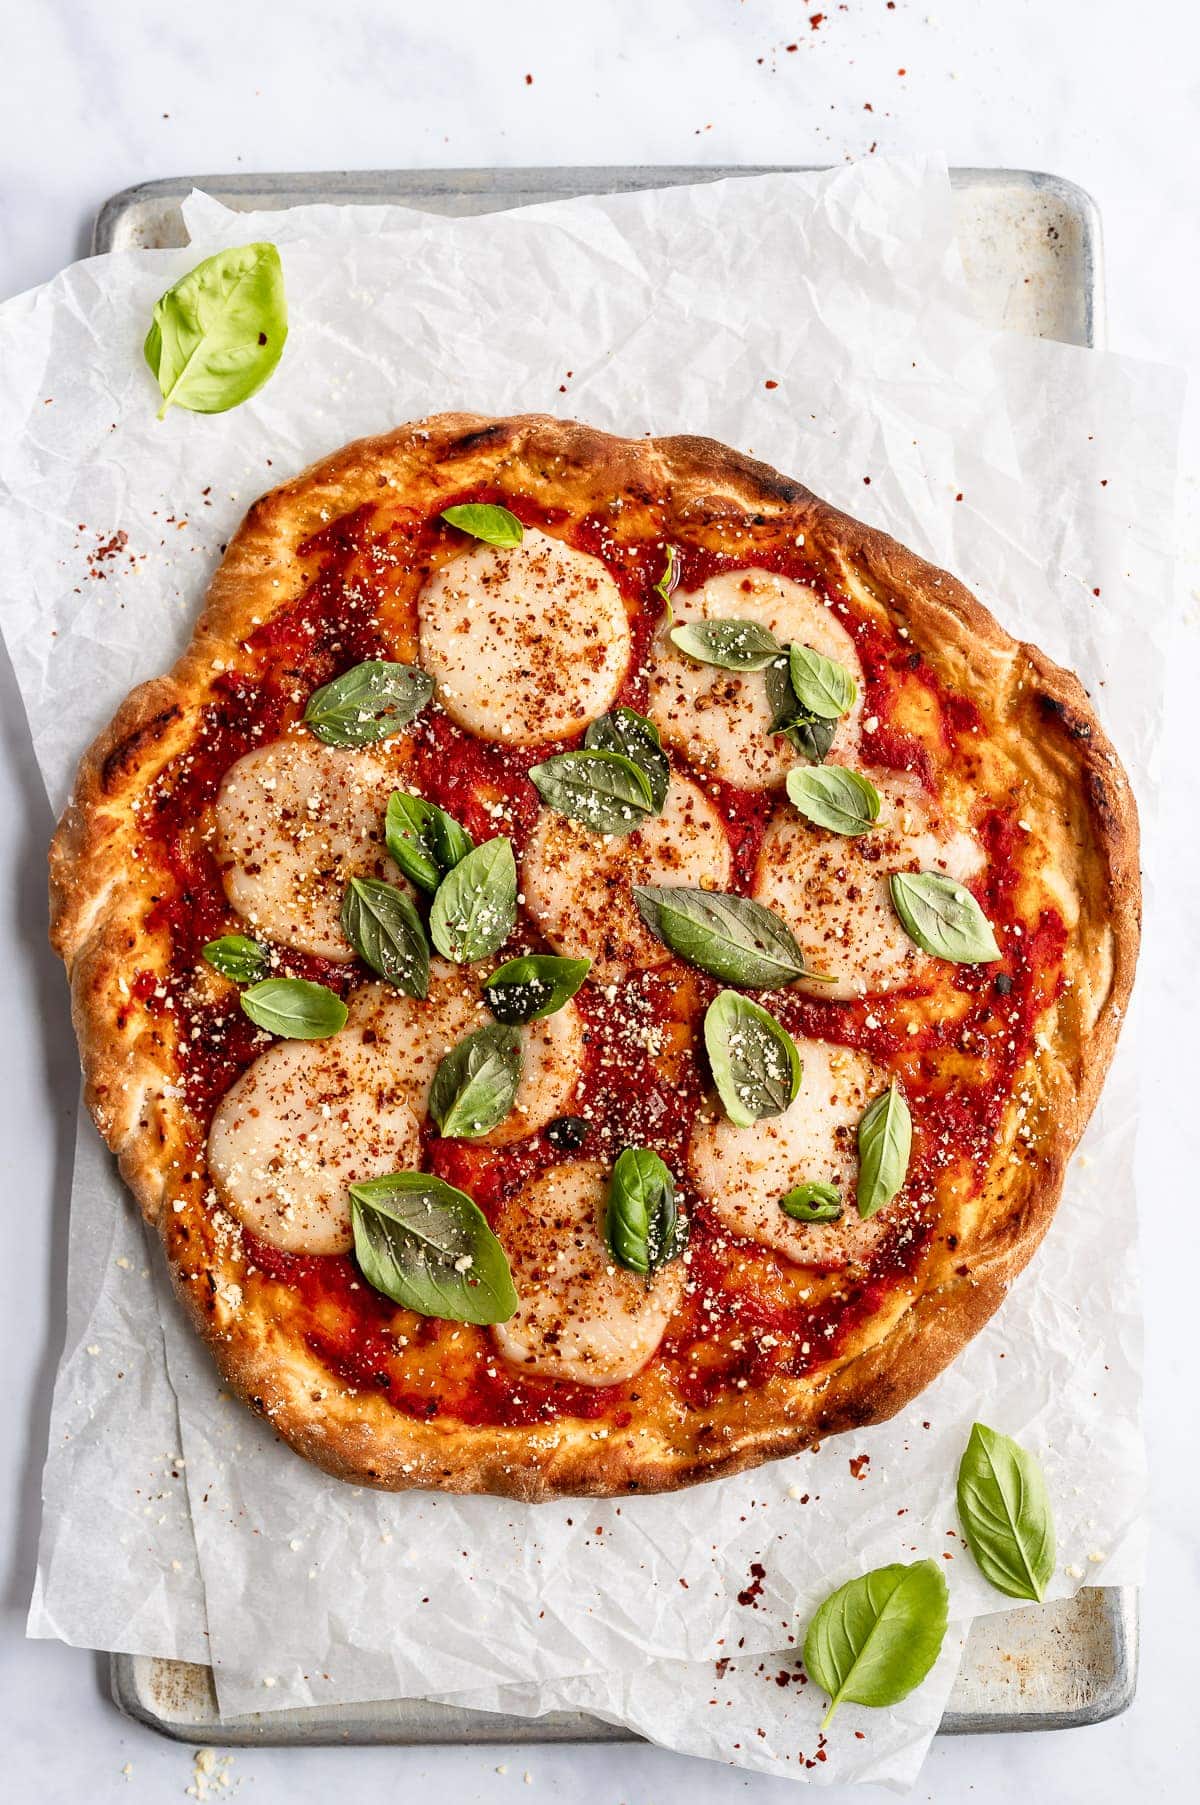
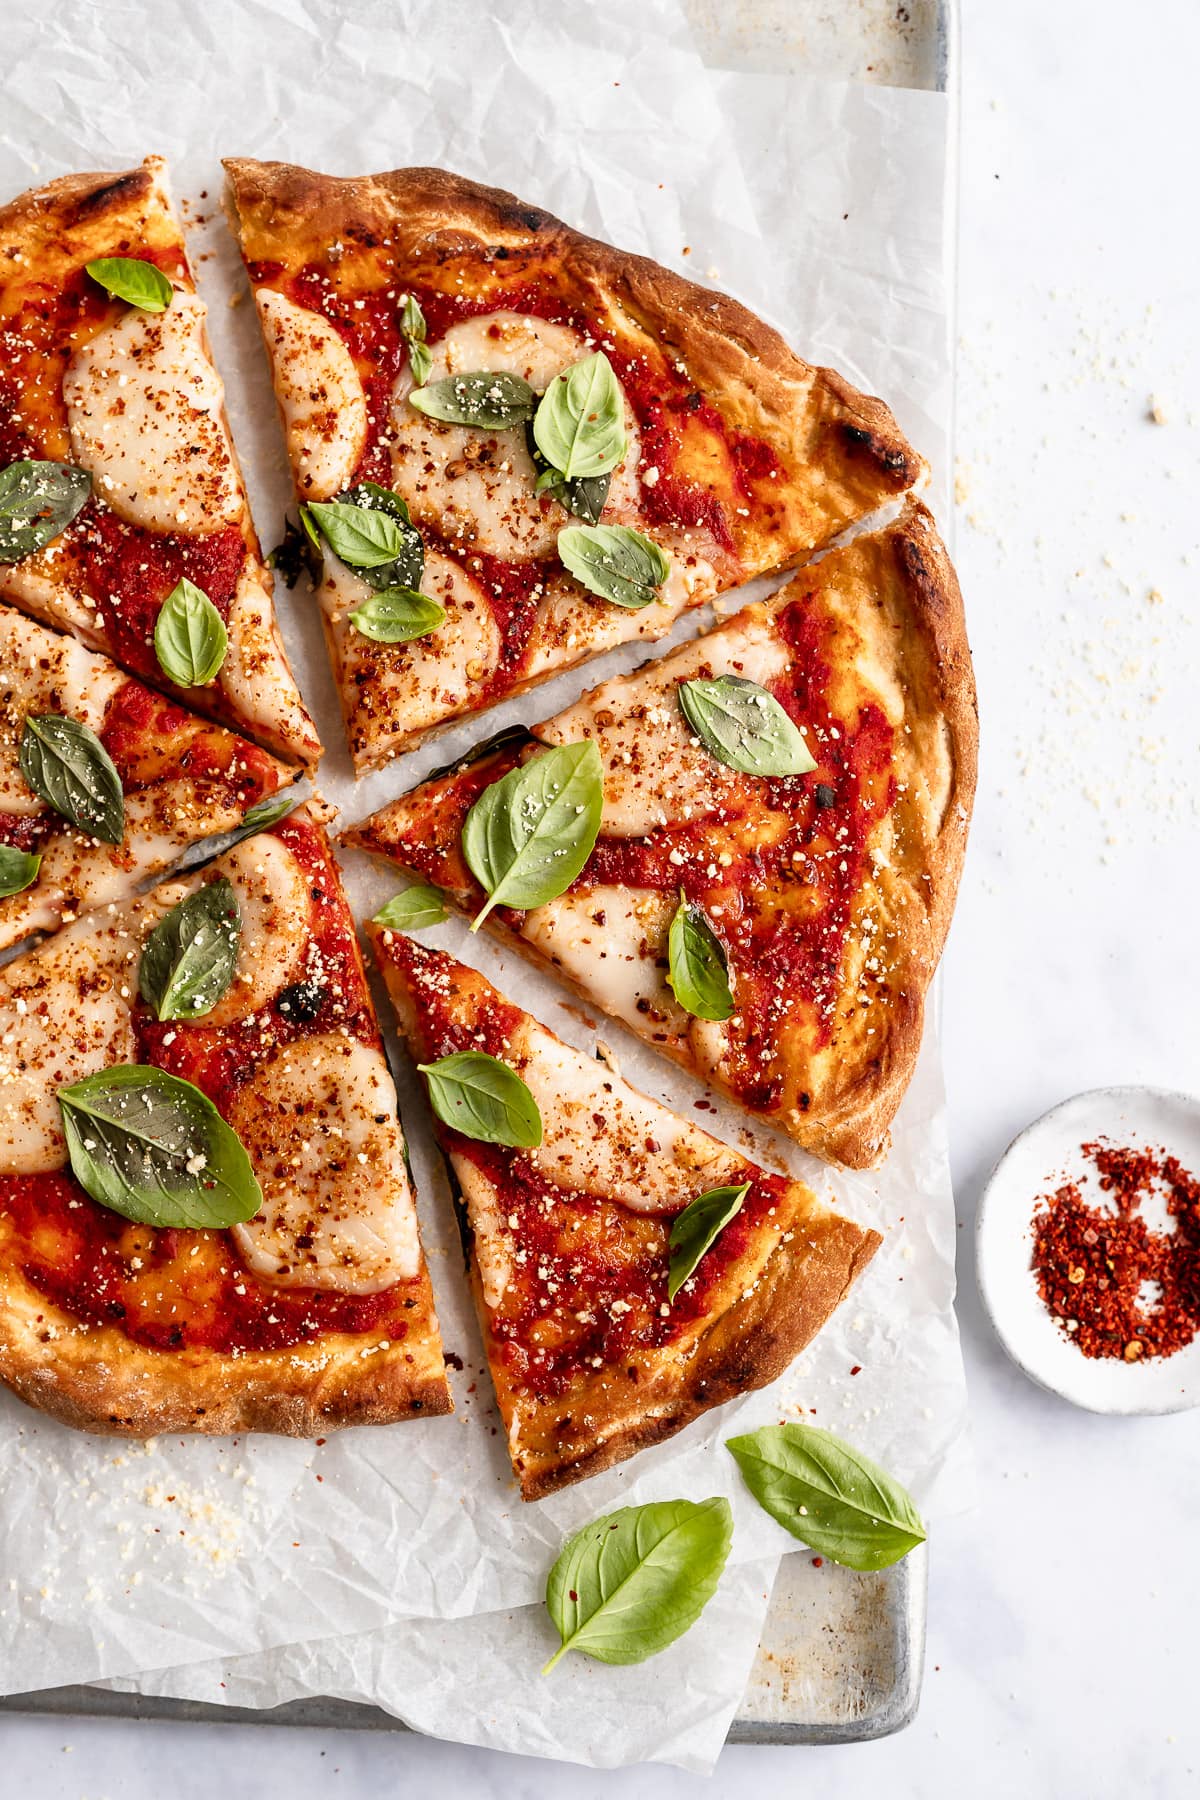
Here’s how to make the perfect vegan pizza! Customise this recipe with your favourite toppings and enjoy a plant-based pizza night any day of the week!

Pizza Fridays are a regular occurrence in our house, and while I’ll often make something like vegan spicy BBQ chickpea pizza or kale pesto pizza, I have to tell you that this homemade vegan pizza recipe is the one I keep going back to—a simple, classic pizza with an incredible crust, fantastic tomato sauce, and melty vegan cheese.
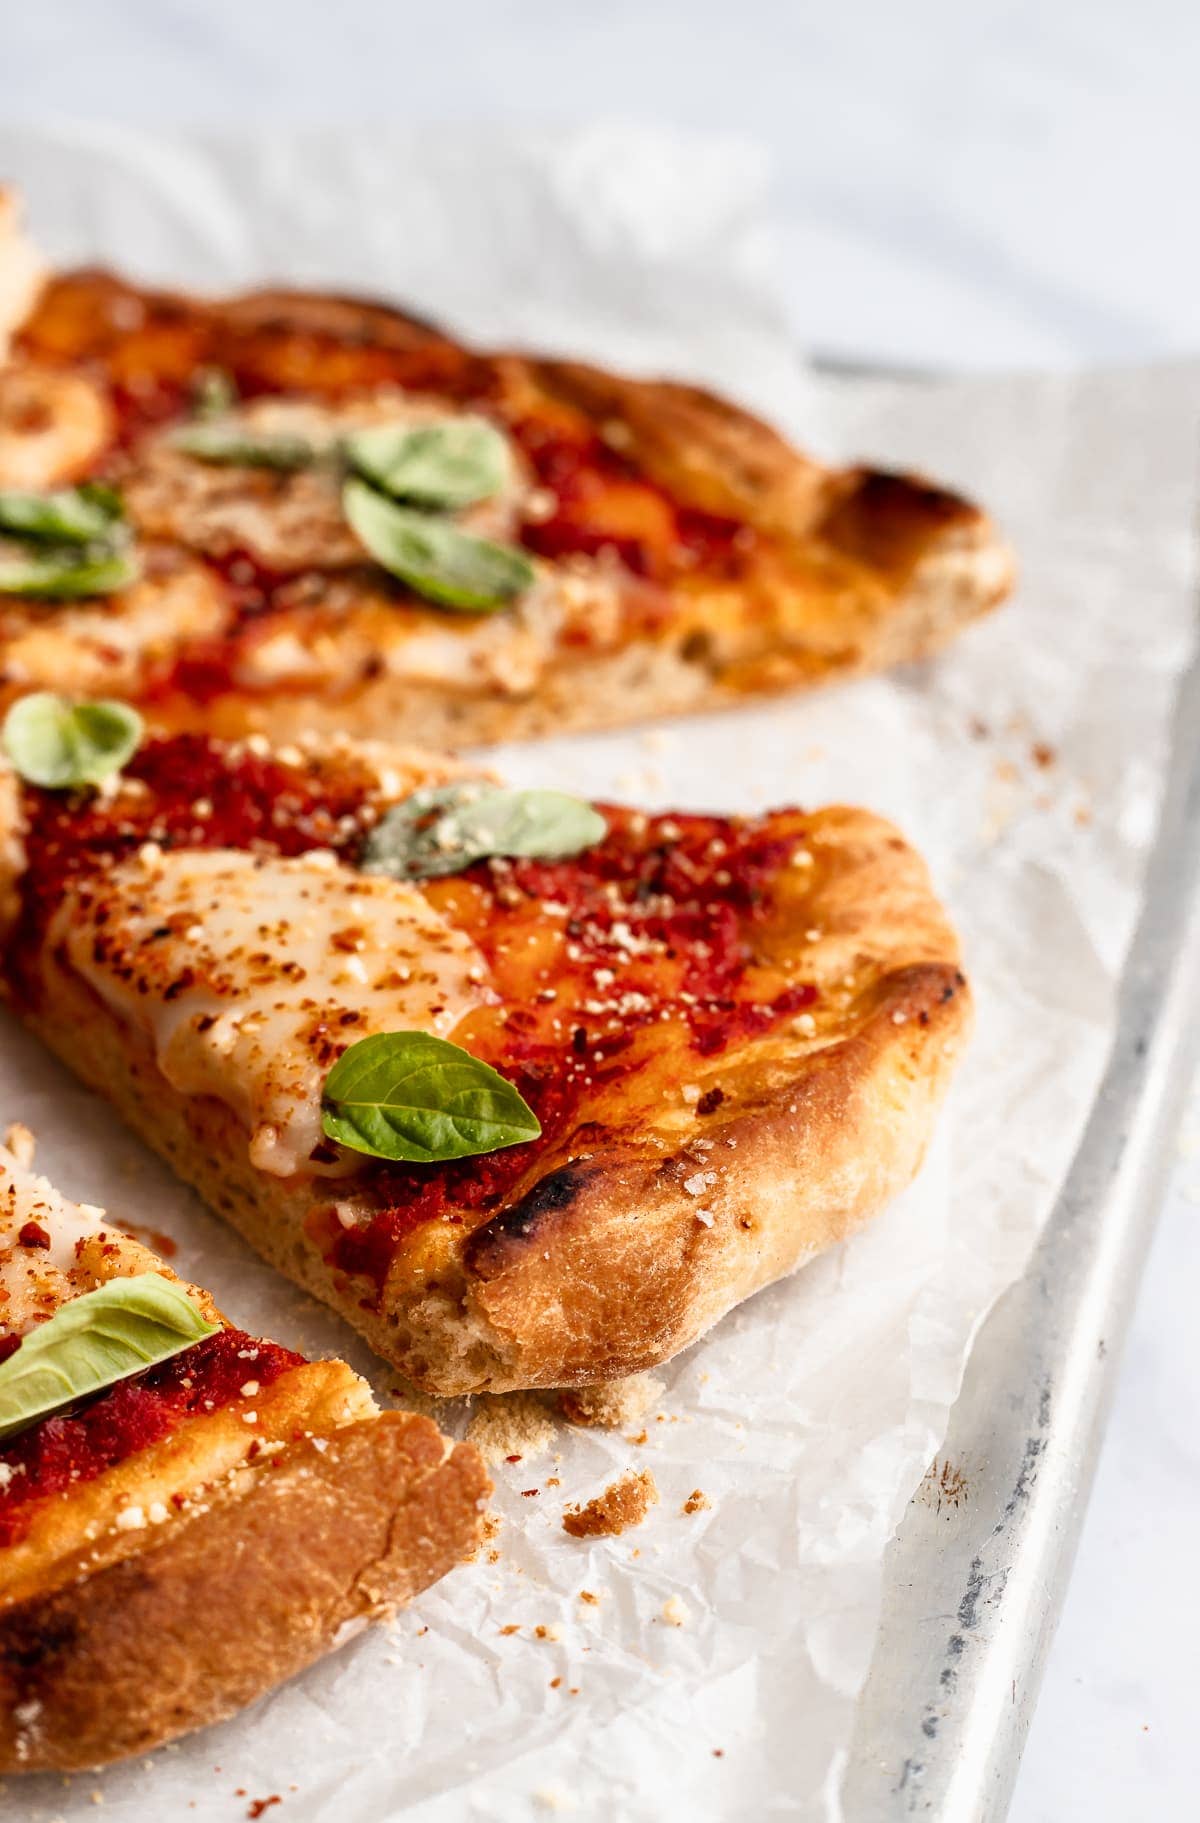
When you’re making such a simple recipe, it’s all about quality of ingredients and technique. The technique I use here is the steam method, which I learned during my two visits to Italy. It’s key to beautifully browned, bubbly crusts. Once you try it, you’ll never go back!
Why You’ll Love This Vegan Pizza Recipe
- Simply delicious. Don’t get me wrong, sometimes I do love to go wild with toppings. But If you start with a good crust—and this is a GREAT crust—you can make a really enjoyable pizza without all that.
- Authentic flavour. You probably don’t have a wood-fired pizza oven at home, but the steam method I describe below is the next best thing for vegan homemade pizza!
- Perfect for customising. Keep it simple with sauce and vegan cheese, or add some more toppings. It’s up to you!

Notes on Ingredients
Scroll down to the recipe card to find the ingredient quantities and recipe instructions.
- Pizza dough – Here’s my pizza dough recipe.
- Pizza sauce – And here’s my pizza sauce. Do not use store-bought jarred marinara or pasta sauce—it has a higher water content and will make your pizza soggy!
- Vegan mozzarella cheese – My favourites for homemade vegan pizza are Miyoko’s Vegan Mozzarella, Eat Harmless, Violife, Daiya, and So Delicious.
- Olive oil – For brushing the crust.
- Cornmeal – To dust the baking sheet or pizza stone.
How to Make the Best Vegan Pizza
- Prepare. Preheat your oven for 20 minutes at 500ºF or its highest temperature.
- Shape the crust. Roll out the dough on a floured surface until it reaches 10-inches in diameter. Place the dough on a pizza stone or baking sheet dusted with cornmeal.
- Top the pizza. Spread the sauce onto the crust, then add the cheese. Drizzle the olive oil on top and brush it on the edges.
- Bake. Place the pizza in the oven and bake for 12 to 17 minutes, or until the dough is baked through and golden brown on the edges. Broil for a few minutes at the end if desired.
- Serve. Cool slightly, then slice and serve.

Tips for Success
- Don’t overdo the toppings. The biggest culprit when it comes to soggy pizza crust is too many toppings. Keep it around 1 cup of topping ingredients.
- Use the best ingredients you can find. They say even bad pizza is still pizza, but we want incredible vegan pizza, right? With such a simple recipe, you really taste everything, so make sure it’s good stuff.
- Try the steam method. To do this, place a loaf pan with hot water on the bottom rack of your oven once it reaches 500ºF. Let it sit in the oven for 10 to 15 minutes, then add the pizza. The crust will get bubbly and crisp!
- Use a pizza stone. A pizza stone will give you the very best results, so if you make pizza often, it may be worth the investment. If not, the back of a heavy baking sheet will also work or use a cast iron skillet. (I describe all of these methods in detail in the recipe card below.)
Simple Vegan Pizza Topping Ideas
As I mentioned above, we don’t want to overdo the toppings! But here are some simple combinations I love for vegan pizza:
- Tomato pizza sauce + Italian olives + vegan Parmesan cheese
- Olive oil (instead of pizza sauce) + vegan mozzarella + caramelized onions + Kalamata olives
- Tomato pizza sauce + torn vegan mozzarella + Roma tomato slices + fresh basil leaves (after baking)
- Olive oil + vegan mozzarella + garlic mushrooms + a drizzle of truffle oil before serving

How to Store Leftovers
Store leftover vegan pizza wrapped in foil or in an airtight container in the refrigerator for up to 3 days. You can eat it cold, warm it up in a 450ºF oven, or use my favourite method, which is reheating it covered in a skillet on the stovetop.
Can I Freeze This Recipe?
You can freeze homemade vegan pizza before or after baking. To freeze it before, place the assembled pizza on a parchment-lined baking sheet and freeze it until it’s solid. Wrap it tightly in plastic wrap then foil and freeze for up to 2 months. Bake as directed in the original recipe; you’ll just need to add a few extra minutes to the oven time.
To freeze after baking, wrap the slices in plastic wrap then foil and freeze for up to 2 months. Reheat from frozen according to the instructions above, or let the pizza thaw in the fridge first for faster reheating.
More Vegan Pizza Recipes
- Vegan Breakfast Pizza
- Vegan Naan Pizza
- Easy Vegan Almond Flour Pizza Crust (Gluten Free & Low Carb)
- Grilled Peach, Basil and Vegan “Goat” Cheese Pizza
- Fruit Pizza Recipe
Enjoy friends! If you make this vegan pizza recipe, please snap a photo and tag #jessicainthekitchen on Instagram! We’d also love it if you would leave a comment below, and give the recipe a rating! Thanks so much!

Vegan Pizza
Ingredients
- 1 pizza dough recipe, this is my recipe
- ½ cup to ¾ cup pizza sauce
- 1 ½ cups to 2 cups vegan mozzarella cheese , shreds or torn pieces
- 1 teaspoon olive oil for brushing crust, plus more for optional drizzling over
- cornmeal, for dusting baking sheet or pizza stone
Instructions
- Preheat oven to 500°F/260°C degrees or as hot as it will get. Let it preheat for at least 20 minutes on this heat. I would recommend also doing the steam method (in notes below) for an even hotter oven and the best crust.
- On your floured surface, shape your pizza dough into a circular shape. I use a well floured rolling pin and roll it out in all directions to form a circle. It should measure about 10 inches diameter. Create a crust by lifting the edges to create a sort of heightened rim.
- Dust a pizza stone or upside-down baking sheet with cornmeal. Lift and place the pizza dough on it. For help, sometimes I stretch/roll the pizza dough on cornmeal-dusted parchment paper, then transfer the pizza on the parchment to the pizza stone. Either method works. You can also use a cast iron for an extra crispy crust (see notes).
- On the pizza dough, spread the tomato sauce over the pizza. You don't want to go all the way to the edges. Top with the cheese, and your desired toppings. They can overlap the edges of the crust if you'd like, or you can leave it bare for a solid crust edge.
- Drizzle some additional olive oil over the top and brush onto the crust too so it’s nice and crusty.
- Place in the oven and bake for 12-17 minutes, until cheese is bubbling, and the dough is fully cooked through. Check to ensure it isn't burning after the 12 minute mark. If you want you can broil the pizza on low for a few extra minutes afterwards – just keep an eye on it to watch that it doesn't burn.
- Remove, let cool slightly, slice and enjoy!
Notes
The Steam Method
Pizza Stone vs Baking Sheet
If I had to choose, I would I always recommend a pizza stone because it produces the best results. That being said, using the back of your baking sheet works just as well. If you want, you can place the baking sheet in the oven while its preheating and then using a parchment paper, slide your pizza onto it. It’ll begin to cook the pizza instantly, and provide an even better crust. Get a nice heavy duty baking sheet for this since many warp under high heat, but you can certainly use what you have. This is the pizza stone I recommend.Cast Iron Method
What yeast to use?
I recommend using the yeast that your recipe calls for. For instant, I use SAF Instant Yeast. For active dry yeast, I love Bob’s Red Mill. They are both very affordable, is affordable in large quantities and last very long.Disclaimer: Although jessicainthekitchen.com attempts to provide accurate nutritional information, kindly note that these are only estimates. Nutritional information may be affected based on the product type, the brand that was purchased, and in other unforeseeable ways. Jessicainthekitchen.com will not be held liable for any loss or damage resulting for your reliance on nutritional information. If you need to follow a specific caloric regimen, please consult your doctor first.
Recipe by: Jessica Hylton – Jessica in the Kitchen | Photography by: Eat Love Eats


Yess so I made the homemade vegan pizza following her recipe. I also made the homemade pizza dough and marinara sauce. And just let me tell you I was so unsure about making homemade dough but her instructions we do easy to follow. I not only loved how the pizza turned out , but so did my dad. I definitely will be making this again , just adding different toppings. Btw I definitely would recommend using the steam method. The crust was A1
This pizza was SO GOOD!! I’ve never thought to use the steam method along with high heat and it was a game changer! Thanks for a delicious recipe, Jessica!
Awesome that blew us away when we discovered it too! Thanks again Samantha we really appreciate your review!
I never thought making a pizza from scratch would be so easy or tasty, I used the pizza sauce recipe (i’ll never buy from the sauce again) and the dough (lots of kneading but isss worth it lol) and finally followed these instructions and the steam method to create our tasty vegan pizza, we used vegan mozz & vegan cheddar instead though! The cheese melted so beautifully! Thx Jessica
The best Pizza! We are making this on repeat. And please don‘t skip the homemade marinara sauce or steaming method they make this pizza divine. I used to be afraid of using yeast, but the recipe and instruction are absolutey foolproof.
Aww yay! Thanks so much Ame for this amazing review!!
I love pizza, I like to search for new recipes all the time, I will make this pizza on the weekend.
Thanks for sharing. Greetings!
You’re so welcome Belem! We hope you enjoyed it.
The vegan dough recipe is first-rate, easy to make, freezes and bakes well. The vegan pizza directions are superb. I make this just to have frozen slices for those times my cooking energy is somewhere else. Thank you!
Wow thank you so much Joan!!