How to Make Sprinkles
I bet you never thought you could make your own sprinkles! Here’s how to make sprinkles at home for a more natural alternative to store-bought.
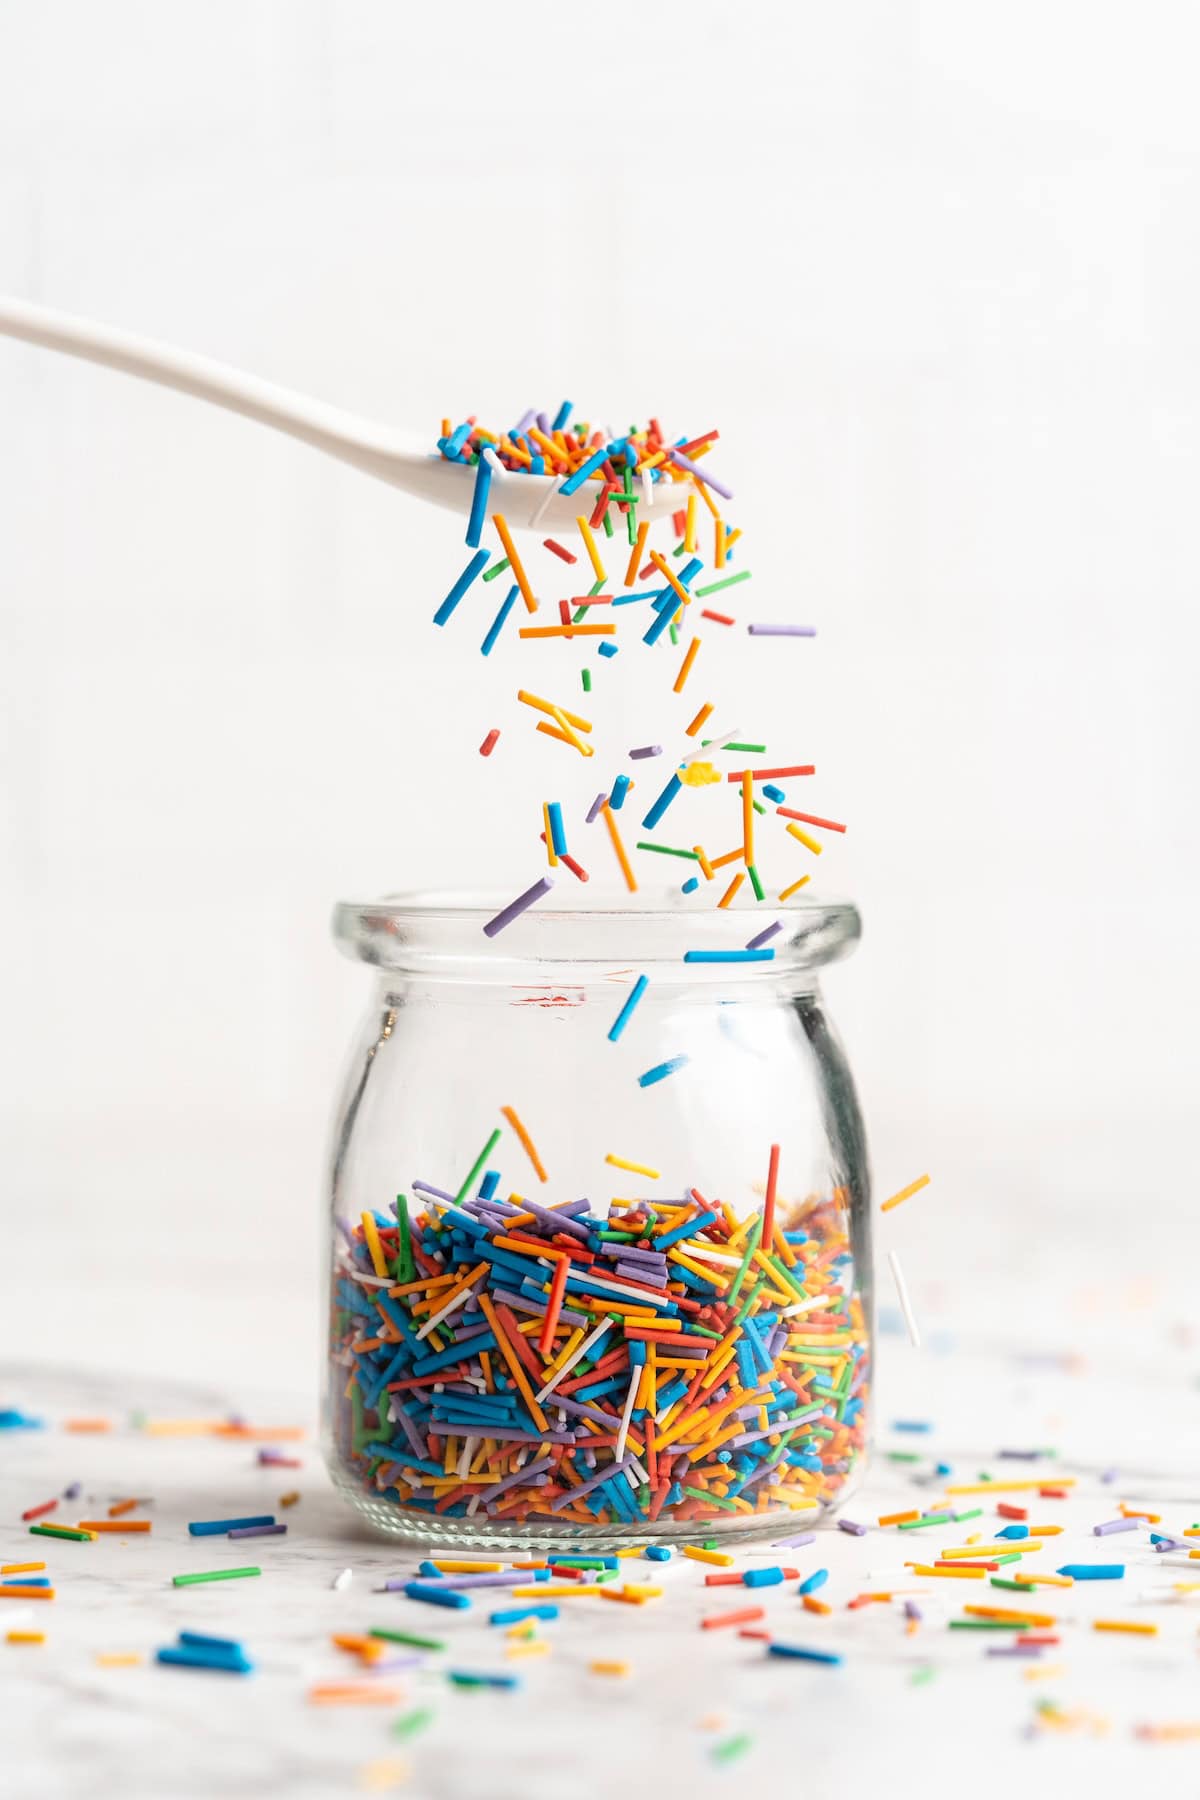
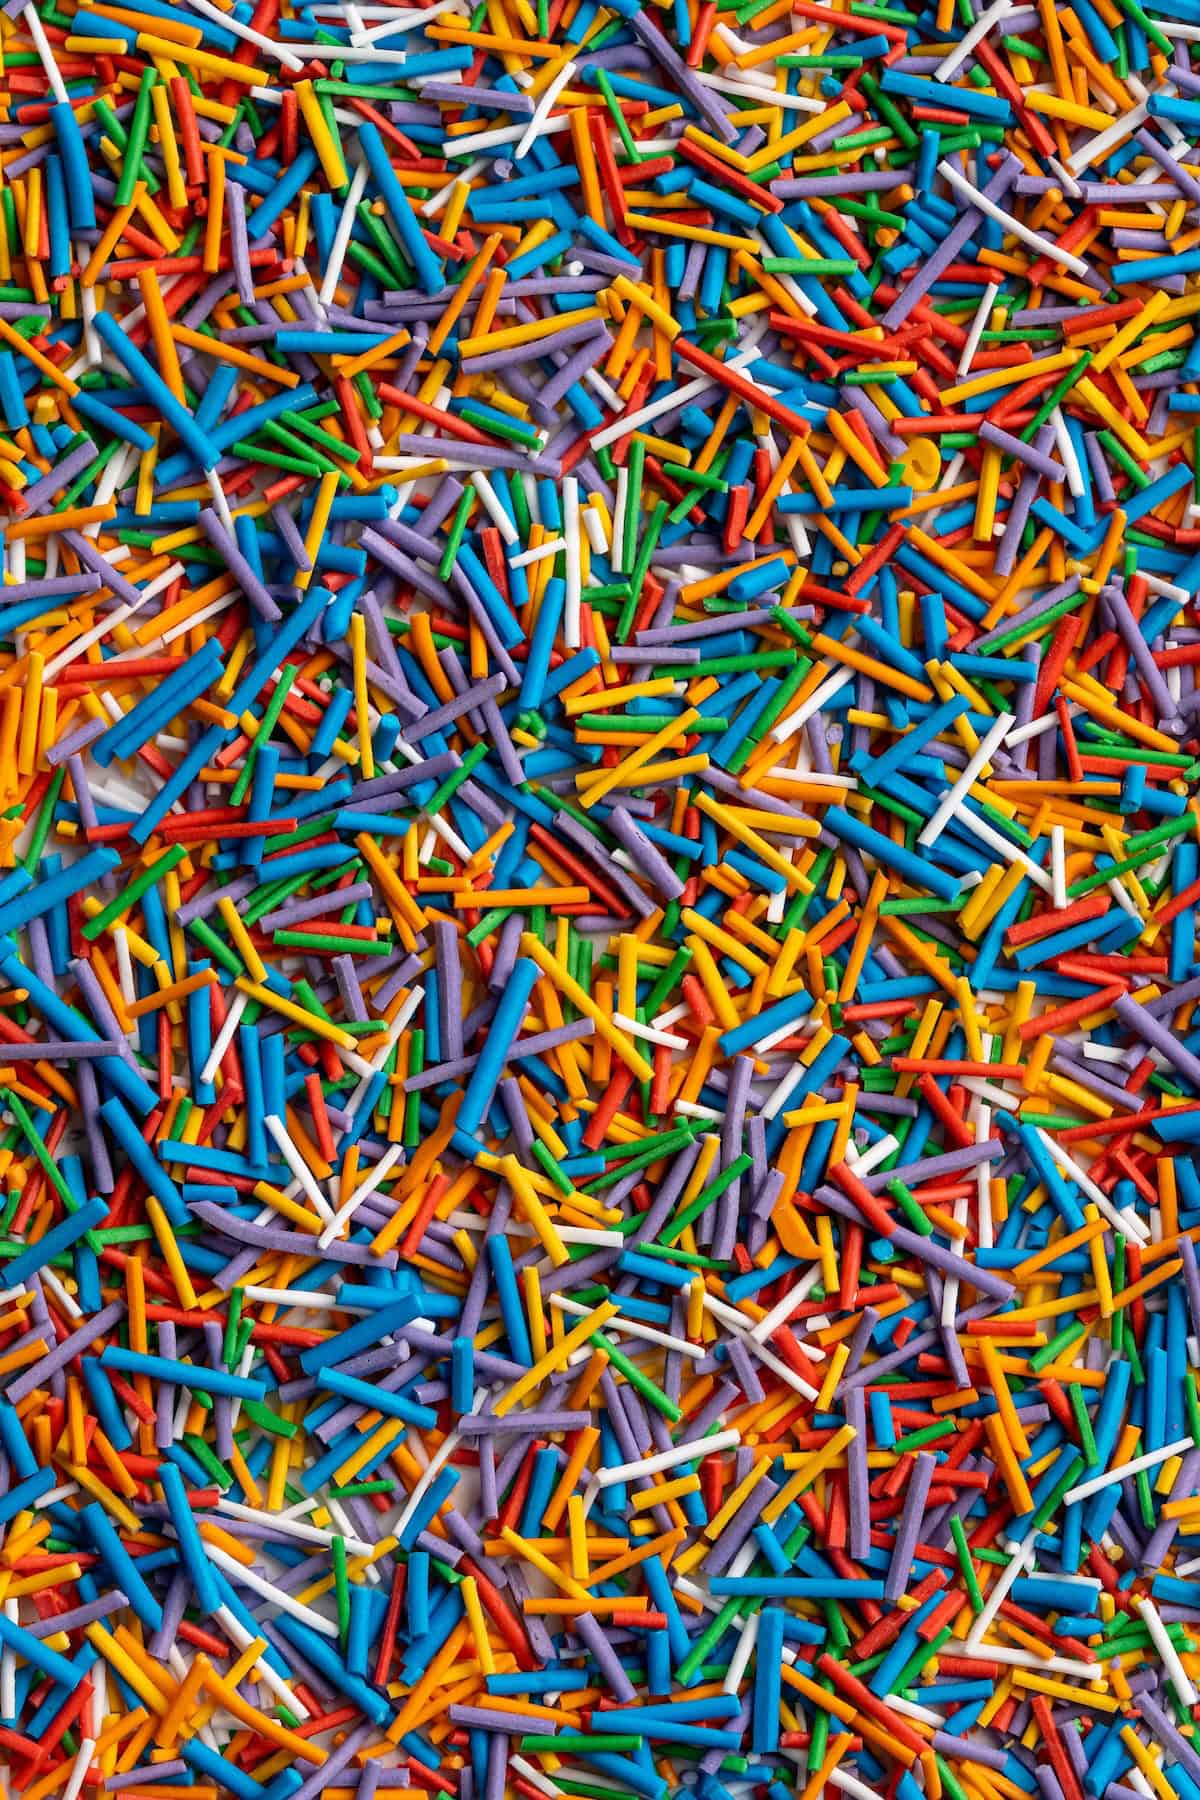
I am a little bit obsessed with these DIY sprinkles. I mean, just LOOK at them! How fun are they?! The colours are bright, the shape is on-point, and the process of making them is satisfying. You can make these vegan sprinkles with any colours you like and add them to all your favourite baked goods!
Why You’ll Love Making Your Own Sprinkles
- A more natural choice. Store-bought sprinkles usually contain artificial dyes, but by making your own sprinkles, you can use natural food colouring for a healthier option.
- Endless possibilities. With store-bought sprinkles, you’re limited to the colours and shapes available at the store. By making your own, you have complete control over the colours and even the shape!
- Fun to do. Making homemade sprinkles is a great opportunity to get creative in the kitchen. Of course, it’s easy to buy sprinkles at the store, but you get a sense of satisfaction from doing it yourself!
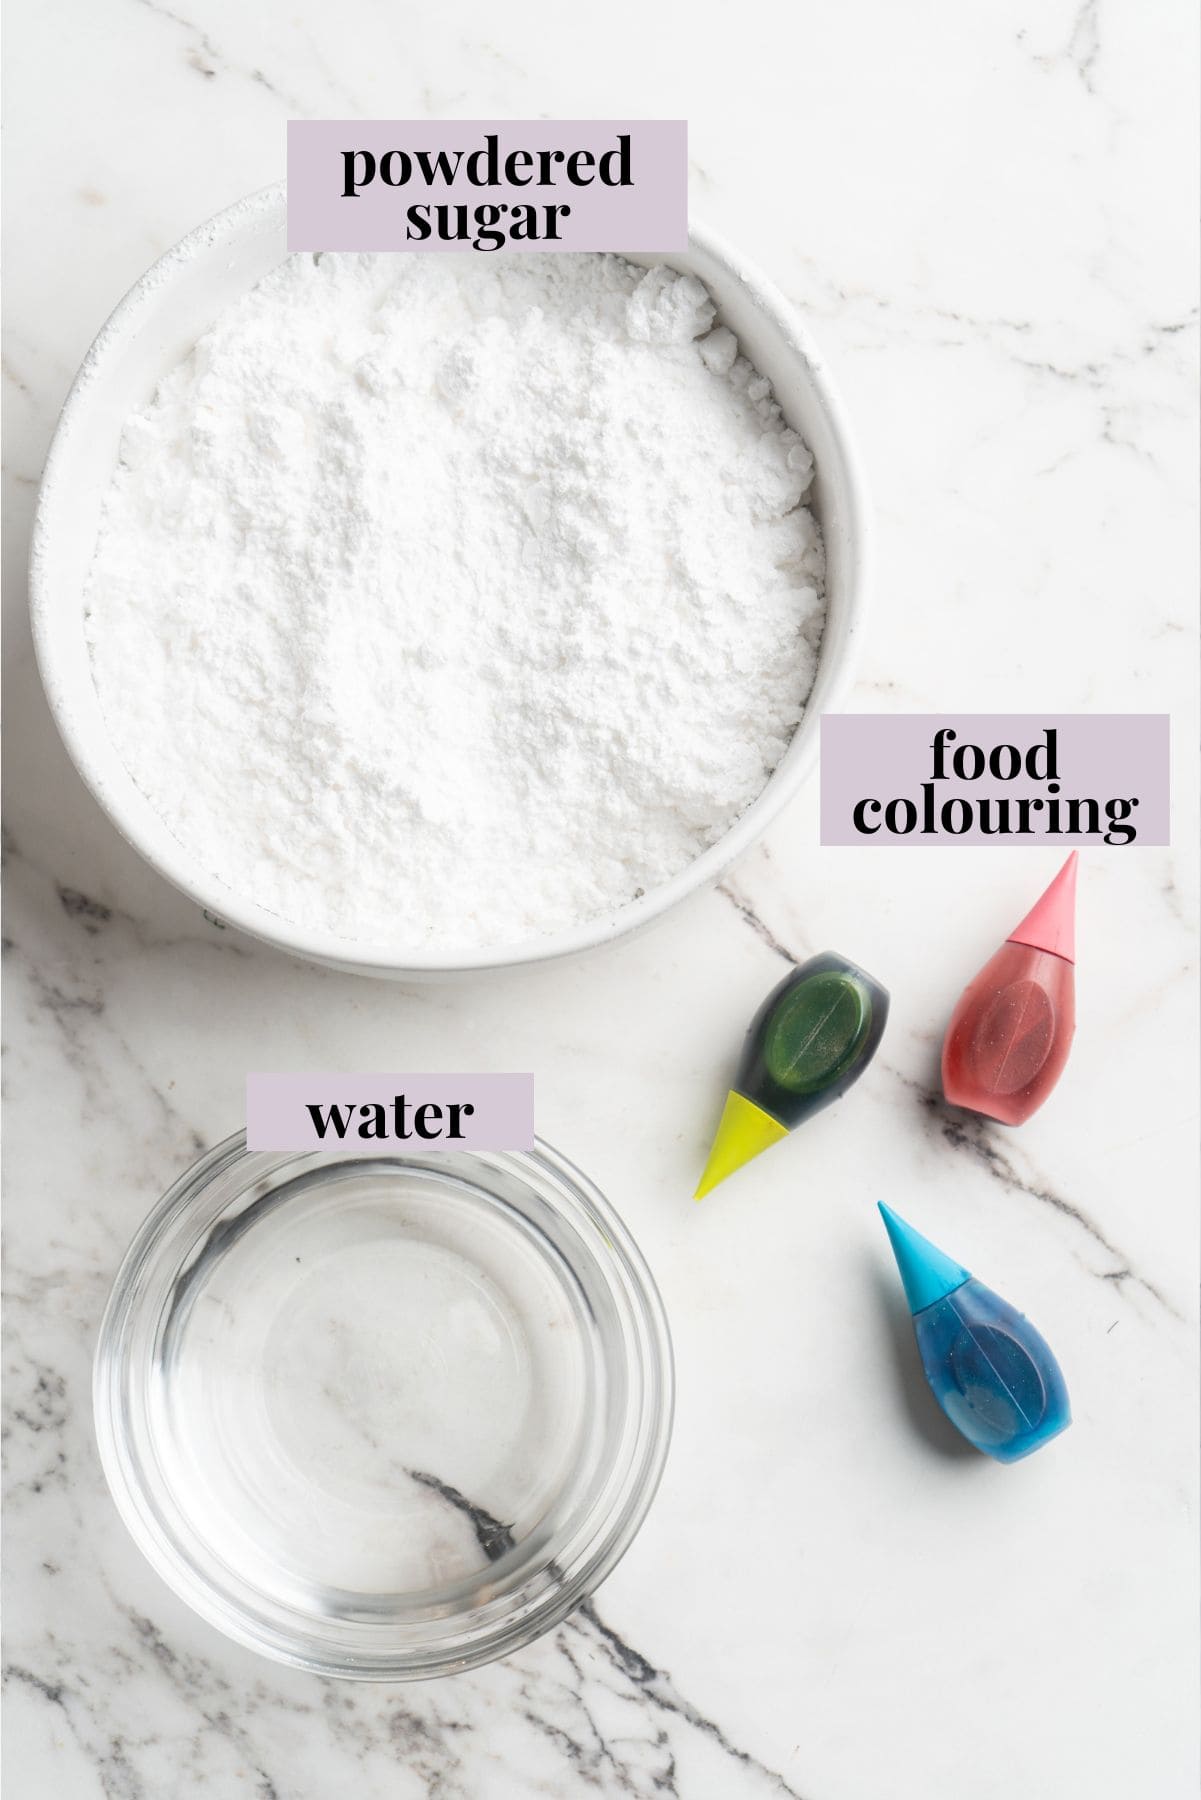
Notes on Ingredients
Scroll down to the recipe card to find the ingredient quantities and recipe instructions.
- Powdered sugar – AKA confectioner’s sugar.
- Water
- Food colouring – You can use any kind you like or have on hand, but I use natural plant-based colouring.
How to Make Sprinkles
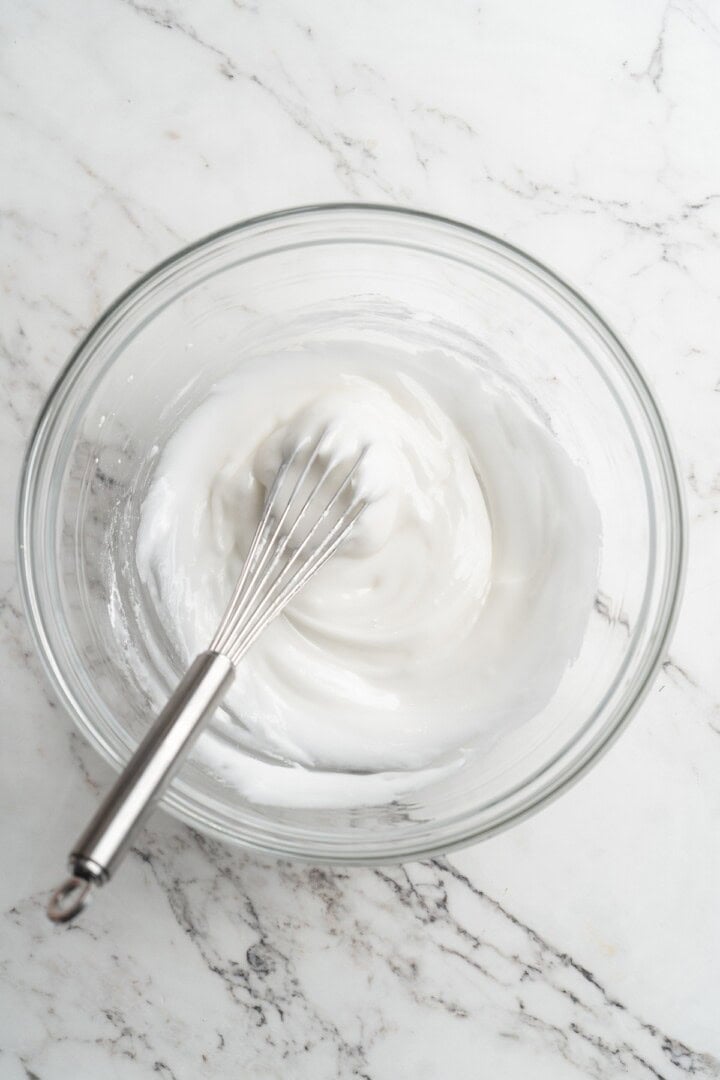
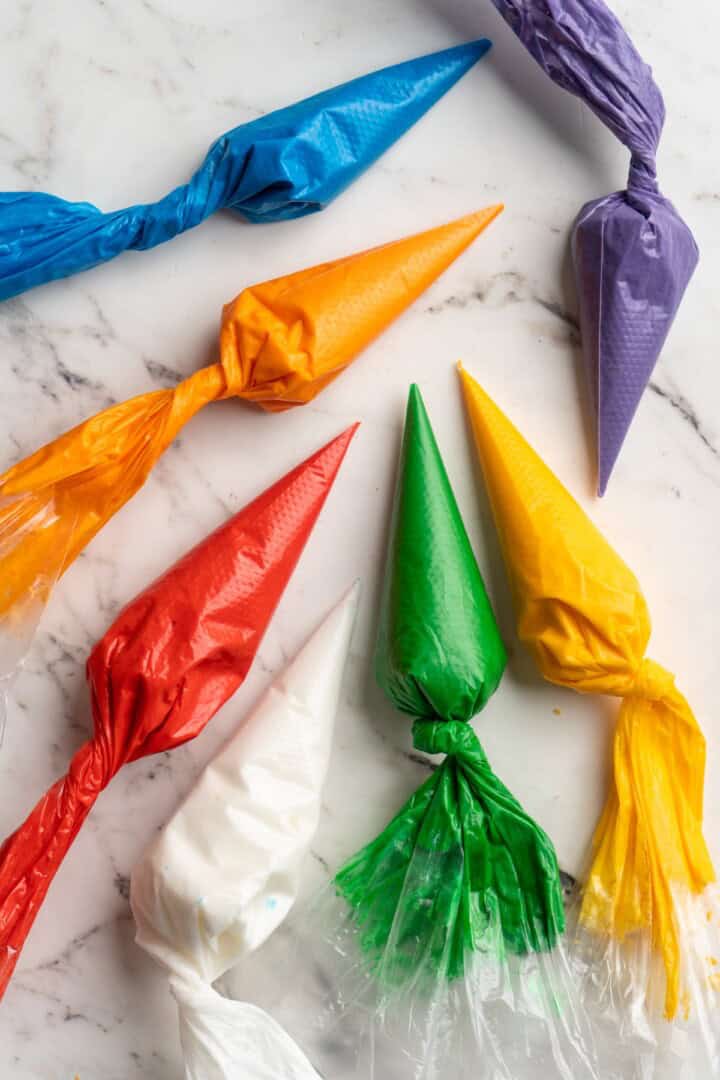
- Make the base. Mix the powdered sugar and water.
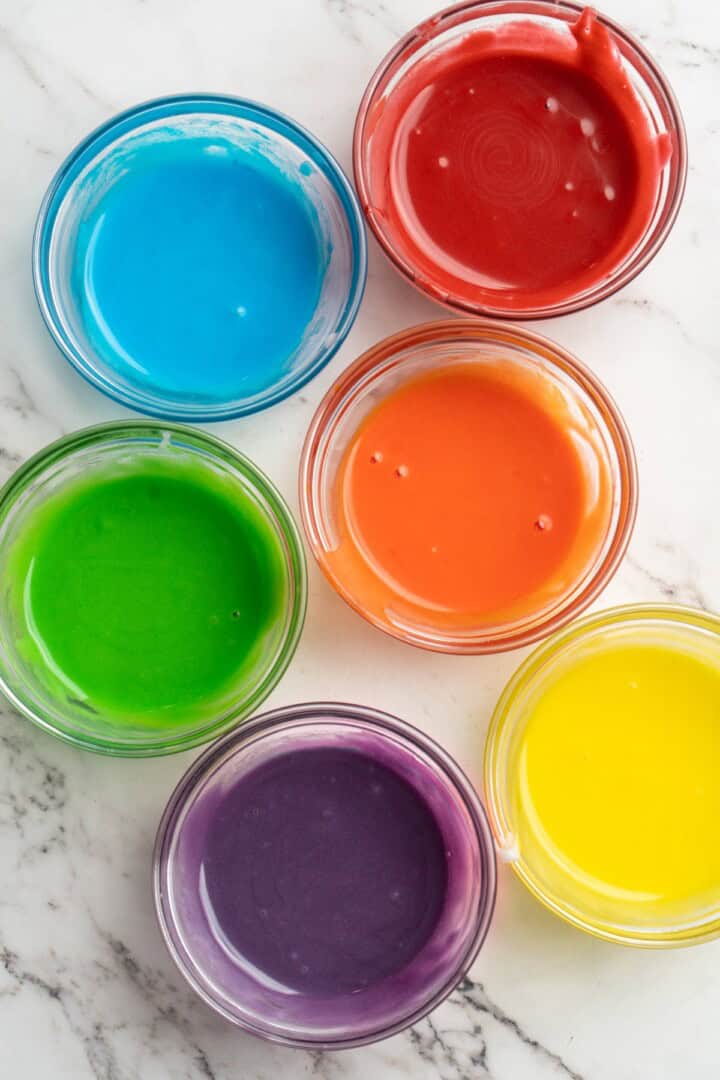
- Colour the base. Divide the powdered sugar mixture into bowls (you don’t have to do this if you’re only making one colour of sprinkles). Add the food colouring to each bowl and stir to combine.
- Transfer to piping bags. Scoop the coloured mixtures into piping bags. Twist the tops and snip the tips.
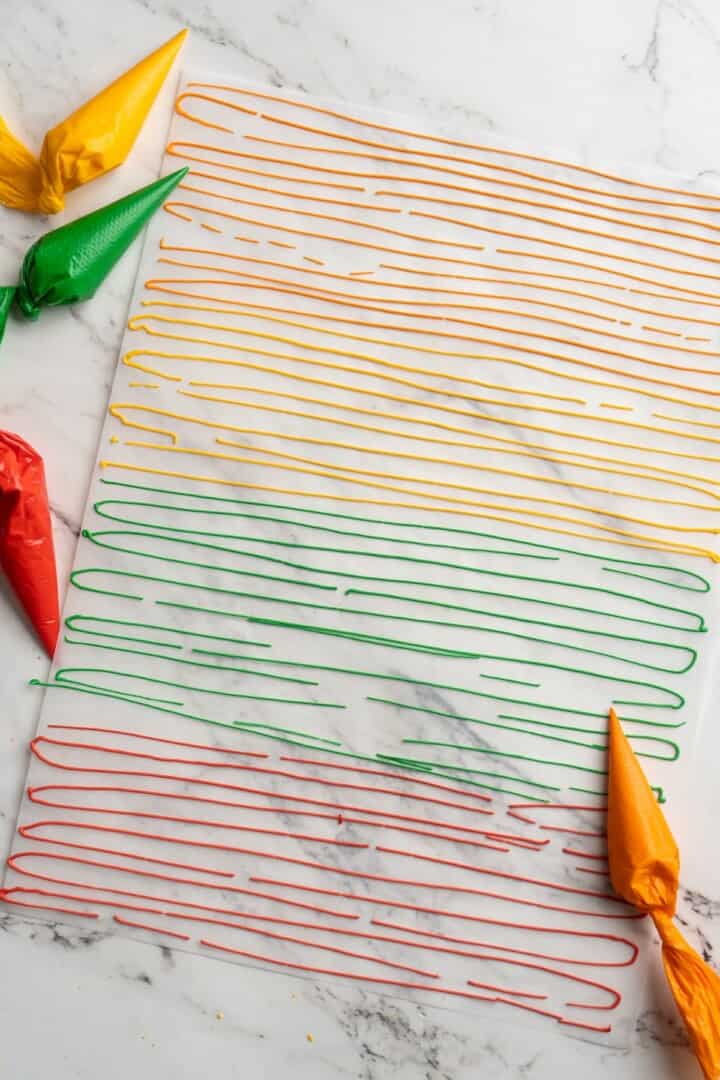
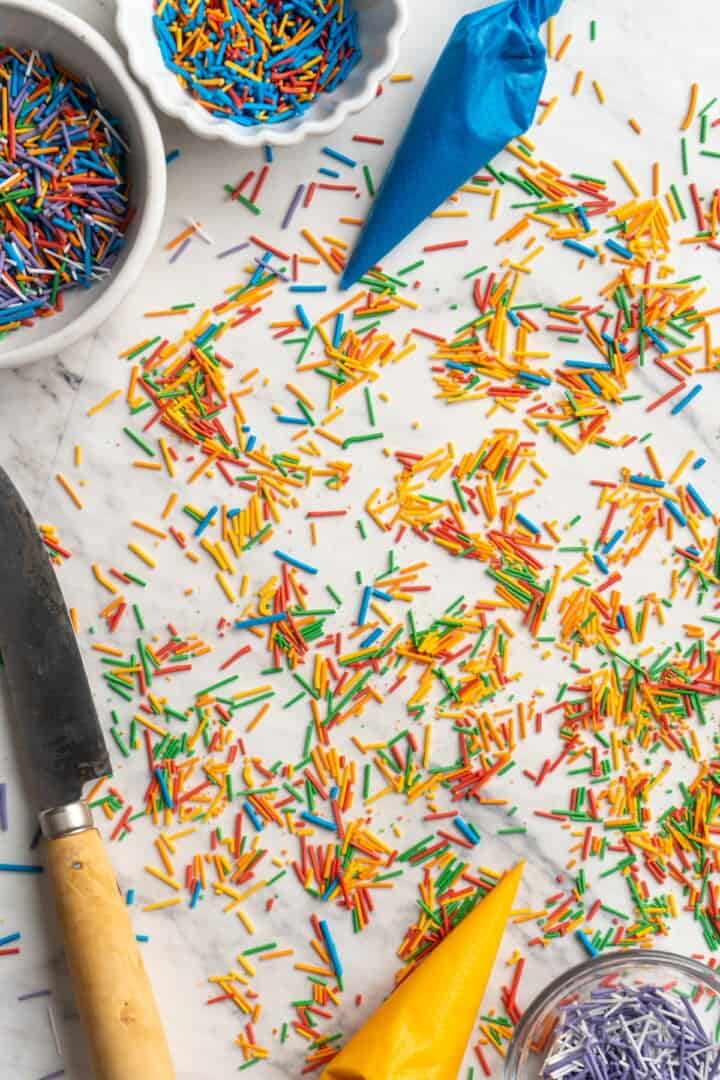
- Form the sprinkles. Squeeze lines of icing onto a sheet of parchment paper. (You can also try your hand at other shapes—dots, hearts, etc.)
- Dry. Let the icing set for 12 hours, cut into smaller pieces (if necessary), then remove sprinkles from the parchment and transfer to an airtight container.
Colour Mixing Guide
If you simply want to use the primary colours that came with your food colouring kit, that makes it easy! If you want to mix colours to make additional hues, use this guide and see the additional tips in the recipe card below.
- Secondary Colors: Mixing together two primary colors will result in secondary colors: orange, green and purple.
- Orange: Mix red and yellow.
- Green: Combine blue and yellow.
- Purple: Blend red and blue.
- Tertiary Colors: By mixing a primary color with a secondary color, you can create even more variation. For example, combining blue and purple will yield a deep indigo.
- Adjusting Shades: If a color appears too intense, you can lighten it by adding a touch of white icing. Incorporating a very small amount of black will create darker hues, but do this carefully—you truly only need a very small amount.
Tips for Success
- Consistency is key. When mixing the icing, make sure it has a medium consistency before adding the colour. If it’s too runny, the sprinkles will not hold their shape. If it’s too thick, it will be difficult to pipe.
- Use a zip-top bag if needed. If you don’t have piping bags, you can use zip-top sandwich bags instead. Just snip the corner and pipe from there.
- Practice makes perfect. Don’t get frustrated! The first attempt or two will probably be a bit messy, but as you go, it will get easier. And, if you mess up, just wipe off the icing and start over.
My Favourite Ways to Use Homemade Sprinkles
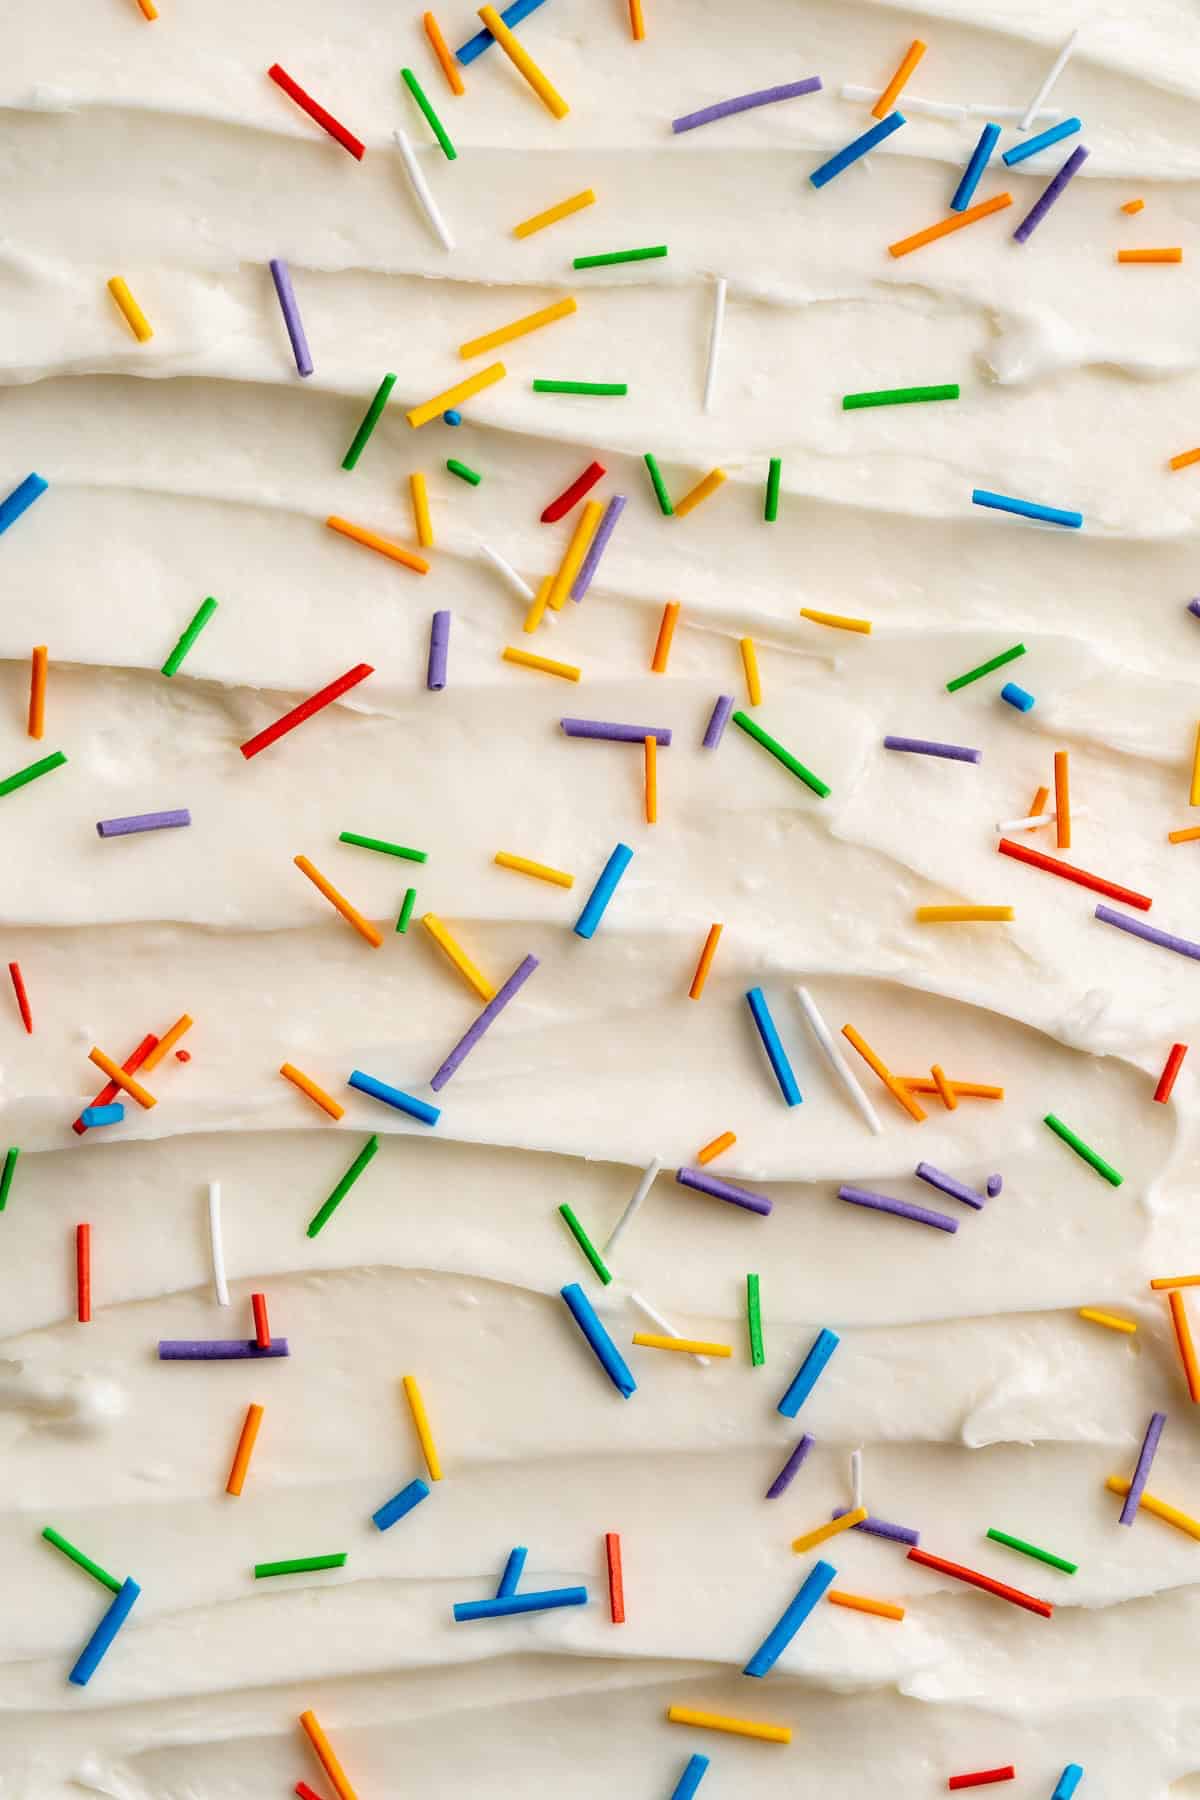
Here are some recipes where you can put these homemade sprinkles to use:
How to Store
Ensure that the sprinkles are fully dry before transferring them to an airtight storage container. Humidity can ruin the sprinkles’ texture and cause them to clump together, so store them in a cool, dark, and dry place. They’ll last up to a year.
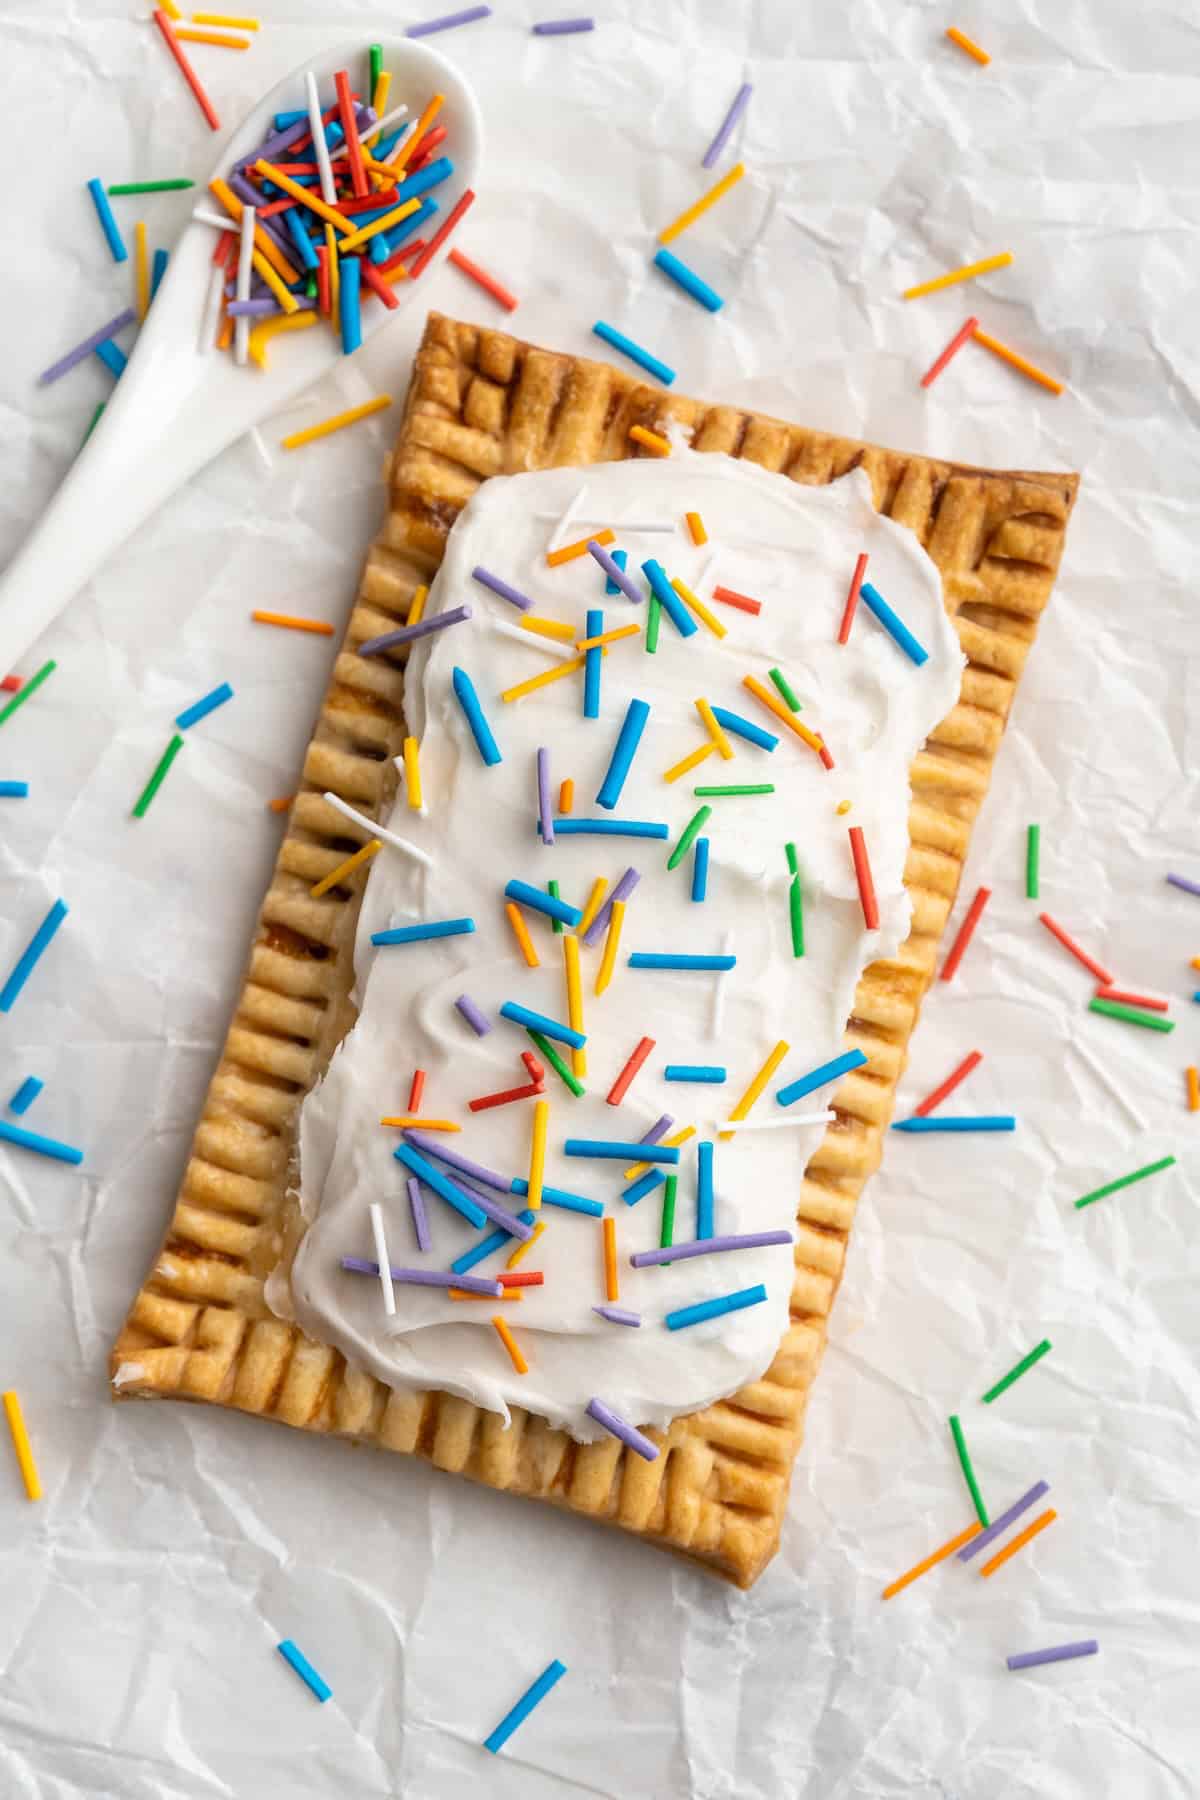
Enjoy friends! If you make this homemade sprinkles recipe, please snap a photo and tag #jessicainthekitchen on Instagram! We’d also love it if you would leave a comment below, and give the recipe a rating! Thanks so much!
How to Make Sprinkles
Ingredients
- 1 cup powdered sugar
- 1-2 tablespoons water
- plant-based food colouring, I love the plant-based food colouring from Whole Foods or use any other natural, dye-free food colouring
Instructions
- Mix together the powdered sugar and water until fully combined into a medium consistency.
- Divide the icing into individual bowls for colouring. I made a rainbow of colours, so I separated mine into 7 containers. Add food colouring to each bowl, bearing in mind that dye-free food colouring is less concentrated and may require a few extra drops to achieve a vibrant color. Be careful not too add too much or the sprinkles will taste like food colouring.
- To make secondary colors: mix two primary colors (red, yellow or blue) together.To make orange: mix red and yellow.To make green: most packs come with green, but I find the colouring tends to be neon, adjust the colour by adding a bit more blue to darken/normalise it slightly, or mix yellow and blue to make your own green colouring.To make purple/violet: mix red and blue.
- To make tertiary colors: mix a primary and secondary color together. For example, to make indigo: mix red and blue, then add a bit more blue to the mix.
- To adjust colouring: lighten a colour by adding a touch of white icing or darken a colour by adding a very small amount of black (do this carefully—you truly only need a very small amount)
- Separate the icing into piping bags. To make it easier to fill a bag, place it into a tall drinking glass and fold the top over the glass. This will open and stabilize the bag so that you can pour in the icing. Squeeze the icing into the bottom as much as possible, pressing any air out.
- Twist your bags or use rubber bands to keep the icing down. Snip off a small, evenly-sized tip from each bag.
- Squeeze lines of icing onto a piece of parchment paper. You can also pipe other shapes, like dots, hearts, or even little animals if you'd like! If you make a mistake initially, just wipe them off and start over!
- Let the sprinkles set on the parchment paper for 12 hours. If you're in a rush, they will be dry enough to use in 1 hour, but anything you plan to store will need to set for the full 12 hours. Cut them up (if needed) and slide them off into an air-tight container; completely dry sprinkles will slide off very easily.
- Store sprinkles in a cool, dark, and dry location. They will keep for up to a year if stored properly. Enjoy!
Notes
Disclaimer: Although jessicainthekitchen.com attempts to provide accurate nutritional information, kindly note that these are only estimates. Nutritional information may be affected based on the product type, the brand that was purchased, and in other unforeseeable ways. Jessicainthekitchen.com will not be held liable for any loss or damage resulting for your reliance on nutritional information. If you need to follow a specific caloric regimen, please consult your doctor first.


what a easy recipe to follow. My grandson (3yr old) loves sprinkles on everything. I showed him your post & he wants to make them NOW lol.
Awww I love this! I hope you enjoy making it with your grandson so much, Kaylene!