Classic Vegan Donuts
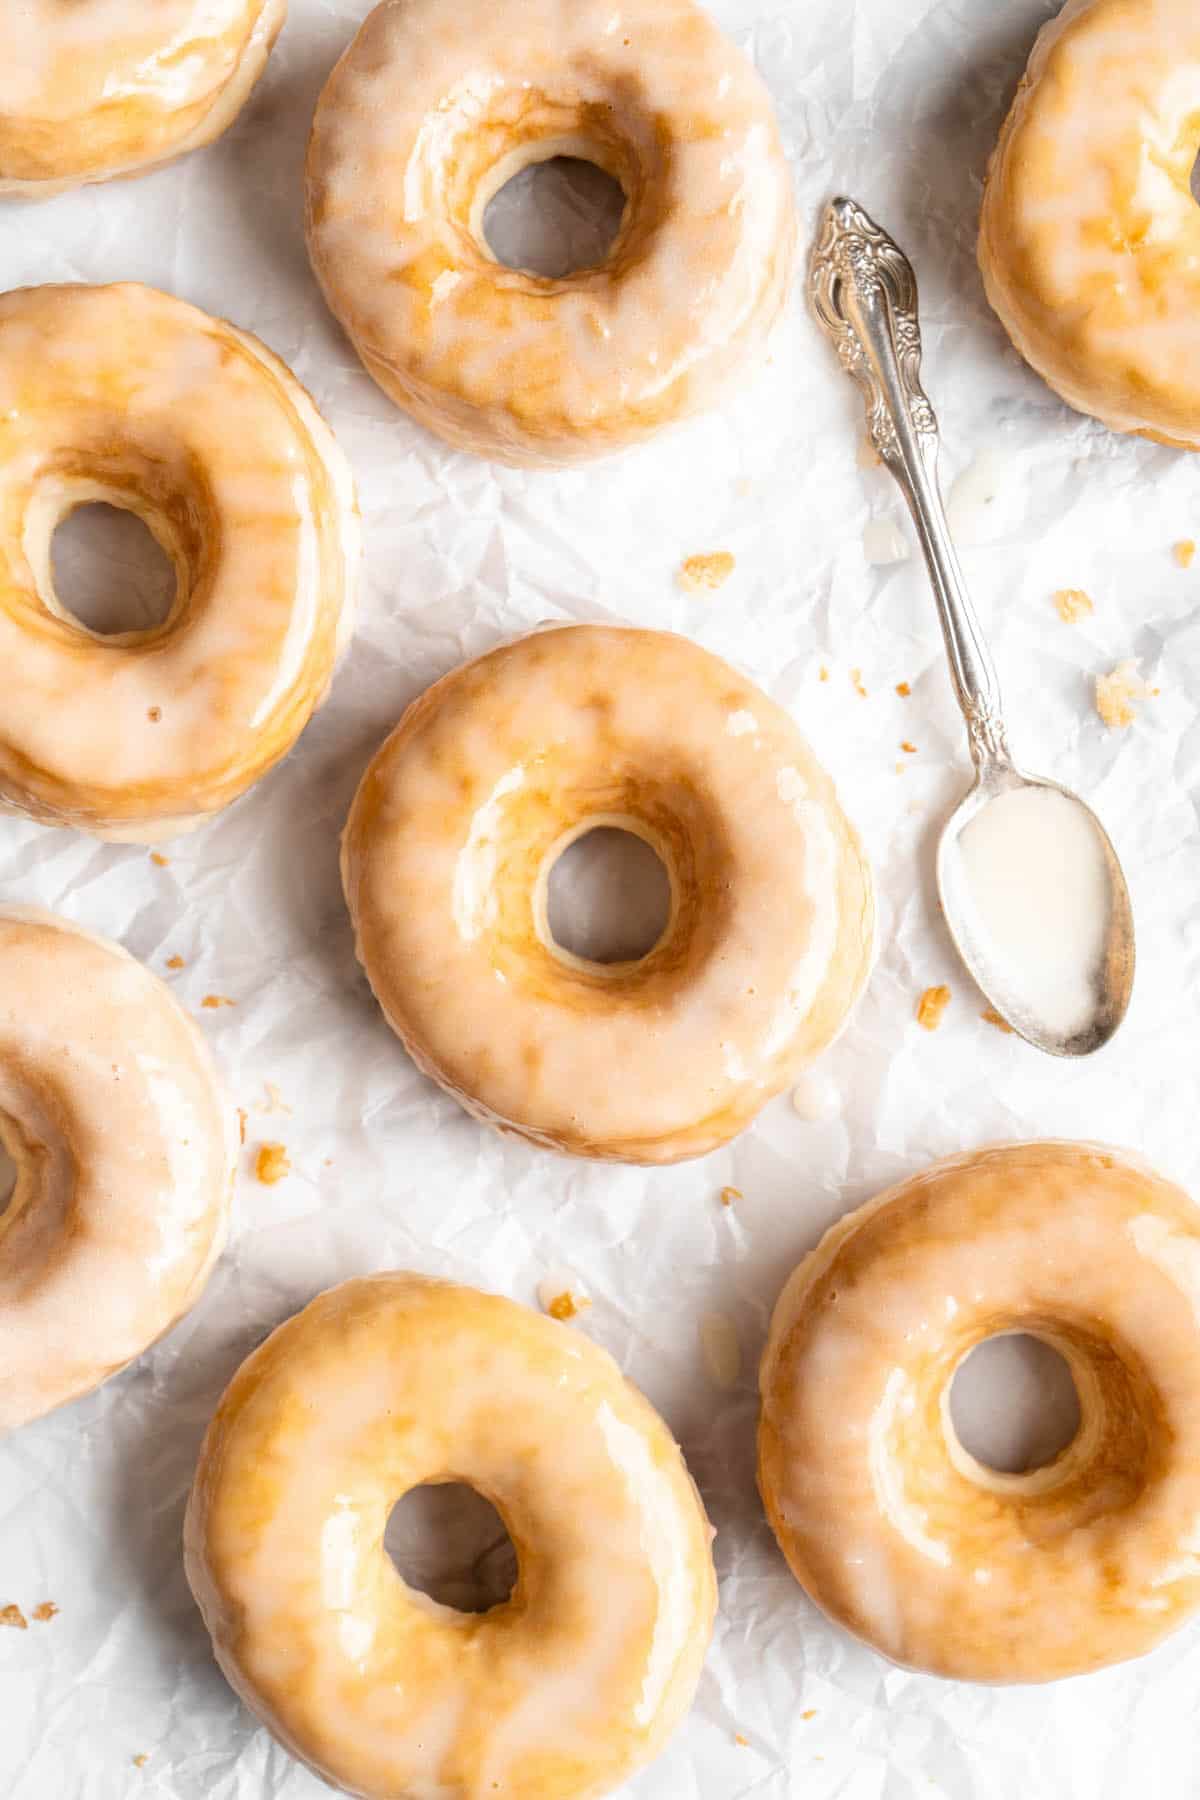
Soft, warm, and encased in a sugary glaze, these vegan donuts are like a plant-based version of Krispy Kreme! They’re the perfect breakfast treat for a special occasion—or just because!

I’ve shared so many yummy breakfast ideas over the years on Jessica in the Kitchen—Banana Oatmeal Breakfast Cookies, Strawberry Coconut Overnight Oats, Coconut Kiwi Green Smoothie Bowls—but today it’s time to share something a little more indulgent. These vegan donuts are just like the ones you get from your favourite donut shop, minus the eggs and dairy!
They’re puffy and soft, with a crispy exterior and sweet, shimmery glaze. They’re practically melt-in-your-mouth tender, and they pack a little bit of nostalgia in every bite. Let’s be real: donuts are fun, and pretty much impossible to resist. Especially when they’re vegan donuts!
Because these are yeast donuts, they take a bit of time to make, but trust me when I say they are so worth it. There’s nothing like biting into a warm, freshly glazed homemade donut!
Is It Better to Bake or Fry Donuts?
When it comes to yeast donuts, deep frying is best. It’s the only way to get that slightly crispy exterior and the soft, pillowy interior.
Now, if you’re nervous about deep frying, I get it! But it’s easier than you think, and if, like me, you take an everything-in-moderation approach to eating, it’s really not a big deal to have a deep fried donut or two as a special treat on occasion.
It’s also important to note that when you make sure your oil is at the right temperature, the food you fry won’t be over-loaded with oil. Instead, the oil quickly sears the outside, forming a barrier that keeps the frying oil from soaking in. If the oil isn’t hot enough, it will seep into your donuts, making them oily and giving them a weird texture.
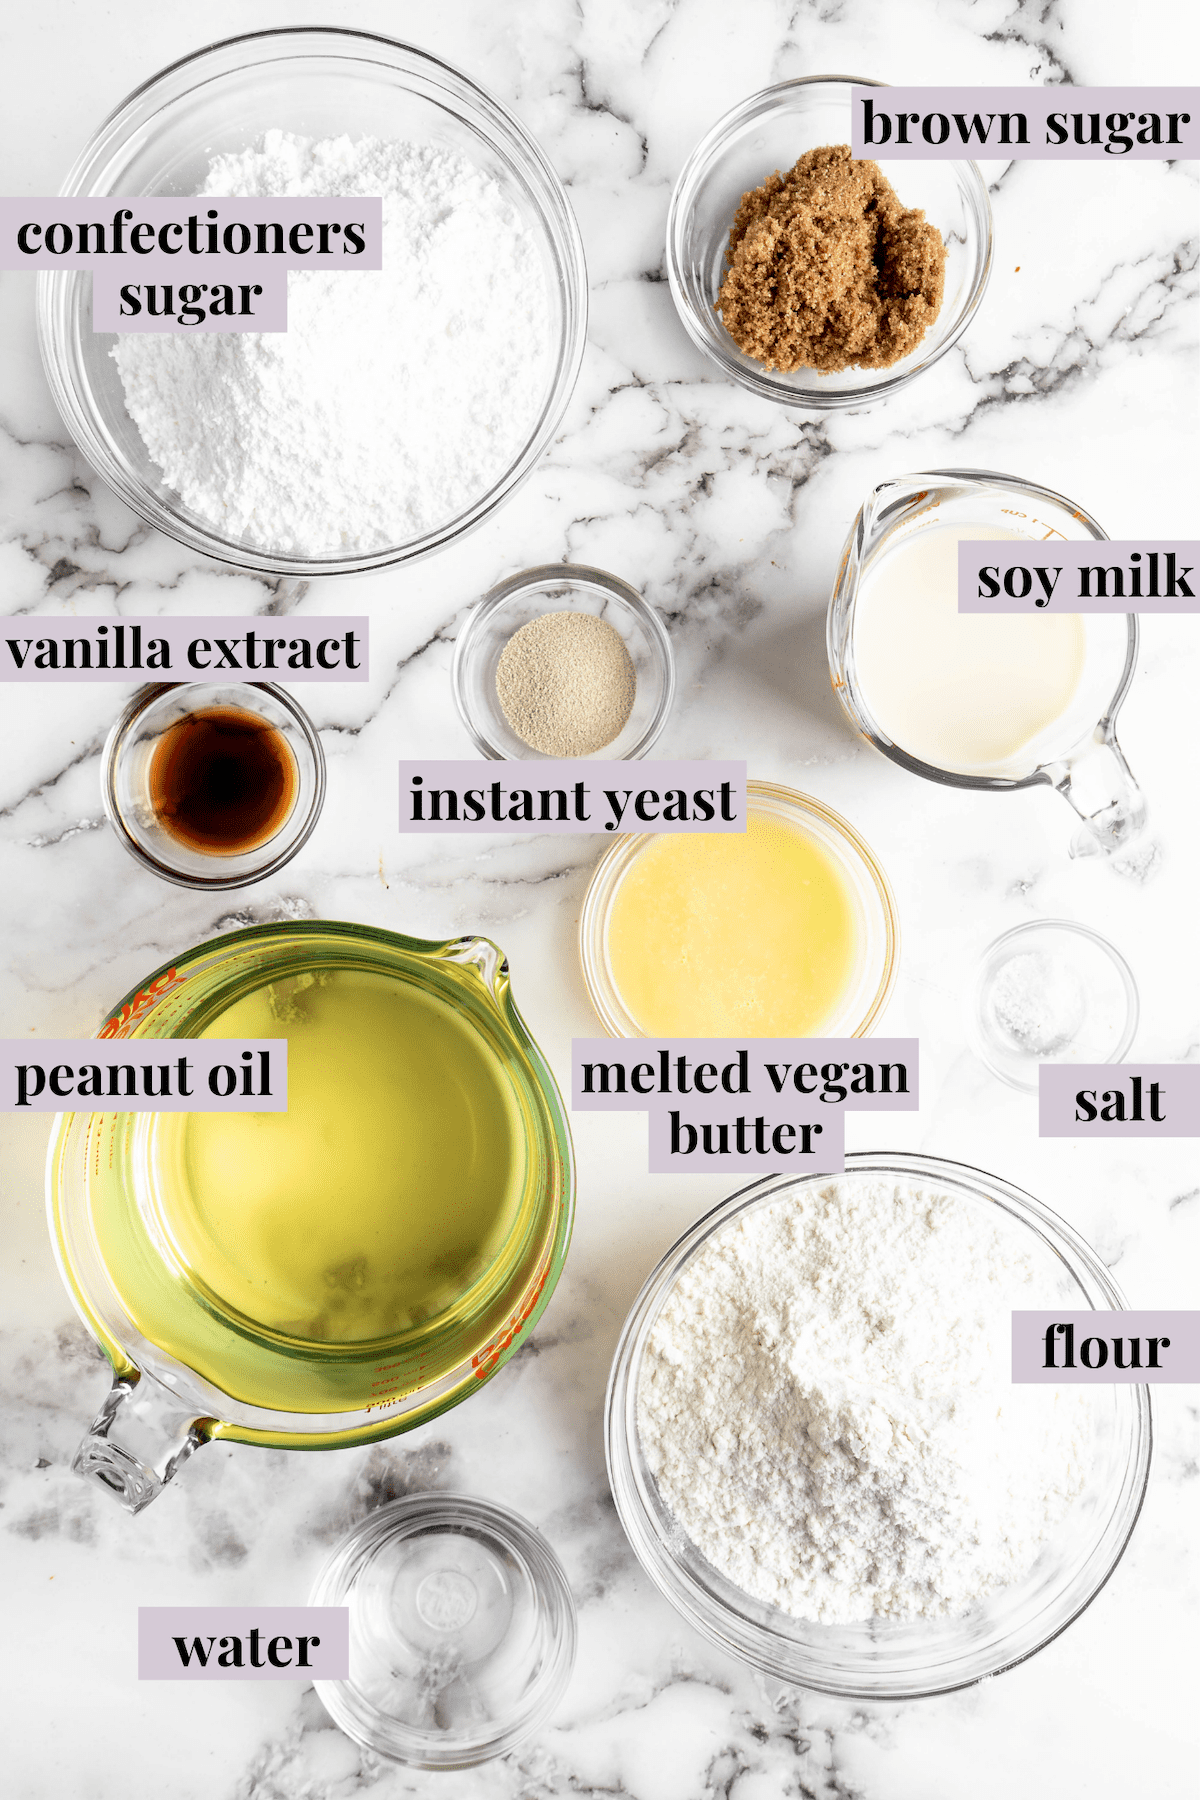
Notes on Ingredients
Please note that this is important information on the ingredients and instructions and the FULL recipe with amounts and details can be found DOWN BELOW (scroll to it) in the recipe card.
For the tangzhong:
- All-purpose flour
- Soy milk
- Water
For the vegan donuts:
- All-purpose flour
- Brown sugar
- Instant yeast – Be sure to use instant yeast and not another variety. (Also see: How to Test Yeast to see if it’s still Good)
- Sea salt
- Vegan milk – Soy milk is my preference; it should be warm to touch, ranging between 110°F to 120°F.
- Vegan butter – Melt this in the microwave or in a small saucepan on the stove.
- Vanilla extract or almond extract – Vanilla will give you the classic donut shop flavour, while almond extract is a bit more unexpected!
- Peanut oil – Or another oil suitable for deep-frying.
For the glaze:
- Confectioners’ sugar – Sift this first to make sure there aren’t any lumps in your glaze!
- Vegan milk
- Vanilla extract or almond extract
Special equipment:
- Deep fry/candy thermometer
- Large, deep, heavy skillet
- Donut or biscuit cutters
How to Make Vegan Donuts
Like my vegan cinnamon rolls and Japanese milk bread, this vegan donut recipe starts with tangzhong, which is a cooked milk, flour, and water mixture.
Make the tangzhong:
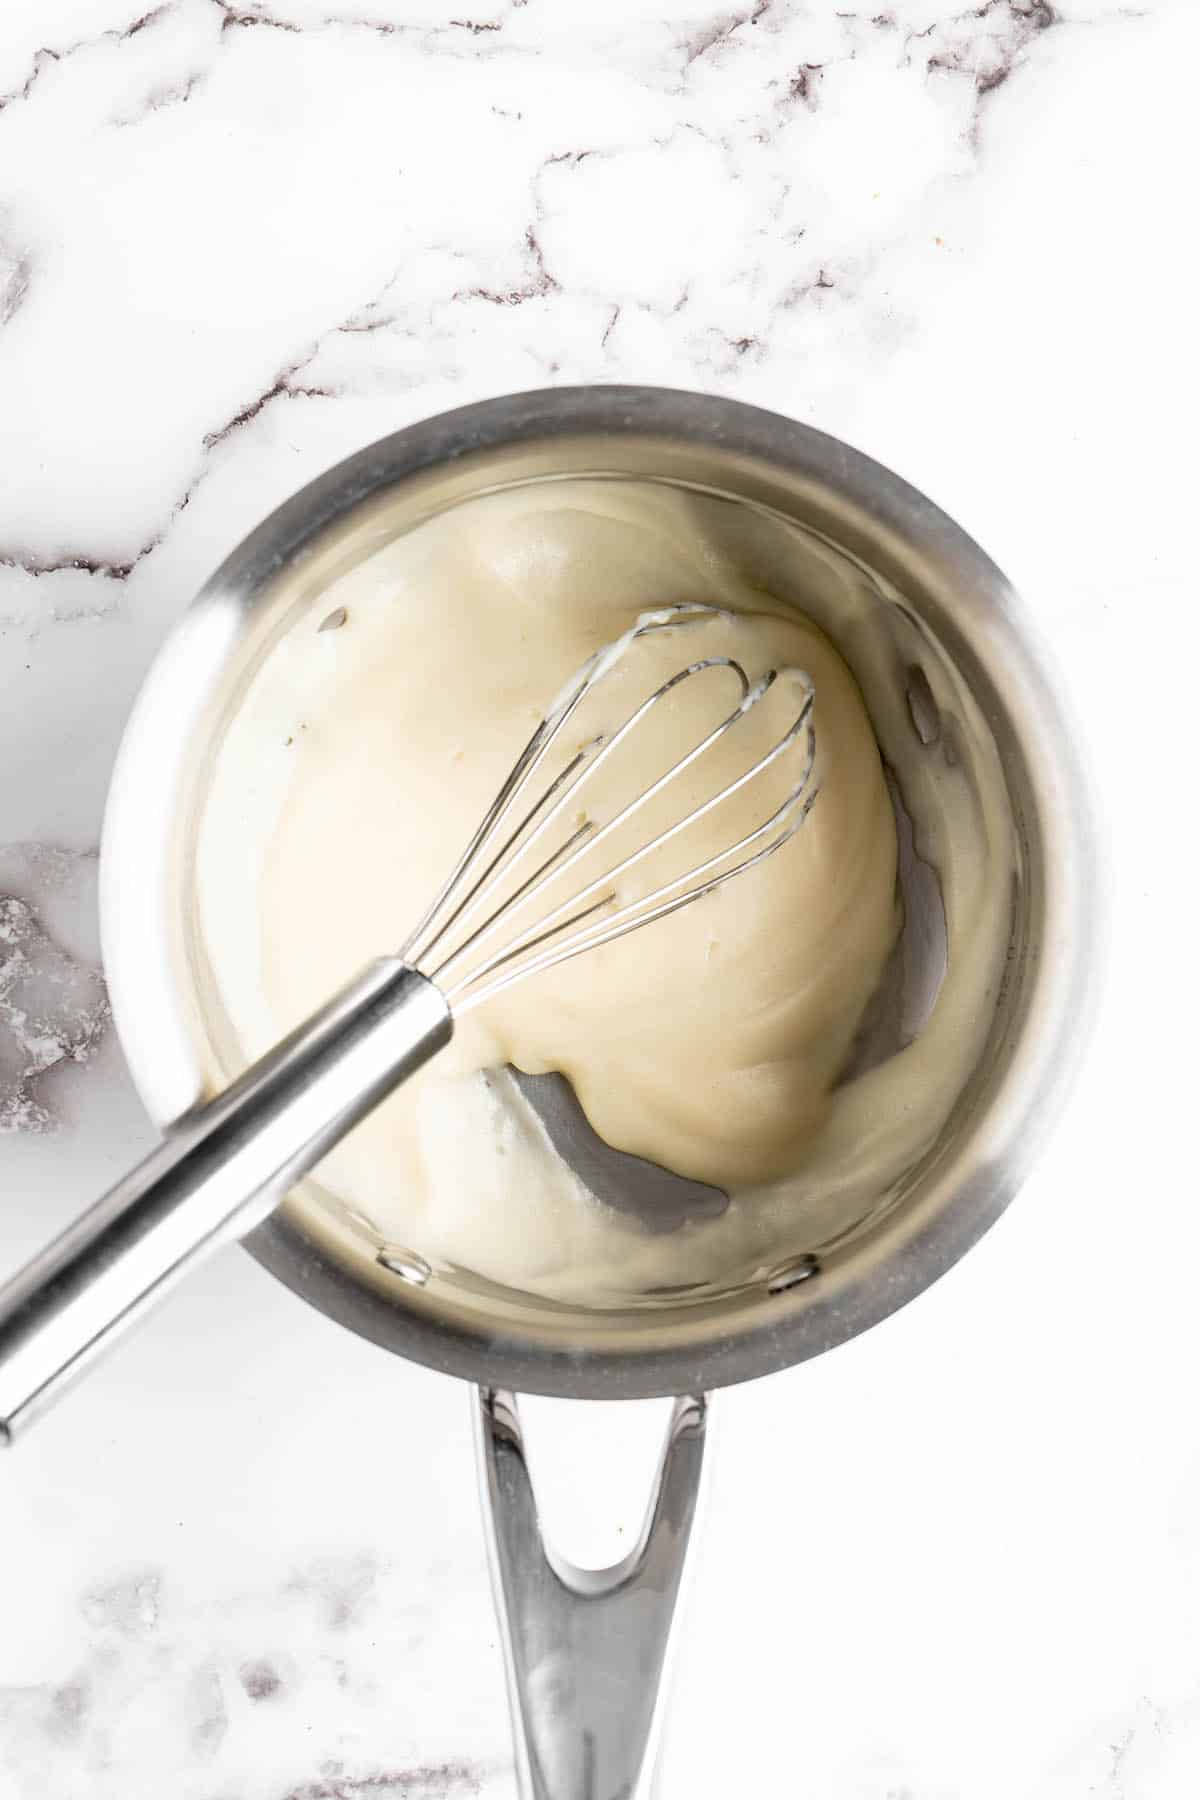
Warm the ingredients. In a small pan set over medium-high heat, whisk the flour, vegan milk, and water until smooth. Continue to stir until the mixture thickens to a pudding-like consistency.
Chill. Remove the pan from the heat and pour the tangzhong into a small bowl. Refrigerate for 10 minutes.
Make the vegan donuts:
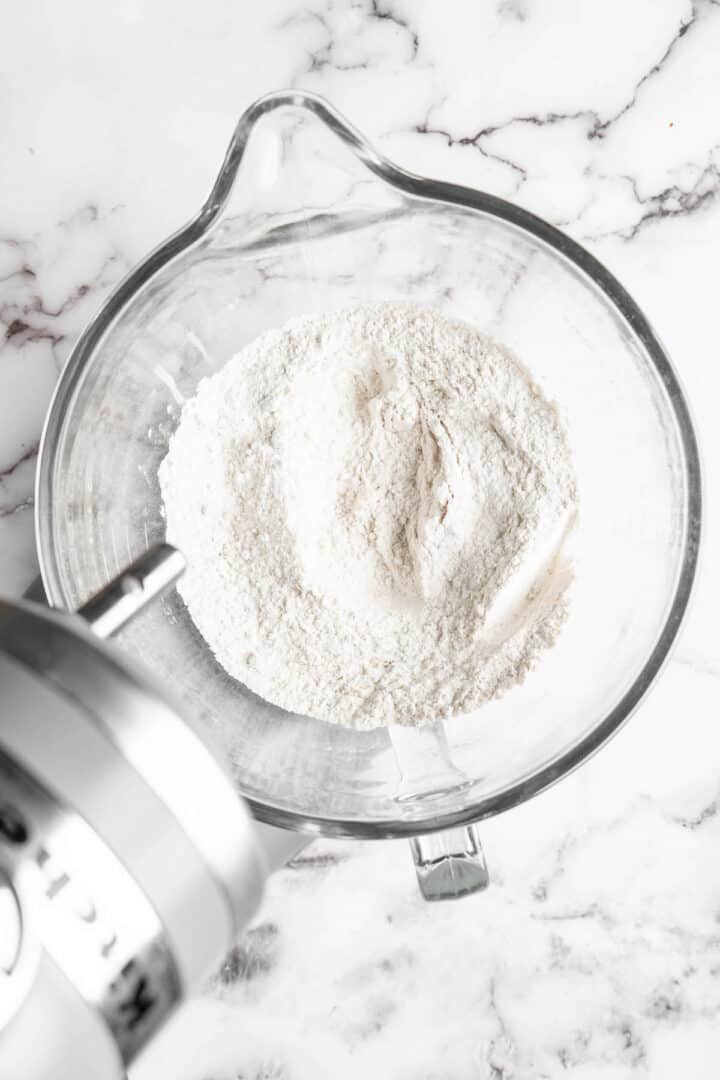
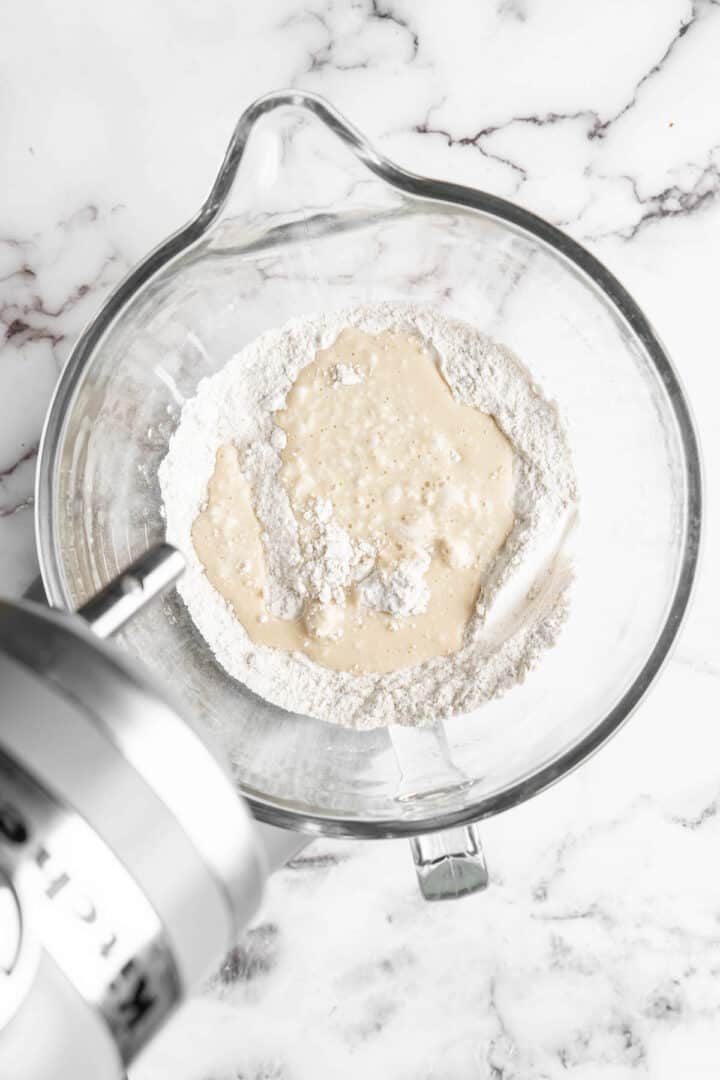
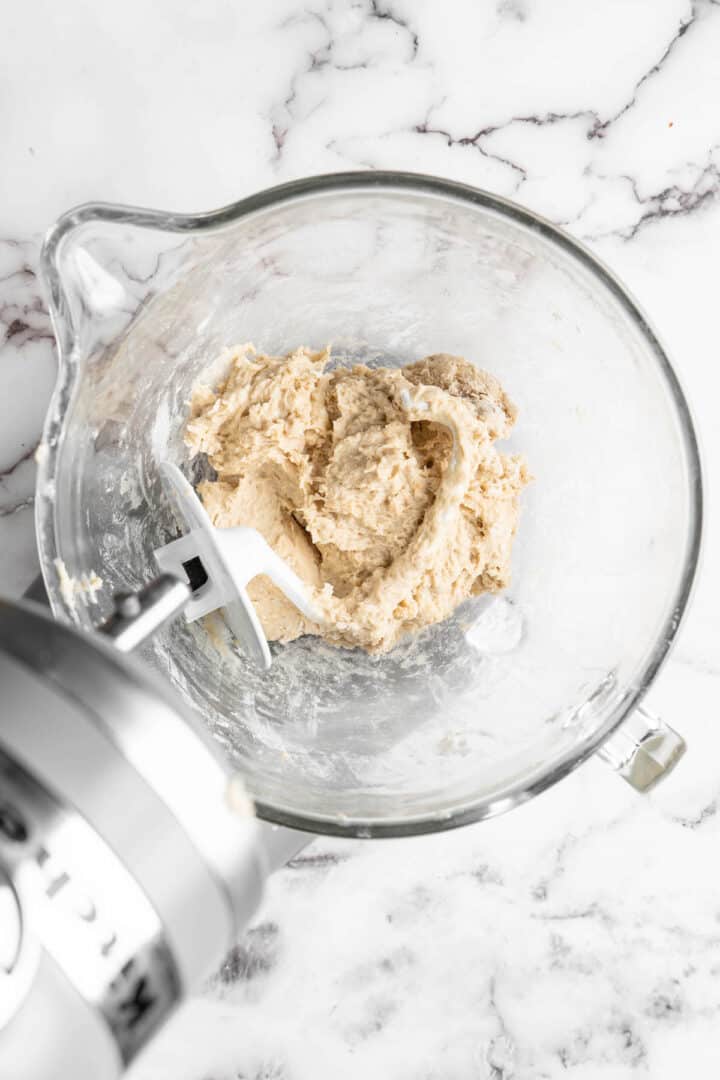
Start the dough. Whisk the dry ingredients in a large mixing bowl or the bowl of your stand mixer. In a second, smaller bowl, whisk the tangzhong, milk, vegan butter, and vanilla extract. Pour the wet ingredients into the dry ingredients, then knead by hand or with the dough hook of your mixer until a soft dough forms.
Rest. Cover the mixing bowl with a kitchen towel and let the dough rest for 10 minutes.
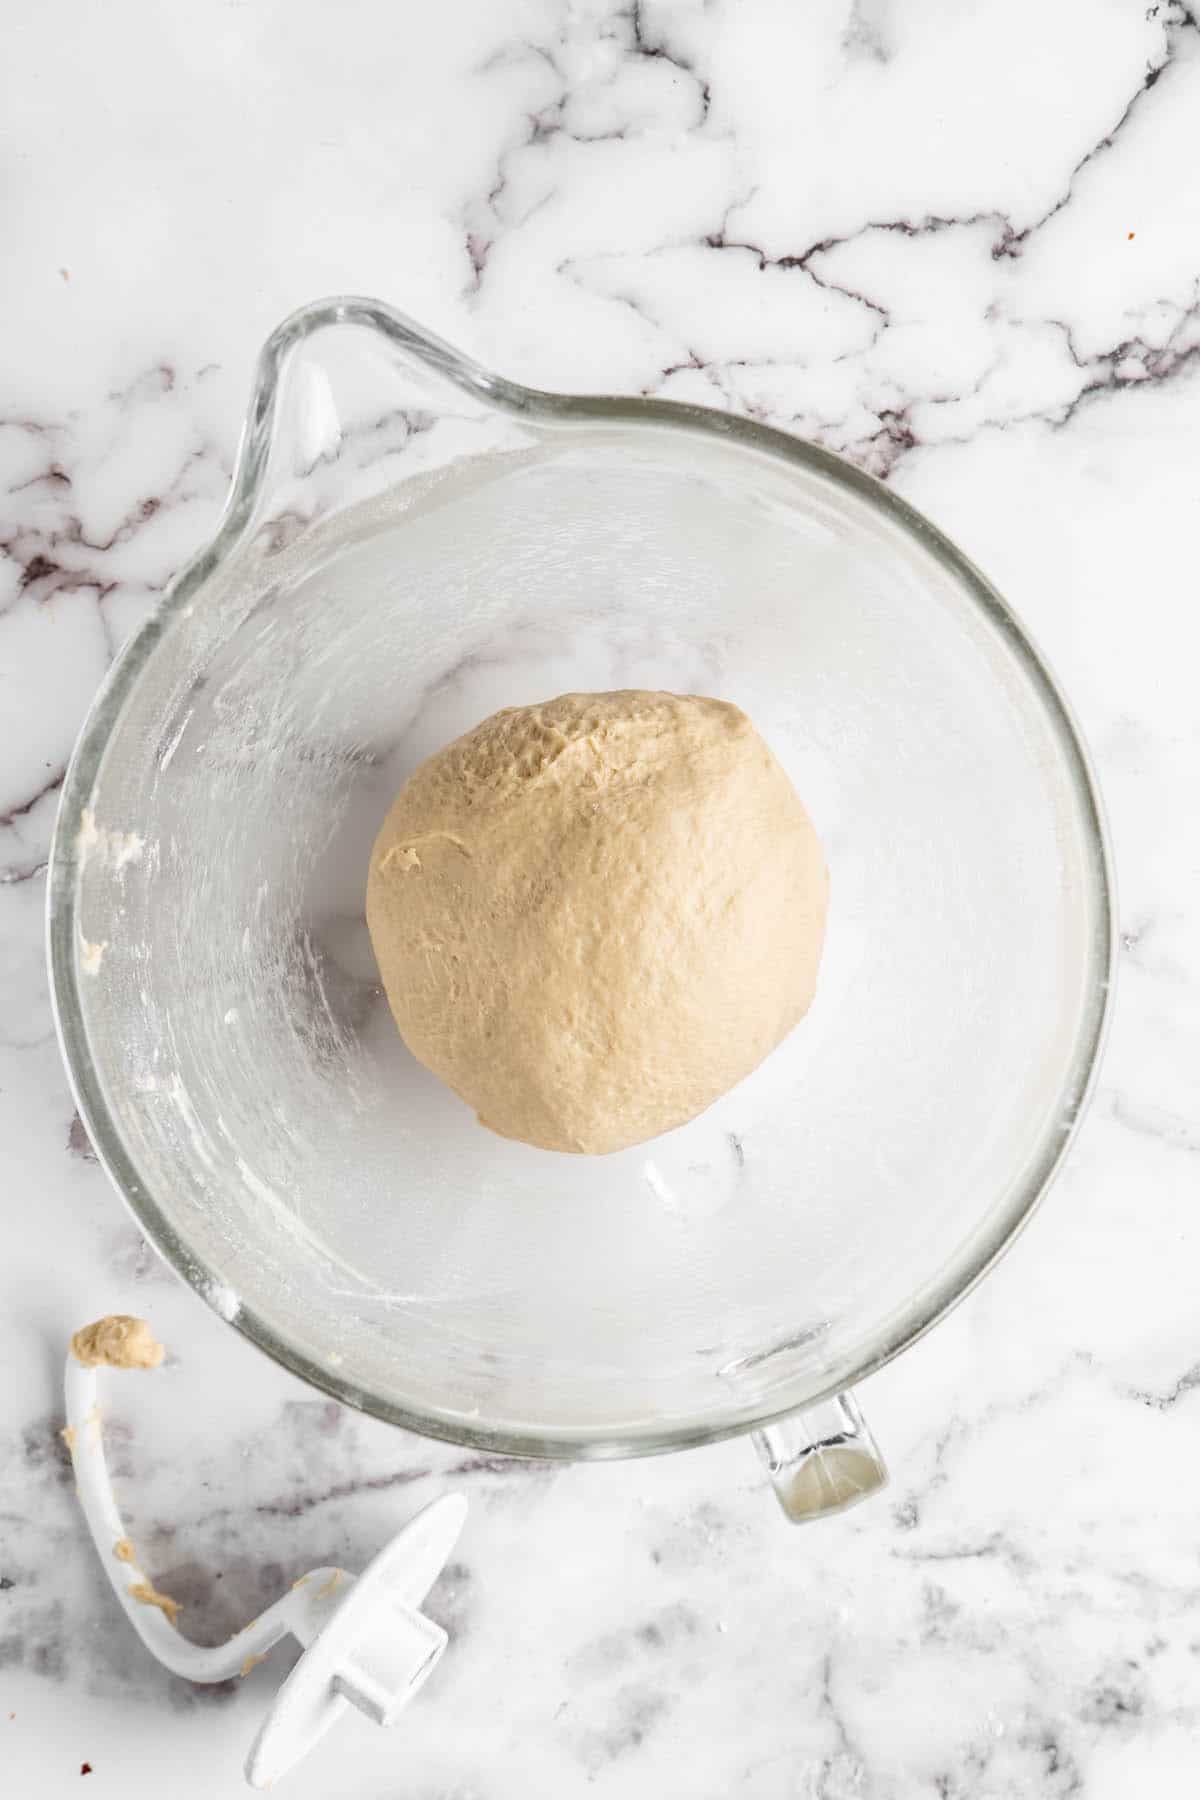
Knead. Now, knead the dough for 6 to 8 minutes using the dough hook or your hands. If you’re kneading by hand, you can simply reach in the bowl and knead it in there. The dough should be smooth, soft, and just a bit sticky, but if needed, you can add up to 2 tablespoons of flour while kneading.
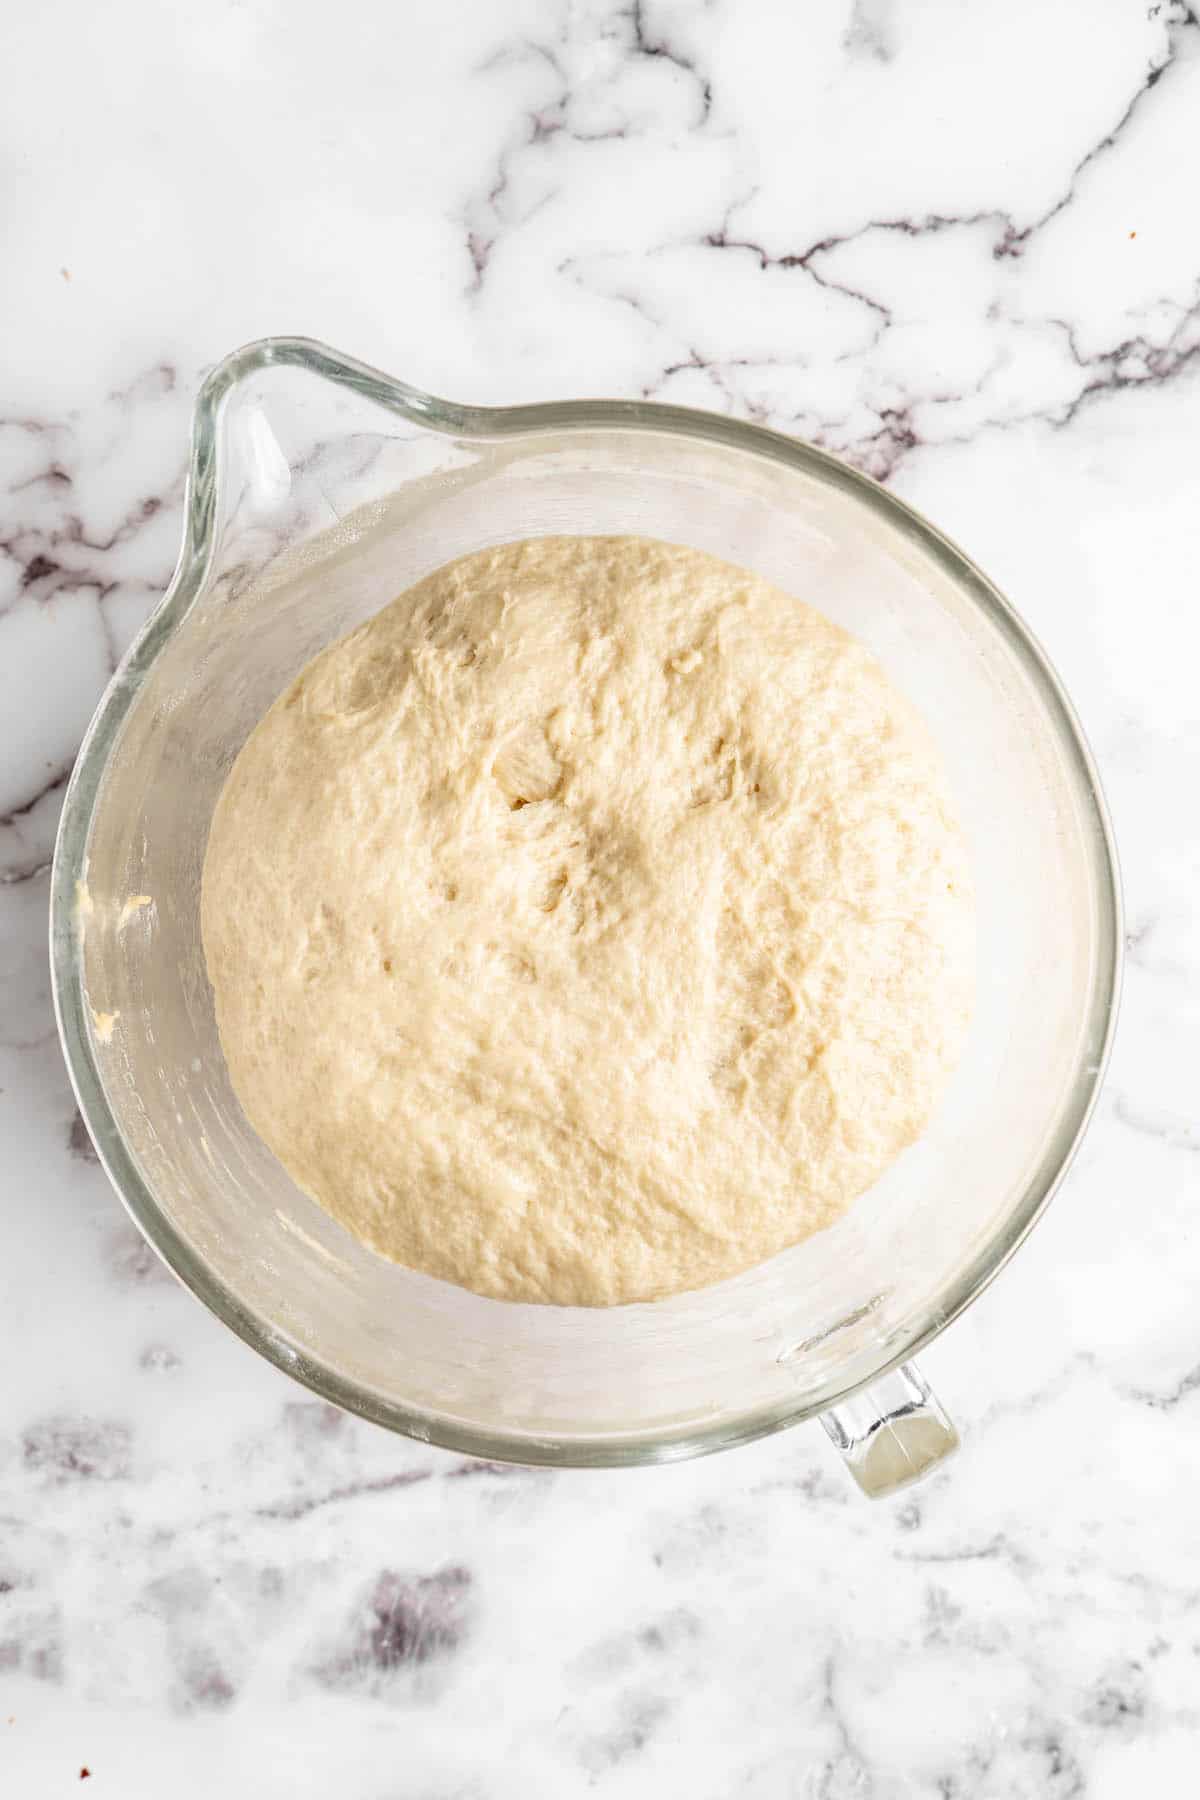
Let the dough rise. Transfer the dough to a large bowl lightly greased with oil. Cover the bowl with the kitchen towel and place it in a warm spot in your kitchen, away from any drafts. Allow the dough to rise for about 2 hours, or until it has doubled in bulk.
Roll out the dough. Gently punch down the dough in the bowl, then turn it out onto a lightly floured work surface. Pat or roll the dough into a rectangle between 1/4- and 1/2-inch thick. If the dough feels too sticky to work with, add a touch more flour, but be conservative here; too much flour will yield tough donuts.
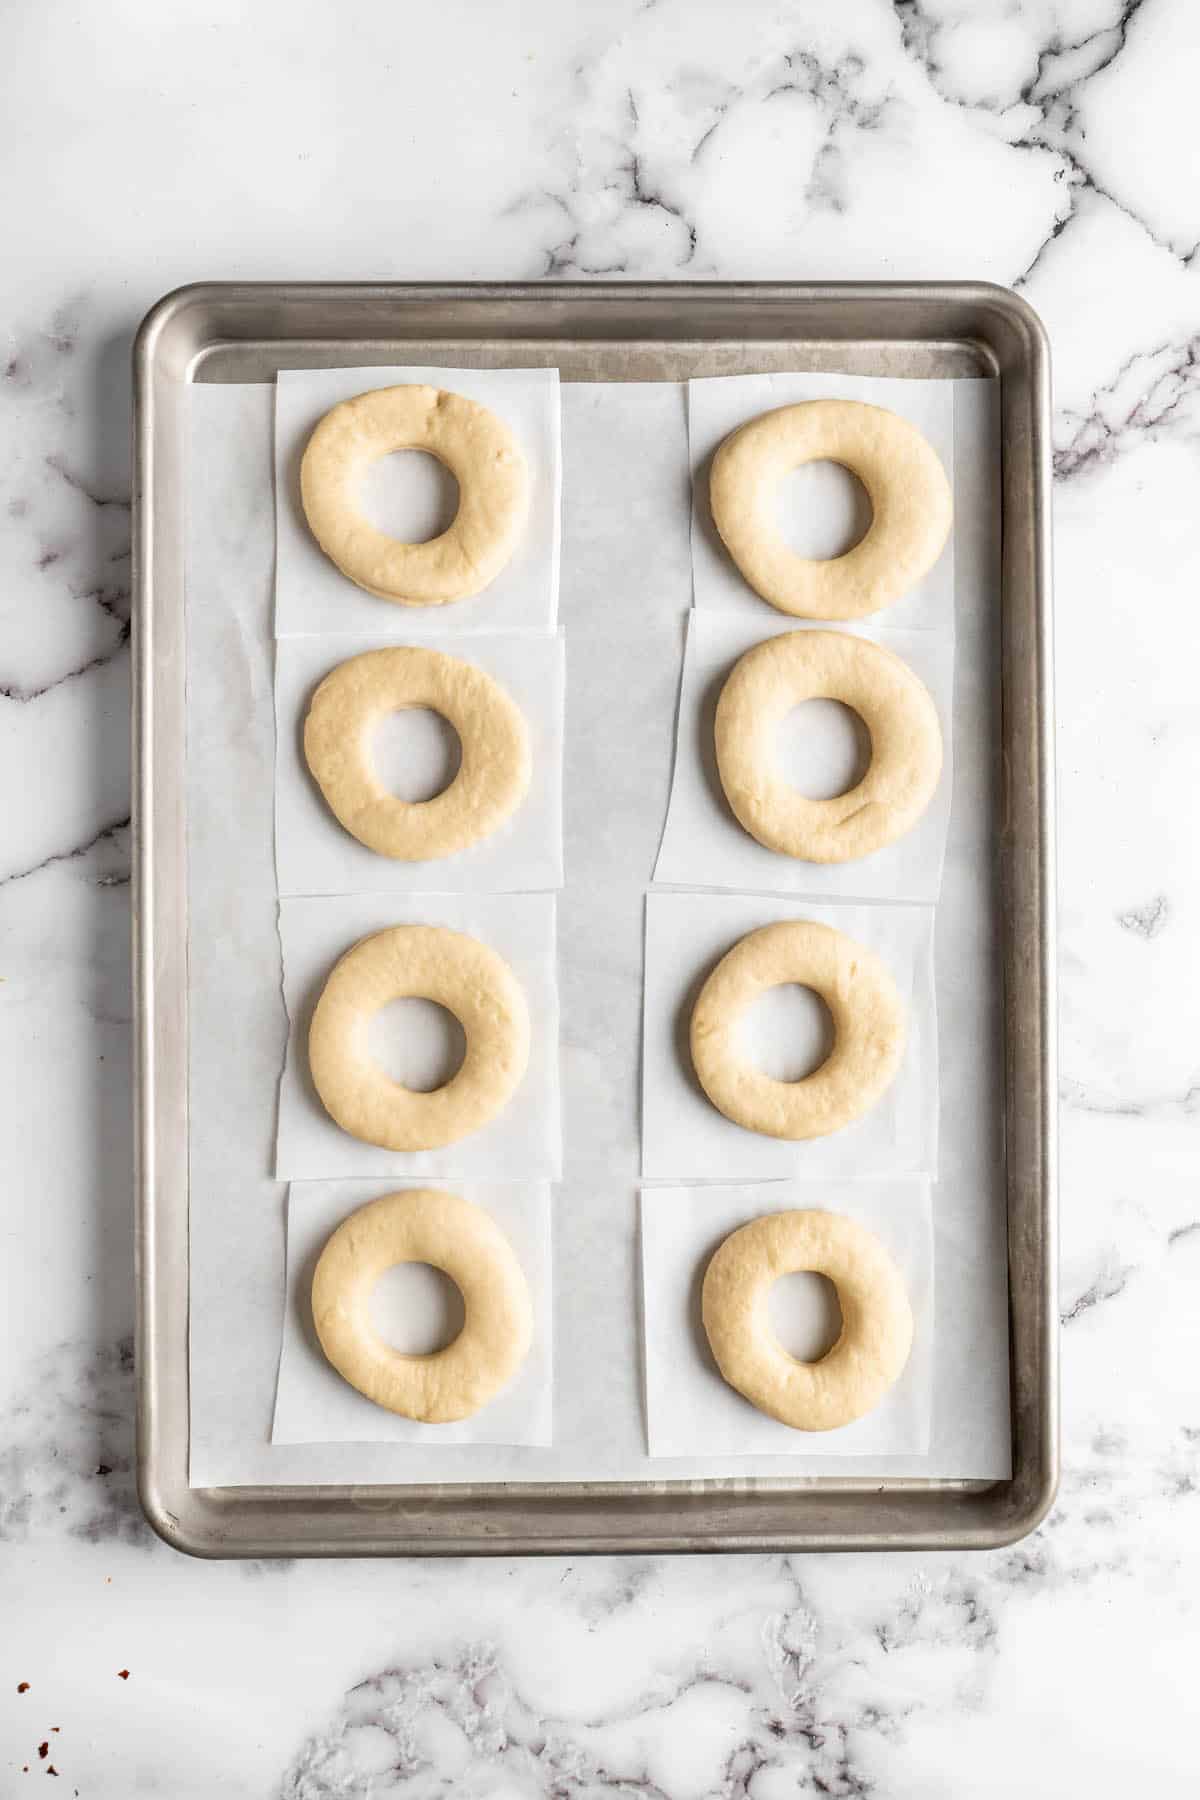
Cut the donuts. Use a donut cutter, a large and small biscuit cutter, or the lip of a cup to cut the doughnuts. Press together the scraps, re-roll them, and cut donuts from those too. (Rather than discarding or re-rolling the donut holes, you can fry them separately. They’re good for testing the oil before you add the bigger donuts!)
Let the donuts rise. Cover the donuts with greased plastic wrap and let them rise again until they’re about doubled in size, about 45 minutes to an hour.
Prepare. Heat the oil in a deep, heavy skillet to 350ºF/180ºC and line a large baking sheet with paper towels.
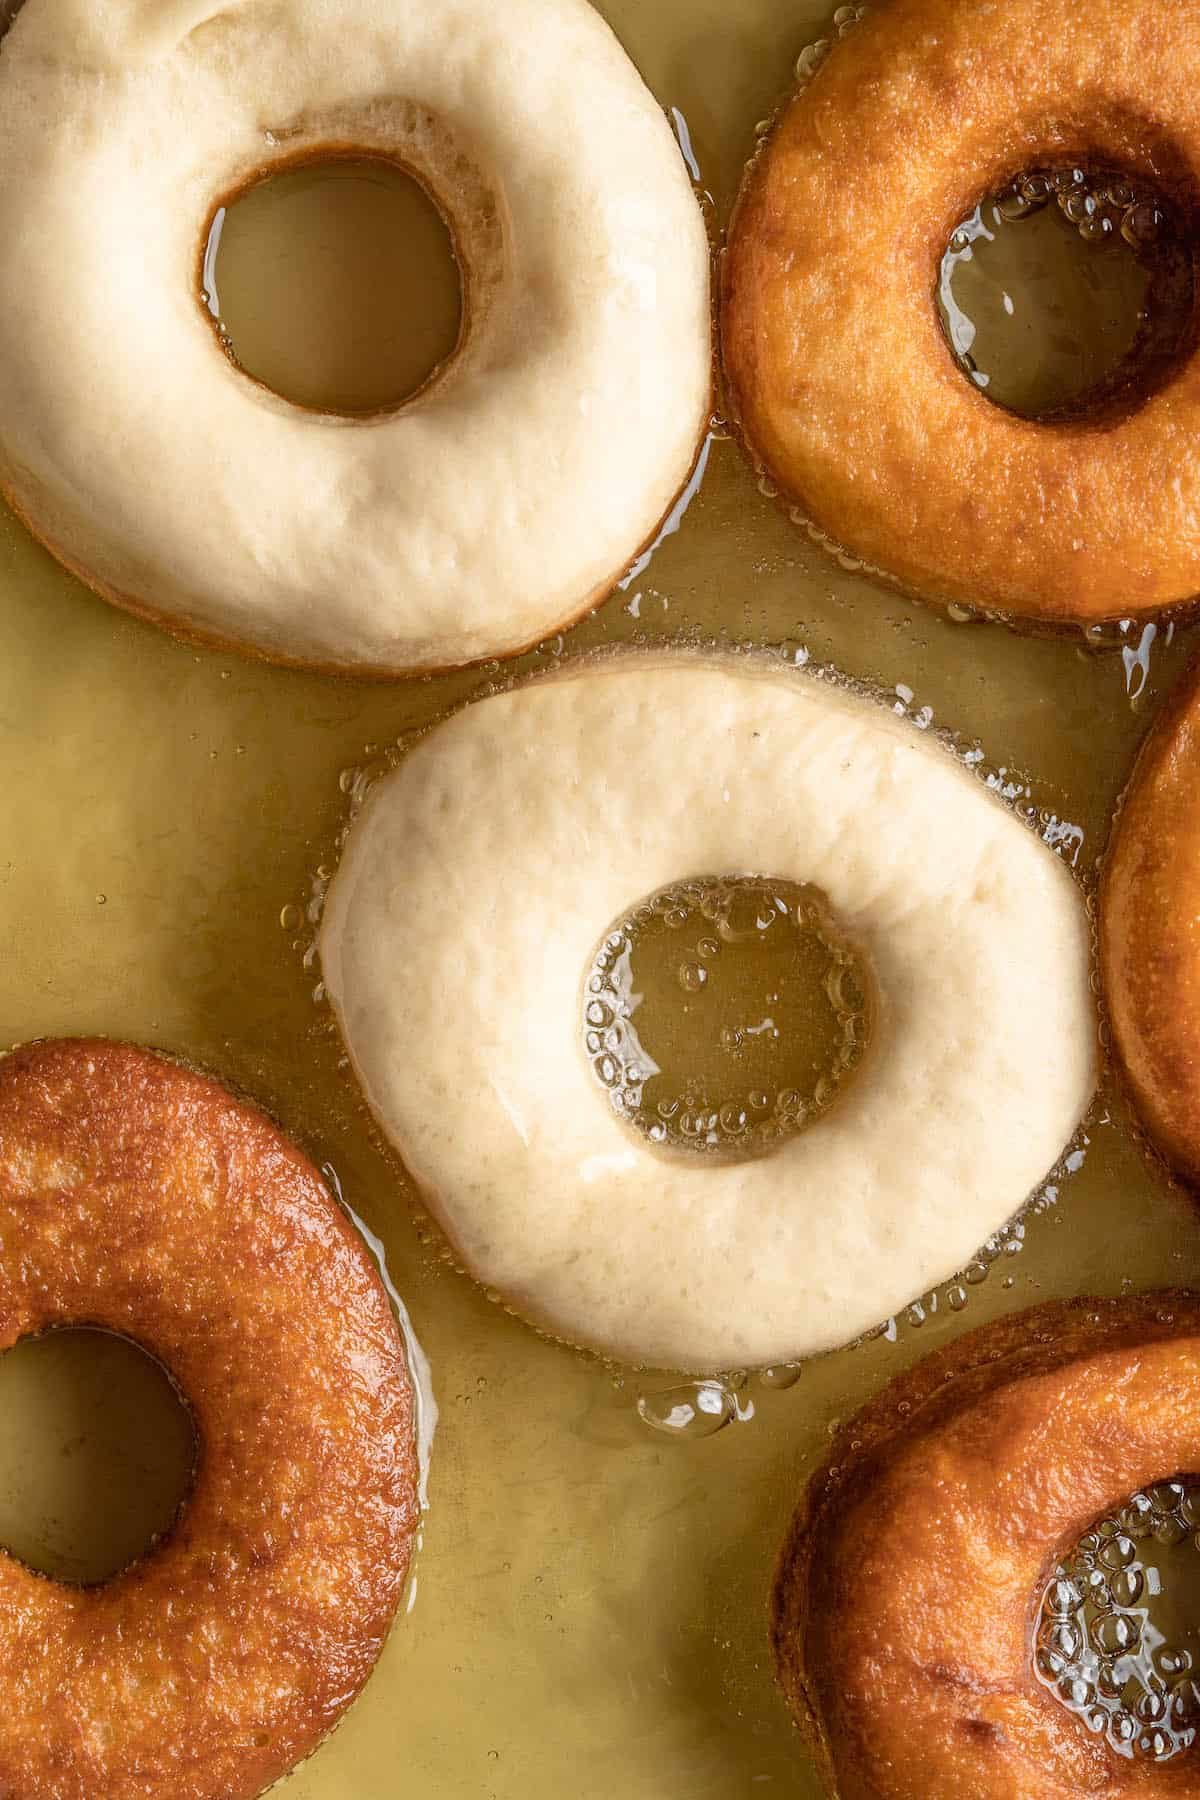
Fry the donuts. Slide a lightly floured bench scraper or metal spatula under a donut and drop it into the oil. Repeat with one or two more donuts, being careful not to crowd them. Fry the donuts until they’re golden brown on the bottom, then flip them and cook the other side. Use a slotted spoon to remove them and transfer them to the prepared baking sheet to let any excess oil drain off.
Glaze the donuts:
Prepare. Place a large wire cooling rack on a baking sheet lined with foil. This helps make cleanup easier!
Make the glaze. Whisk the confectioners’ sugar, warm milk, and extract in a large bowl until the glaze is smooth.
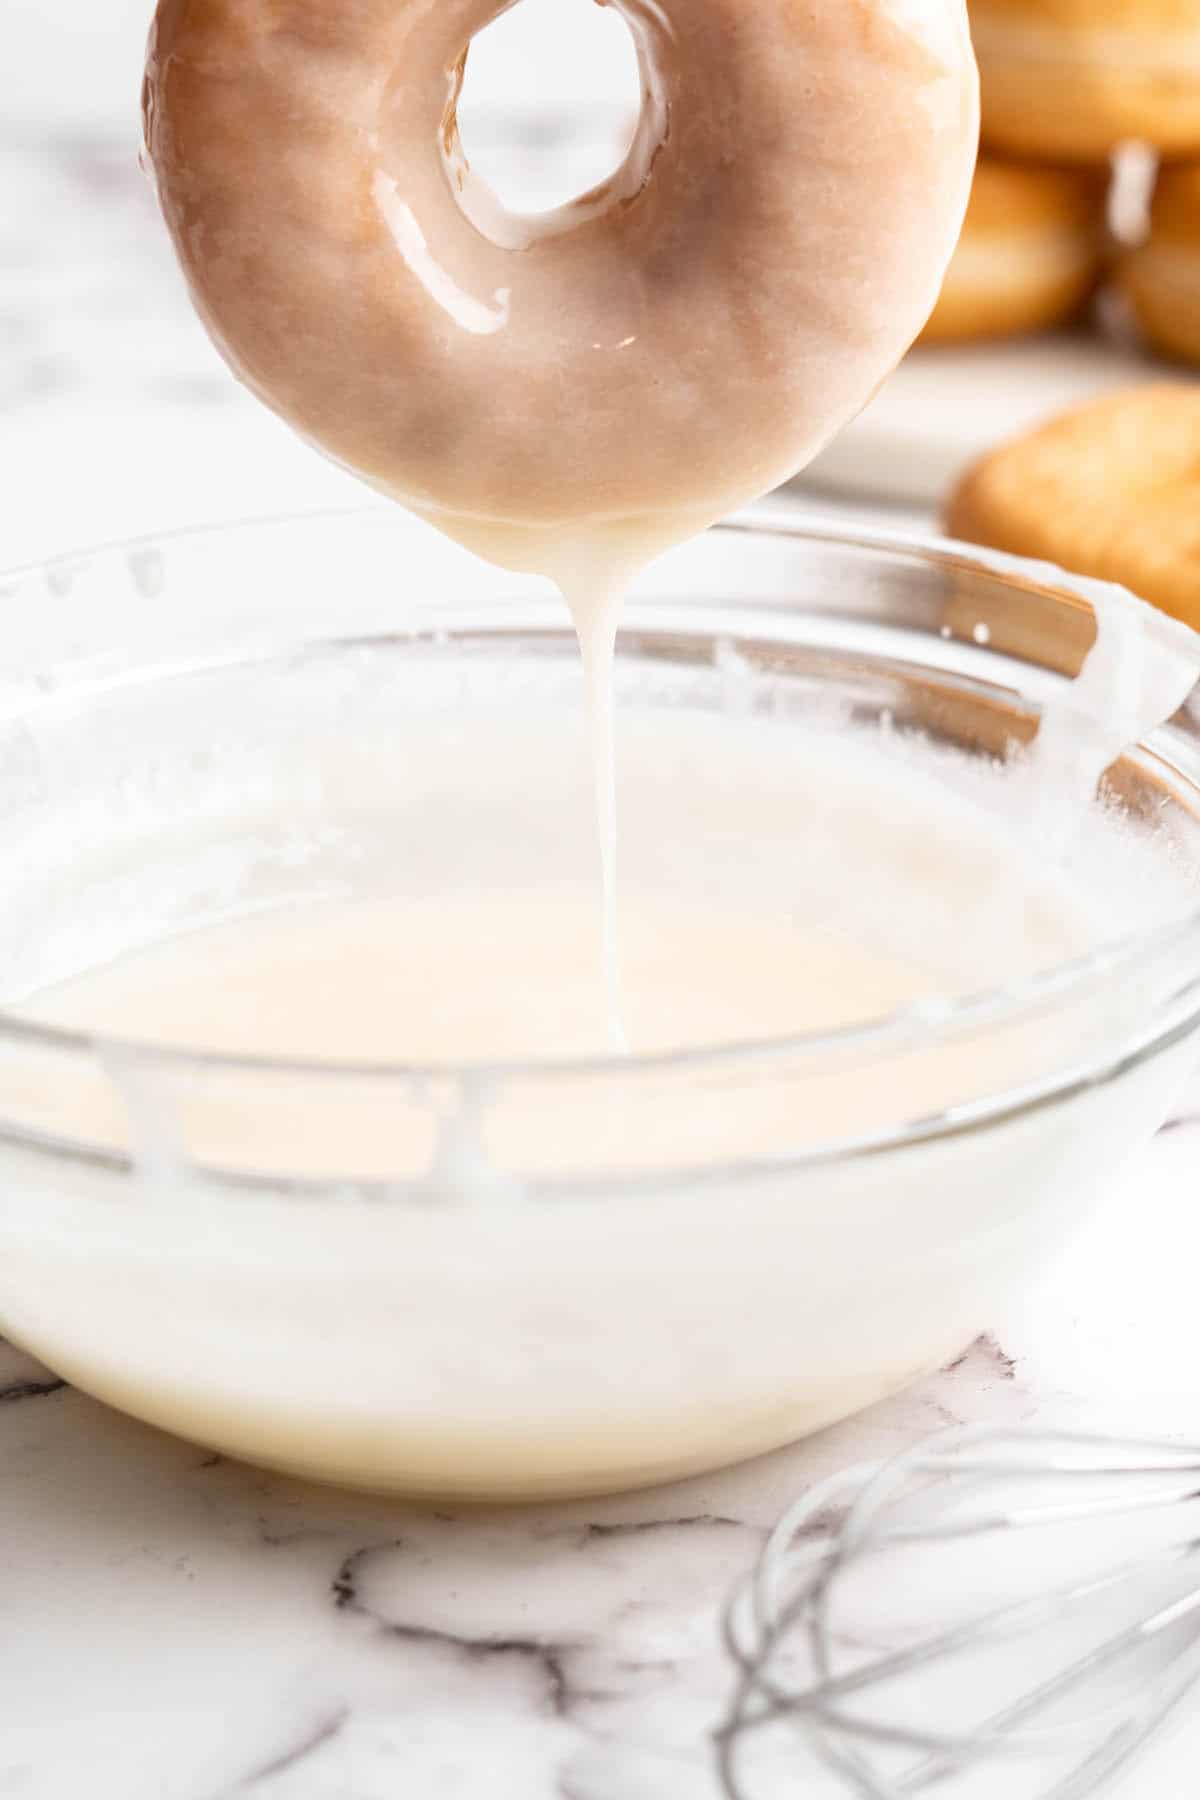
Glaze the donuts. Dip the vegan donuts in the glaze while they’re still warm, but not hot. (If you also fried the donut holes, you can reserve those for the end; put them all in the bowl at the same time, and toss them to coat.)

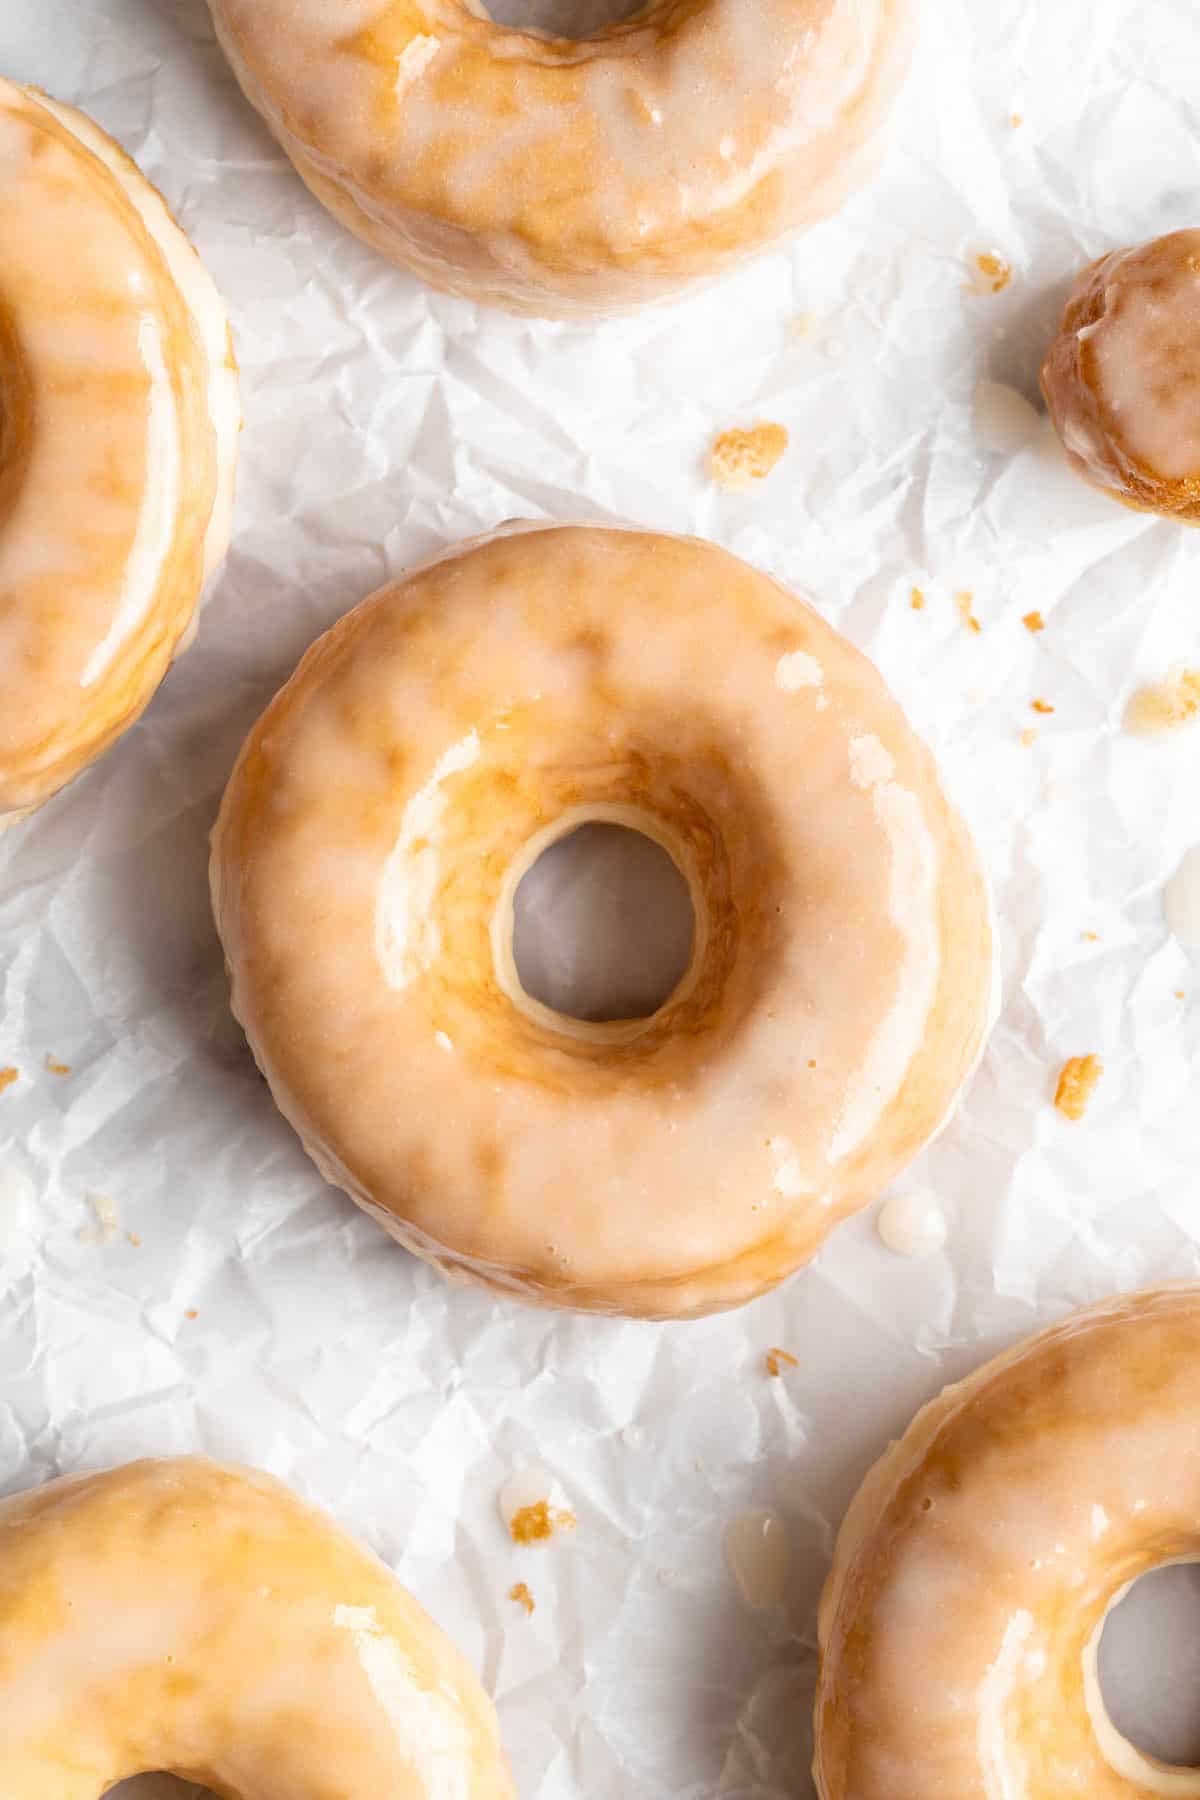
Finish. Place the glazed donuts on the wire rack to let the excess glaze drip off before serving.
Variations
You can glaze and decorate these vegan donuts however you like! If you let the glaze cool and thicken a bit, you can stir in food colouring. Cocoa powder can be added for a chocolate glaze, and you can sprinkle your freshly-glazed donuts with sprinkles to add a pop of colour and crunch.
Another option is to cut the donuts into circles and use a piping bag to fill them with jam, a vegan custard or mousse, or even vegan whipped cream. (If you’re filling your donuts, they’ll need to be cooled completely first!)

Tips for Success
Here are some pointers for perfect vegan donuts!
- Keeping the dough from sticking. You can place the cut donuts on parchment paper to make it easier to remove them before placing them into the hot oil.
- Use chopsticks. Some people like to use chopsticks with deep frying; you can use them to pick up the donuts and place them into the oil and also to flip them and take them out when they’re finished cooking.
- Watch the oil temperature. When you add the donuts, the temperature will fall; as you work through the recipe, the temperature is likely to slowly climb. Adjust the heat as needed to make sure the oil is always right around the 350º mark.
- Glazing tips. Warm donuts and warm glaze will yield the best results here! As the glaze cools, it will thicken and turn white, so if you want that Krispy Kreme look, both the glaze and donuts should be warm.
How to Store
These donuts are best eaten right away, but they will keep up to a day in an airtight container. I don’t recommend freezing this recipe, but if you’re looking for a vegan donut recipe that freezes well, try a baked donut instead, like my Baked Chocolate Cake S’mores Donuts.
Enjoy friends! If you make this vegan donut recipe, please snap a photo and tag #jessicainthekitchen on Instagram! We’d also love it if you would leave a comment below, and give the recipe a rating! Thanks so much!

Vegan Donuts
Ingredients
For the tangzhong:
- 2 tablespoons all purpose flour, 15g
- ¼ cup non-dairy milk, 60mL – preferably a high protein milk like soy milk but anyone should work
- 2 tablespoons water, 30mL
For the donuts:
- 3 cups all-purpose flour + up to 2 tablespoons more for kneading, 360g
- ¼ cup brown sugar, 50g
- 2 ¼ teaspoons instant yeast
- ½ teaspoon sea salt
- ¾ cup non-dairy milk, warm to touch ranging between 110°F to 120°F (180mL) – preferably a high protein milk like soy milk but anyone should work
- ⅓ cup melted vegan butter, 69g
- 1 teaspoon vanilla extract or almond extract
- 6 cups peanut oil, or other frying oil
For the glaze:
- 2 cups confectioners’ sugar, sifted
- ¼ cup non-dairy milk, warmed
- 1 teaspoon vanilla extract or almond extract
Equipment
- Deep fry/candy thermometer
- Large, deep, heavy skillet
- Donut or biscuit cutters
Instructions
To make the tangzhong:
- In a small pan, whisk together the AP flour, non-dairy milk and water until mixed together. Add the pan to the stove over medium high and stir until the mixture thickens up which will happen quickly, within 1 minute or 2. It’ll look thick, almost like a pudding or a slurry. Remove from heat and pour into a small bowl and allow it to cool for about 10 minutes in the fridge. I like to do this first while I’m assembling the rest of the ingredients.
To make the donuts:
- Whisk the flour, sugar, yeast, and salt in a large mixing bowl or the bowl of your stand mixer. In a second, smaller bowl, whisk the tangzhong mixture, non-dairy milk, vegan butter, and vanilla extract.
- Pour the wet ingredients into the dry ingredients. Knead by hand or with the dough hook on your mixer until a soft dough forms. Cover the bowl with a kitchen towel and let the dough rest for 10 minutes.
- After the dough has rested, knead it for 6 to 8 minutes. If you’re doing this by hand, you can simply reach in the bowl and knead it in there—no need to transfer it to a work surface at this point. You can knead in up to 2 tablespoons of flour while kneading. The dough will be smooth, soft, and just a bit sticky.
- Transfer the dough to a large greased bowl. Cover the bowl with the kitchen towel and place it in a warm spot, away from drafts. Let it rise for about 2 hours, or until it has doubled in bulk.
- Gently punch down the dough in the bowl, then transfer it to a floured work surface. Gently pat or roll the dough into a rectangle between 1/4- and 1/2-inch thick. (1/4 inch is too thin, but ½ inch is too thick, so it really should be just in the middle.) If the dough feels too sticky to work with, you can add a bit more flour, but don’t overdo it—too much flour will give you tough donuts!
- Use a donut cutter, a large and small biscuit cutter, or the lip of a cup to cut the doughnuts.
- Piece together any scraps, re-roll them, and cut donuts from that too. Rather than discarding or re-rolling the donut holes, you can fry them separately—they’re great for testing your oil, especially if this is your first time deep-frying.
- I found splitting them onto 16 parchment pieces made frying them so much easier!
- Cover the donuts with greased plastic wrap and let them rise until they’re about doubled in size—this should take 45 minutes to an hour.
- Heat the oil in a deep, heavy skillet to 350F/180C and line a large baking sheet with paper towels.
- Keep a close eye on the temperature the whole time you’re frying and adjust the heat as
- needed to keep it right around the 350 mark. Slide a lightly floured bench scraper or metal spatula under a donut and carefully drop it into the oil. (If you’re good with chopsticks, you can use those instead for both dropping the dough into the pan and taking the fried donuts out.)
- Depending on the size of your skillet, you should be able to fry 2 to 3 donuts at a time.
- Fry the donuts until they’re golden brown on the bottom, then flip them and fry the other side.
- This should take about a minute per side. Use a slotted spoon to remove the donuts from the oil and transfer them to the paper-towel-lined baking sheet.
To glaze the donuts:
- Place a large wire rack on a baking sheet lined with foil.
- Whisk together the confectioners’ sugar, warm milk, and extract in a large bowl. Dip the donuts in the glaze while they’re still warm, but not hot. If you also fried the donut holes, you can reserve those for the end; put them all in the bowl at the same time, and toss them to coat.
- Place the glazed donuts on the wire rack to let the excess glaze drip off before serving. These donuts are best eaten right away, but they will keep up to a day.
Notes
Disclaimer: Although jessicainthekitchen.com attempts to provide accurate nutritional information, kindly note that these are only estimates. Nutritional information may be affected based on the product type, the brand that was purchased, and in other unforeseeable ways. Jessicainthekitchen.com will not be held liable for any loss or damage resulting for your reliance on nutritional information. If you need to follow a specific caloric regimen, please consult your doctor first.


Love!
Danke für das tolle vegane Donut Rezept.
Viele Grüße,
Jesse-Gabriel
can these be baked??
Hi Chelsea,
I haven’t tried baking these but I do have baked doughnuts on the blog so you can just use the search bar to find those (I can’t add links here)
They were a hit! Made them for my friend who’s a vegan restaurant owner and he loved them
SO happy to hear Markia!! Thanks so much for sharing!!
Hi Jessica, Was wondering can these be made to become sour cream donuts?
HI Micki,
That sounds DELICIOUS! I haven’t tested this exactly so it’s definitely experimental, but you can try swapping half of the milk for room temperature sour cream (I have a recipe here if you need it too!), hope that helps and enjoy so much!
If you want it more sour cream-y you could then test a separate batch if that works out with fully swapping out the milk for sour cream!
I’ve made these twice and they’re such a hit! Wondering if you have a suggestion for proofing overnight in the fridge… whether to proof at room temp first, how long, etc?
Hi Monique,
So happy to hear! At step 4 you can proof overnight in the fridge, then proceed with punching down the dough, that second rise at room temp etc etc.! Enjoy so much (again!! )
Do you the recipe for the homemade sprinkles I saw quickly on a short about them but then didn’t see ingredients listed?? Wish I had found out about your recipes years ago!!!! So very many wonderful things! And beautifully written!
All I remember on the sprinkles is to pipe them thinly on parchment paper to dry!
Thank you for taking time to answer!
Graciously,
Cathy
Hi Cathy!
Aww you are so sweet, thank you so much! Pasting the recipe here for you:
HOMEMADE SPRINKLES
1 cup powdered sugar (I have a video on powdered sugar)
1-2 tablespoons water
food colouring of your choice I love the plant based ones from whole foods or any artificial dyes free food colouring
Mix together the powdered sugar and water until fully combined and at the consistency in the video.
Divide the icing into individual bowls – I made the rainbow here so I separated it into 7 containers. Add food colouring to each bowl, bearing in mind that dye free food colouring usually needs a few more drops of each but not too much that the whole batch tastes like food colouring.
For colours like orange or purple remember to balance out the primary colours to get the colours you need
To make orange: mix red and yellow
To make purple/violet: mix red and blue
To make indigo: mix red and blue and add a bit more blue to the mix
For green: most packs come with green but I find the green food colouring alone is very neon so go in with appropriate amounts of yellow and blue to make green (adding a bit more blue to darken/normalise it slightly)
Separate the frosting/icing into bags. I place the bag into a tall drinking glass and then open it up all the way which makes it much easier to add the icing in. Squeeze it to the bottom as much as possible, pressing any air out.
Twist your bags or even add rubber bands to keep the icing down. Snip off a bit off the tip of each bag evenly.
On a parchment paper, squeeze lines of icing. You can make also shape you desire too, like dots, hearts, even little animals if you’d like! If you make a mistake initially just wipe them off and start over!
Leave your parchment paper in a spot you won’t have to touch and let it try for 12 hours. If you’re in a rush they can dry in like 1 hour but they’ll be perfectly set after 12 hours. Cut them up or if they’re already in individual pieces just slide them off they come off extremely easy which is the clearest sign that they’re dry.
Store in an air tight container, add to your favorite baked goods and enjoy!
Can these be made with Gluten Free All Purpose Flour?
Hi K,
I haven’t tried to make these gluten free but since they are a yeasted product you would also need a binder like psyllium, husk to help it rise properly. I wish I could provide better exact measurements but until I’ve tested it gluten free I’m unable to share exactly what to do!
If you want to make them gluten free, it’s definitely not the same but you could try using a gluten free pizza dough mix as the base before frying. That will at least give you a similar-ish texture. I hope this helps; enjoy!