

BBQ Soy Curls
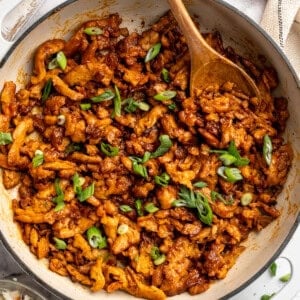
A little bit crispy, a whole lot saucy, and packed with bold, smoky flavour, these BBQ soy curls are the kind of vegan staple you’ll make again and again. Protein-packed and satisfying, they’re perfect for everything from sandwiches to grain bowls!
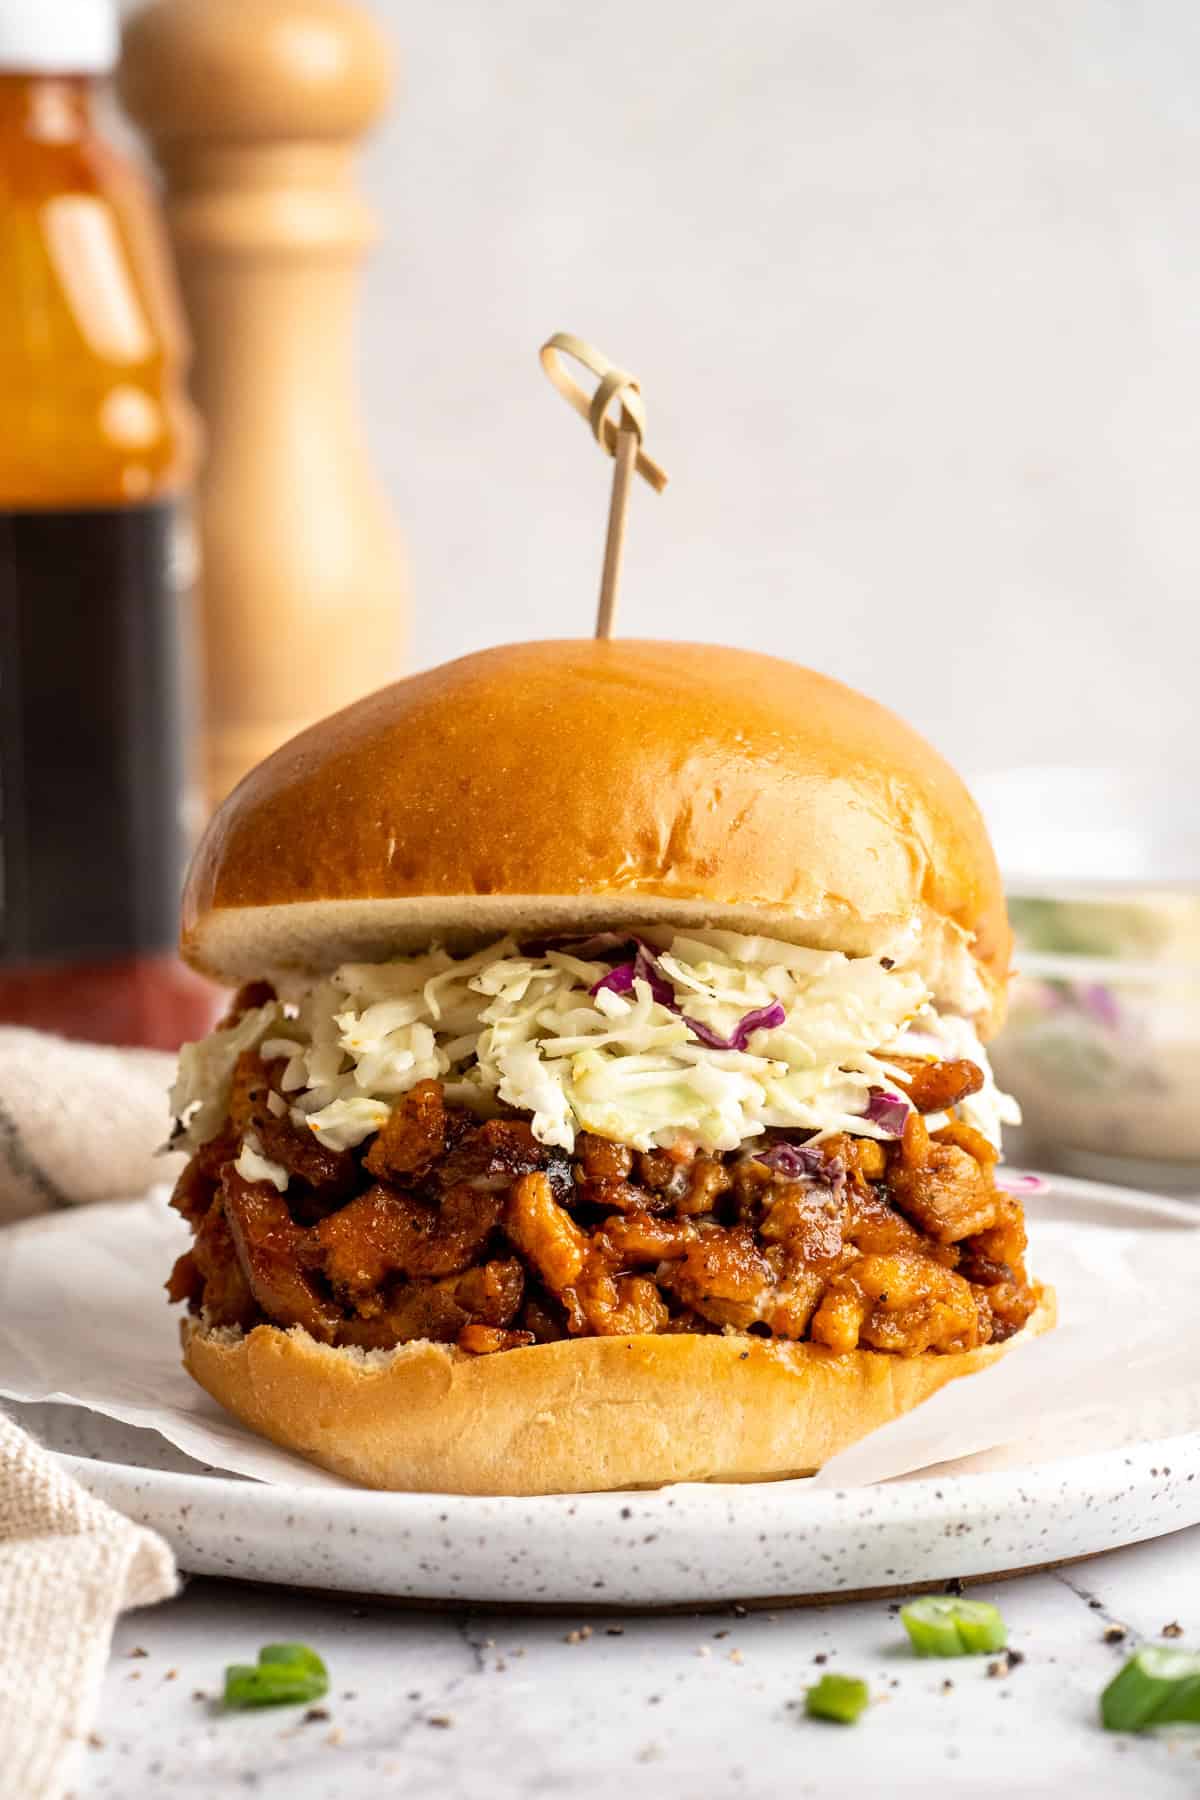
If you’ve never cooked with soy curls before, this is the recipe to start with. (And then move on to my soy curl chicken!) They soak up all the seasoning you add to them, crisp up wonderfully when pan-fried, and transform into a seriously convincing plant-based “chicken” that’s budget-friendly too. Toss them in your favourite barbecue sauce at the end for that sweet-and-smoky finish!
Why BBQ Soy Curls Hit All the Right Notes
I have high standards when it comes to vegan meat substitutes. I want them to be satisfying and a good source of protein, but I don’t want to break the bank either. These BBQ soy curls meet all those criteria and then some!
- Crispy and sticky. The cornstarch coating helps the soy curls get golden and crisp before being tossed in BBQ sauce.
- Budget-friendly protein. Soy curls are an affordable alternative to store-bought vegan meats. I also love that they’re shelf-stable, so I can keep a stash in the pantry!
- Versatile. Use these saucy BBQ soy curls in sandwiches, wraps, bowls, or salads.
Notes on Ingredients
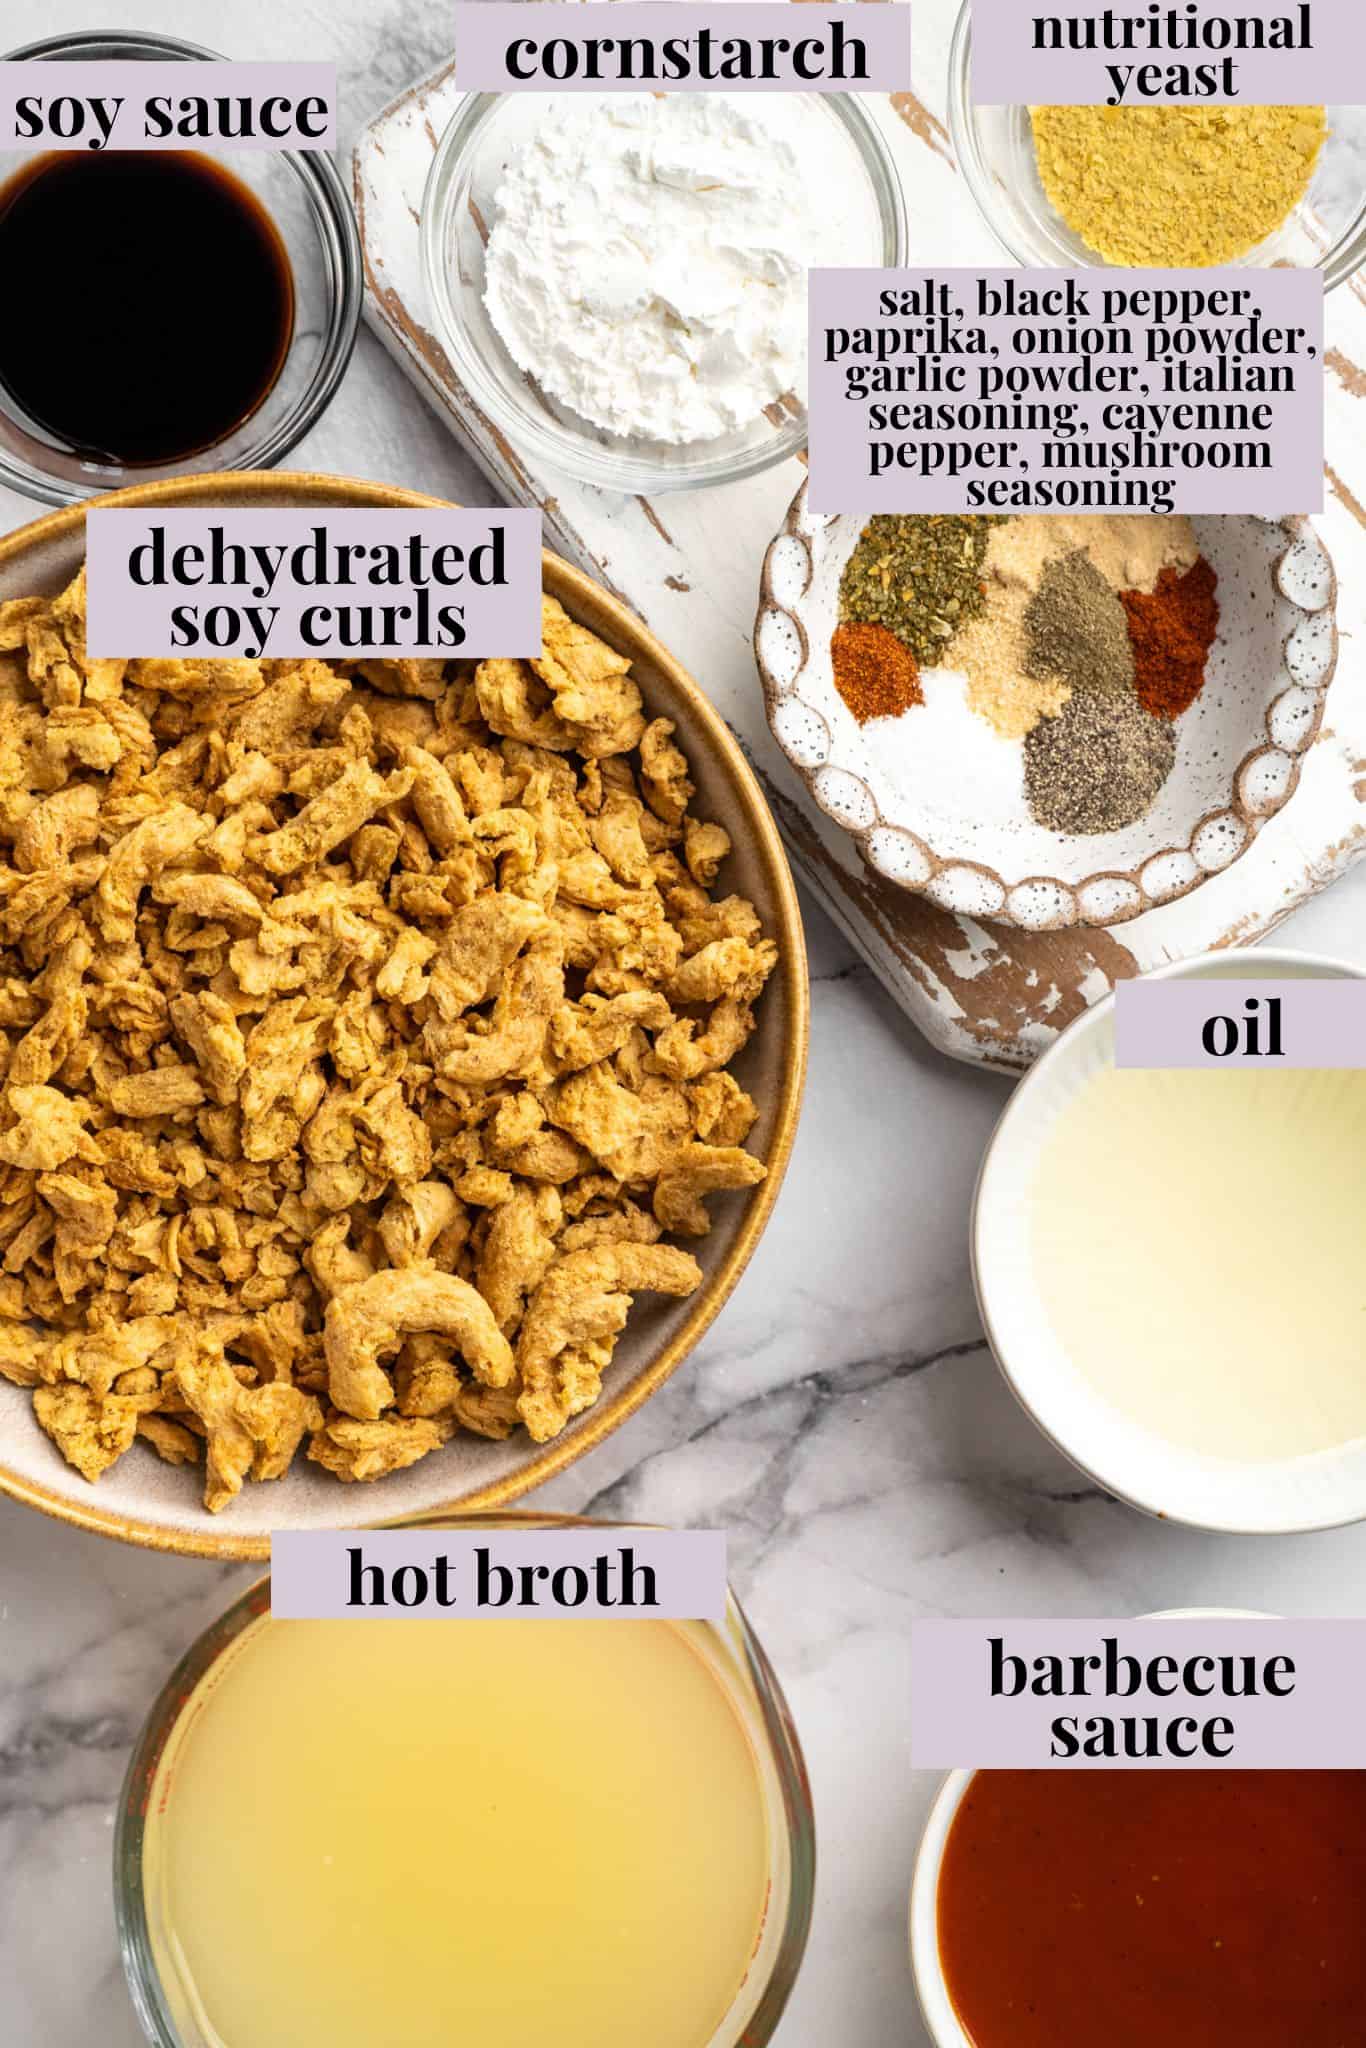
Here’s what you’ll need to make these BBQ soy curls. Scroll down to the recipe card for exact measurements and full instructions.
- Soy curls – A dehydrated soy product that rehydrates into a tender, meaty texture. I love the ones from Butler Foods.
- Vegetable broth – Used to soak the soy curls and infuse them with flavour. I like using hot water mixed with Better Than Bouillon.
- Seasonings – Salt, pepper, paprika, onion powder, garlic powder, and Italian seasoning add lots of depth. You can also add cayenne if you’d like for an extra kick.
- Nutritional yeast – Brings a light umami note.
- Soy sauce – For more umami, and also saltiness and depth. You can use tamari for a gluten-free version.
- Oil – Helps the seasoning coat the soy curls, and also for frying.
- Mushroom seasoning or poultry seasoning – Optional, but highly recommended for extra umami flavour.
- Cornstarch – Sift it first so it’s not clumpy.
- Barbecue sauce – Use any you like! I love my roasted strawberry barbecue sauce.
How to Make BBQ Soy Curls
Below you’ll find step-by-step photos showing the process of making these BBQ soy curls, but the full instructions are in the recipe card at the bottom of the post.
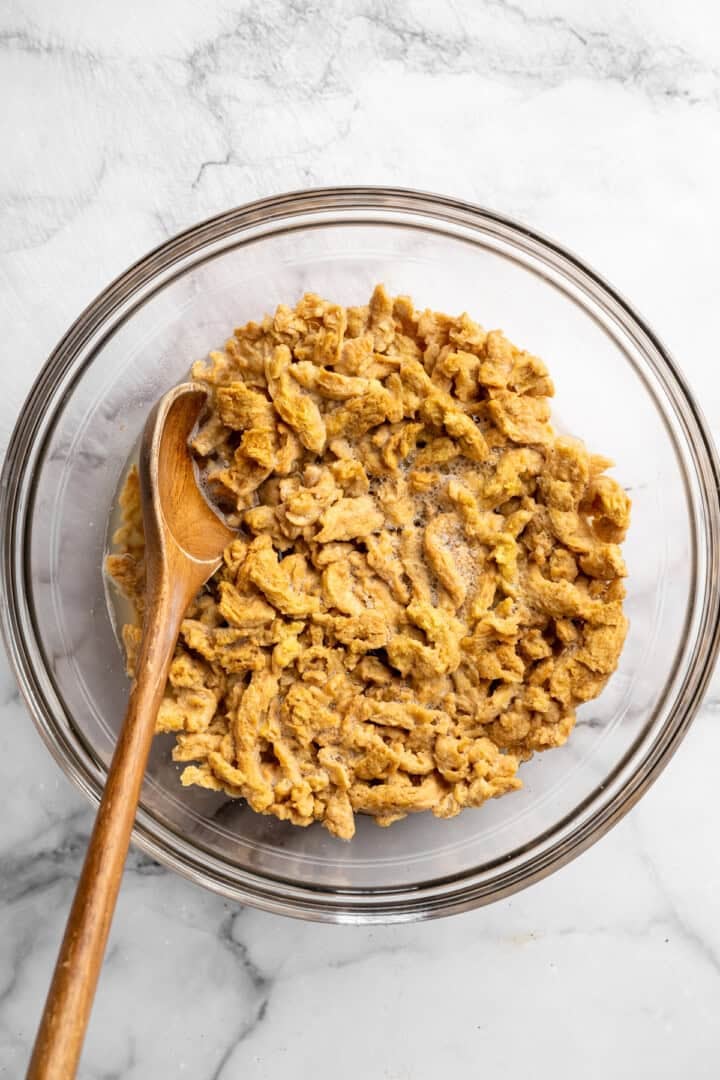
- Soak the soy curls. Add the soy curls to a bowl and pour over enough hot broth to cover. Let them sit until softened and fully hydrated.
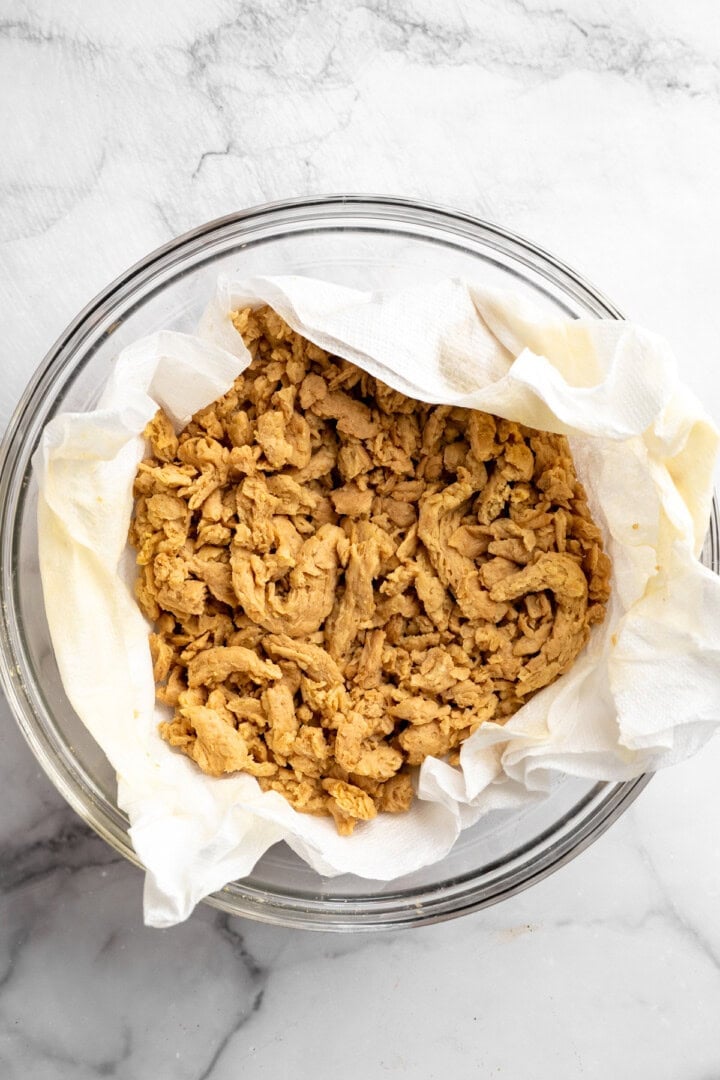
- Drain and squeeze. Gently squeeze out the excess liquid so they’re moist but not dripping. Save a little of the soaking liquid in case you need it later.
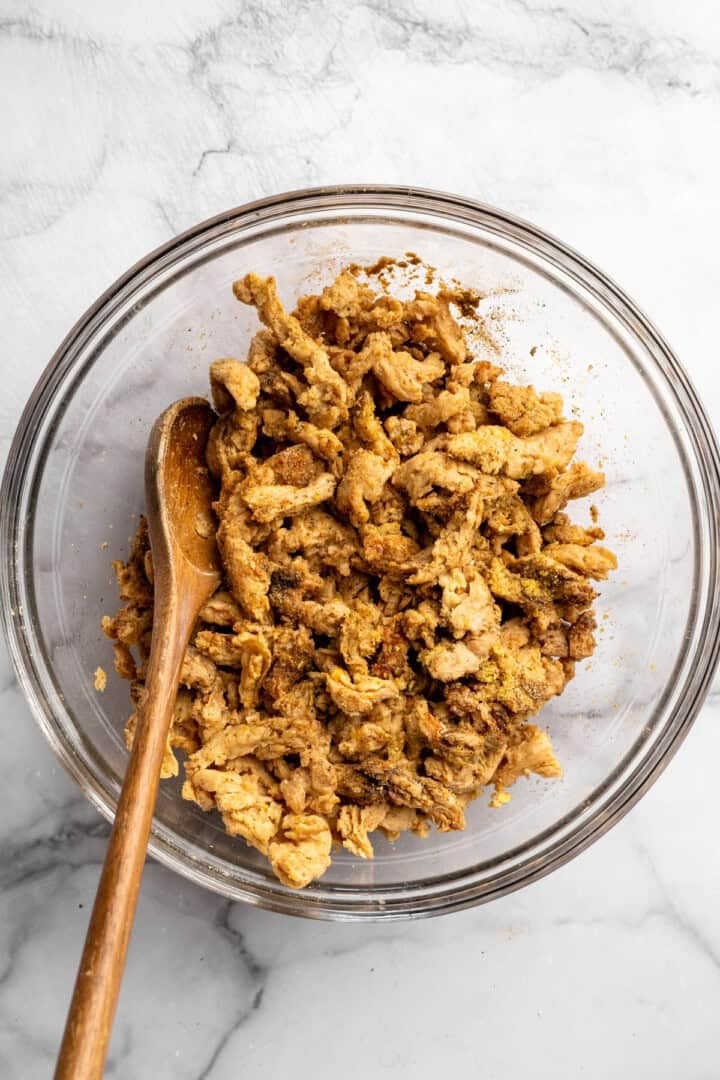
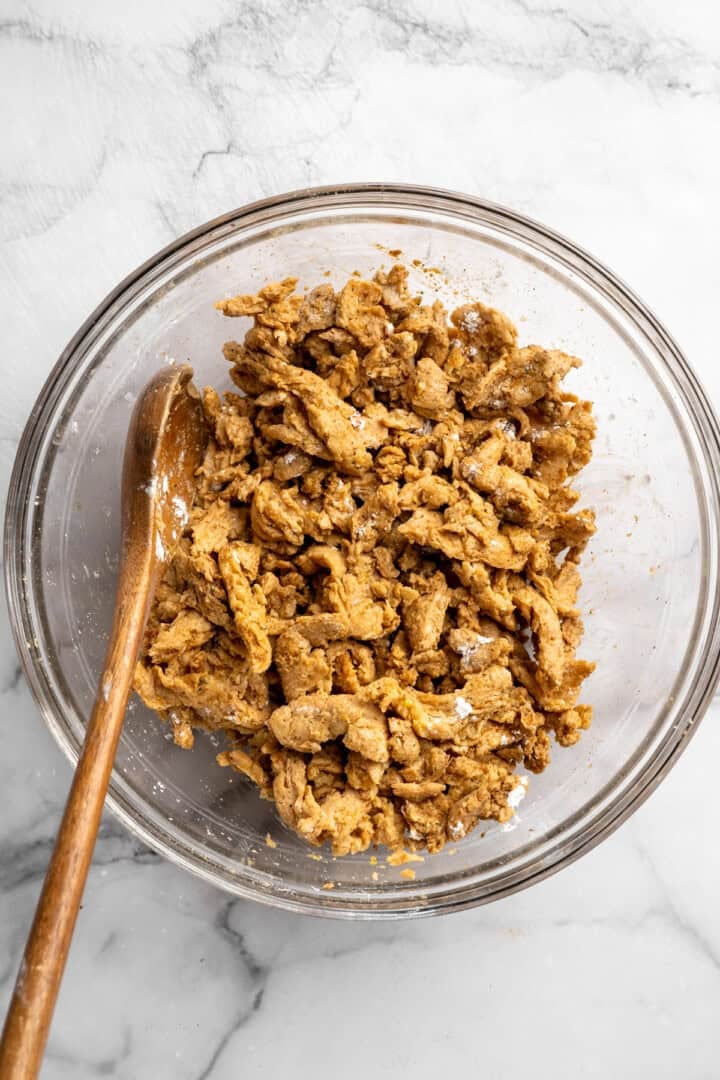
- Season. Toss the soy curls with the spices, soy sauce, oil, and nutritional yeast until evenly coated. If needed, add a splash of the reserved broth to help everything stick.
- Coat. Sprinkle in the cornstarch and toss well, pressing it into the soy curls so it adheres.
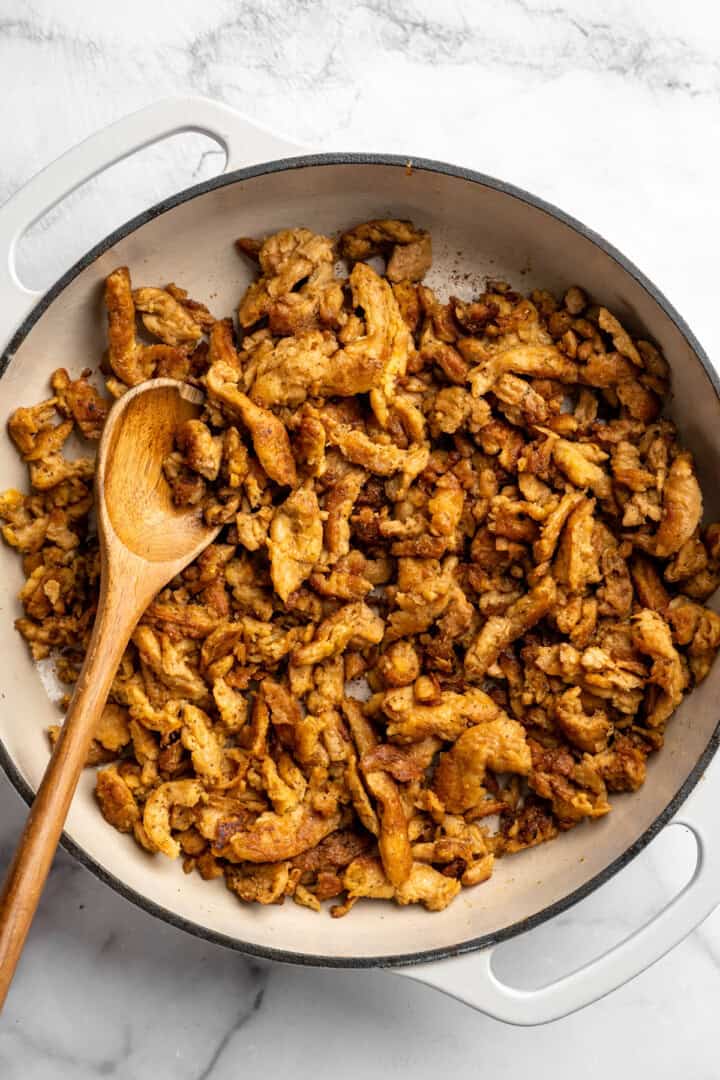
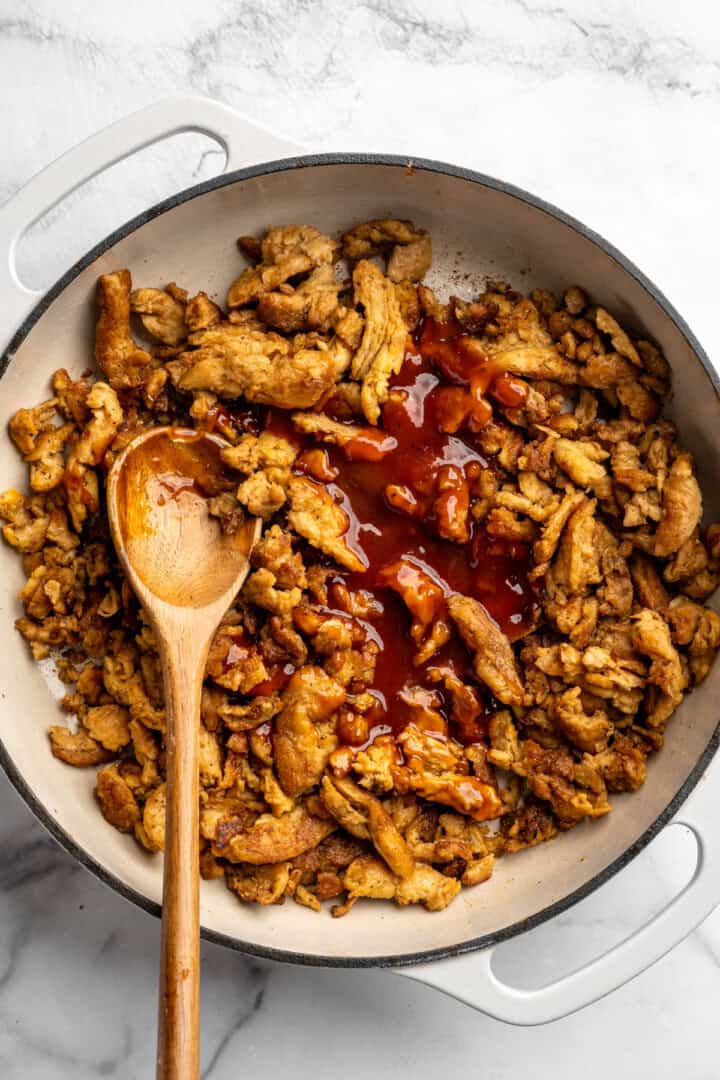
- Cook. Heat oil in a skillet over medium heat and cook the soy curls until golden and crispy, letting them sit undisturbed at times to develop colour.
- Add the BBQ sauce. Lower the heat and toss the soy curls with the barbecue sauce until fully coated.
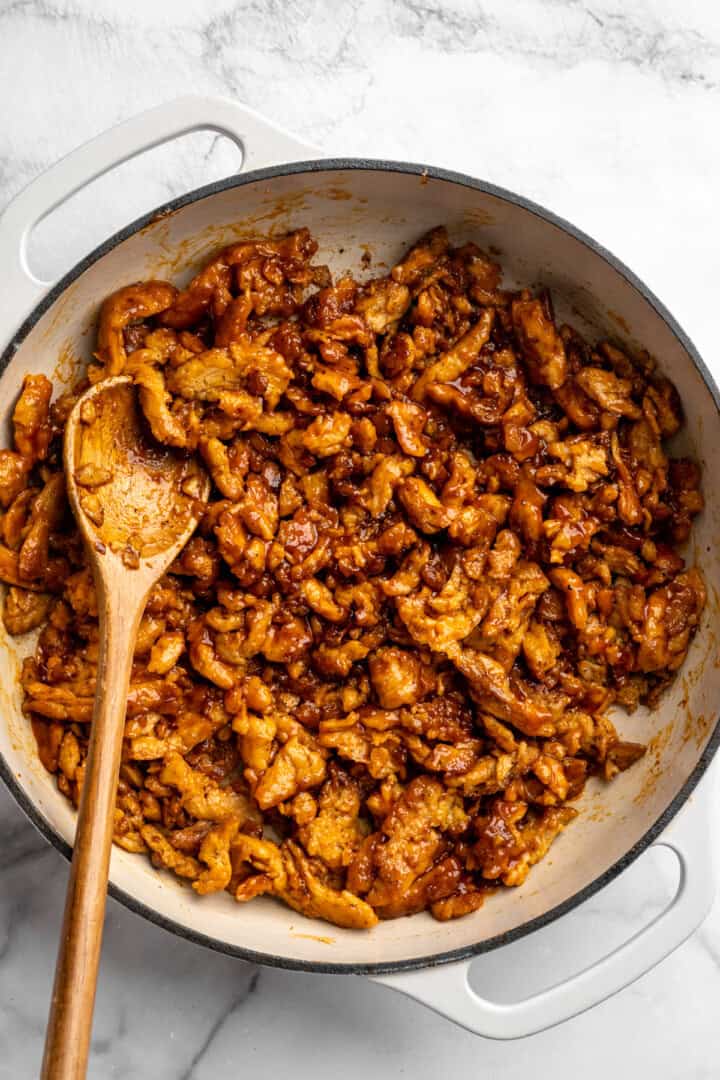
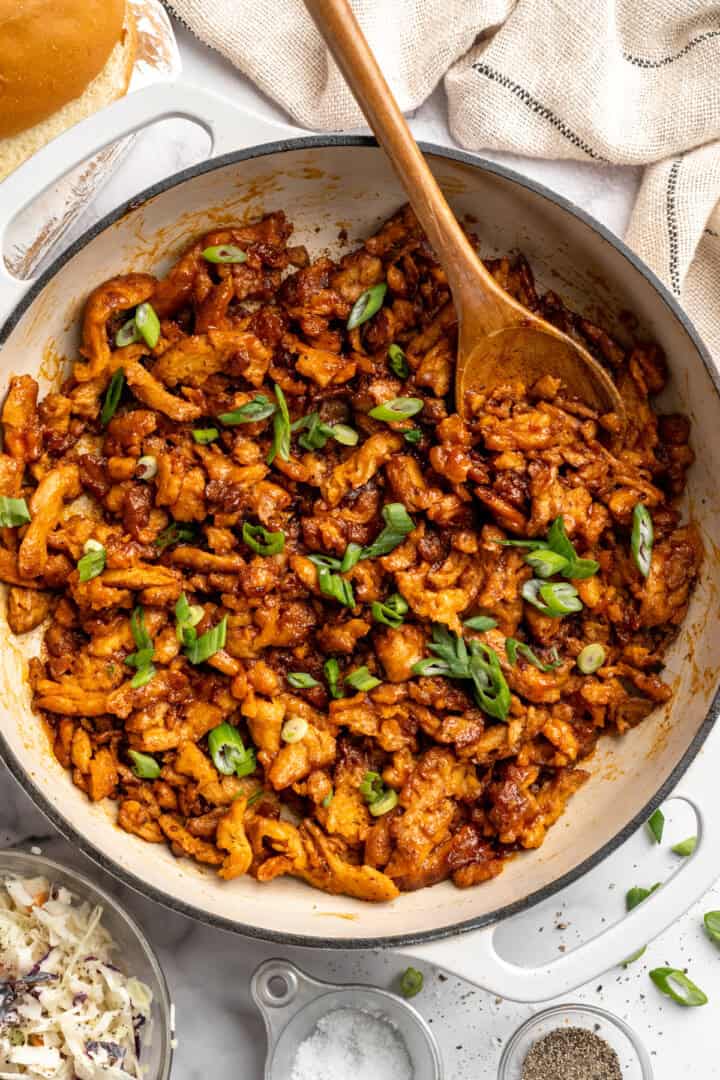
- Finish. Let them cook for a few minutes more until the sauce thickens and becomes sticky.
Tips and Variations
Here are a few tips to help you get the best results with this BBQ soy curl recipe.
- Squeeze well. Removing excess liquid will help you get those irresistible crispy edges.
- Don’t overcrowd the pan. Give the soy curls space so they brown instead of steam.
- Try another sauce. You can literally use any sauce you’d use with chicken with soy curls. Try adding peanut sauce, teriyaki sauce, buffalo sauce, and more.
Serving Suggestions
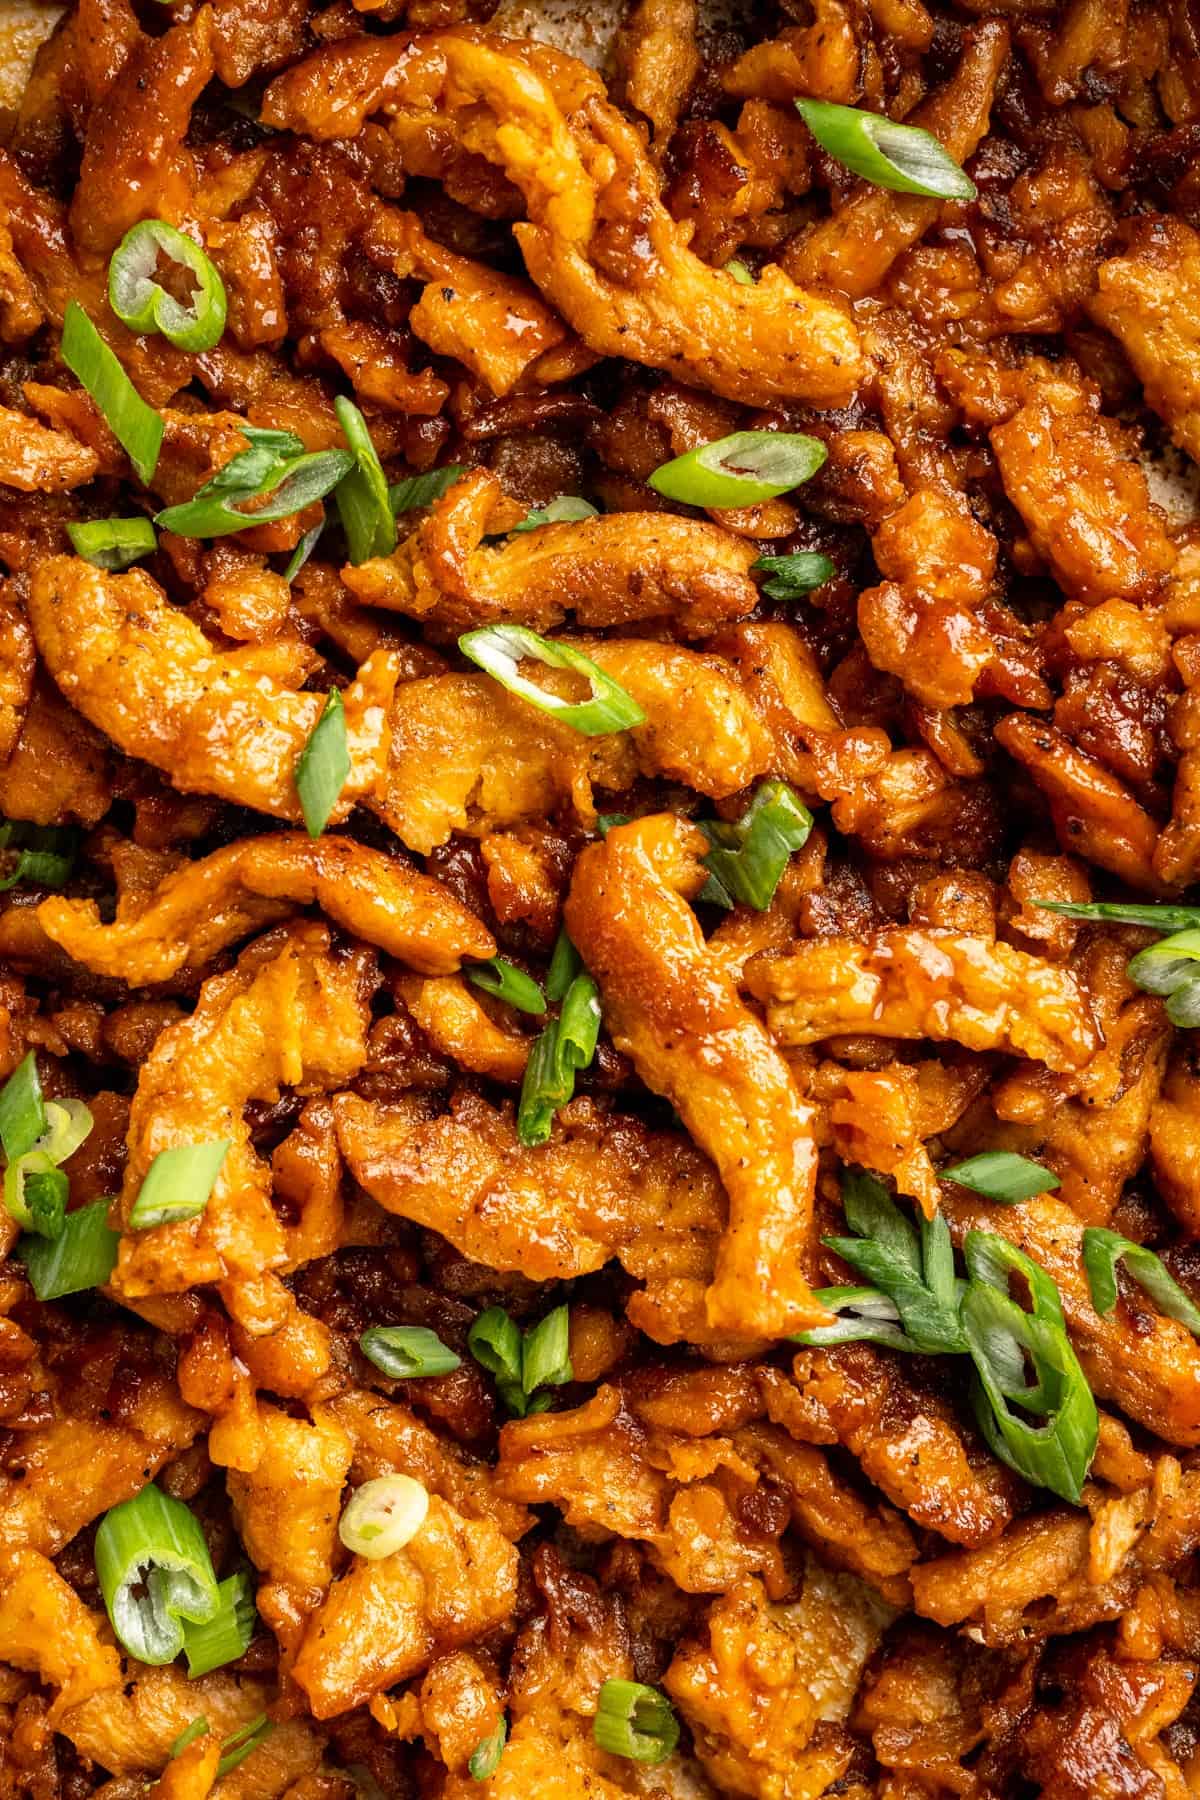
Serve BBQ soy curls in sandwiches or wraps, pile them onto rice bowls, or add them to salads. They’re also amazing alongside vegan mac and cheese, KFC coleslaw, or corn pone for a full BBQ-style meal.
Storage and Reheating
- Refrigerator: Store leftover BBQ soy curls in an airtight container for up to 4 days.
- To reheat: Warm in a skillet over medium heat until heated through. Add a splash of water if needed to loosen the sauce.
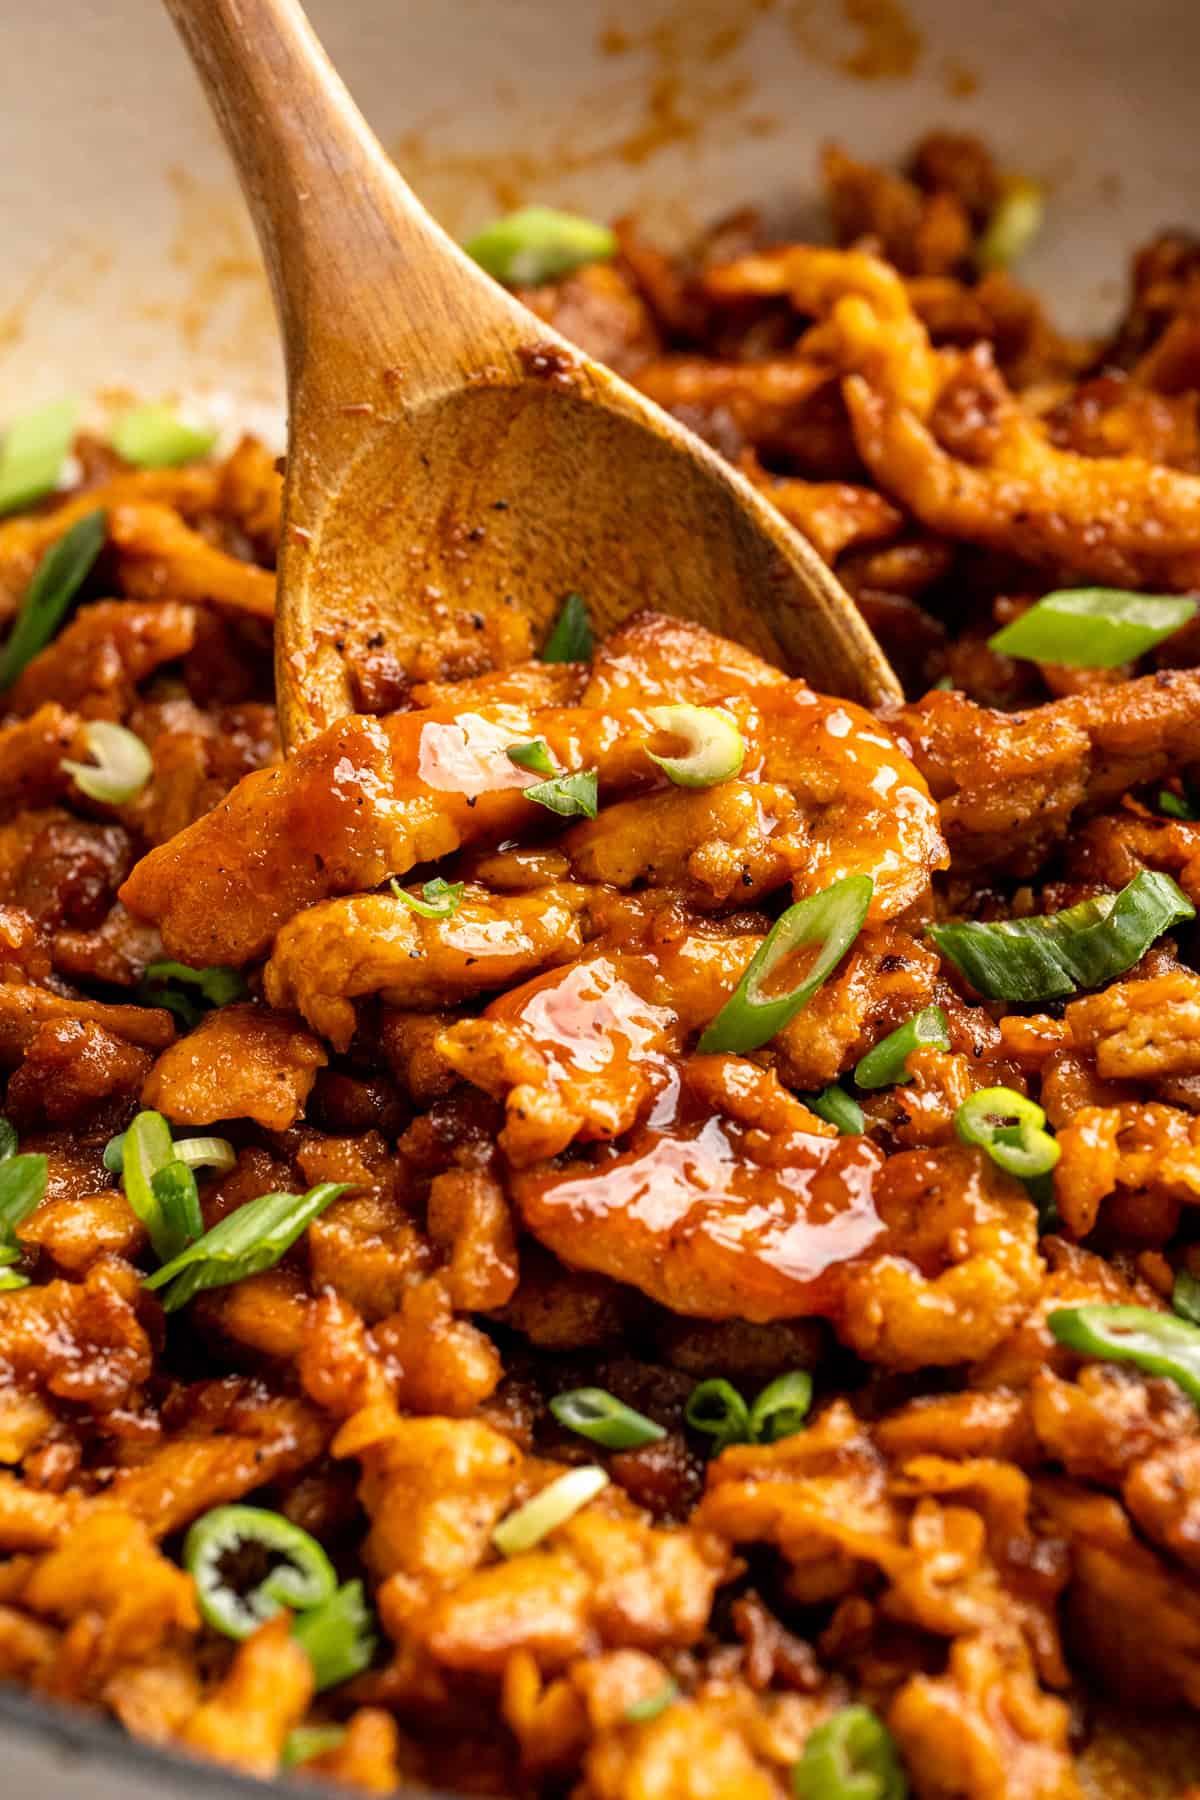
More Vegan “Chicken” Recipes
Enjoy friends! If you make this BBQ soy curl recipe, please snap a photo and tag #jessicainthekitchen on Instagram! We’d also love it if you would leave a comment below, and give the recipe a rating! Thanks so much!
BBQ Soy Curls
Ingredients
Soy Curls & Marinade:
- 2 cups dehydrated soy curls, 80g
- Hot vegetable broth, enough to cover (about 1 cup or 240mL); I like to use a cup of hot water mixed with 1 teaspoon of better than bouillon seasoned vegetable base or no chicken
- 1/2 teaspoon salt, 3g
- 1/2 teaspoon black pepper, 1g
- 1 teaspoon paprika, 2g
- 1 teaspoon onion powder, 2g
- 1 1/2 teaspoons garlic powder, 4g
- 1/2 teaspoon Italian seasoning, 1g
- 1 tablespoon nutritional yeast, 10g
- 1 teaspoon oil, 5mL
- 1 teaspoon soy sauce, 5mL
- 1/4 teaspoon cayenne pepper, optional (0.5g)
- 1/4 teaspoon mushroom seasoning or poultry seasoning, optional (0.5g)
Coating & Cooking:
- 2 tablespoons cornstarch, 16g, sifted
- 2 –3 tablespoons oil for frying, 30–45mL
- 1/3 cup barbecue sauce, 80mL, or more to taste
Instructions
- In a bowl, add the soy curls in with your broth. I usually add just enough broth to cover the soy curls so that it fully soaks up the liquid. I prefer hot broth since it soaks up the liquid faster. Let the soy curls sit for about 5-10 to fully soak up the liquid.
- Before adding your seasonings, squeeze out any excess liquid from your soy curls. We want them hydrated, not soaked or dripping wet. Reserve this liquid so that if you over squeeze it, you can add back in a tablespoon or two.
- Add your soy curls back in your bowl and add your salt, black pepper, paprika, onion powder, garlic powder, nutritional yeast, oil, soy sauce and the optional cayenne pepper. If you have the mushroom powder or poultry seasoning add it in too. If everything is looking too dry or not absorbing all of the seasonings, add back in 1-2 tablespoons of the veggie broth that you just squeezed out of your soy curls until it's no longer looking dry. If more liquid is needed, do a tablespoon at a time. Add in your cornstarch and toss to coat until all of your soy curls are thoroughly coated, pressing the cornstarch into the soy curls so it adheres and creates a crispy coating.
- In a pan over medium heat, heat your oil. Once heated, add in your soy curls, separating with your tongs or spatula any pieces stuck together. Cook for 5–8 minutes, allowing the soy curls to sit undisturbed for 1–2 minutes at a time so they can brown, then stir occasionally until the outsides are nice and crispy and golden brown.
Add on the BBQ Sauce:
- Lower heat and add the barbecue sauce over the top of the soy curls. Stir together completely. Reduce heat to low and let it cook until nice and sticky, about 5 full minutes. Add more sauce if desired. Enjoy!
Notes
- Squeeze well. Removing as much moisture from the curls as possible will get you those irresistible crispy edges you crave.
- Don’t overcrowd the pan. If the pan is too crowder, the curls will steam rather than brown.
- Storage. Store leftover BBQ soy curls in an airtight container for up to 4 days or in the freezer for up to 3 months. Thaw the curls in the fridge (if applicable), then reheat in a skillet over medium heat. You can add a splash of water to loosen the sauce.
Disclaimer: Although jessicainthekitchen.com attempts to provide accurate nutritional information, kindly note that these are only estimates. Nutritional information may be affected based on the product type, the brand that was purchased, and in other unforeseeable ways. Jessicainthekitchen.com will not be held liable for any loss or damage resulting for your reliance on nutritional information. If you need to follow a specific caloric regimen, please consult your doctor first.


Hi, dehydrated soy curls are not available in Australia.
Do you know of any product substitute?
Thanks
Hi David,
I’ve done as much research as I can, and it looks like you’re entirely right. We haven’t tested this recipe with any substitutes so I can’t say for sure, my apologies.
Holy cow, this was fabulous! Super easy and so flavorful. Ended up eating quite a bit before we even added the BBQ sauce. Would work with any sauce!
Hi Muffy,
Yes yes yes so happy!!
Amazing recipe! I used soya chunks instead as I am in the UK and it turned out wonderfully tasty. Just soak the chunks for 10-20 mins.
Hi Milly,
Thank you so much for sharing—so great to hear it worked well with soya chunks!!