Vegan Vanilla Cake with Buttercream Frosting
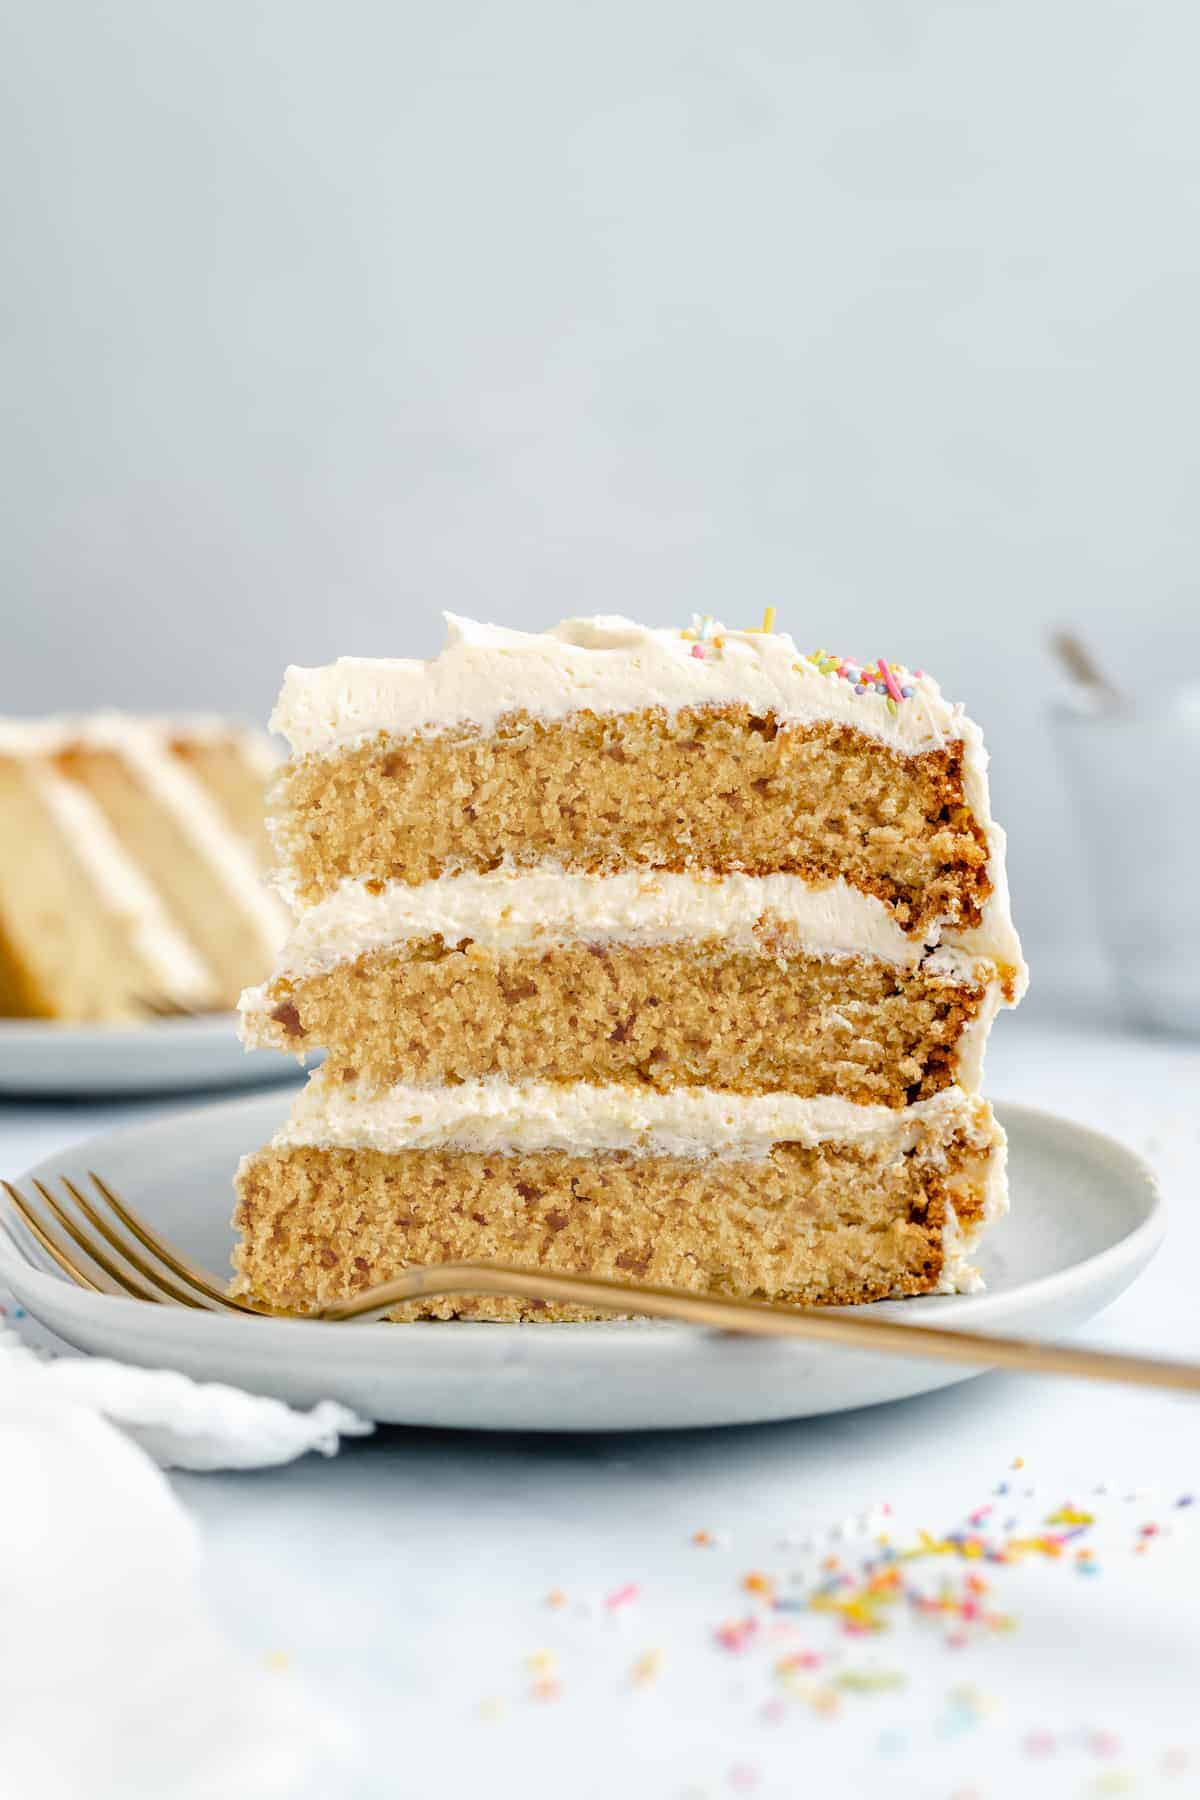
This Vegan Vanilla Cake is a moist, fluffy double layer cake recipe with creamy vegan buttercream frosting. You can easily customize this cake for birthdays, holidays and more!
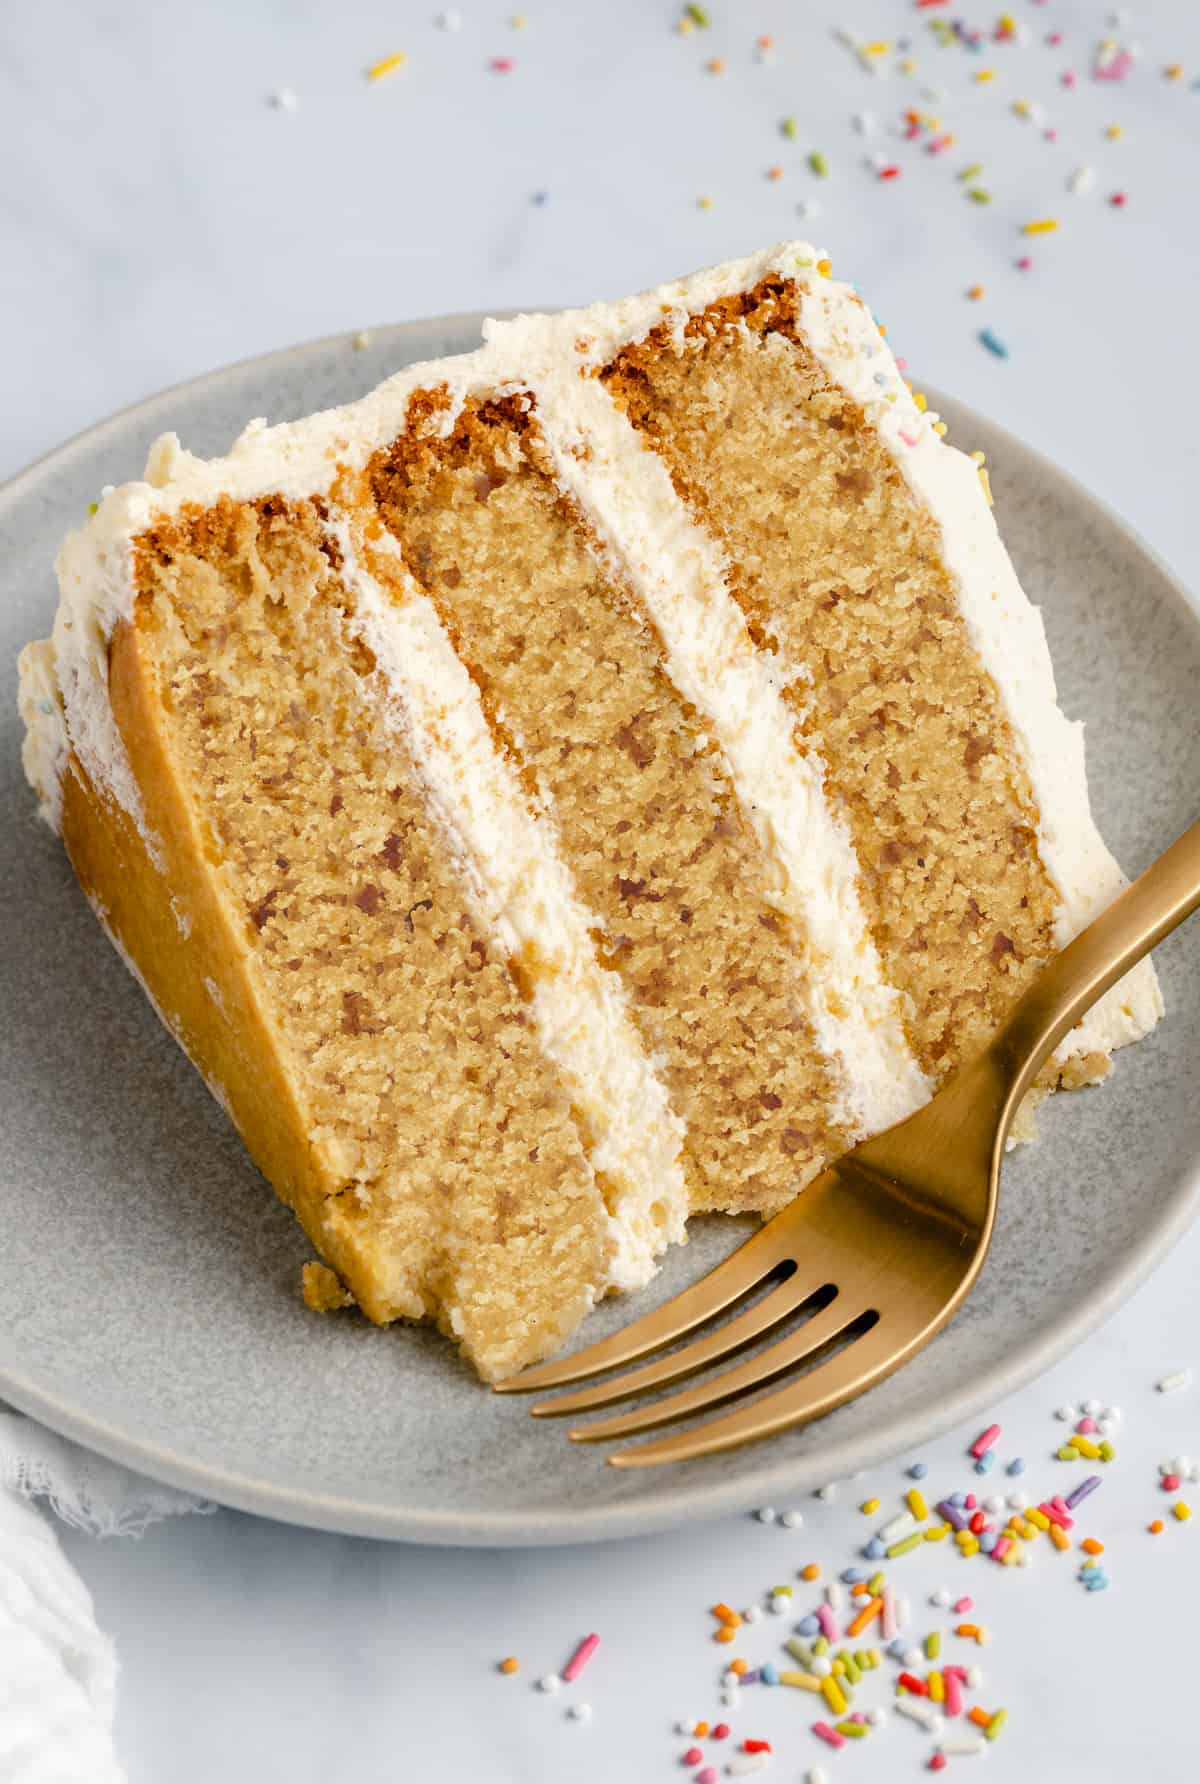
Traditional flavors are popular for a reason. And today, I’m bringing you this Vegan Vanilla Cake with buttercream frosting to celebrate that. You may see ‘vanilla cake’ and think ‘bland.’ Not true! This vegan-ized cake is filled with sweet flavor from the vanilla extract, and its buttercream frosting truly melts in your mouth. In other words, this cake is the whole delicious package.
Why You’ll Love This Vegan Vanilla Cake Recipe
- A cake for all reasons and seasons. What can you make this cake for? The real question is what CAN’T you make this cake for? Its colorful sprinkles make it a great choice for a birthday celebration, but with some red and green decorations, it would be perfect for Christmas.
- Easy to make. This recipe is an absolute cinch to make, and to decorate too! Even if you’ve never made a layer cake before, you’ll have an easy time with this recipe.
- Everyday ingredients. Everything you need for this vegan vanilla cake recipe can be found at a regular grocery store—although it’s also likely you have most of the ingredients in your kitchen right now!
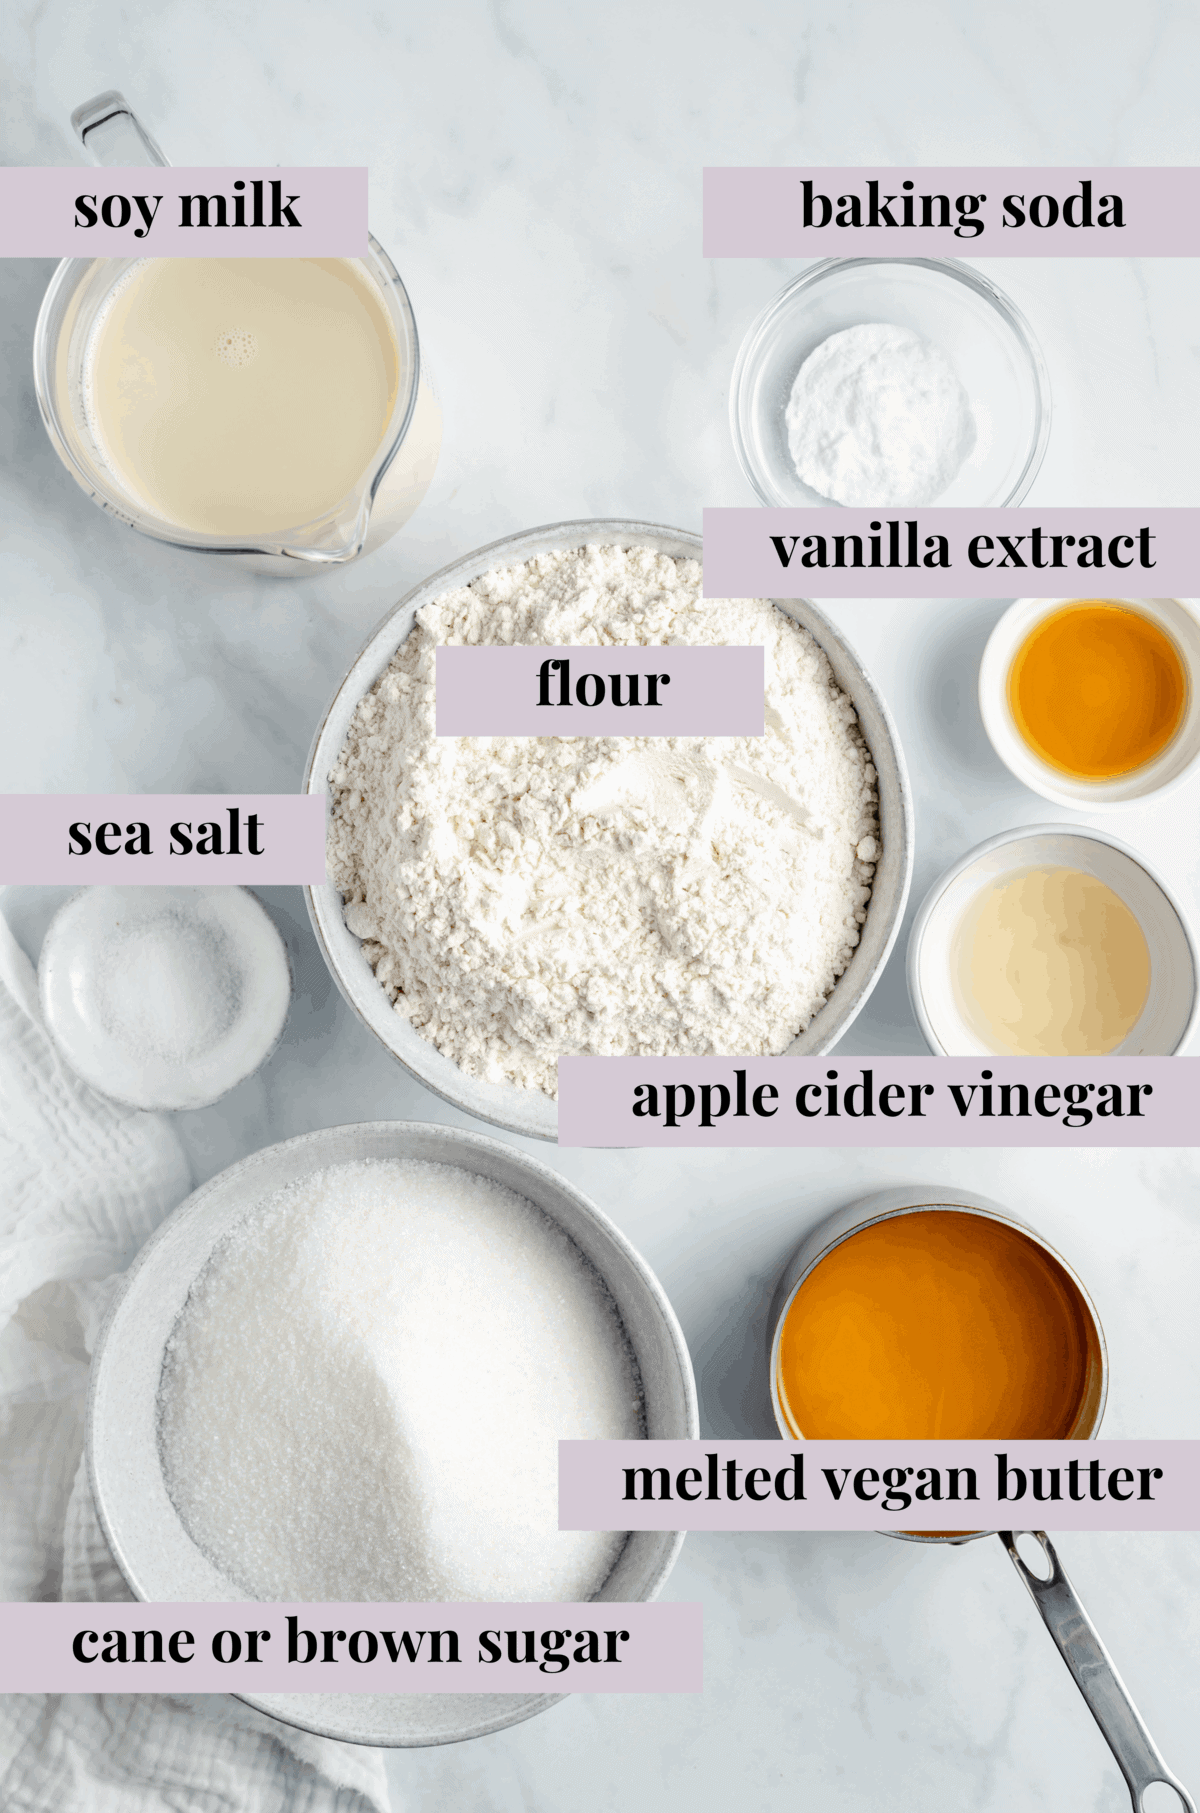
Notes on the Ingredients
Scroll down to the recipe card to find the ingredient quantities and recipe instructions.
For the Cake:
- Apple cider vinegar – You can use regular vinegar if you don’t have apple cider vinegar; both will make the soy milk curdle.
- Soy milk – Other vegan milk will work too, but make sure whichever one you decide to use is at room temperature, so that the texture of the cake comes out correctly.
- Brown sugar – Cane sugar is also good, and will make the cake even sweeter than regular or brown sugar would.
- All-purpose flour – White whole wheat flour or gluten-free flour could also work; note that with gluten-free flour the cake may become a little denser and dryer.
- Baking soda – To help the cake layers rise.
- Sea salt – Regular salt is good too, just use a little bit less of it because the granules are smaller.
- Vegan butter – Melt it and then let it cool for the purpose of easy mixing.
- Vanilla extract – Provides the sweet flavor of the cake!
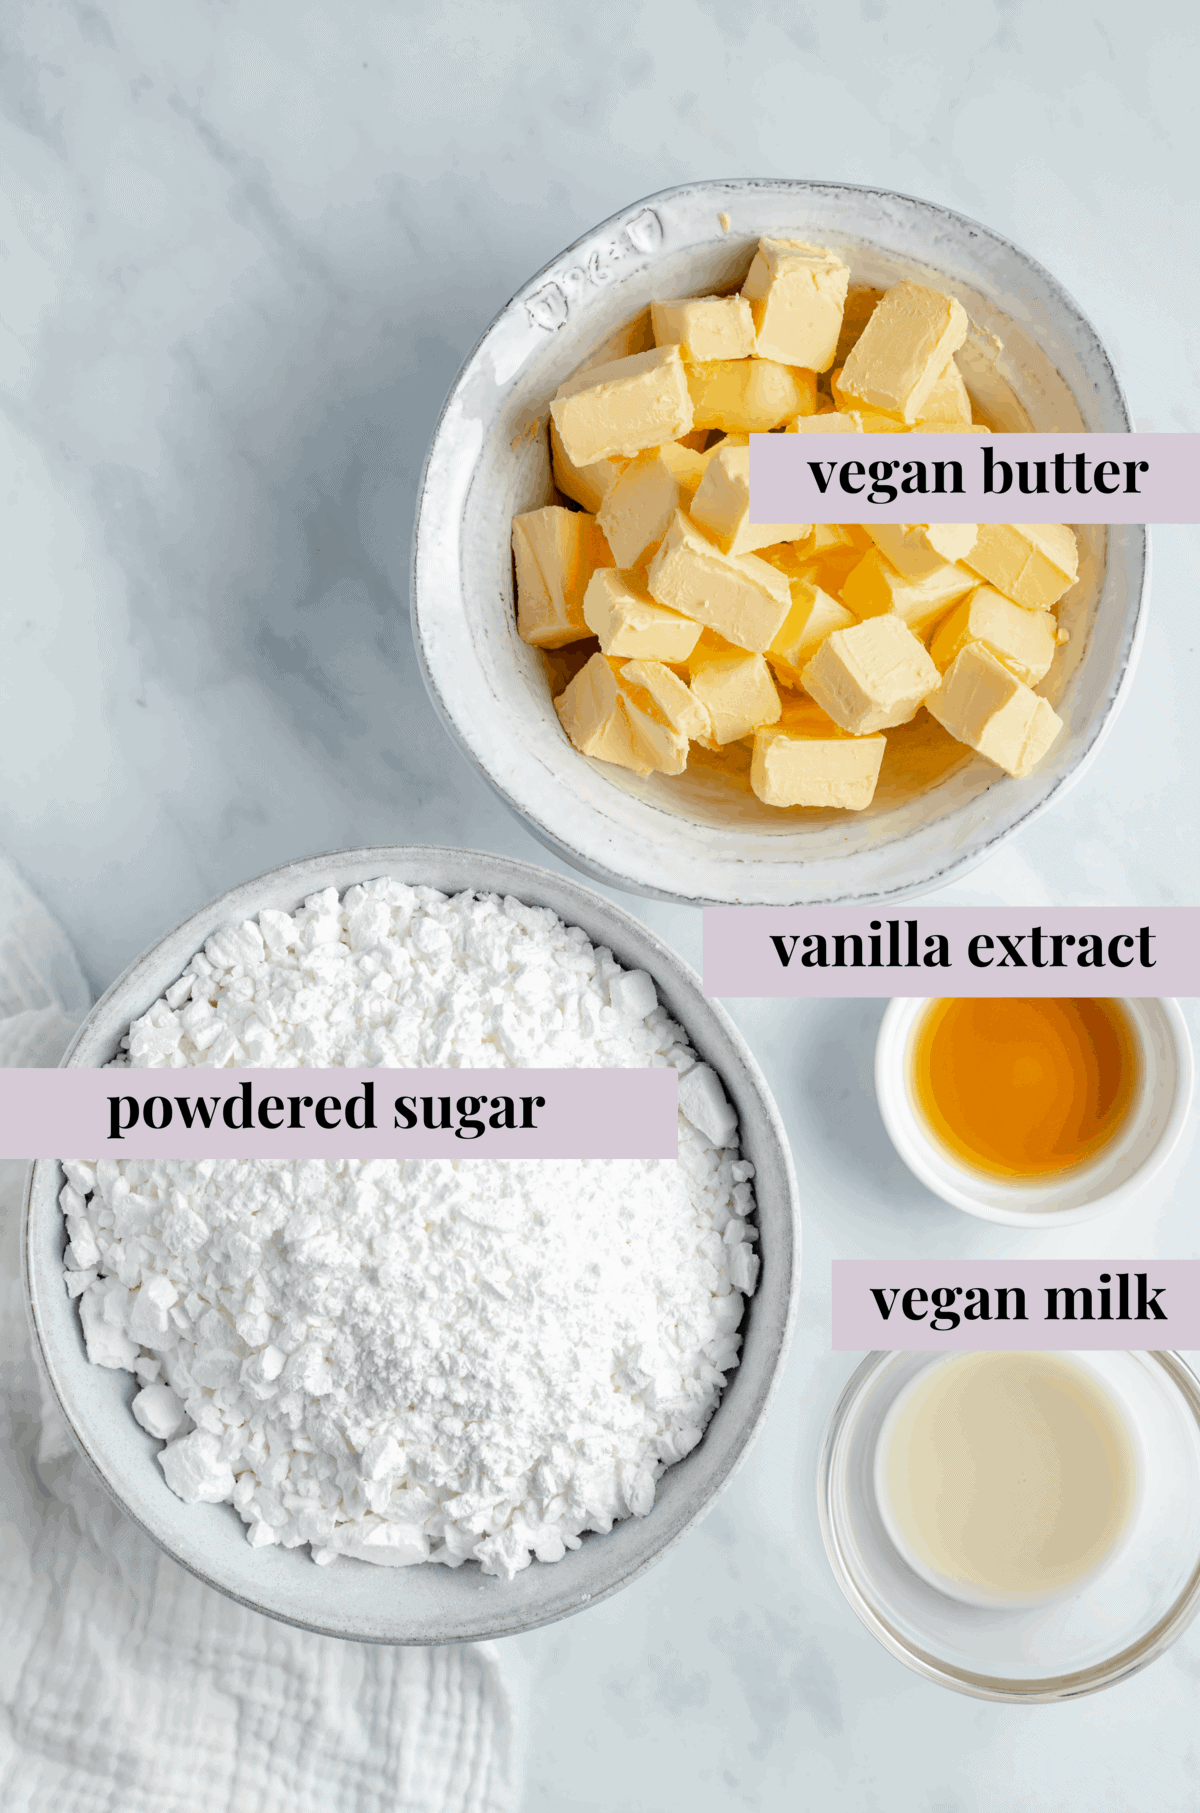
For the Buttercream:
- Powdered sugar – Always sift your powdered sugar!
- Vegan butter – Salted or unsalted works fine here
- Vanilla – To make it vanilla buttercream!
- Vegan milk – You won’t need a lot – this is to loosen up your frosting if it’s too thick.
How to Make Vegan Vanilla Cake
- Grease and line the pan. Grease and flour two round cake pans and line with parchment paper.
- Preheat the oven. Heat oven to 350°F/180°C.
- Mix vinegar and soy milk. In a small bowl or jar, add the apple cider vinegar and the soy milk together and stir to combine. It will curdle.
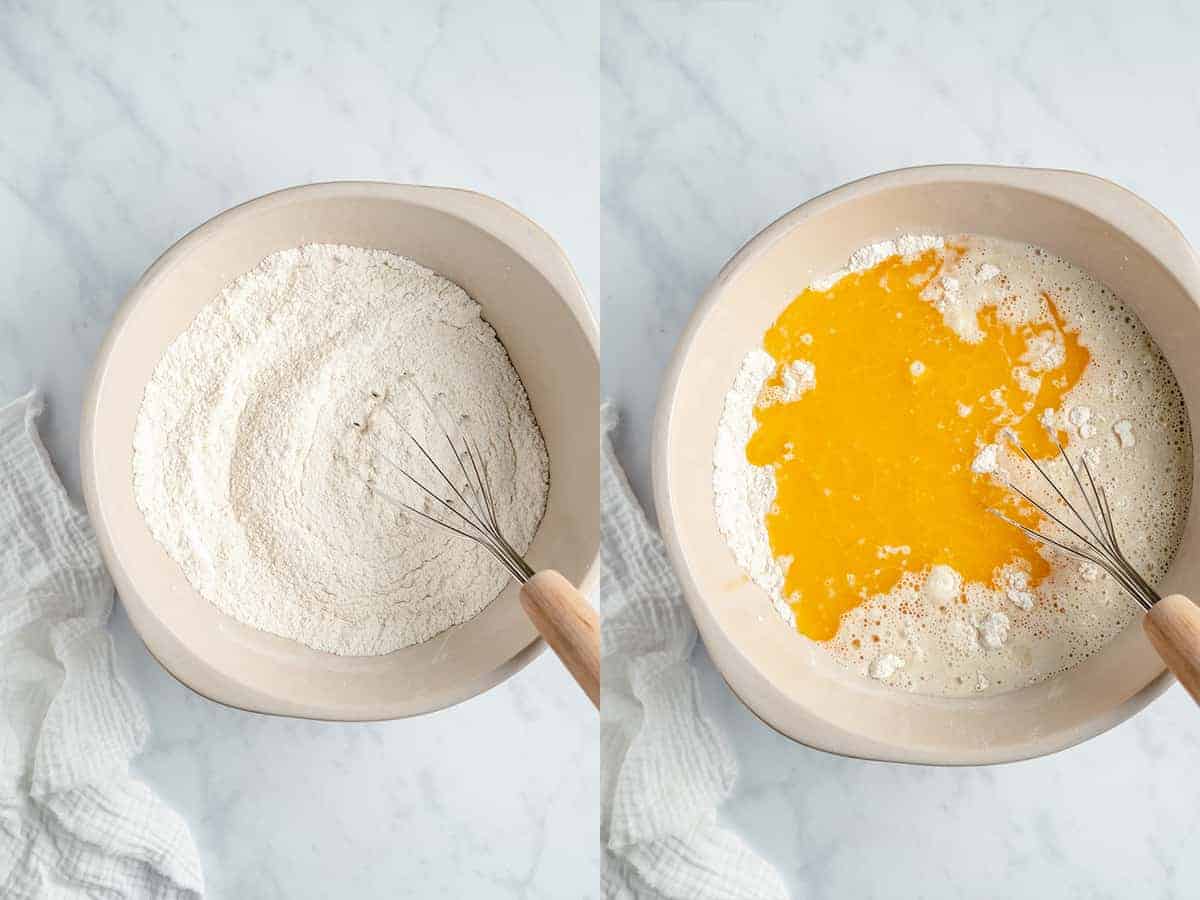
- Combine dry and wet Ingredients: Whisk together sugar, flour, baking soda and salt in a large bowl. Add milk mixture, melted butter and vanilla. Beat on medium speed for about 1 to 2 minutes until everything is just combined. Scrape down the sides of the bowl and stir one more time to ensure everything is incorporated. Do not overmix.
- Bake the cake. Divide the batter into the cake pans and place in the middle rack in the centre of that rack. Bake for 40 minutes. Remove from the oven (test with a toothpick in the centre to ensure they’re fully cooked) and allow to cool completely in the pans.
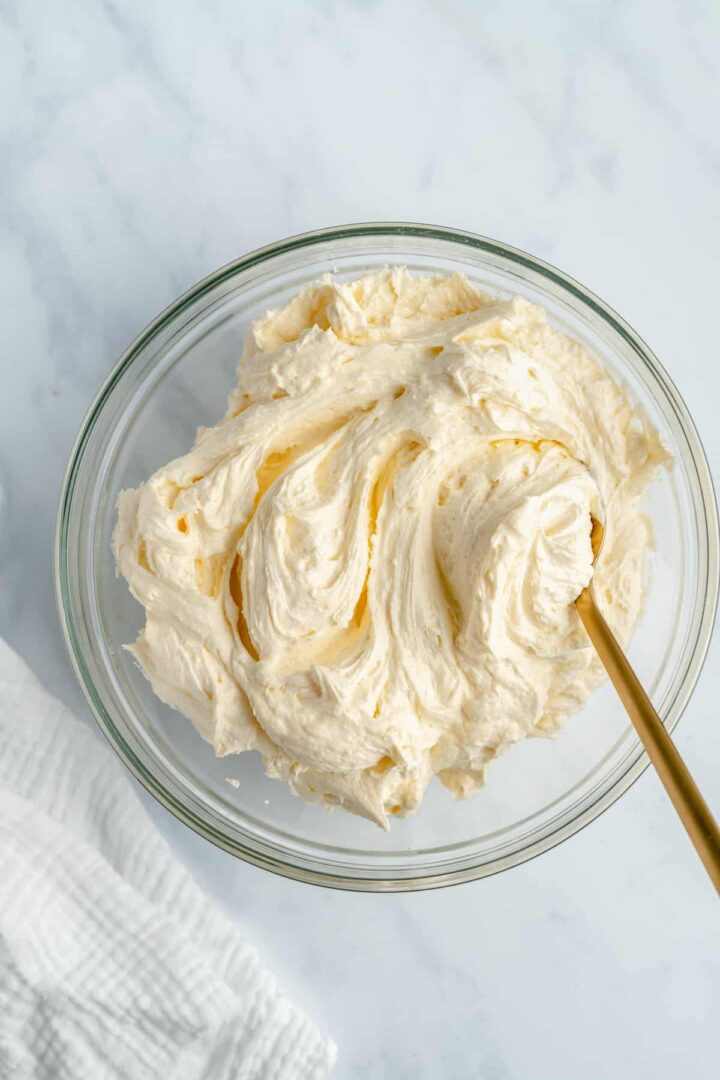
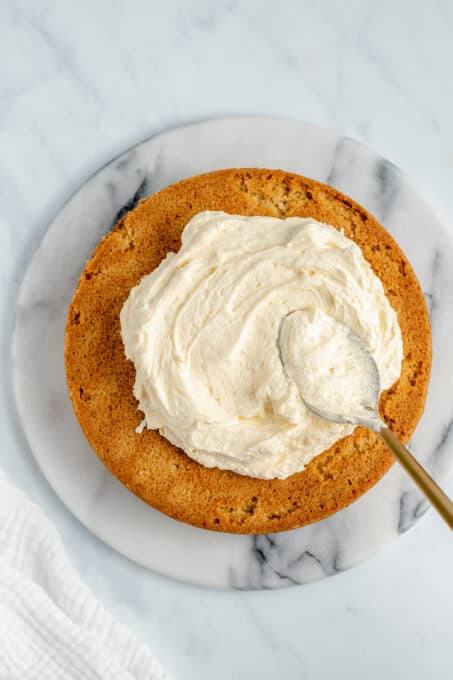
- Make the frosting. Beat the butter and vanilla for about 2-3 minutes with a stand mixer or a handheld mixer, until fluffy. Add the powdered sugar and vegan milk a little at a time until the frosting reaches your desired consistency.
- Spread frosting on the first cake. Place 1 of the fully cooled cakes on a platter (or any plate wide enough) and dollop half of the frosting on top. Cover the top and the sides, distributing it equally.
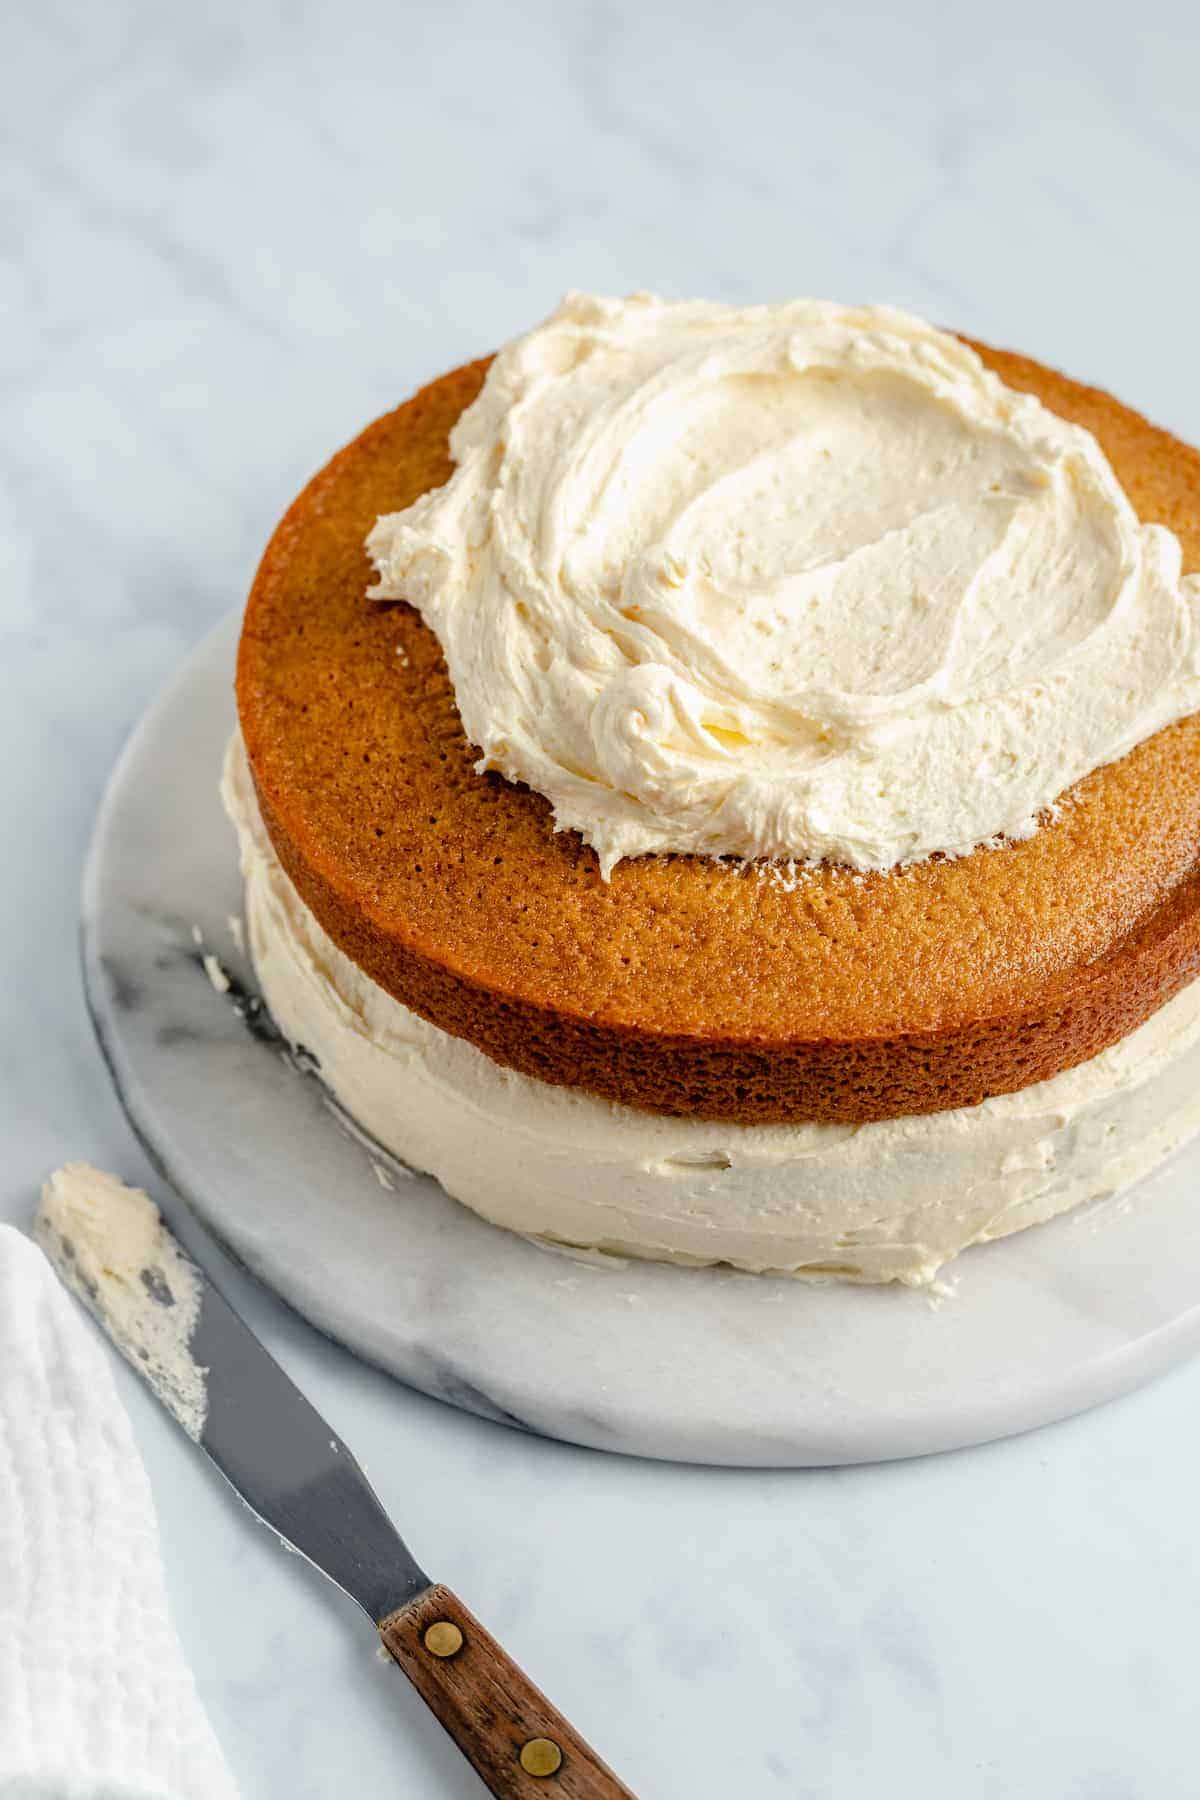
- Layer the second cake on top of the first. Place the remaining cake upside down on top of the frosted cake and spread the remaining frosting on the top and sides, blending the upper and lower portions of the sides as you go. You may have to shave off any doming on the cake so they lay flush.
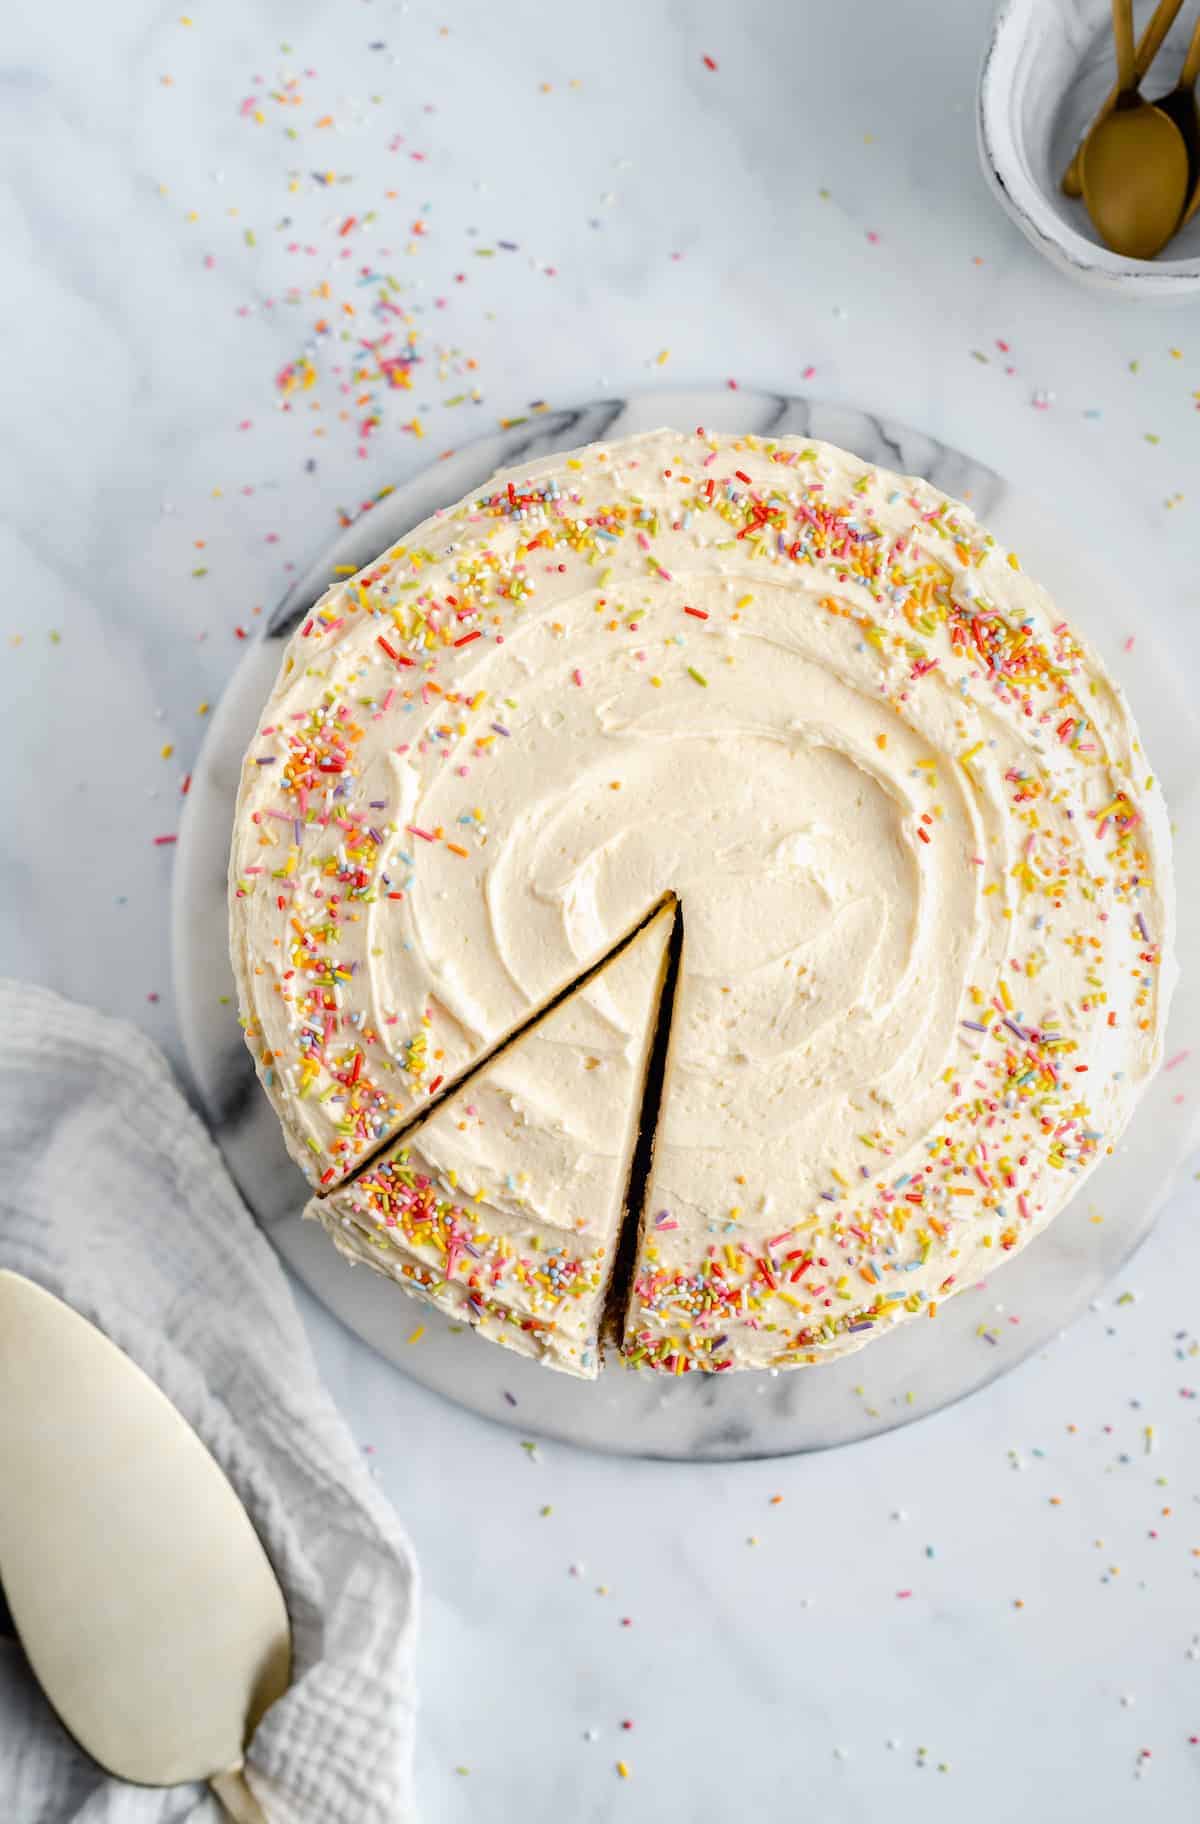
- Decorate and serve. The frosting sets at room temperature perfectly. Now, once you’ve frosted the cake, you can decide what to put on it. I kept it fun and simple with some colorful sprinkles, but you can put fruit, chopped nuts, chocolate shavings, white chocolate shavings, or whatever else you like on it!
Tips for Success
- Don’t over-mix the batter. This will make the cake turn out too dense because of how the gluten forms. Just mix until the ingredients are combined, and the cake will turn out light and fluffy!
- Use room temperature ingredients. It’s important that you use room temperature ingredients only. Cold milk will affect the texture of the other ingredients and can affect the final cake.
- For a triple layer cake. If you want to make three 8-inch layers, make this recipe, then cut it in half to make the last layer. You may also want to double up on the frosting.
- Let cake cool before frosting. Frosting the cake too quickly usually results in a crumbly mess. It still tastes fantastic, but it won’t look as pretty.
- Weigh and scoop the flour. Weighing the flour will ensure that you have the exact amount you need, so that the cake doesn’t become too heavy. Scooping the flour into the measuring cup with a spoon will also prevent the cake from becoming too dense, because you won’t have packed in any extra flour.
How to Store Homemade Vegan Vanilla Cake
- Room temperature/refrigerator: If you’re going to eat the cake within a few days, you can keep it covered at room temperature on the counter. If you need longer though, you can keep it in an airtight container for about a week in the fridge.
- Freezer: If the cake has already been frosted, it’s not a good idea to freeze it. If you want to freeze the unfrosted cake layers though, that’s totally fine. Wrap them tightly in plastic wrap, or store them in an airtight container for 2-3 months.
More Vegan Cake Recipes
Vegan Vanilla Cake with Buttercream Frosting
Ingredients
For the Vanilla Cake
- 2 tablespoons apple cider vinegar
- 2 cups soy milk, or other vegan milk (480mL), room temperature
- 2 cups brown sugar, or cane sugar (400g)
- 3 cups all-purpose flour, (360g)
- 2 teaspoons baking soda, (10g)
- 1 teaspoon sea salt, (2.8g)
- ⅔ cup vegan butter, melted and cooled (150g)
- 1 tablespoon vanilla extract
For the Whipped Buttercream Frosting
- 3-3 1/2 cups powdered sugar
- 1 cup vegan butter, softened
- 1 teaspoons vanilla extract
- 1 tablespoons vegan milk, add more if needed
- 1/4 teaspoons sea salt, only if using unsalted butter
Instructions
For the Cake
- Grease and flour two 8” cake pans and line with parchment paper. It’s essential so that the cake doesn’t stick.
- Heat oven to 350°F/180°C.
- In a small bowl or jar, add the apple cider vinegar and the soy milk together and stir to combine. It will curdle. Set aside.
- Whisk together sugar, flour, baking soda and salt in a large bowl until thoroughly combined. Add milk mixture, melted butter and vanilla. Beat with an electric whisk on medium speed for about 1 to 2 minutes until everything is just combined. Scrape down the sides of the bowl and stir one more time to ensure everything is incorporated. Do not overmix.
- Pour the batter equally into the cake pans and place in the middle rack in the centre of that rack. Bake for 40 minutes. Remove from the oven (test with a toothpick in the centre to ensure they’re fully cooked) and allow to cool completely in the pans.
For the Frosting
- Beat the butter and vanilla for about 2-3 minutes with a stand mixer or a handheld mixer, until fluffy.
- Add 1 cup of powdered sugar. Fold it in with a spatula so it doesn’t fly everywhere, then beat for about 1 minute. Add the rest of the frosting in small increments too, until fully incorporated.
- Add in a 1/2 tablespoon of vegan milk at a time until it reaches your preferred volume and consistency. Add that last ½ cup if you desire.
- Then beat for about 5 minutes, using the spatula to mix everything together every other minute, until the frosting is fluffy, white, smooth and creamy.
Putting it All Together
- Frost cakes and decorate. The frosting will set at room temperature. Enjoy!
- Place 1 of the fully cooled cakes on a platter (or any plate wide enough) and dollop half of the frosting on top. Cover the top and the sides, distributing it equally.
- Place the remaining cake upside down on top of the frosted cake and spread the remaining frosting on the top and sides, blending the upper and lower portions of the sides as you go. You may have to evenly shave off any doming on the cake so they lay flush.
- The frosting sets at room temperature perfectly. Slice and enjoy!
Notes
Disclaimer: Although jessicainthekitchen.com attempts to provide accurate nutritional information, kindly note that these are only estimates. Nutritional information may be affected based on the product type, the brand that was purchased, and in other unforeseeable ways. Jessicainthekitchen.com will not be held liable for any loss or damage resulting for your reliance on nutritional information. If you need to follow a specific caloric regimen, please consult your doctor first.


I made this cake yesterday for family birthday party. I was nervous because I hadn’t made a layer cake in years. It was so easy and tasted delicious!
So happy to hear Mary thanks for sharing!
Love this simple,delicious recipe,it came out so good,thank you Jessica!
You’re so welcome Jennifer!!
Love this simple,delicious recipe,it came out so good,thanks Jessica!
i loved it it was so quick and easy to make best chef ever👩🍳👩🍳👩🍳
Aww thanks so much sop! SO happy to hear this!!
Hi, can this be made for 6” 3 layer cake? If so, how long would I bake it?
Thank you!
HI Lil,
I haven’t tried this so it would be difficult to give you an answer as I don’t want to mislead you!
Hi Jessica. Is it possible to use VEG or Sunflower oil instead of Butter. As once you frost the cake it will firm up in the fridge. I usually go for oil for all my eggless
frosted cake and cupcakes.
I do like your recipe. And hope to make it soon.
Cheers ,
Risha
Hi Risha,
I wouldn’t suggest to sub out vegetable or sunflower oil in lieu of butter in for the frosting. This substitute would make the frosting much softer, closer to a glaze or pourable icing. It won’t hold its shape well for piping or layering, and you’ll lose the whipped, creamy texture that traditional buttercream has! Vegan butter is definitely the way to go here. If you don’t have any on hand, you can follow this recipe.
If I were to do this cake for my daughter’s birthday could I put icing on instead of frosting? If so, would I need to put anything onto the sponge before the icing?
mny thanks Natalie
Hi Natalie-Jayne,
I would suggest sticking to a frosting in between layers for this face. Icing can be quite this and will seep into the cake, making it moist, versus remaining as a lining between layers, and thus keeping the cake layers sturdy and together! I hope this helps.