

Vegan Red Velvet Cake
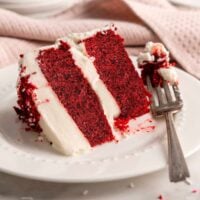
This vegan red velvet cake recipe is worthy of a celebration, with thick layers of moist, red-hued chocolate cake flavoured with vegan buttermilk and cocoa powder. It’s topped with creamy vegan cream cheese frosting for a plant-based version of the Southern classic! The cake layers are easy to stack and frost, and you can follow along step by step.
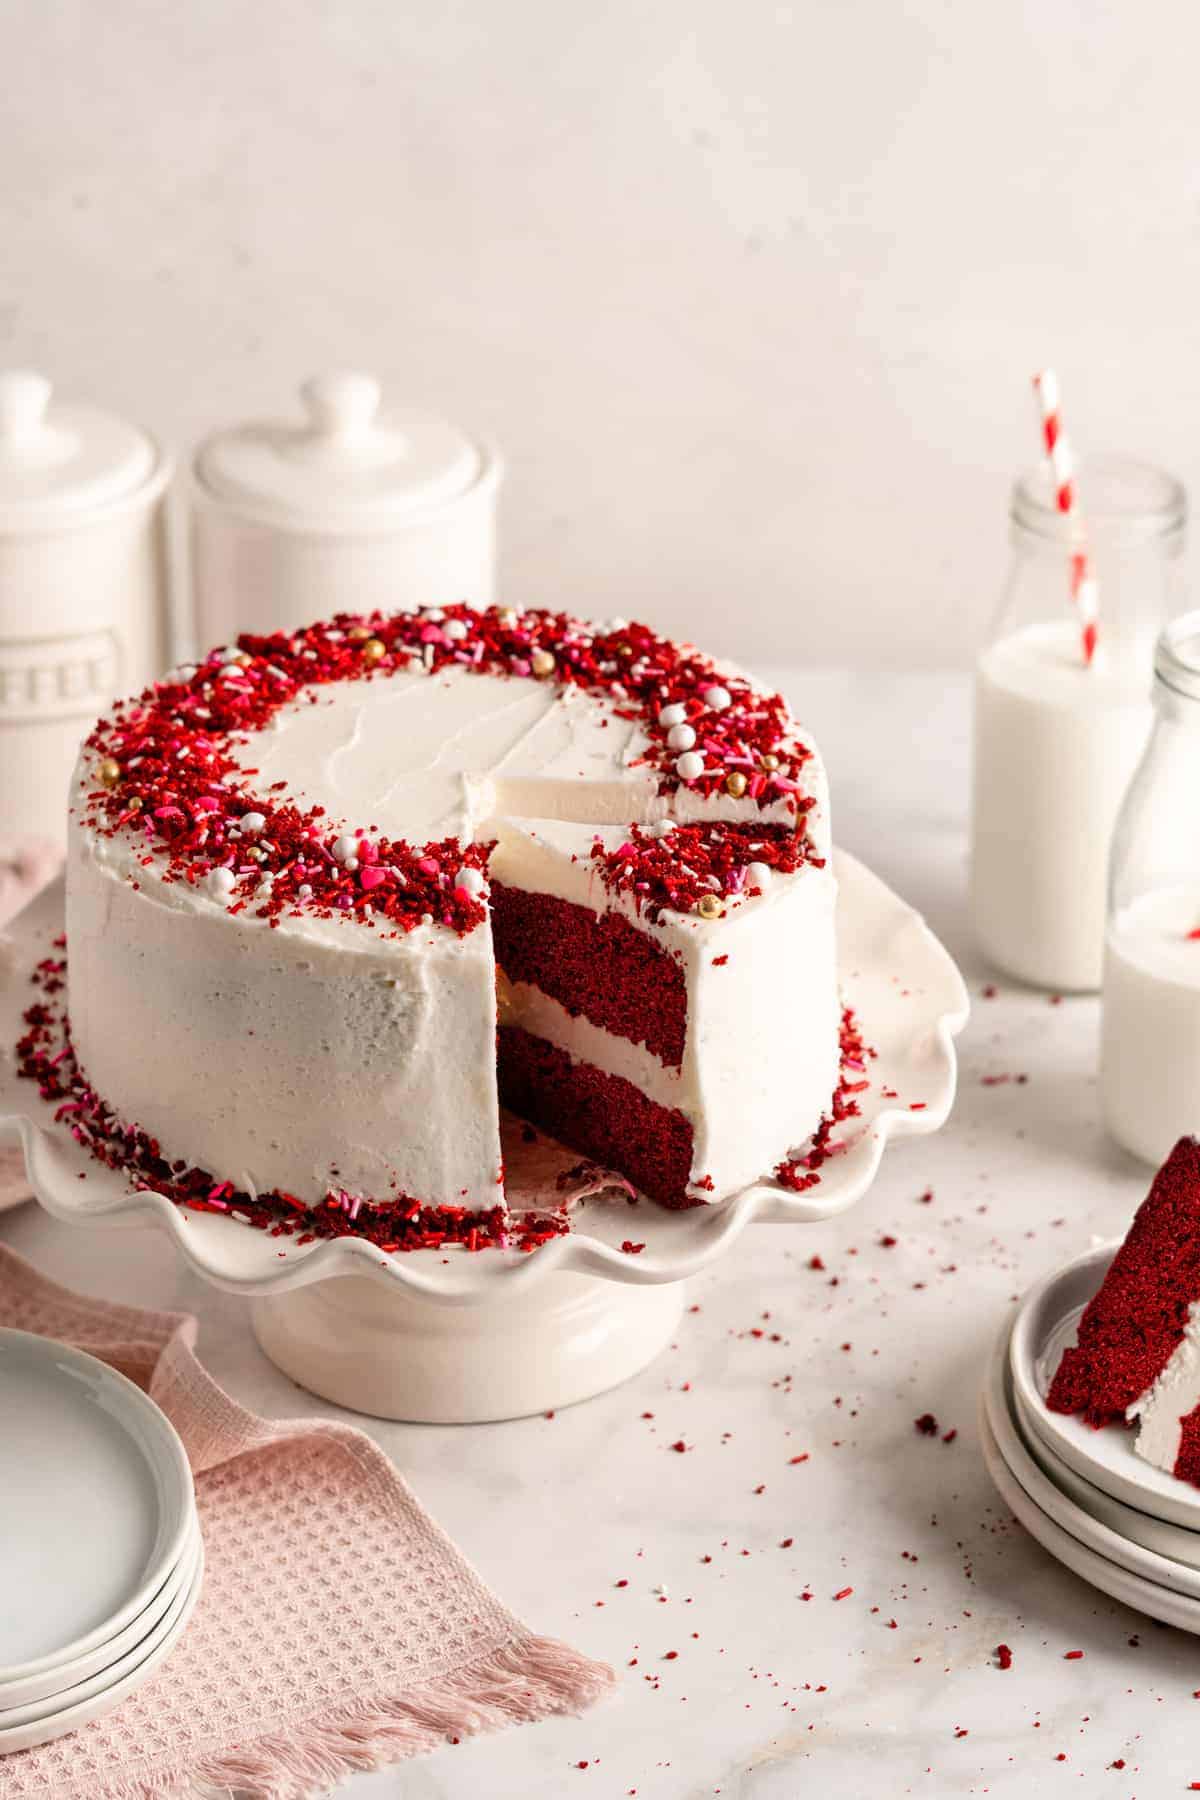
I have great news for all the red velvet cake lovers: Vegan red velvet cake is possible, and it’s AMAZING. Red velvet cake may be something you figured you’d have to give up when switching to a plant-based diet. There’s the cream cheese frosting, of course, essential for any red velvet cake worth its salt. There’s also the pesky issue of food colouring: Many food dyes used in traditional red velvet cake recipes aren’t vegan-friendly, due to ingredients such as cochineal and carmine.
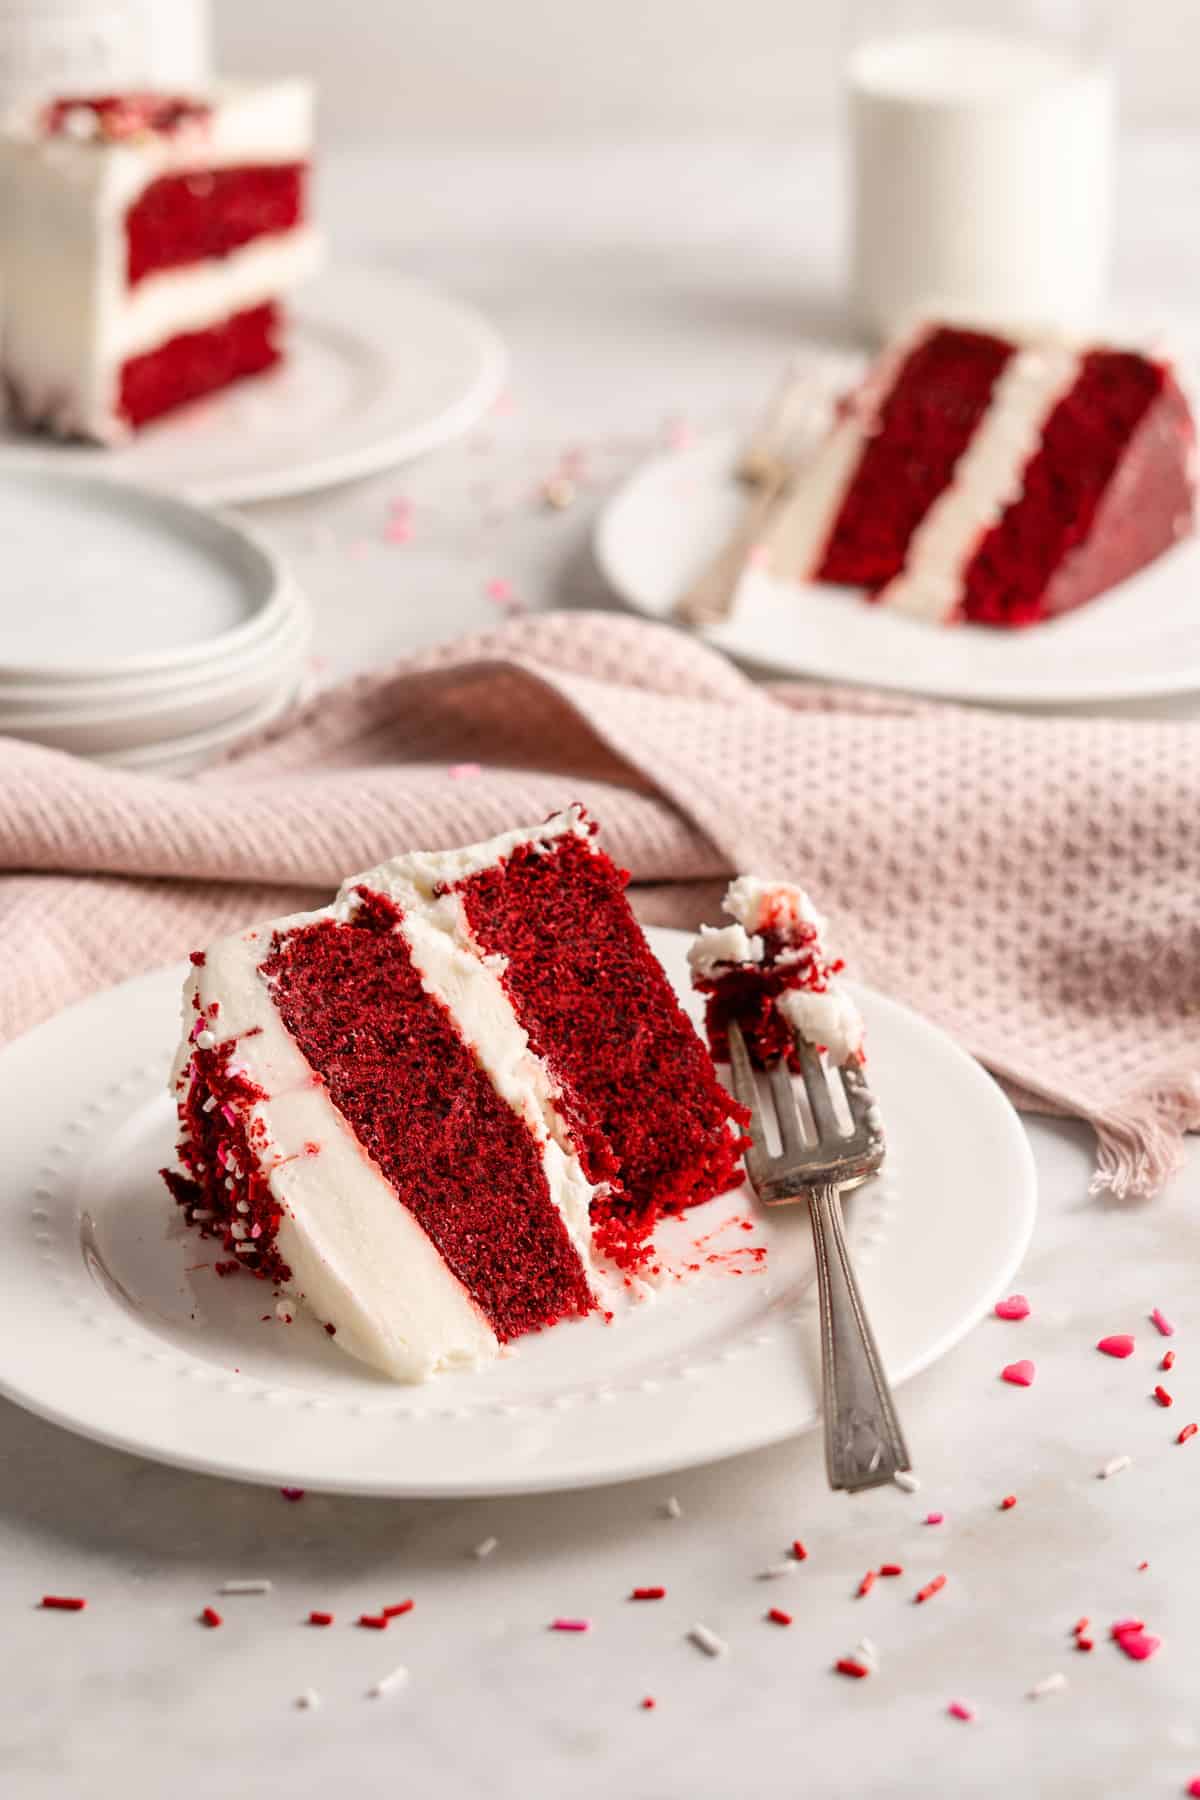
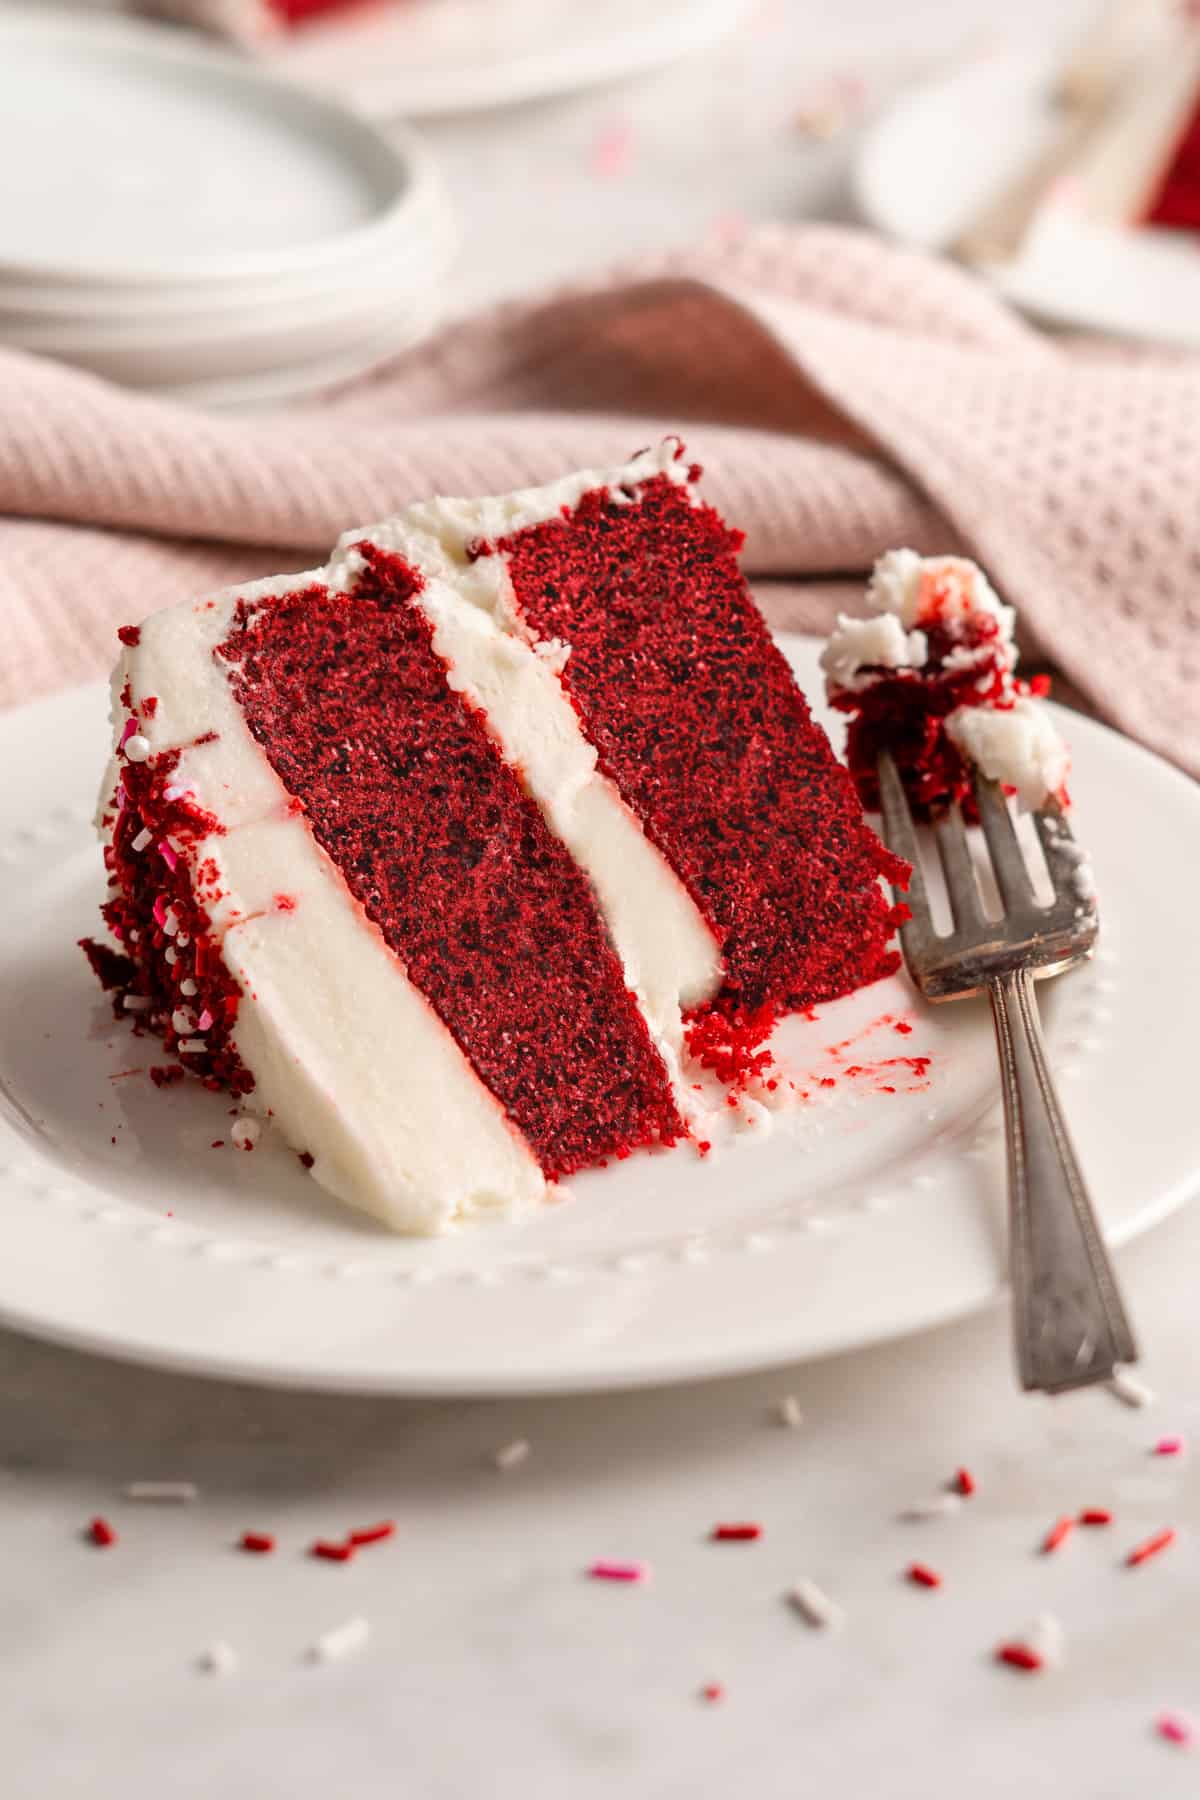
When creating my vegan red velvet cake, I knew I wanted a soft, moist chocolate cake that was just as vibrantly coloured as the original. The cake layers are a lovely deep red colour, rich and tender, and they have a subtle fudgy flavor thanks to the addition of cocoa powder. It’s a nice contrast to the sweet cream cheese frosting, which you may just want to eat with a spoon!
What Makes This Vegan Red Velvet Cake Recipe So Special
- This layer cake is perfect for a holiday get-together or a birthday, with its bright red hue and creamy frosting that makes the perfect canvas for decorating.
- I keep the signature baking soda and vinegar combination in my red velvet cake recipe, plus vegan buttermilk, which gives the rich chocolate cake plenty of lift along with a perfect, subtle flavour.
- It’s surprisingly easy to make. I’ll whip up this cake on a weekend afternoon when I have a hankering for something sweet, and keep it stored in a cake carrier in the following days.
- You can make this recipe as a sheet cake instead of baking layers if you prefer. You can also make vegan red velvet cupcakes or try these easy red velvet brownies!
Notes on Ingredients
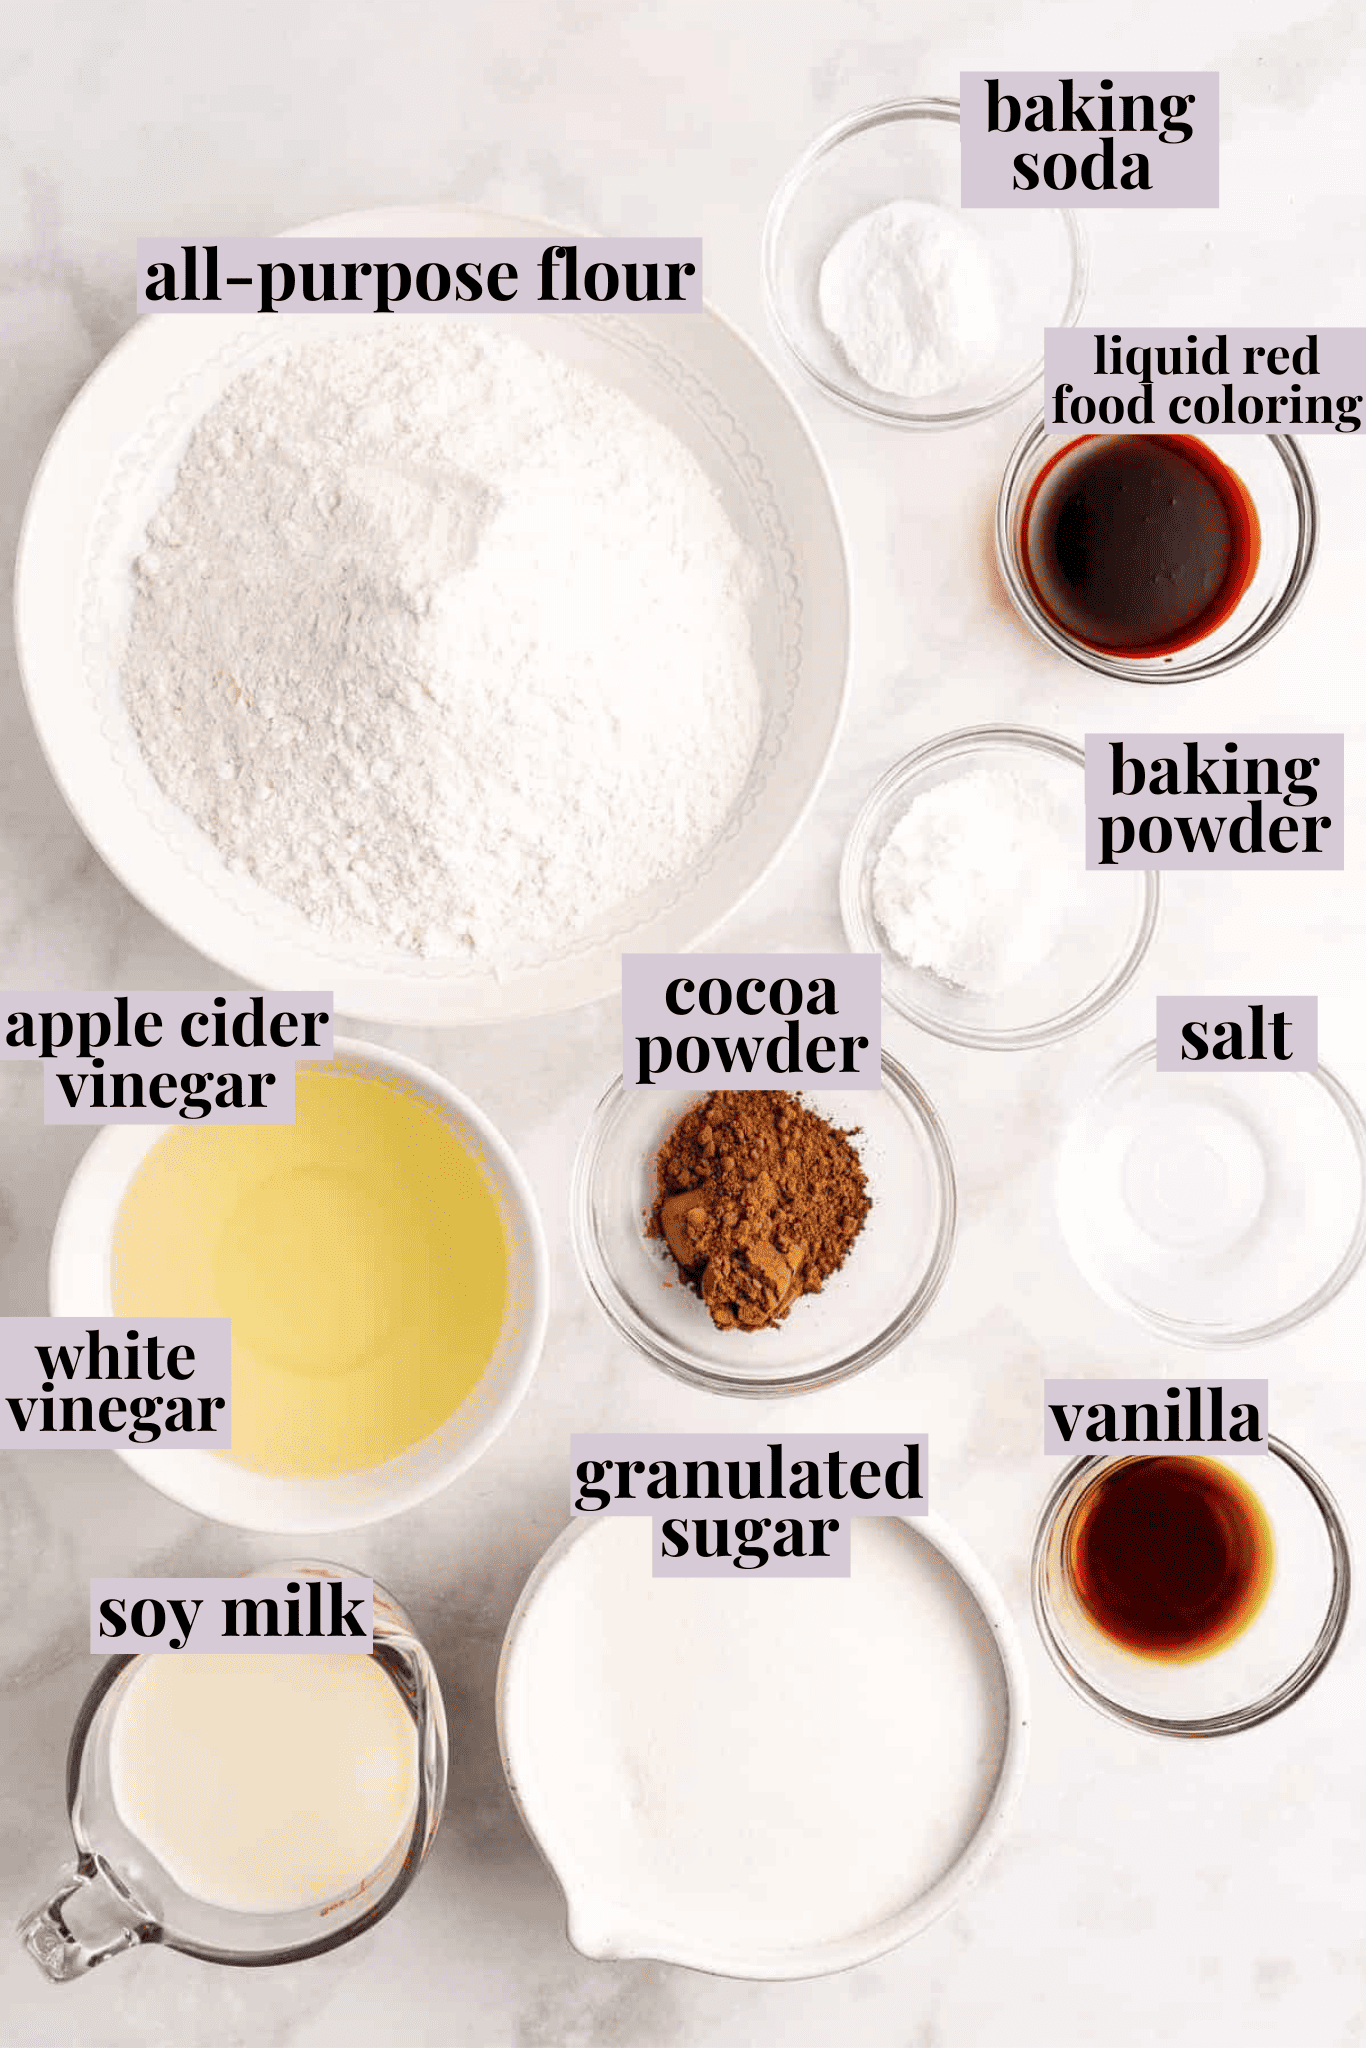
Head to the pantry to find your vegan red velvet cake ingredients (see the recipe card for the exact measurements):
For the Cake
- Vegan buttermilk – You can make this yourself by combining soy milk or another unsweetened, unflavoured vegan milk with apple cider vinegar or white vinegar.
- White granulated sugar – Or light brown sugar, but I haven’t tested this recipe with alternative sugars yet.
- All-purpose flour – Spoon the flour into your measuring cup rather than scooping directly from the bag. Better yet, use a kitchen scale to measure if you have one. Too much flour makes the cake dry.
- Unsweetened cocoa powder – Don’t use cocoa mix (it’s not the same!). You want natural, unsweetened cocoa powder for this recipe so it will react with the baking soda.
- Baking powder – Make sure your leavening is very fresh.
- Oil – Use a neutral-flavored cooking oil, like vegetable oil.
- Vanilla extract – Pure vanilla extract or vanilla paste is a must.
- Liquid red food colouring – Make sure you buy one that is vegan! A good example is AmeriColor or Chefmaster. You can also buy natural food colouring (I like the 365 one from Whole Foods), but note that it won’t be as bright in colour, more of a brown/purple shade. It’ll still taste delicious! Long story short, you’re trying to avoid ingredients such as cochineal and carmine.
- Baking soda – Like the baking powder, ensure it’s as fresh as possible.
- White vinegar – This gives red velvet cake a light, airy texture by reacting with the baking soda to create air bubbles.
For the Vegan Cream Cheese Frosting
- Vegan cream cheese – This should be room temperature so it’s easy to whip into a creamy frosting.
- Vanilla extract – Or vanilla paste.
- Vegan butter sticks – Your butter should be room temperature too! I have a recipe for homemade vegan butter, but your favourite store-bought brand will work, too.
- Powdered sugar – Also known as confectioners’ sugar.
- Cornstarch – Thickens the vegan frosting.
How to Make Vegan Red Velvet Cake
Once you’ve gathered up the ingredients, it’s time to roll up your sleeves and start baking! Here’s what you’ll need to do.
- Prepare. Grease and flour two 9-inch cake pans and line them with parchment paper. Preheat the oven to 350°F/180°C.
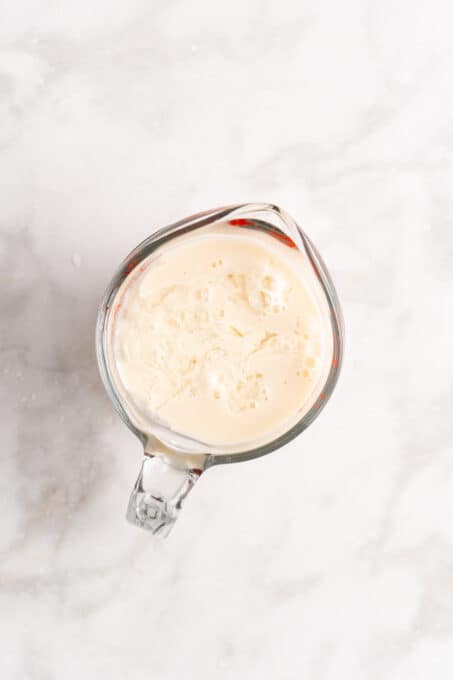
- Make the buttermilk. Meanwhile, combine one tablespoon of vinegar with room-temperature vegan milk in a jar. Let it sit and curdle the milk so it thickens.
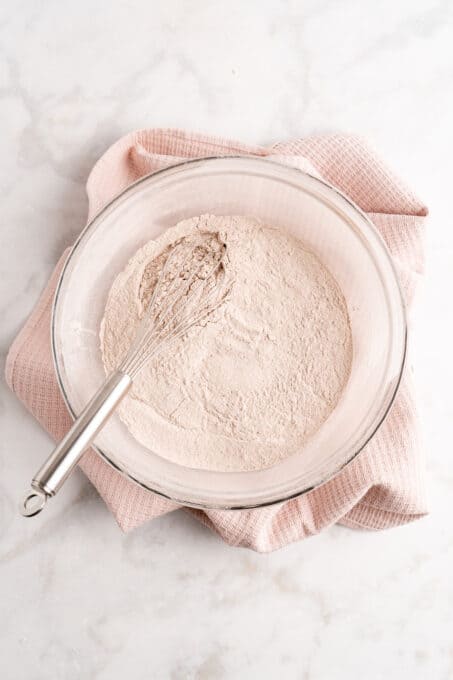
- Mix the dry ingredients. Next, in a large mixing bowl, whisk the sugar, flour, cocoa powder, baking powder, and sea salt.
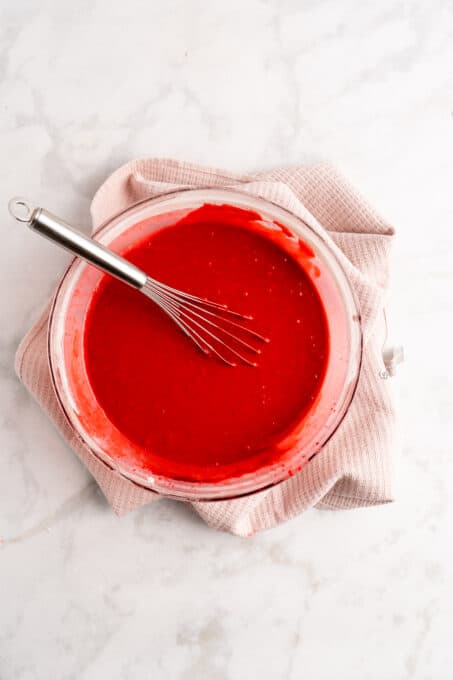
- Add the wet ingredients. Pour in the oil, buttermilk, vanilla extract, red food colouring, and warm milk. Beat the batter with an electric mixer on medium speed for no more than 1 minute, scraping down the sides of the bowl as needed.
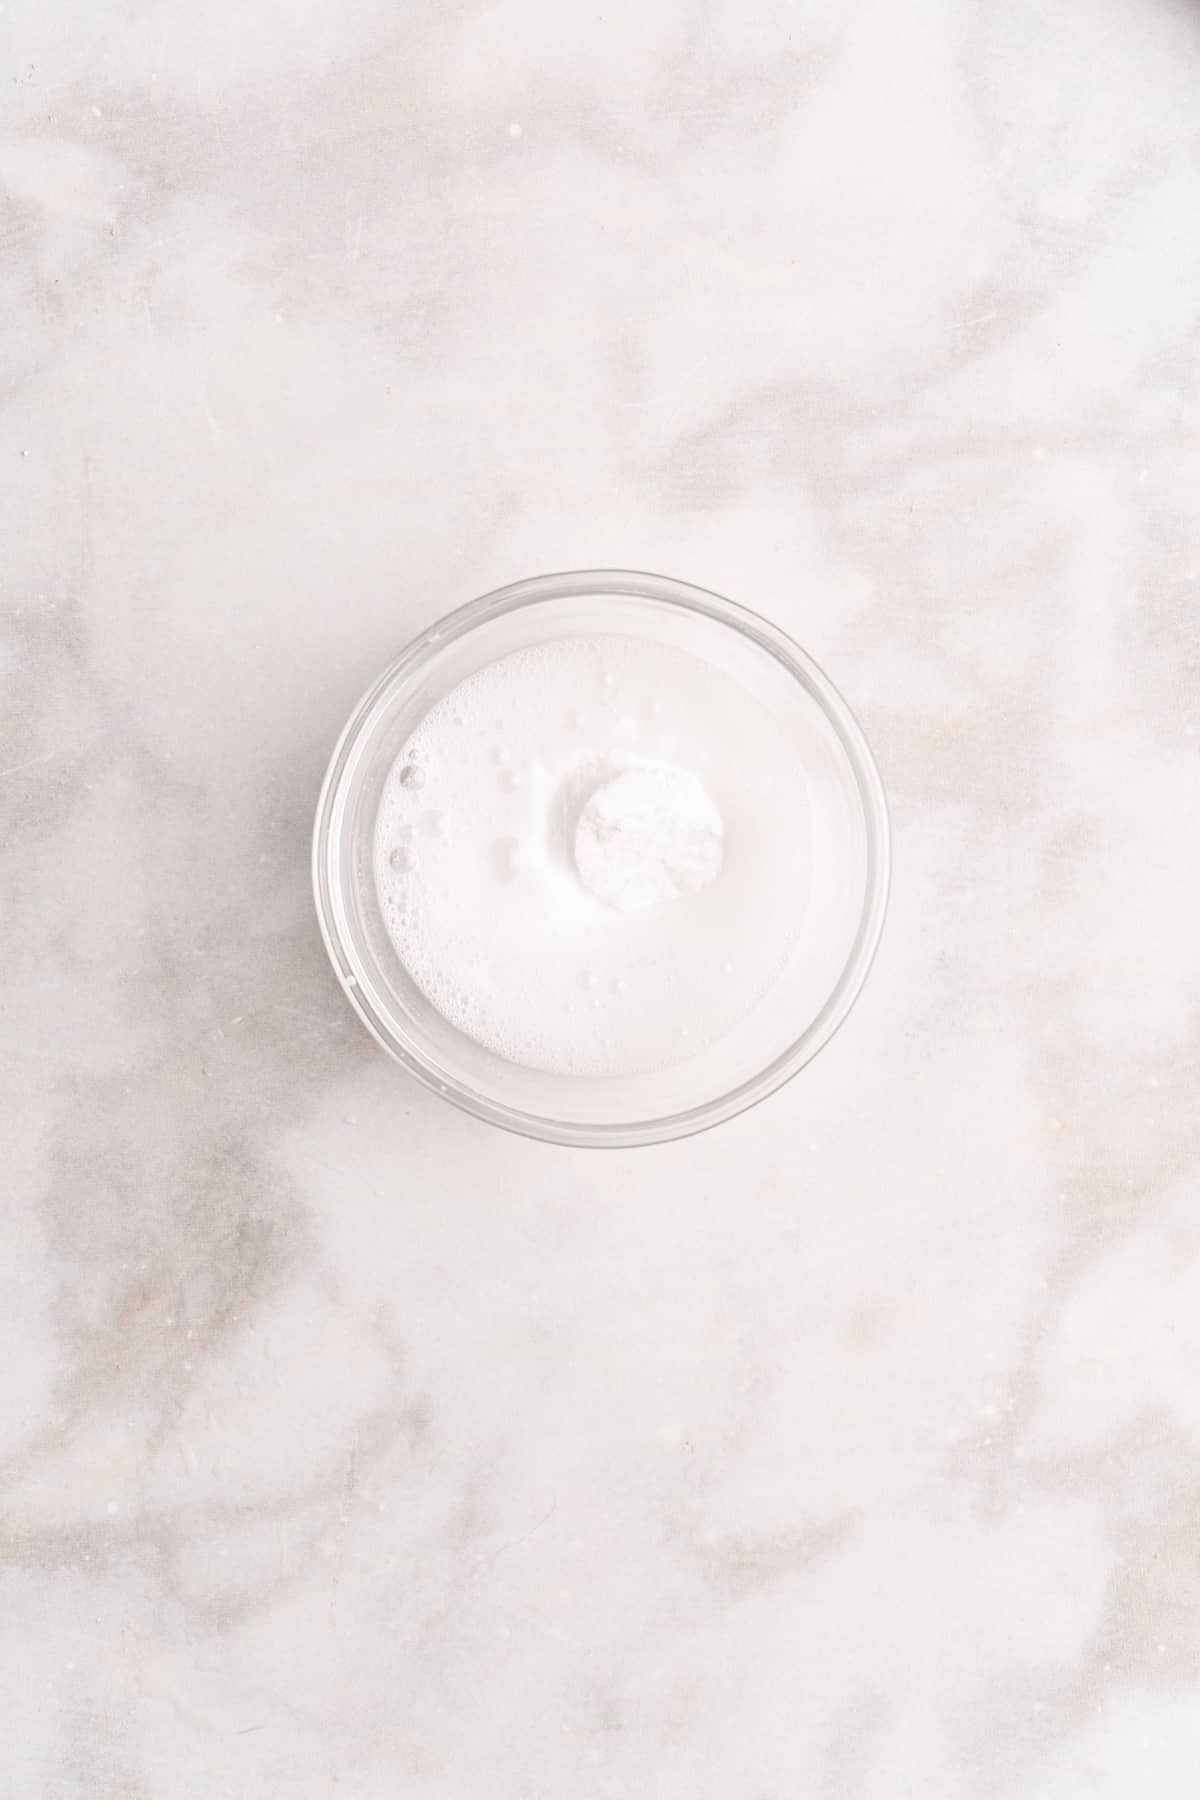
- Combine the vinegar and baking soda. In a small bowl, mix the white vinegar and baking soda. (It will fizz.) Pour into the cake batter and stir to incorporate.
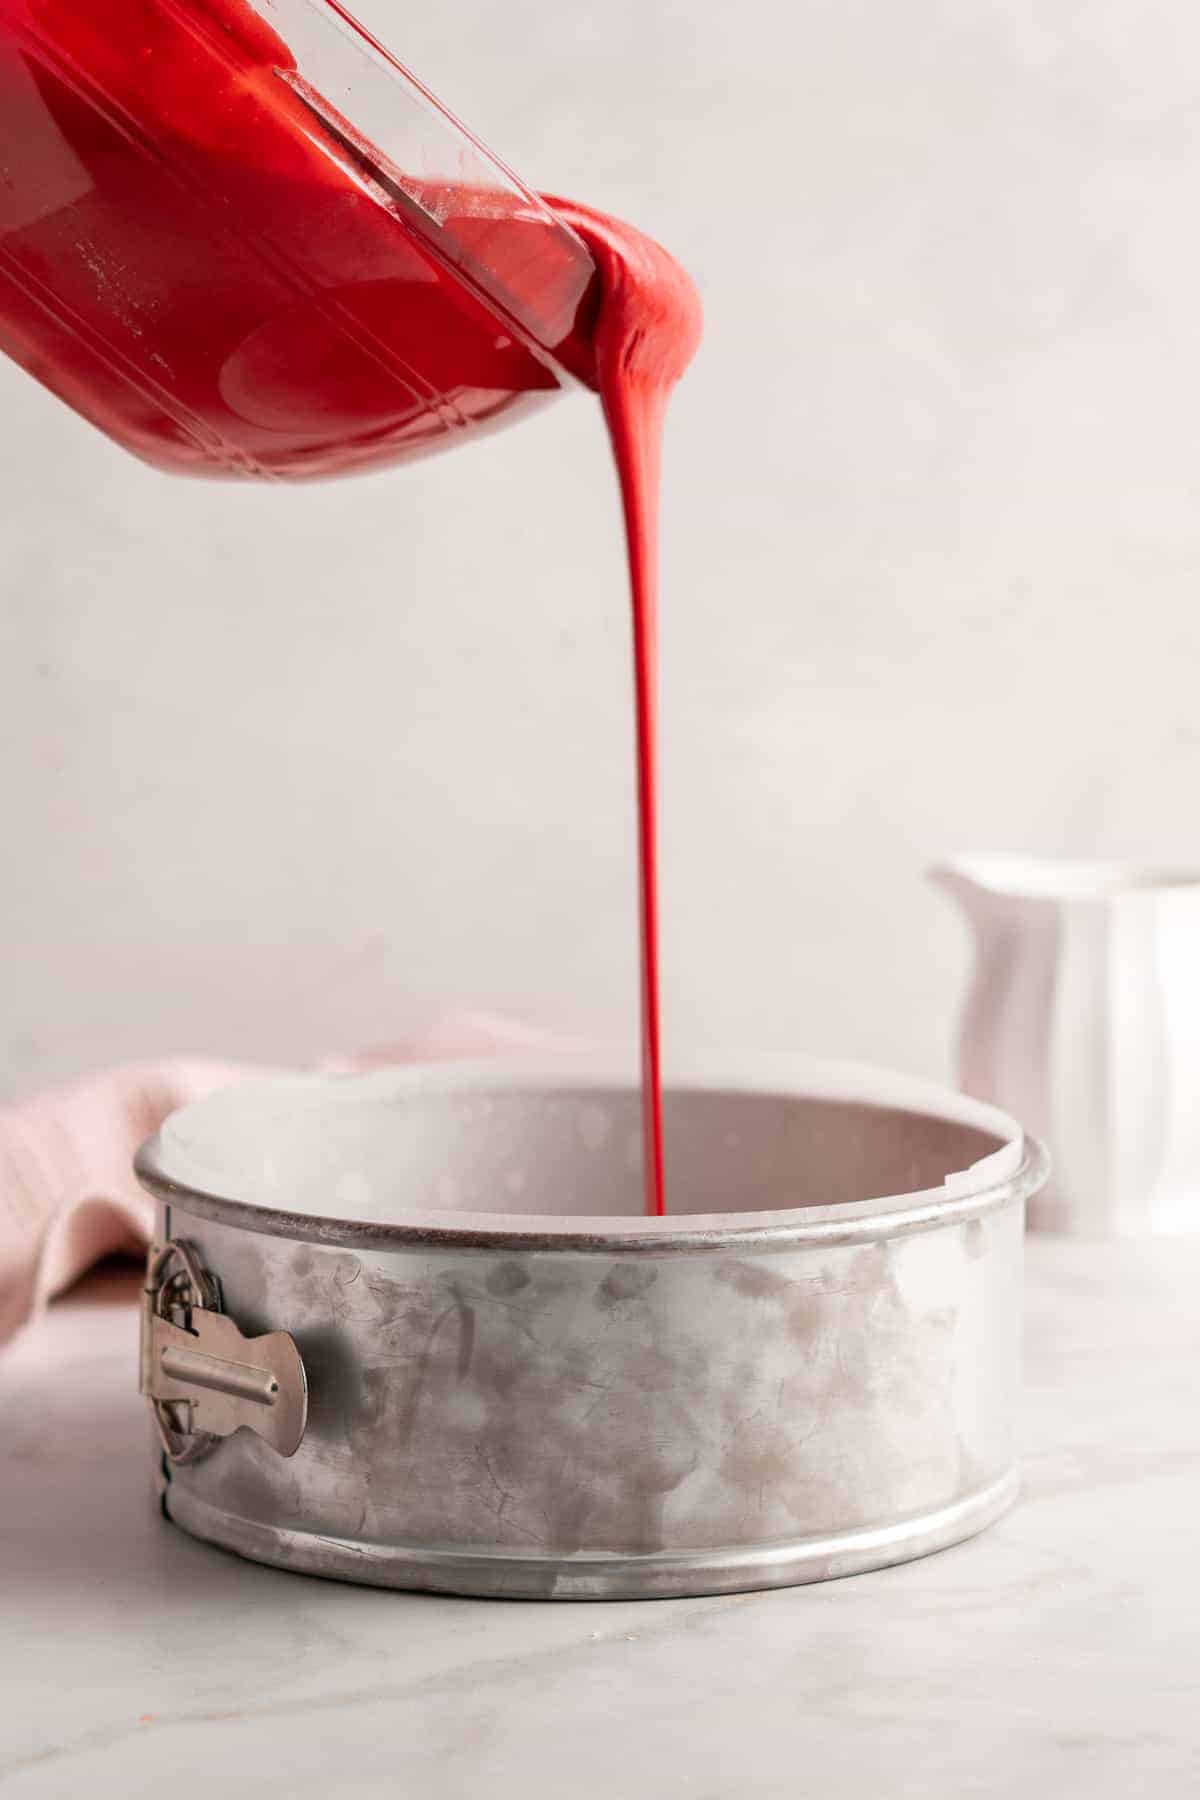
- Fill the cake pans. Now, divide the batter evenly between the cake pans and lightly tap them on the counter a few times to remove any air bubbles.
- Bake. Place the pans in the center of the middle rack of your oven and bake for about 25 minutes, or until the centers of the cakes are baked through.
- Cool. Let the cakes cool in the pans for 10 minutes, then carefully remove them and let them finish cooling on wire racks.
Assembling and Frosting the Cake
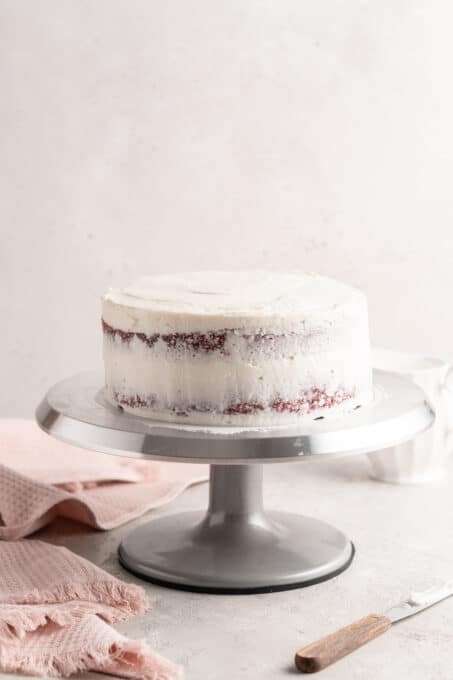
- Make the frosting. Beat the butter and cream cheese together in the bowl of a stand mixer for about 2 minutes until fully incorporated. Add in the vanilla and a pinch of salt, then beat in a cup of powdered sugar and all of the cornstarch until well-combined. Add the remaining powdered sugar a cup at a time until the frosting has reached the desired consistency.
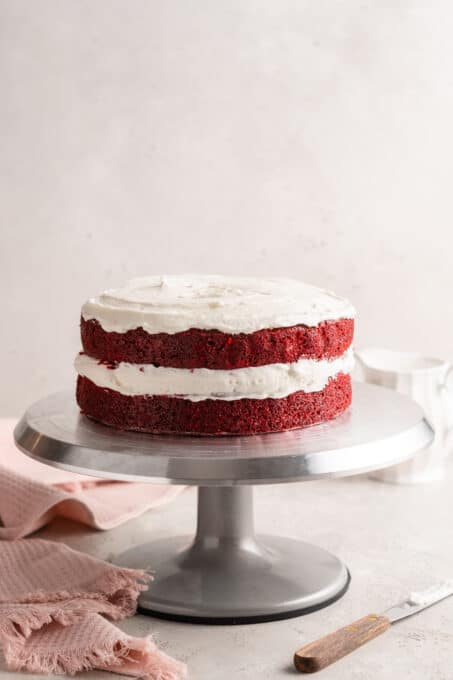
- Assemble the cake. After the cakes have cooled, apply a thick layer of frosting to the top of one cake and stack the other on top.
- Add a crumb coat. Afterward, use an offset spatula to spread a thin layer of frosting over the sides and top of the cake. It should be thin enough that you can see the cake (and crumbs) through it. This is called a crumb coat. It’s used to help “catch” any stray crumbs so they don’t show through in the final layer of frosting.
- Frost the cake. Once the crumb coat is dry to the touch, frost the cake again. Store the cake in the refrigerator until you’re ready to serve.
Tips for the Best Vegan Red Velvet Layer Cake
- Don’t over-mix. Once the ingredients are incorporated, stop mixing! Stirring too much will ruin the texture of the cake.
- Level the cake layers. If your baked cakes have risen higher in the centers, creating “domes,” trim them before you stack the layers. This makes them nice and even and easy to frost.
- Chill the frosting. While you can use the frosting right away, I recommend refrigerating it for at least 4 hours, which helps it solidify a bit so it’s easier to work with.
- Be patient. Don’t frost the cake until the layers are completely cool. A warm cake will melt the frosting and result in a big mess!
How to Store
- Refrigerate. Keep this red velvet cake covered in the refrigerator for up to 3 days. I recommend letting it come to room temperature before serving.
- To freeze this cake whole, place it on a plate or baking sheet lined with parchment or wax paper. Place it directly in the freezer, uncovered, until the frosting is solid. Once the frosting is hardened, you can quickly wrap the cake with plastic wrap, followed by a layer of foil, and freeze it for up to 3 months. Let it thaw in the refrigerator before serving.
- If you’re freezing leftovers, you can simply freeze the cake slices in an airtight container.
More Vegan Cake Recipes
- Vegan Yellow Cake
- Vegan Carrot Cake
- Chocolate Strawberry Cake
- Vegan Vanilla Cake with Buttercream Frosting
- Vegan Chocolate Cupcakes
- Pistachio Cake
- Vegan Coconut Cake
Enjoy, friends! If you make this vegan red velvet cake recipe, please snap a photo and tag #jessicainthekitchen on Instagram! We’d also love it if you would leave a comment below and give the recipe a rating! Thanks so much!
Vegan Red Velvet Cake
Ingredients
- 1 tablespoon apple cider vinegar, or regular vinegar
- 1 cup soy milk, or other vegan milk, room temperature, 240ml
- 2 cups white granulated sugar, 400g
- 3 cups all-purpose flour, 360g
- 2 tablespoons unsweetened cocoa powder, 16g
- 2 teaspoons baking powder
- 1 teaspoon sea salt
- ¾ cup oil, 150g
- 1 teaspoon vanilla extract
- 1 ounce liquid red food colouring, (bright red)
- 1 cup warm soy milk, 240ml
- 2 teaspoons baking soda
- 1 teaspoon white vinegar
Vegan Cream Cheese Frosting
- 8 ounces vegan cream cheese*, at room temperature
- ½ cup vegan butter sticks, at room temperature, 4 ounces, 113g
- 1 teaspoon vanilla extract, or vanilla paste
- pinch sea salt
- 3 – 4 cups powdered sugar, sifted, 480g for 4 cups
- 1/4 cup cornstarch, sifted, 32g
Instructions
- Grease and flour two 9” cake pans and line with parchment paper. It’s essential so that the cake doesn’t stick.
- Preheat the oven to 350°F/180°C.
- In a jar, add the tablespoon of vinegar and room temperature vegan milk together to curdle to form a buttermilk. Set aside.
- In a large bowl, add the sugar, flour, cocoa powder, baking powder and sea salt. Using a whisk, whisk all the ingredients together, removing any clumps that may form.
- Pour in the oil, the buttermilk mix from earlier, the vanilla extract and the red food colouring.
- Heat up that additional milk in the microwave for 40 seconds (or on stove top until warm, not boiling). You want it warm enough to dissolve but not boiling.
- Add it to the bowl on top of everything. Beat on medium speed of electric mixer for no more than 1 minute on medium speed, scraping down the sides of the bowl once in between to ensure that everything is incorporated. You want to mix until just combined.
- In a small bowl, mix together the white vinegar and baking soda. Yes, it will fizz! Add it to the cake batter and stir well to combine, for about 30 more seconds. Working quickly, divide the batter evenly between the cake pans and place them in the preheated oven.
- Tap the pans on the counter three times lightly to remove any air bubbles.
- Place the pans in the middle rack of your oven and in the center of that rack. Bake for 25 minutes until fully baked.
- Remove from the oven and allow to cool in the pan for about 10 minutes, then carefully remove them to a wire rack to finish cooling completely.
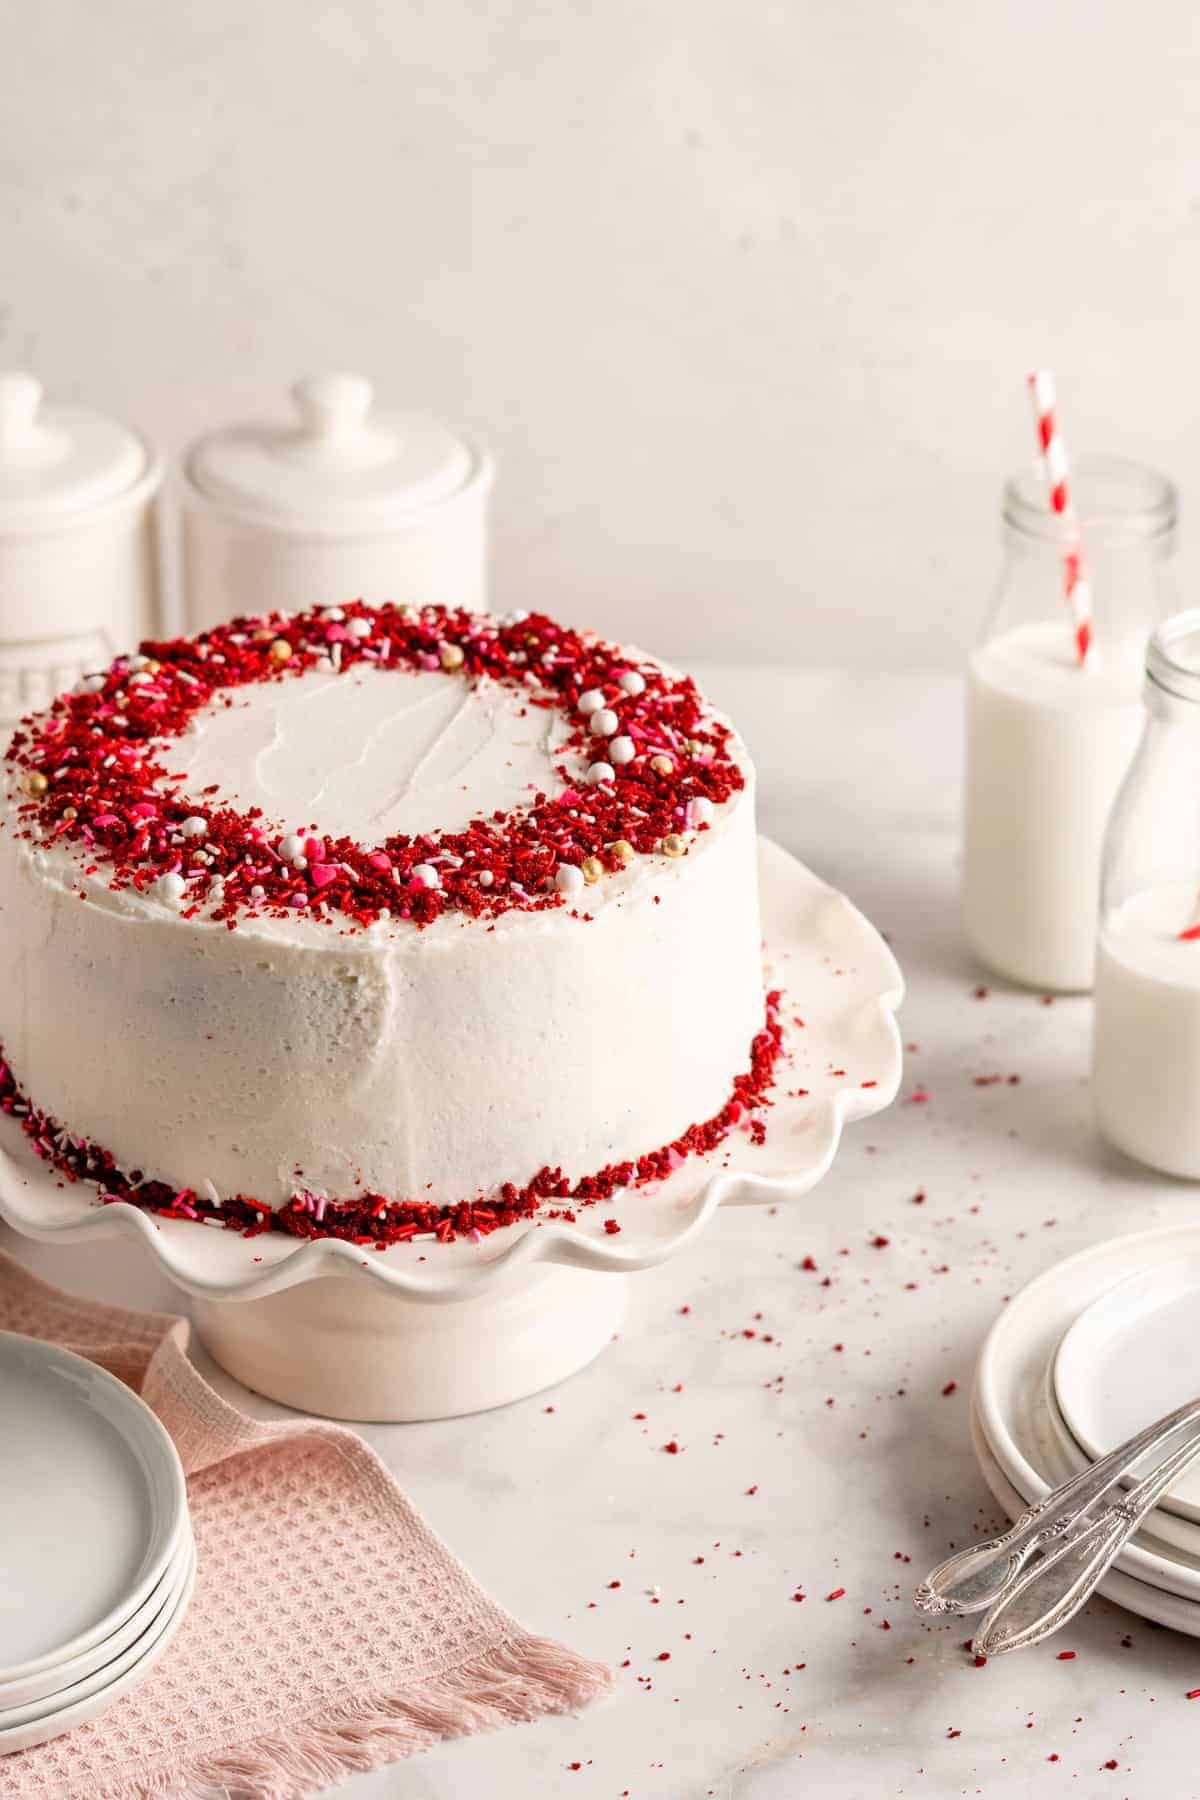
- After cooled, frost with vegan cream cheese frosting and some red velvet crumbs. Enjoy!
- Since Red Velvet can be very messy with crumbs going everywhere, it would help to do a crumb coating first to help “glue” down the crumbs before doing the entire cake.
- Using an offset spatula, spread a thin layer of frosting over the sides and top of the cake. It should be thin enough that you can see the cake (and crumbs) through it. Get your frosting as smooth as you can and let it dry slightly until it crusts over a little bit and is dry to the touch. Sometimes placing it in the fridge for 30 minutes helps too.
- After the coat is dry, you can apply the final layer of frosting.
- Vegan Cream Cheese Frosting
- In the bowl of a mixer, beat the butter and cream cheese together for about 2 minutes until fully incorporated.
- Add in the vanilla extract or paste and the pinch of salt.
- Add in a cup of sifted powdered sugar and all of the sifted cornstarch. Mix for about 1 minute or until incorporated. Add in the powdered sugar 1 cup at a time until the frosting has reached the desired thickness.
- Place the frosting wrapped or covered into the fridge for at least 4 hours or overnight, until being used. You can enjoy it right away, but it will thicken up beautifully in the fridge.
- You can apply it immediately to a cooled cake, then place in the fridge, or place the frosting itself, then apply to the cake later. Enjoy!
Notes
Disclaimer: Although jessicainthekitchen.com attempts to provide accurate nutritional information, kindly note that these are only estimates. Nutritional information may be affected based on the product type, the brand that was purchased, and in other unforeseeable ways. Jessicainthekitchen.com will not be held liable for any loss or damage resulting for your reliance on nutritional information. If you need to follow a specific caloric regimen, please consult your doctor first.



Hi Jessica. What brand vegan liquid red color did you use for this recipe?
Hi Disha,
We love the Whole Foods 365 brand one! Hope this helps.
Hi Jessica!
I’m looking for a GF-Soy free-Dairy Free-Vegan Red Velvet cake to make for a wedding. Was wondering if by changing the AP flour to “One-to-one” flour and also changing the soy milk to almond will greatly disrupt your recipe? Don’t know if you’ve ever tried it that way, but thought I’d ask. Thank you in advance.
Hi Kim,
Thanks for asking! I haven’t tried it this way but you can definitely give it a try! I can’t guarantee these will work but based on my other cake recipes here are some tips. Try to get an almond milk that’s thicker, or if the person can tolerate oat milk, that would be a better replacement. Which one to one are you planning to use? I have the best success with the Bob’s in the blue bag and definitely by grams. I would recommend adding in ¼ cup unsweetened applesauce into this batter for the best structure that would be lost by removing the gluten. Definitely let me know if you give it a try please!
Hiya Jessica!
Also wondering if the frosting you’re recommending for this recipe would hold up well under fondant? I want to give the finished tiered cake a more traditional wedding cake vibe. Thanks again!
Good question! I haven’t made this one in a while would’ve been a few years ago now, but I remember it being able to hold up to a lot! That being said, swapping it to gluten free I’m not 100% sure, I do think it’ll work but I think you should do a test run first! I do hope that helps!
Hi Jessica, I was wondering if I could sub the warm soy milk for another non-dairy milk?
Hi Manali,
Absolutely—you can sub for another non-dairy milk!
Hi Jessica!
I intend to make this cake for my birthday next week. a question for you: what did you use to decorate the cake? I mean…the red stuff?! They look like crumbles from the cake…what are those?
Hi Daniela! Yes, you’ve got it! Those are cake crumbs used to decorate the outside, mixed with a vegan sprinkles mix. You can simply crumble up a little bit of the red velvet cake and sprinkle the crumbs over the frosting. Such a pretty finishing touch! Hope you have a wonderful birthday and love the cake!