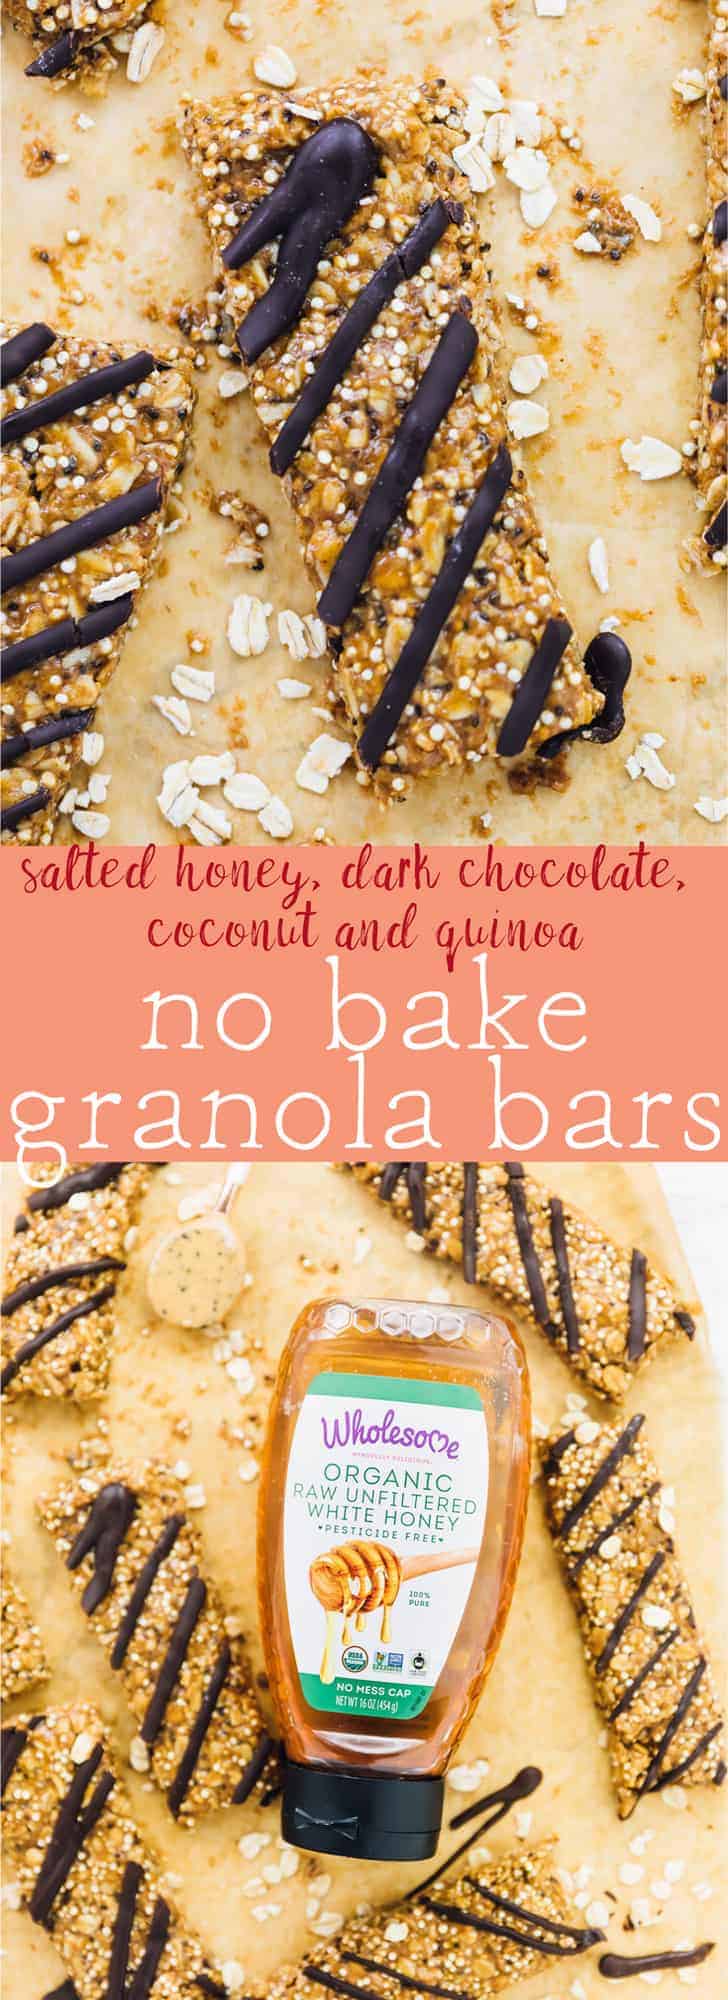
Salted Honey, Dark Chocolate, Coconut and Quinoa No Bake Granola Bars

These Salted Honey, Dark Chocolate, Coconut and Quinoa No Bake Granola Bars are incredibly easy to make and so delicious! They’re perfect for meal prep and on the go!
This post has been sponsored by Wholesome. All thoughts and opinions are my own! Thank you for supporting the brands that support Jessica in the Kitchen!
If you’re following me on Instagram then you know by my millions of stories that we’re enjoying California so much! Apart from all the amazing food, being here has aligned me even more with all things organic, fair trade and truly nourishing to the body. I’ve been genuinely craving some quick and easy snacks for our walks and hikes, so naturally, I turned to these Salted Honey, Dark Chocolate, Coconut and Quinoa No Bake Granola Bars.
Let’s make something clear. Er, I wasn’t a hiker before. In fact, the thought really intimidated me at first, but how can you not love it?! Once you’re equipped with all the water and the best hike/trail snacks, I realise that it’s one of the most enjoyable experiences. These bars are the perfect quick snack. Grab and go, they ensure my energy is up, and they taste absolutely divine. Homemade granola bars for the win! Best part?! They’re no bake, and made with only a few ingredients.
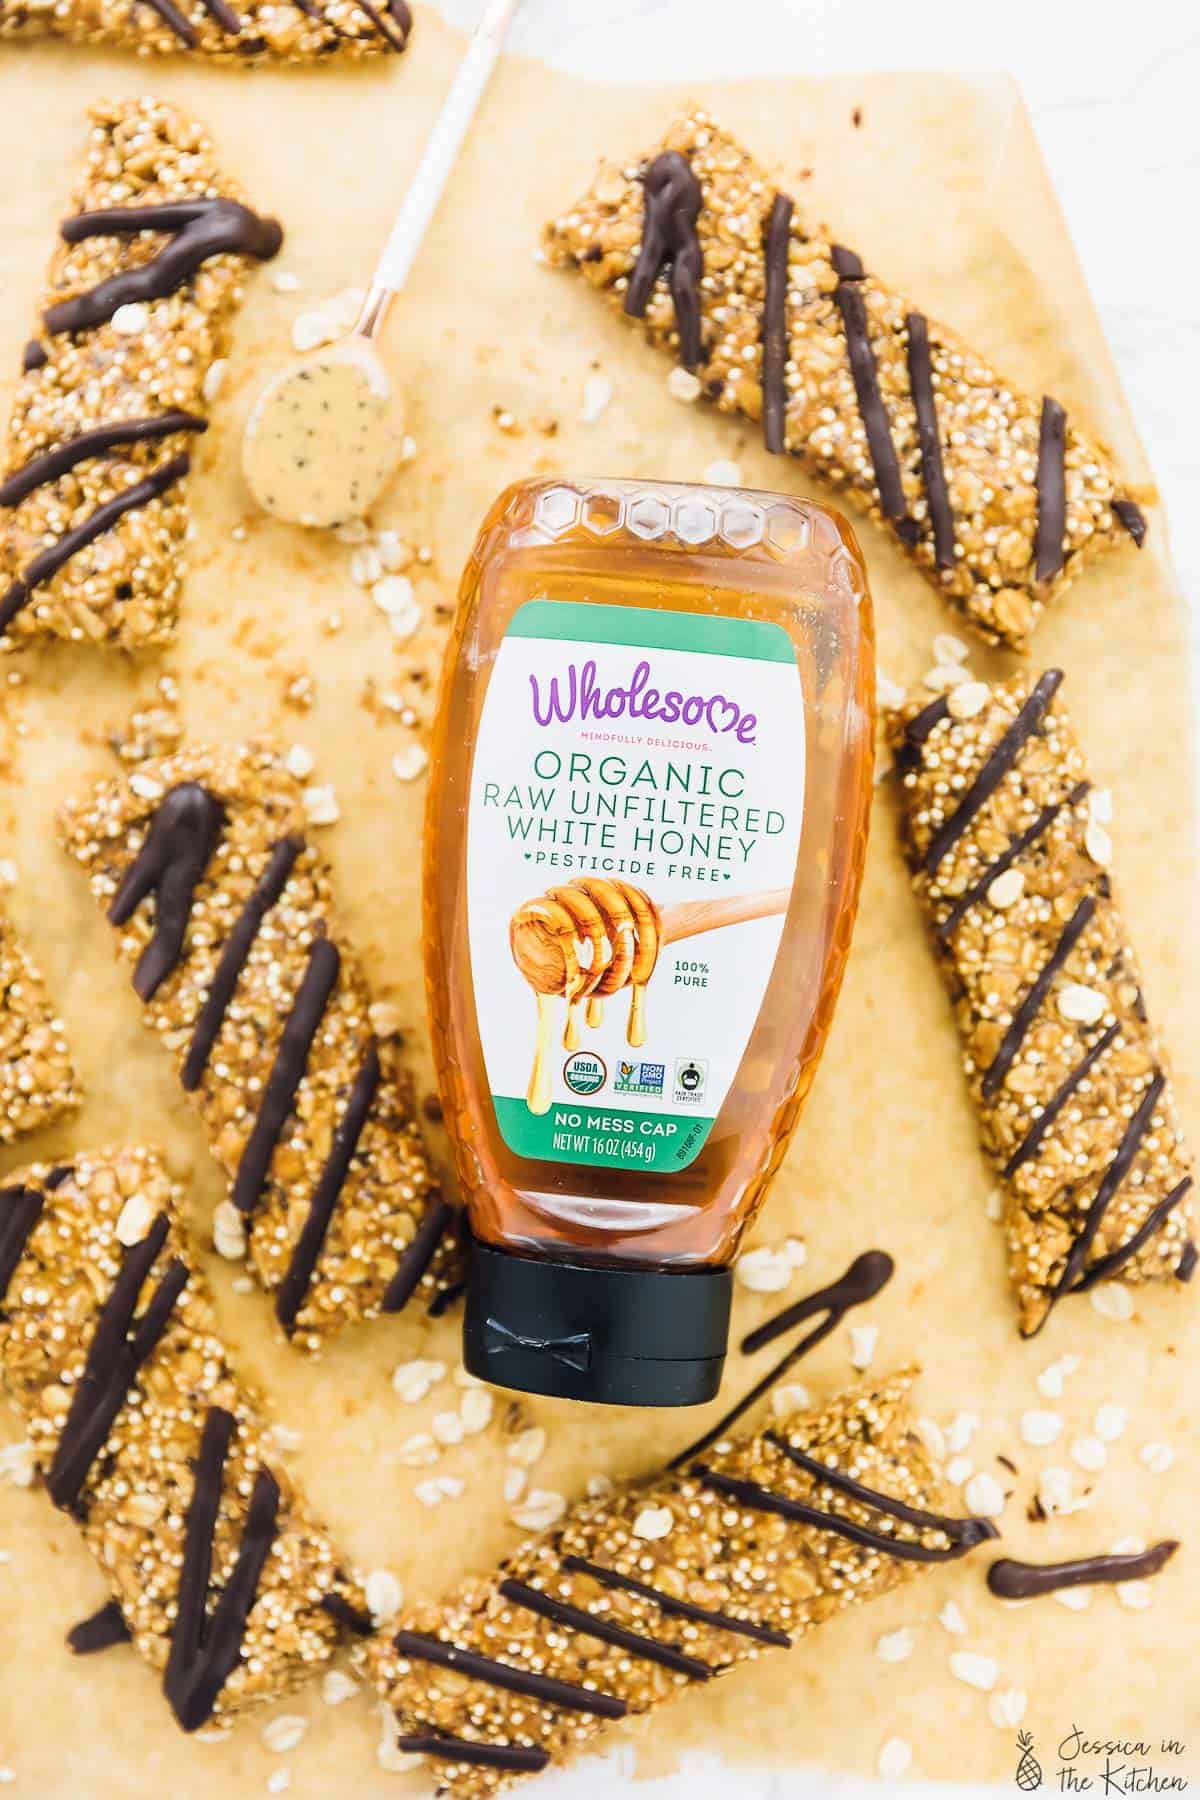
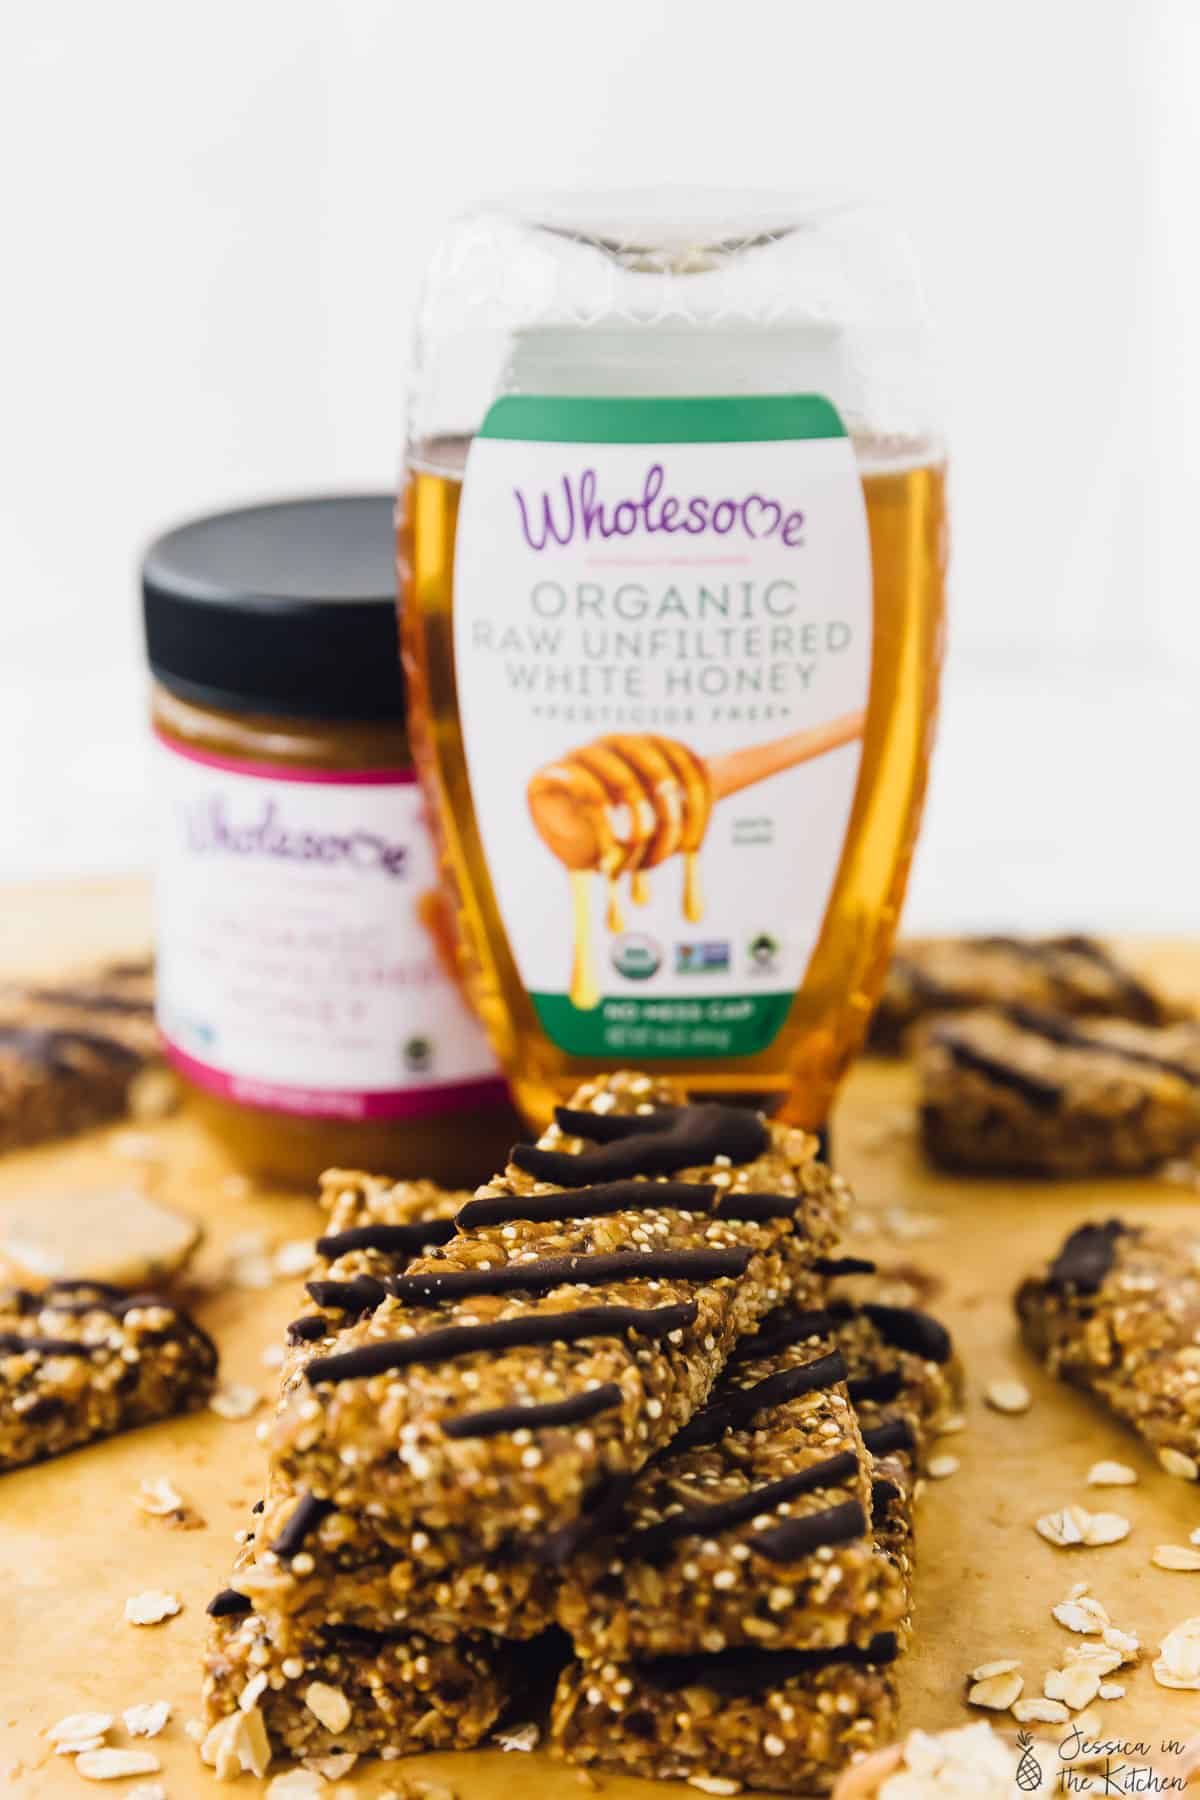
So what are these bars made up of? Oats, quinoa, nuts & seeds, sea salt, peanut butter and honey. That’s basically it. If you’ve been here before, then you know I love Wholesome Honey. We actually love all the Wholesome Sweeteners products because they check all our boxes. Fair trade, non-GMO, USDA Organic, delicious. I’ve been doing even more research on this, and I’ve kind of made it a life goal to only use products that reflect these life goals because I know it’s not only doing good for the earth, but also for people, and for our bodies. A total win, win in my books.
Wholesome Honey is also pesticide free and antibiotic free, and of course, truly free from any artificial products and is a high quality product. They even source their honey remote, protected rainforests to ensure supply chain integrity. Talk about putting the best of the best into your body, am I right? I’m right. Also, if you want to check out more delish recipes, their recipe page also has lots of great recipes that incorporate the honey in even more yummy ways.
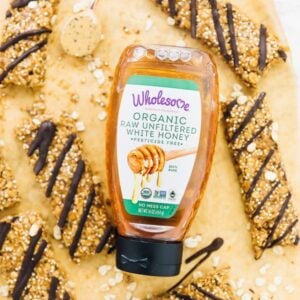
P.S. another reason I love Wholesome Honey? It’s super easy to find in my local grocer. Run in, find the baking aisle, grab Wholesome honey, run out. Well, pay for it first, of course. It’s also available on their online store page (I bought it there!) and on their Amazon page too. You can definitely learn more about the honey here, and find a store near you using their store locator here.
In these bars, the honey is not just the main sweetener, but also a crucial binding ingredient. It’s sticky texture helps the bars to bind properly. The Mr. And I have decided to use this trip as journey to be good to our bodies and minds, hence why part of that is to hike trails and be closer to nature. Let’s also be honest – no bake! If you’re like me, the less work you need to do with a recipe, the better. One of my greatest discoveries was that no bake recipes are amazing all year round, not just in the summer! I know, I know, mind-blowing information. But really, I can whip these up the night before and that’s it, Plus, they last a good week in the fridge so you can easily meal prep them for the week!
Reasons to make these bars:
- You’re a hiker and you love snacks.
- You’re not a hiker. Actually, you’re like me, you love great snacks, and you’re also loving this new hiking thing. Why have‘n’t we done this before?!
- To eat at work at your desk. Perfect for those sweet cravings in a natural way.
- They’re no bake and no fuss. YES.
- They’re good for you and for your body
- Because of how pretty they are!
If you’re ready to whip these up (yes yes yes), make sure to use the the coupon offer to get a discount! Remember to check out their store locator to find the closest location near you to grab those bottles, friends.
Eat up and enjoy!
Salted Honey, Dark Chocolate, Coconut and Quinoa No Bake Granola Bars
Ingredients
- 1 ½ cups gluten free oats, 120g
- ½ cup uncooked quinoa, 86g
- 1 tablespoon coconut oil, 13.05g
- 2/3 cup natural peanut butter, 170g
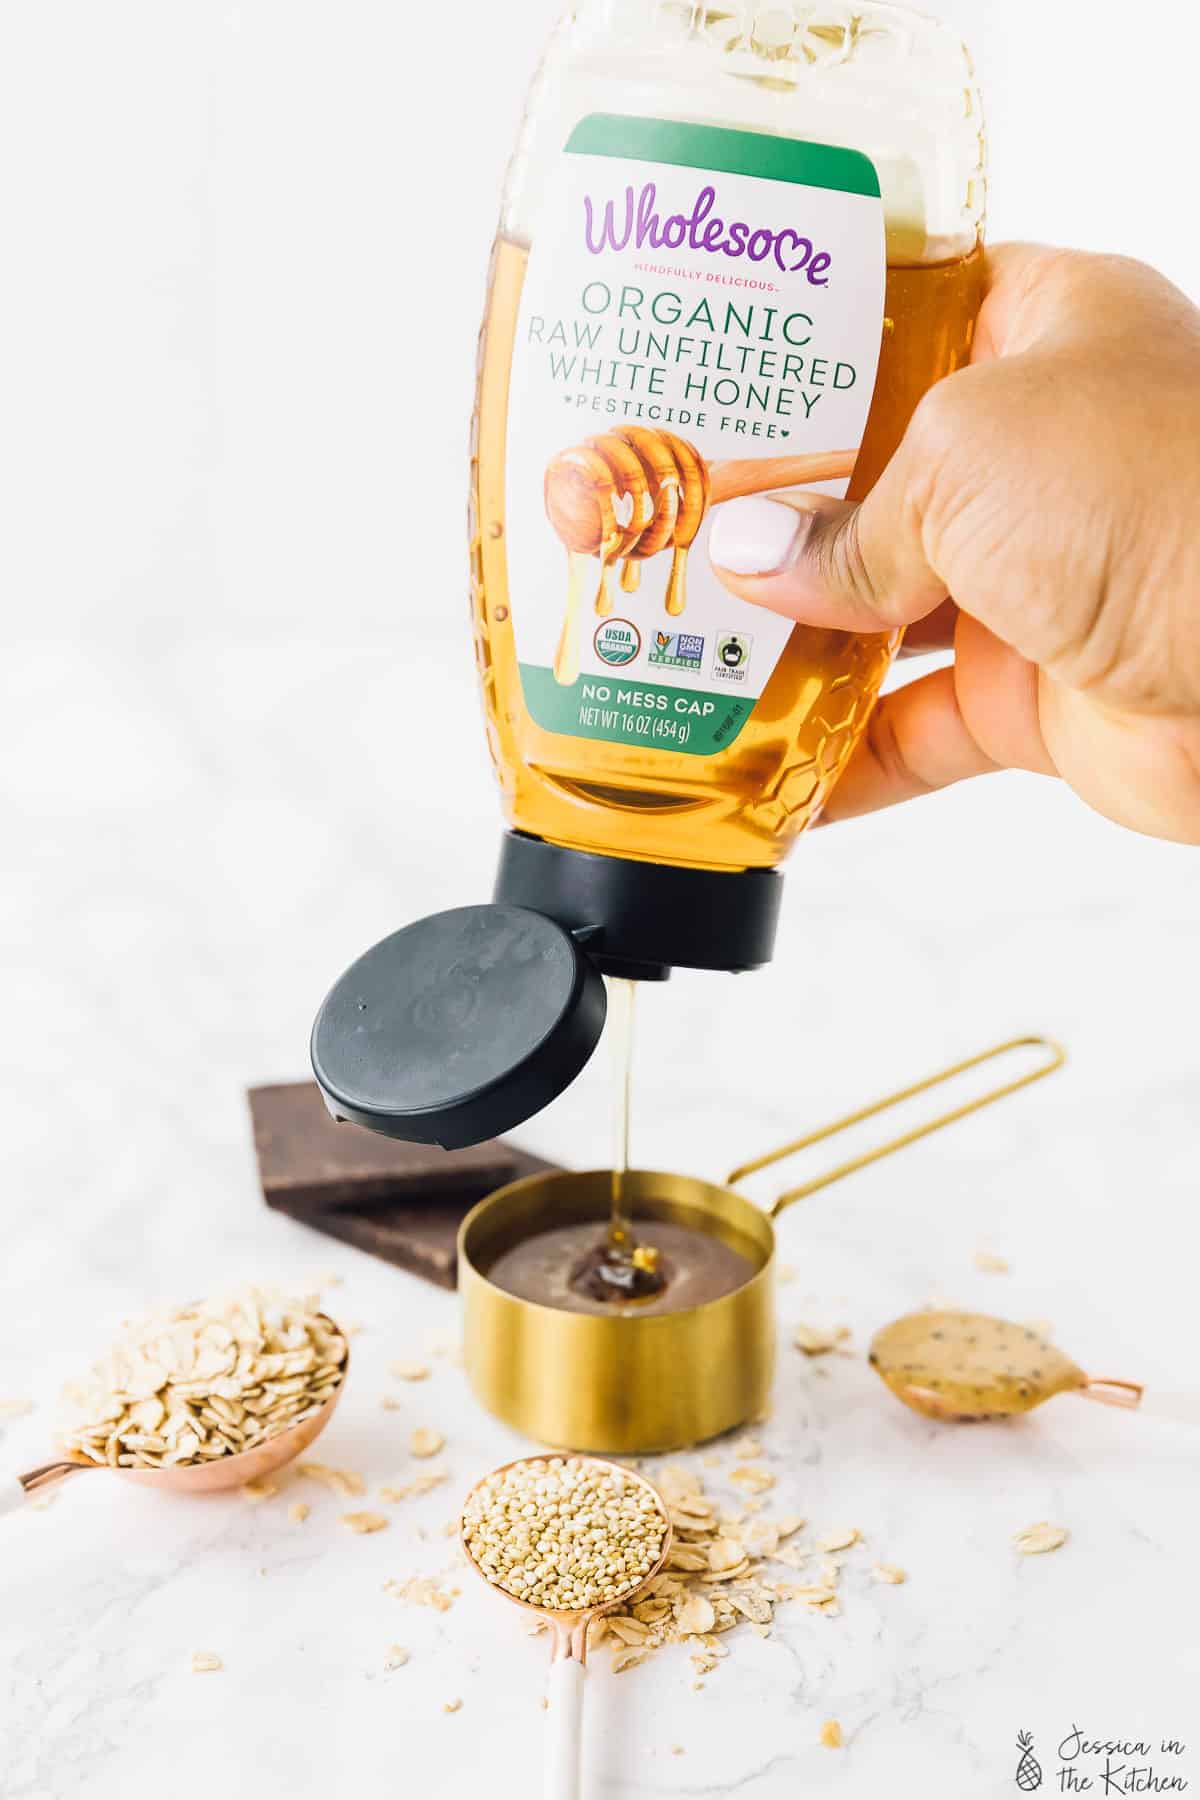
- 1/2 cup Wholesome Raw Unfiltered White Honey, 126g
- ½ teaspoon sea salt to sprinkle on top
- Dark Chocolate, for drizzling
- Optional to add: chia seeds, almonds, peanut butter
Instructions
- Line an 8x8 baking pan with parchment paper. Set aside.
- In a bowl, mix together the oats, quinoa and if using, the chia seeds and additional nuts.
- In another small bowl, add the coconut oil, peanut butter and the Wholesome Raw Unfiltered White Honey. Place in the microwave for about 15 second intervals, until completely combined and smooth.
- Drizzle the honey mixture on top of the oats mixture and stir all the ingredients together to combine. The mixture should be thick and sticking together.
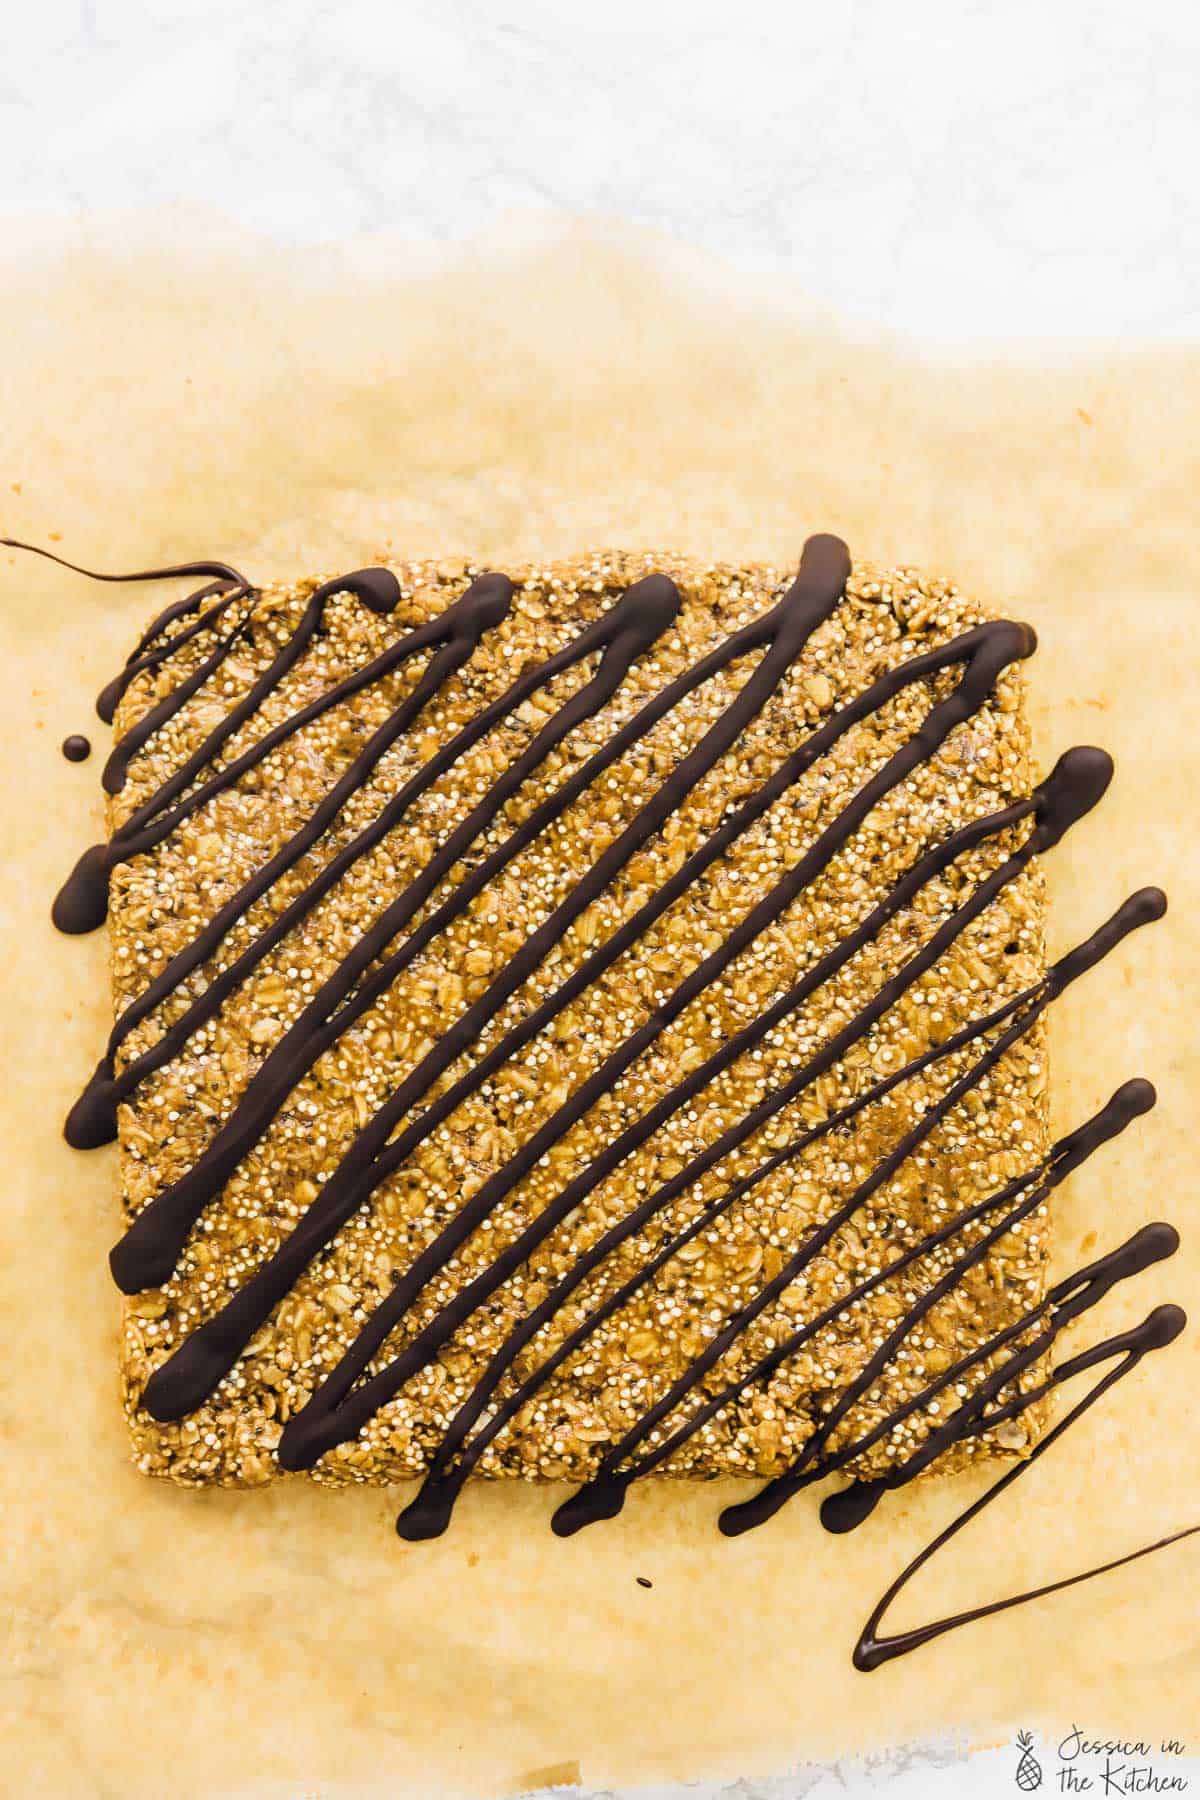
- In the baking pan, press the granola bar mix into the pan and flatten with your hands or the bottom of a mug until even in the pan. You want to press it in very firmly. You can top with some extra nuts or seeds or raisins that you have.
- Set the bars in the fridge for at least an hour to harden, or overnight if you want.
- In a separate bowl, melt about 2 tablespoons of dark chocolate or a few squares of dark chocolate in the microwave for about 1 minute, or in additional 30 second increments until properly melted. Pour the melted chocolate into an zipped bag and cut the tip.
- Remove from the baking pan from the fridge and drizzle the chocolate all over the bars. Sprinkle with the sea salt. Place back in the fridge for 15 minutes.
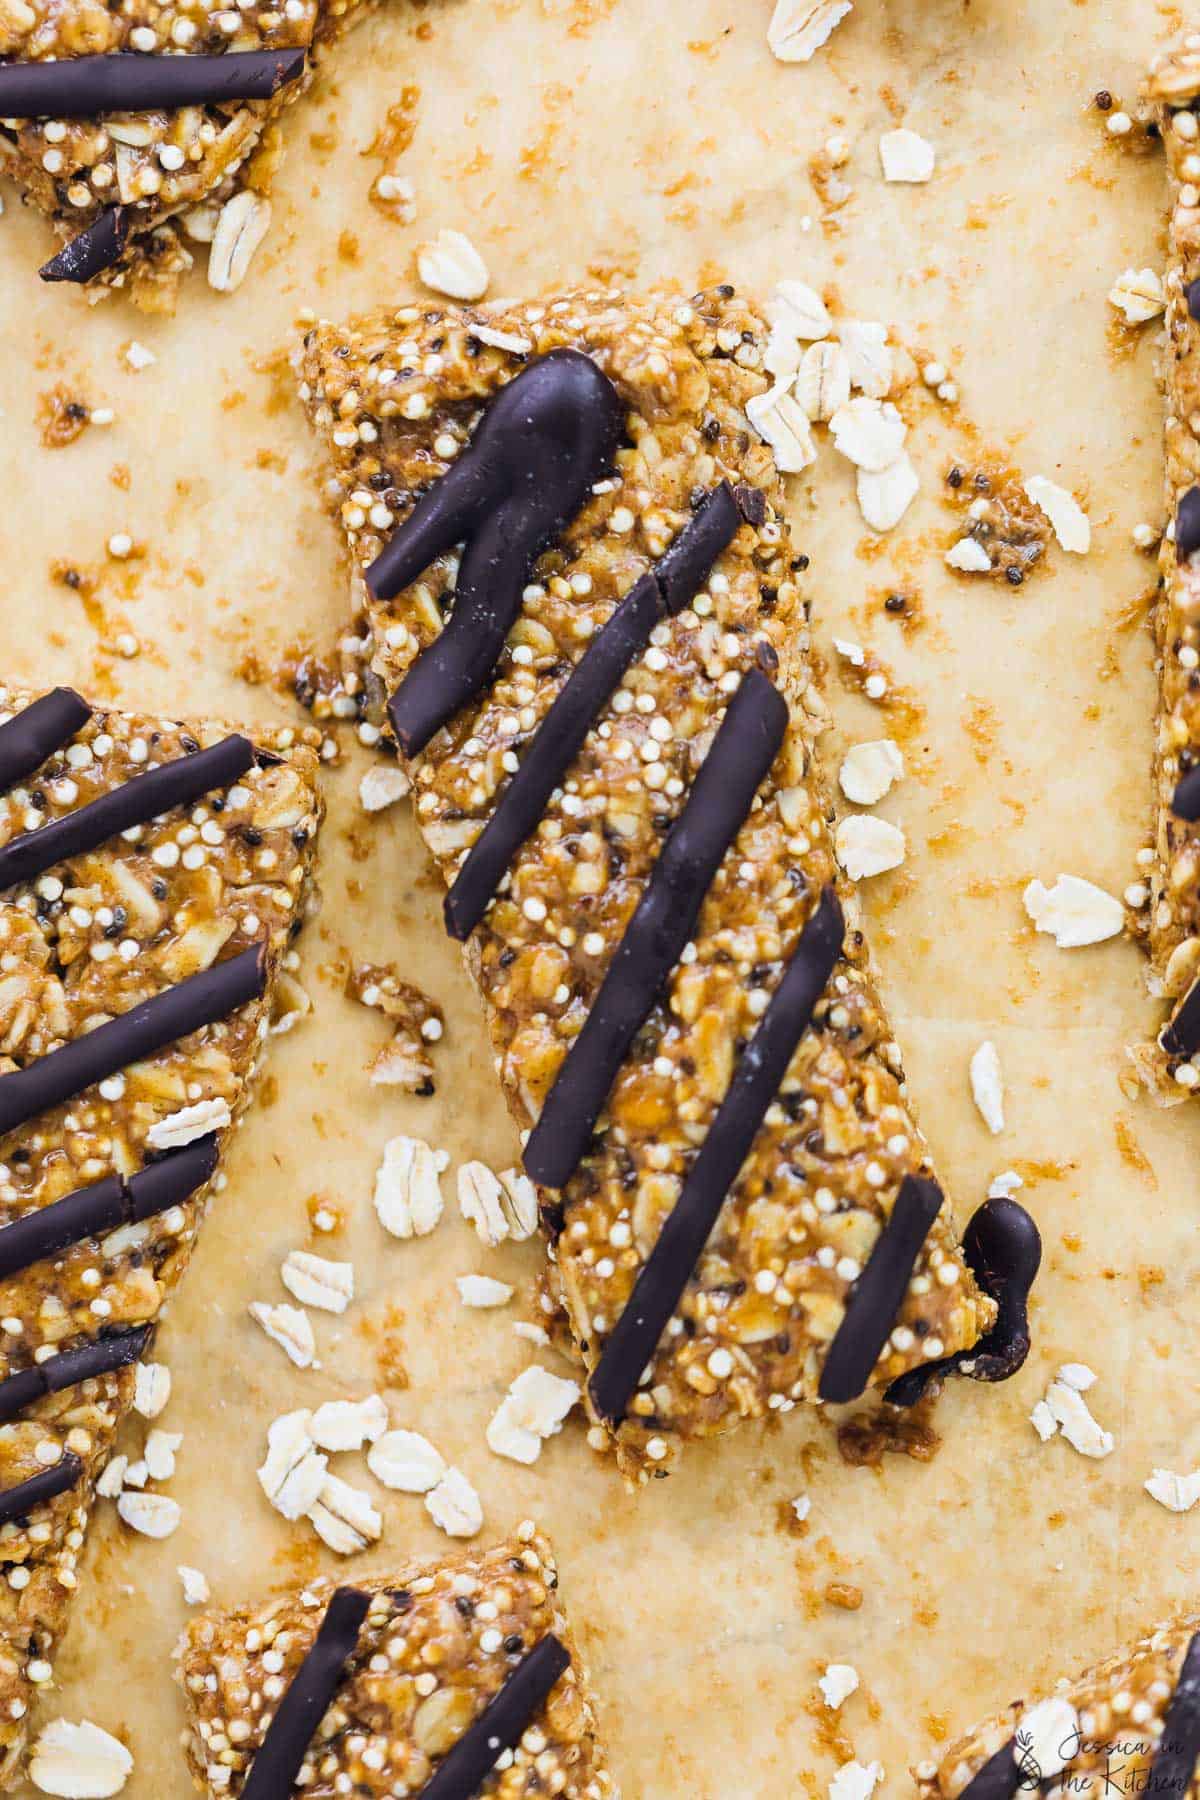
- Remove from fridge again and take the bars out from the baking pan (the parchment paper will make this easy). Cut into half, and then each half into 6 bars for a total of 12 bars. Serve and enjoy! You should store the bars in the fridge in an airtight container or zipped bag.
Notes
Disclaimer: Although jessicainthekitchen.com attempts to provide accurate nutritional information, kindly note that these are only estimates. Nutritional information may be affected based on the product type, the brand that was purchased, and in other unforeseeable ways. Jessicainthekitchen.com will not be held liable for any loss or damage resulting for your reliance on nutritional information. If you need to follow a specific caloric regimen, please consult your doctor first.


the flavor was amaazzingggg they were so easy and simple. HOWEVER! Mine completely crumbled and I wonder is it because I added chia seeds? I added 2 tbsp of chia seeds but same amount of peanut butter/honey/coconut oil. Should I have increased it, and by how much?
they lasted like a whole day. Hahaha
Hi Kayes,
Thank you so much for sharing the love on this recipe! So happy you enjoyed them. I’ve popped over an email to lend a hand with your question.
I’ve made these several times with different add- ins and they’re amazing! My question- can they be frozen? I’d like to be able to have them available on the spot!
Hi Marcy,
So happy to hear that you’re enjoying this recipe, and testing it out with different add-ins. While I haven’t tested it in the freezer, it shouldn’t have any issues that I can think of—you’ll just want to make sure you thaw it out in the fridge overnight to ensure the consistency holds true! Let me know how they turn out, and happy bar-making!