How to Make Crispy Roasted Chickpeas
Learn how to make crispy roasted chickpeas in the oven! They’re the perfect high protein snack, great for meal prep, and you can customize them with your favourite seasonings and flavours!
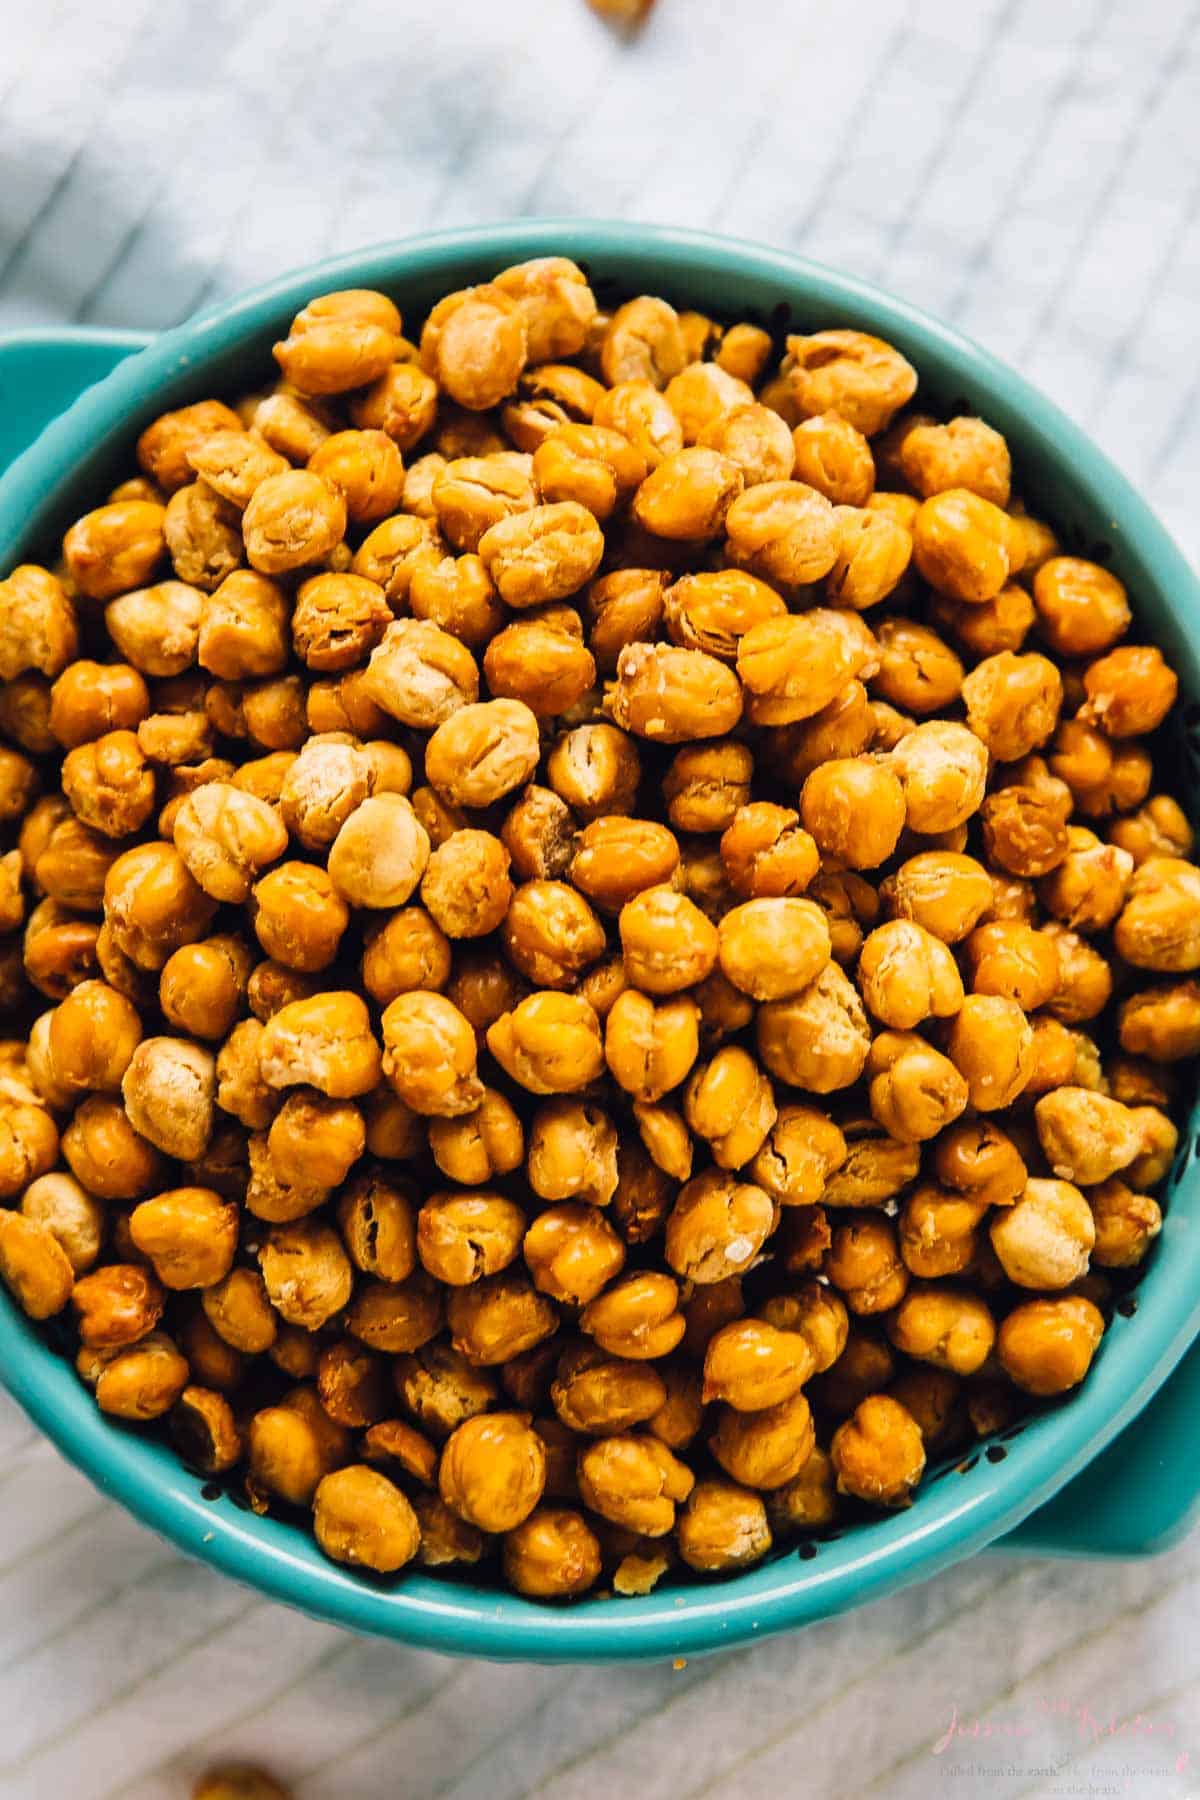
If you haven’t tried crispy roasted chickpeas, now’s the time. A handful of these will actually keep your hunger at bay, but they’re so much more than just a snack—they’re a crunchy addition to salads, meal bowls, and even soups!
The key to getting these chickpeas roasted to crispy perfection is ensuring that they are dry before going into the oven. Not pat lightly with a towel dry, but dry.
You also want to roast them on the best medium. I love my silicone mat for well, everything, because it maintains high heat without burning and I find that every single thing I make on it bakes perfectly. You can also use parchment paper if you don’t have a silicone mat.
Once roasted, the chickpeas transform from soft, mushy beans into a crispy snack that you’d think you bought at a high end grocery store. They’re so easy, and my favourite part is popping way-too-hot chickpeas into my mouth for ‘taste testing.’
Best of all, you can easily switch up the flavours. I’ve got some ideas later in the post!
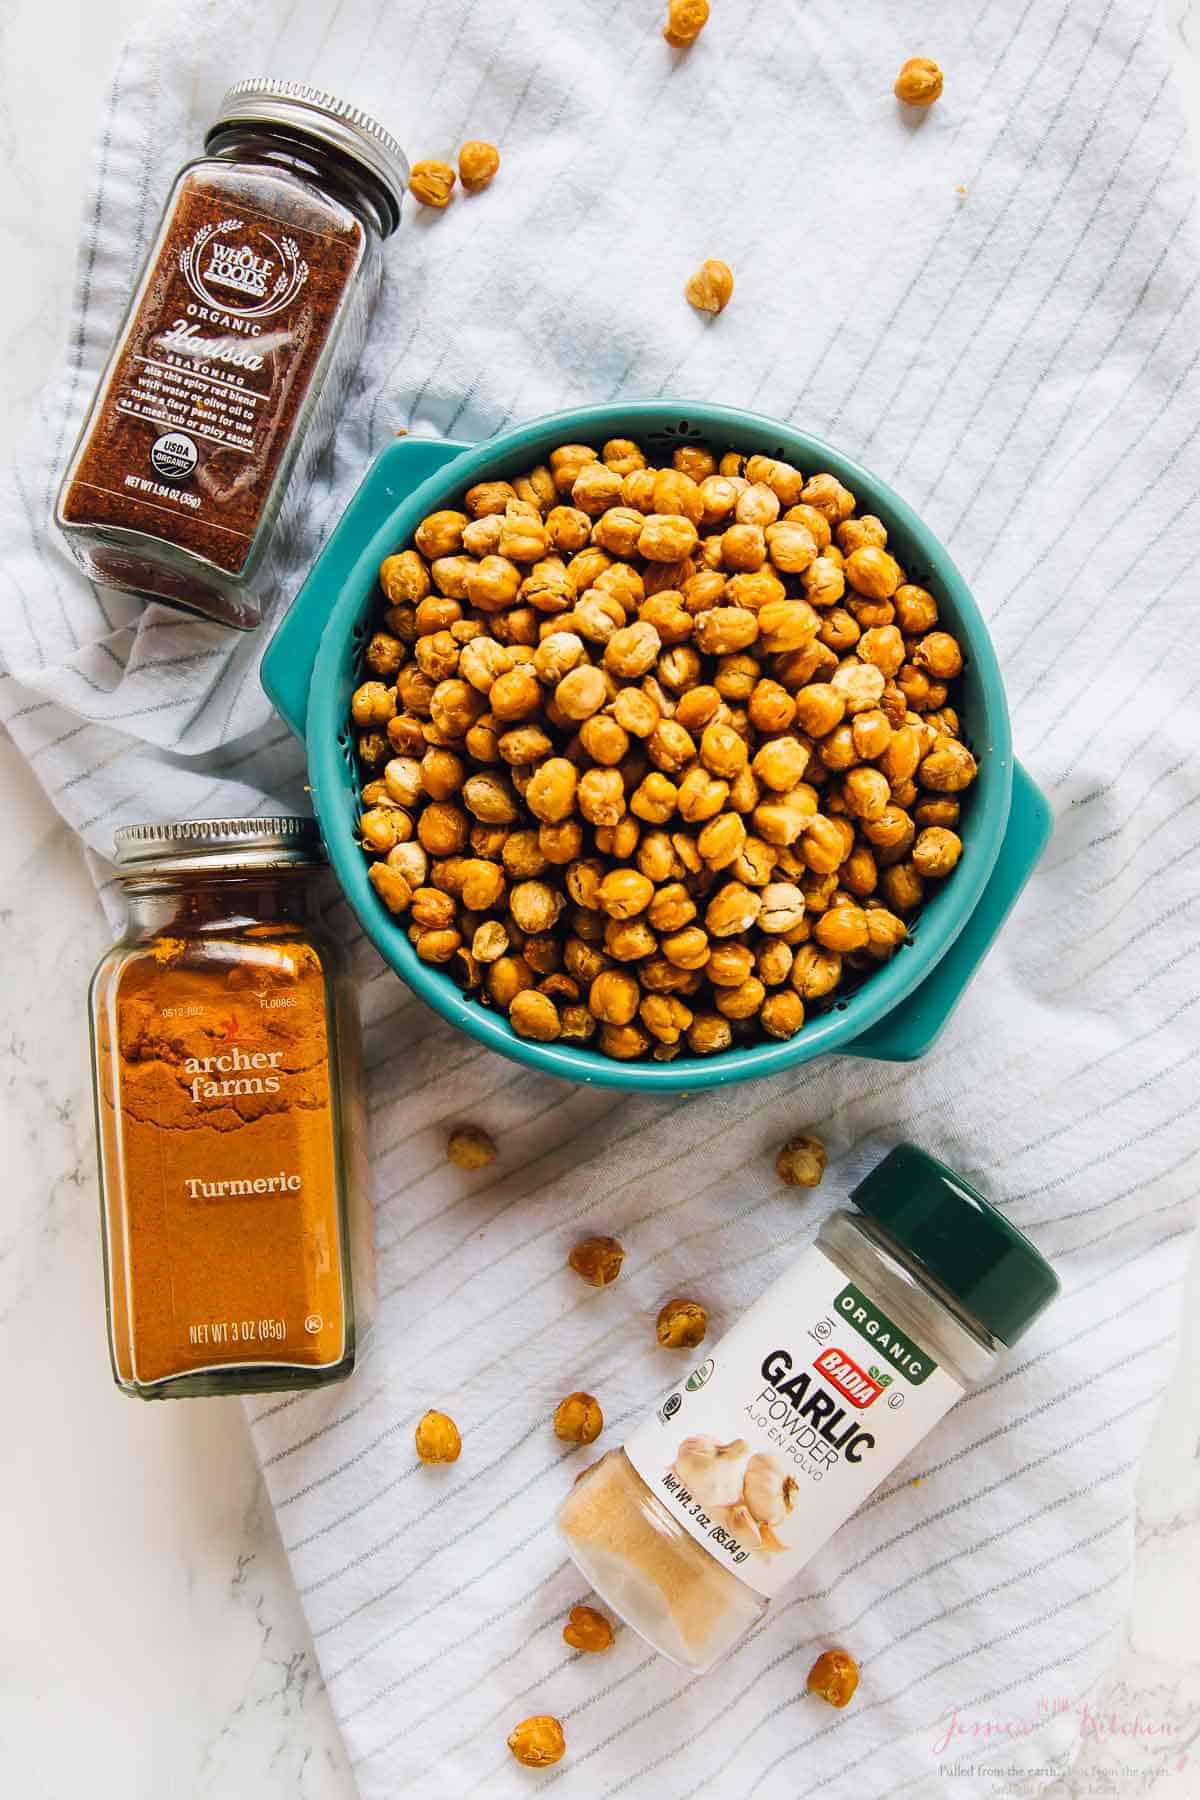
Notes on Ingredients
Please note that this is important information on the ingredients and instructions and the FULL recipe with amounts and details can be found DOWN BELOW (scroll to it) in the recipe card.
- Chickpeas – You’ll need 2 cans of chickpeas for this recipe. If you’re using dried chickpeas, cook them first; you’ll need about 3 cups.
- Olive oil or coconut oil
- Sea salt
Flavour options:
- Maple cinnamon chickpeas – Add ground cinnamon and maple syrup.
- Harissa garlic chickpeas – Add garlic powder and harissa powder.
How to Make Crispy Roasted Chickpeas
This recipe is easy as can be! Here’s what you’ll need to do.
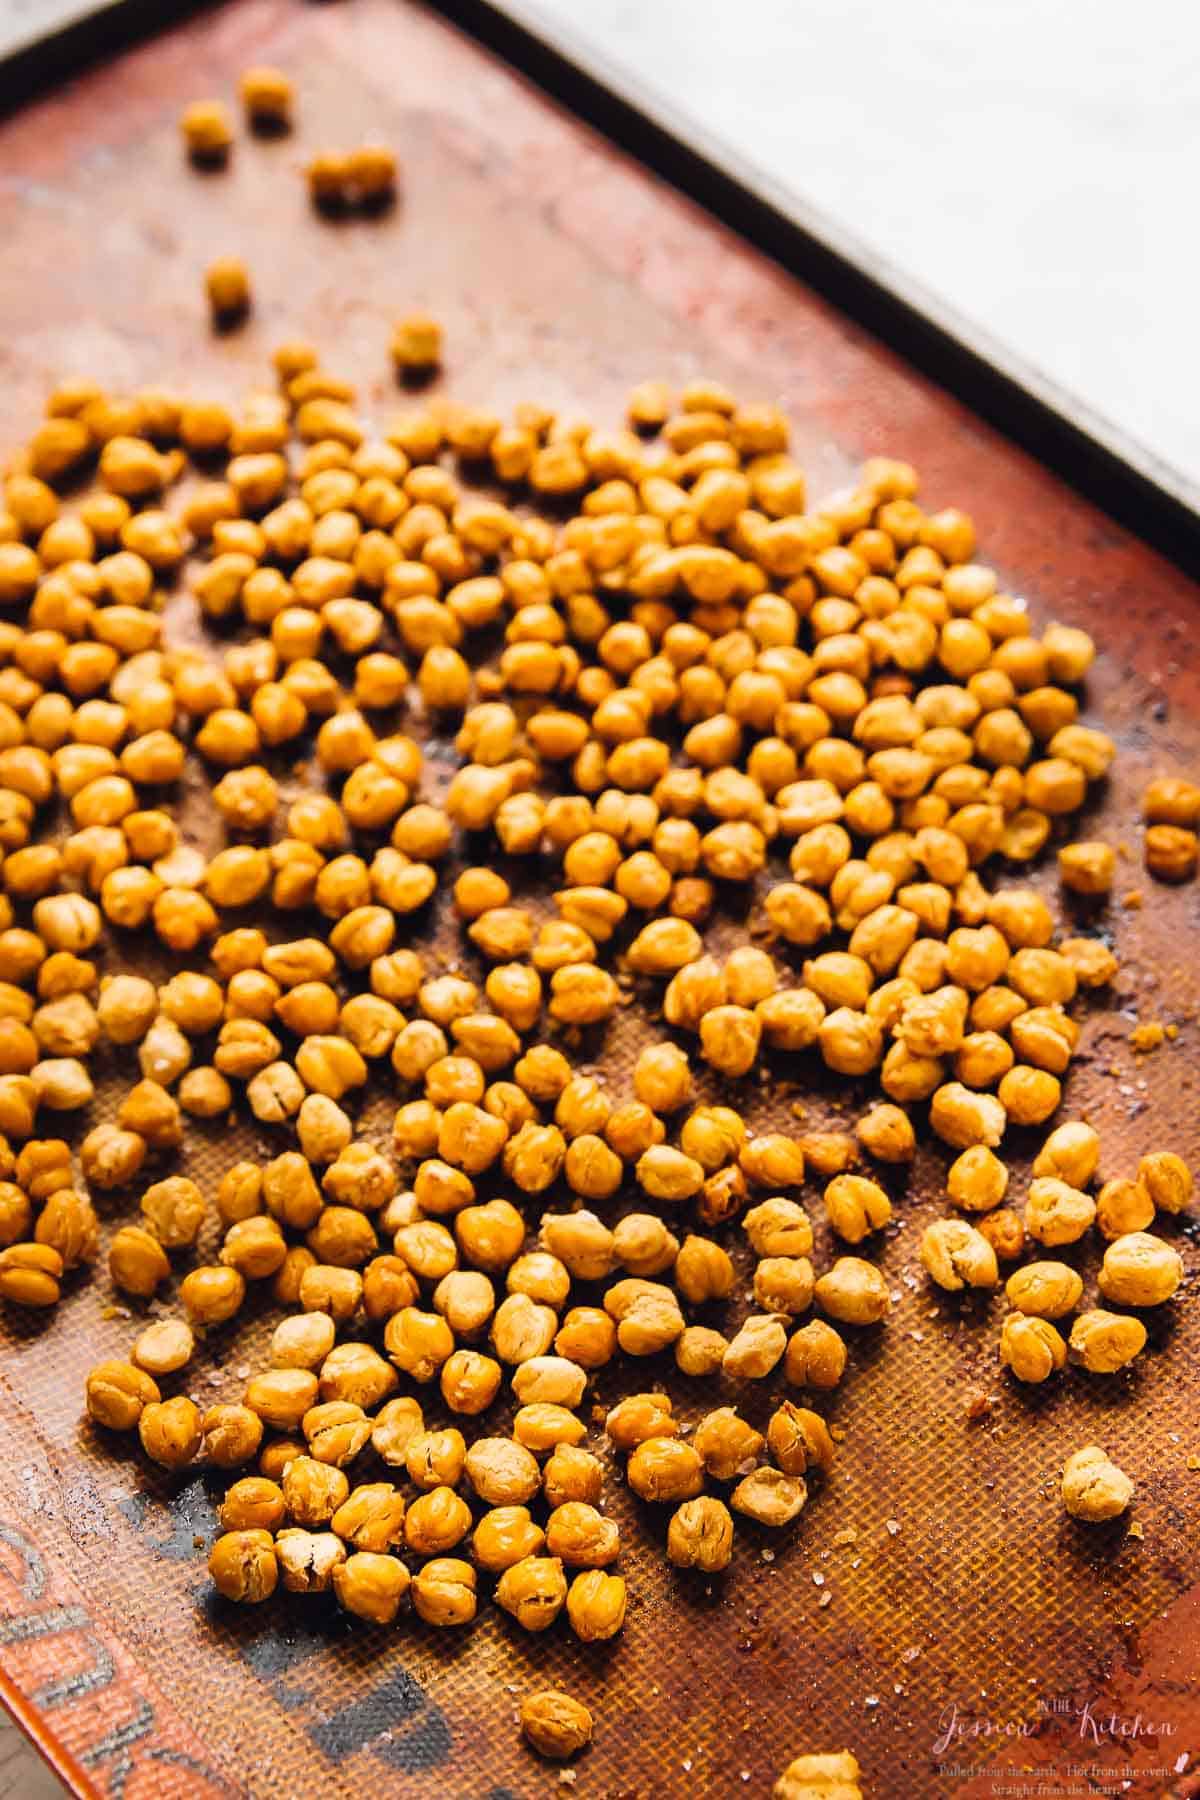
Prepare. Preheat your oven to 400ºF and line a baking sheet with a silicone mat or parchment paper. Rinse, drain, and thoroughly dry the chickpeas.
Oil the chickpeas. Place the chickpeas on the prepared baking sheet and drizzle them with oil. Sprinkle them with salt, then use your hands to gently toss the chickpeas, ensuring that they’re evenly coated in oil and spread out on the pan.
Bake. Roast the chickpeas in the oven for 15 minutes, then rotate the baking sheet and roast for 15 minutes more, or until the chickpeas are crispy.
Add flavours. If you want to season your chickpeas, do it now. Combine the maple and cinnamon and drizzle the mixture over the chickpeas, or toss them in harissa and garlic powder.
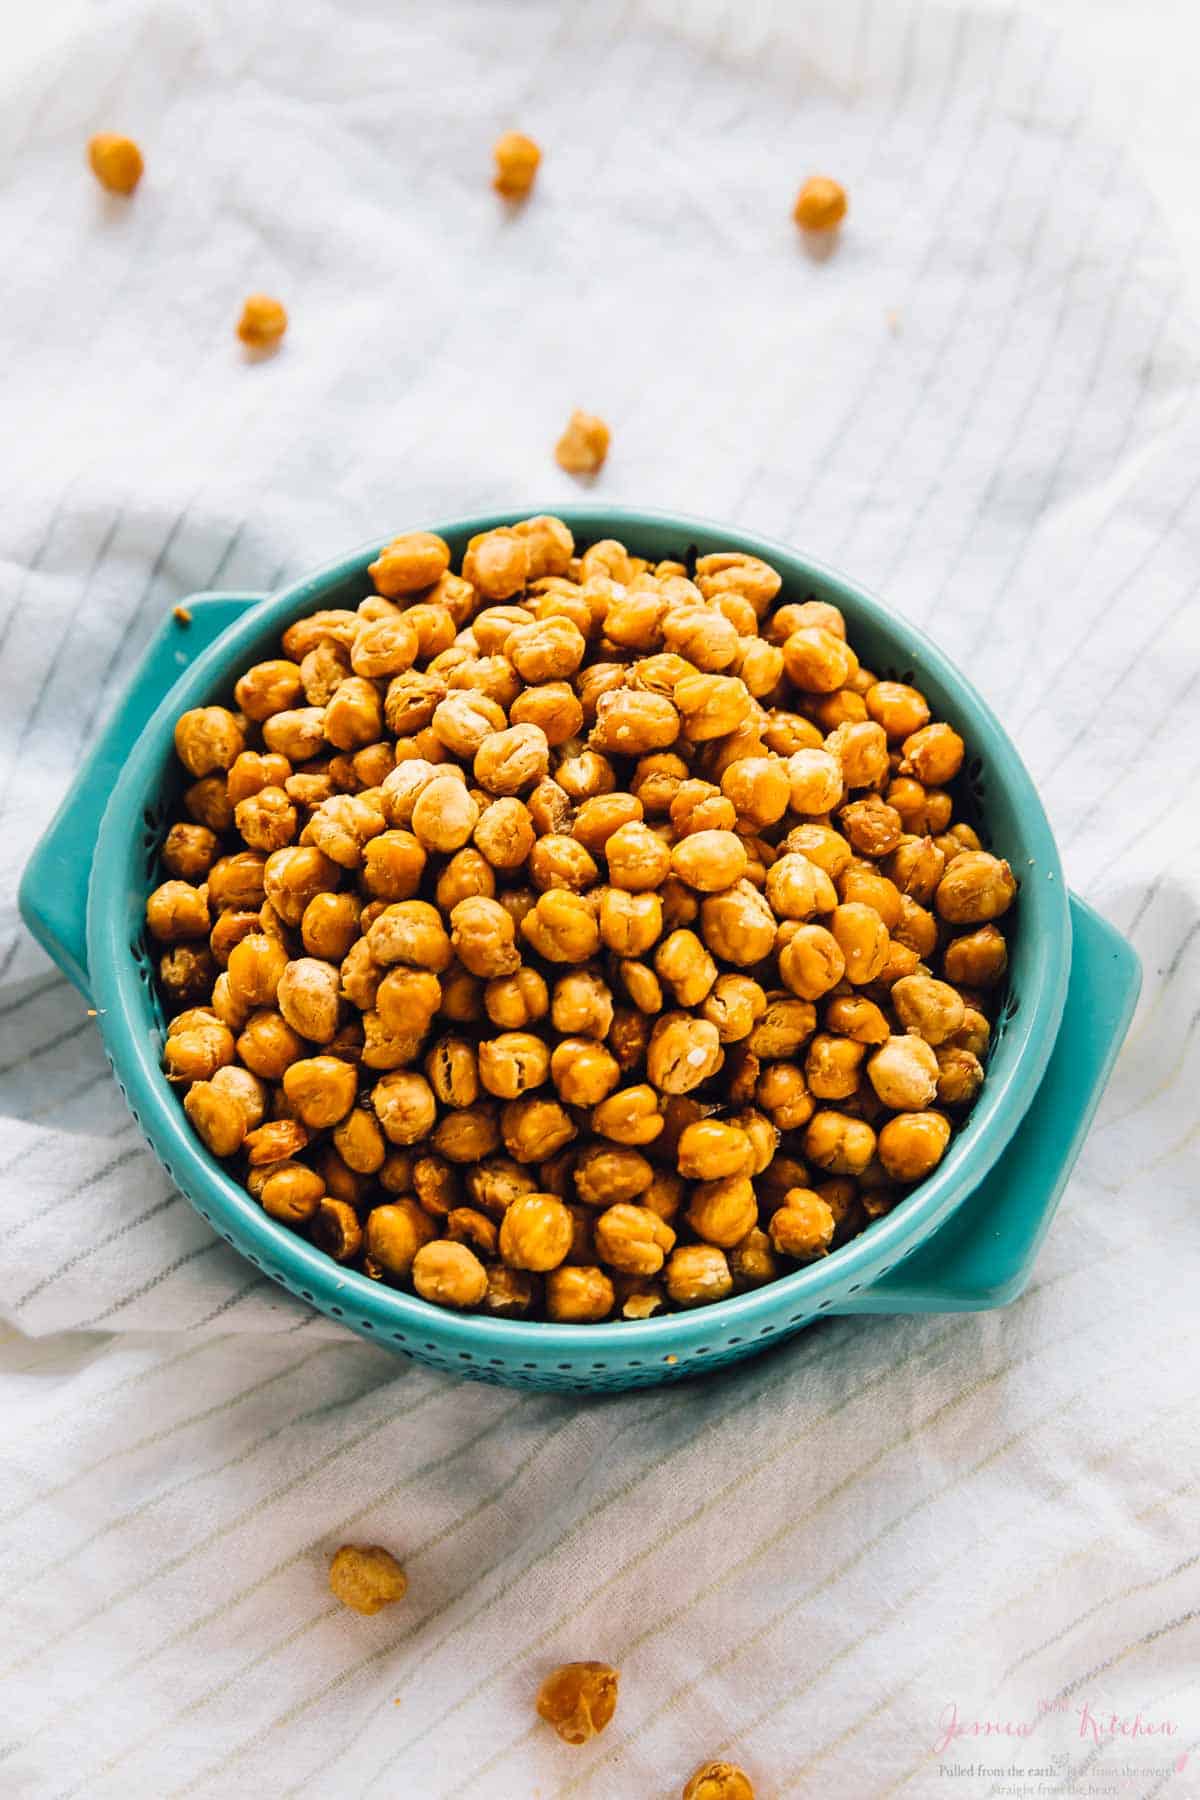
Why Won’t My Chickpeas Get Crunchy?
There are a few reasons why your chickpeas might not be getting crispy in the oven:
- They’re not dry enough. If your chickpeas are even slightly damp, they won’t get crispy in the oven.
- The oven isn’t hot enough. The chickpeas need high heat to get crispy, so if your oven isn’t hot enough, they won’t crisp up.
- You didn’t bake them long enough. Chickpeas can take a while to get crispy in the oven; sometimes up to 30 minutes.
Tips for Success
Making crispy chickpeas is easy, but these simple tips will help you make them perfect!
- Dry them well. Place the chickpeas on a kitchen towel and rub them until they’re completely dry. Rubbing will also help loosen the skins; you can then slide off the rest of the skins, which will make the chickpeas crunchier.
- Use a rimmed baking sheet (AKA a sheet pan). Otherwise, your chickpeas are likely to roll off the edges of the pan.
- Enhance the crispiness. If you have time, return the chickpeas to the oven, turn it off, and leave the door open slightly to cool for another 30 minutes. This will ensure the chickpeas remain crispy for days.
More Flavour Ideas
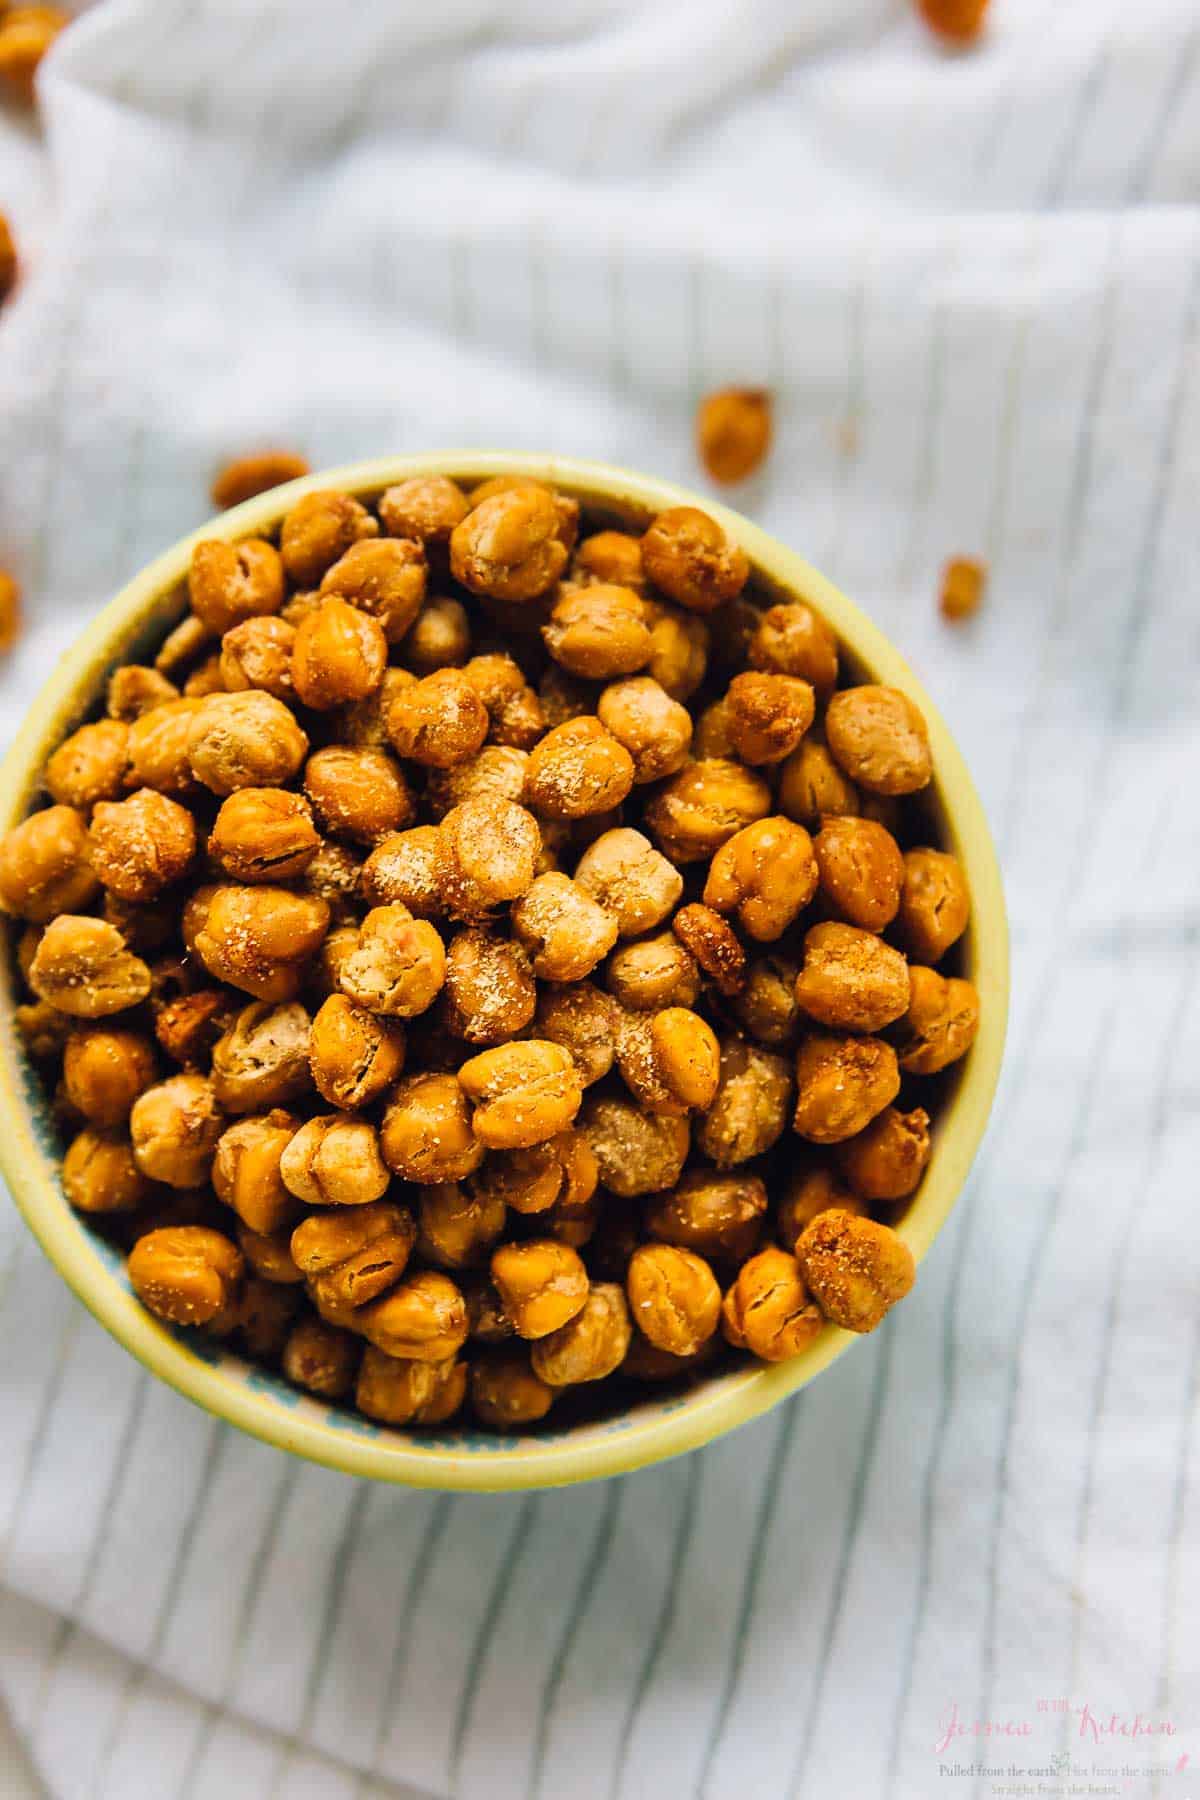
There are so many fun ways to season these chickpeas, but I recommend adding herbs and spices after the chickpeas are done roasting so they don’t burn. Here are some additional ideas to try:
- Lemon zest, minced rosemary, and cracked black pepper
- BBQ seasoning
- Taco seasoning
- Ranch seasoning
- Everything bagel seasoning
Serving Suggestions
Use crispy roasted chickpeas:
- As a crunchy addition to my Nourishing Vegan Buddha Bowl
- Instead of croutons on my Easy Vegan Caesar Salad or Creamy Tomato Soup
- To add extra protein and crunch to Kale Pesto Pizza
How to Store
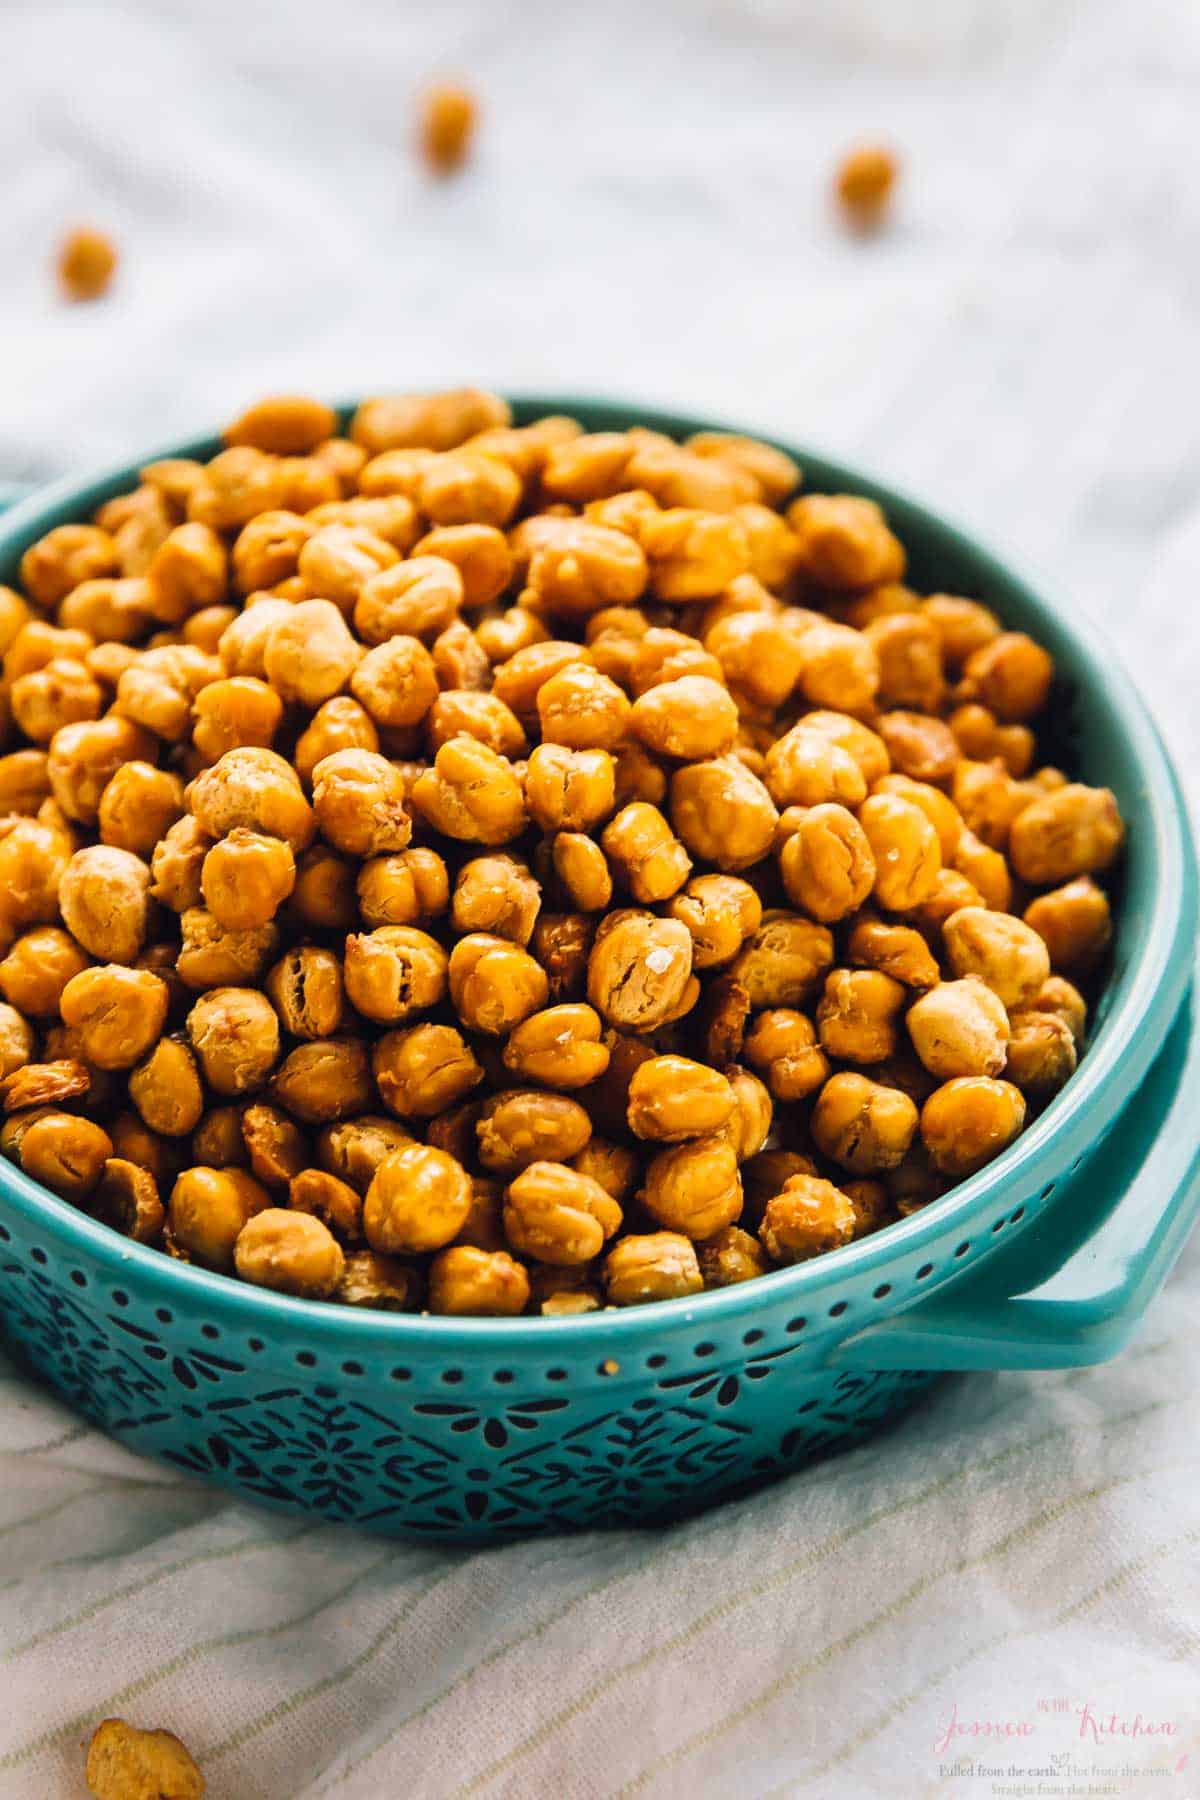
Once they’re roasted, these chickpeas will stay crispy for up to 5 days in an airtight container at room temperature. If they start to lose their crispiness, you can always pop them back in the oven for a few minutes to crisp them up again.
Can This Recipe Be Frozen?
No, if you freeze these chickpeas, they won’t be crispy anymore. If you’re looking for a freezer-friendly snack idea, try my Quinoa Pizza Bites.
Enjoy friends! If you make this crispy roasted chickpea recipe, please snap a photo and tag #jessicainthekitchen on Instagram! We’d also love it if you would leave a comment below, and give the recipe a rating! Thanks so much!
How to Make Crispy Roasted Chickpeas (+ Flavours)
Ingredients
Crispy Roasted Chickpeas
- 2 cups chickpeas, drained (about 2 cans chickpeas)
- 2 tablespoons olive oil or coconut oil
- 1/2 teaspoon sea salt
Different Flavours
- cinnamon and maple syrup
- garlic powder
- garlic powder and harissa powder
Instructions
Crispy Roasted Chickpeas
- Preheat oven to 400 F degrees. Rinse and drain chickpeas. Place them onto a kitchen towel and rub until completely dry. Remember, the chickpeas need to be very dry or they won’t crisp up. This will also help to loosen up the skins. Slide off the rest of the skins – this will make the chickpeas a lot crunchier.
- On a baking sheet lined with parchment paper or a silicone mat, add the chickpeas. Drizzle the oil over the chickpeas and the salt, and using your hands, rub to mix into the chickpeas. Ensure they are spread out on the sheet
- Bake for 30 minutes, rotating the baking sheet pan halfway around at 15 minutes.
- Test one of the chickpeas to ensure that it’s crispy. Remove chickpeas, and if you’re flavouring them, toss with the relevant flavourings:
- Maple cinnamon – mix in about cinnamon, and drizzle from maple syrup over and toss lightly
- Harissa garlic – mix with Harissa powder and garlic powder and toss together.
- If you have time/want the crispness to last, place chickpeas back into the oven, turn off the oven and leave it slightly open to cool for another 30 minutes. This will ensure they remain crispy for days.
- Remove from oven and enjoy! You can store them in airtight Tupperware containers for days. Enjoy!
Notes
Disclaimer: Although jessicainthekitchen.com attempts to provide accurate nutritional information, kindly note that these are only estimates. Nutritional information may be affected based on the product type, the brand that was purchased, and in other unforeseeable ways. Jessicainthekitchen.com will not be held liable for any loss or damage resulting for your reliance on nutritional information. If you need to follow a specific caloric regimen, please consult your doctor first.


They are my favourite snack!
Thanks so much Angie, mine too!!
Hi. I can get dried chickpeas by weight. Shall I pop them in the oven as is or some prep?
Hey Joe,
Sure! I used two 15 oz cans (approx 425g) of chickpeas, then drained them and washed them! I’ll add that to the recipe for sure! 🙂 I hope you enjoy!!
Are you talking about uncooked chickpeas that you get by weight? If so, you will want to cook these first.
Jessica, you have inspired me to try these again. I tried them a couple years back and they never crisped up. It sounds like I didn’t get them dry enough before baking.
Thanks Jean!! Joe, I used cooked chickpeas, so like Jean said, you would need to use cooked chickpeas!
I really hope you enjoy Jean!! They crisped up so beautifully, and made such a great snack!!
Just have 2 cans of chick peas sitting in my kitchen counter and got interested to know it’s nutritional contents and how to make it. After reading your wonderful suggestions, I will start making it because it’s healthy. The best suggestion i like is to make my veggie salad, add to soup, grinding it for sandwiches and wraps and making crunchy chick peas for daily snack. Am excited and will mix with quinoa today. I give you 5 stars.
Thanks Jessie
Were so happy to hear that Margret! Thank you so much.
Hey! How much is in one serving? Looks like a great recipe. Thanks!
Hi Toria thanks so much for reading! The nutritional info is for the entire recipe. You can split it however you like.
Allo!! Might you provide measurements for the seasoning/flavoring options?
Thank you
Hi Des its about 1 teaspoon each. I hope this helps.
These turned out great. I only had dried peas so boiled them with the top off for 5 minutes, lets them sit in the water for an hour, drained, rinsed. Then covered with water, brought them to a boil and then simmered for about 90 minutes (lid off). Cooled them, rubbed skins off and left them to dry overnight. Then followed the cooking instructions in the recipe. Seasoned with cumin and garlic powder and will use in a Schwarma bowl. Thanks for the recipe!
I wasn’t sure which rack to put the pan on in the oven.
thanks Grace
Hi Grace thanks so much for reading. You should be able to bake them successfully on any rack, but for best results I suggest the middle rack. I hope this helps!
I’m allergic to dairy, gluten and eggs.
How can you assist me with some cookies recipes and snacks
Hi Lourentia,
I have many on my website! All my cookie recipes are made without dairy and eggs, and you can easily substitute the AP flour for a gluten free flour blend such as Bob’s Red Mill in the blue bag! Just use the search bar to get started! 🙂 All my snacks are the same too!!