Perfect Homemade Hummus
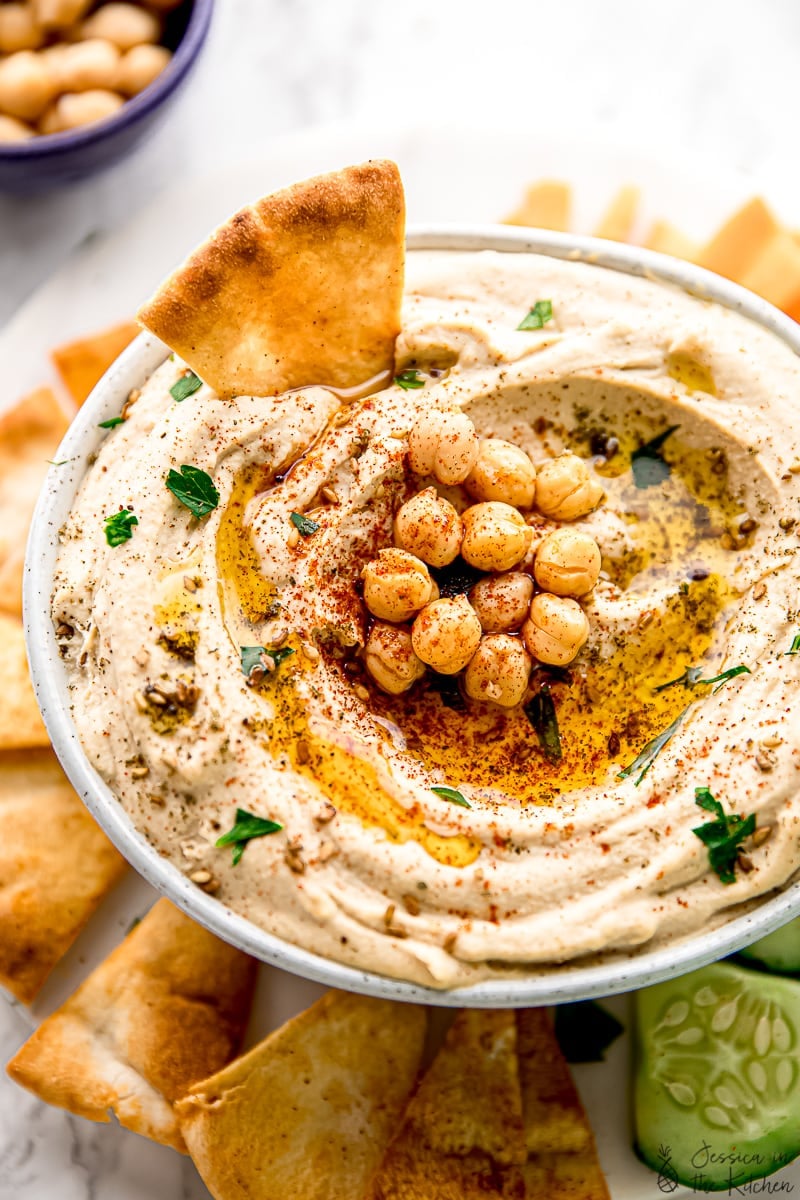
This is the best homemade hummus recipe I’ve ever tried! It’s creamy, smooth, and flavoured with fragrant roasted garlic.
In 2018, I took a life-changing trip to the Middle East. I’ve of course had homemade hummus prior, but never like the kind I had it there!
This hummus is creamy and smooth; rich and even buttery, especially with the addition of roasted garlic—which is my secret to making everything taste better. If you’ve been disappointed by homemade hummus recipes in the past, this one won’t let you down!
Whenever I make this recipe, one thing that hits me is how aromatic the hummus is. It immediately brings me back to my time walking through the markets of Tel Aviv. And when I taste it? Well, that just seals the deal! I recommend serving it with rounds of puffy pita and your favourite vegetables for dipping, but I have a few other ideas below, too.
Notes on Ingredients
Please note that this is important information on the ingredients and instructions and the FULL recipe with amounts and details can be found DOWN BELOW (scroll to it) in the recipe card.
For the Hummus
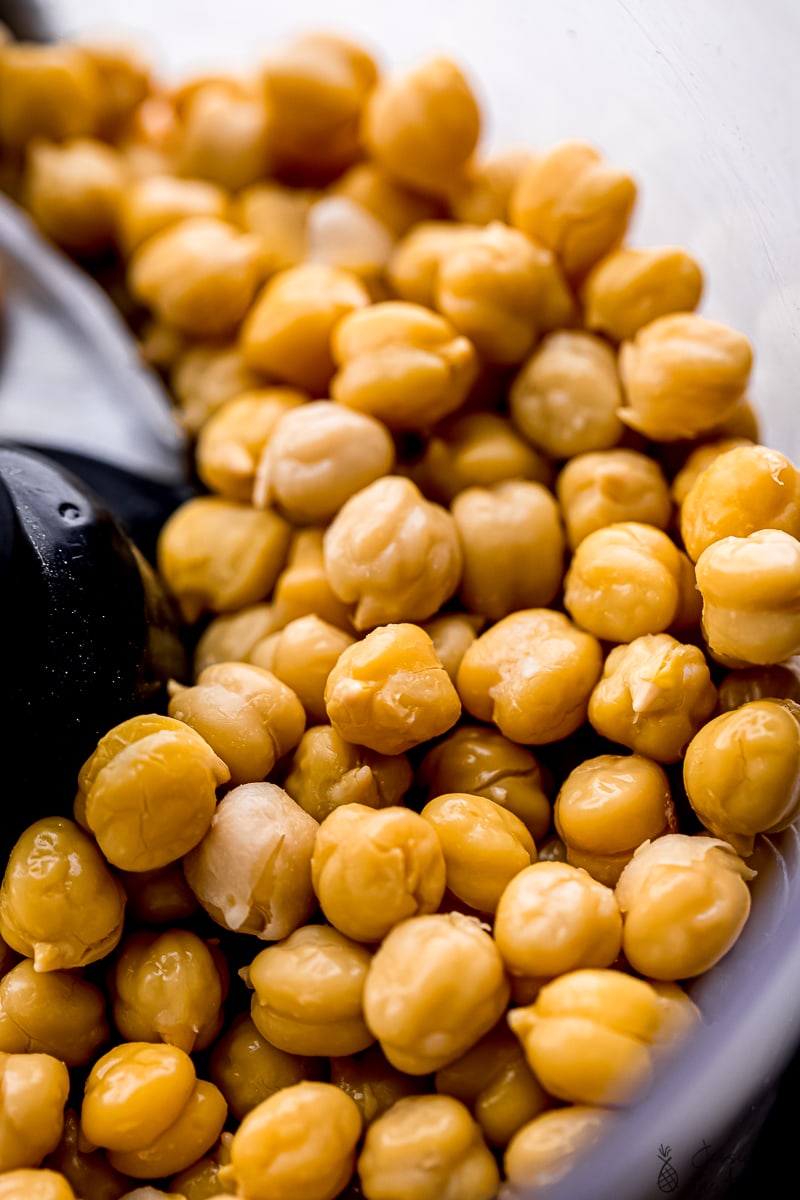
- Chickpeas – The great debate between freshly cooked or canned chickpeas! Freshly cooked always tastes best, but ensure you’re getting quality dried chickpeas to start with. If you want to use canned, use a reliable brand!
- Roasted garlic – Here’s how to roast garlic.
- Limes – Lime juice adds the perfect amount of acidity to complement the other flavours of the hummus.
- Sea salt – My favorite sea salt is Redmond Real Salt! Highly recommend it; it’ll change your salt game.
- Ground black pepper – I love freshly ground black pepper! These are the grinders I use.
- Tahini – Bad tahini will ruin this entire recipe. Be sure that your tahini is nutty, smooth, and palatable. It should never be bitter. I absolutely adore this one, which is the closest I’ve found to what I enjoyed in the Middle East.
- Ice cold water – This will help incorporate the tahini and make the hummus lighter and fluffier.
- Olive oil – Always use the best quality olive oil you can afford! I don’t use a lot here, but what little I use makes a big difference.
For topping:
- Additional chickpeas
- Olive oil
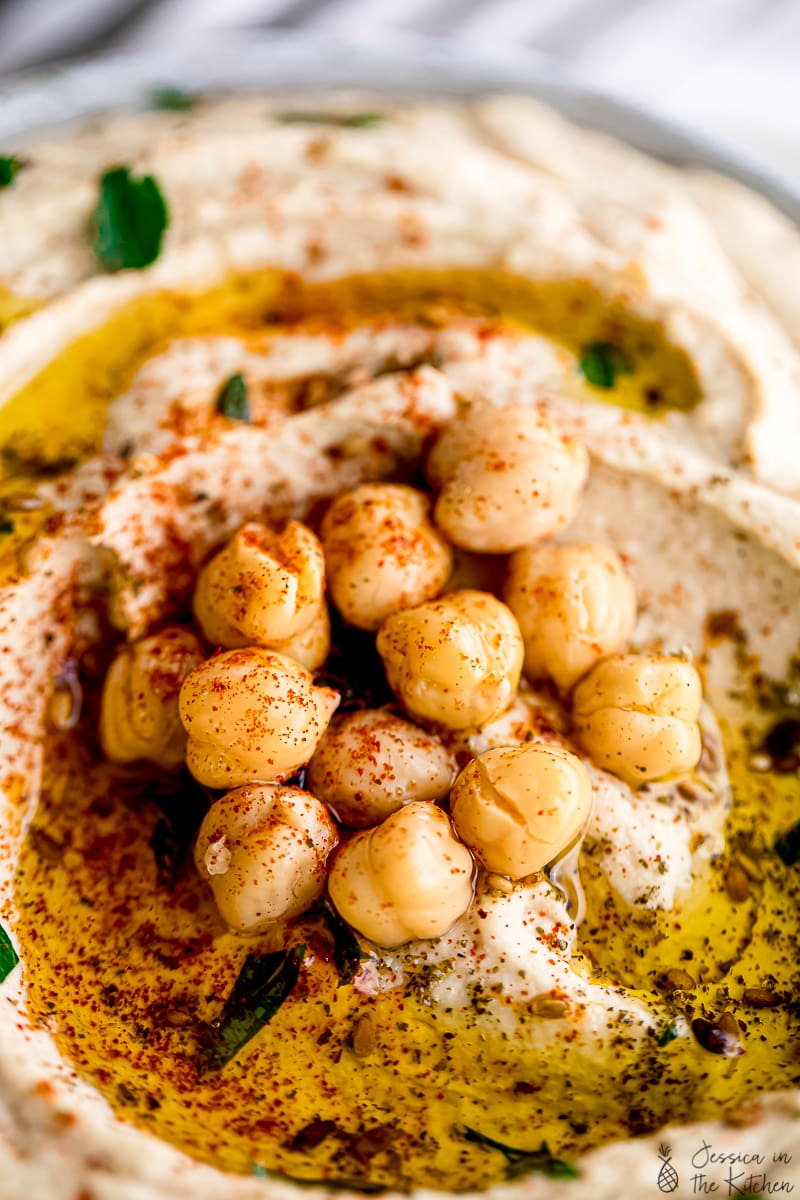
- Za’atar – While za’atar isn’t a mandatory ingredient, it’s a highly recommended topping! I got a giant jar from some amazing friends on my trip that has lasted me to this day. Every time I have hummus, I sprinkle some za’atar on top! You can make it, or you can buy it.
- Smoked paprika
How to Make Homemade Hummus
Homemade hummus is simple, so the key to getting it right is high-quality ingredients and good technique. Here’s what you’ll need to do.
Pulse the chickpeas. Place the chickpeas, garlic, lime juice, sea salt, and ground black pepper in your food processor. Pulse on low for about 15 seconds, or until the chickpeas and other ingredients are chopped, but not blended smooth.
Add the tahini and oil. Turn to food processor to low speed. Pour the tahini in through the chute, then slowly pour in the olive oil. Stop, scrape the sides, and turn the food processor back on at low speed.
Add the water. Slowly pour the ice water into the chute as the food processor runs. The texture of the hummus should begin to change. Leave your food processor on for 3 to 5 minutes, stopping twice to scrape down the sides. The hummus should be light and fluffy; taste and add more of any ingredient you’d like to balance the flavour.
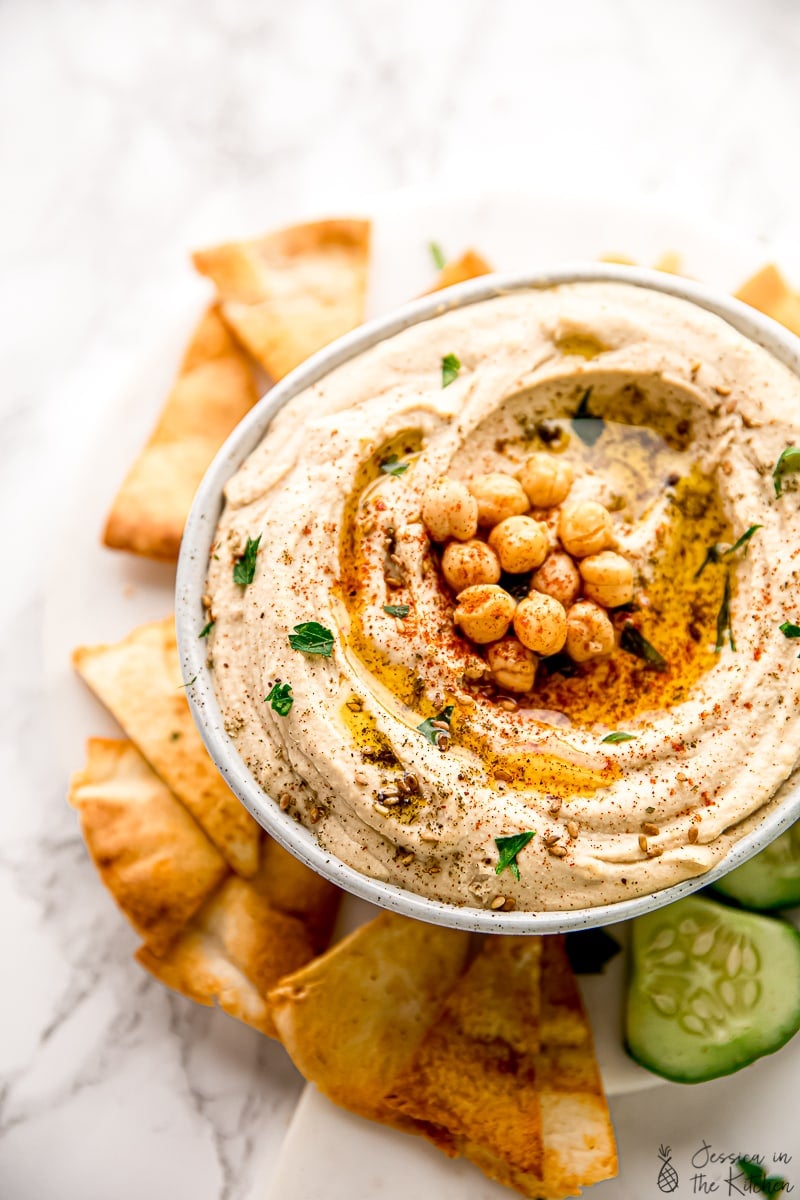
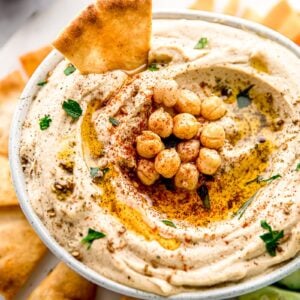
Serve. Scrape the hummus into a serving bowl and use the back of your spoon to swoop it into swirl shapes (see the photo below). Drizzle more olive oil on top and add your favourite toppings. Enjoy with veggies and pita chips or fresh pita bread.
Tips for Success
Here are some tips for making the best homemade hummus.
- Peel the chickpeas. If you want to go the extra mile and get the smoothest, creamiest hummus, peel the chickpeas first. All it takes is a little pinch or rub to remove the skins. I actually love this process and find it kind of therapeutic.
- The ice water is essential. It only takes a few minutes to get ice cold water, so don’t skip it. Just stick a glass of water with ice into your freezer for 15 minutes, then remove the ice and use the water. It helps the ingredients and tahini meld together and gives the hummus that incredibly fluffy and light texture.
- Add the tahini, oil, and water slowly. Always slowly pour these ingredients into your food processor. This allows them to properly incorporate into the hummus. It’s worth going a little slower to make the best hummus.
How to Use Hummus
The best thing about hummus is that it complements so many foods perfectly! Here’s how I like to use it:
- Add it to sandwiches and wraps
- Use it in salads such as my Mediterranean Quinoa Salad Bowl
- Have it with carrots, celery and sweet bell peppers
- Serve it with pita chips
- Thin in out and use it as a dressing or a sauce
- Give it a twist and use it as a base for Beet Hummus!
How to Store
Transfer hummus to an airtight storage container and refrigerate for up to a week.
Can This Recipe Be Frozen?
Yes, you can freeze homemade hummus! Place it in an airtight storage container and freeze for up to 3 months. Let it thaw in the refrigerator, then serve.
Enjoy friends! If you make this homemade hummus recipe, please snap a photo and tag #jessicainthekitchen on Instagram! We’d also love it if you would leave a comment below, and give the recipe a rating! Thanks so much!
Hummus
Ingredients
Vegan Hummus Recipe
- 3 cups cooked chickpeas
- 4-5 cloves roasted garlic
- Juice of two limes
- ¾ teaspoon sea salt
- ½ teaspoon ground black pepper
- 1/2 cup tahini
- ½ – ¾ cup ice cold water, it will incorporate with the tahini and make the hummus lighter and fluffier
- 2 tablespoons olive oil
Topping
- Additional chickpeas
- Olive oil
- Za’atar
- smoked paprika
Instructions
- In your food processor, add the chickpeas, garlic and, lime juice, sea salt and ground black pepper. Pulse/blend on low for about 15 seconds until the chickpeas and other ingredients are chopped up together.
- Turn your food processor on to low blend. Through the chute in the top of your food processor, slowly drizzle in the tahini bit by bit until it’s all poured in. Next, slowly drizzle the olive oil in. Stop, scrape the sides, and turn back on.
- Now, slowly drizzle in the ice-cold water. The texture should begin to change. Leave your food processor on for 3 to 5 minutes, stop twice in between to scrape down the sides. Allow the hummus to blend completely until the hummus begins light and fluffy and fully incorporated. Once blended, taste test and add more of any ingredient that you’d like (be that more salt or tahini or lime juice).
- Scrape from food processor into a bowl if serving immediately and using the back of your spoon, swoop into swirl shapes. Drizzle more olive oil on top with your favourite toppings such as smoked paprika and za'atar. Enjoy with veggies and pita chips, or in sandwiches, wraps or on pasta!
Notes
Disclaimer: Although jessicainthekitchen.com attempts to provide accurate nutritional information, kindly note that these are only estimates. Nutritional information may be affected based on the product type, the brand that was purchased, and in other unforeseeable ways. Jessicainthekitchen.com will not be held liable for any loss or damage resulting for your reliance on nutritional information. If you need to follow a specific caloric regimen, please consult your doctor first.


My neighbor gave me her recipe, which I hoped I could improve upon, but I failed miserably! THIS looks like what I am looking for! Thanks for all the special tips. I’ll do my best to try it soon and give you my star rating!
This is great Randy I hope it gives you what you’re looking for! Thanks for reading!
This is the best hummus I’ve ever had. It will always be in my refrig. Be sure to order the tahini and the Za’atar from Amazon. I can’t believe the tahini is that good. Thanks for the recipe!
Thank you so much Irene. This truly makes us feel great. We’re so happy that you enjoyed it!
Thanks for your recipe Jessica. I love your chickpea coconut curry and it almost became our staple food.
Came across this hummus and there is one little trick I would like to share, if you add a bit of soda (sodium bicarbonate) while cooking your chickpeas they will boil almost into a pure and the skins will go off on their own. After boiling simply wash the skins off with water. Soda will also significantly speed up the cooking.
Thank you so much for reading Anastasia! Also thank you so much for leaving that tip. We will definitely try it out!
5 STARS!!!! Hummus is basically a food group for me, I love it and consume a lot of it. I’ve made my own in the past but the texture was always off and so I ended up just reverting back to store-bought hummus. I saw this recipe on Instagram and knew I needed to try it. It was definitely laborious taking all the skin off the chickpeas, but it was SO worth it. This is hands down the creamiest and smoothest homemade hummus I’ve ever eaten. This is definitely worth the time it takes to make!
Oh wow, thank you Deanna! We’re so happy that you made it and enjoyed it! Removing the skins definitely adds to the creaminess!
Thank you, thank you, thank you for this Hummus recipe Jessica ! This is hands down the best hummus recipe I’ve tried ! I didn’t have to adjust anything while blending; not the salt, the lime, nor the tahini. Your measurements were on point. I highly recommend.
Absolutely delicious and so easy to make! I did half lemon and half lime juice and it was just the right amount of tartness. No more store bought hummus in my future. Now I’m on a roll cooking and baking all things with tahini! Thank you!
I’m excited to try this and bought dried chickpeas how do you recommend cooking them to use in this recipe? I also ordered the tahini you recommended it gets here Tuesday!! 😍
Wow thanks so much for reading! Whew so using dried chickpeas is a bit of work. You’re first going to place them in a pot with enough water to cover the chickpeas, let them soak overnight. The next day drain the chickpeas and depending on how much chickpeas you use (1 to 2 cups) add fresh water and about 1 teaspoon to 1 1/2 teaspoons of salt and 1 teaspoon of baking soda and bring to a boil. When the pot reaches to a boil lower the heat and cook the chickpeas for roughly an hour. After 30 mins check the chickpeas to see if it is soft and is easily smashed between your finger tips. When the chickpeas are properly cooked remove from heat and continue to use the rest of our recipe. I hope this helps!
Chickpeas are currently soaking! Thank you for your reply! In the meantime we made the vegan Mac and cheese tonight and it was incredible! The nutmeg addition is perfect! I can’t wait for tomorrow’s hummus!! 🤗
Best hummus recipe I’ve tried yet and so easy!! The cold water is a great trick, wow! Didn’t use the recommended brand of tahini but planning to buy that when I run out. Blended the za’tar seasoning in with everything and turned out great. This will be my only hummus recipe going forward!!
The texture of this is ahhhhmAzing!!!!! Hands down the best consistency I’ve ever made. I’m looking forward to playing around with flavors! Thank you 🙂
Love hummus and can’t wait to try this!
Awesome we hope you enjoy it!