

Whole Grain Sandwich Bread
Looking for the perfect slice to build your PB&J or avocado toast on? This whole grain sandwich bread is for you. It’s soft, tender, and surprisingly easy to make!
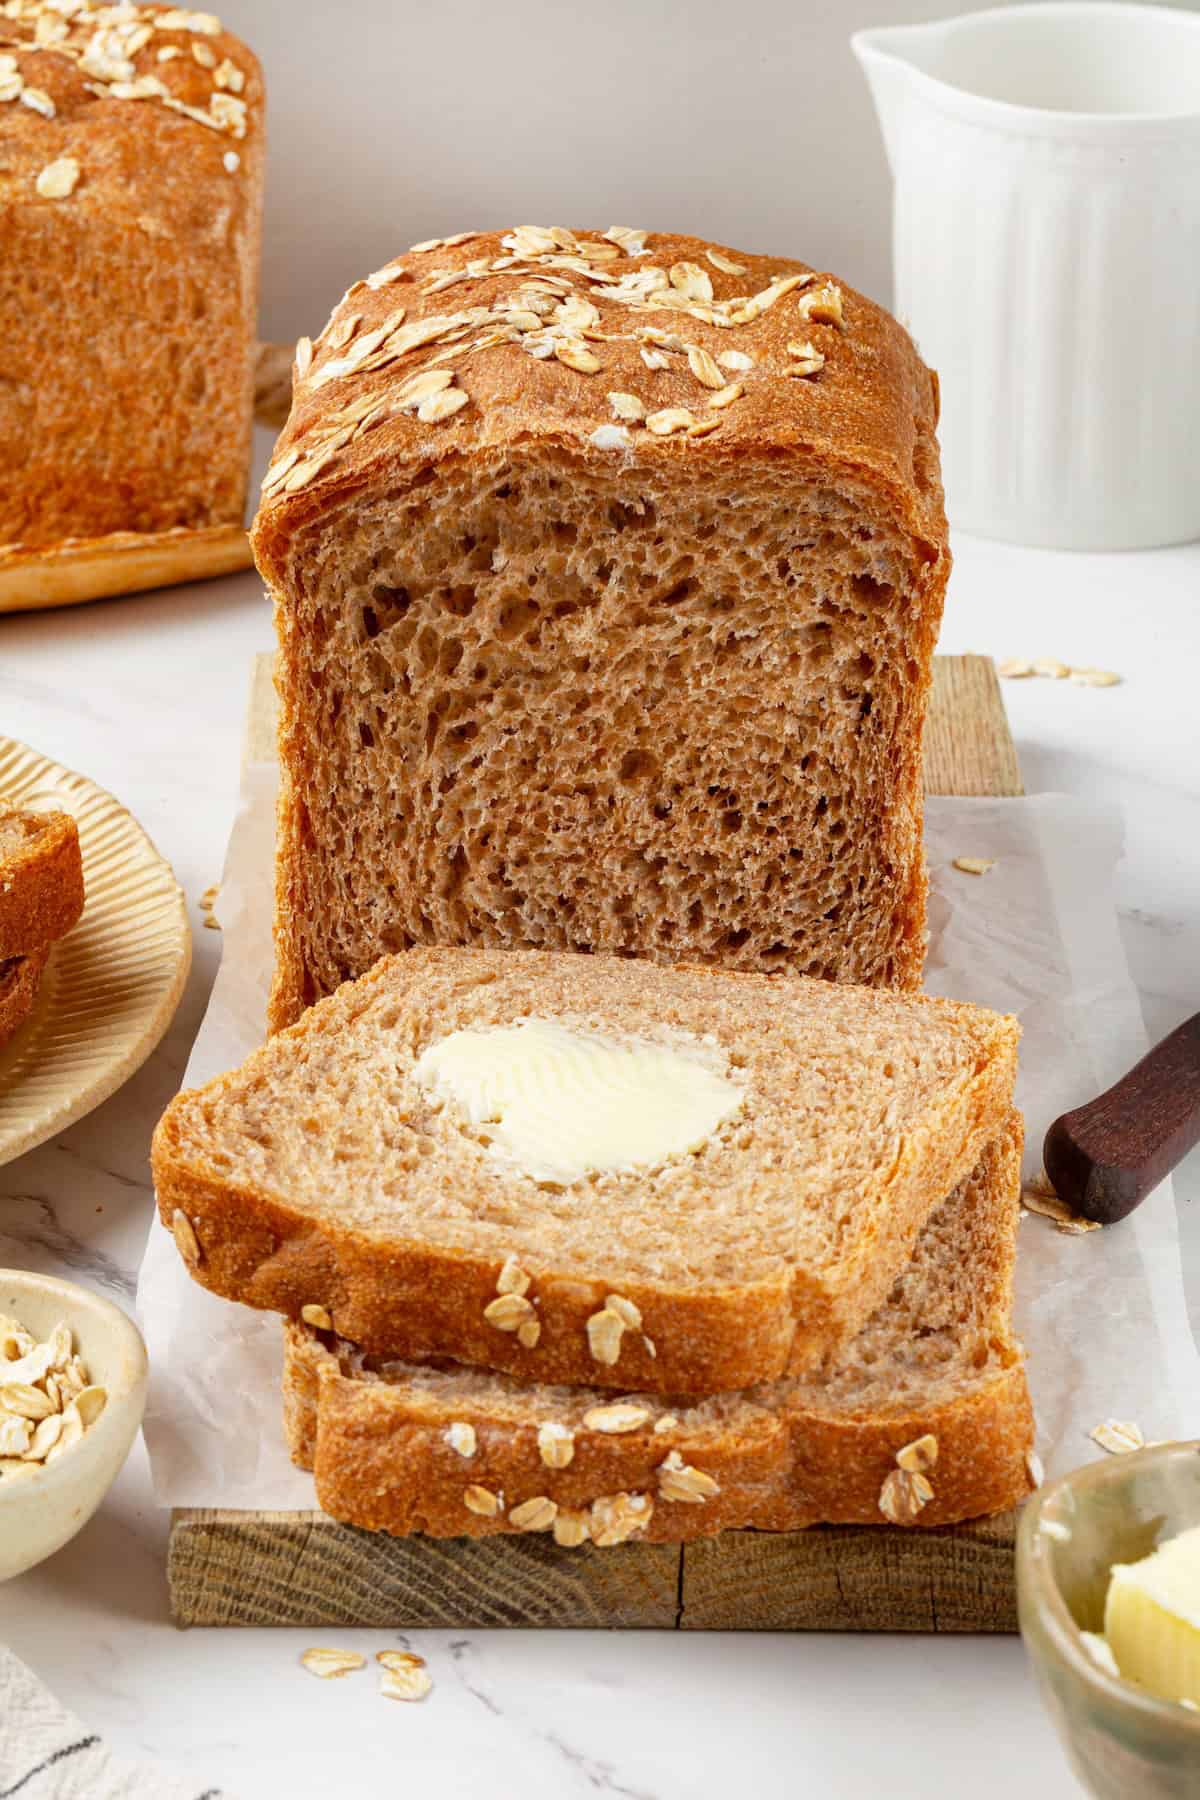
I LOVE baking bread. Especially since my daughter was born. I think it’s because, now that I have a little one to take care of, I am extra focused on providing wholesome, nourishing options for my family. This whole grain bread hits the mark.
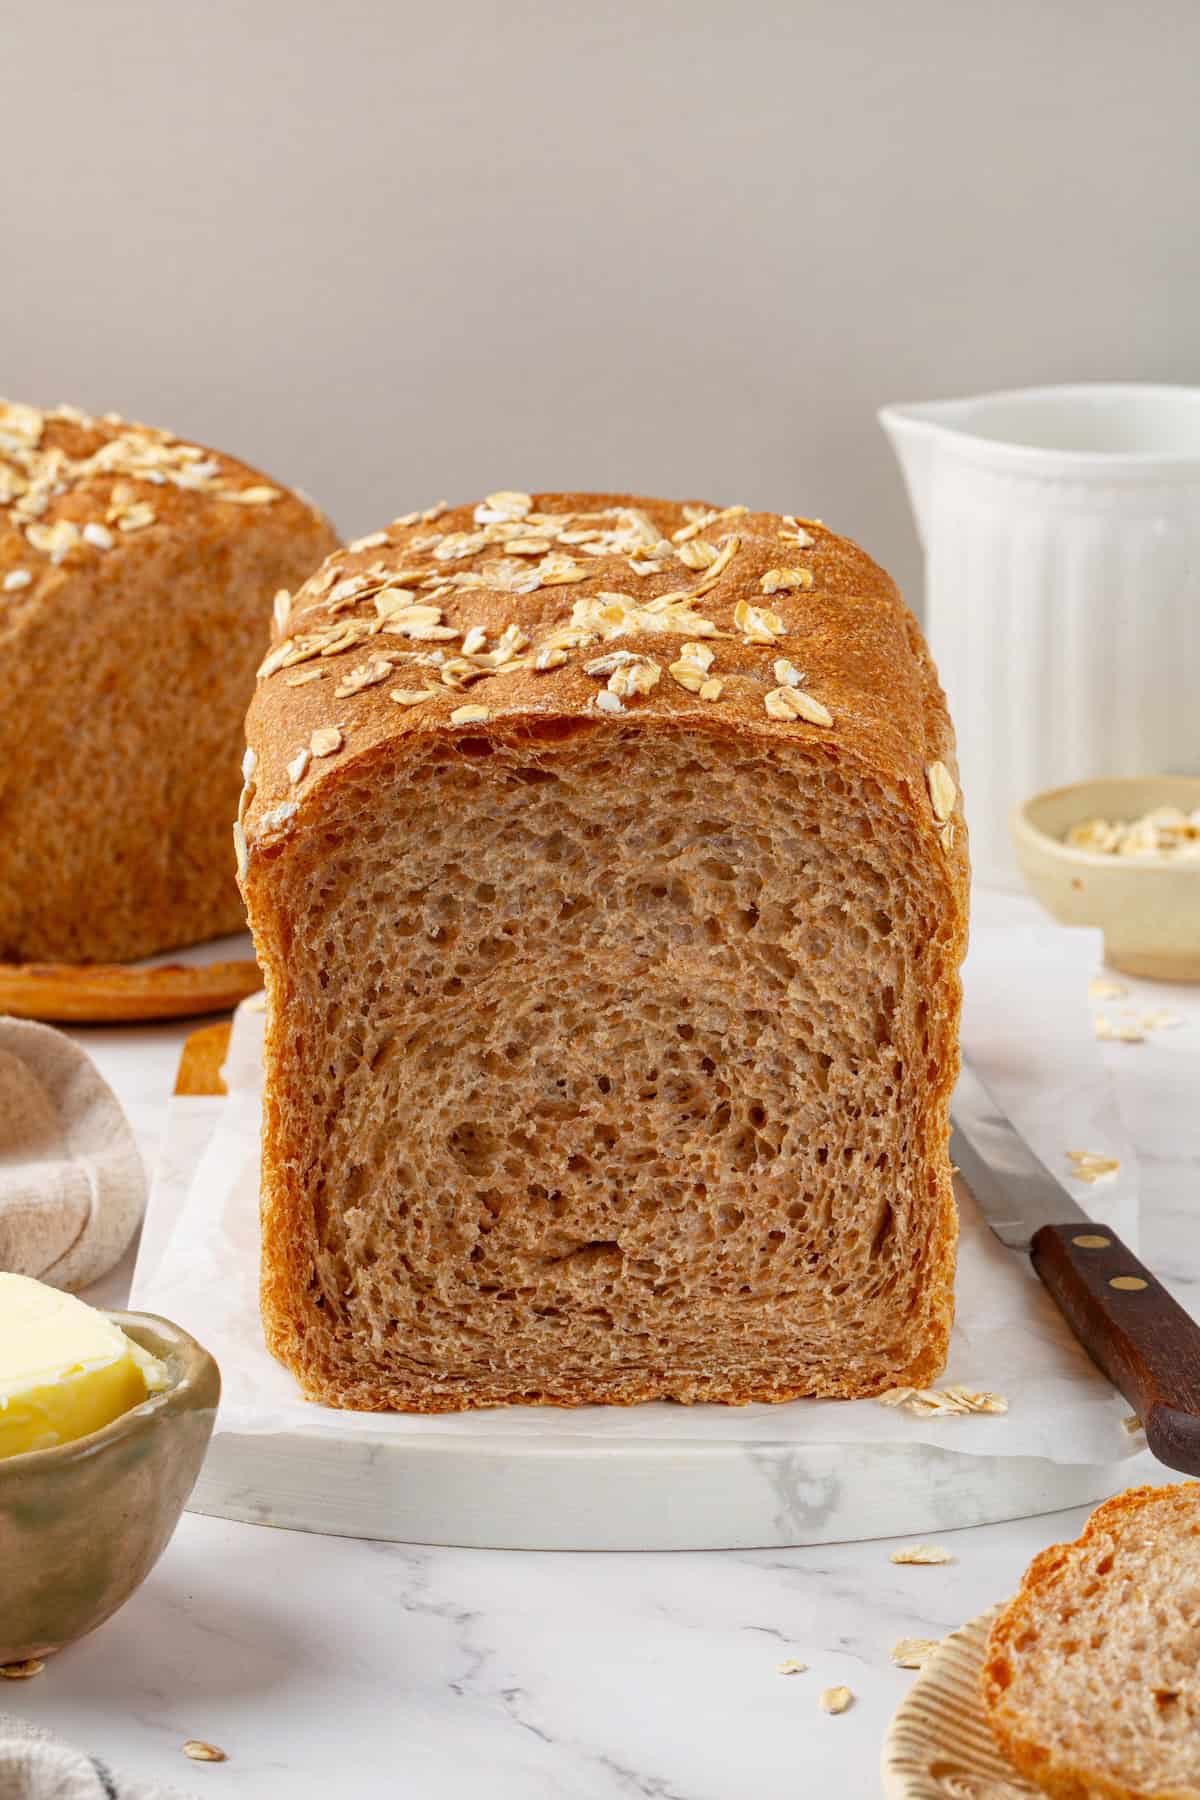
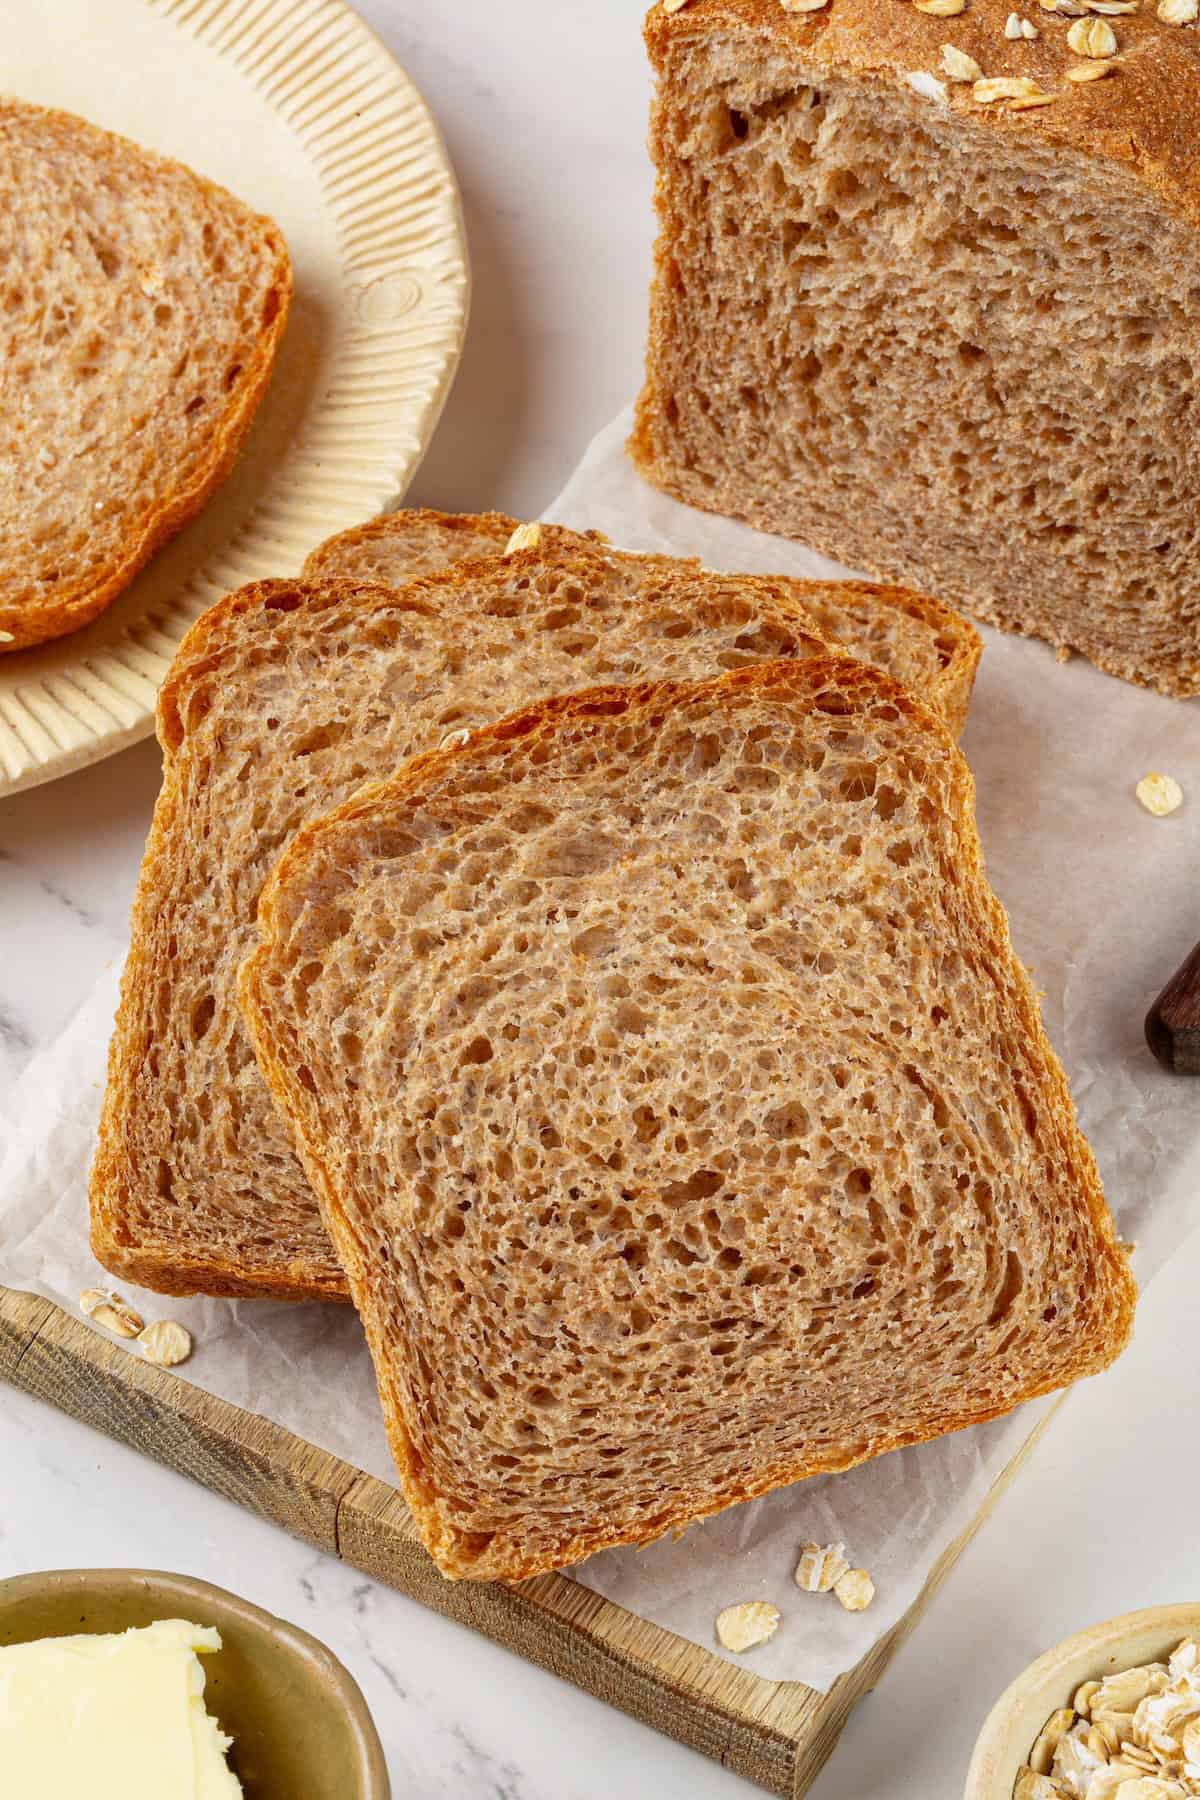
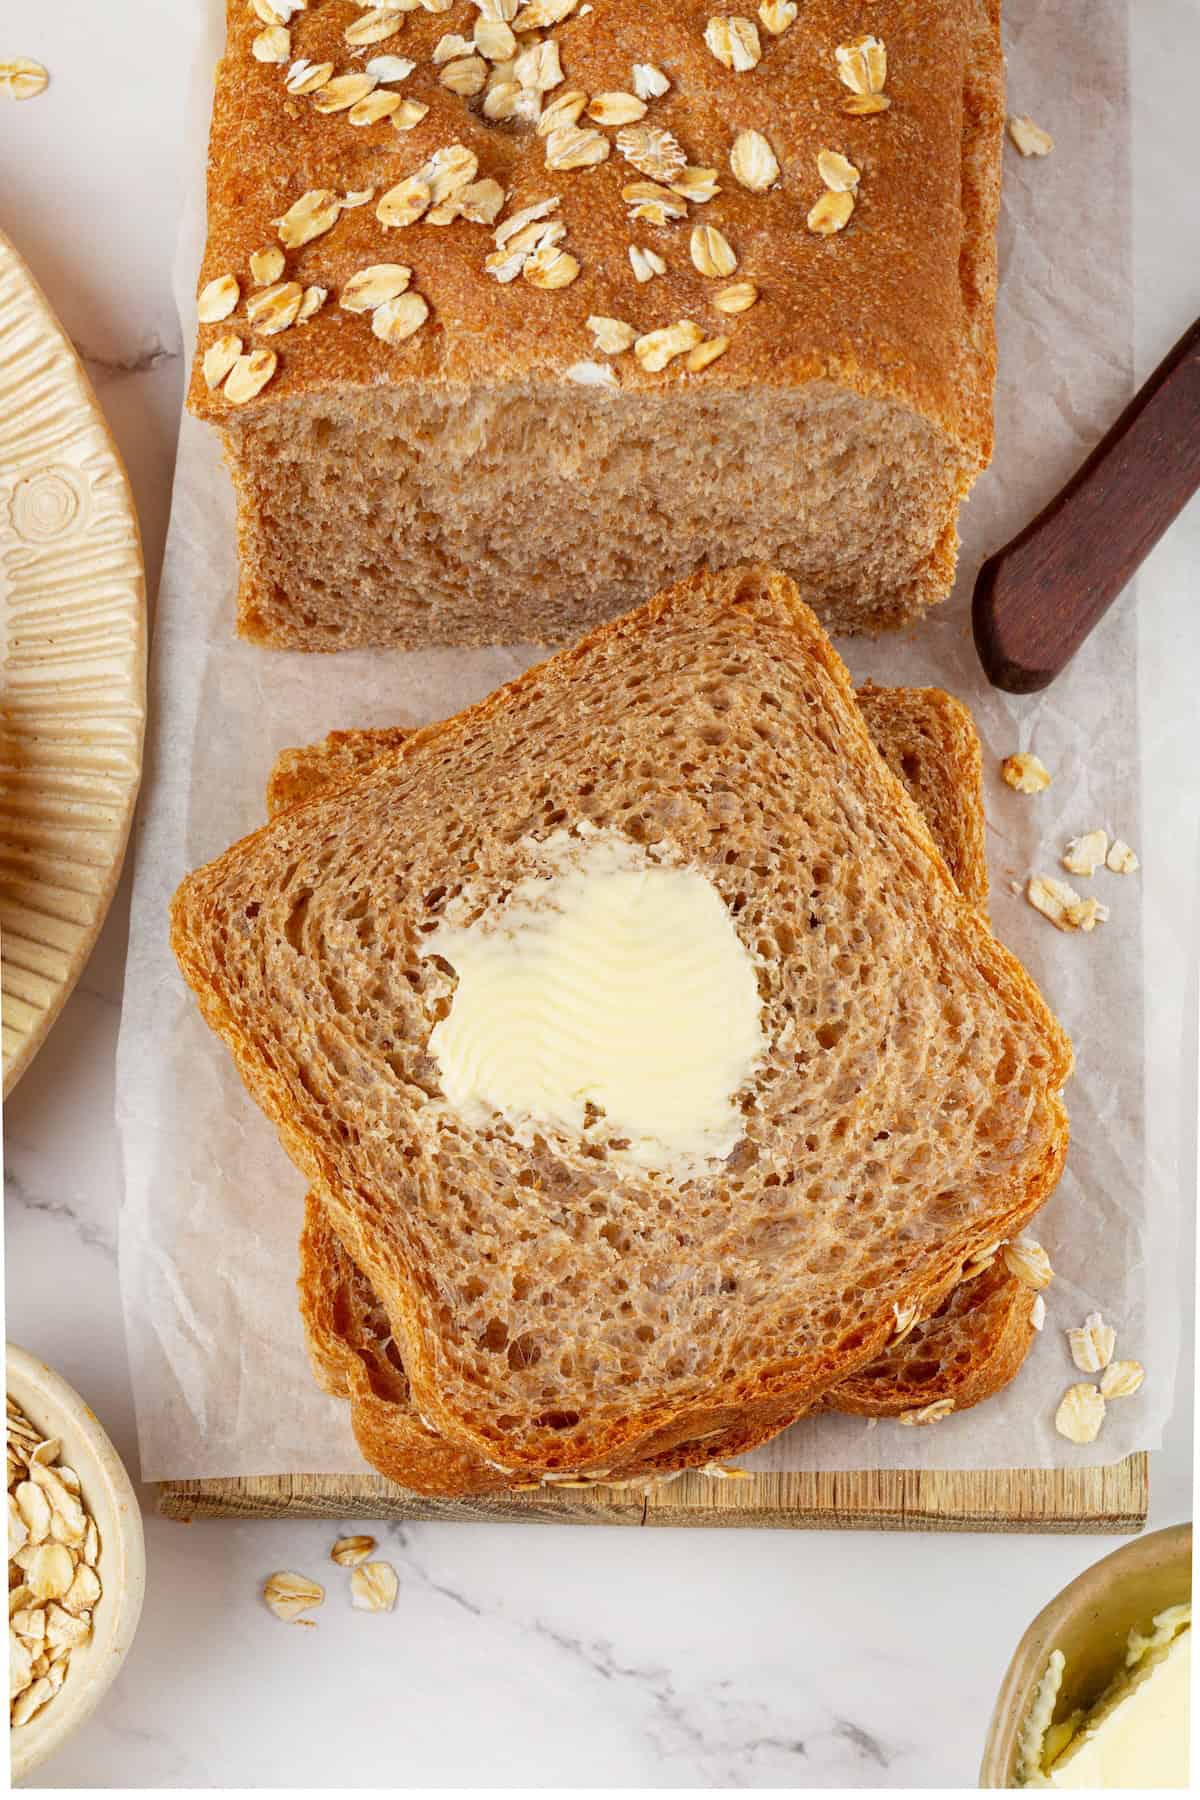
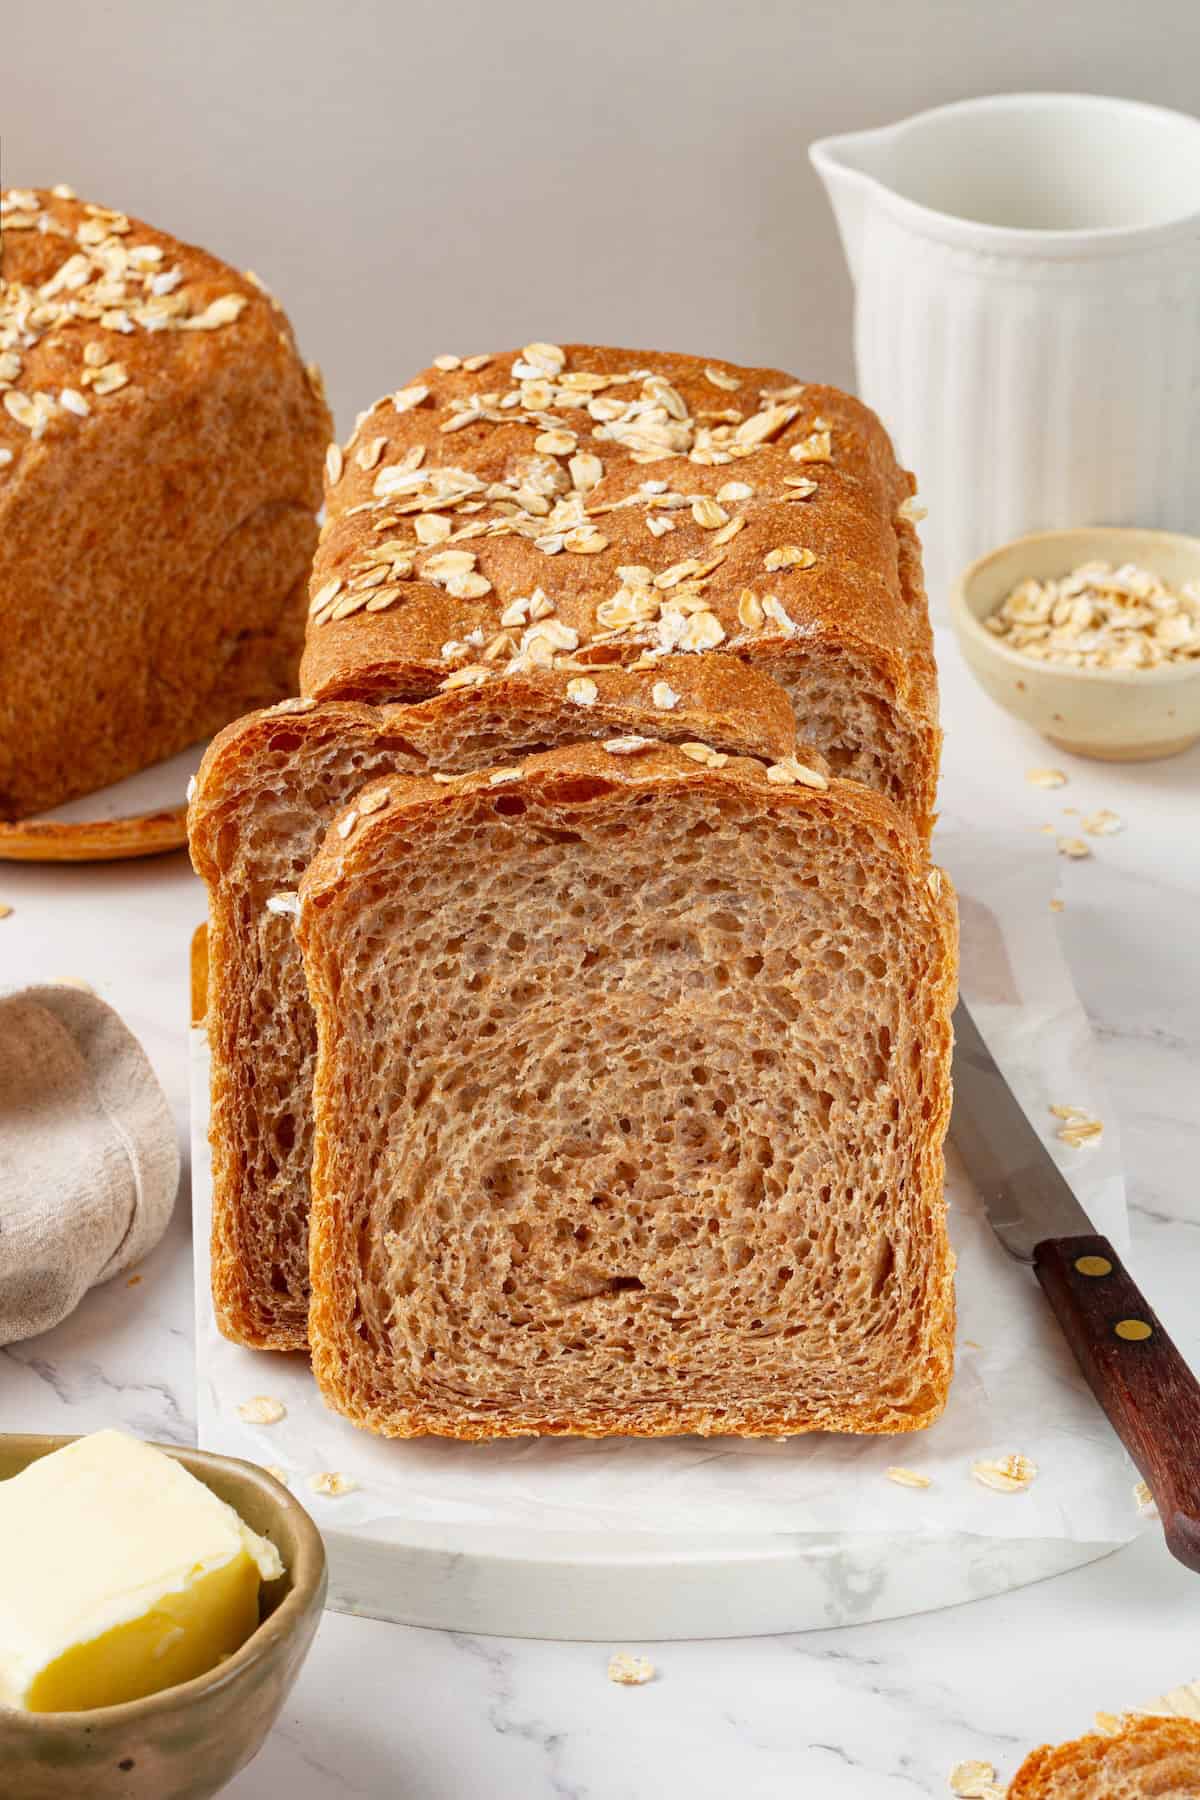
Made with whole wheat bread flour in just under 3 hours, it’s soft and tender with a perfect, even crumb. When it comes out of the oven, you can smell the love that went into it. Whether you’re toasting it up and spreading it with vegan butter and homemade strawberry jam or using it to build your favourite tofu egg salad sandwich, it’s a nourishing staple you’ll want to make every week.
Why Bake Whole Grain Bread From Scratch?
If you’ve been thinking about baking your own whole grain sandwich bread, let this be the recipe that convinces you to give it a try.
- Freshly baked whole grain bread is one of those things that’s hard to appreciate until you’ve had it warm from the oven. The crust is lightly crisp, the inside is soft and tender, and the nutty flavour of the whole wheat really shines in a way that store-bought loaves rarely match.
- Making it yourself means you control exactly what goes into the dough. There are no unnecessary preservatives or additives. Just simple ingredients that come together into a loaf that’s perfect for sandwiches and toast.
- Then there’s the experience itself. Watching the dough rise, filling your kitchen with the aroma of freshly baked bread, and slicing into a warm loaf you’ve made from scratch never gets old. It’s one of those recipes that feels just as rewarding to make as it is to eat.
Notes on Ingredients
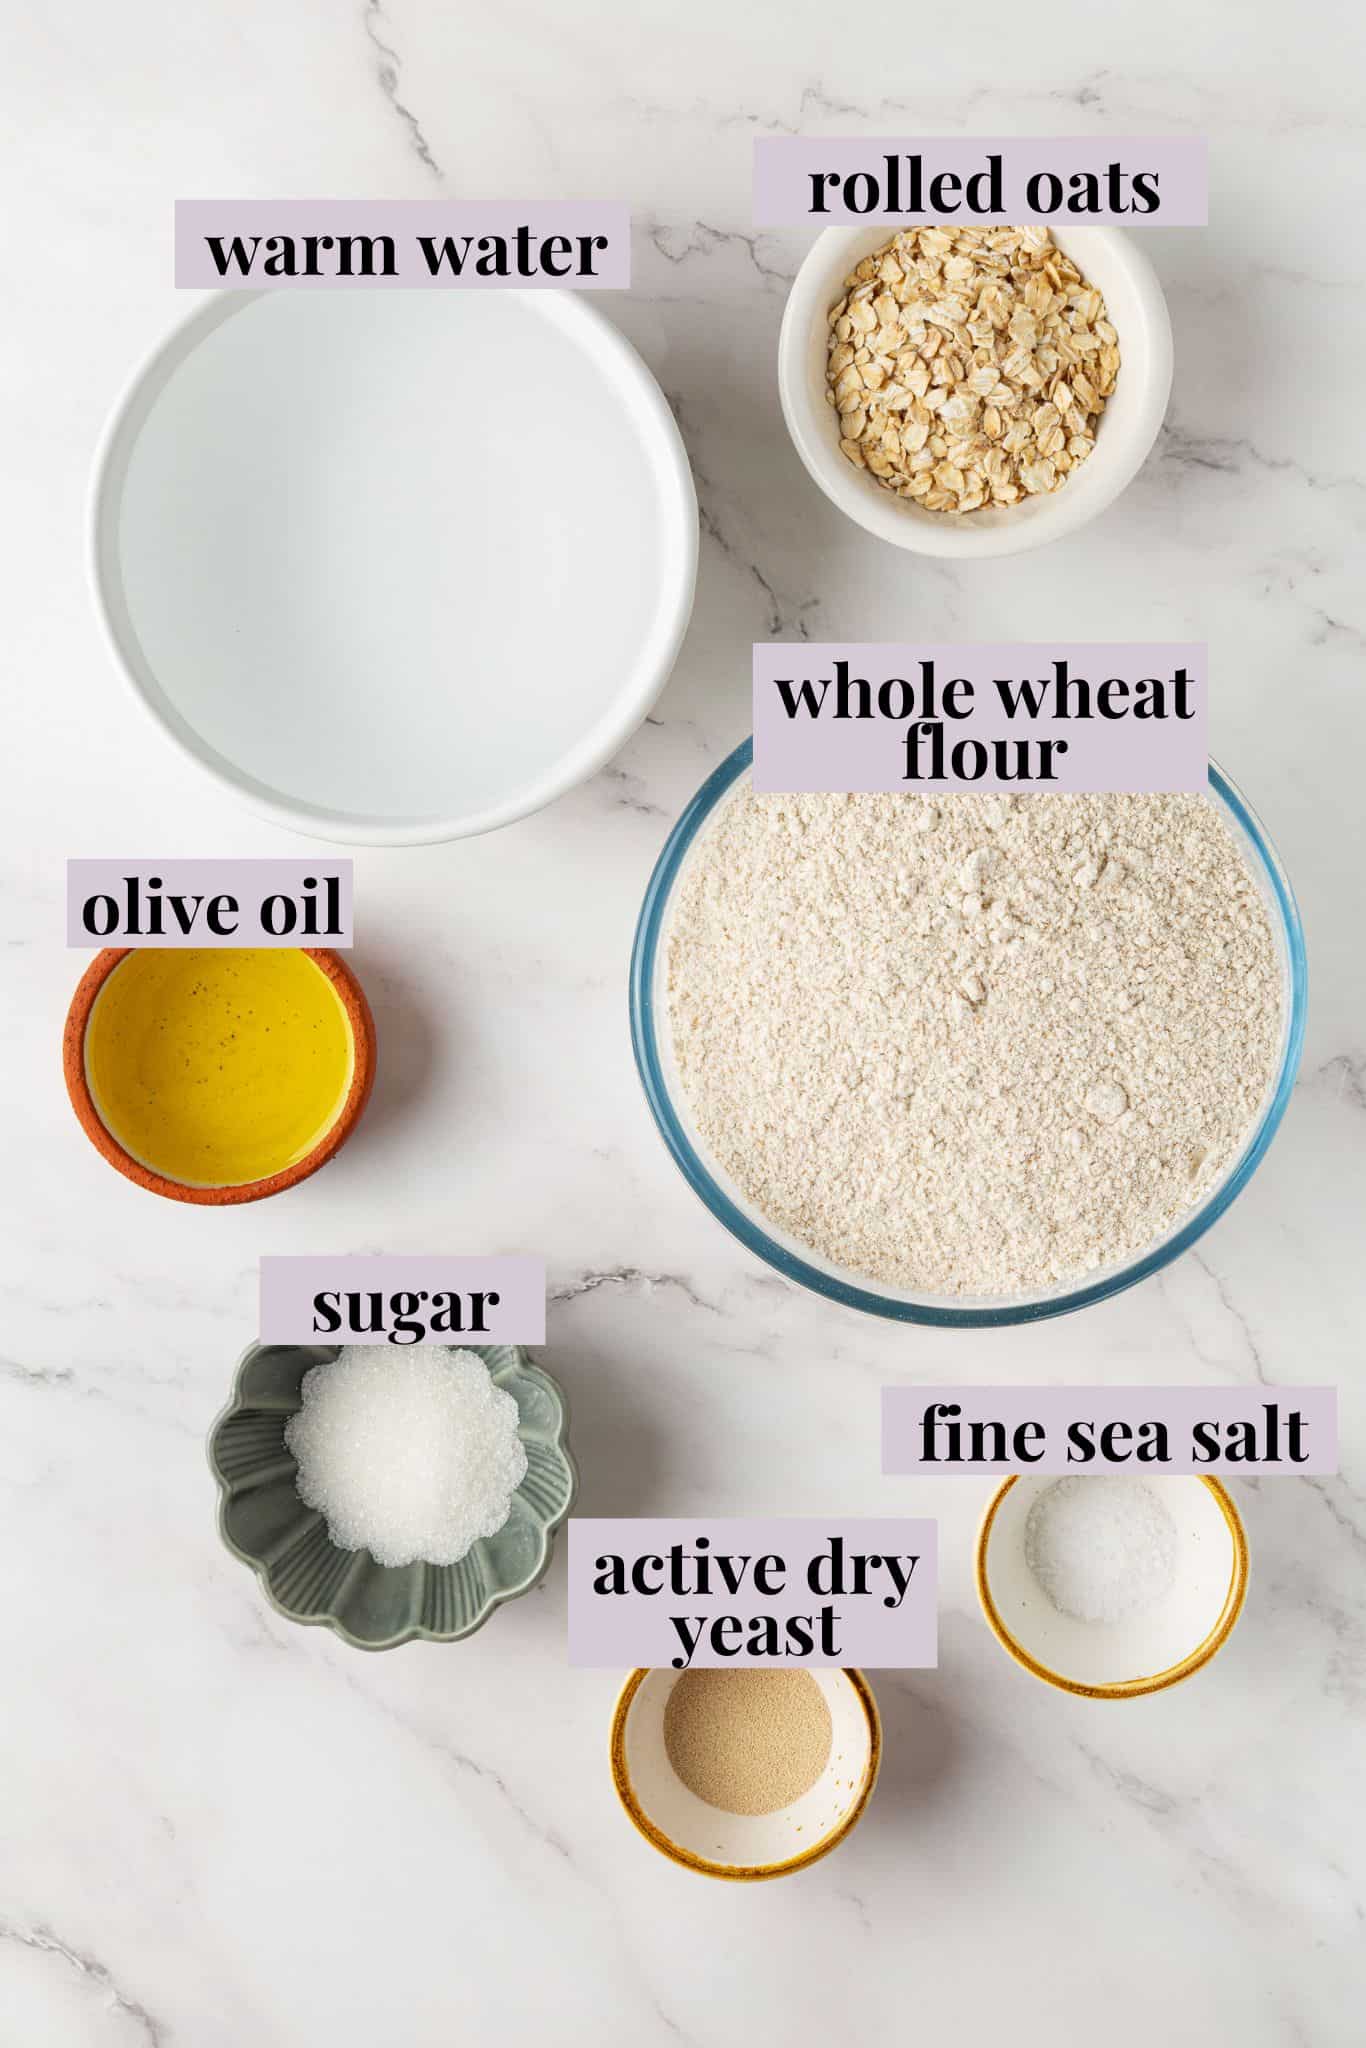
Here’s what you’ll need for this whole grain bread recipe. See the recipe card below for precise measurements.
- Whole wheat flour – Whole wheat bread flour* produces a stronger gluten structure and a lighter, softer loaf than regular whole wheat flour.
- Warm water – Aim for 105–110°F (40–43°C). If the water is too hot, it will kill the yeast. Too cold? The yeast won’t activate properly. Either way, you’ll end up with a flat loaf.
- Sugar – Granulated sugar is my favourite, but you could use brown sugar or honey. The yeast feeds on the sugar for a better rise. Don’t try to use less.
- Active dry yeast – Make sure your yeast is fresh! When you mix it with the warm water, it should froth up over the course of 5-10 minutes. If it doesn’t (and you’re certain your water is 105–110°F/40–43°C), you’ll need to purchase new yeast.
- Fine sea salt – Table salt will also work.
- Olive oil – Or melted vegan butter for a richer loaf.
- Rolled oats – I prefer old-fashioned rolled oats for the best texture. Quick oats aren’t quite the same.
*No whole wheat bread flour? Substitute up to 1 cup (120g) of the whole wheat flour with all-purpose or bread flour for a less dense loaf, or use regular whole wheat flour for a heartier texture.
Can I Make This Gluten-Free?
You can, but I won’t lie to you…it’s a little tricky and will likely take a few tries to get it right. If you’re set on turning this recipe gluten-free, you’ll have to make the following changes:
- Gluten-free flour. Substitute all the flour with 5¾ cups (700g) of your favourite 1:1 gluten-free baking flour. I like Bob’s Red Mill, but most products will do so long as they contain xanthan gum. Xanthan gum acts as a binder and adds structure that gluten-free flour lacks.
- Psyllium husk. You may also want to add 2 1/2 tablespoons (20g) of whole psyllium husk or 2 tablespoons (15g) of psyllium husk powder. When mixed with liquid ingredients, it creates a gel that behaves surprisingly similarly to gluten. This increases the dough’s elasticity and helps it trap air for a better rise.
- More water. You’ll need to add 1/2–3/4 cup (120–180ml) extra water to properly hydrate the gluten-free flour. You can expect the dough to be quite a bit more moist than traditional bread dough. That’s fine.
- Skip the kneading. Since there’s no gluten to develop, you don’t really need to knead gluten-free bread dough. Just stir the dough until all of the ingredients are thoroughly combined (2-4 minutes).
- Expect a lower rise. Gluten-free bread won’t double in size when rising as wheat bread does. It’s only likely to increase by about 50-75%.
- One rise. When baking with wheat flour, you can punch it down, and it will rise again. Gluten-free flour won’t do that. If you punch it down, it will stay flat. So, you’ll only need to let it rise once.
- Increase baking time. You may need to bake the bread for about 10 more minutes in order for the loaf to cook through.
I will reiterate that turning wheat bread into a gluten-free version is tricky and often takes multiple attempts, but it is totally doable. If you’re looking for a sandwich bread recipe specifically designed for the GF folks, check out my Gluten-Free Sandwich Bread.
How to Make Whole Grain Sandwich Bread
Ready to get started? Here’s a general overview of how to make this easy homemade sandwich bread. For more detailed instructions, see the recipe card below.
Make the dough
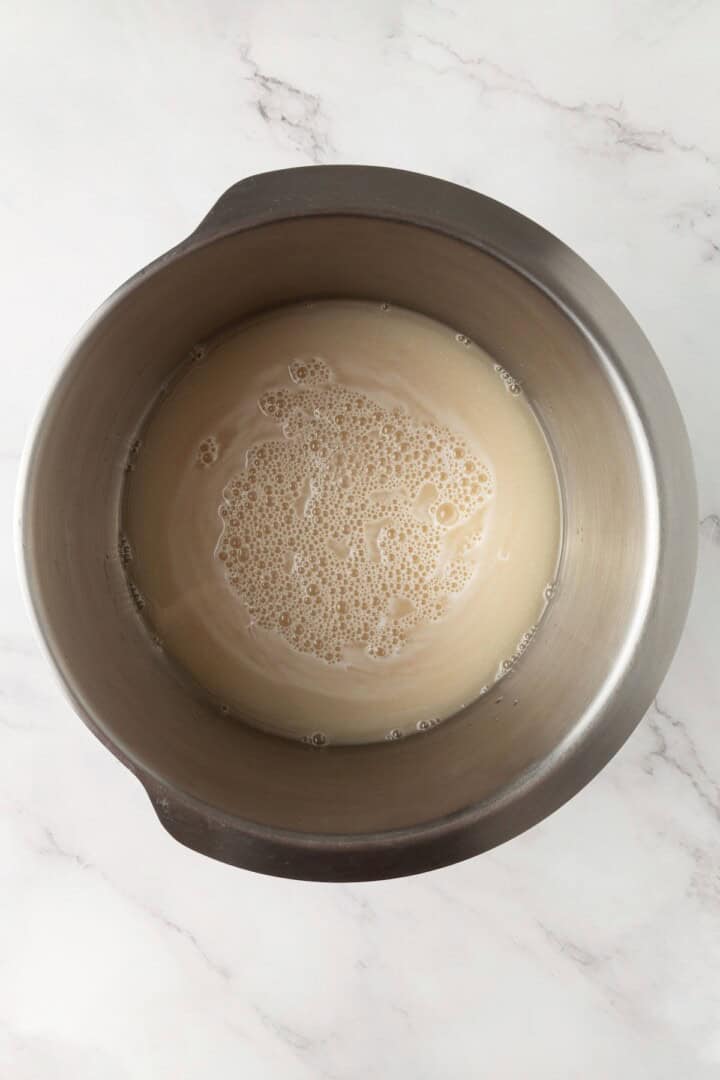
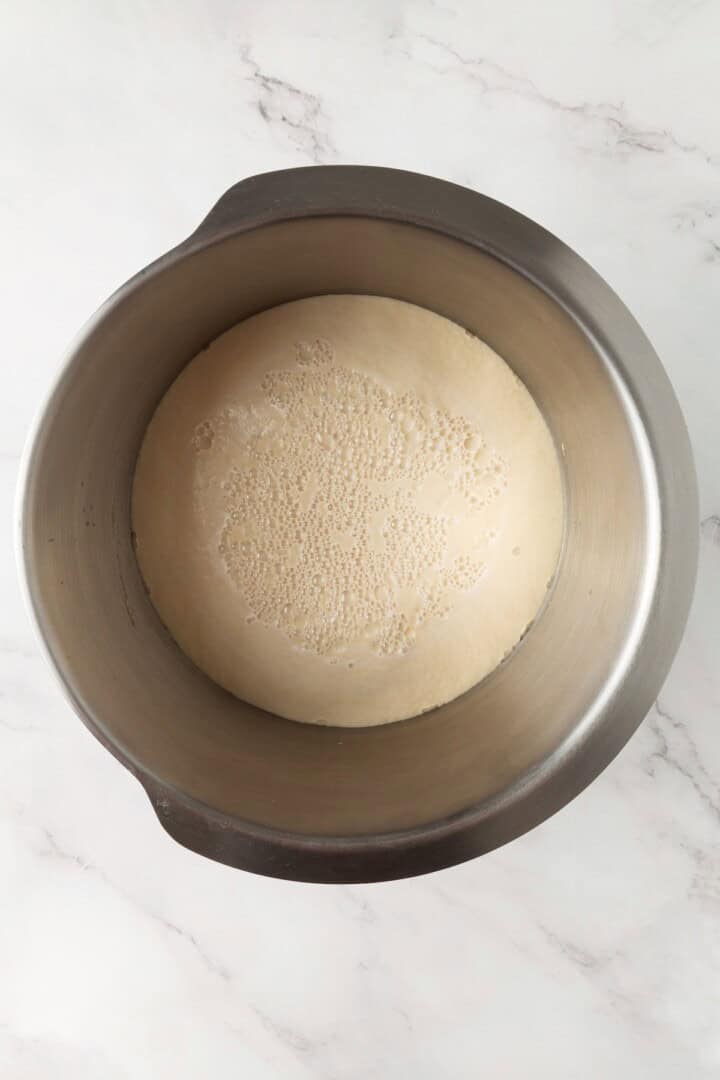
- Activate the yeast. In a large mixing bowl, stir together the warm water, sugar, and yeast, and let sit for 5–10 minutes until foamy.
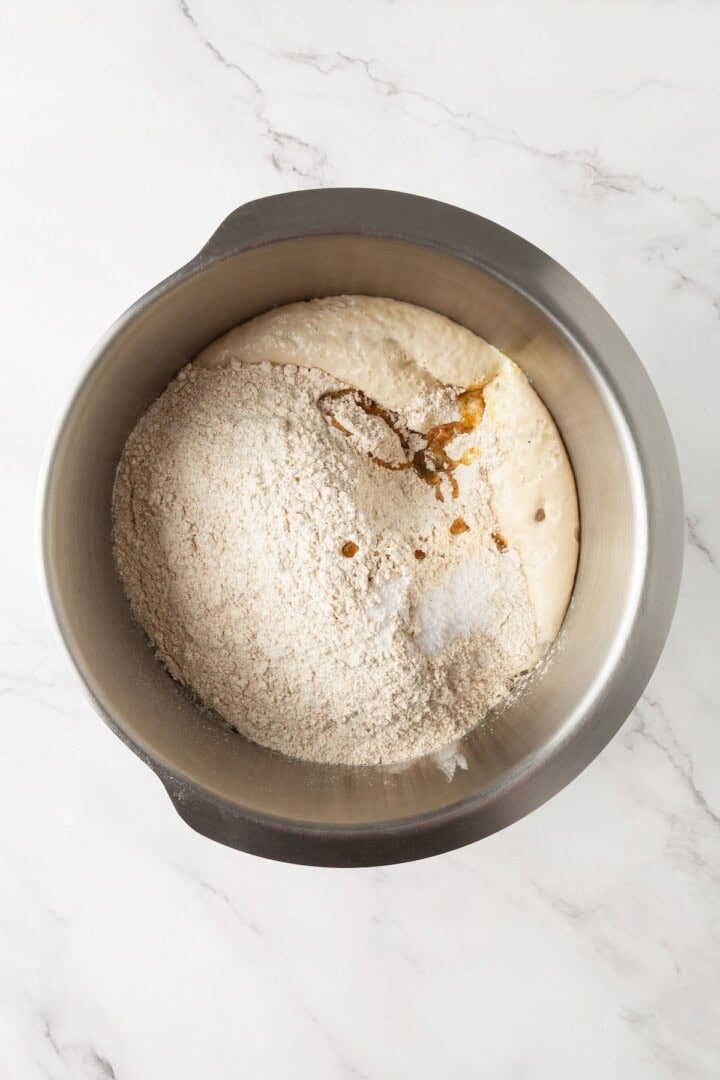
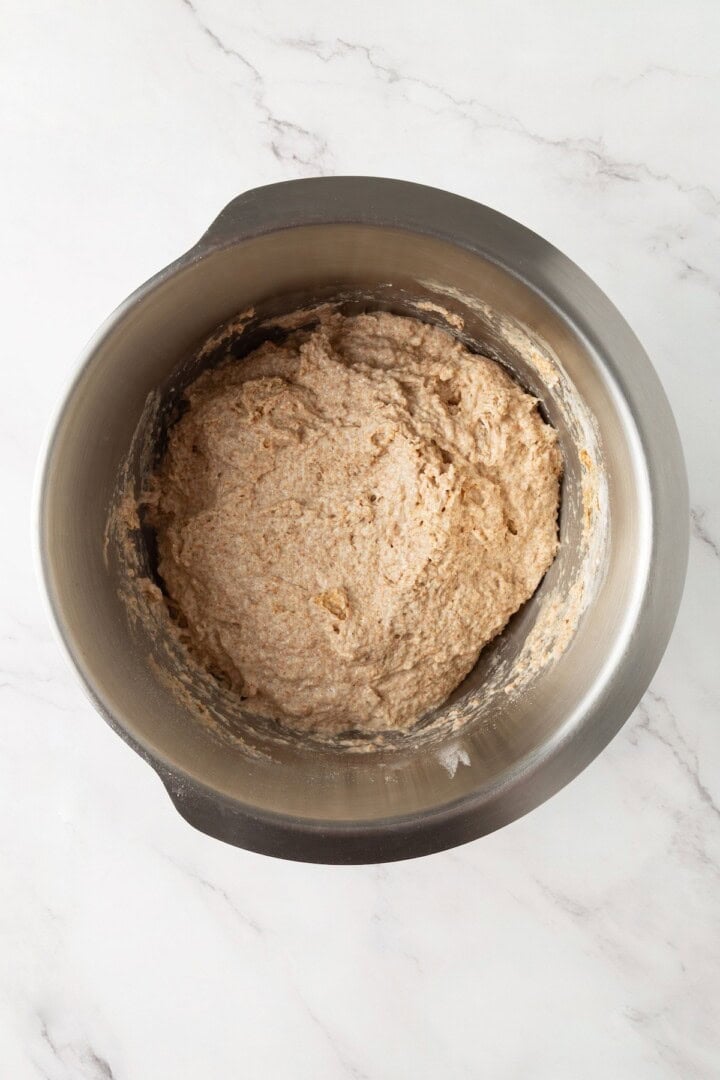
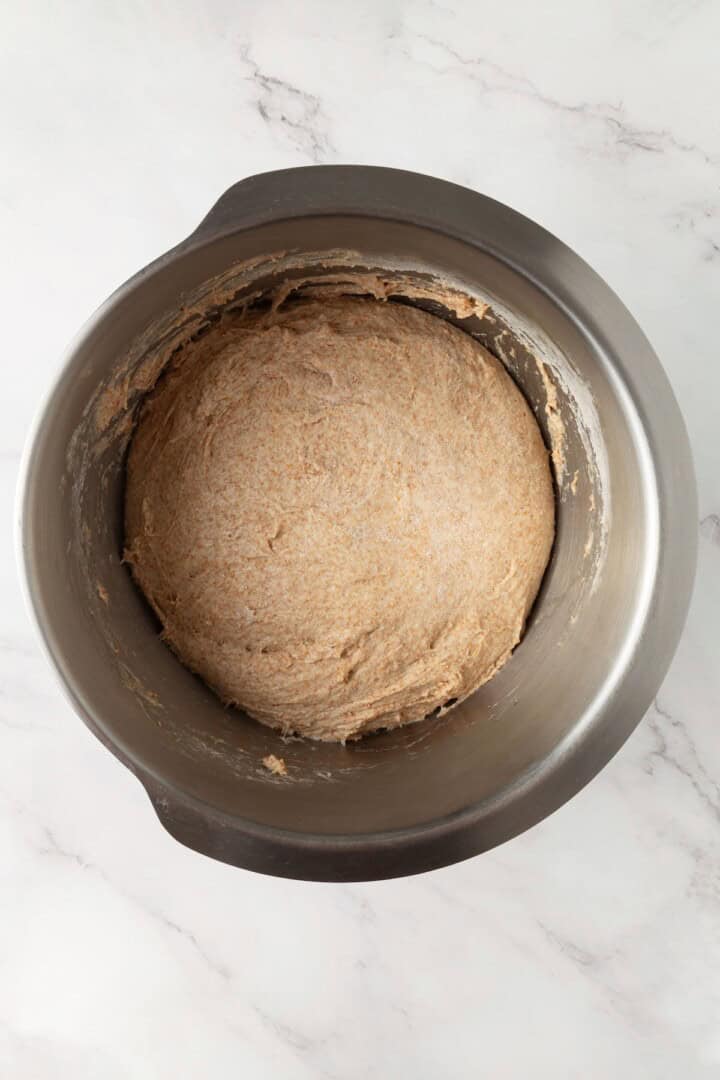
- Mix the dough. Stir in the flour, salt, and olive oil until a rough, shaggy dough forms.
- Knead. Transfer the dough to a lightly floured surface and knead for 8–10 minutes until smooth and elastic.
Let it rise
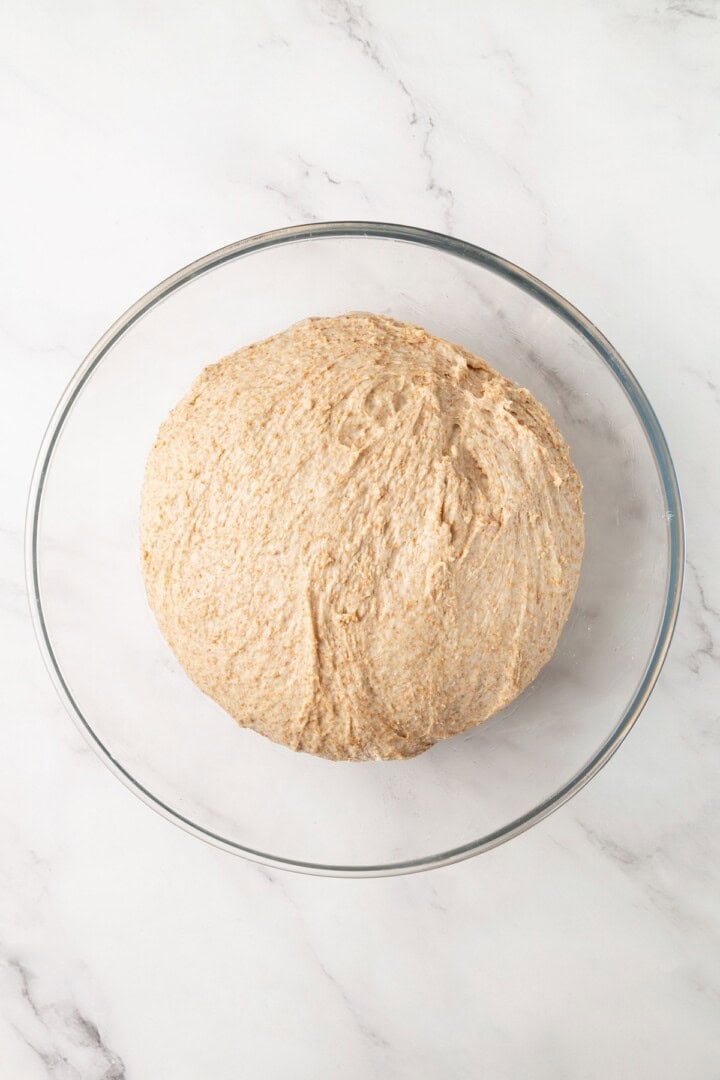
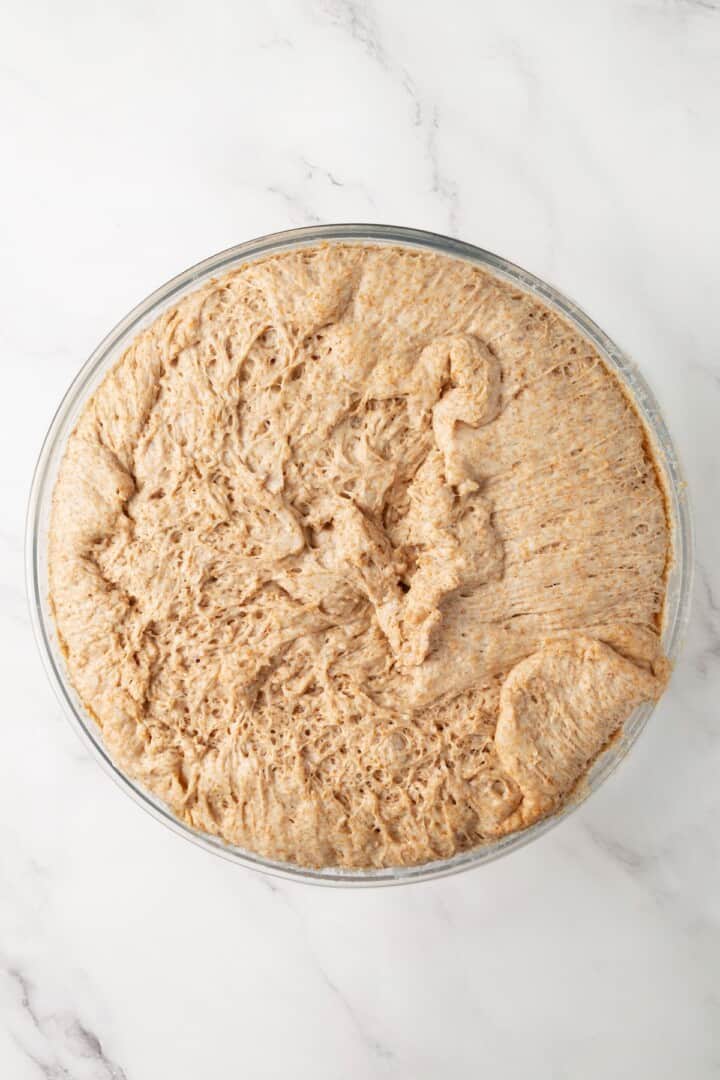
- First rise. Lightly oil a large bowl and place the dough inside, turning once to coat. Cover with a clean kitchen towel and let it rise in a warm place for 1–1½ hours.
- Prep the pans. Lightly grease two 8×4-inch (20×10cm) loaf pans.
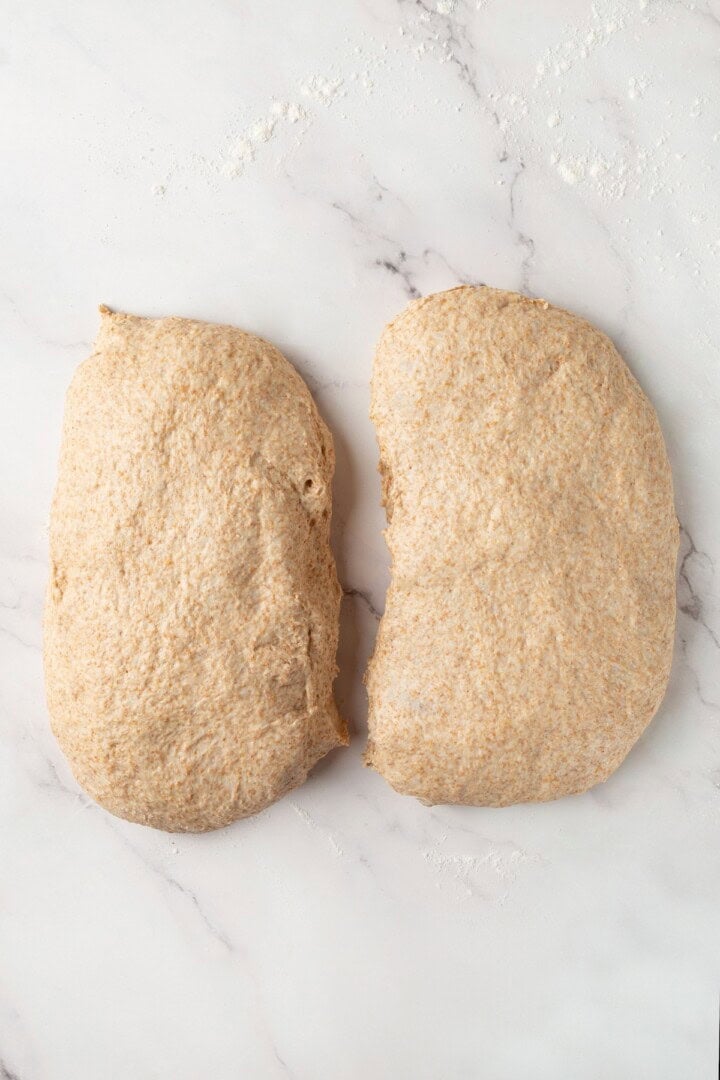
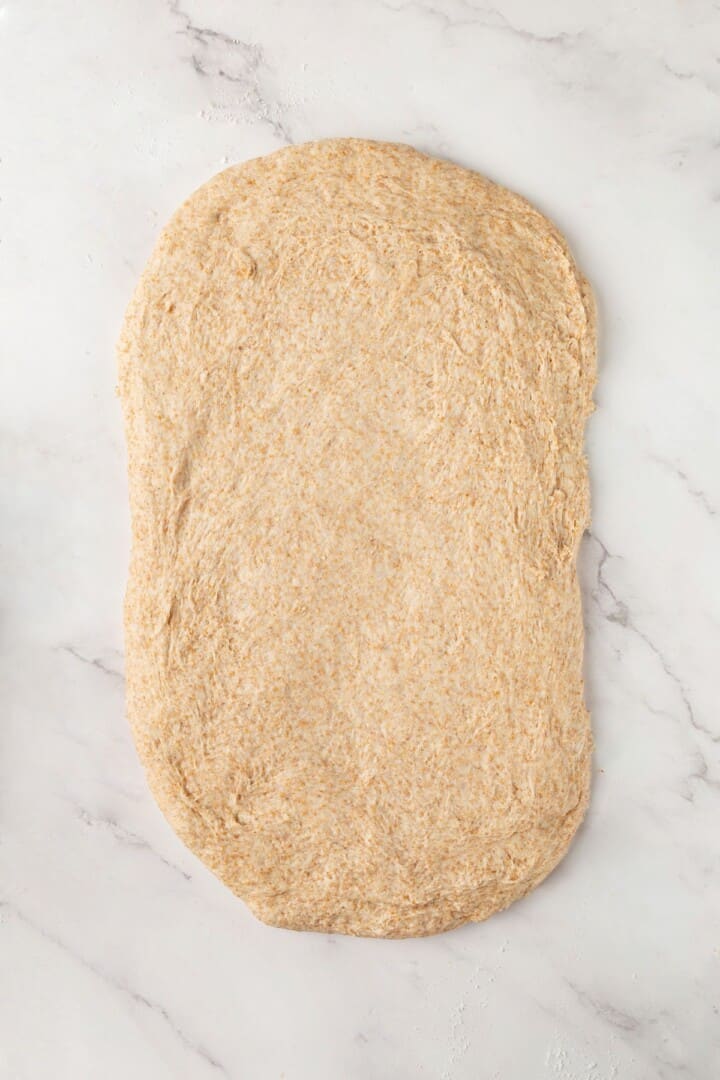
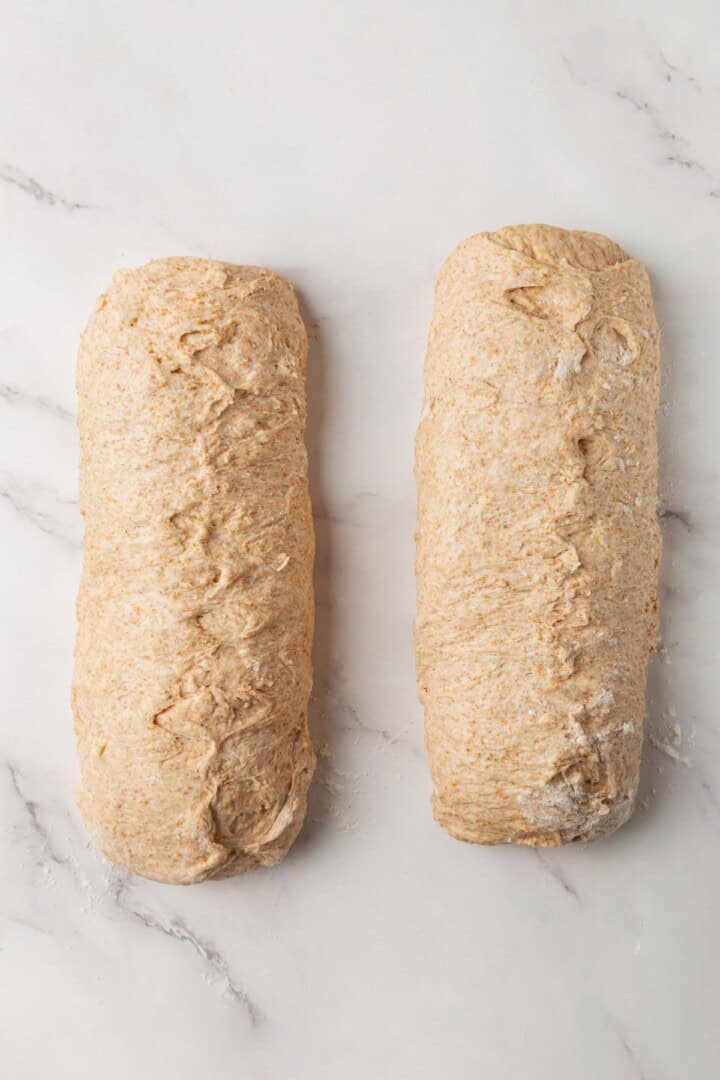
- Shape. Turn the dough onto a lightly floured surface. Cut it in half. Press each half into a rectangle the width of your loaf pans and roll into a tight log. Pinch the seams and tuck the ends under. Place seam-side down in the prepared pans.
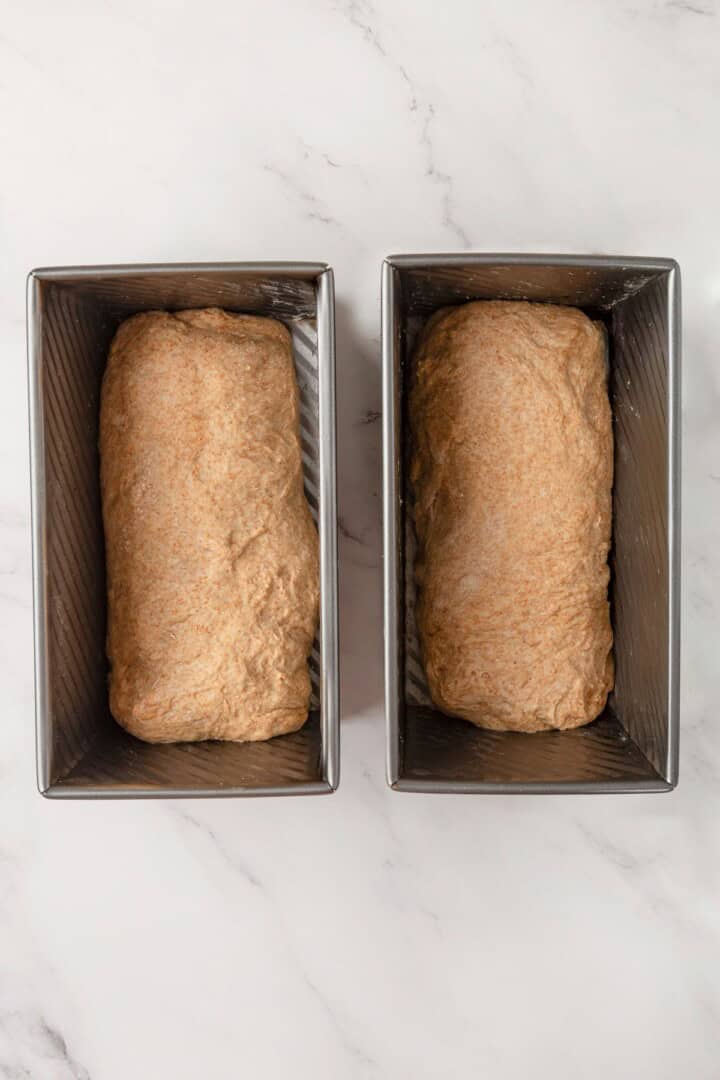
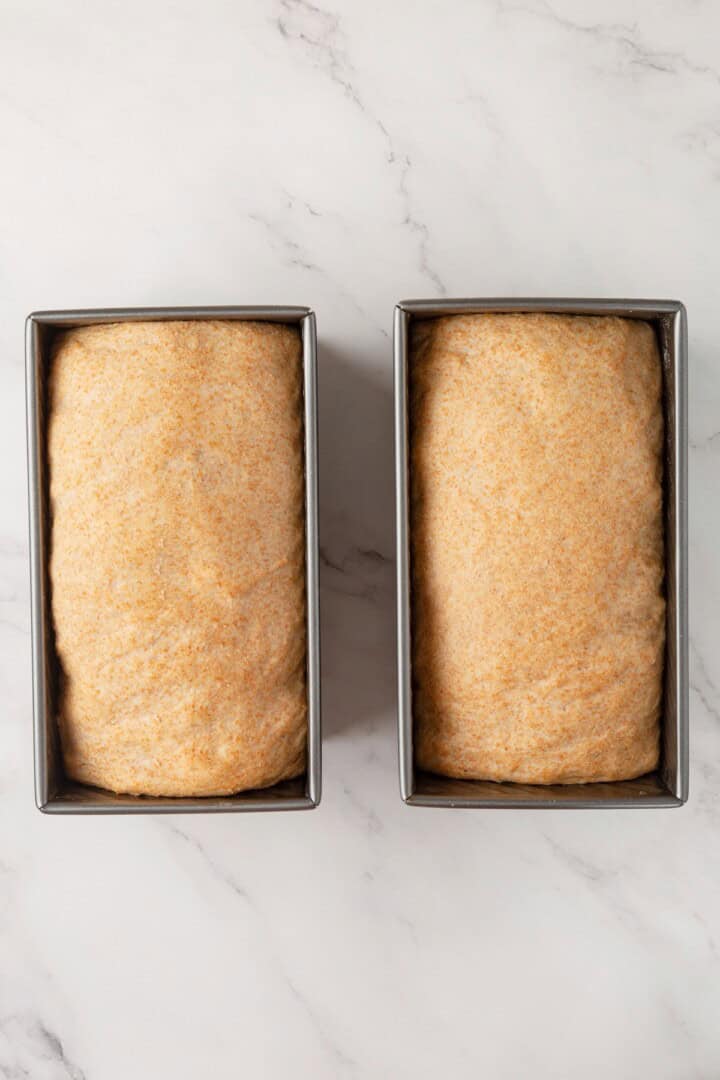
- Second rise. Cover the pans loosely with a kitchen towel and let the loaves rise for 30–60 minutes.
Bake
- Prep. Preheat the oven to 375°F (190°C).
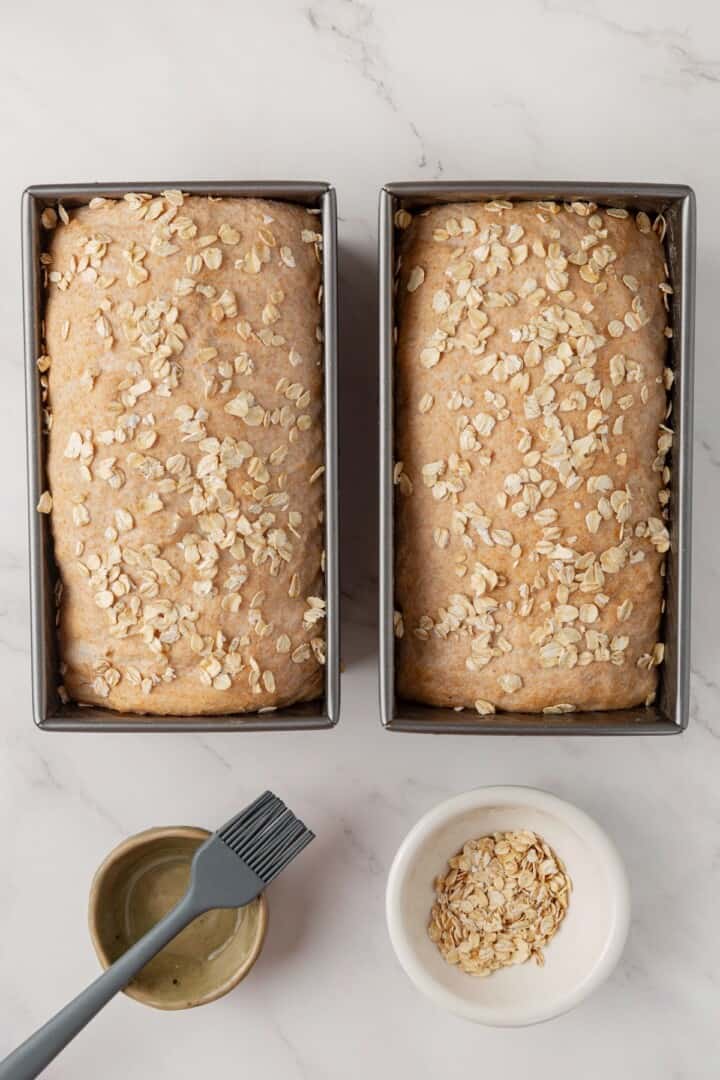
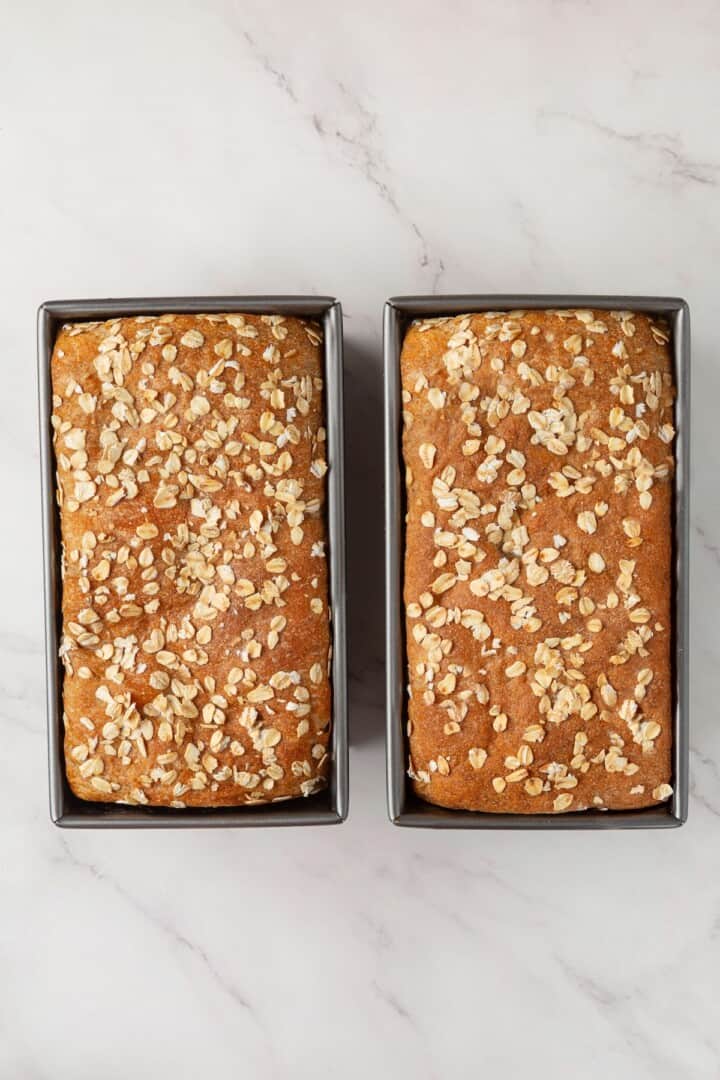
- Add the oats. Lightly brush the tops of the loaves with water, sprinkle with oats, gently pressing them into the surface.
- Bake. Bake for 35–40 minutes, tenting with foil if the tops brown too quickly.
- Cool. Cool the loaves in their pans for 10–15 minutes. Transfer to a wire rack to cool completely.
Tips for Baking Bread at Home
Bread making is simple enough, but there are lots of little tips and tricks that’ll help you make the best loaf possible. Here are mine:
- Activate that yeast. If your yeast is no longer good OR if you fail to activate it properly with warm water, your bread won’t rise properly. So, make sure the water is 105–110°F (40–43°C) and watch for a foamy film to form. If it doesn’t, it might be time for new yeast.
- Add extra flour. If, after combining all of the ingredients, your dough feels sticky and wet, you can add a little more flour. Not TOO much, though. Only add what you need to make the dough workable. Adding too much flour will result in an over-dense loaf.
- Knead thoroughly. Whole wheat flour absorbs water more slowly than white flour, so give the dough plenty of kneading time before adding extra flour unnecessarily.
- Tacky dough is ok. The dough will be slightly tacky. This is ideal for the softest loaf.
- Log trick. While you don’t need to roll the dough into a log before placing it in the pan, this will help create a more even sandwich-style crumb and help prevent large air pockets.
- Don’t skip the water. Brushing the loaves with water before adding the oats helps them stick and gives the bread a more polished finish.
- Use a thermometer. You’ll know your bread is done when the centre reaches 190–200°F (88–93°C).
- Cool completely. Let the bread cool all the way before slicing. Slicing too soon will give you a gummy texture.
Easy Variations
Want to try something a little different? Here are a few fun variations you could try:
- Seed-y. Fold your favourite seed (or seeds!) into the dough before letting it rise. Sunflower seeds, pumpkin seeds, and sesame seeds would all be great choices. I would also replace the rolled oats on top of the loaves with a smattering of seeds.
- Rosemary garlic bread. I love folding a couple of tablespoons of fresh, chopped rosemary and a few minced garlic cloves into this whole grain bread before letting it rise.
- Sweet ‘n savoury. Cranberries and chopped walnuts are another fun mix-in that’ll elevate this loaf. I particularly like this variation around Thanksgiving when turkey sandwiches are begging to be made.
Storage and Freezing
- Countertop: Once cool, seal any leftover bread in an airtight container, such as a bread box, and store it at room temperature. It’ll keep for up to 4 days.
- Freezer: Wrap your leftover sandwich bread in a couple of layers of plastic wrap (plus aluminium foil for an added layer of protection against freezer-burn) and store in the freezer for up to 3 months. Allow the bread to thaw at room temperature before enjoying.
More Homemade Bread Recipes
If you loved this whole grain bread, have a look at my other homemade bread recipes:
Enjoy friends! If you make this whole grain sandwich bread, please snap a photo and tag #jessicainthekitchen on Instagram! We’d also love it if you would leave a comment below and give the recipe a rating! Thanks so much!

Whole Grain Sandwich Bread
Ingredients
- 2¼ cups warm water, 560ml
- 1½ tablespoons sugar, 20g
- 2¼ teaspoons active dry yeast, 8g
- 5½ –6 cups whole wheat flour, 650g–700g
- 1½ teaspoons fine sea salt, 8g
- 3 tablespoons olive oil, 40g
- ½ cup rolled oats, for topping, 40g
Instructions
Make the Dough
- Activate the Yeast. In a large mixing bowl, combine the warm water, sugar, and yeast. Stir gently and let sit for 5–10 minutes, until the mixture becomes foamy. If little or no foam appears, the yeast is no longer active and should be replaced.
- Mix the Dough. Add the whole wheat flour, salt, and olive oil. Stir with a wooden spoon or mix on low speed with a stand mixer until a rough, shaggy dough forms. If the dough looks overly wet, add a little more flour.
- Knead the Dough. Transfer the dough to a lightly floured surface or continue kneading with the dough hook. Knead for 8–10 minutes by hand or 6–7 minutes in a stand mixer, until the dough is smooth, elastic, and slightly tacky.Whole wheat flour absorbs water more slowly than white flour, so give the dough plenty of kneading time before adding extra flour. A slightly tacky dough will produce the softest loaf.
Let it Rise
- First Rise. Lightly oil a large bowl and place the dough inside, turning once to coat. Cover with a clean kitchen towel or plastic wrap and let rise in a warm, draft-free place for 1–1½ hours, or until doubled in size.
- Shape the Loaves. Lightly grease two 8×4-inch loaf pans.Turn the dough onto a lightly floured surface and divide it evenly in half. Press one piece into a rectangle about the width of your loaf pan. Starting from the short side, roll the dough tightly into a log, pressing gently as you roll to remove large air pockets. Pinch the seam closed, tuck the ends underneath if needed, and place seam-side down in the prepared pan. Repeat with the remaining dough.
- Second Rise. Cover the pans loosely with a kitchen towel and let the loaves rise for 30–60 minutes, or until the dough rises just above the rims of the pans. When lightly pressed with a fingertip, the dough should slowly spring back.
Bake
- Preheat. Preheat the oven to 375°F (190°C).
- Add the Oats. Lightly brush the tops of the loaves with water and sprinkle evenly with the rolled oats, gently pressing them into the surface.
- Bake. Bake for 35–40 minutes, until the loaves are deep golden brown and sound hollow when tapped. For the most accurate test, the centre of the bread should reach 190–200°F (88–93°C).If the tops begin browning too quickly, loosely tent them with foil during the final 10–15 minutes of baking.
- Cool. Let the loaves cool in the pans for 10–15 minutes before transferring them to a wire rack. Cool completely before slicing to prevent a gummy texture.
Notes
- Activate that yeast. Make sure the water is 105–110°F (40–43°C) and watch for a foamy film to form. If it doesn’t, you need new yeast.
- Add flour with care. You can add more flour if the dough is too sticky to work with, but knead it thoroughly before you make the call. Too much flour will end you with an over-dense loaf.
- Log trick. Rolling the dough into a log before placing it in the pan will help create a more even sandwich-style crumb.
- Use a thermometer. Not just the timer. You’ll know your bread is done when the centre reaches 190–200°F (88–93°C).
- Cool completely. Let the bread cool all the way before slicing to avoid a gummy texture.
- Storage. Seal the bread in an airtight container and store it at room temperature for up to 4 days. Otherwise, wrap tightly in a double layer of plastic wrap and store it in the freezer for up to 3 months. Thaw on the counter before diving back in.
Disclaimer: Although jessicainthekitchen.com attempts to provide accurate nutritional information, kindly note that these are only estimates. Nutritional information may be affected based on the product type, the brand that was purchased, and in other unforeseeable ways. Jessicainthekitchen.com will not be held liable for any loss or damage resulting for your reliance on nutritional information. If you need to follow a specific caloric regimen, please consult your doctor first.



could his recipe work to make rolls?
Hi Barbara,
We haven’t tested this recipe as rolls, so I can’t say for certain how they would turn out or what adjustments would be needed for the baking time. If you decide to experiment with it, I’d love to hear how it goes!