Vegan Burger Buns (Soft and Fluffy)
These Vegan Burger Buns are soft, fluffy and easy to make! I share easy step by step tips to guide you through, and show you how to freeze them so you can enjoy fresh burger buns every time!
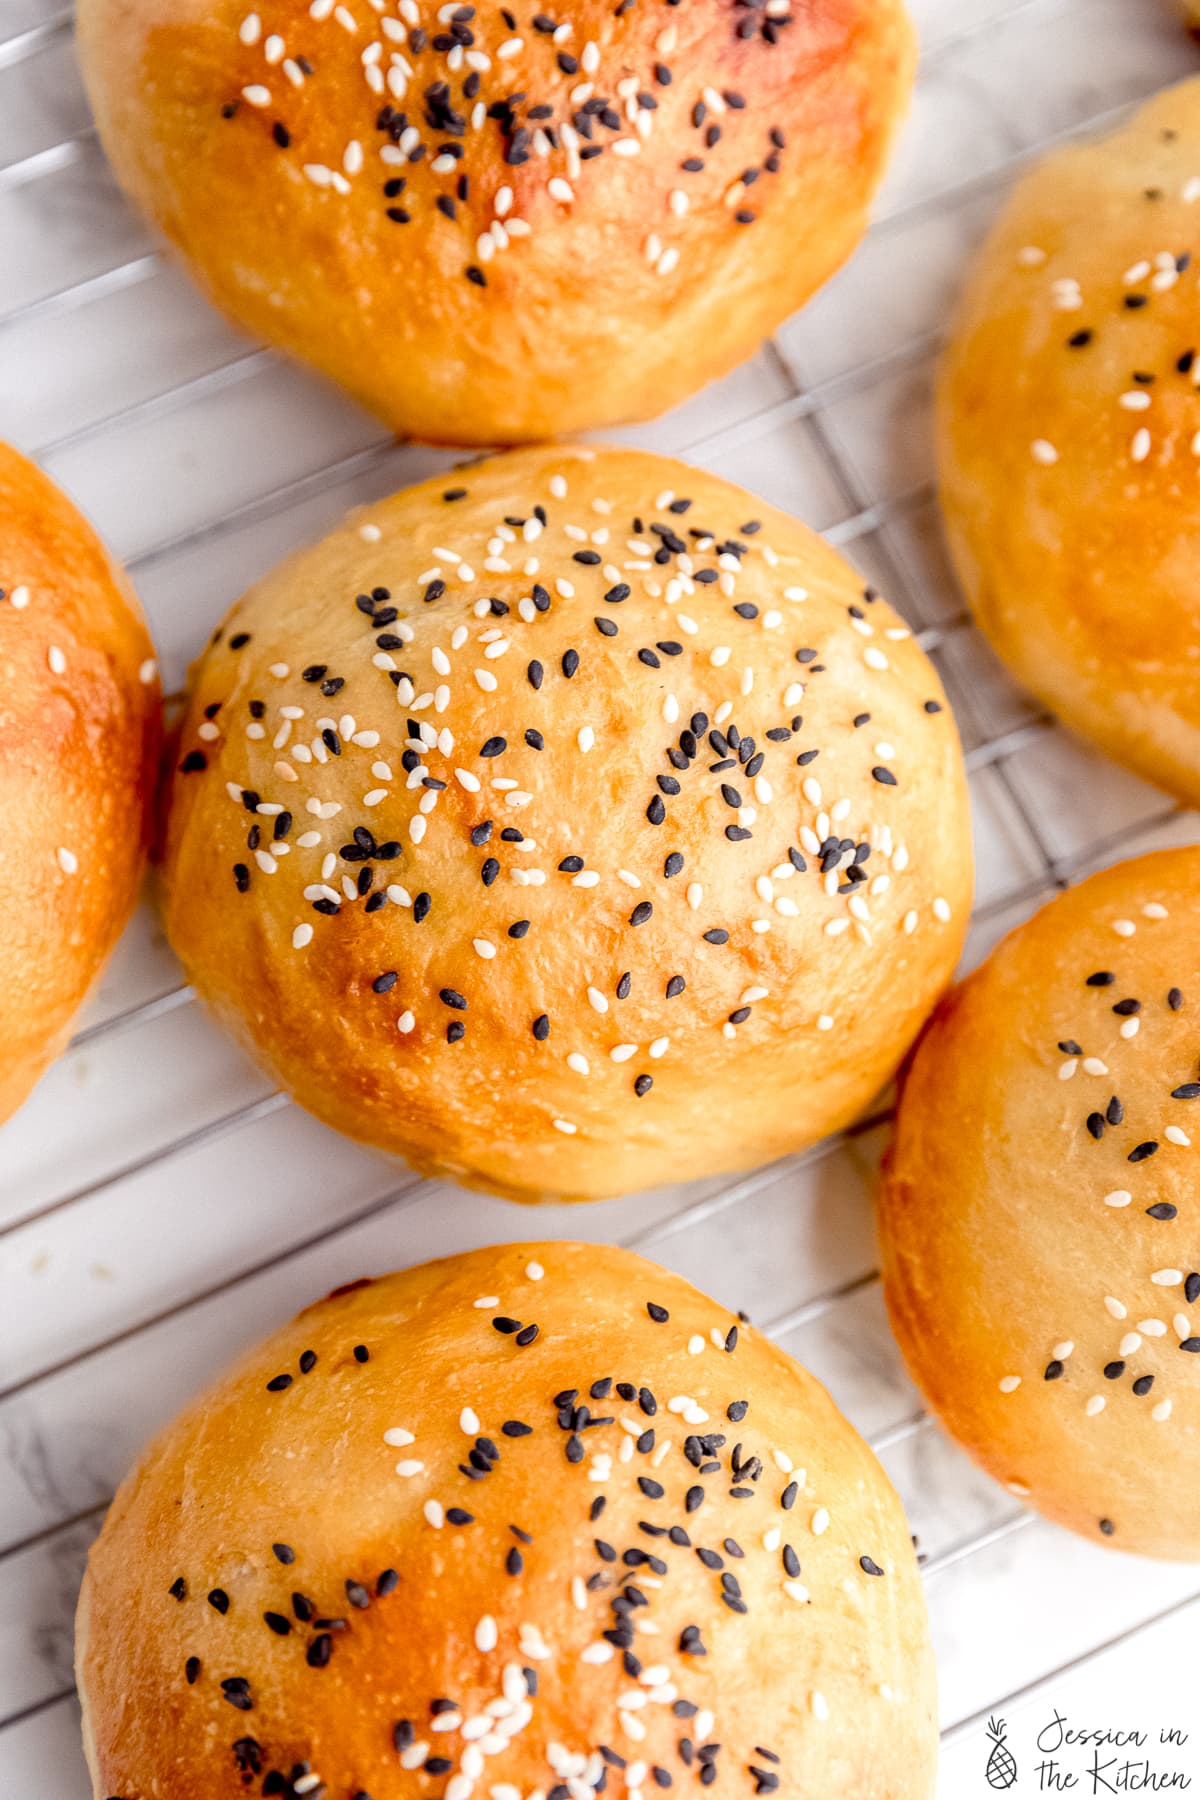
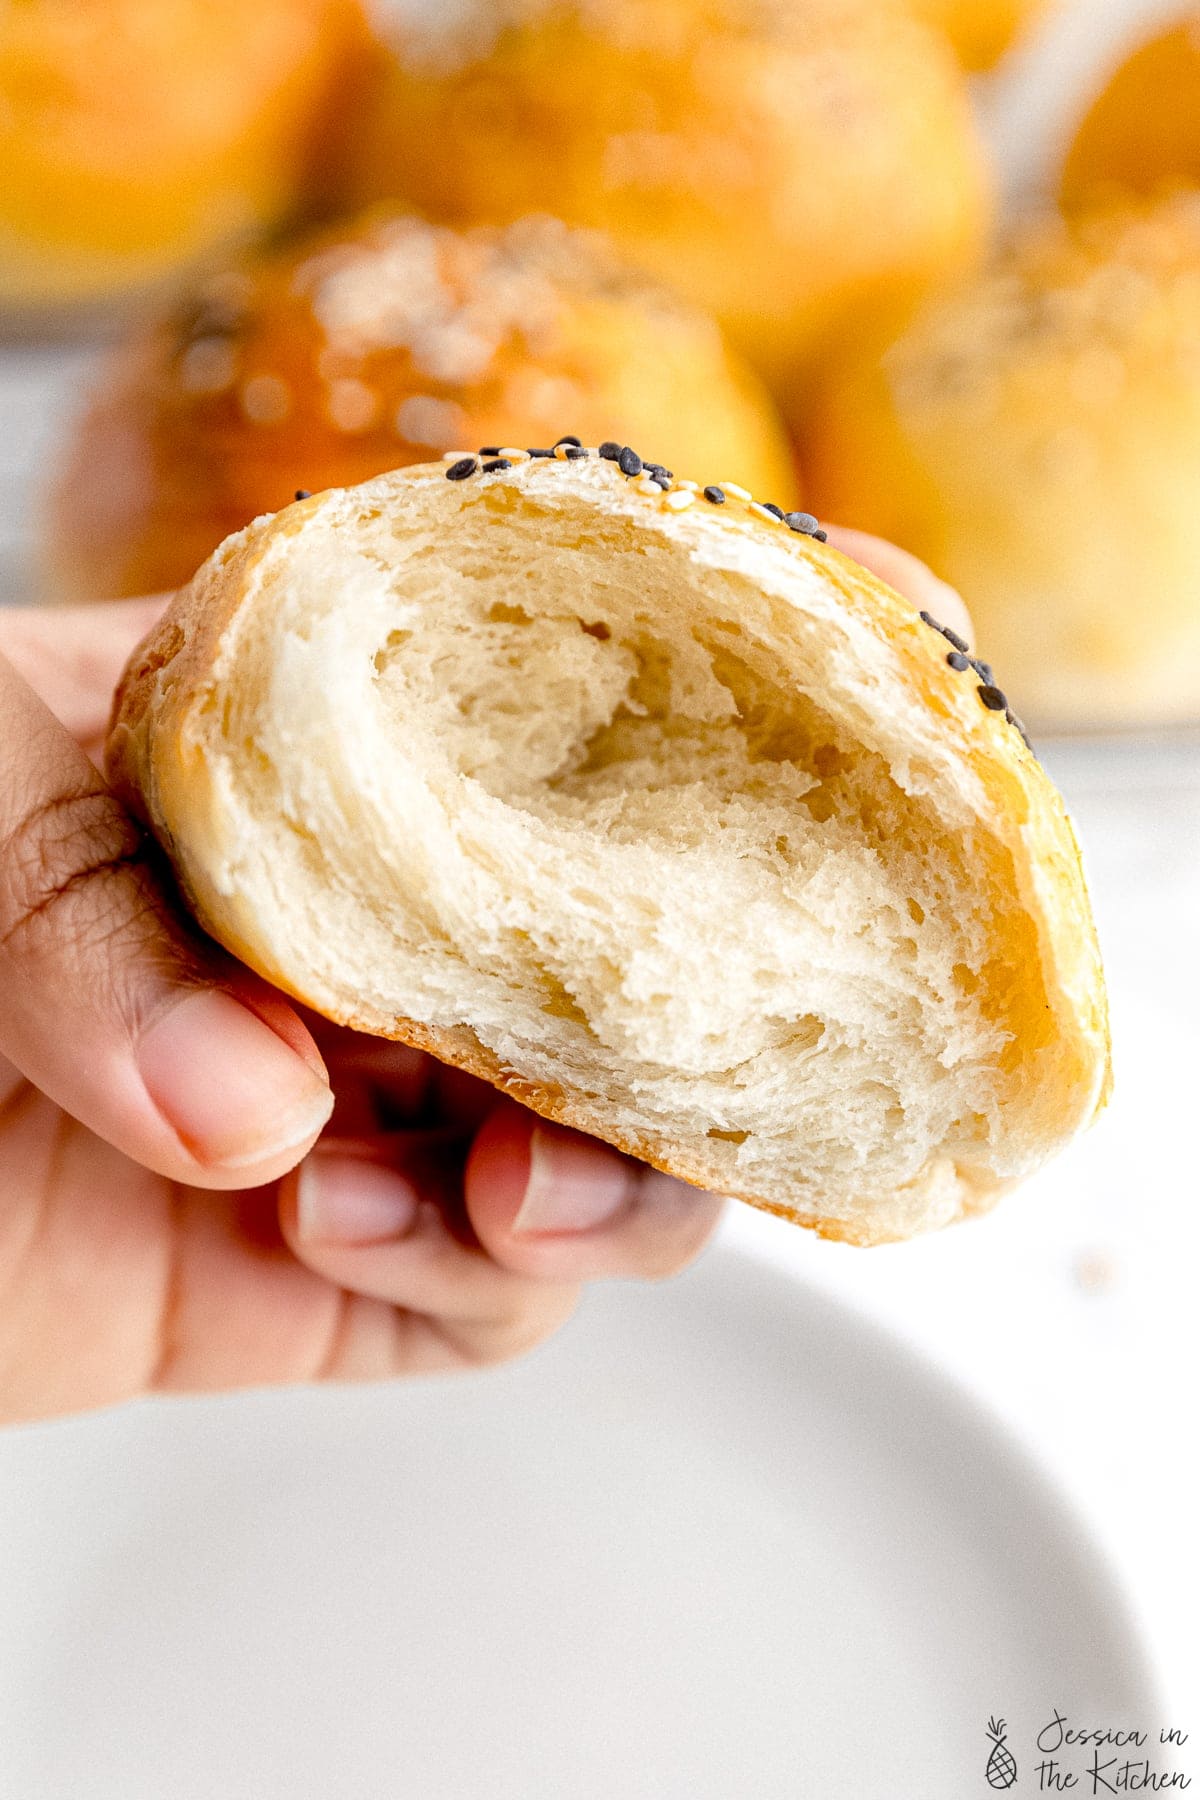
As someone who loves veggie burgers, I love creating the perfect complete burger. First of course, there is the actual burger. Juicy, flavourful and hot. Then of course, the toppings. I love a classic lettuce, tomato and vegan cheese with some mustard and some vegan mayo (plus, I always had hot sauce). Then last, but certainly not least, the bun. Everything else could be perfect, but the bun is really what takes it over the top and can make or break your burger experience. Pillowy soft, buttery, and fluffy perfection! Today I’m sharing my favourite burger buns with you!
Making bread, pizza and naan in quarantine really prepared me for making these burger buns. In fact, when writing this recipe I realised that the instructions were nearly identical to my pizza dough recipe up until splitting the buns. Isn’t it incredible that learning a skill such as bread making can be transformed into so many different dishes?
I based this recipe on my no knead bread, and implemented elements to keep them soft and fluffy, while keeping the process to make them relatively simple.
Let’s get into the tips you’ll need to make these divine burger buns.
Expert Tips & FAQ
- Firstly, these burger buns have a rise stage, and proof (a second rise essentially). These separate rises actually help to make these pretty foolproof and help create their beautiful rounded shape. You don’t want to skimp on rising time or skip either, because they result in the ultimate end product.
- Always have some bench flour with you in a small container while kneading the dough – which just means extra flour. If you live in a humid climate like me, you may end up needing up to an extra ¼ cup flour while kneading. If not, perhaps only 2 tablespoons extra. The recipe is designed in a way that it’ll still turn out incredible either way.
- Speaking of kneading, kneading here is key. Kneading helps to work the gluten, which is crucial for the texture and pull of these buns. I always set a timer while kneading, and throw on a show so the time goes by faster. To knead, you want to fold the dough over onto itself, then push into a ball. Fold and push. You want to really work at it because those ten minutes of needing will make all the difference.
- Always test that your yeast is still working and fresh! I have a post on how to ensure your yeast is still good to help with that.
- Lastly, use a scale to weigh out your ingredients. It makes such a difference with accuracy and also comes in handy if you want to create equal sized buns.
- I don’t recommend skimping on the oil in this recipe. I like to think of it as the natural dough conditioner, and it helps to yield these incredibly soft buns. My preferred oil of choice here is olive oil, but you can use any other kind.
Related Recipes
Enjoy friends! If you make these Vegan Burger Buns, please snap a photo and tag #jessicainthekitchen on Instagram! We’d also love it if you would leave a comment below, and give the recipe a rating! Thanks so much!
Vegan Burger Buns
Ingredients
- 4 ¾ cups all purpose flour + extra for kneading, (570g)
- 2 tablespoons granulated sugar, (24g) or liquid such as maple syrup or agave
- 2 ¼ teaspoons instant yeast, (about 1 packet) (7g)
- 2 teaspoons sea salt, (12g)
- 1 ½ cups warm water (not hot - warm to touch) , (354mL) ranging between 110 to 120°F
- 4 tablespoons olive oil, (60mL) or any oil
Vegan Egg Wash
- 3 tablespoons unsweetened vegan milk, (44mL) preferably one with a high protein content
- 1 teaspoon maple syrup or agave syrup, (6.75g) use only ½ teaspoon if you don't want any hint of sweetness on your buns
- 1 teaspoon regular mustard , (5g) or dijon mustard
- 1 tablespoon mix of sesame seeds, for topping
Instructions
Burger Buns
- In a large bowl, add the flour, sugar, yeast, and salt. Whisk the ingredients together.
- Create a well in the centre of the flour. Slowly add the warm water and olive oil to the dry ingredients, and then mix together with a spatula until just incorporated. The dough should look shaggy.
- Flour a clean surface, and then pour/add the dough onto the surface. Flour your hands and fold the dough together. Knead the dough for about 8-10 minutes with your hands and knuckles. The dough might be sticky at first, but you can add up to ¼ cup flour while flouring and kneading to make it easier to manage. You want the end dough ball to be smooth, with slight dimples with a bit of tension formed.
- Lightly grease the ball of dough with some additional oil and place back into the bowl in a ball. Cover the bowl with a plastic wrap or a kitchen towel and let it sit for at least 1 hour on the counter in a warm area. If your kitchen is too cold, you can place it in your OFF oven with the pilot light on which will provide enough residual heat for it to rise. The dough should rise and double in size.
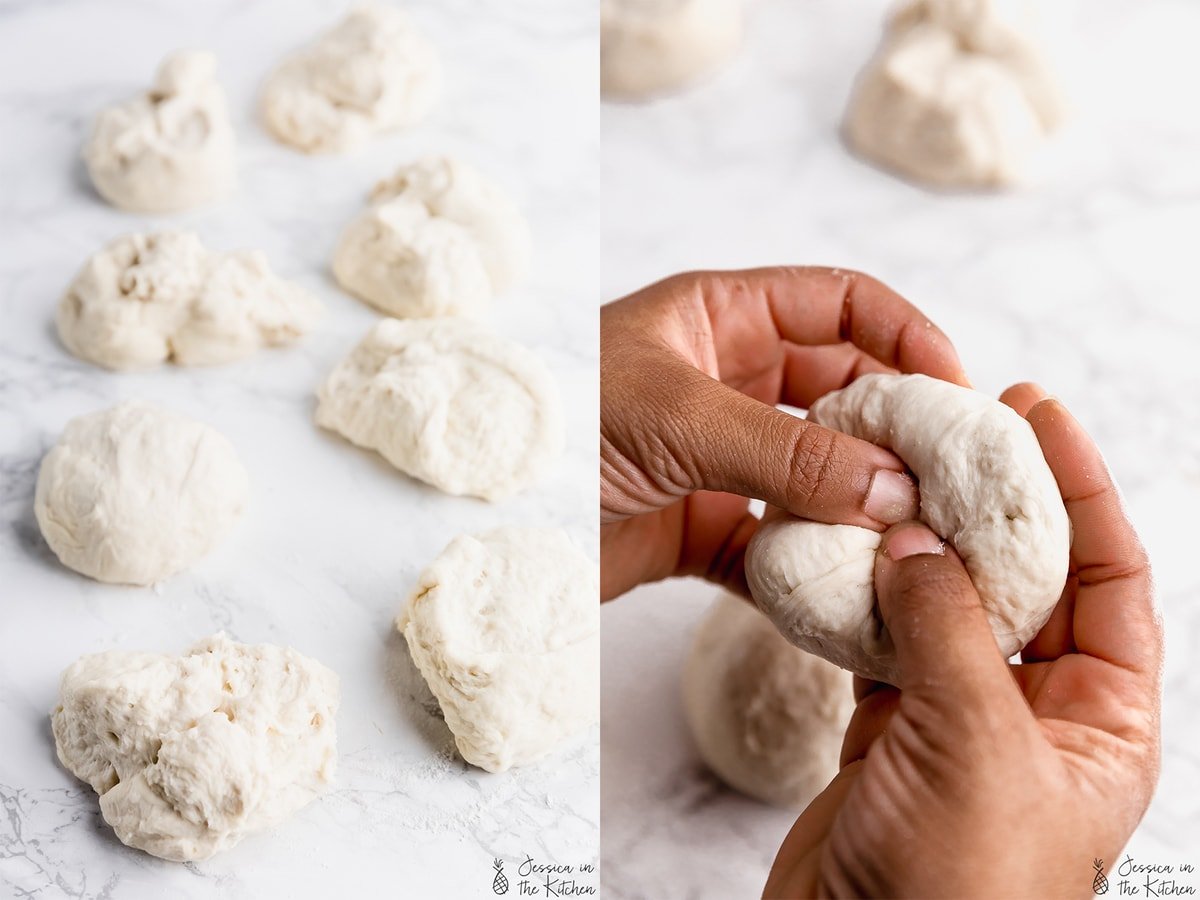
- Punch down the dough and fold over.
- Divide the dough into 8 equal balls and roll each into a ball. Using your fingers, pinch and pull the undersides to shape each ball round. Now would be a great time to check out my highlight on Instagram where I video'd this for clarification! But you essentially want to make them round.
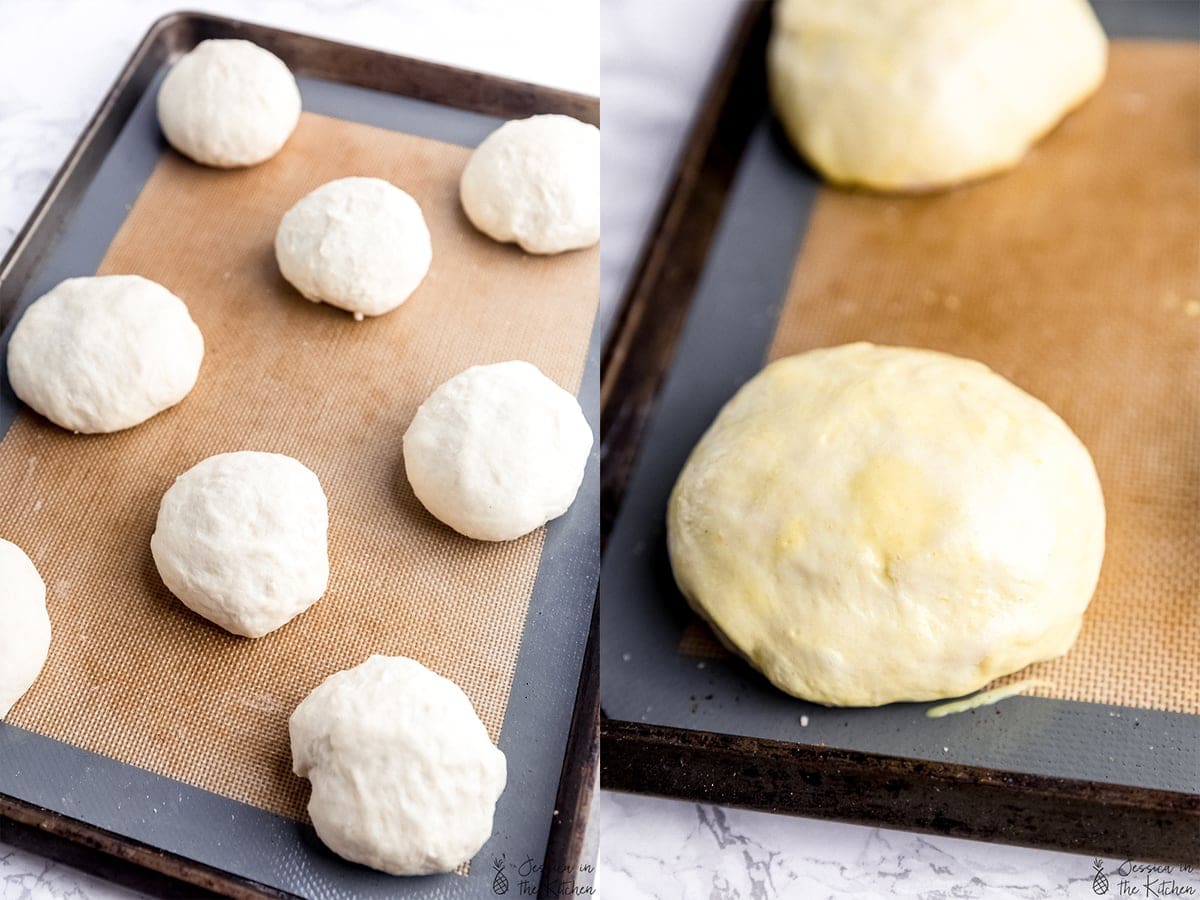
- Line up the balls, about 4 inches apart if you don't want them to spread into one another/touch, on one or two baking sheets (depending on the size or your baking sheet - you want them decently spread out since they'll puff up, then spread again while baking).
- Cover with a light kitchen towel and allow the balls to proof/rise for another 45 minutes.
- You can also begin preheating your oven to 400°F/200°C within the last 20 minutes so it's ready when they're done rising.
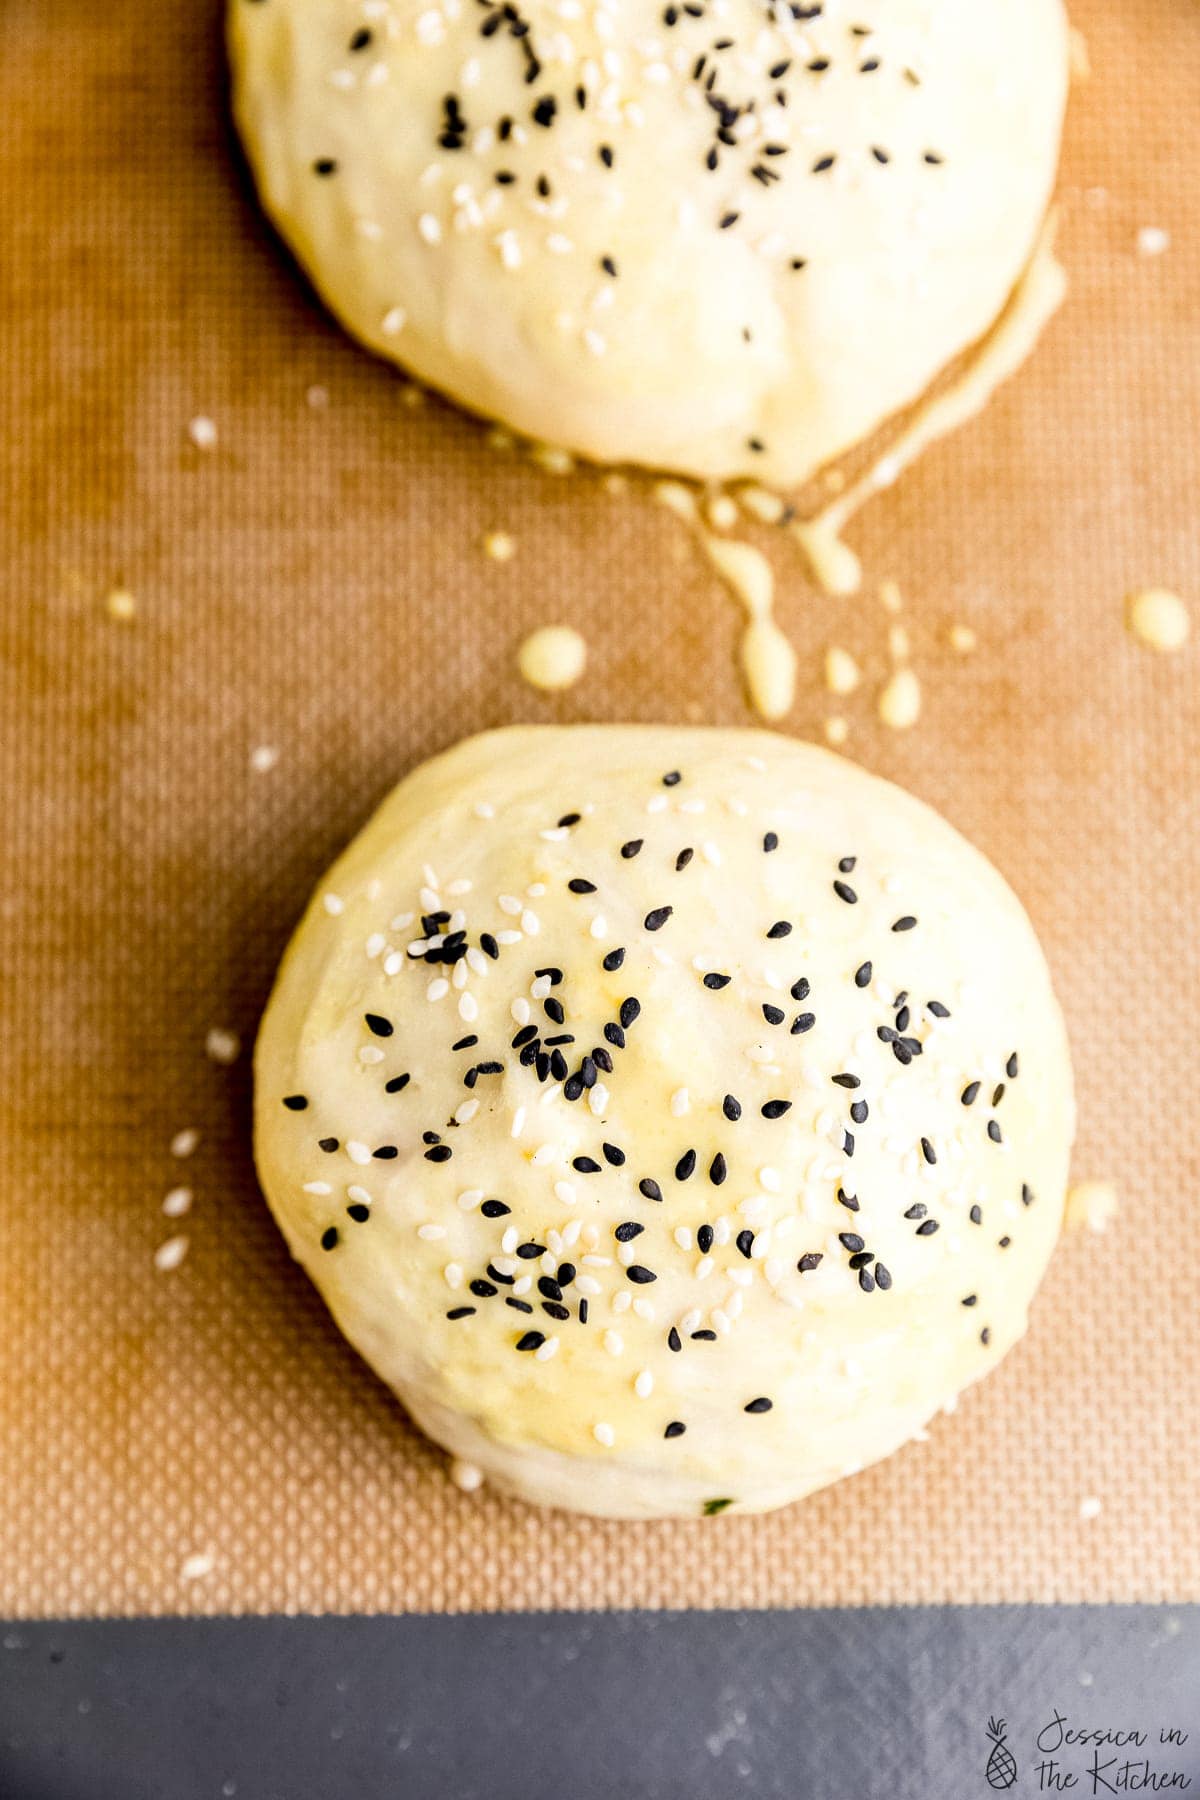
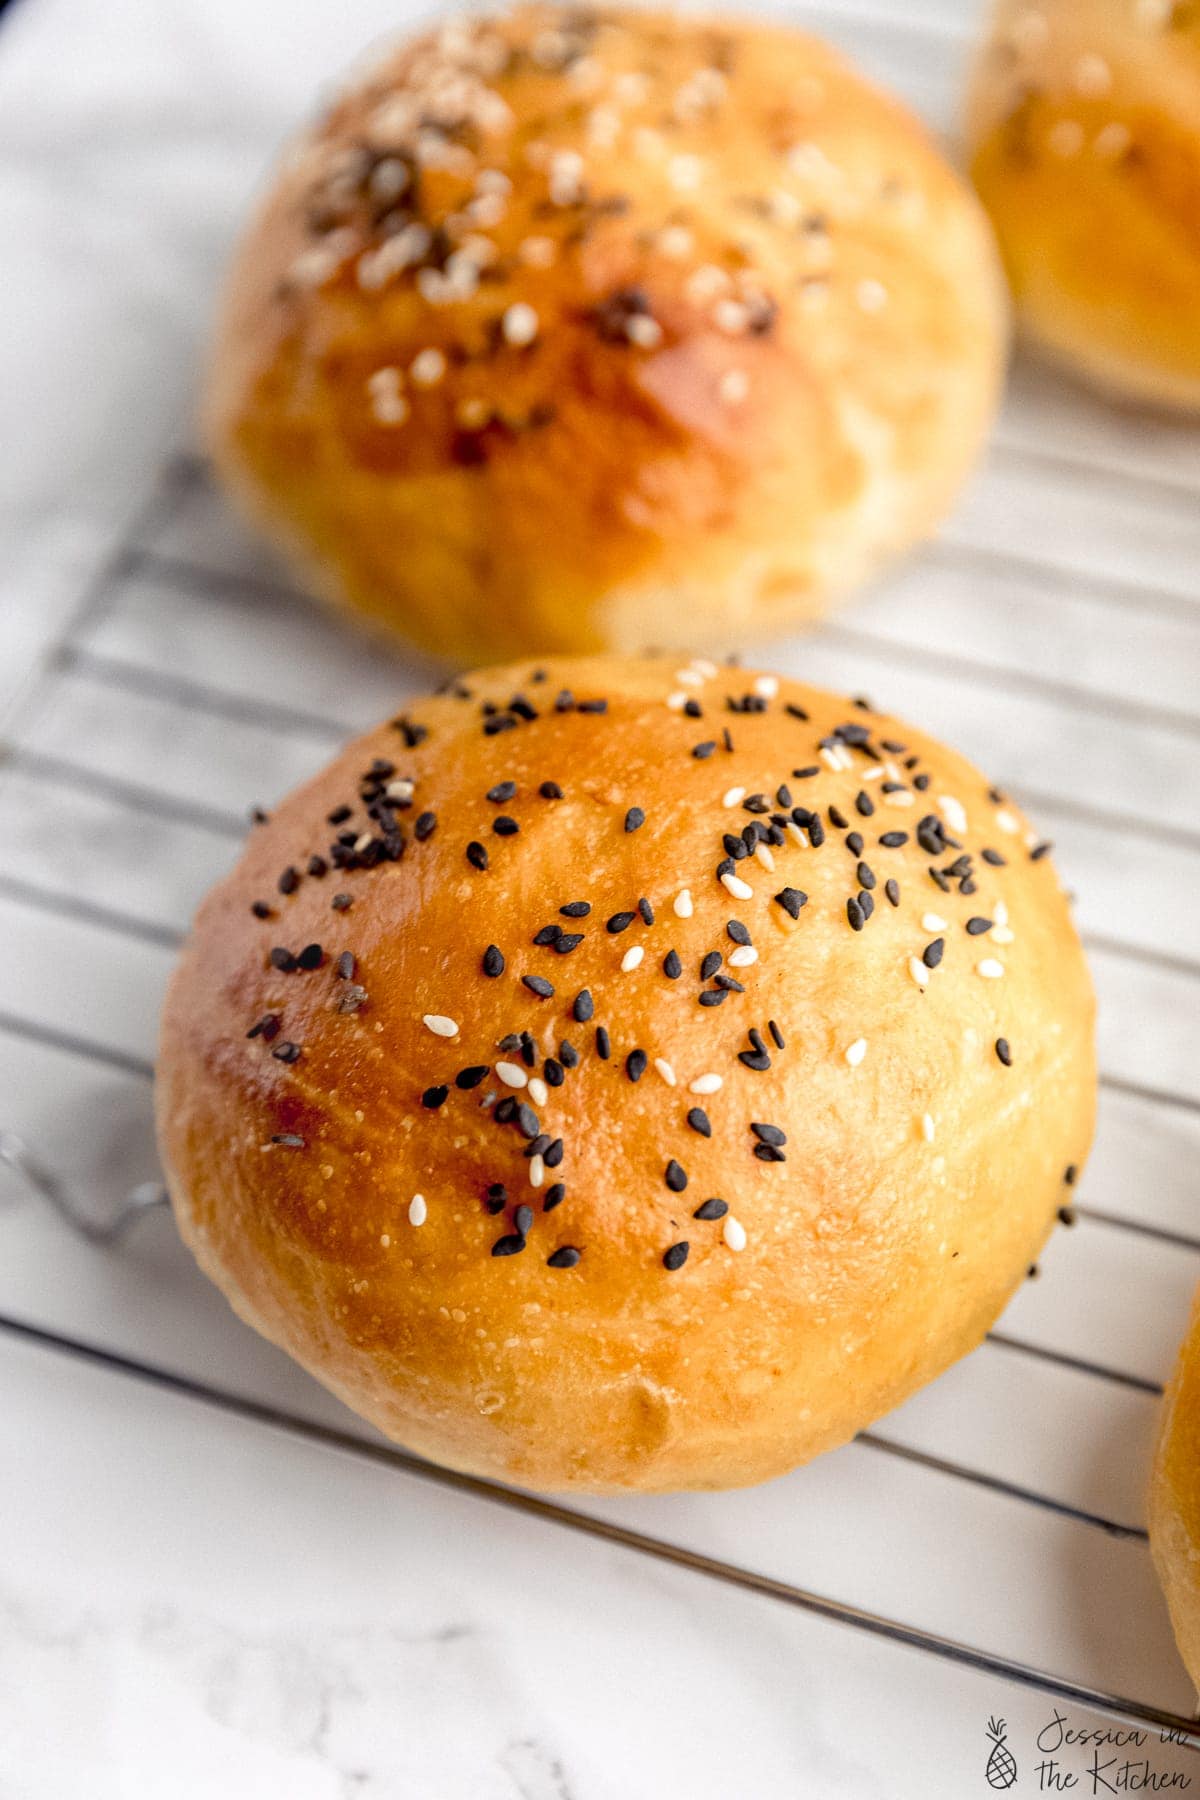
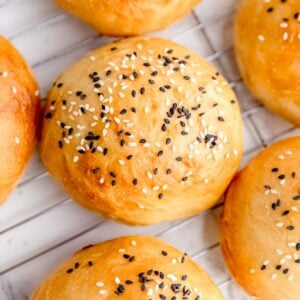
- Using a silicone brush/pastry brush, brush the vegan egg wash over the buns and the sides. Sprinkle some sesame seeds over the top and any other seeds you might desire.
- Bake your buns for 15 minutes in the oven. Remove, and allow to cool on the baking sheet for about 5 minutes, then transfer to your cooling rack. Allow to cool fully. The buns also get much softer once they begin to cool.
- Slice, tear, slather in butter, and enjoy!
Vegan Egg Wash
- Mix the vegan milk, maple syrup/agave and the mustard thoroughly together to combine. If you don't want any sweetness, you can lower this to ½ teaspoon maply syrup/agave. You don't have to use all of the vegan egg wash, just as much as you desire for a golden brown top.
Notes
HOW TO FREEZE
Line the buns up on a baking sheet once fully cooked. Place in your freezer and flash freeze for about an hour. Once the hour has passed, you can stack the buns in a freezer safe bag so they won't stick. To thaw, bring to room temperature, then lightly toast in your toaster oven, on your stovetop, or in your air fryer.Expert Tips & FAQ
- Firstly, these buns have a rise, and proof (a second rise essentially). These separate rises actually help to make these pretty foolproof and help create their beautiful rounded shape. You don't want to skimp on rising time or skip either, because they result in the ultimate end product.
- Always have some bench flour with you in a small container while kneading the dough - which just means extra flour. If you live in a humid climate like me, you may end up needing up to an extra ¼ cup flour while kneading. If not, perhaps only 2 tablespoons extra. The recipe is designed in a way that it'll still turn out incredible either way.
- Speaking of kneading, kneading here is key. Kneading helps to work the gluten, which is crucial for the texture and pull of these buns. I always set a timer while kneading, and throw on a show so the time goes by faster. To knead, you want to fold the dough over onto itself, then push into a ball. Fold and push. You want to really work at it because those ten minutes of needing will make all the difference.
- Always test that your yeast is still working and fresh! I have a post on how to ensure your yeast is still good to help with that.
- Lastly, use a scale to weigh out your ingredients. It makes such a difference with accuracy and also comes in handy if you want to create equal sized buns.
- I don't recommend skimping on the oil in this recipe. I like to think of it as the natural dough conditioner, and it helps to yield these incredibly soft buns. My preferred oil of choice here is olive oil, but you can use any other kind.
- For step by step photos of the dough, check out my no knead bread post
Disclaimer: Although jessicainthekitchen.com attempts to provide accurate nutritional information, kindly note that these are only estimates. Nutritional information may be affected based on the product type, the brand that was purchased, and in other unforeseeable ways. Jessicainthekitchen.com will not be held liable for any loss or damage resulting for your reliance on nutritional information. If you need to follow a specific caloric regimen, please consult your doctor first.


Wow, these buns are fantastic! They were perfect for lentil sloppy joes. I doubled the recipe and made the dough in my Bosch, though next time I think I’ll triple the recipe and freeze the leftovers. I make bread all the time, but haven’t found a bun recipe I love as much as this. I love the egg wash and will definitely use it for other recipes. The only change I made was to use vegan butter for the oil. Thank you so much for this great recipe!
We’re so happy that you enjoyed this recipe Parie! Thank you so much for reading and leaving such a nice comment! Having it with lentil sloppy joes sounds amazing!
I love these so much!! Best vegan buns I have ever tasted!
So happy that you liked it, Elise! Thank you so much for reading and leaving such a nice comment!
For real, those are so unbelievably good.
I let the dough autolyse for 40 min and made a slushy out of some flour, the yeast and sugar and added it afterwards. I also made them a little bigger, 150g per doughball. I am so pleased with them. They are fluffy all over and have a very nice and clean white bread taste. This dough would probably also work great for making a loaf of white bread. The eggwash is next level. The seeds stick to the bun perfectly and it gives such a nice taste to the exterior. Thank you for this recipe.
This makes me so happy to hear Koni!! Thank you soo much!!
Holy moly these are now my favorite bread recipe!! I used bread flour and cut recipe in half & used active dry yeast (following directions to dissolve in water first before adding to flour) because that’s all I had and it came out so good!! I added honey on top and flax seeds (again all I had and not vegan just allergies to eggs and dairy) love this bread so much!!
Thanks so much Jackie and for sharing your adjustments!
Hi! I loved this recipe! The buns are so soft and fluffy and the instructions were great! 15mins was perfect baking time! I just happen to find that the 2 tsps salt was too salty for me, but then I didn’t use sea salt but regular iodized table salt so that might be it! Also I didn’t have any sugar at home, so I used honey so there may not have been enough sugar in there to balance out the salt! Regardless, had the bun fresh out of the oven with raspberry preserve! OMG amazing!
Thank you for the recipe!
Thanks so much Anusha and you’re so welcome! It’s definitely because you didn’t use sea salt since iodized salt is finer and so takes up more volume, so next time you can just half it!! Oh wow that sounds amazing with raspberry preserve! I’m so happy that you enjoyed!!
I absolutely love these buns! So easy to make and delicious. We’ll never use store-bought again. Thanks for the recipe, Jessica. 🙂
Aww thank you so much Cora!! I’m SO happy to hear that and you’re SO welcome!!
These buns are incredible. With or without the seeds, these are amazing. Thank You!
Awesome we’re so happy you enjoyed it Constance! Thanks so much for reading!
I was doubtful that these would really be fluffy and burger-bun-like going into making this recipe, but they were absolutely amazing! I followed the instructions pretty exactly and I’d say they came out exactly as promised 🙂 Thanks so much for this! Another great recipe!
We’re so happy that you enjoyed this recipe Adriana! Thank you so much for reading and leaving such a nice comment!
Very nice recipe! We tried it last weekend and the results were much better than with the one we were using before. Also, the explanation is very clear, thanks!
No problem at all Ezequiel! We’re so happy that you like the recipe.
hi! question: so, you DON’T mix the sugar, yeast and warm water and let it sit for 5 minutes? You just all everything together and then the water & oil ?
Thanks so much for reading Karen! No we don’t, we use instant yeast in this recipe so that step isn’t necessary.