Candied Pecans
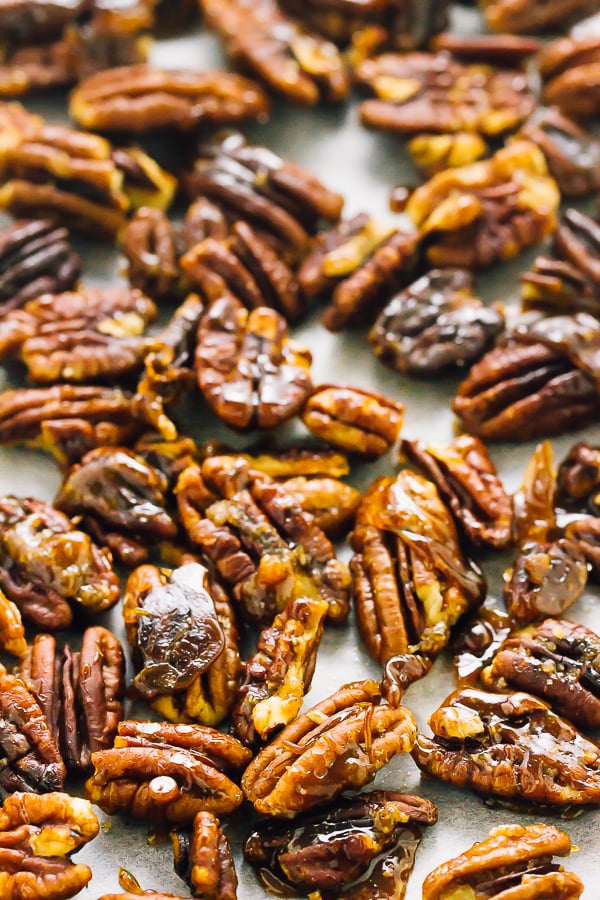
These easy stovetop candied pecans are deliciously crunchy and perfect for topping everything from breakfasts to salads and desserts. You just need 3 ingredients to make them!

If you’re a salad lover, there’s a good chance you’ve probably bought those candied pecan packages in the supermarket, or even had them in your salad when you ate out at a restaurant. Well, the latter is exactly what drove me to make these at home—I wanted to replicate the pear and gorgonzola salad I had at my favourite restaurant. The result? Not only do they taste even better than store-bought, these easy stovetop candied pecans are also way cheaper.
Why You’ll Love These Candied Pecans
- A simple way to jazz up so many dishes. These stovetop candied pecans are perfect for topping salads, oatmeal, yogurt parfaits, and even ice cream.
- Budget-friendly. Making your own candied pecans at home is much cheaper than buying them at the store.
- Quick and easy to make. With just three simple ingredients and a short cooking time on the stovetop, you can have delicious homemade candied pecans for snacking and topping all your favourite foods!
Notes on Ingredients
You’ll only need 3 ingredients to make this recipe. How easy is that? Don’t forget to scroll down to the recipe card for a printable ingredient list.
- Vegan butter – You can use store-bought or my favourite homemade vegan butter.
- Sugar – Both unrefined cane sugar or coconut sugar will work.
- Pecans – I like using pecan halves because they pack in more crunch and look better on a salad, but pieces are fine too!

How to Make Candied Pecans
- Coat the nuts. Combine the butter, sugar, and pecans in a pan set over medium-high heat. Cook for 5 minutes, stirring constantly, until the sugar and butter melts and the pecans are well-coated.
- Transfer. Transfer the pecans to a parchment-lined baking sheet. Make sure they’re all separated so they don’t stick together when they dry.
- Cool. Let the pecans cool and dry, then use them right away or store them for later.
Tips and Variations
- Be careful not to burn the nuts. Keep a close eye on the pan while cooking and stir constantly to prevent burning. Nuts can go from toasty to burnt really quickly!
- Add some heat. If you love a sweet and spicy combo, try adding a pinch of cayenne to these candied pecans.
- Give them some warmth. Warm spices like cinnamon are also a delicious addition to this recipe. A splash of vanilla extract or vanilla bean scraped from the pod is nice too!
- Use different nuts. While pecans are a classic choice, feel free to experiment with other nuts such as almonds, walnuts, or cashews.
My Favourite Ways to Use Candied Pecans
- Salads. I loved candied pecans in this shaved Brussels sprouts salad recipe.
- Oatmeal. Add a crunchy contrast to creamy Instant Pot steel-cut oats.
- Desserts. Use them on vegan ice cream sundaes or as a garnish for apple pie.
- Side dishes. Sprinkle candied pecans on sweet potato soufflé.
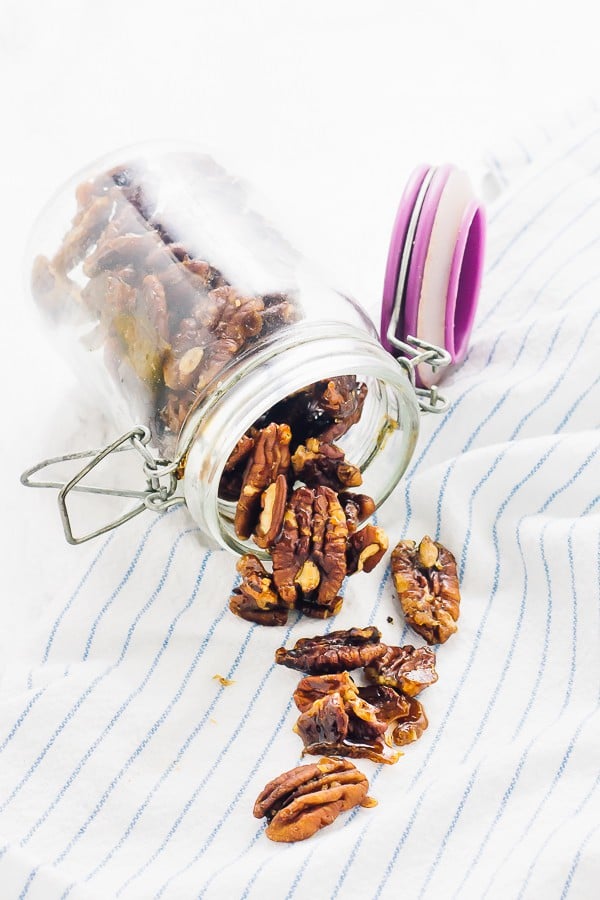
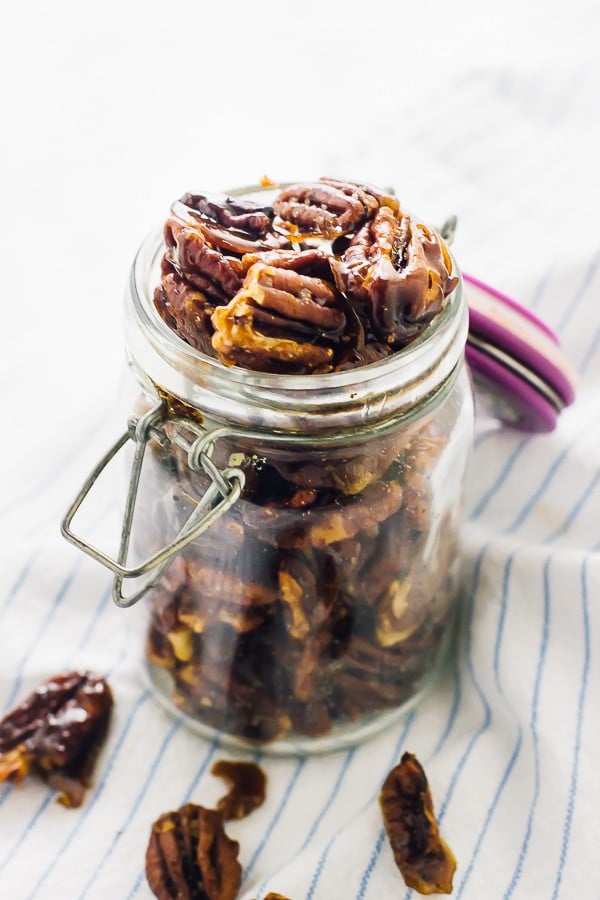
- Snacking. Keep a jar of these pecans in your pantry for a quick and satisfying snack!

How to Store
Once the candied pecans have completely cooled and dried, transfer them to an airtight container or jar. Store them in the pantry at room temperature for up to a month.
Enjoy friends! If you make this candied pecan recipe, please snap a photo and tag #jessicainthekitchen on Instagram! We’d also love it if you would leave a comment below, and give the recipe a rating! Thanks so much!

Candied Pecans
Ingredients
- 1 tbsp vegan butter
- 1/4 cup unrefined cane sugar, or coconut sugar
- 1 cup pecans
Instructions
- Set a sheet of parchment paper on a baking sheet. Set aside
- In a pan over medium high heat, add the pecans, cane sugar and the vegan butter.
- Stir everything together with a wooden spoon and heat for about 5 minutes, until the sugar and butter have melted together and nuts are coated. Watch carefully and keep stirring so it doesn’t burn.
- Once nuts are coated, transfer to parchment paper, separating nuts. I like to use a silicone tons or spatula and pull them apart quickly so that they don’t set together.
- Allow to cool until hardened and either use immediately or place in an air-tight tupperware container for up to a month.
Notes
- Adapted and inspired by Natasha’s Kitchen Candied Walnuts recipe
- This recipe is vegan and gluten free.
- HOW TO STORE: You can store these nuts in an air-tight tupperware container for up to a month.
Disclaimer: Although jessicainthekitchen.com attempts to provide accurate nutritional information, kindly note that these are only estimates. Nutritional information may be affected based on the product type, the brand that was purchased, and in other unforeseeable ways. Jessicainthekitchen.com will not be held liable for any loss or damage resulting for your reliance on nutritional information. If you need to follow a specific caloric regimen, please consult your doctor first.


May be a 5. but I have to try first. I have searched for candied nut recipes and they always involved a bunch of ingredients that, mixed together never satisfied my tastebuds. These LOOK simple and in my mind, don’t have all those extra things that I really didn’t believe went in candied nuts. Intuitively, these are the perfect recipe. I’m making chocolate pudding today, so no excuse for more sweets (tho they would be great sprinkled on top, right?) After the kids leave…then I can have them all to myself. I saw in the prep list that maple syrup would be an ingredient, but didn’t see it in the recipe. Is there an alternate way to make them with maple syrup? Sounds yummy to me, too!
Hi Randy,
Thank you! Yes haha they would be great sprinkled on top!!
I don’t see maple syrup in this recipe, are you talking about it in this one? Hmm I think you could use about 2 tablespoons or 3 tablespoons of maple syrup to replace the sugar! I hope you get to try and enjoy so much! Not sure if you saw, we made the Whipped Cream you requested!
don’t ask me where I read that about the maple syrup!! Strange. I can’t even guess what was going on in my mind! Sugar is easier. I’m gonna try both, since I’ve recovered from my eye surgery and can gad about in the kitchen again!
Haha no worries, that happens to me too sometimes!
Okay great!! Oh wow I hope you recover very well from your eye surgery!!