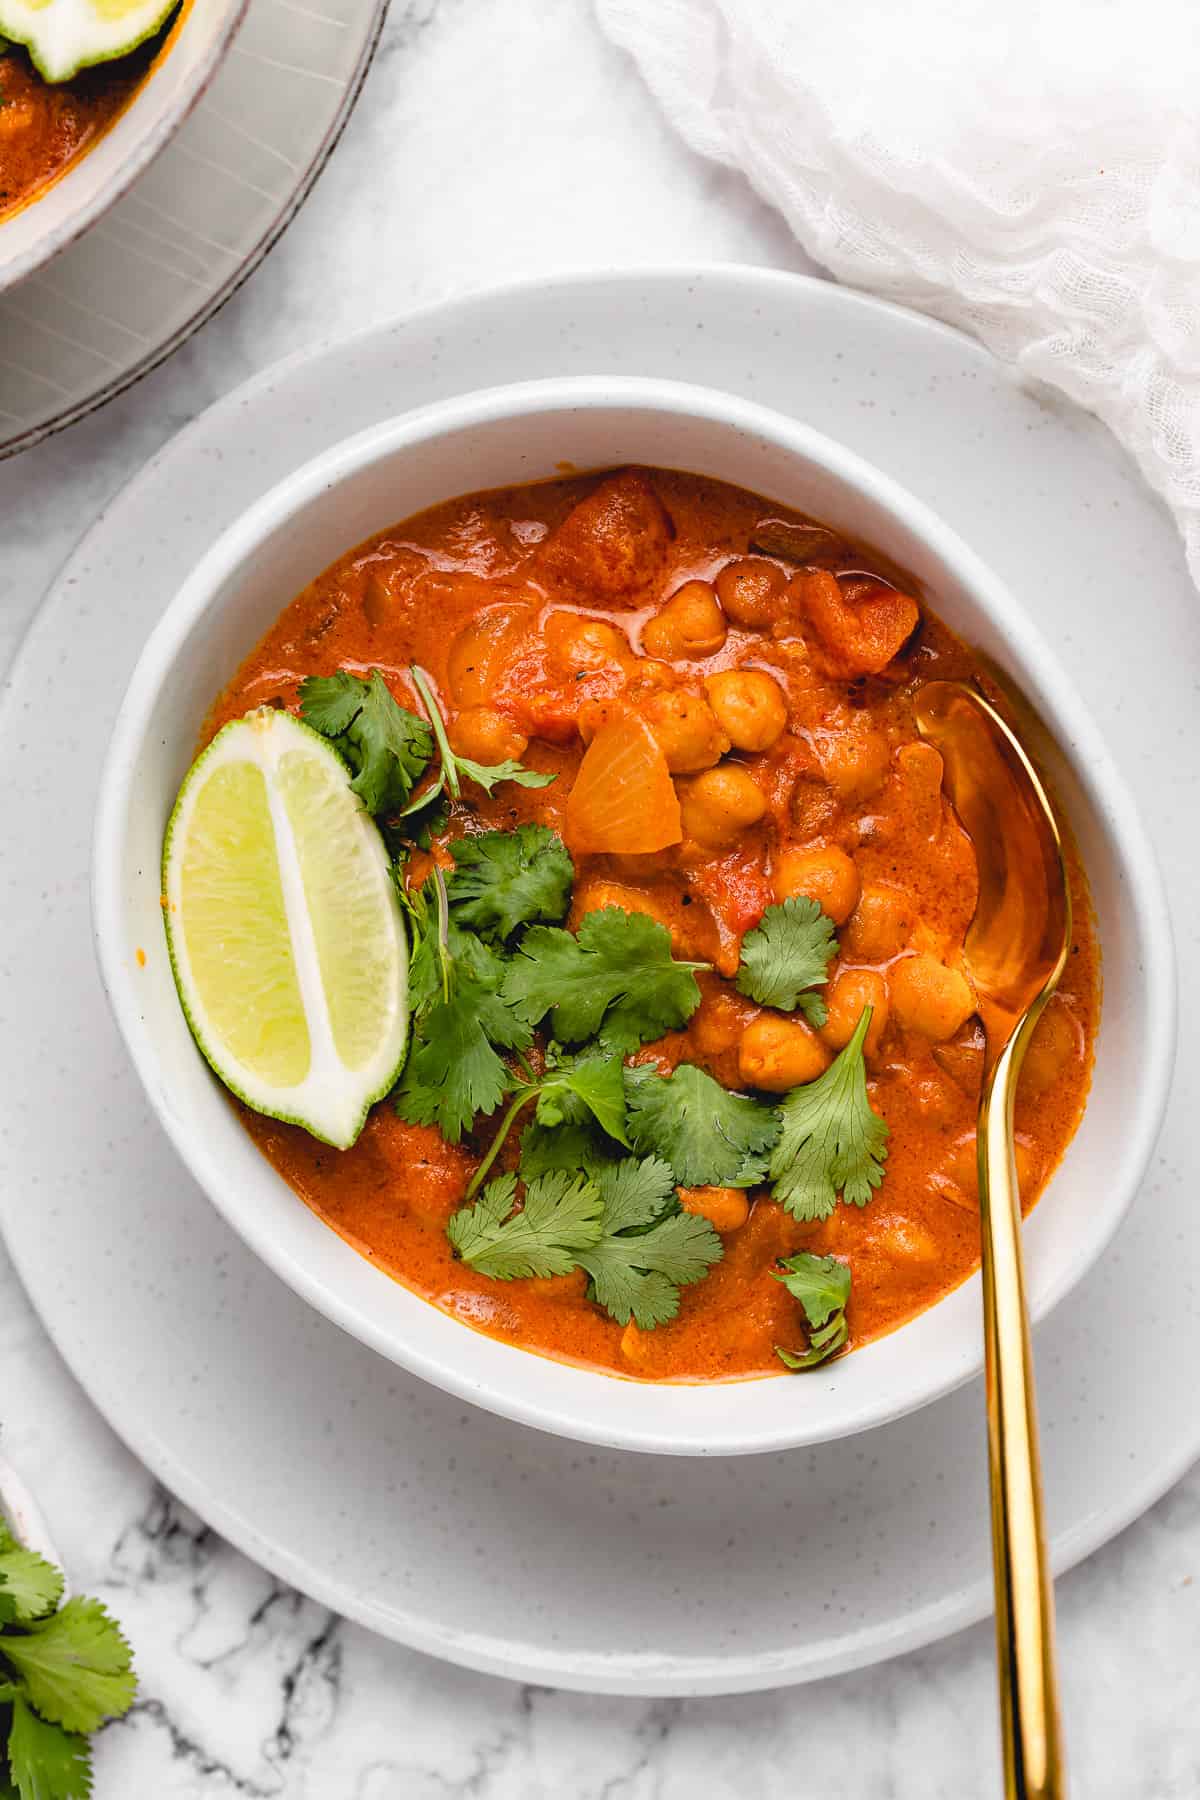
Coconut Chickpea Curry (Vegan & GF)
This Creamy Vegan Coconut Chickpea Curry is the BEST curry recipe I’ve ever tried! All made in one pot, this easy vegan curry is incredibly flavorful, perfect for meal prep, budget-friendly, and one of our go-to weeknight dinners!
The best kind of recipes are the ones that you keep making over and over again, until you finally realize – this is one of my favorite recipes. That’s this Vegan Coconut Chickpea Curry. Without a doubt it is our FAVOURITE recipe. We always have all the ingredients in our pantry and it’s incredibly easy to make. Everybody always comes back for seconds!
What Makes this Chickpea Curry So Good?
- It’s packed with flavor: While the cooking process itself is simple, the flavors are out of this world. You’ll definitely feel like you’re eating something that took all day to make (except it didn’t!).
- Quick & easy to make: You’ll only need one pot and 45 minutes to make this vegan dinner. The most effort required is when you prep the ingredients.
- A meal prep super star: You’ll have leftovers last for days! This recipe is perfect for meal prep, too.
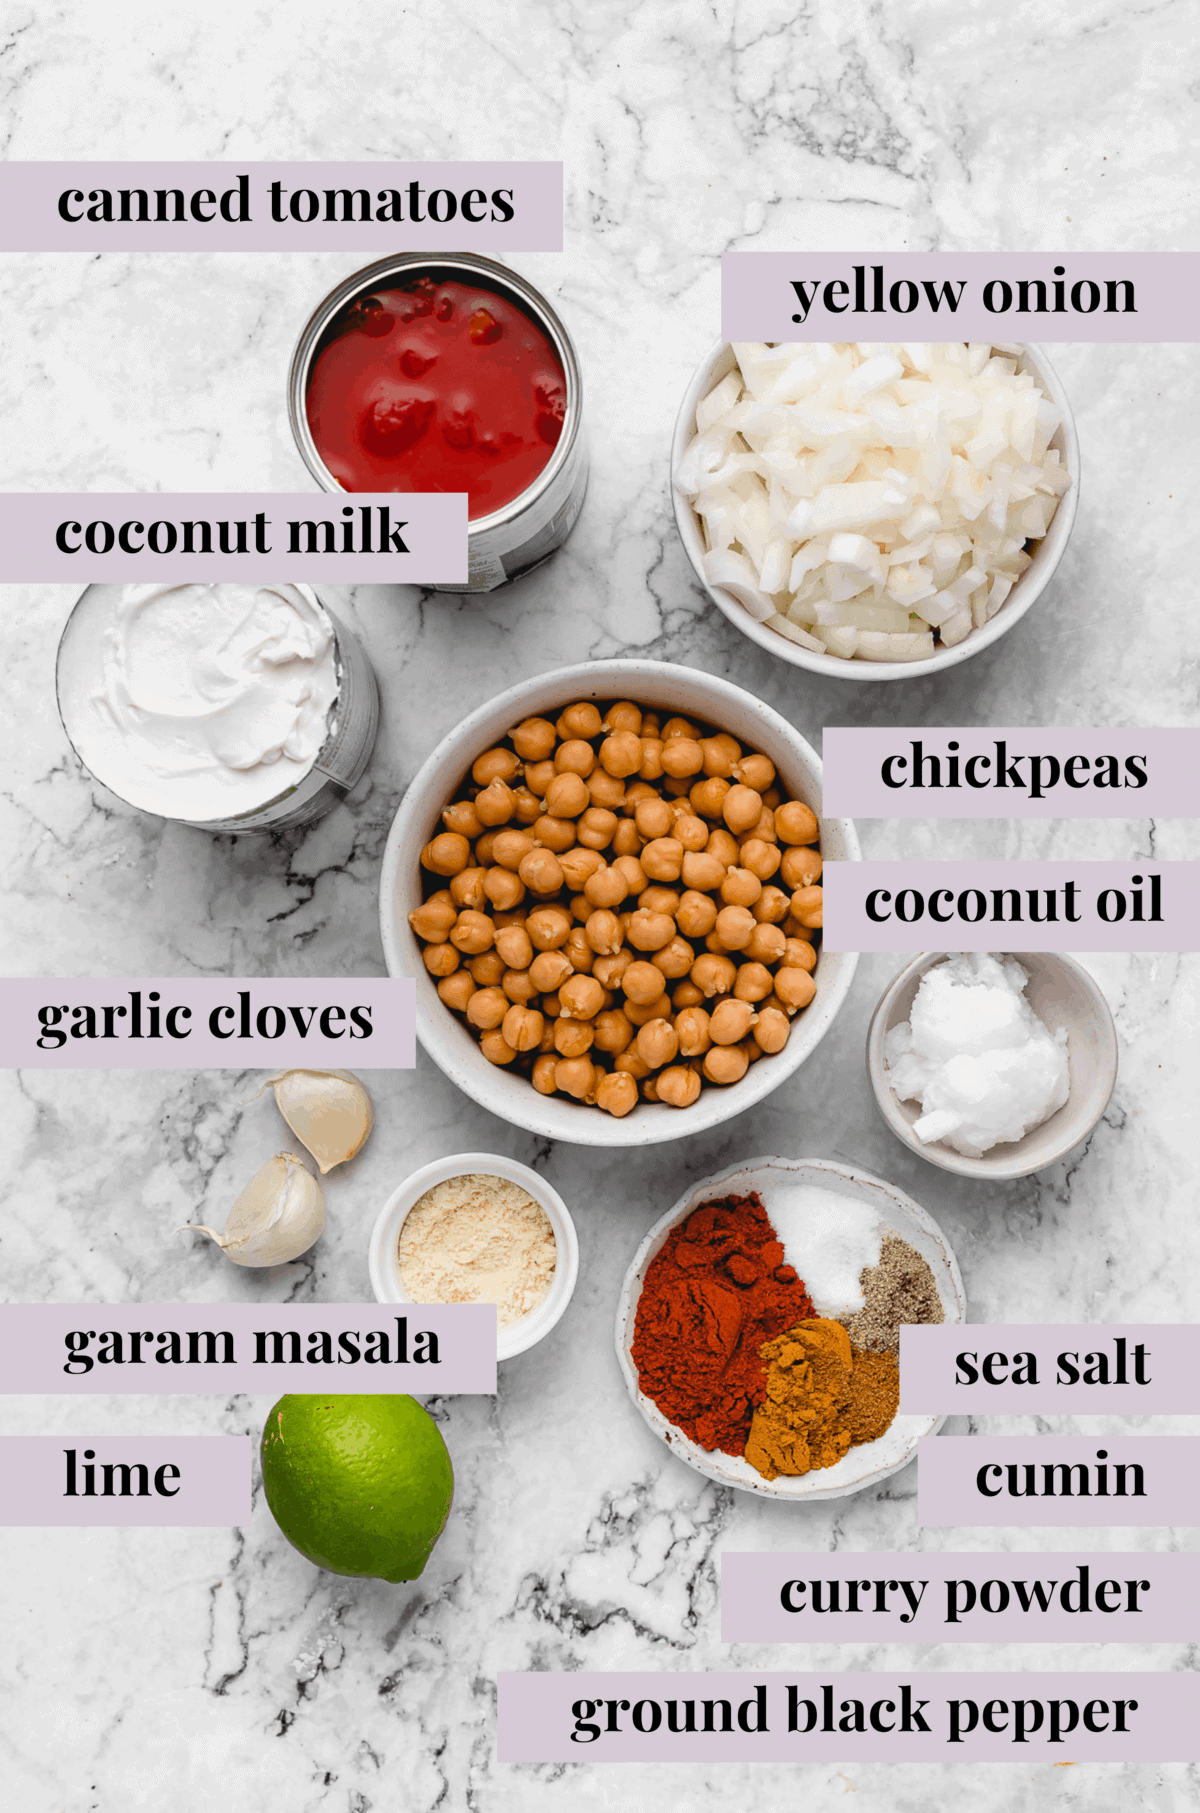
Notes on the Ingredients
Though we usually have everything we need for this recipe on our pantry shelves, you may have to run to the store for a few odds and ends. Totally worth it, though! Here’s a list of all the essentials:
- Chickpeas – Chickpeas are the star here. They add fiber, texture and make the curry a filling, protein packed meal. I wouldn’t recommend substituting this since it’s the base. Also make sure to drain and rinse them.
- Tomatoes, Onion and Garlic – These veggies are the base of your curry and really add a depth of flavor. If you don’t like tomatoes, you won’t distinctly taste them. However, you can substitute the tomatoes with pumpkin puree, a butternut squash puree or something of the sort. The curry won’t taste exactly the same, but it will give it that beautiful creamy texture!
- Coconut Milk – Coconut milk adds the creaminess to this curry and is what makes the sauce so smooth. I recommend using full fat canned coconut milk.
- Coconut Flour – This is optional, but it will thicken up the curry a little bit. You can also use regular flour.
- Coconut Oil – The oil is for sautéing the onions and tomatoes.
- Garam Masala – This is the main seasoning blend in this recipe! If you can’t find it, you can make your own.
- Additional Seasonings – These extra seasonings (sea salt, ground black pepper, curry powder, cumin and garlic) are simple and compliment the Garam Masala.
- Lime – Ah yes, our other star ingredient! Lime juice adds a subtle citrus note that brings everything together in such a delightful way. Don’t skip it!
How to Make Vegan Coconut Chickpea Curry
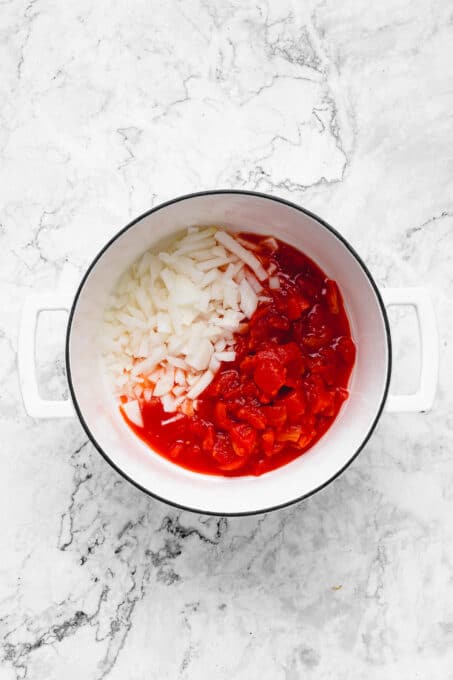
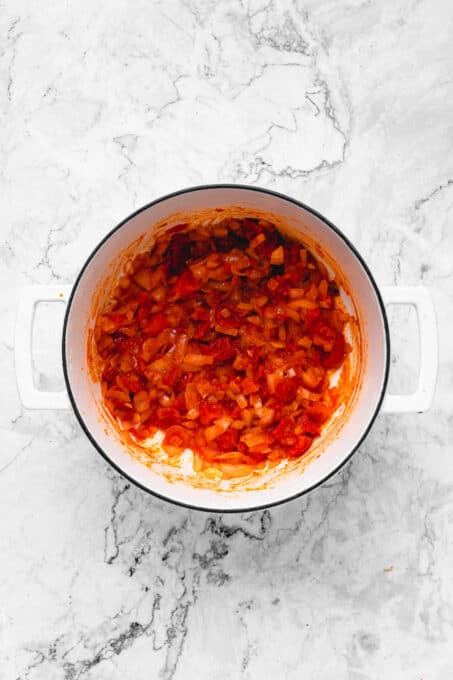
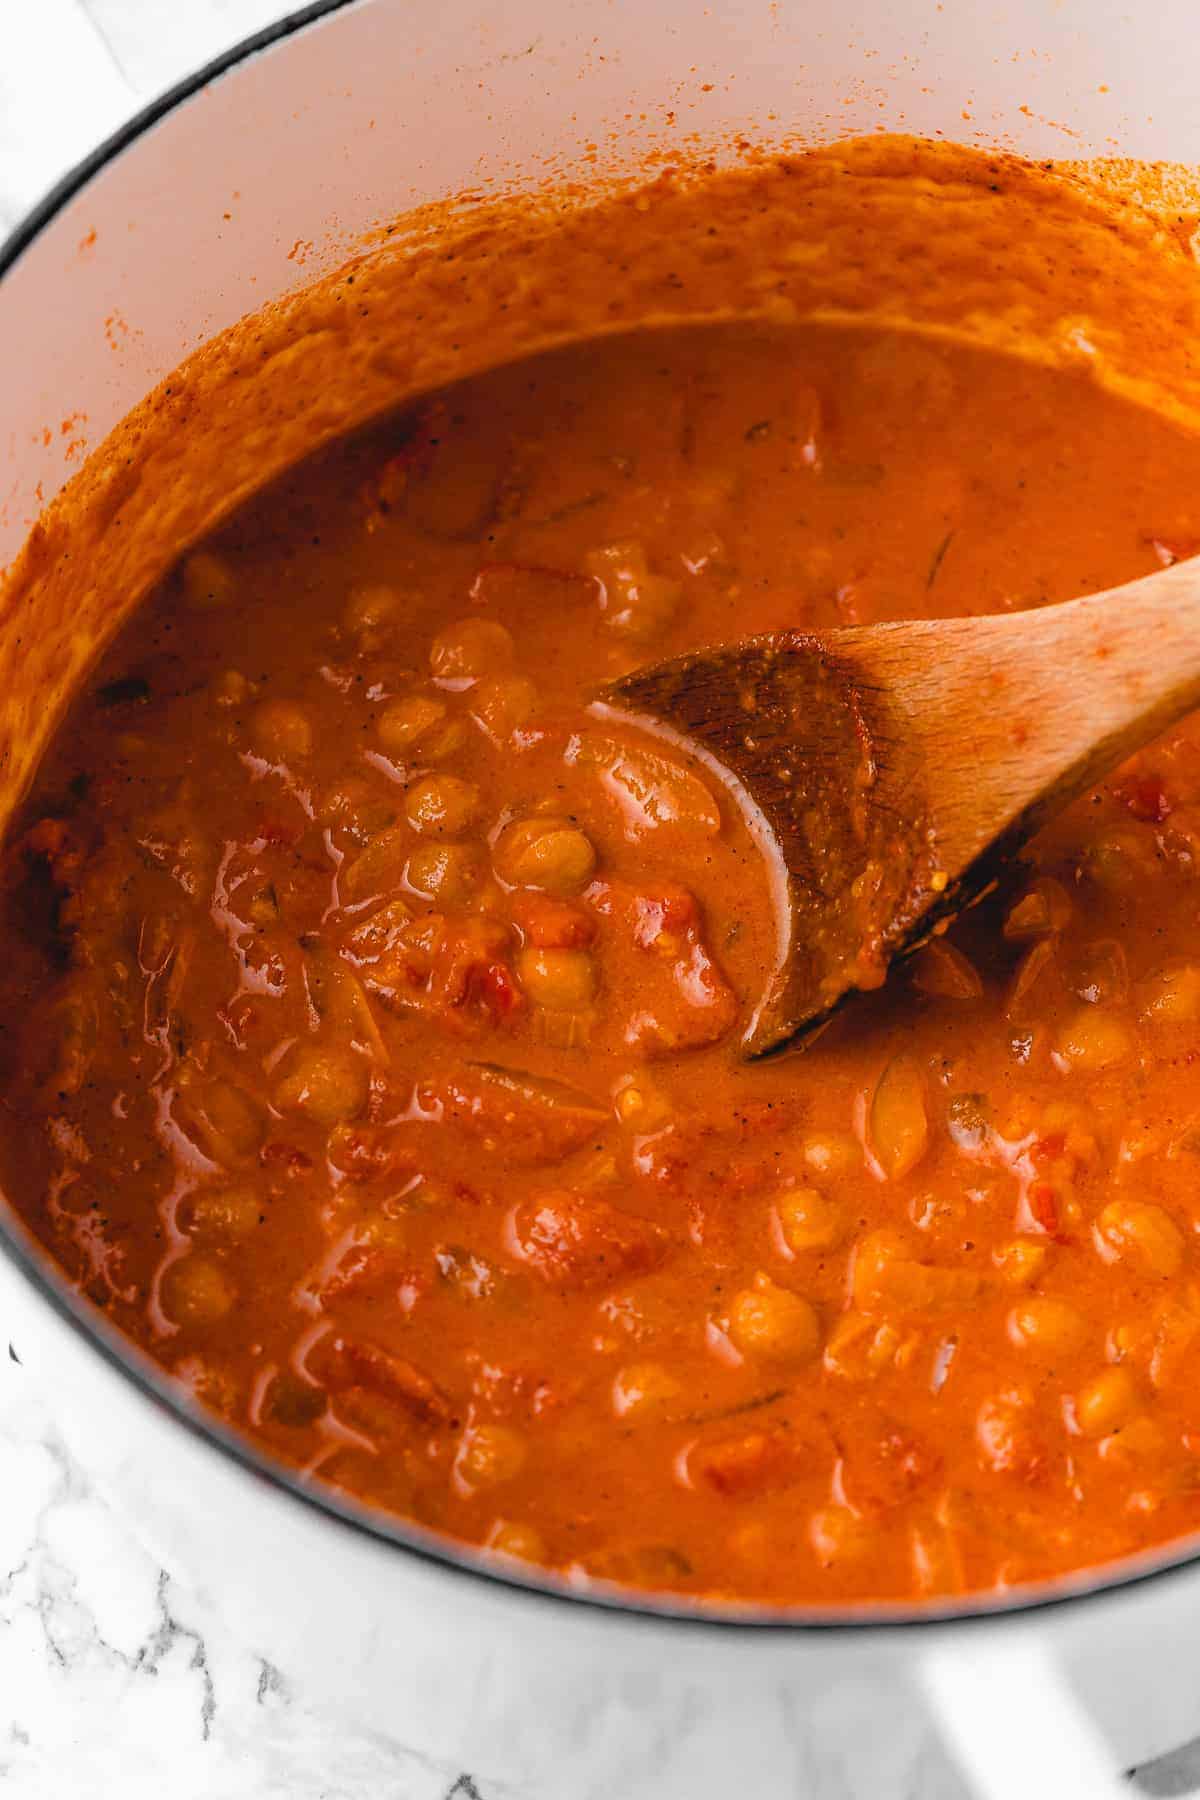
Heat the Oil: In a deep pot over medium-high heat, add the coconut oil. Add in the Onions and Tomatoes: Grind some sea salt and ground black pepper over the mixture and stir together. Lower heat to medium and allow to cook down until juices of the tomatoes are naturally released and onions are soft, about 10 minutes. I’ve found that this step really helps to develop the flavors of the dish and break them all down for the seasonings later.
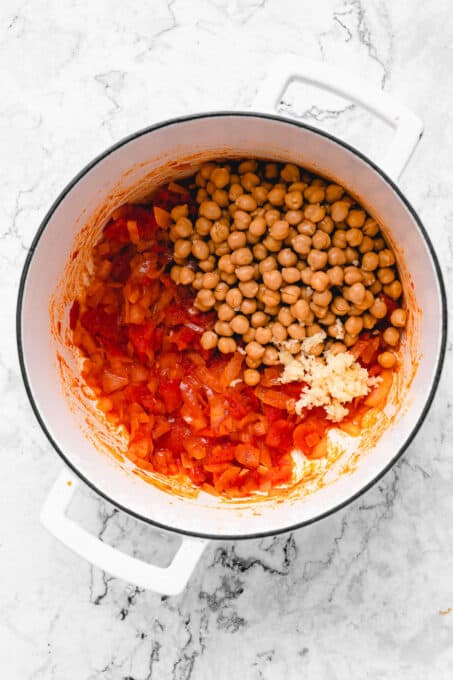
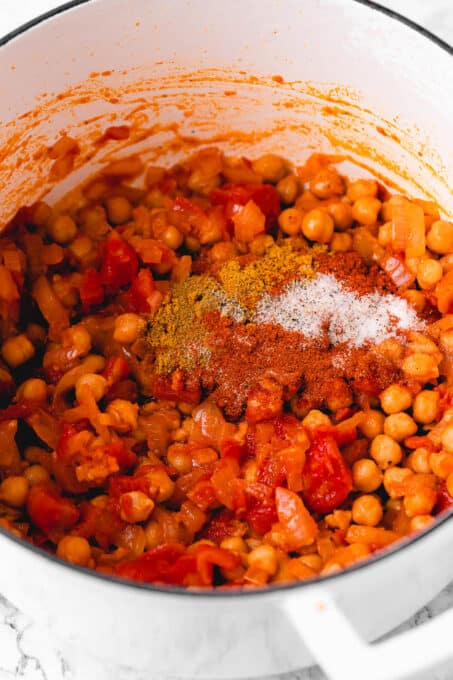
Add in the Chickpeas: Also mix in the garlic, garam masala, curry powder and cumin. Stir to combine.
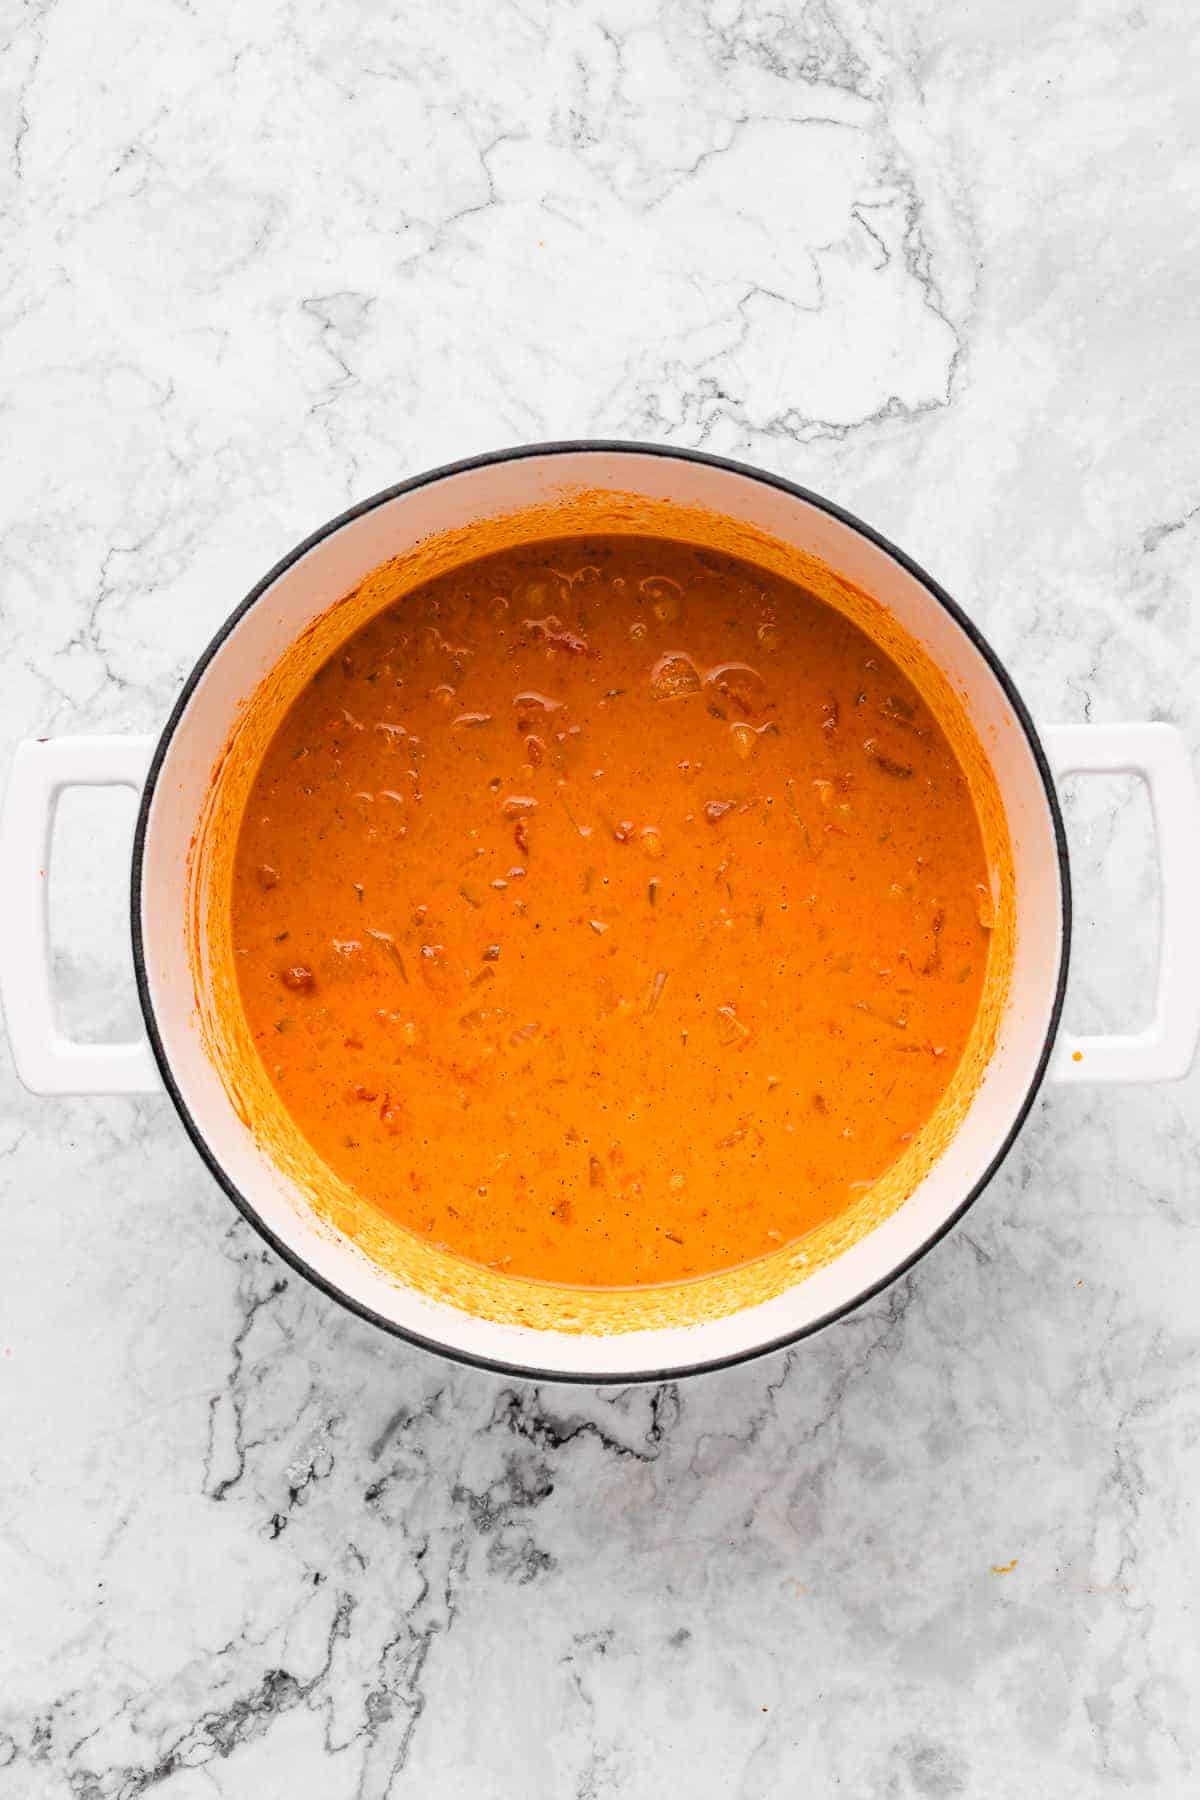
Add in the Coconut Milk and Stir Again: Add in the coconut flour (or any flour, optional) which helps to slightly thicken the curry. Bring the curry to a boil, and then reduce to medium-low so that the mixture continues to simmer for 10 to 12 more minutes.
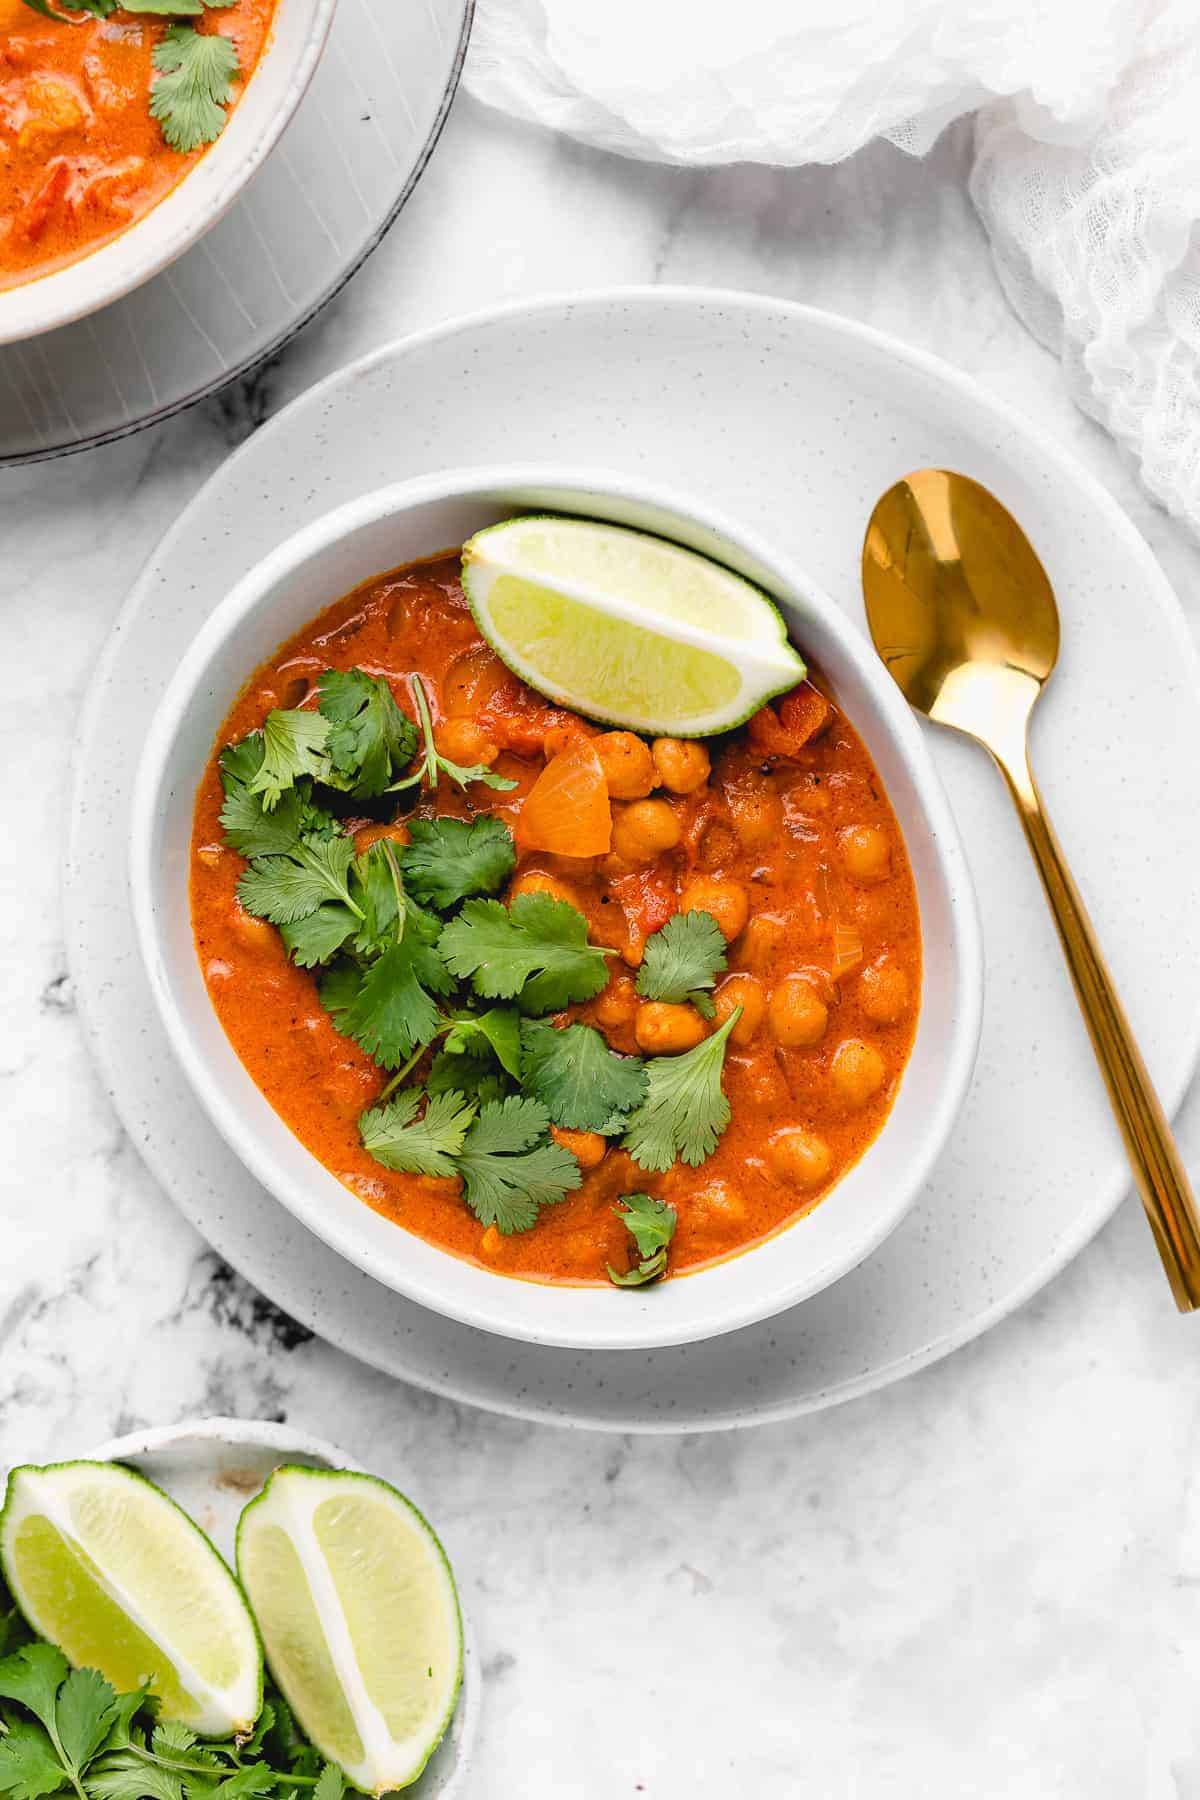
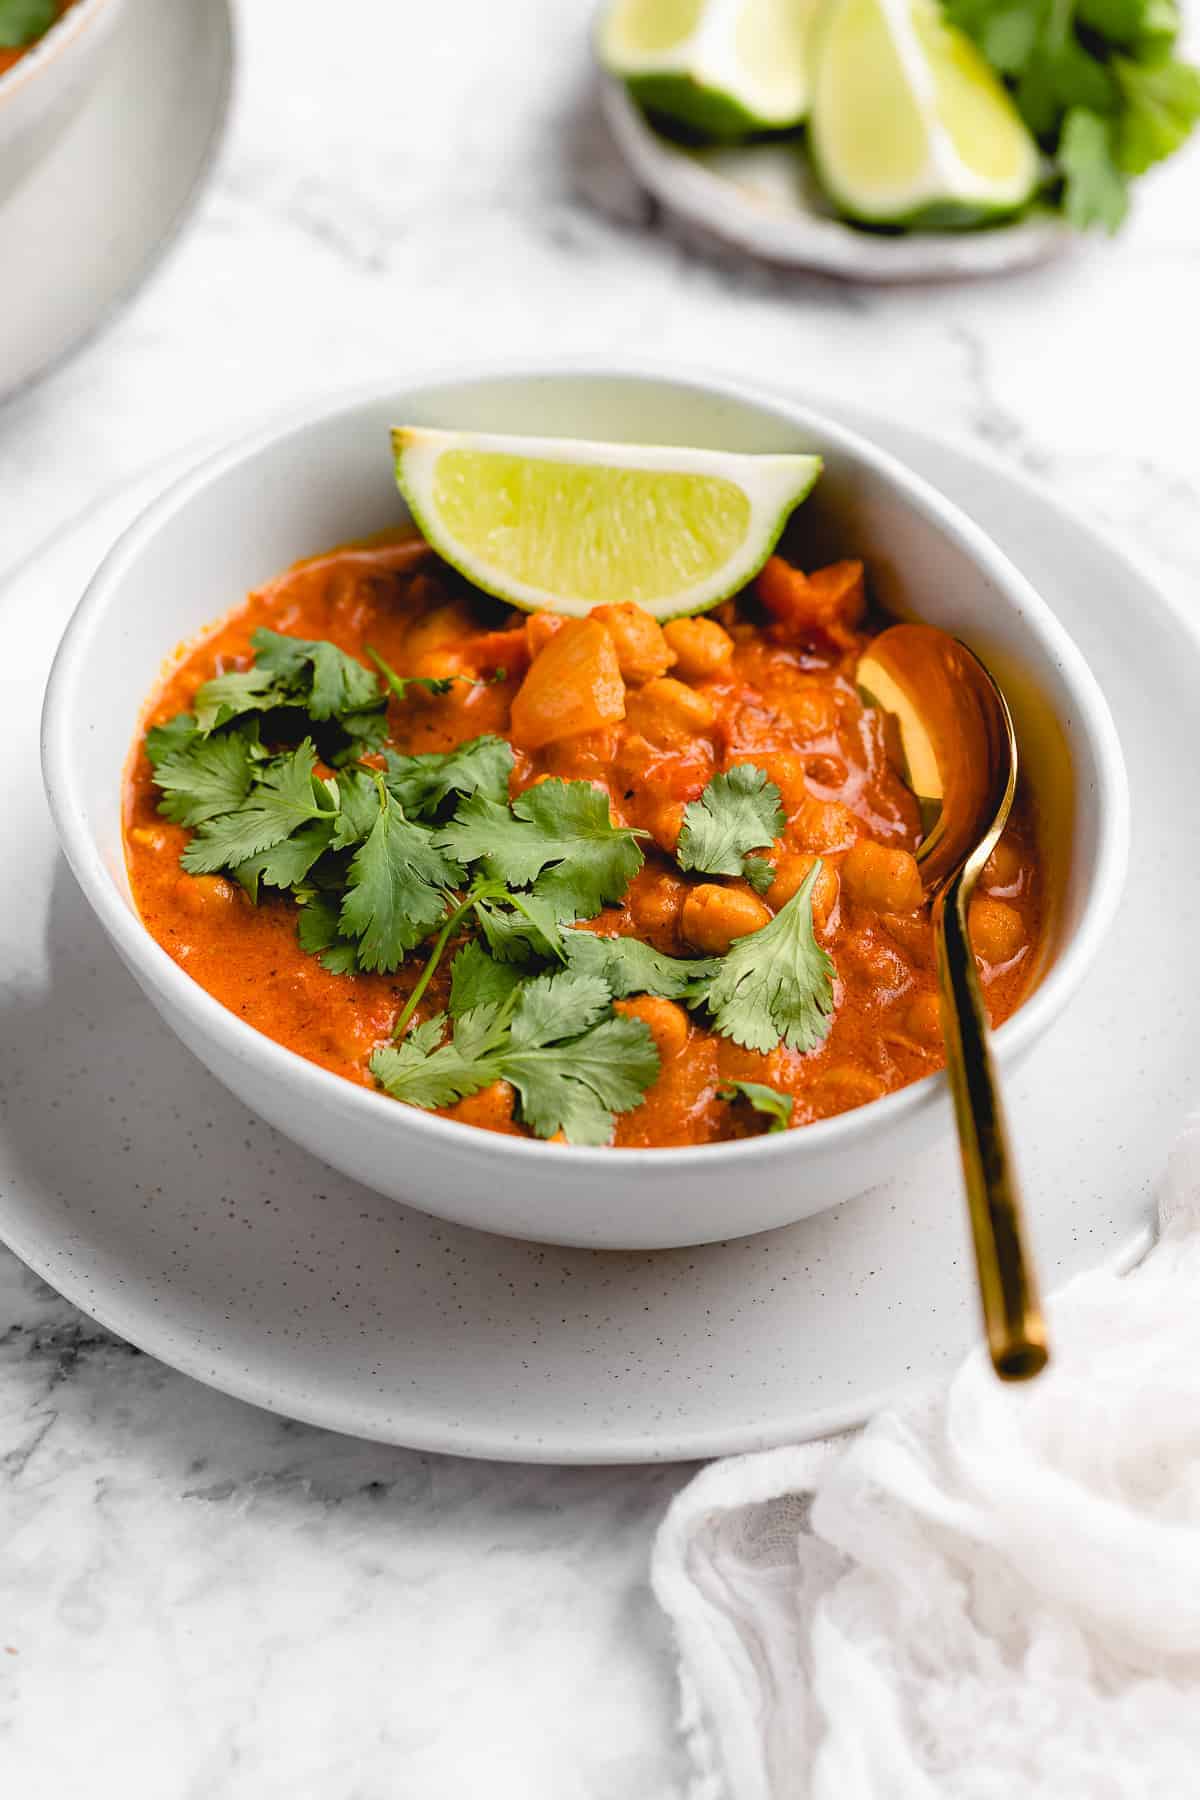
Serve and Enjoy: Taste the curry and season with salt and pepper if you desire. Remove the curry from the heat and squeeze a lime lightly over the top of the curry, stirring to combine. Don’t skip this step!! Allow to cool slightly and then serve. Enjoy!
Tips for Success
As far as vegan dinner ideas go, this one is pretty easy! Chickpea curry will take you 45 minutes tops to prepare and plate, and you’ll have fun doing it too – there’s a lot of room for culinary creativity. Here are some tips that will help you get the best results with your curry:
- Always use the lime. If there’s one tip I always mention for this recipe, it is to always use the lime. It really brings out the layers of flavor in the dish and is an essential part of the recipe!
- Follow the instruction times. Sautéing the veggies makes a real difference to the end product, so I recommend just setting a time and avoiding any temptation to rush this recipe. You will be rewarded.
- Try not to use light coconut milk. This will reduce the richness and creaminess of the curry. It’s okay to do so if you are looking to cut down on fat content, but just be aware of the flavor/texture changes that will occur.
- Make it your own. This is one of those dishes that once you follow the base ingredients well, you can make the dish your own. Add in sweet potatoes, bell peppers, spinach, broccoli, cauliflower, carrots… it’s up to you. Just taste as you go along and adjust the seasonings for the additions! I love using up extra veggies and adding them into this dish.
- Can I substitute the tomatoes? If you’re not a tomato fan, you won’t taste them. They blend right in and help with the thickness of the curry and all that flavour. If you’re allergic, you can in fact substitute them with pumpkin puree, or a butternut squash puree or something of the sort. It won’t taste exactly the same, but will give it that beautiful creamy texture!
Serving Suggestions
Once you have a pot of coconut chickpea curry, what should you serve with it? A great question. There are many options, but here are just a few ideas:
- Vegetables: As I mentioned above, throw whatever vegetables you like into this curry. Carrots, sweet potato, peppers, you name it – whatever you can think of will make a great add-in!
- Rice: My go-to is Basmati rice, but you can use regular white rice, brown rice, rice noodles, etc. You could even make some cauliflower rice!
- Bread: If you’re not a big fan of rice, try some naan bread! It’s perfect for sopping up all of that extra curry sauce, and it’s so easy to make.
How to Store and Reheat Leftovers
This coconut curry can be refrigerated in an airtight container for 3-4 days. To reheat, simply microwave for 30-40 seconds, or heat a pot on low on the stovetop and cook the curry until it is warmed through again. You may want to add in some more coconut milk or water if the sauce is too thick.
Can I Freeze Extras?
Sure can! Freeze extra curry in an airtight container for 2-3 months. Pro Tip: store the curry in single servings so that you can thaw one-person lunches or dinners in the fridge throughout the week/month!
Enjoy friends! If you make this Coconut Chickpea Curry, please snap a photo and tag #jessicainthekitchen on Instagram! We’d also love if you would leave a comment below, and give the recipe a rating! Thanks so much!
Creamy Coconut Chickpea Curry
Ingredients
- 2 tablespoons coconut oil
- 1 medium red onion or yellow onion, diced
- 14 ounces fresh or canned tomatoes, diced (400g)
- sea salt & ground black pepper, to taste
- 16 ounces canned chickpeas, drained & rinsed (454g)
- 3 garlic cloves, minced
- 1 ½ tablespoons garam masala – I use this one
- 1 teaspoon curry powder I use this one
- ¼ teaspoon cumin
- 13.5 ounces canned coconut milk*, (383g)
- 2 teaspoons coconut flour, OPTIONAL**
- 1 small lime, juice of
Instructions
- In a deep pot over medium-high heat, add the coconut oil.
- Add in the onions and tomatoes. Grind some sea salt and ground black pepper over the mixture and stir together. Lower heat to medium and allow to cook down until juices of the tomatoes are naturally released and onions are soft, about 10 minutes.
- Add in the chickpeas, garlic, garam masala, curry powder and cumin. Stir to combine.
- Add in the coconut milk and stir again. Add in the coconut flour which helps to slightly thicken the curry. Bring the curry to a boil, and then reduce to medium-low so that the mixture continues to simmer for 10 to 12 more minutes.
- Taste the curry and season with salt and pepper if you desire. Remove the curry from the heat and squeeze a lime lightly over the top of the curry, stirring to combine. Don’t skip this step!! Allow to cool slightly and then serve. Enjoy!
Notes
Disclaimer: Although jessicainthekitchen.com attempts to provide accurate nutritional information, kindly note that these are only estimates. Nutritional information may be affected based on the product type, the brand that was purchased, and in other unforeseeable ways. Jessicainthekitchen.com will not be held liable for any loss or damage resulting for your reliance on nutritional information. If you need to follow a specific caloric regimen, please consult your doctor first.


In response to your question about Weight Watchers’ points, they have changed them (twice since I started 3 years ago), so it’s possible that the point values for the ingredients in this recipe have changed since the time you calculated them. The ingredients in the recipe that have points are the coconut milk (41 points for the whole can), the coconut oil (7 points), and the coconut flour (1 point). Everything else is zero points, including the chickpeas! I hope this answers your question. The recipe sounds delicious. I love curry, and I’m going to try it. I wonder if reduced fat coconut milk would work with your recipe. Do you know? Using the reduced fat coconut milk would change the points to 6 per serving instead of 12.
Hi Karen,
Thank you and I truly appreciate it! I will update the WW to reflect using reduced fat coconut milk, and will share what it is with regular coconut milk too. To answer your question – yes you can definitely use reduced fat coconut milk! Some readers have even expressed that they used soy milk, or almond milk or boxed coconut milk and it worked fine for them. I truly hope that helps and that you enjoy so much!!
I think I’ve made this recipe ten times now. Each time I change it a little bit, I tend to go crazy with the spices and add a bunch more. Sriracha is a necessity to me for the sweet and spicy addition. Such a great recipe to play around with, thank you!
I’m so happy to hear this Sage!!! Love the sriracha too – you’re so welcome!! Thanks for your feedback.
Love this! Made this curry some time ago and froze half of it for my lunches. My colleagues loved it as much as I did! And you are right: the secret is in the lime! I served with rice and it made a very comforting yet healthy meal. Thank you!
Hi Marie, so happy to hear this yay!! Yes to the lime haha. You’re so welcome and thanks for your feedback!
Love this curry. So quick and easy. I’ve made it several times but yesterday was the first time I didn’t have fresh tomatoes so I used whole canned tomatoes and I’m really happy with the way it turned out. The tomatoes held together better and I liked the chunks of tomato. This is definitely one of my favourites!
Hi Cat,
I’m so happy that you enjoyed! Thanks so much for sharing with me and about the tomatoes!
I have tried making other chickpea curry’s and they were okay. This recipe however is delicious. My husband hates curry and he told me it was really good. Thank you for this recipe!
This is a great curry!
I use different veg depending on what I have on hand at the time, like eggplant, sweet potato, mushrooms, red peppers etc!
Serve with brown rice!Yum!
I love the variety that you use! Thanks Helen!!
FANTASTIC!!! Totally loved this meal! My 7 year old and 4 year old (who is VERY picky) devoured this! My 7 year old would take a bite, close her eyes and hum to herself–she even took seconds. We’re keeping this in our rotation.
Hi Brittney,
Thank you so much! Also sooo happy your kids enjoyed this too!
Thanks great recipe. Made this last week, really easy and delicious. Flavoursome but not hot. I didn’t add flour but consistency was fine.
Hi Emma,
So happy to hear you enjoyed!!
Amazing recipie. Made it for my monthly meal swap with my girlfriends and we all loved it and have made it multiple times sent. Love that it is easy, healthy, and so delicious. Thanks for a great one.
Hi Jen,
I’m so happy to hear that!! You’re so welcome and thanks for your comment!
Another AWESOME recipe with great flavor! So happy I found you Jessica!
Thank you so much Veda! We’re happy that you’re happy!