Quick and Easy Thai Green Curry
Vegan Thai Green Curry takes only 15 minutes to prep! This homemade vegan curry is loaded with rich flavors and loads of vegetables, and it’s a definite crowd-pleaser!
I have a huge declaration to make: This Vegan Thai Green Curry equally rivals my Chickpea Curry for the best recipe on my website. I know, HUGE. So, needless to say, you need to add this curry to this week’s meal prep. See if you agree with me!
Okay, with that revealed, let’s dive into the recipe. This Thai Green Curry could not have been easier to make, and it only takes 40 minutes from start to finish!
What is Green Curry?
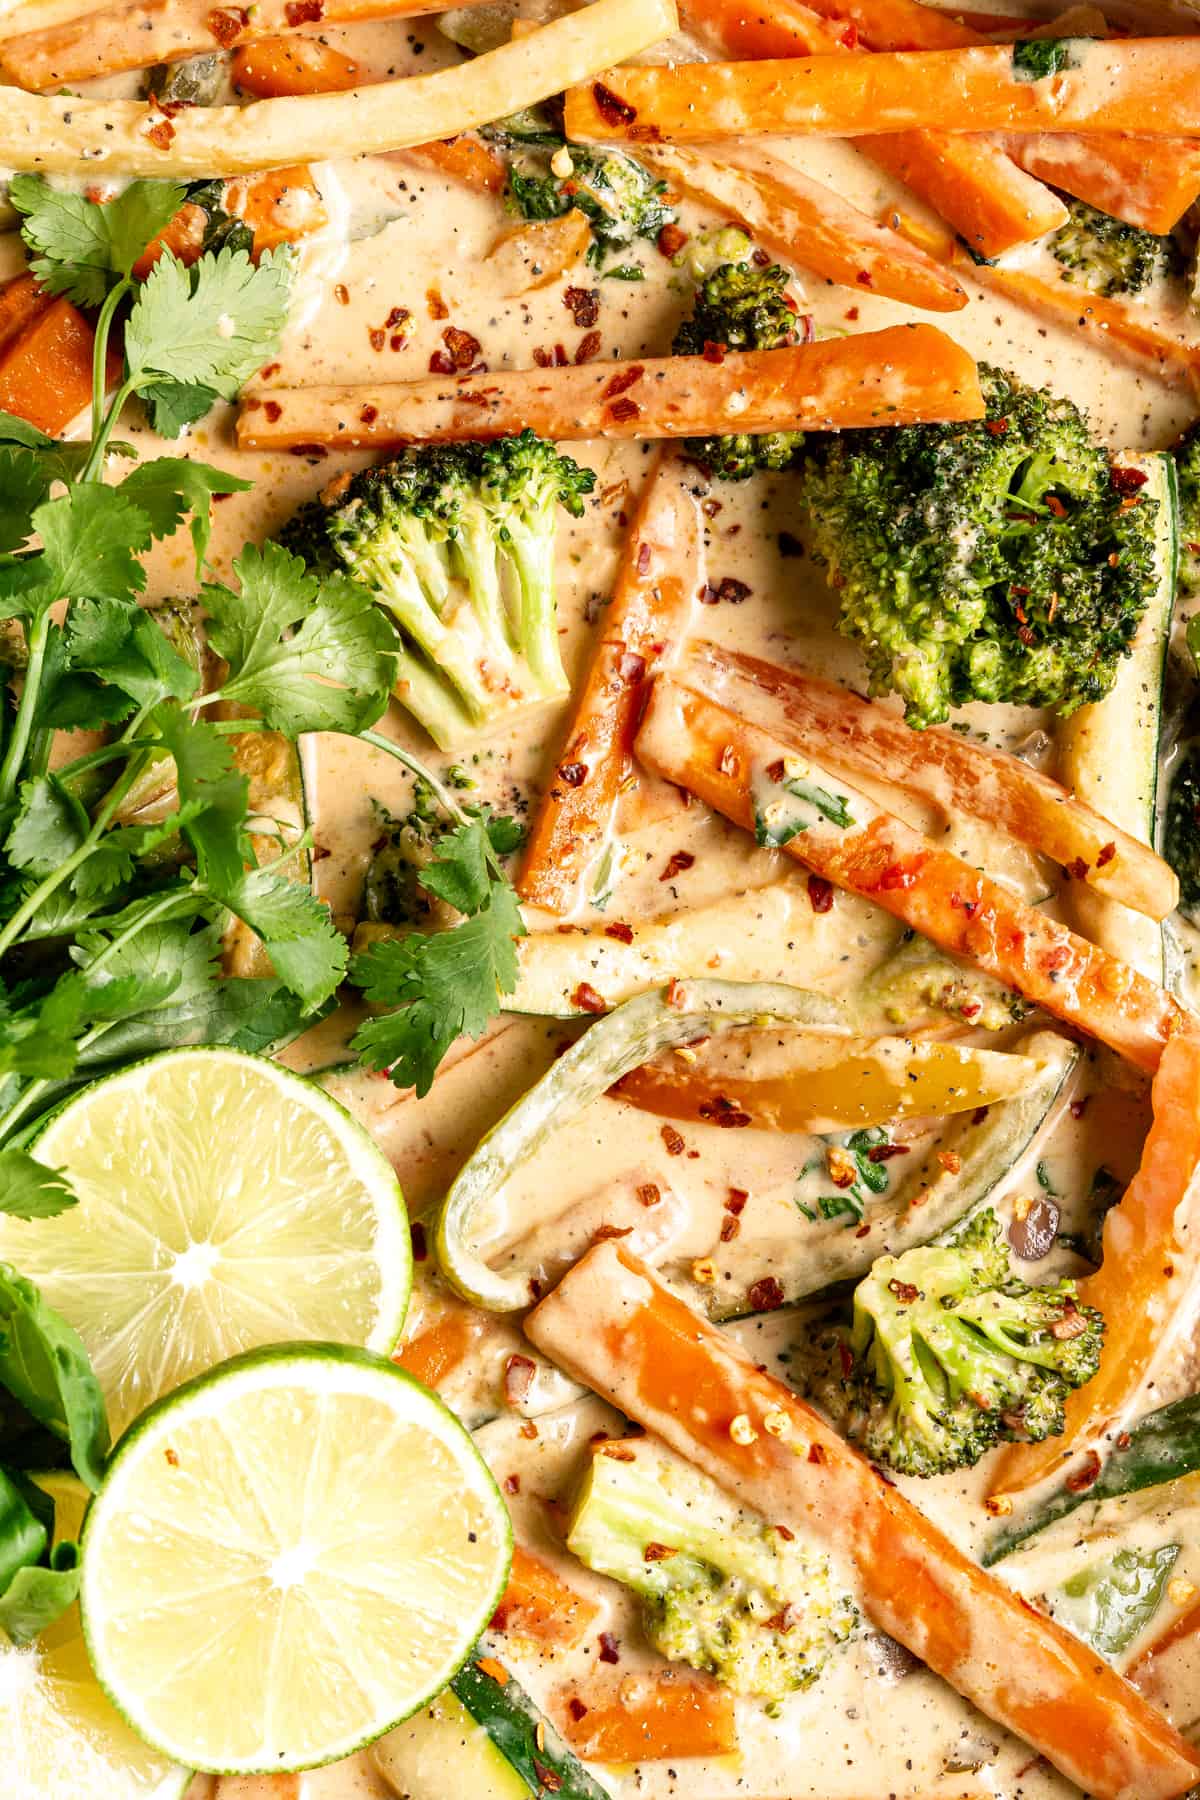
Thai Green Curry is aptly named because it’s, well, green. The curry sauce turns a bright, vibrant shade of green because of the paste and the Thai basil. (BTW, there’s also red and yellow Thai curry.)
Anyway, I love making this green curry because it’s the whole package flavor-wise. It’s spicy, savory, and even a little bit sweet. And, texture-wise, the curry comes out so creamy in the end! Yum.
Notes on Ingredients
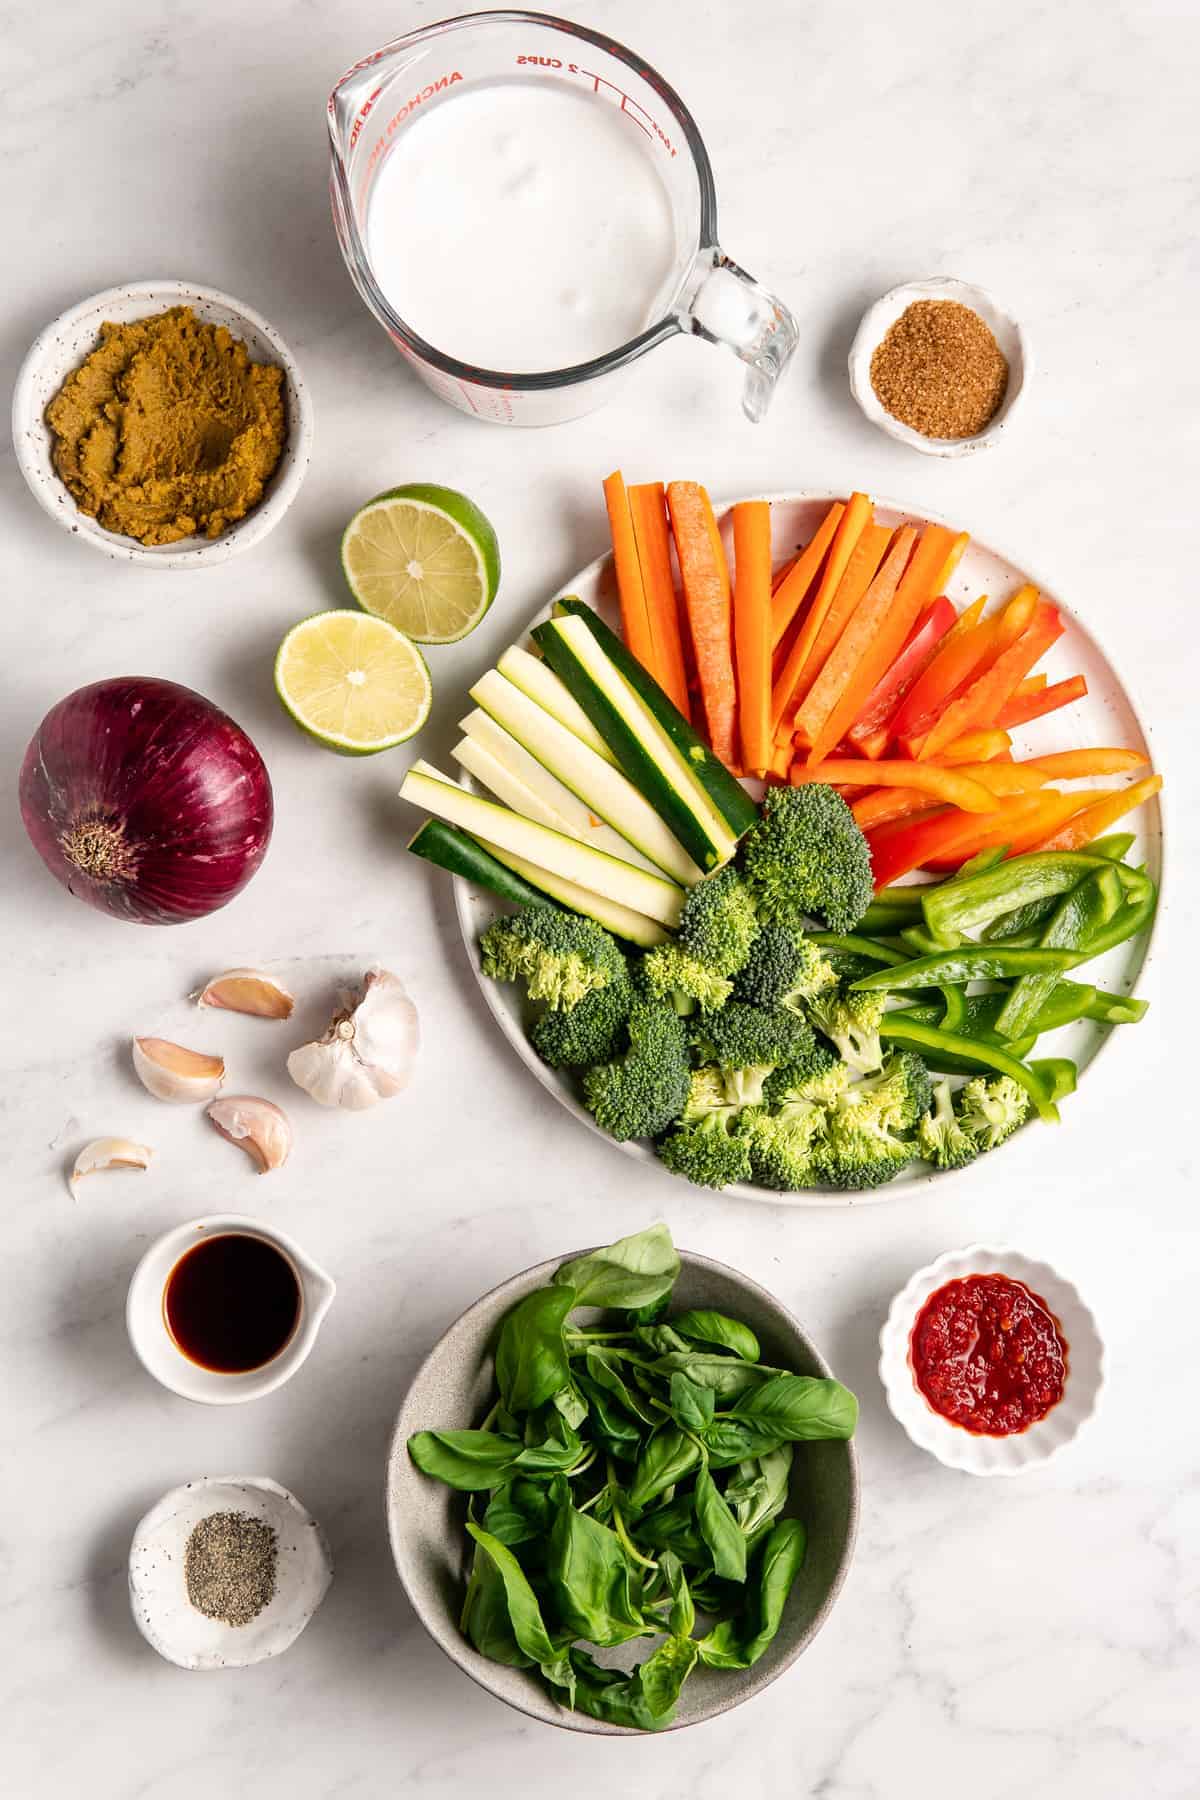
Ready to dig into some spicy-sweet vegan Thai green curry? Me too! Here’s a list of everything that we’ll need to round up:
- Coconut Oil: To sauté the onion in. You can use another cooking oil, if you prefer.
- Green Curry Paste: I use and love this (aff. link) green curry paste; it’s vegan and gluten free!
- Vegetables: Chop up some red onion, broccoli, red bell pepper, green bell pepper, carrots, and zucchini.
- Garlic: Minced, for added savory flavor.
- Seasoning: Mix sea salt, ground black pepper, and coconut sugar or raw sugar (for a little sweetness).
- Liquid Aminos: Tamari will also work well here.
- Coconut Milk: You can use the full fat version or the lite version, it doesn’t really matter.
- Lime: Tangy lime juice really brings the flavors of this dish together.
- Thai Basil: Make sure to wash and chop it before adding. If you don’t have Thai basil, you can use a subtle mint or parsley!
- Sambal Oelek: You can also use Sriracha for heat, though both ingredients are optional.
- Coconut Flour: Also optional, this is to thicken the curry sauce just slightly.
How to Make Thai Green Curry
Please note that this is important information on the ingredients and instructions and the FULL recipe with amounts and details can be found DOWN BELOW (scroll to it) in the recipe card.
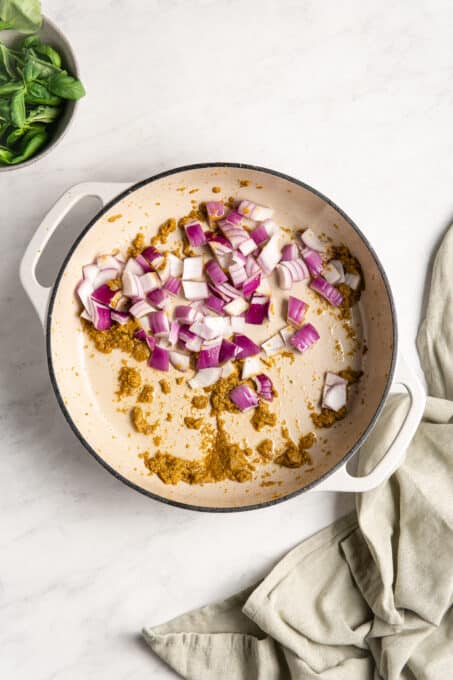
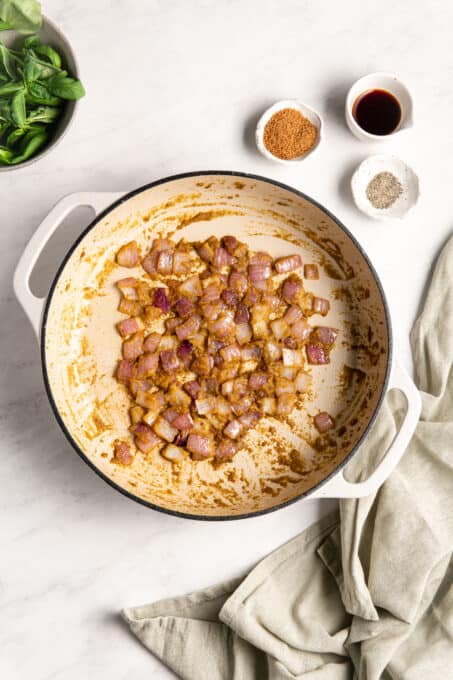
Fry the Curry Paste/Sauté the Onion: In a pan over medium-high heat, heat the coconut oil. Stir in the curry paste to fry it for about a minute. Add in the chopped onion and cook it until the onion is slightly translucent – this should take about 8 minutes.
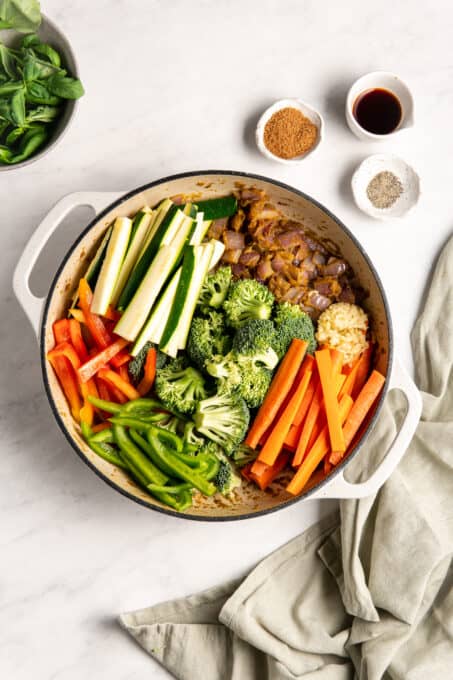
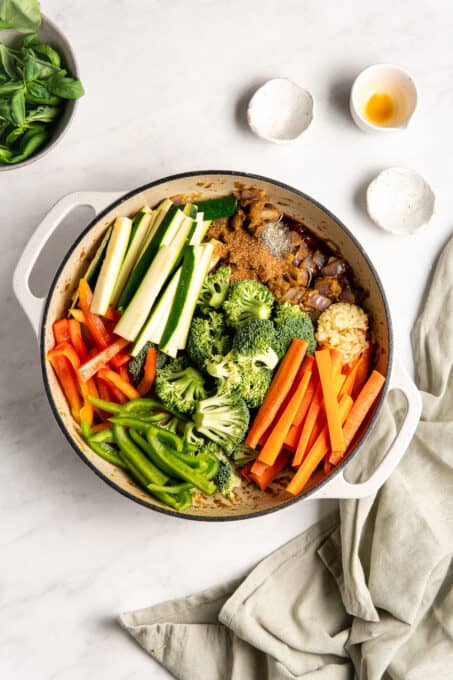
Cook the Vegetables: Add in the garlic, stir together, and then add the rest of the coconut oil. Next add the broccoli, red bell pepper, green bell pepper, carrots and zucchini. Mix in the sea salt, black pepper, coconut sugar, and liquid aminos on top, and stir everything together once more. Reduce the heat to medium and cook down, stirring, until the carrots are tender-crisp (this takes about 10-15 minutes).
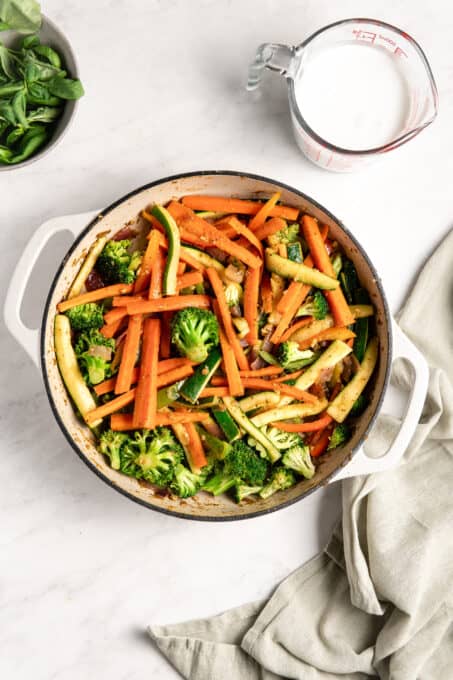
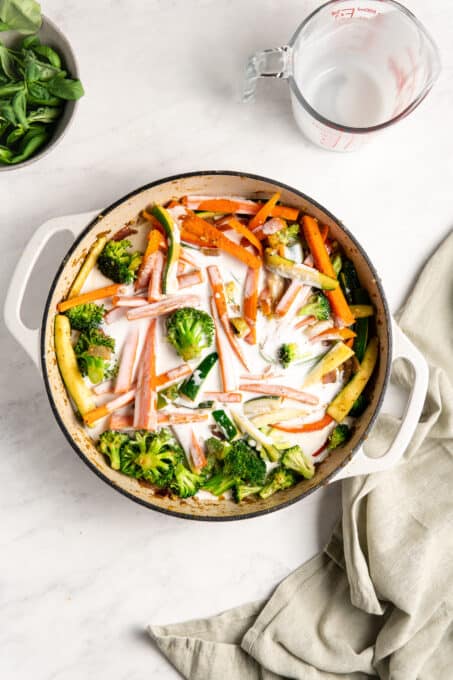
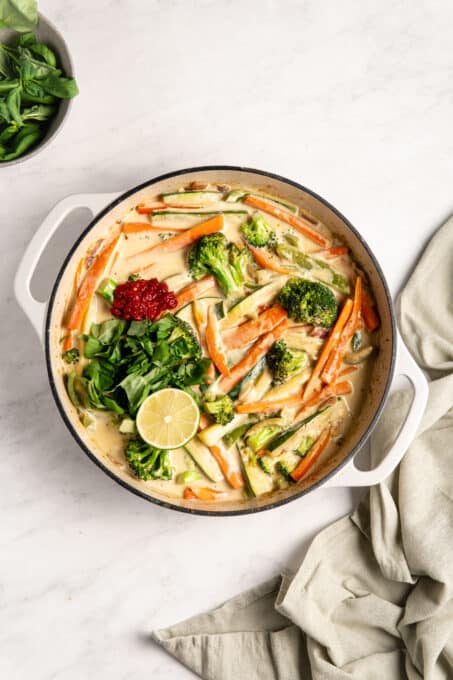
Make the Sauce: Add in the coconut milk, stir, and then let it simmer for about 5 minutes. Squeeze the lime over the dish, stir, and then remove it from the heat.
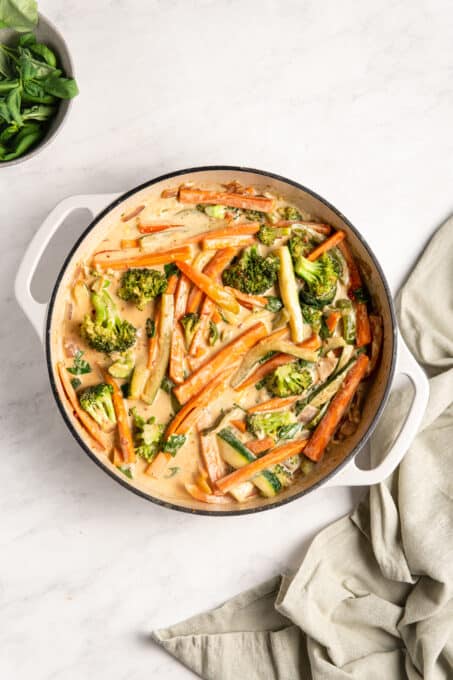
Garnish: Add in the Thai basil on top and stir in the sambal oelek (or Sriracha), if using. Enjoy!!
Tips for Success
Pretty simple, right? While there is quite a bit of vegetable chopping involved here, there’s nothing else too complicated going on, which is nice.
And, before I forget, I’ve got a couple of tips and tricks that make this dish even easier to prepare/more satisfying:
- Can I Switch Up the Vegetables? Yes! You can use any combination of veggies you want – just use roughly 3 ½ cups of veggies, so that you don’t overcrowd the pan. You could even use another type of greens, such as spinach or kale!
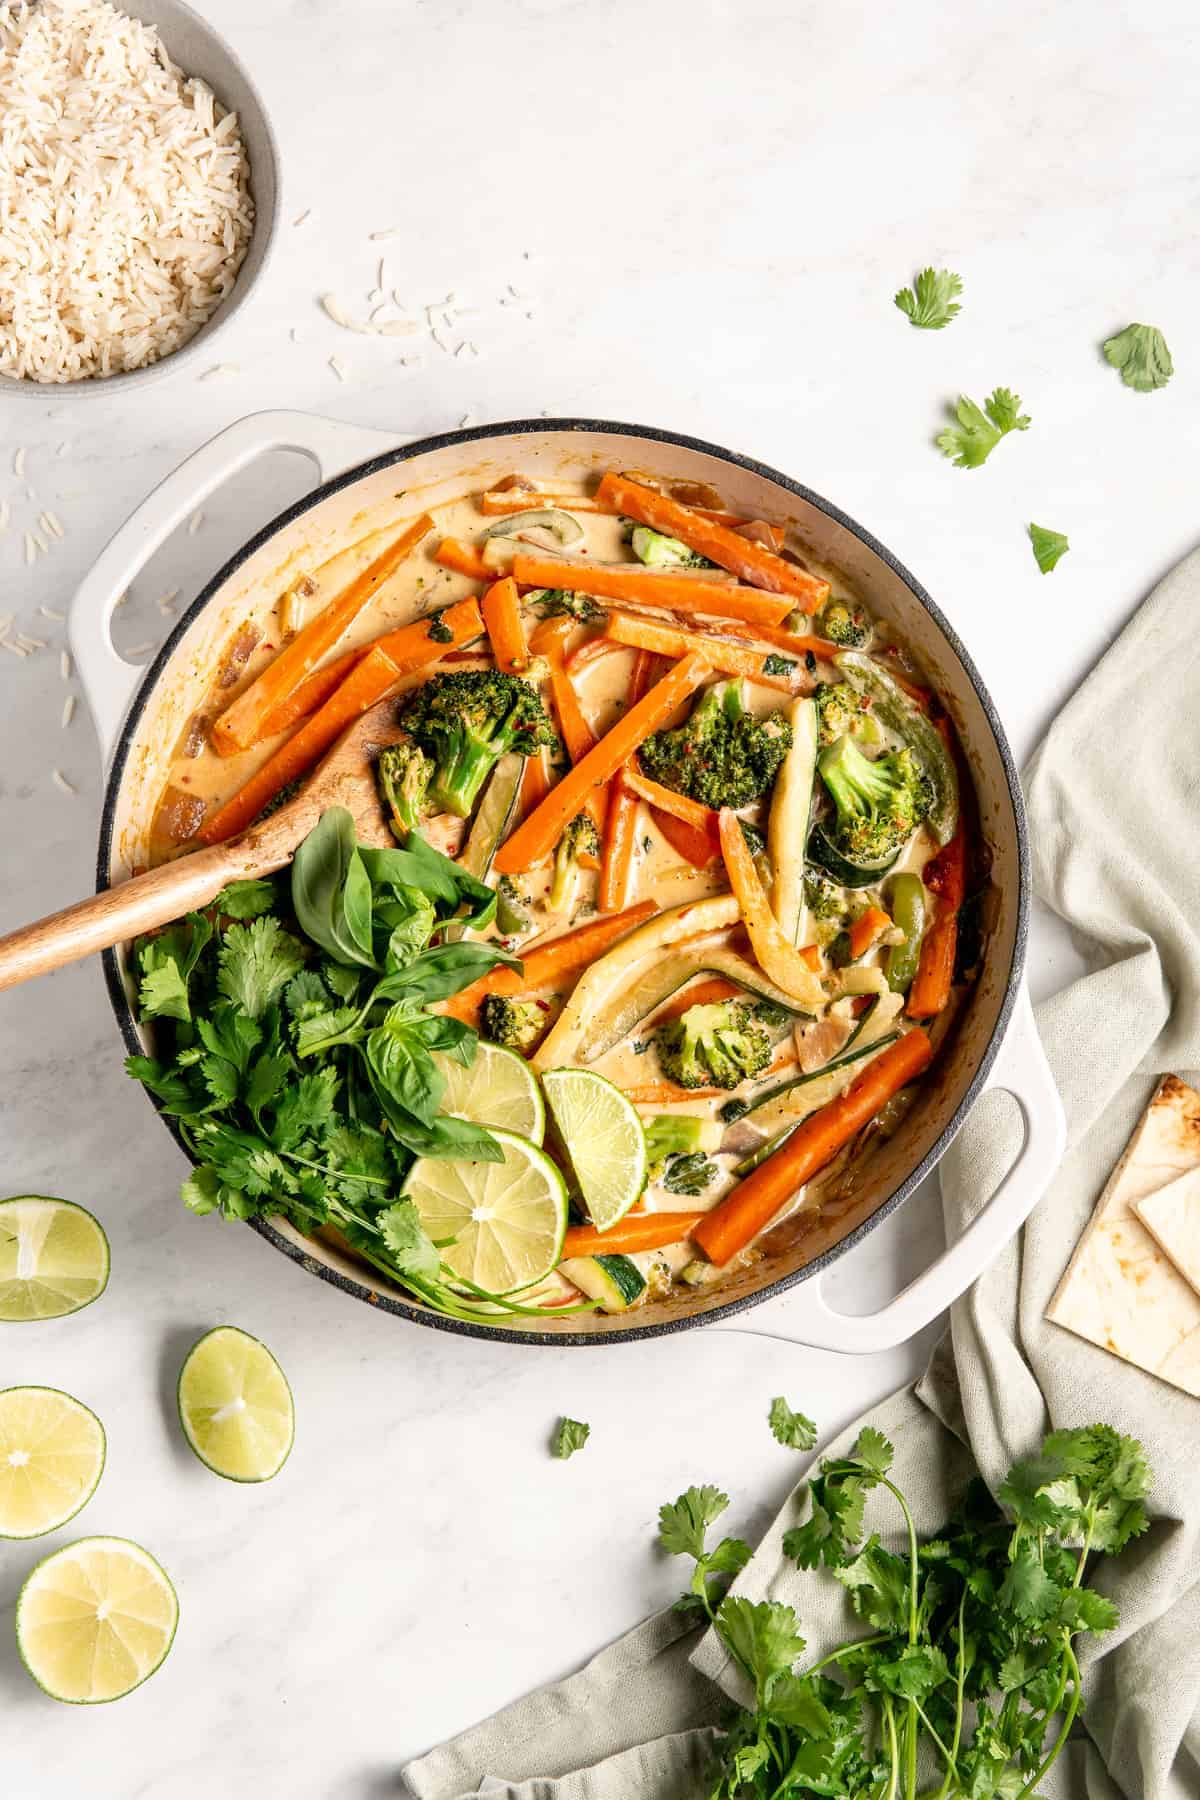
- Is the Lime Necessary? YES! Several readers have told me that this recipe came alive when they did the lime squeeze. Please don’t skip it!! It’s so crucial to bringing out all those delicious flavors. While you’re at it, serve each plate with a half a lime wedge. I promise, your family/spouse/guests will LOVE you for it.
- For More Protein: To add more protein, I usually add a block of baked tofu into the 5 minute simmer section near the end!
- To Make It Creamier: Add a little more coconut milk to the curry sauce to make it creamier. Conversely, add a little less if you want it less creamy.
Serving Suggestions
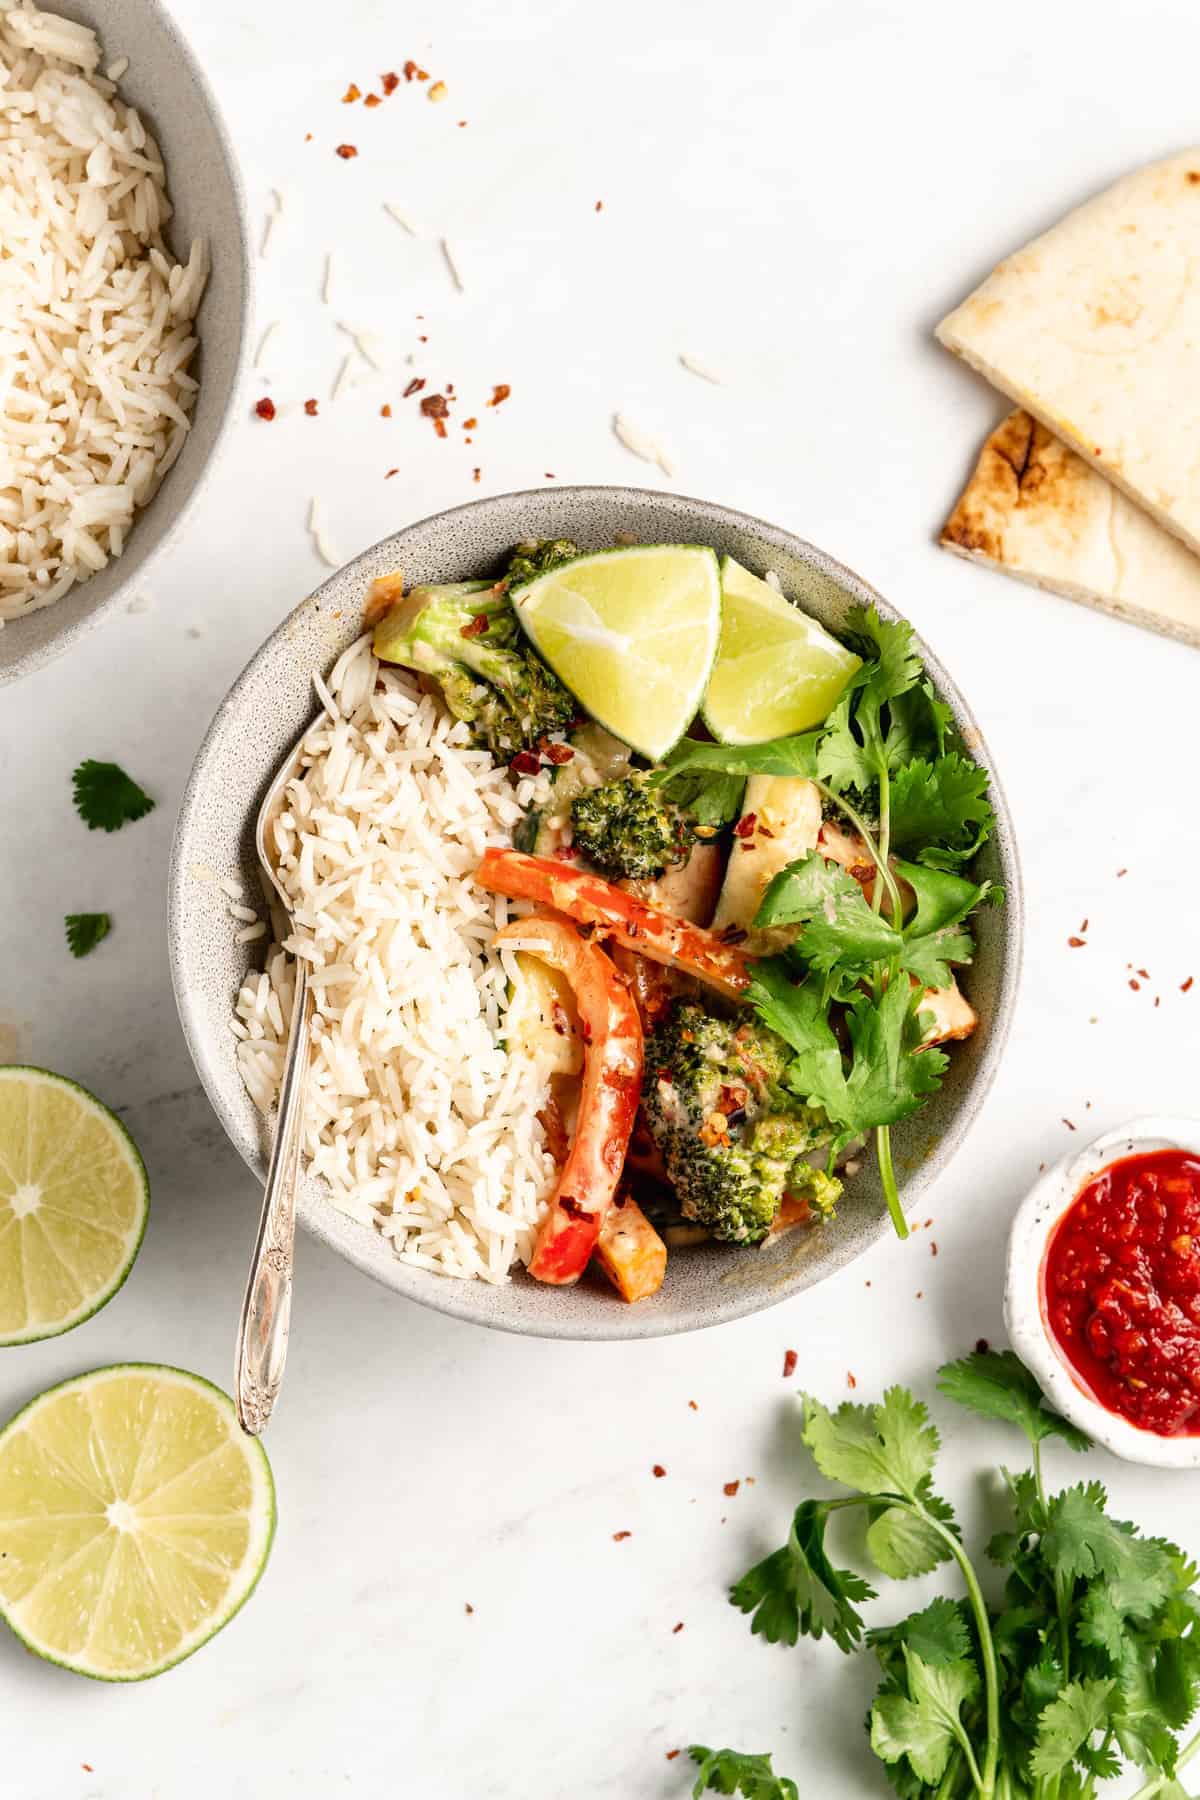
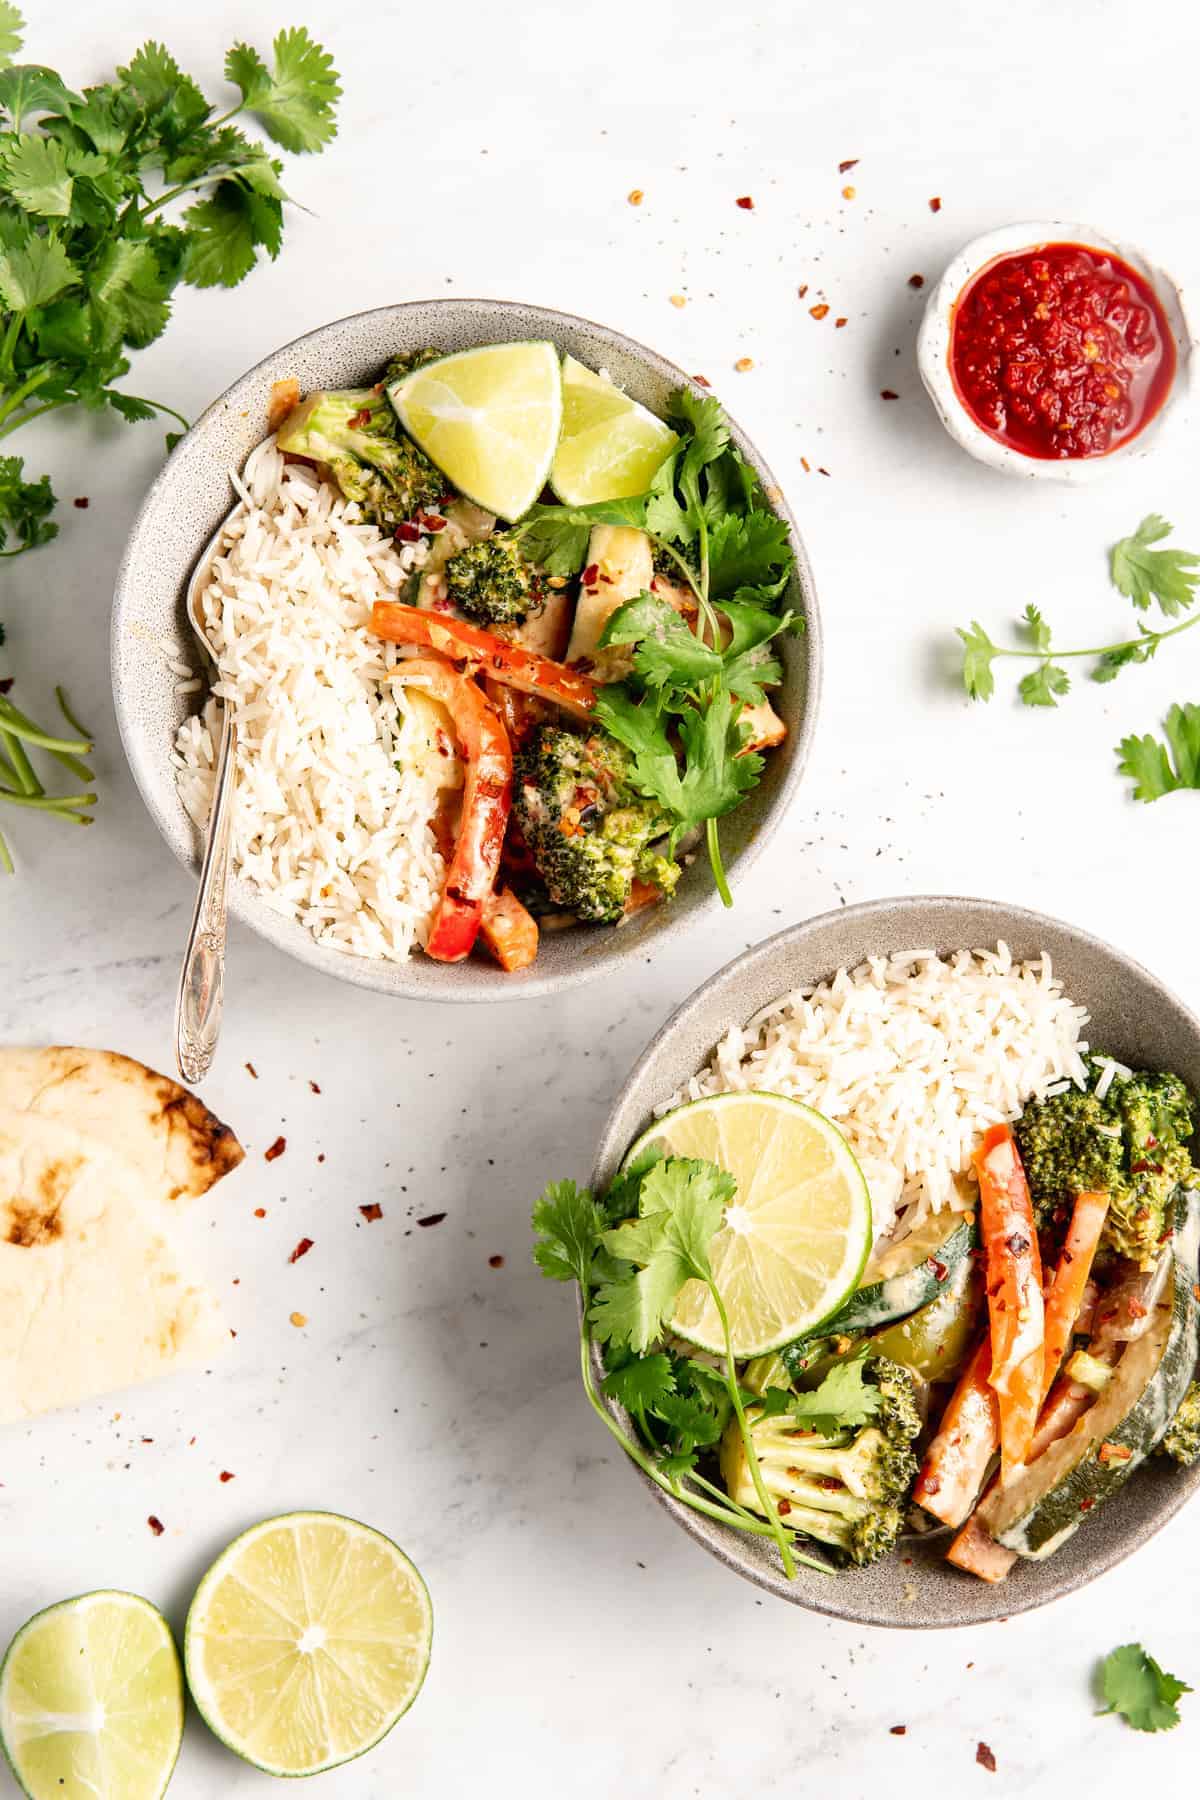
I like to serve this vegan Thai green curry with some basmati rice or naan bread, or both. Any kind of steamed rice (like Jasmine) will work, basmati is just a personal favorite.
You can also eat this curry by itself if you like, though – it’s pretty darn filling!
To say I was in heaven while eating this is SUCH an understatement. Every bite ties into the next beautifully, and I promise you’ll be making this again.
How to Store and Reheat Leftovers
I don’t recommend storing this vegan Thai curry in the fridge for more than 3 days. Make sure to use an airtight container to do so.
When you want to reheat your curry, put it back in the pan, add a splash of coconut milk, and cook over low-medium heat until everything is heated through.
Can I Freeze This?
You can try freezing your curry in an airtight container for up to a month, if you like. The vegetables will most likely lose their crispy texture, but it should still taste good.
Enjoy friends! If you make this Thai Green Curry, please snap a photo and tag #jessicainthekitchen on Instagram! We’d also love it if you would leave a comment below, and give the recipe a rating! Thanks so much!

Vegan Thai Green Curry
Ingredients
Vegan Thai Green Curry Recipe (Vegan & Gluten Free)
- 2 tablespoons coconut oil
- 2 tablespoons green curry paste
- 1 red onion, chopped
- 4 cloves garlic, minced
- 1 head broccoli, chopped
- ½ medium red bell pepper, cut into strips/spears
- ½ medium green bell pepper, cut into strips/spears
- 3 carrots, cut into strips/spears
- 1 zucchini, cut into spears
- ¾ teaspoon sea salt, to taste
- ½ teaspoon ground black pepper, to taste
- 1 tablespoon coconut sugar, or raw sugar
- 1 tablespoon liquid aminos, or tamari or low sodium soy sauce
- 1 can coconut milk, (full fat or lite) 13.5 ounces (383g)
- half a lime
- 1 bunch thai basil, washed and chopped (about 2-3 tablespoons)
- ½ tablespoon sambal oelek, or Sriracha for heat, optional
- 2 teaspoons coconut flour, for slight thickening, optional
Instructions
Vegan Thai Green Curry Recipe (Vegan & Gluten Free)
- In a pan over medium high heat, heat 1 tablespoon of the coconut oil.
- Add in the curry paste to fry it, stirring into the coconut oil, for about 1 minute. Add in the chopped onion and cook until onion is slightly translucent about 8 minutes.
- Add in the garlic, stir together, then the second tablespoon of coconut oil, then add the broccoli, red bell pepper, green bell pepper, carrots and zucchini. Add the sea salt, black pepper, coconut sugar, and liquid aminos on top and stir everything together. Reduce heat to medium and cook down, stirring, until carrots are tender crisp, about 10-15 minutes.
- Add in the coconut milk, stir, and then let it simmer for about 5 minutes. Squeeze the lime over, stir, and then remove from heat.
- Add in the thai basil on top, and stir in the sambal oelek (or Sriracha) if using. Serve with rice, naan bread and a lime wedge. Enjoy!!
Notes
- Can I Switch Up the Vegetables? Yes! You can use any combination of veggies you want – just use roughly 3 ½ cups of veggies, so that you don’t overcrowd the pan. You could even use another type of greens, such as spinach or kale!
- Is the Lime Necessary? YES! Several readers have told me that this recipe came alive when they did the lime squeeze. Please don’t skip it!! It’s so crucial to bringing out all those delicious flavors. While you’re at it, serve each plate with a half a lime wedge. I promise, your family/spouse/guests will LOVE you for it.
- For More Protein: To add more protein, I usually add a block of baked tofu into the 5 minute simmer section near the end!
- To Make It Creamier: Add a little more coconut milk to the curry sauce to make it creamier. Conversely, add a little less if you want it less creamy.
- Adding Coconut Flour: The coconut flour is totally optional, and it just depends on whether you want a slightly thicker curry sauce.
- Storage: You can store this dish in the fridge for no more than 3 days! You can try freezing your curry in an airtight container for up to a month, instead, if you like.
- If You Don’t Have Thai Basil: You can use a subtle mint or parsley.
Disclaimer: Although jessicainthekitchen.com attempts to provide accurate nutritional information, kindly note that these are only estimates. Nutritional information may be affected based on the product type, the brand that was purchased, and in other unforeseeable ways. Jessicainthekitchen.com will not be held liable for any loss or damage resulting for your reliance on nutritional information. If you need to follow a specific caloric regimen, please consult your doctor first.
More Thai Recipes to Try
If you’re a fan of vegan Thai food (or even traditional Thai food!), you’re not going to want to miss any of the following recipes:


Dammit, I couldn’t work out how to reply to you Jessica. I’m in rural Australia.
I’ve made this twice now and absolutely love this recipe! I usually add a protein; this time I added shrimp and cooked it separately and adding at end. So delicious!!!
Thanks so much for sharing with me Kelly!! SO glad you enjoyed!!
Can you use lemon instead of lime?
Hi Arn you can definitely use lemon instead of lime. I hope this helps.
Literally just made this and it is amazing!!! My family loved it! Thank you so much for sharing this recipe.
Hi Denise! We’re happy that you and your family was able to enjoy this recipe. Thank you for trying it!
Hi! Was just wondering whether nutritional information is available for this recipe? Would be very much appreciated. Thanks, Mara
Hey Mara,
Great news – the nutritional information is finally up!! 250 calories per serving, including fats, carbs, sugars, fibre and proteins!
this falls into the “must try” realm. I’m printing the recipe right now while I still have the ingredients!
Hey Randy,
Awesome!! I hope you enjoy it soo much!!!
I did get to make this and was totally surprised because I thought Green Curry was mild. I picked some up at a local shop in town and since I like cilantro was very intrigued. It wasn’t mild and it tasted fantastic. It goes in my “keeper” file…fit for company! Thanks for opening my mind to green curry!
I’m happy that we could surprise you Randy! I’m happy that you like our recipe! Thanks for trying it!
My new favourite recipe! The first time I made this it was a massive hit with the family, so I’m going to make it again tonight. I used more curry paste and was worried it would be too intense, but it was to die for! Question; at what point would you add the flour to thicken? I can’t see that mentioned in the recipe.
Also, finding it hard to get thai basil here in Germany, but would normal basic suffice?
Thanks so much; this is a keeper for sure!
HI Lia we’re happy that you like the recipe and that it was a hit with your family! the optional flour would be added after adding the coconut milk and stirring. Using regular basil is perfectly fine for this recipe. I hope this helps and thank you so much for reading!
Interested in the pans you used. How durable are they? I bought some recently at a local store, but they seem to scratch easier than my Teflon non-stick pans (trying to get a way from using). I would love to invest in a beautiful set of green pans.
This was absolutely delish..Will be making it again! (Couldn’t find Thai Basil, so used fresh mint for a garnish).
SOOOO good! I promise I did not know how to make flavorful, healthy meals before visiting this site. A few months ago I just said, I’d start working my way through the recipes here. I had no idea what coconut flour was or how to cook with curry powder/paste and I’ve never used coconut milk. I am so much more confident in the kitchen thanks to JITK!
Hi Candace,
I am loving your reviews! They’re really making my whole day and so glad you’re working your way through the recipes like you wanted to!! Your comment represents exactly what I want people to get out of my recipes – that they can make flavorful and healthy meals in their home, while hopefully learning about new and exciting ingredients too! You’re so kind and thank you so much!!! 🙂
<3 Jessica