Easy Chickpea Tikka Masala
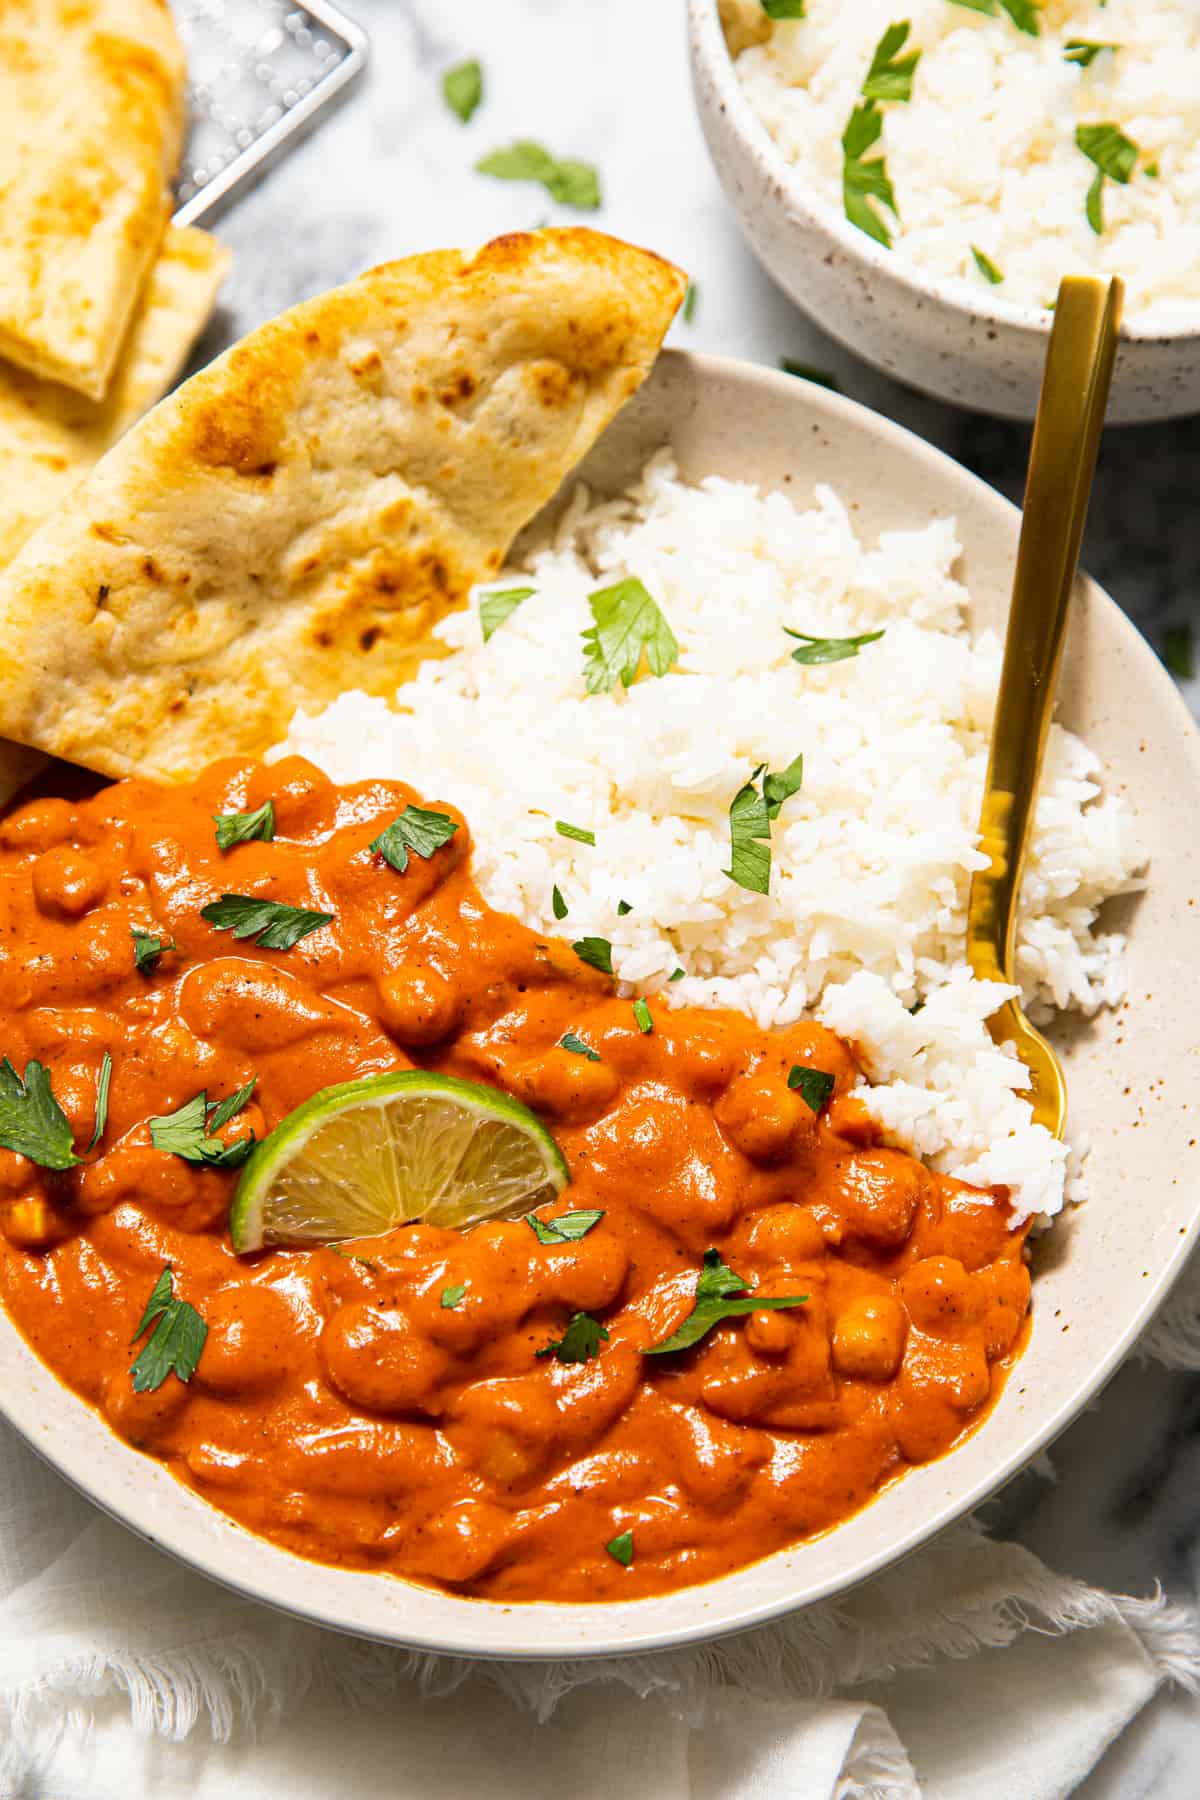
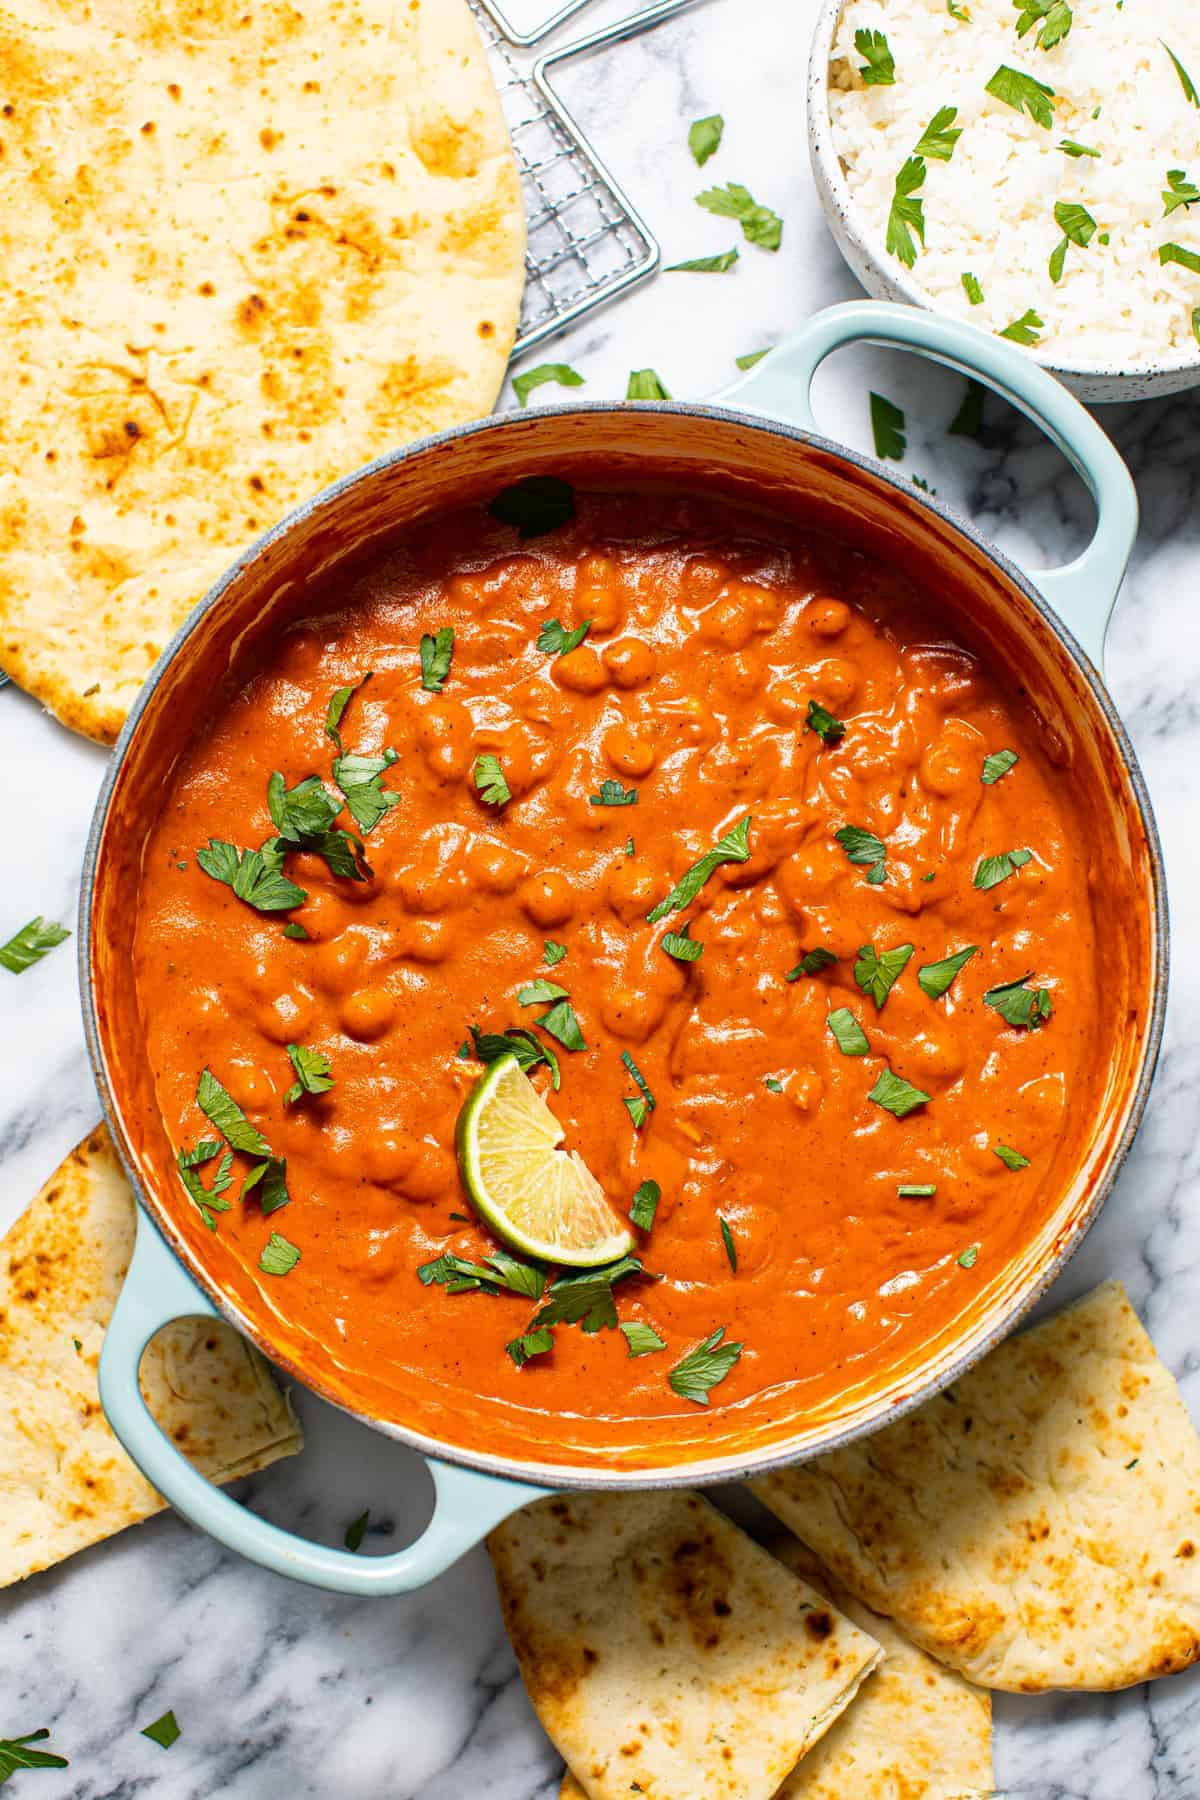
Chickpea Tikka Masala is an incredibly easy and absolutely divine vegan version of the classic Indian dish! It tastes deliciously indulgent, yet it’s super quick and easy. Plus, vegan tikka masala makes large portions that are perfect for meal prep!
What is Tikka Masala?
Tikka Masala, or Chicken Tikka Masala, is an Indian curry-based dish. It is traditionally made with chicken (as you probably guessed) and a creamy curry sauce, containing spices like curry powder, cumin, etc.
Since we’re making a vegan version, though, here’s the slightly-altered rundown. The key to making an incredible vegan tikka masala is to focus on the core flavors in the original version. So, in this recipe, chickpeas replace chicken. Of course, no one is trying to make chickpeas taste like chicken, but they yield an absolutely phenomenal-tasting dish, nonetheless. Chickpeas ensure that you still get a good dose of protein, and they truly soak up the flavor in the sauce.
When you make vegan tikka masala for dinner you get rave reviews and questions like “How does this taste exactly like our favorite takeout?!” (Yep, real quote.)
Notes on Ingredients
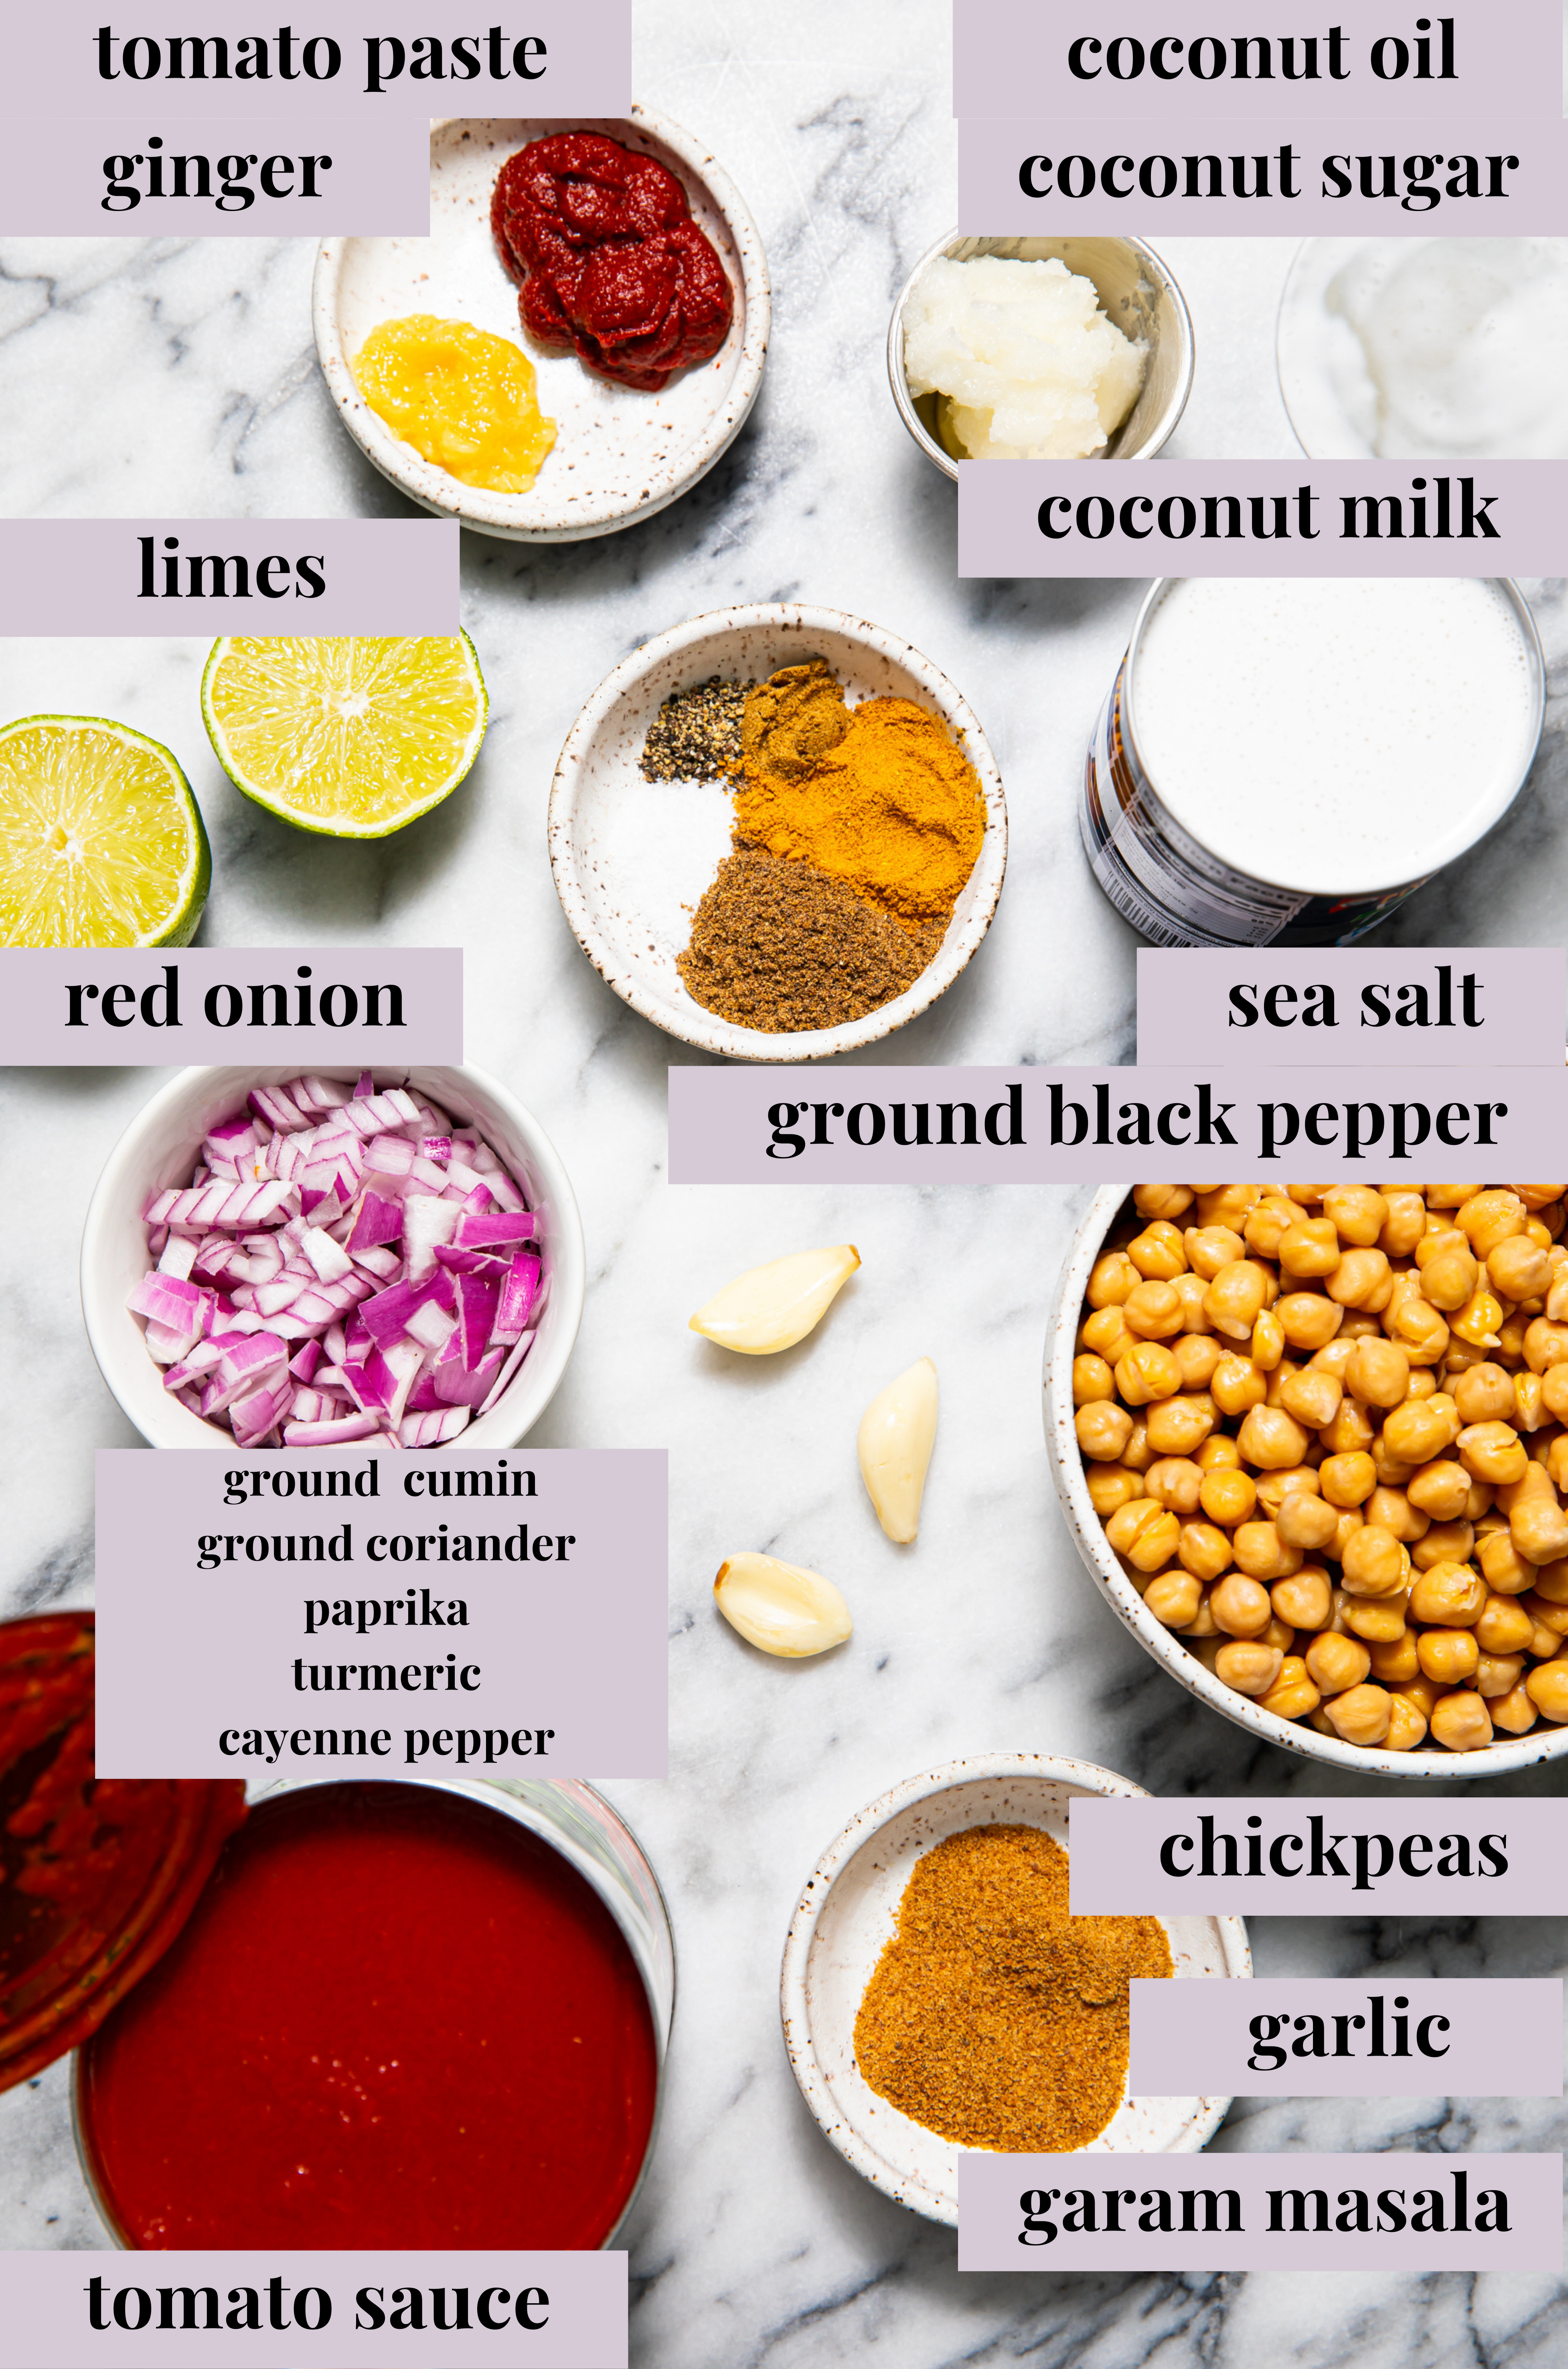
Time to round up some ingredients! This is a list of everything you’ll need to prepare this easy chickpea tikka masala:
- Coconut Oil: Or any cooking oil, whatever you prefer.
- Onion: I like to use a diced red onion, but a white/yellow onion is fine too.
- Spices: Today we’ll use fresh ginger, ground cumin, ground coriander, paprika, turmeric, cayenne pepper, sea salt, and ground black pepper.
- Garam Masala: A blend of Indian spices that will give this dish an authentic taste.
- Garlic: Minced, for extra flavor.
- Tomato Paste: Offers rich tomato flavor, and thickens the sauce.
- Tomato Sauce: You can use jarred, canned, or fresh tomato sauce.
- Chickpeas: Make sure to drain the cans before you use the chickpeas.
- Coconut Milk: I used coconut milk because it’s affordable, easy to find, and it doesn’t give the dish a coconut-y flavor. However, you could substitute a pourable cashew cream, which would also be a great heavy cream substitute.
- Coconut Sugar: Optional – it balances out the acidity. (Any sugar will work.)
- Lime Juice: To help pull together all the flavours.
How to Make Vegan Tikka Masala
This Chickpea Tikka Masala is SO flavorful. I didn’t want any overwhelming seasonings, but instead wanted everything to enhance and complement the tomato flavor that’s so prevalent in traditional tikka masala. I found that the fresh ginger, the tomato paste, and a bit more curry than I usually use, really did the trick.
Here’s the full explanation on how this dish comes together:
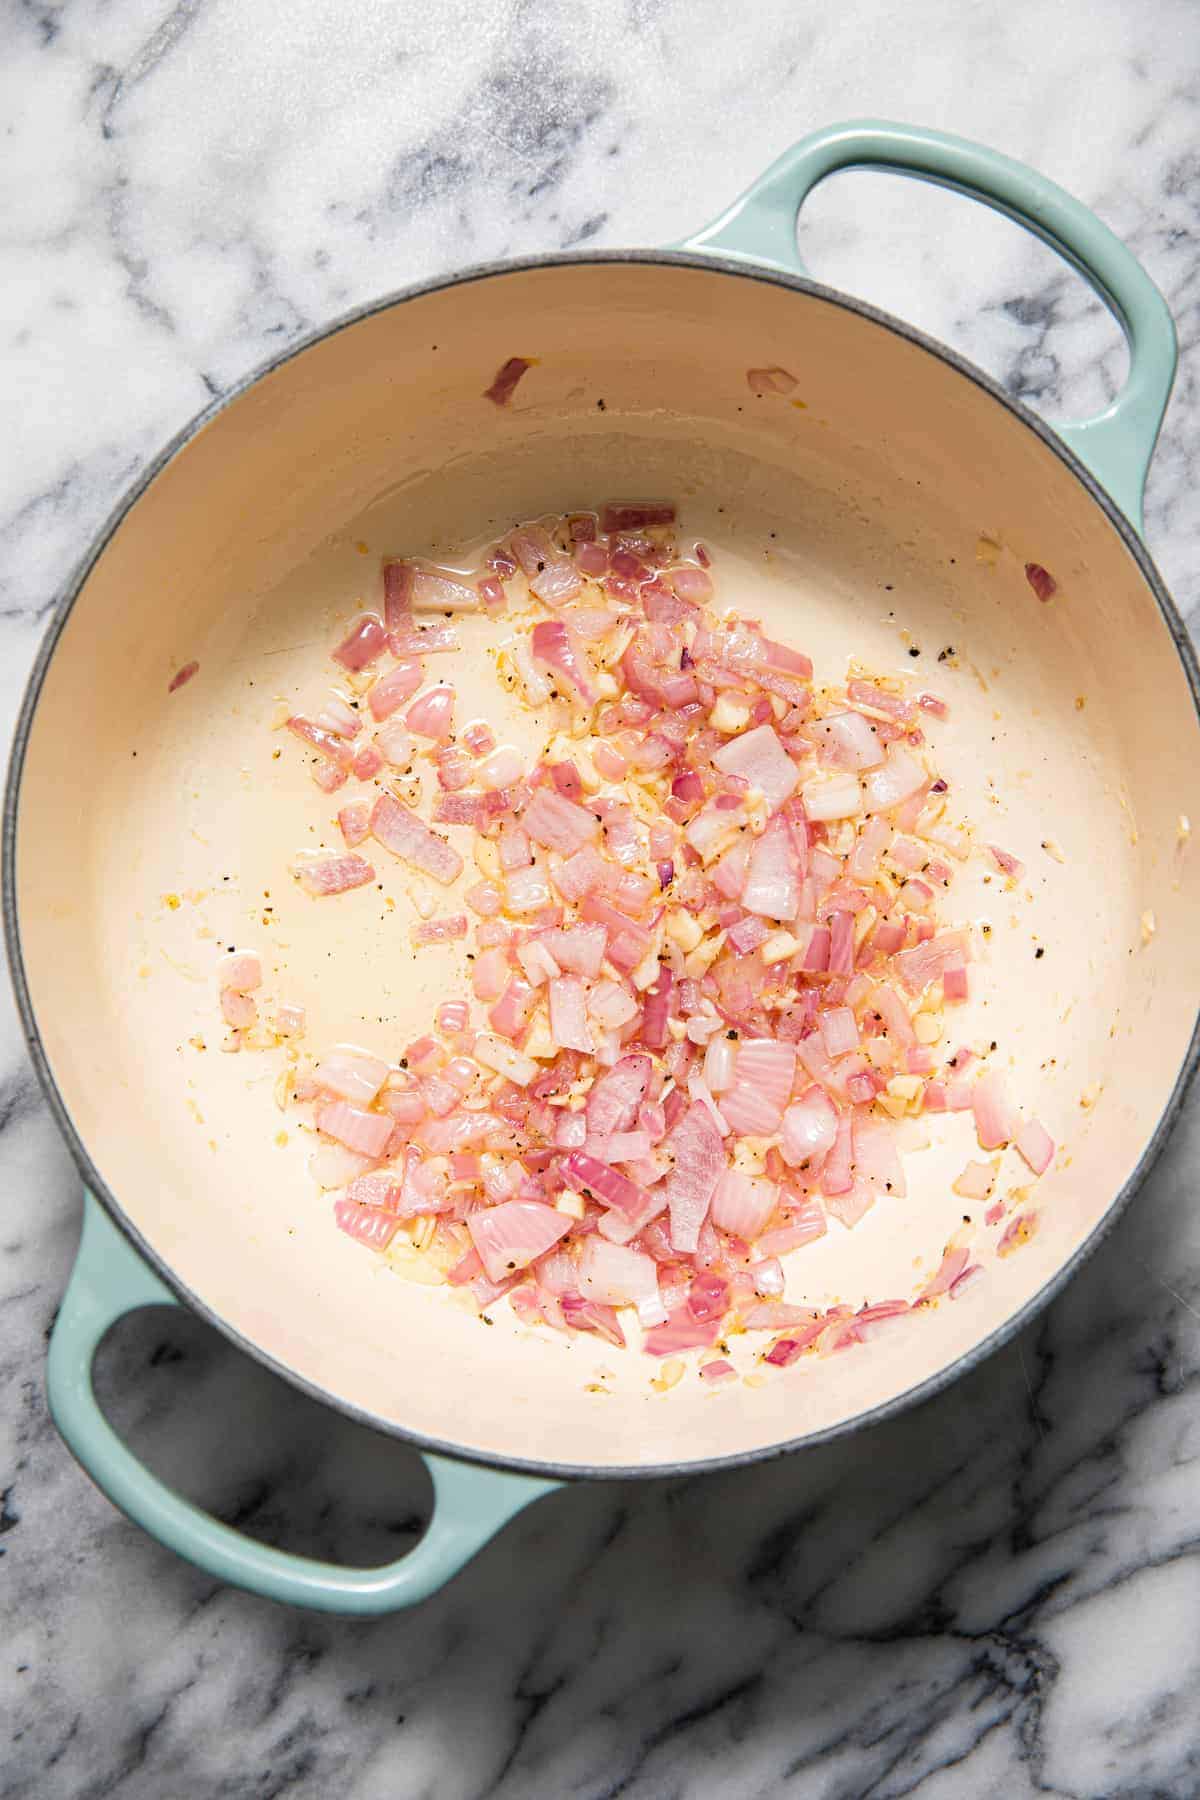
Sauté the Garlic and Onion: In a deep pot over medium high heat, add the coconut oil. Add in the onion, garlic, and ginger. Reduce to medium heat. Grind some sea salt and ground black pepper over the mixture and stir together. Sauté until the onions are translucent and the ginger and garlic are fragrant, about 5 minutes.
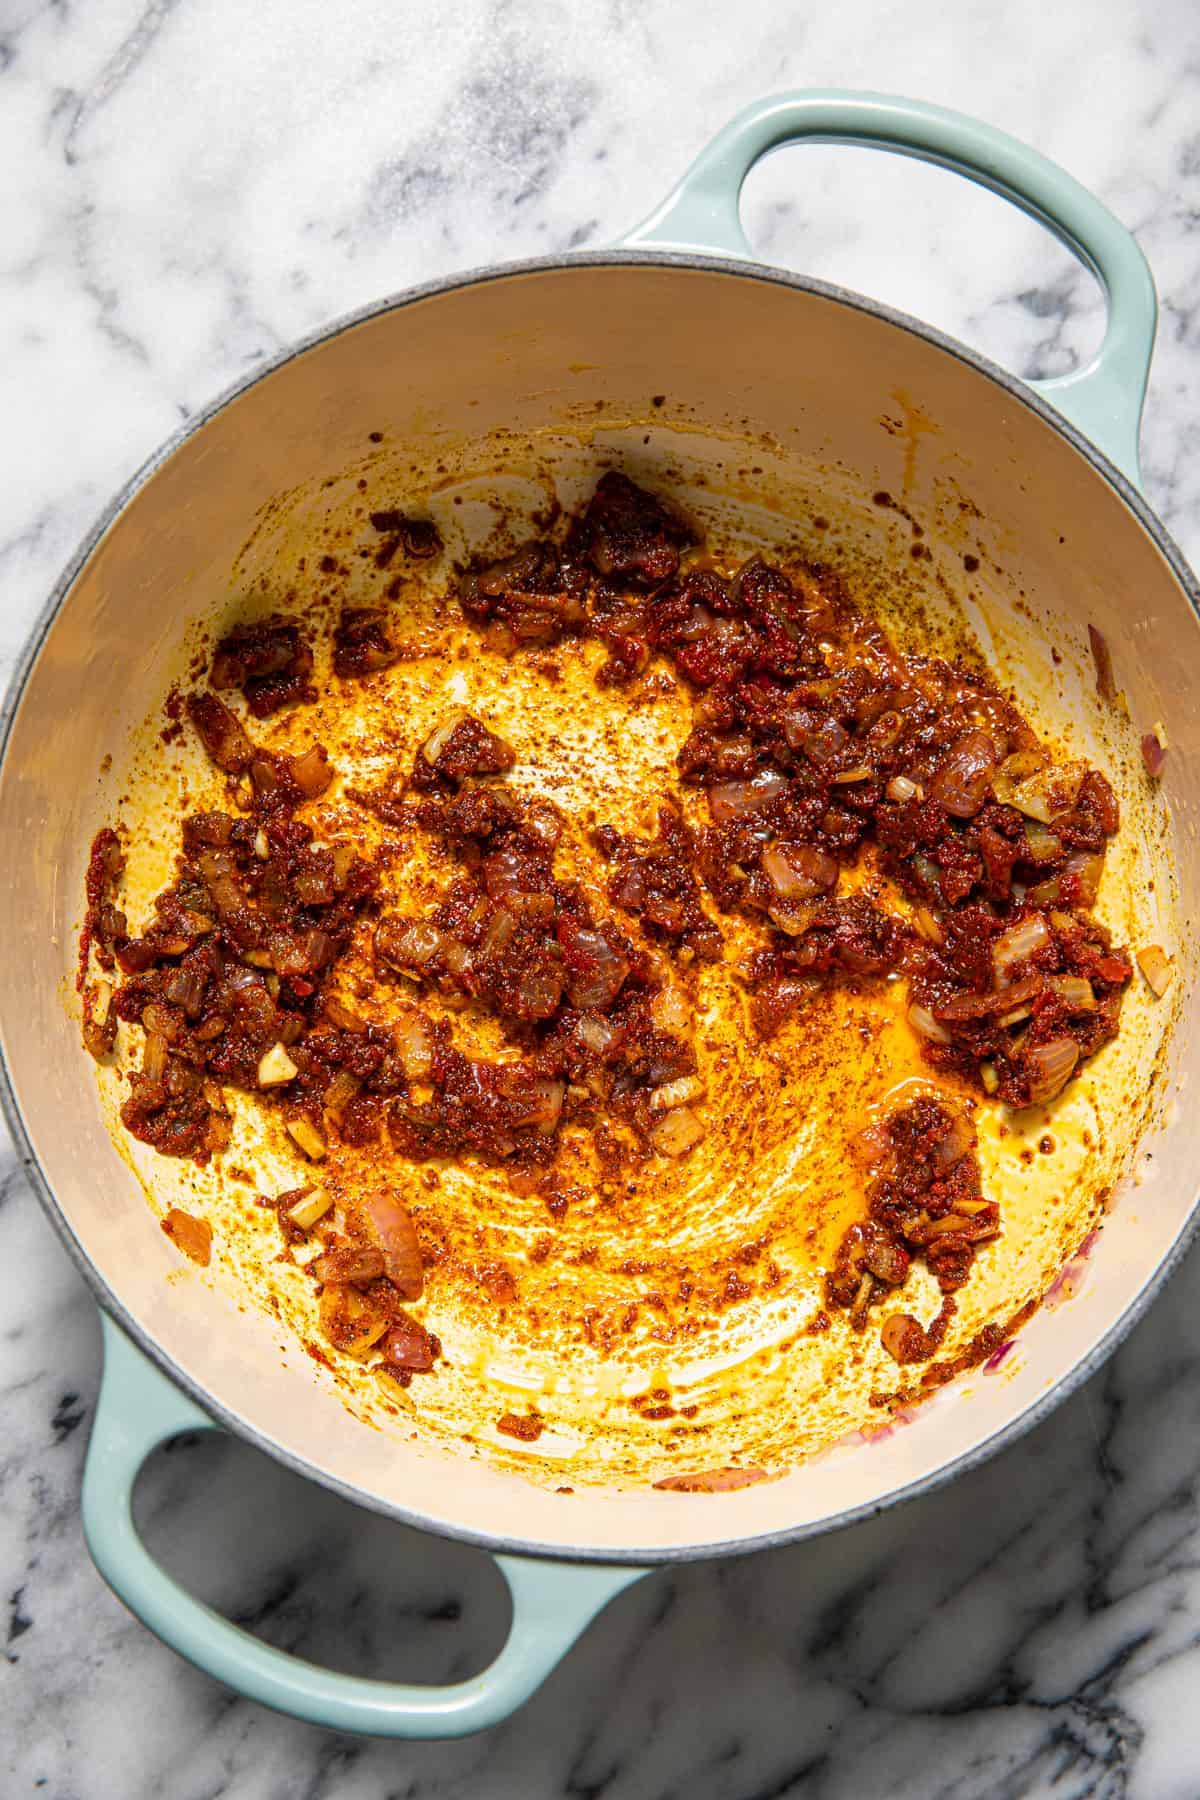
Mix in More Spices: Reduce heat to medium. Add in the ground cumin, coriander, turmeric, cayenne pepper, paprika and garam masala. Stir into the onion mix to combine. Add in the tomato paste and add in a splash of water and saute it all together, heating up the spices to bring out more flavour, for about 3-4 minutes. Feel free to add more splashes of water to keep it moving.
Add in the Tomato Sauce: Stir everything together. Reduce to a steady simmer and let it all simmer together for about 5 minutes. Remove the pan from the heat and carefully pour the contents into a blender. If your blender is a glass blender let it cool much more before blending. Add in your 1 teaspoon of sea salt, ½ teaspoon of black pepper, and the sugar now. Blend for about 1 to 2 minutes until everything is fully blended and smooth. Pour the sauce back into the pan.
Also add in the chickpeas: Stir to combine. Bring the curry to a slight boil, and then reduce to medium-low so that the mixture continues to simmer for 8 to 10 more minutes. Cover slightly with lid but not completely to allow the steam and excess water to escape.
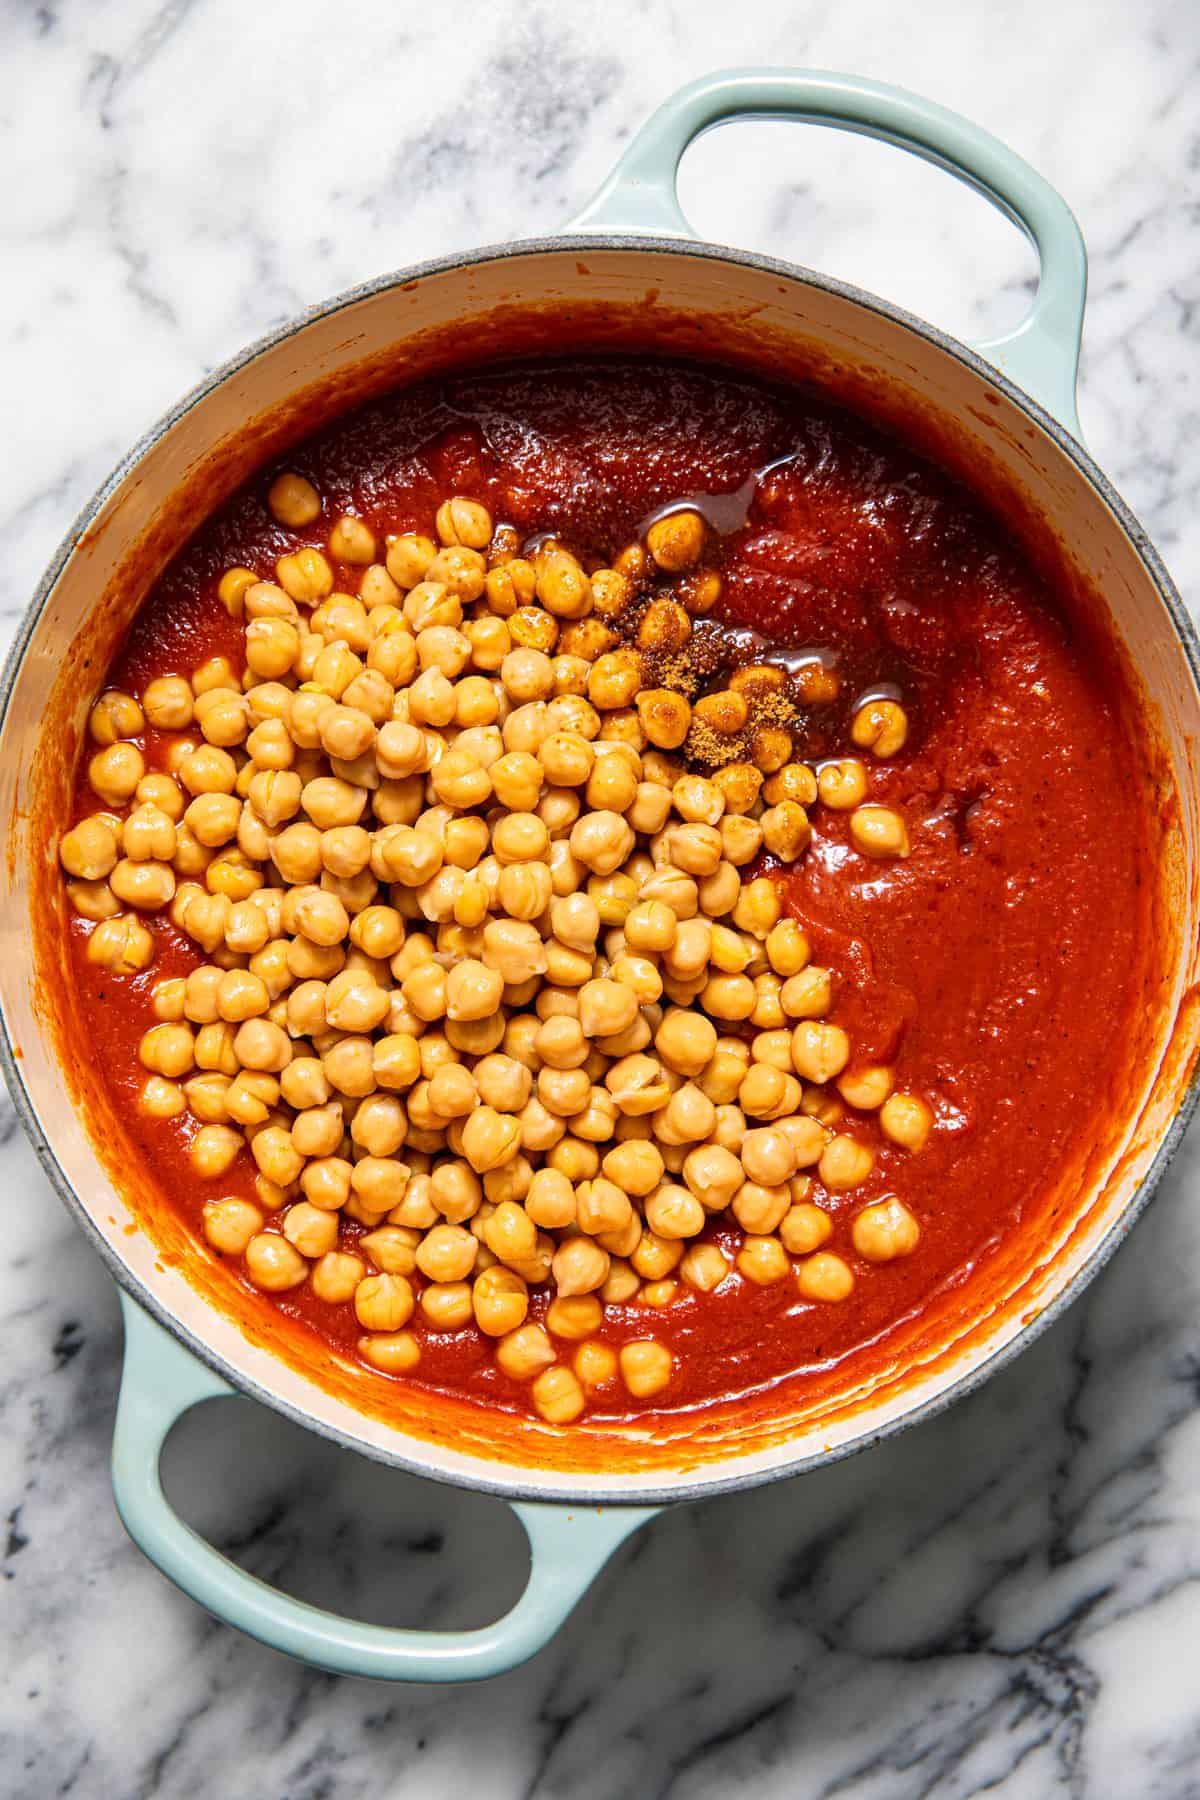
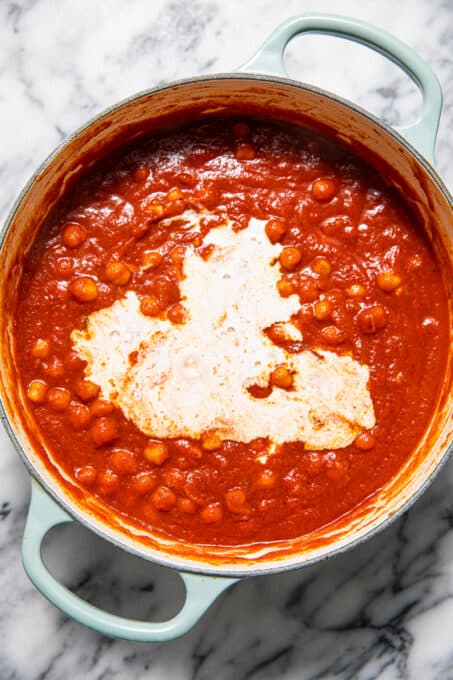
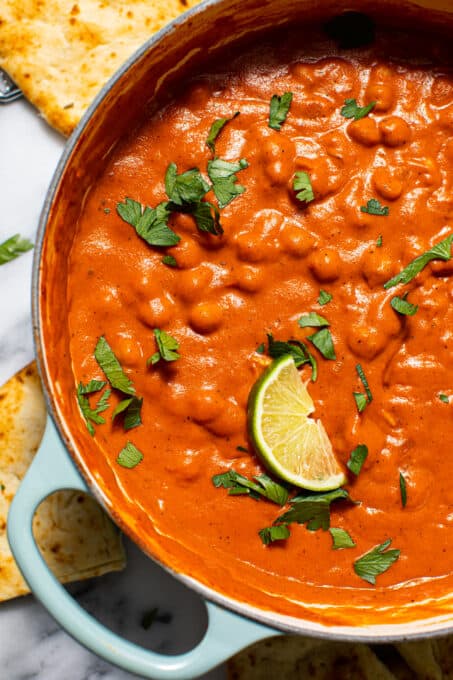
Pour in the Coconut Milk: And stir to combine. Allow to simmer for about 3 more minutes. Taste the curry and season with salt and pepper if you desire. Remove the curry from the heat and squeeze the lime over the top of the curry, stirring to combine. Don’t skip this step!! Finally, allow it to cool slightly, and then serve. Enjoy!
Tips for Success
This recipe yields a dish that will perfume your entire kitchen and home with scents reminiscent of your favorite Indian takeout restaurant. And, best of all, it makes such large portions that you’ll have plenty of leftovers.
Here are a few tips to keep in mind before you get started on it:
- Make Sure to Keep the Temperature Low: You want your tikka masala to simmer, not boil! Keep the heat on medium-low so that the milk doesn’t curdle and disrupt your creamy sauce.
- Add Vegetables: To make this meal even more filling, add in veggies like cauliflower or peppers and let them simmer with the chickpeas.
- Make It Ahead: Letting the flavors really mingle overnight in the fridge results in a delicious vegan tikka masala! Feel free to make this dish a day ahead of time so that you can reheat it and serve it for dinner the next day.
Serving Suggestions
Want to switch up how you enjoy this meal? Sometimes I do, so I came up with a couple serving options for you all.
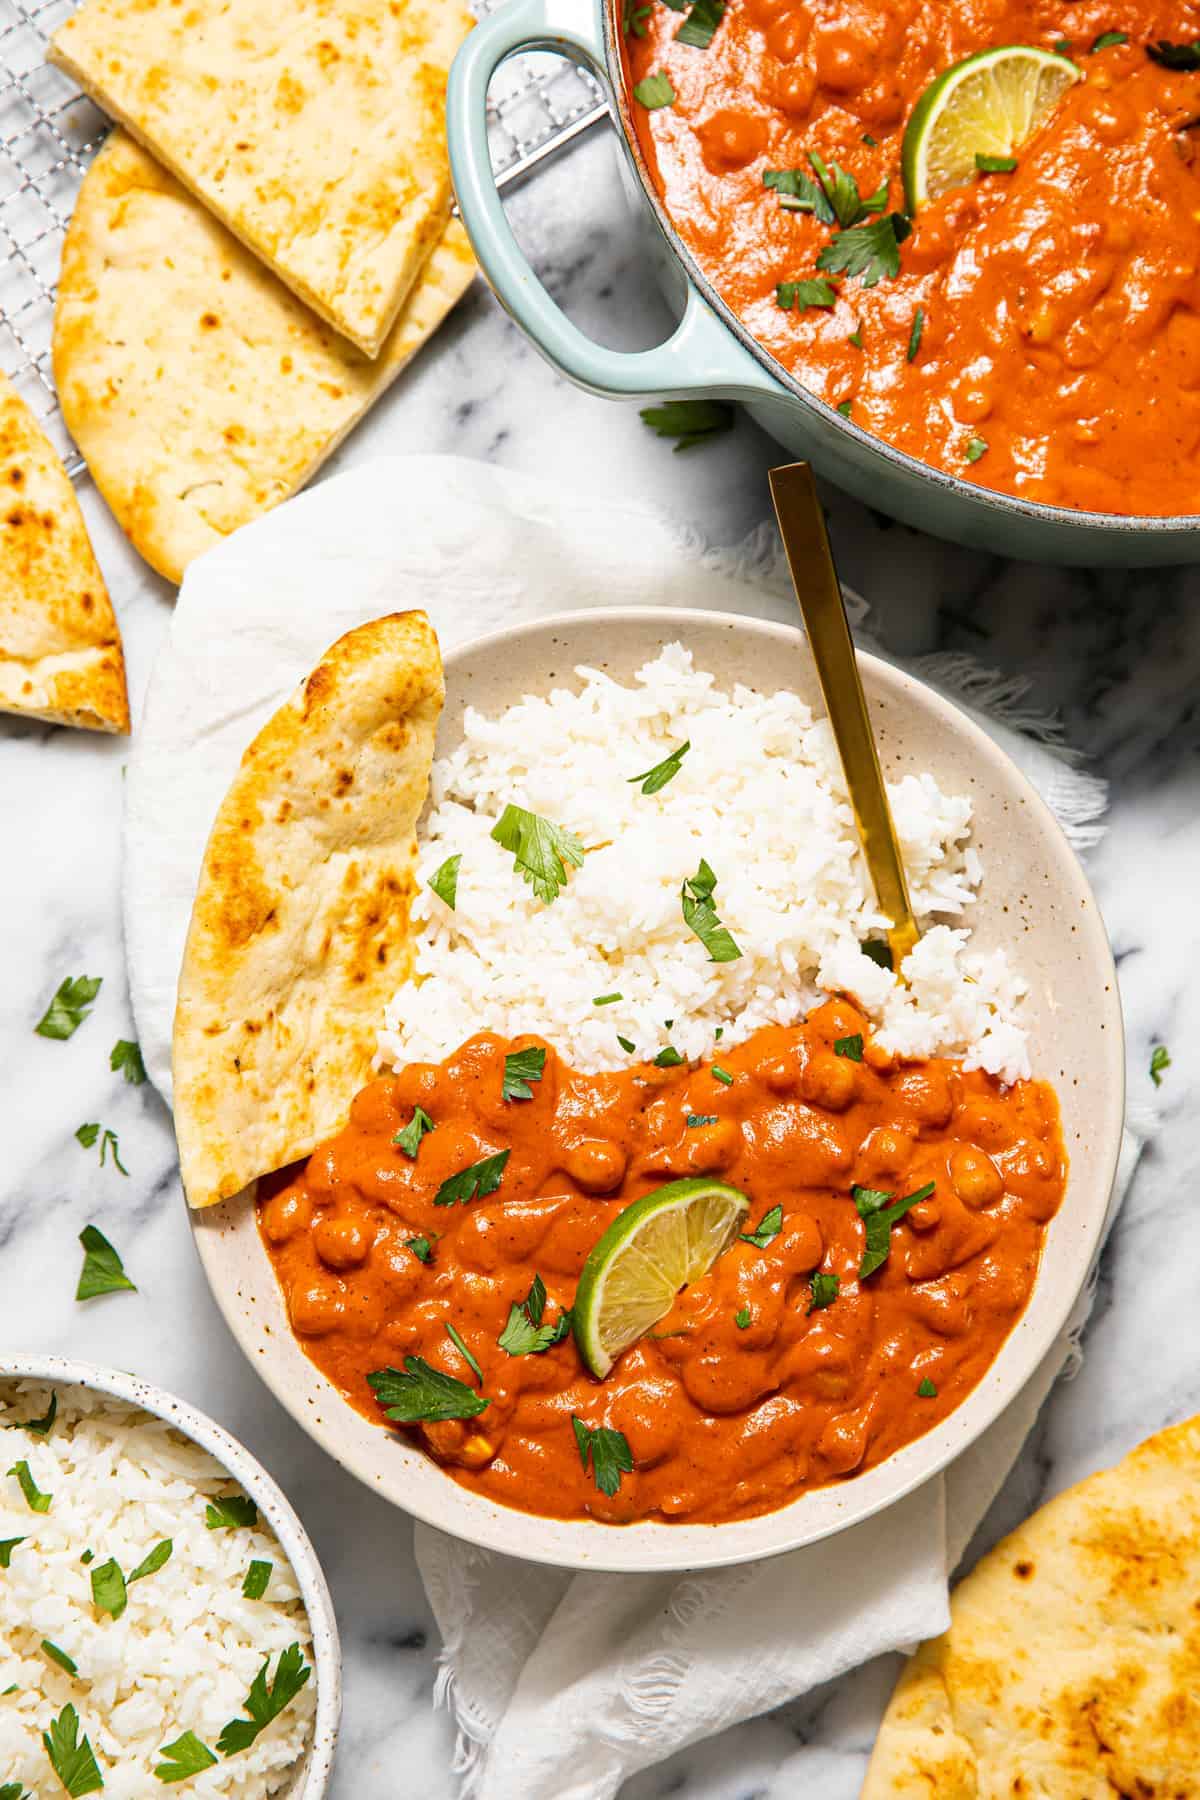
Some nights I have it with naan (or whole wheat naan bread), and other nights I have it with basmati rice… sometimes I even try it in a roti wrap! I’ve also served it with homemade pita chips before, or a simple side of roasted vegetables. Alone, or as-is, is good too.
No matter which way you serve it, I know you’ll love it. Eat up and enjoy, friends!
How to Store Leftovers
You can store this chickpea tikka masala in an air-tight tupperware container in the fridge for up a week. It makes for great lunches/quick dinners if you want to save it in serving-size portions!
Can I Freeze Extras?
Yes! This vegan tikka masala is an excellent candidate for freezing, and can be stored in the freezer for up to a month.
Enjoy friends! If you make this Chickpea Tikka Masala, please snap a photo and tag #jessicainthekitchen on Instagram! We’d also love if you would leave a comment below, and give the recipe a rating! Thanks so much! P.S. – do you know that we have an entire blog dedicated to low carb recipes named Low Carb Vegan Recipes?! Be sure to check it out!

Easy Chickpea Tikka Masala
Ingredients
- 2 tablespoons coconut oil, or any oil or vegan butter
- ½ large red onion, diced
- ½ tablespoon fresh ginger
- 3 cloves garlic, minced
- sea salt and ground black pepper, to taste
- 2 teaspoons ground cumin, I used roasted geera
- 2 teaspoons ground coriander
- 1 ¼ teaspoons turmeric
- 2 teaspoons cayenne pepper, reduce to 1 teaspoon if you can't handle heat
- 2 teaspoons paprika
- 1 tablespoon garam masala
- 1 teaspoon sea salt
- ½ teaspoon ground black pepper
- 1 ½ tablespoons tomato paste
- 2 teaspoons coconut sugar, optional – to balance out the acidity (or any sugar)
- 28 ounces tomato sauce, jarred or canned or fresh
- 2 cans chickpeas, drained (2 cans) (32oz/454g)
- 1 cup coconut milk, the thick creamy white part separate from the coconut water
- juice of 1 lime, about 1 tablespoon
Instructions
- In a large sauce pan over medium high heat, add the oil.
- Once the oil is heated, add in the onion, garlic, and ginger. Reduce to medium heat. Grind a sprinkle of sea salt and ground black pepper over the mixture and stir together. Saute until the onions are translucent and the ginger and garlic are fragrant, about 4 minutes.
- Reduce heat to medium. Add in the ground cumin, coriander, turmeric, cayenne pepper, paprika and garam masala. Stir into the onion mix to combine. Add in the tomato paste and add in a splash of water and saute it all together, heating up the spices to bring out more flavour, for about 3-4 minutes. Feel free to add more splashes of water to keep it moving.
- Add in the tomato sauce. Stir everything together. Reduce to a steady simmer and let it all simmer together for about 5 minutes.
- Remove the pan from the heat and carefully pour the contents into a blender. If your blender is a glass blender let it cool much more before blending. Add in your 1 teaspoon of sea salt, ½ teaspoon of black pepper, and the sugar now. Blend for about 1 to 2 minutes until everything is fully blended and smooth. Pour the sauce back into the pan.
- Add the chickpeas. Stir to combine. Bring the curry to a boil, and then reduce to medium-low so that the mixture continues to simmer for 8 to 10 more minutes. Cover slightly with lid but not completely to allow the steam and excess water to escape.
- Pour in the coconut milk and stir to combine. Allow to simmer for about 3 more minutes. Taste the curry and season with salt and pepper if you desire. Remove the curry from the heat and squeeze the lime over the top of the curry, stirring to combine. Don’t skip this step!!
- Allow to cool slightly and then serve. Serve with some rice and some naan as great pairing options. Enjoy!
Notes
- Make Sure to Keep the Temperature Low: You want your tikka masala to simmer, not boil! Keep the heat on medium-low so that the milk doesn’t curdle and disrupt your creamy sauce.
- Add Vegetables: To make this meal even more filling, add in veggies like cauliflower or peppers and let them simmer with the chickpeas.
- Make It Ahead: Letting the flavors really mingle overnight in the fridge results in a delicious vegan tikka masala! Feel free to make this dish a day ahead of time so that you can reheat it and serve it for dinner the next day.
Serving Suggestions
Want to switch up how you enjoy this meal? Sometimes I do, so I came up with a couple serving options for you all. Some nights I have it with naan (or whole wheat naan bread), and other nights I have it with basmati rice… sometimes I even try it in a roti wrap! I’ve also served it with crispy tortilla chips before, or a simple side of roasted vegetables. Alone, or as-is, is good too. No matter which way you serve it, I know you’ll love it. Eat up and enjoy, friends!How to Store Leftovers
You can store this chickpea tikka masala in an air-tight tupperware container in the fridge for up a week. It makes for great lunches/quick dinners if you want to save it in serving-size portions!Can I Freeze Extras?
Yes! This vegan tikka masala is an excellent candidate for freezing, and can be stored in the freezer for up to a month. A FEW NOTES: 1. This curry lasts for at least a week in the fridge as leftovers. 2. You can serve with naan, basmati rice, or even crispy pita chips.Disclaimer: Although jessicainthekitchen.com attempts to provide accurate nutritional information, kindly note that these are only estimates. Nutritional information may be affected based on the product type, the brand that was purchased, and in other unforeseeable ways. Jessicainthekitchen.com will not be held liable for any loss or damage resulting for your reliance on nutritional information. If you need to follow a specific caloric regimen, please consult your doctor first.
More Vegan Dinner Ideas
Looking for some more easy vegan dinner recipes? Here are some of my favorites:


I discovered an abundance of chickpeas in the cupboard the other day. Your timely recipe is surely a sign! For once I’m totally prepared!
Awesome! I hope you enjoy!
Jessica, this recipe is fabulous! I am a big fan of your chickpea curry recipe so I had to try this. It’s delicious. The only thing I added was a healthy dose of cayenne pepper and some chopped cilantro at the end. This one is a keeper. Thanks again for another great recipe!
Oh wow Suzanne great additions. We’re so happy that you liked another recipe! Thanks again for reading.
I made your Chickpea Tiki Masala. I didn’t have the tomato sauce so I used diced tomatoes and cooked the sauce down. I added about a cup of sliced baby spinach. Delicious! Thank you for the recipe.
Hi Diane,
Oh I’m SO happy to hear that!! Thank you so much for sharing with me and letting me now. You’re so welcome!!
Hi Aashi, you can use soy milk or even cashew milk unsweetened. Thank you so much for reading and I hope this helps!
Just made this for dinner! I’m a huge fan of Jessica’s Coconut Chickpeas Curry recipe and since I’ve only eaten it like 500 times, I wanted to try something new. I absolutely love this. Indian food is one of my favourite cuisine and this tasted so authentic. Unfortunately I didnt have lime to add to the end for a little pizzzaazzz but still was A+! I’ll definitely be making this again.
Haha. We’re soooo happy that you decide to try this recipe Tanaka! Even more, we’re happy that you enjoyed it. Thanks for this great review and thanks for reading!
I really enjoyed your recipe! It was really tasty! I look forward to making it again and trying some of your other dishes 😊💕
Thank you so much Andrea! We’re happy that you enjoyed the recipe so much that you’re looking forward to making it again!
Tried this today, and like all the recipes I’ve tried from you…delicious!! Great alone and with bread! Thank you
Oh wow Yolanda, thank you so much for the kind words! We’re happy that you like our recipes! I hope you have a great day!
I have made your Chickpea Tiki Masala recipe a couple times now and it is so delicious! I have one meal after I make it and then freeze the rest in 1 cup portions for easy lunches or dinners over the next couple weeks. Perfect for when I don’t want to cook, or I don’t have time to cook!
Jessica’s curries are always AMAZING. This is just as great as her other recipes. So easy to make but still an amazing flavour profile. Thank you for another fab recipe 🤗
Jessica’s Curries really are the best! Thanks for being so kind!
DELICIOUS and SUPER QUICK! I was pleasantly surprised with how quickly it came together. My husband said that not only did it take less time to make, but also it tasted much better than some of the other Indian dishes we’ve attempted using recipes from another website. We will definitely be making this again! It is the perfect weeknight meal. I’m not even a vegetarian and I loved it!
We’re so happy that You enjoyed this recipe Kristen! Thank you so much for reading and leaving such a nice comment!