Homemade Vegan Yogurt (Cultured and Creamy)
This Homemade Vegan Yogurt (Cultured and Creamy) will absolutely change your life! It tastes identical to store-bought dairy yogurt, tastes absolutely delicious, and can be used in so many ways from breakfasts to dips to dinners! The process to make it is pretty foolproof, and doesn’t require any special tools or ingredients!
Wow. What a time to be alive where I can make homemade yogurt in my home with no special tools and ingredients, despite what I’ve always heard. Making yogurt from scratch has been a dream of mine. Not, a day dream. I wasn’t writing poems or doodling “Mrs. Yogurt” in my notebooks. It’s just something I’ve always wanted to try. When I took a taste of it though? I might as well have been. Let’s just say this – there’s nothing like that first spoonful of your fresh, creamy, homemade vegan yogurt.
Previously, every time I looked it up, I read that I would need this tool, and that tool, and don’t forget a yogurt maker! A yogurt maker? Who wants to buy a whole yogurt maker? I already have like eight other kitchen gadgets I haven’t used in a year. Then, when I turned vegan, the only way to get vegan yogurt at first was through a starter kit and I wasn’t into it. Years later and life simplified, here we are. Making the most mind blowing and creamy vegan yogurt with water, cashews, probiotics, apple cider vinegar and a blender.
So much to say yet so little time before I bore you. Long story short – make this homemade vegan yogurt. It doesn’t just taste like yogurt – it IS yogurt. It’s a near foolproof, cultured, fermented, good gut bacteria loaded yogurt that’ll satisfy both your tastebuds and your stomach. In fact, I had a mild case of food poisoning from a bad batch of beans that nothing would fix. A few tablespoons of this? I felt so much better.
How to Make Homemade Vegan Yogurt
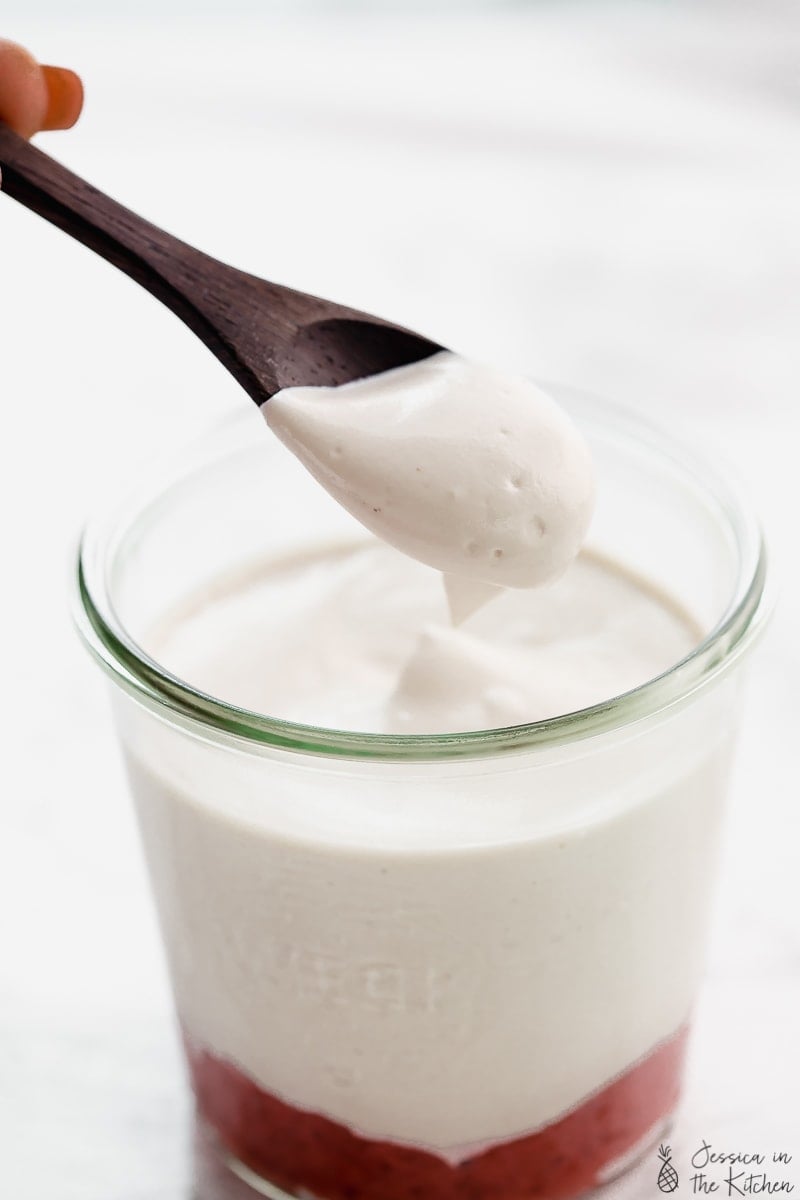
The process is so straight forward, you might think you’re doing something wrong at first. You’re not. Unless, of course you are, which if you follow my directions, you aren’t :). Blend all the ingredients together, then pour it into a glass bowl or tall jar. Emphasis on glass, I’ll get more into that under “tips”. Now add in your probiotics (open the capsules), then using a wooden spoon or a silicone spatula, stir it in for a good 2 minutes (go pull up a Youtube video, that’ll help).
Cover the bowl or jar with a cheesecloth, or in my case since I ran out, paper towel, and a rubber band. Now, it’s fermenting time! Let it ferment in a nice warm place. I live in the tropics, so it’s always warm! So my countertop did just fine. If you don’t, leave it in your oven with the stove OFF and the oven light on.
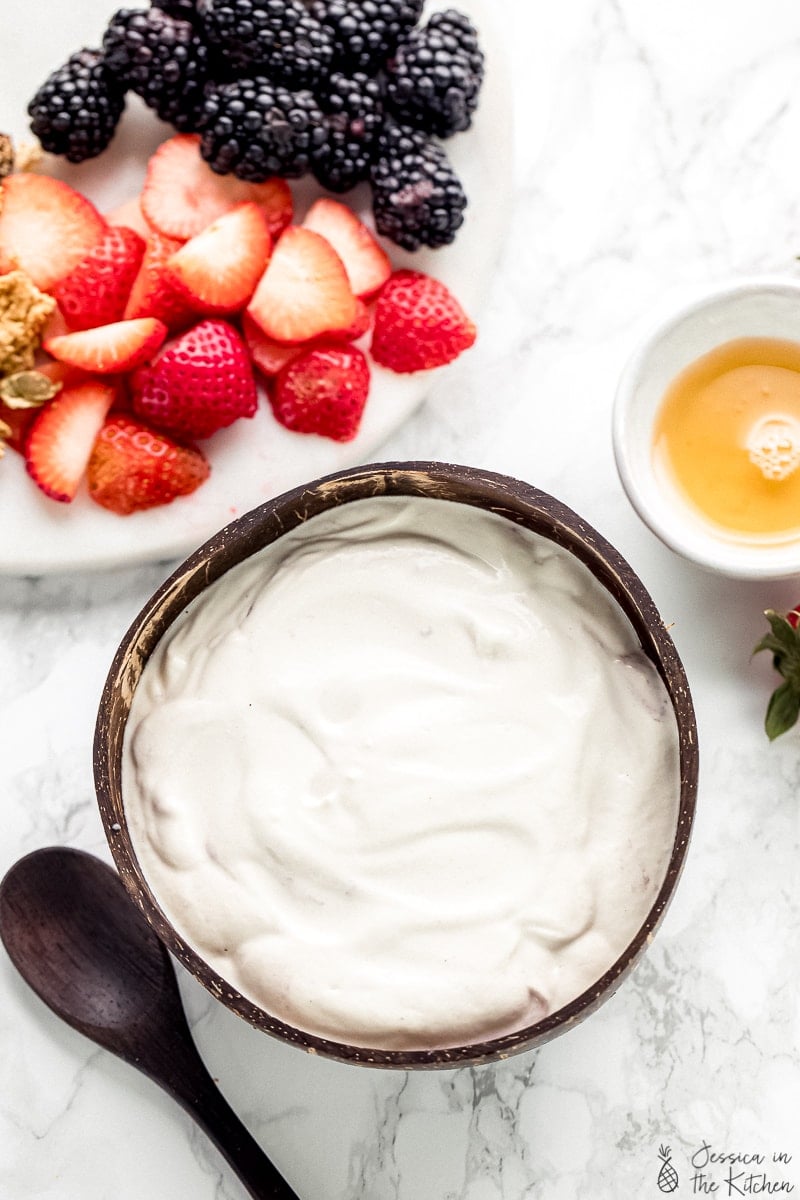
Allow the bacteria to culture and everything to ferment for 24-48 hours. I found my sweet spot was around 40 hours, so I just let it sit for the full 48 hours. Feel free by the way to check on it during this process. Everything should look fine, and after about 24 hours, you should start to slightly smell a light yogurt-y sour (not spoiled) smell. Then it’s like a full blown smell by the time 48 hours comes around. Stir, taste, and use like you want
Tips (including making greek yogurt)
Okay, so there are a few ways you can do this wrong. I’ll try and point them all out here, and will also include them in the instructions down below, too.
- Make sure you really blend all your ingredients together. You don’t want any chunks of cashew, in fact, you don’t even want it to look like there was cashew here before, friends. It certainly doesn’t taste like it, so if you blend right, you’ll be on your way to just general amazing vegan yogurt. I blended mine for a good 3 minutes in a high powered blender, so just ensure yours is so blended it already resembles a creamy, no grains, no strains, product.
- Make sure you’re using fresh ingredients and that you soak your cashews. Don’t use anything that’s going bad because it’ll come out in the fermenting process.
- Use a great probiotic. I use JustThrive and have been for over two years now and let me tell you – #goals. I can’t do without this probiotic. While this isn’t sponsored, my good friends over at JustThrive let me know that you can get 15% off if you use the code JESSICA15 which um, YES that’s an incredible deal so definitely go use it! I’m pretty sure mine turned out so great because I was using a top notch probiotic that truly works.
- Do not, I repeat, do not, use metal. Metal can react negatively to the good bacteria and can just kill your entire process. I’ll admit I’ve never tried it with metal and safe to say, just avoid it. That’s why I prefer to add the probiotic powder into the mixture after it leaves the blender, and to use wood and silicone to stir it in a glass bowl. I would also suggest not using a wooden bowl since it’ll seep in and make the bowl smell like yogurt for, well, ever.
- Don’t disrupt your yogurt in the making too often. I would try not to touch it for at least the first 24 hours, and thereafter maybe check on it only like once or twice.
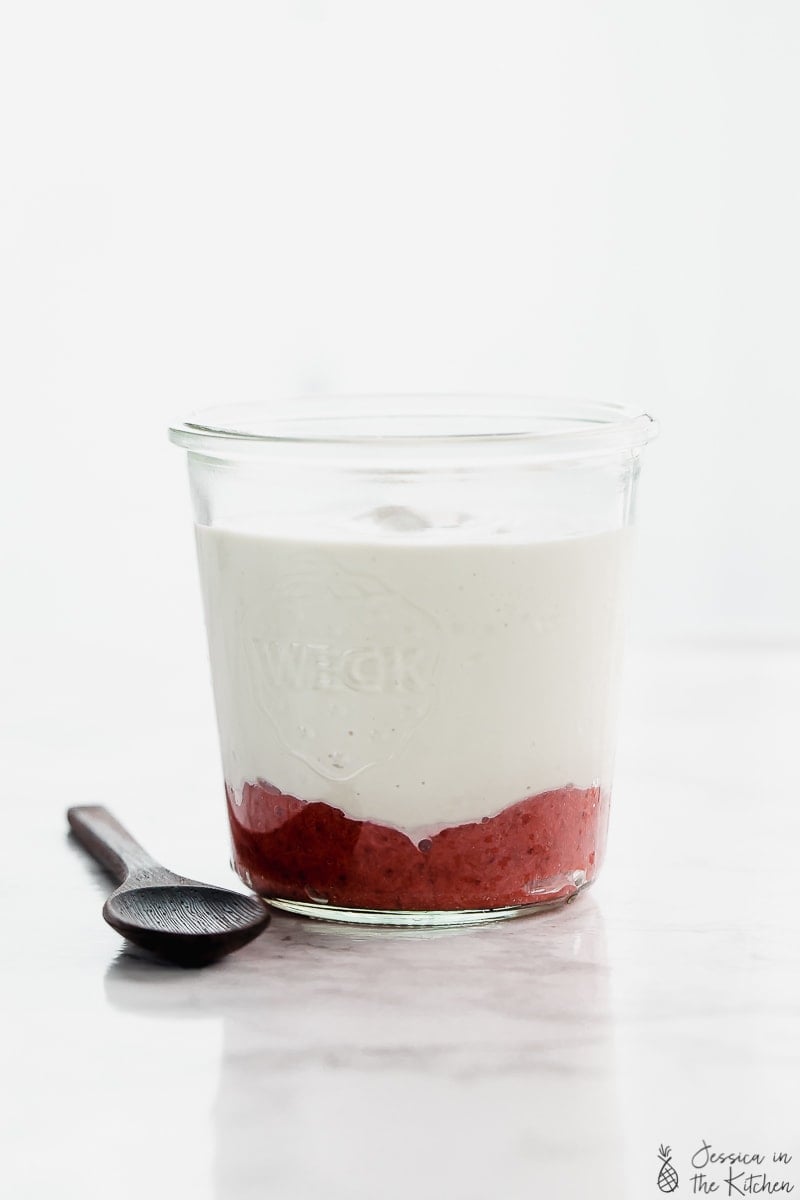
- The consistency of this yogurt is nice and thick, but not greek yogurt thick. I did make some greek yogurt from it (my goodness that was delicious) and it’s very easy to make. Just place some or all of the yogurt in a cheesecloth, tie it, and let it hang over a bowl for 2 hours in the fridge. That will get rid of all the excess liquid, making it thicker. Don’t go overnight though, or you’ll end up making cheese like I did. Which, is a whole other post because after I stirred in some nutritional yeast, sun dried tomatoes and some herbs, I was in vegan cream cheese heaven.
Ways to Use Homemade Yogurt
There are so many ways to use this Homemade Vegan Yogurt. Here are a few of my favourite ways:
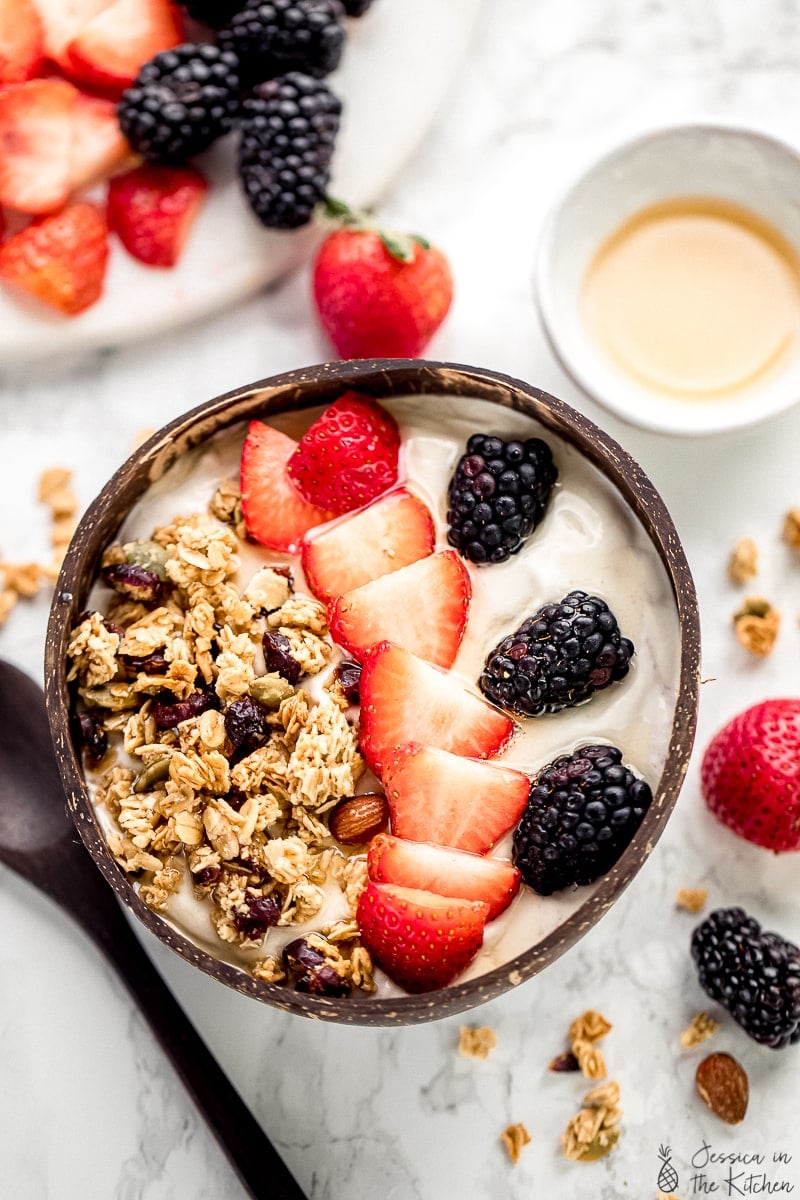
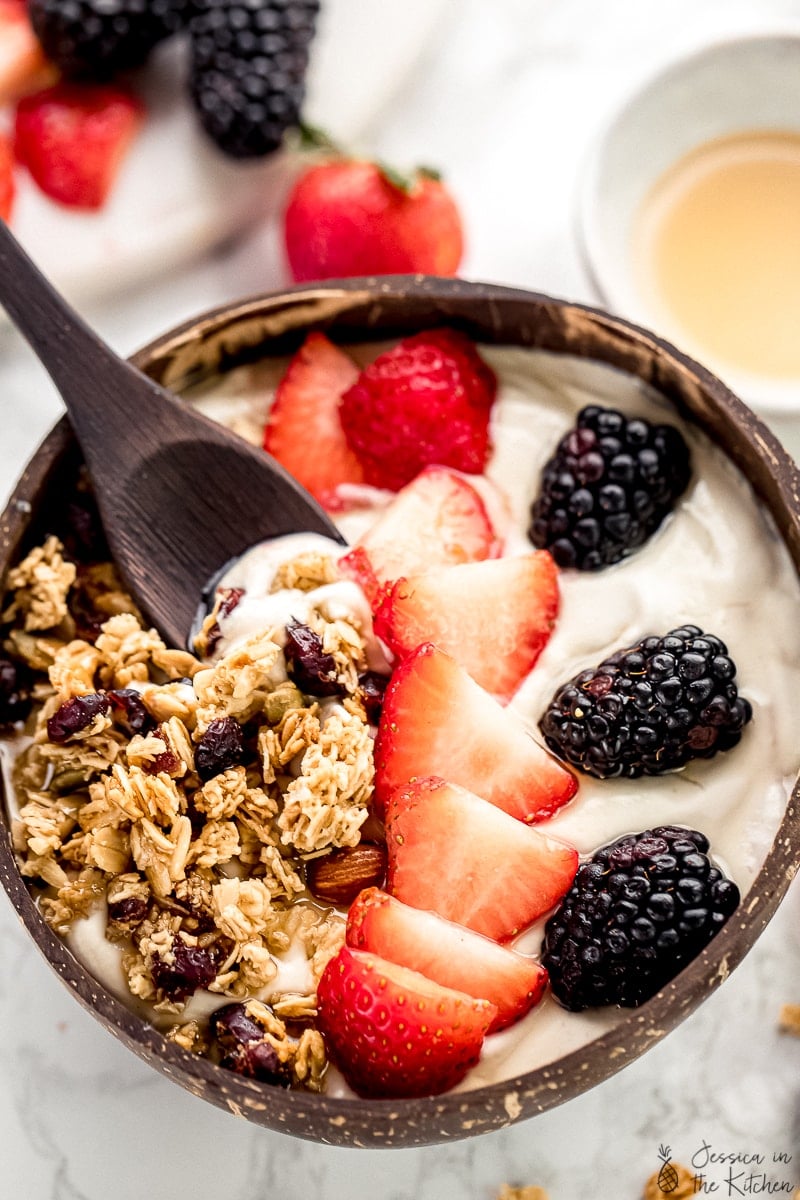
- In a bowl, with maple syrup stirred in, some vanilla extract, and fruits and granola. So good!
- As an oil substitute in our favourite vegan mug brownie :). I tested this one several times, just for you.
- In your favourite Indian sauce recipes, such as swirled into my Chickpea Tikka Masala, my Indian butter tofu and my Indian Butter Cauliflower.
- For a vegan Tzatziki
- To make labneh
- Into any assortment of sauces and dips
- To your favourite veggie burgers
- Use anywhere instead of sour cream
Okay, my ode to yogurt is over! Enjoy the recipe friends!

Homemade Vegan Yogurt (Cultured and Creamy)
Ingredients
- 2 cups cashews, soaked overnight
- 2 teaspoons apple cider vinegar
- pinch sea salt
- 1 ½ cups clean filtered water
- 3 probiotic capsules, roughly 1.26 grams of probiotic powder, or ½ teaspoon (I used JustThrive capsules*)
Instructions
- First, rinse off your soaked cashews completely. In a high powered blender, add the cashews, apple cider vinegar, filtered water, and the sea salt. Blend until completely smooth and clean. I blended for about 3 minutes on high.
- Pour the contents into a very clean and dry glass bowl or tall jar. Open your probiotic capsules and pour the powered contents inside the cashew yogurt mixture. Using a wooden or silicone spoon, stir the probiotic powder into the mixture and stir/mix into it for about 2 minutes, until fully incorporated.
- Cover the bowl/jar with some cheesecloth or even a clean dry paper towel and secure with a rubber band. Place in a warm, dry place. If you live in a tropical country, you can leave it on your counter top. If you don't, place it in your oven with the oven OFF and the oven light on (do not place right after cooking something, this will be too hot). Leave the yogurt undisturbed as much as possible for 24-48 hours. You should begin to smell a slight yogurt-y smell after about 24 hours. I recommend leaving it for the full 48 hours but see notes below if you're using a different probiotic.
- The yogurt should be much thicker now. Stir to combine fully. If you hear a carbonated sound that is normal, it's a part of the fermenting process.
- Cover the jar/bowl or transfer to a new clean jar/bowl and cover and place in your fridge. It should also thicken up in the fridge and you can start using it now! It'll last in your week for at least two weeks.
- If you want your yogurt any thicker, strain/drain it in cheesecloth or paper towel or a fine mesh colander for about 30 minutes to strain off any extra liquid. If you want greek yogurt, see the notes below.
- Enjoy with any combination of you want including yogurt, maple syrup, vanilla extract and fruits!
Notes
Tips (including making greek yogurt)
Okay, so there are a few ways you can do this wrong. I’ll try and point them all out here, and will also include them in the instructions down below, too.- Make sure you really blend all your ingredients together. You don’t want any chunks of cashew, in fact, you don’t even want it to look like there was cashew here before, friends. It certainly doesn’t taste like it, so if you blend right, you’ll be on your way to just general amazing vegan yogurt. I blended mine for a good 3 minutes in a high powered blender, so just ensure yours is so blended it already resembles a creamy, no grains, no strains, product.
- Make sure you’re using fresh ingredients and that you soak your cashews. Don’t use anything that’s going bad because it’ll come out in the fermenting process.
- Use a great probiotic. I use JustThrive and have been for over two years now and let me tell you – #goals. I can’t do without this probiotic. While this isn’t sponsored, my good friends over at JustThrive let me know that you can get 15% off if you use the code JESSICA15 which um, YES that’s an incredible deal so definitely go use it! I’m pretty sure mine turned out so great because I was using a top notch probiotic that truly works.
- Do not, I repeat, do not, use metal. Metal can react negatively to the good bacteria and can just kill your entire process. I’ll admit I’ve never tried it with metal and safe to say, just avoid it. That’s why I prefer to add the probiotic powder into the mixture after it leaves the blender, and to use wood and silicone to stir it in a glass bowl. I would also suggest not using a wooden bowl since it’ll seep in and make the bowl smell like yogurt for, well, ever.
- Don’t disrupt your yogurt in the making too often. I would try not to touch it for at least the first 24 hours, and thereafter maybe check on it only like once or twice.
- The consistency of this yogurt is nice and thick, but not greek yogurt thick. I did make some greek yogurt from it (my goodness that was delicious) and it’s very easy to make. Just place some or all of the yogurt in a cheesecloth, tie it, and let it hang over a bowl for 2 hours in the fridge. That will get rid of all the excess liquid, making it thicker. Don’t go overnight though, or you’ll end up making cheese like I did. Which, is a whole other post because after I stirred in some nutritional yeast, sun dried tomatoes and some herbs, I was in vegan cream cheese heaven.
Disclaimer: Although jessicainthekitchen.com attempts to provide accurate nutritional information, kindly note that these are only estimates. Nutritional information may be affected based on the product type, the brand that was purchased, and in other unforeseeable ways. Jessicainthekitchen.com will not be held liable for any loss or damage resulting for your reliance on nutritional information. If you need to follow a specific caloric regimen, please consult your doctor first.


I’m so glad I found this recipe! Thank you for sharing it.
I’m not sure my blender is high powered – could I use a food processor instead?
Good question Annelise. If the food processor is high quality and on the small side it may work… but I’m not sure that the texture would be perfect. I hope this helps!
Do I need apple cider vinegar?
Hi Sarah thank you so much for reading, it really does help the culture so I would say yes.
The Yogurt is really yummy. Better than any I have bought. Very easy to make – just follow recipe exactly.
So happy to hear this Lorie. Thank you for leaving such a nice review.
How can I convert this to make in my yogurt maker?
Hi, Yolanda thanks so much for reading. Unfortunately, we haven’t experimented with using a yoghurt maker yet so I wouldn’t be able to help with this.
In an effort to reduce my plastic consumption, I’m trying this tonight! I don’t have an oven light. Can I leave this on my windowsill, which gets sun for a couple of hours a day? Or am I better off leaving it on the counter? I live in Los Angeles; I don’t have A/C and it’s supposed to be in the 80’s the next couple of days.
Thanks so much for reading. You can definitely just leave it on the counter.
Super, thank you! Coalescing as we speak.
Can I substitute the probiotic capsules for cultured yogurt?
Hi Stephanie thanks so much for reading. Yes you can! I hope this helps.
I wondered if I could use lemon juice instead of vinegar. Is it mainly the acid you need?
Hi Kathy! Yes you can. I hope this helps!
Hello, Can I make more yogurt using yogurt from my previous batch instead of using probiotic capsules each time? Thank you!
Hi Maria,
Yes you can do this but I would recommend Youtubing a video with this method to ensure you’re doing it safely!
I don’t have an oven light. What can I substitute?
Hi Eilee,
Do you live in a cold climate? If so – choose the warmest part of your house – maybe a closet or something with a light in it, and you can do it there! Cover it with lots of kitchen towels. If you live in a warm climate, you can just put it in the counter and it’ll still work. I hope that helps!
Hi there,
It seems like most yogurt recipes (vegan or otherwise) instruct you to heat the milk to 110 degrees and then add the culture/probiotic. Is there a reason why you don’t have a step involving heating the milk?
Thank you!
-Amanda
Hi Amanda!
No reason – it’s just not a part of my process! Hope that helps!